By Kathi Rerek
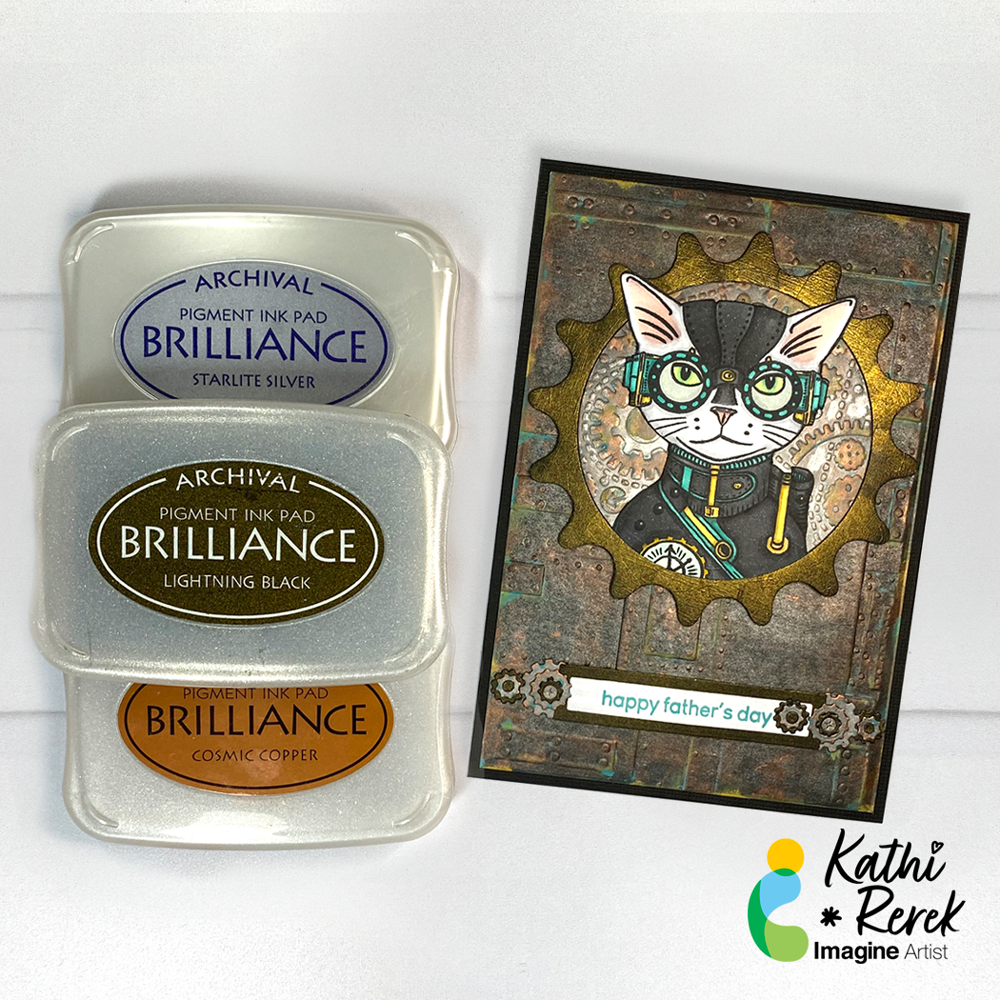
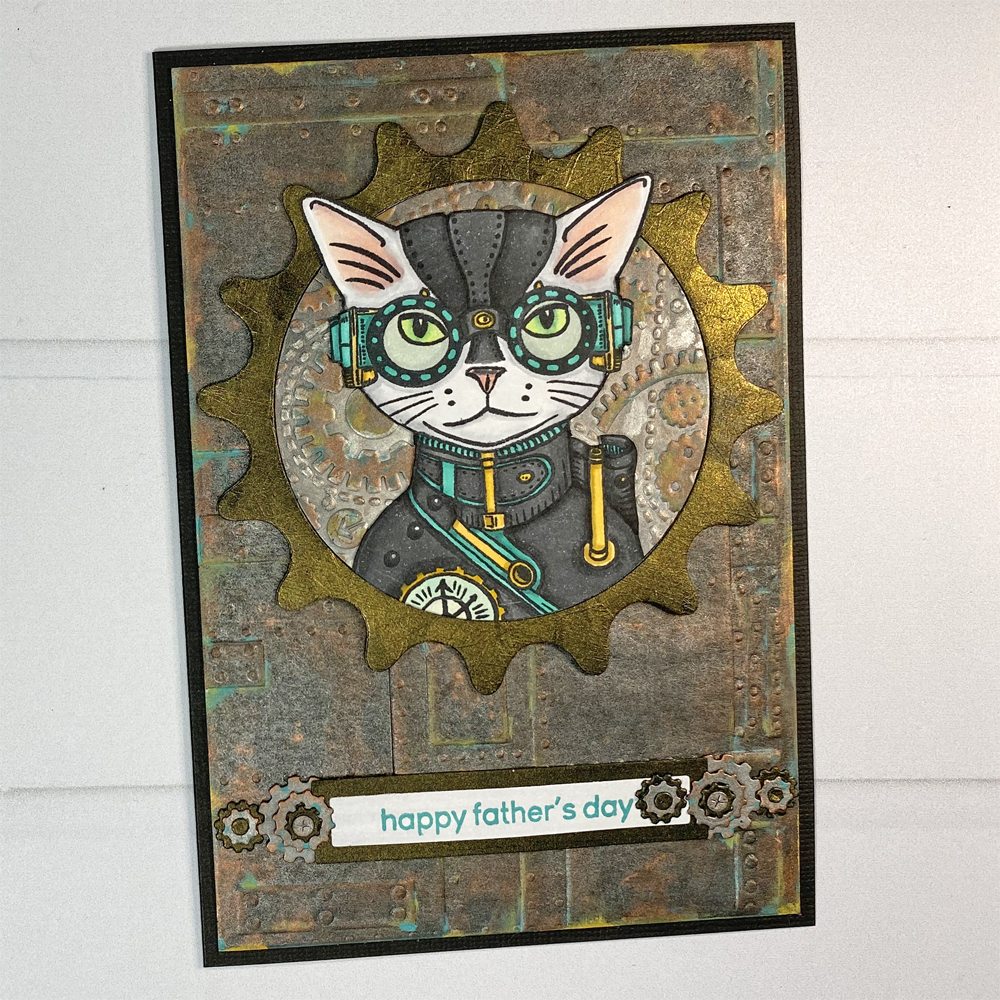
I’m continuing my experimentation with Metallic Brilliance Inks with this Father’s Day card using two of my favorite themes – cats and Steampunk!
Skill Level: Advanced
Time: 2.5 Hours
Directions:
Step 1:
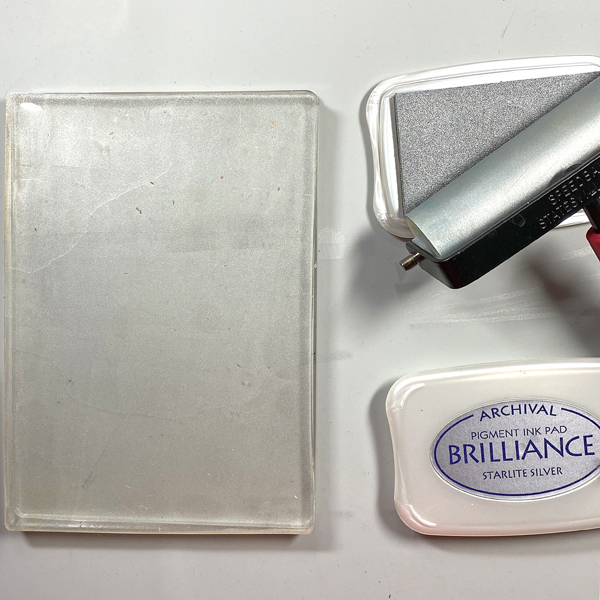
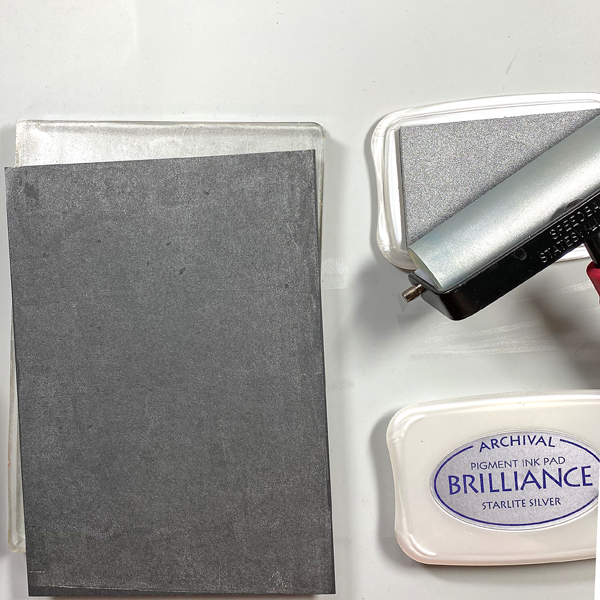
Use a brayer to apply Starlite Silver Brilliance Ink to a 5” x 7” Gel Press. Place a piece of black mixed media paper onto the Gel Press. Smooth the back of the paper to transfer the in and pull a print.
Step 2:
Repeat Step 1 to enhance the coverage.
Step 3:
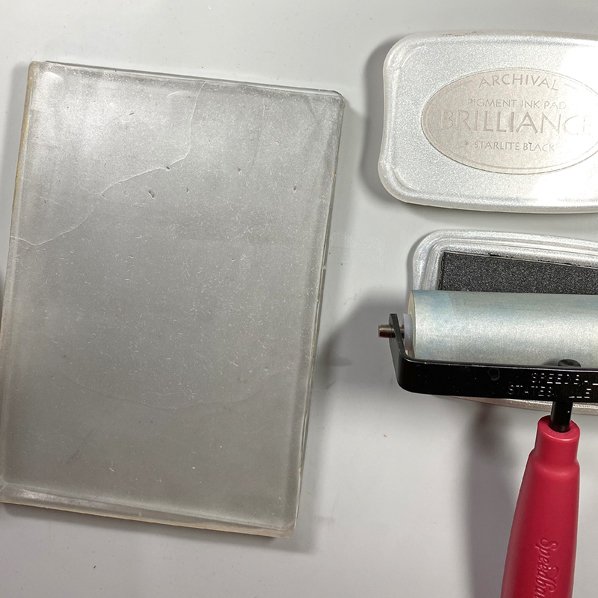
Clean the brayer, then use it to apply Starlite Black Brilliance ink to the Gel Press. Place the print back onto the Gel Press inked side down. Smooth the back of the paper, then pull the print. Heat set the inked paper, then clean the brayer and the Gel Press.
Step 4:
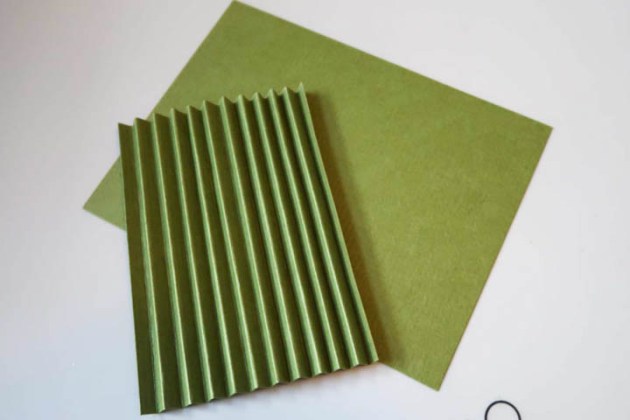
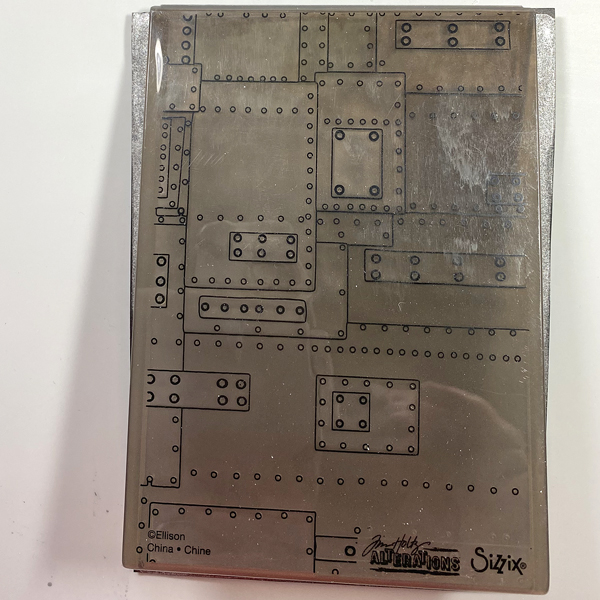
Place the inked black mixed media paper into the Foundry 3D Alterations Embossing Folder. Spritz the back of the paper with water. Close the folder and run it through a die-cut machine.
Step 5:
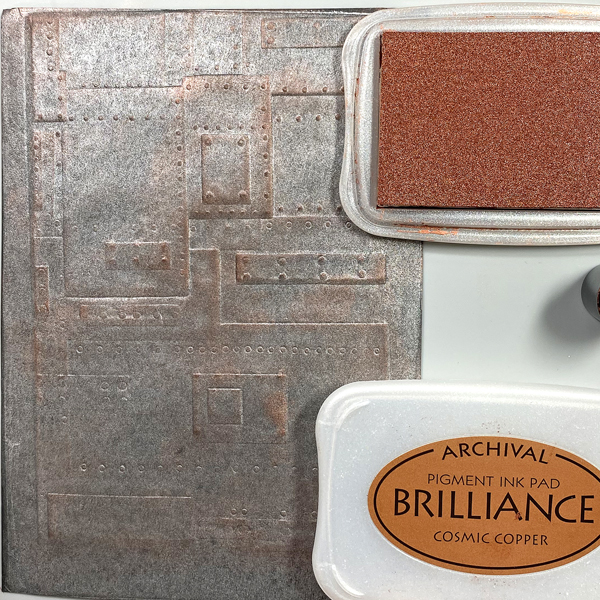
Use a Sponge Dauber to apply Cosmic Copper Brilliance Ink to the high points of the embossed paper. Heat set.
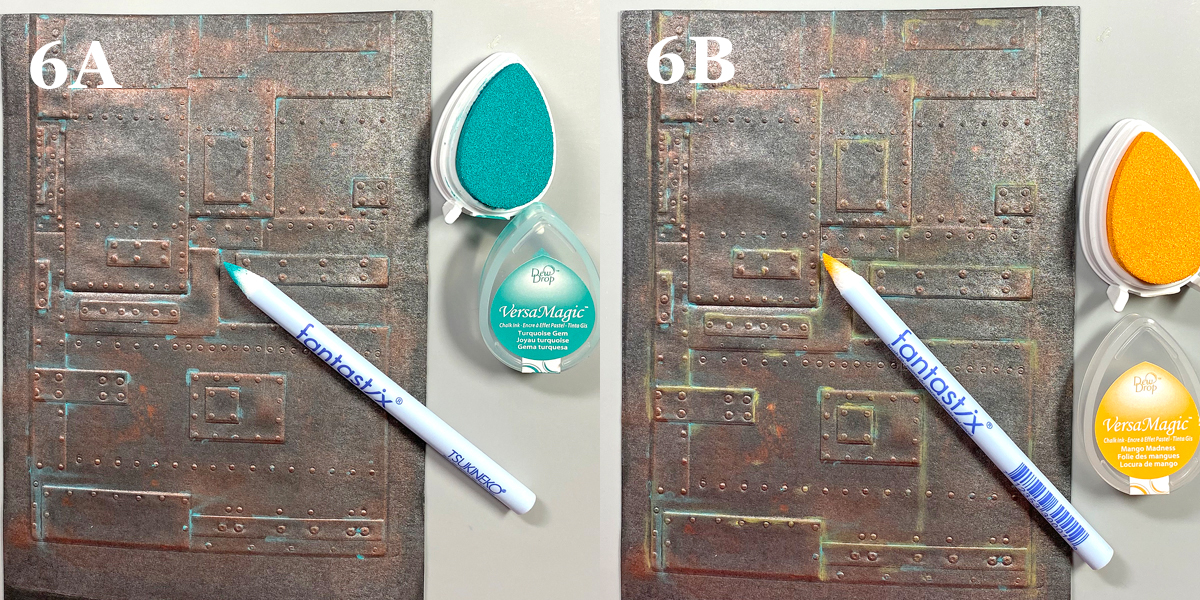
Steps 6A and 6B:
Use Fantastix to apply Turquoise Gem VersaMagic Ink randomly to the high points of the embossed paper (6A). VersaMagic Ink has a matte chalk finish which comes out when it’s heat embossed.
Use another Fantastix to Apply Mango Madness VersaMagic Ink randomly to the high points of the embossed paper (6B). Heat set the panel and set aside.
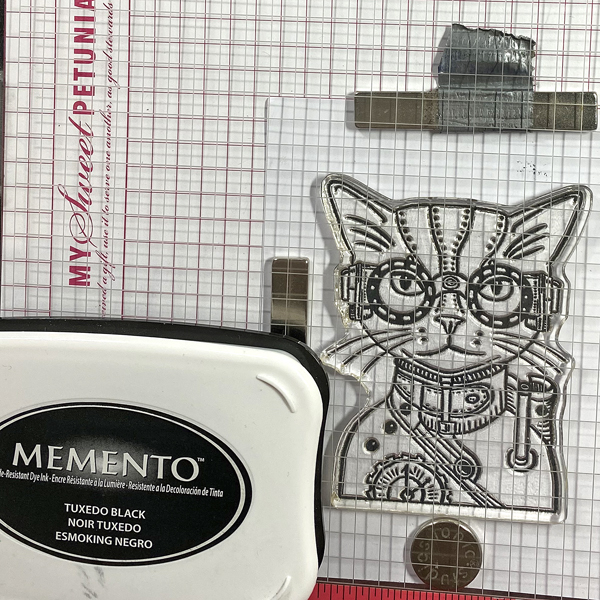
Step 7:
Use Tuxedo Black Memento Ink to stamp the cat from the Steampunk Pets Clear Stamp Set onto white cardstock.
Step 8:
Fussy-cut the image and use Copic markers to color it. Use a dark marker to edge the cut image. Set aside.
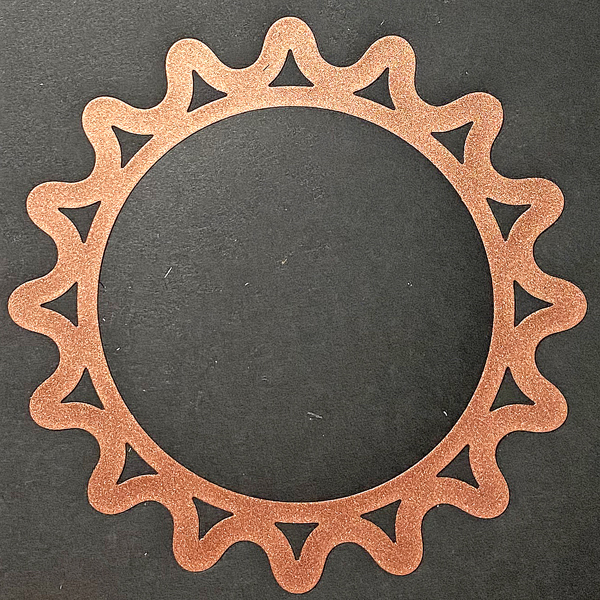
Step 9:
Use the largest die from the Sprightly Sprockets Shapeabilities Die Set to cut black mixed media cardstock two times. You will end up with two cogs and two circles.
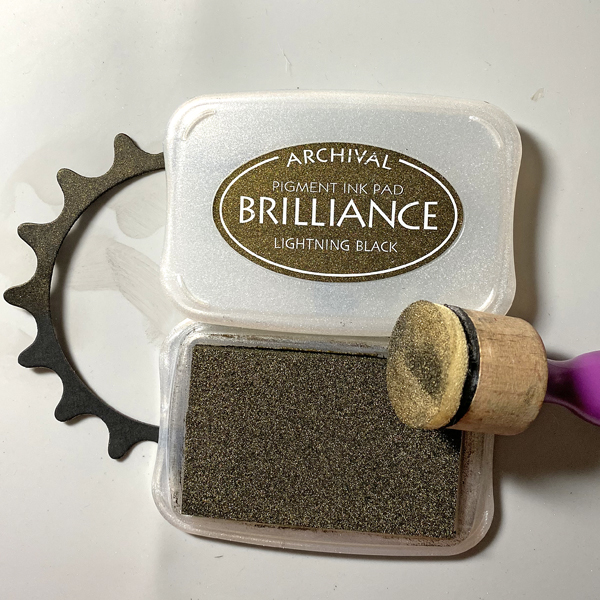
Step 10:
Sponge Lightning Black Brilliance Ink over one of the cog die-cuts and one of the circles. Heat set both.
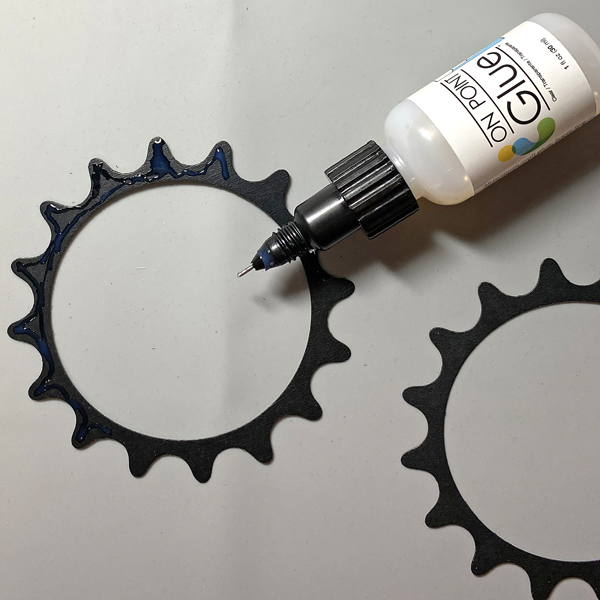
Step 11:
Use On-Point Glue to adhere the inked cog atop the other one.
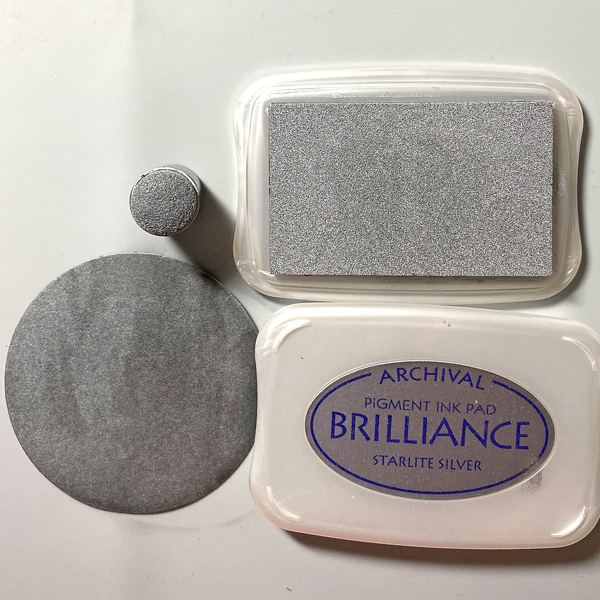
Step 12:
Use a Sponge Dauber to apply Starlite Silver Brilliance ink to one of the circles from Step 9. Heat set.
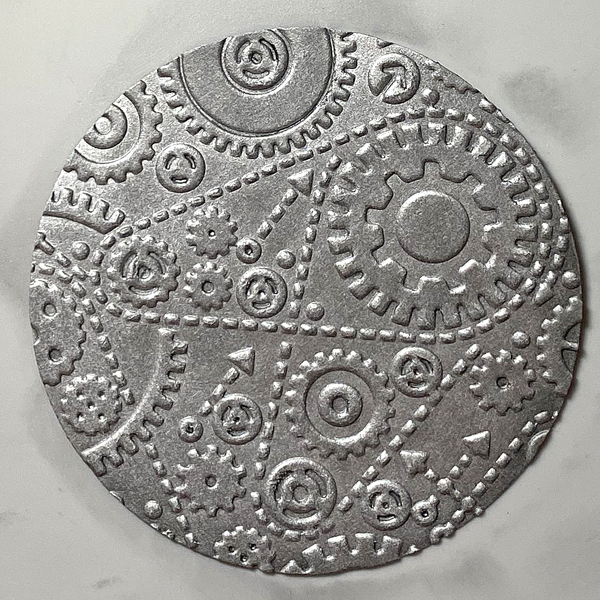
Step 13:
Place the silver-inked circle into the Gears Alterations Folder and run it through a die-cut machine.
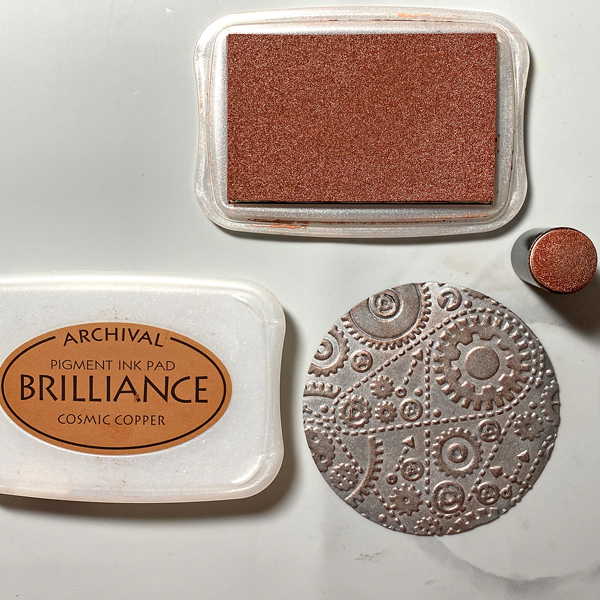
Step 14:
Use a Sponge Dauber to apply Cosmic Copper Brilliance Ink to the high points of the embossed circle. Heat set.
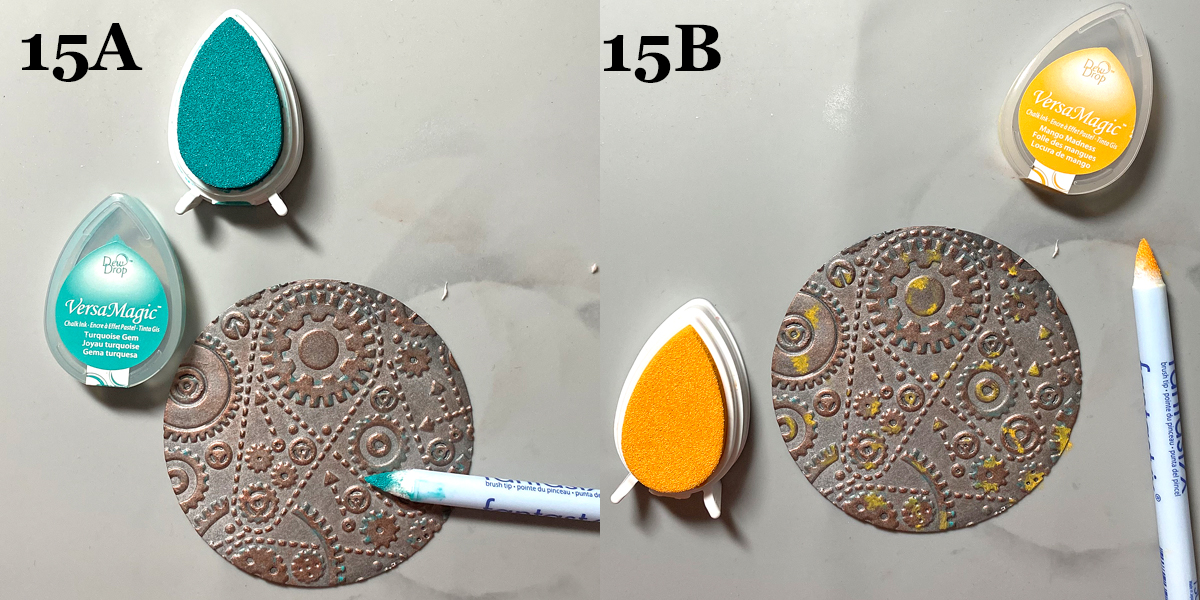
Steps 15A and 15B:
Use Fantastix to apply Turquoise Gem VersaMagic Ink randomly to the high points of the embossed paper (15A).
Use another Fantastix to Apply Mango Madness VersaMagic Ink randomly to the high points of the embossed paper (15B).
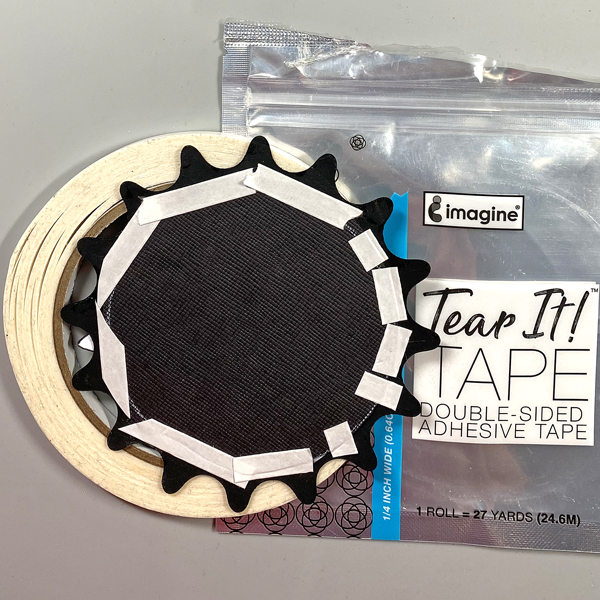
Step 16:
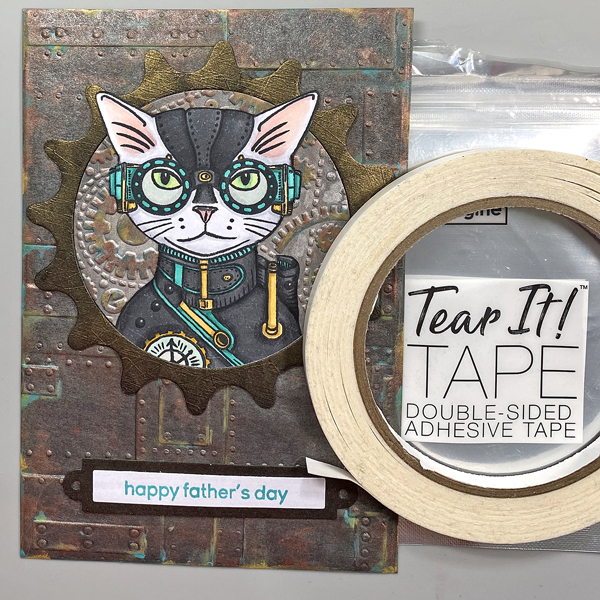
Use Tear It! Tape to adhere a slightly larger circle to the back of the stacked cog die-cuts.
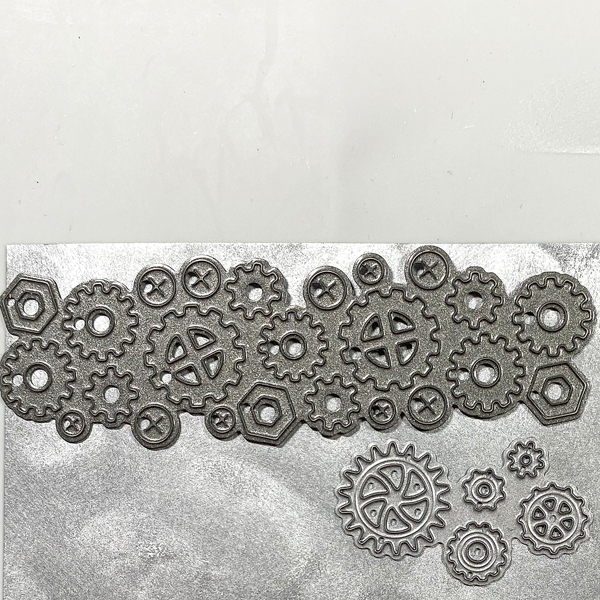
Step 17:
Use a Sponge Dauber to apply Starlite Silver Brilliance Ink to a strip black mixed media paper. Sorry that there’s no photo. Use cog dies to cut the silver-inked black paper.
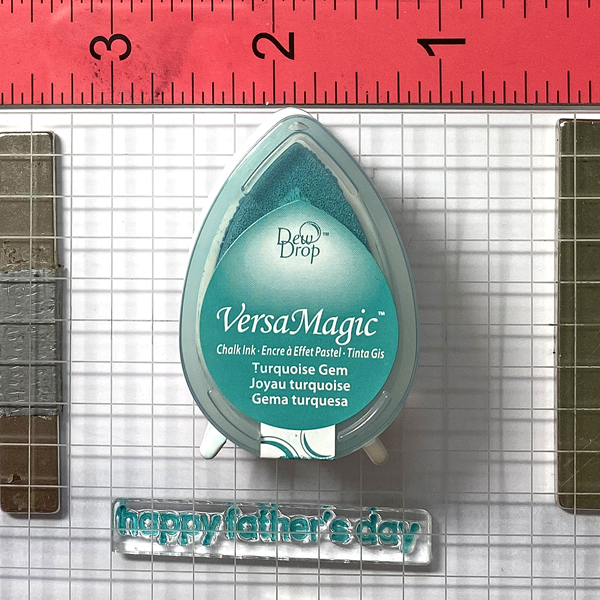
Step 18:
Use a C2 Copic marker to color a piece of white cardstock. Use magnets to secure the colored cardstock onto a stamping platform. Place the “Happy Father’s Day” sentiment stamp facedown on the colored cardstock. Ink the stamp with Turquoise Gem VersaMagic Ink and stamp. Repeat inking and stamping if necessary to attain a good impression. Remove the stamped cardstock from the stamping platform and heat set the ink.
Step 19:
Use a rectangle die to cut the sentiment. Use the matching nameplate die to cut the Lightning Black circle. Adhere the sentiment die-cut atop the nameplate die. Sorry that there’s no photo.
Step 20:
Use Tear-It! Tape to adhere the embossed circle and the Steampunk Cat onto the cog die-cut. Use the tape to adhere the sentiment as shown.
Step 21:
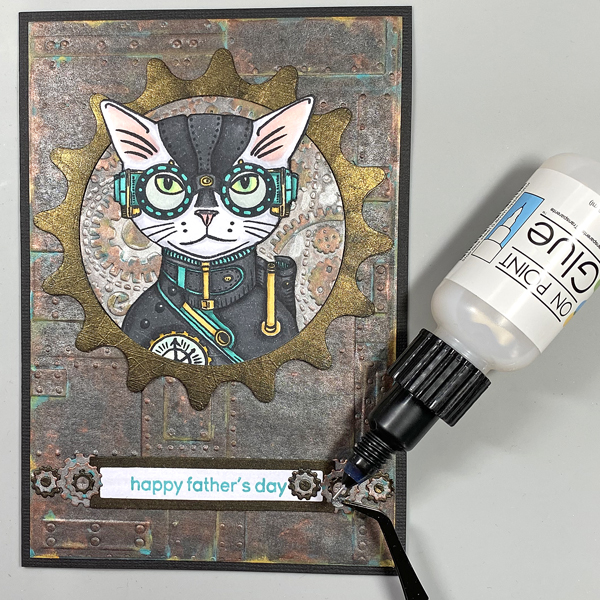
Use On Point Glue to adhere the gears, cogs, and screws to the sentiment die-cut.
Step 22:
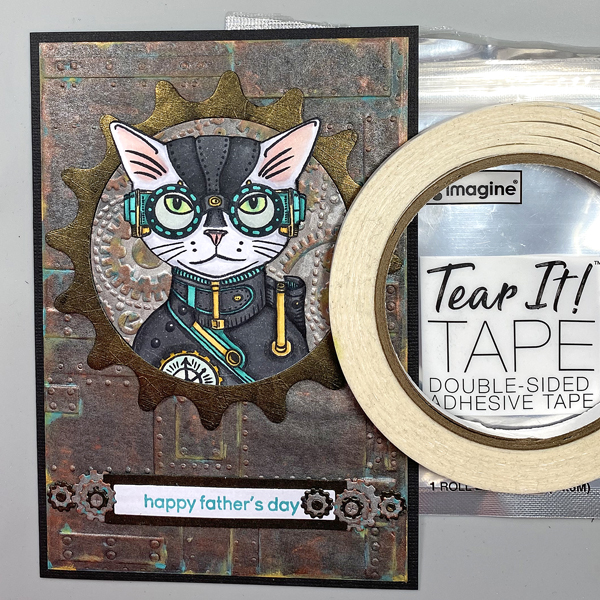
Cut black cardstock to 10” x 7”. Score at 5” and fold to form a 5” x 7” card. Use Tear-It! Tape to adhere the image panel to the front of the card.
Finished Card
Crafts Supplies:
Imagine:
- Brilliance Ink – Starlite Silver, Starlite Black, Lightning Black, Cosmic Copper
- VersaMagic Dew Drop Ink – Turquoise Gem, Mango Madness
- Memento Ink – Tuxedo Black
- Sponge Daubers
- Fantastix
- On Point Glue
- Tear-It! Tape
- Craft Mat
Other Supplies:
- 140 lb. Black Mixed Media Paper by Strathmore
- Raven Cardstock by Bazzill Basics
- Solar White Classic Crest Cardstock by Neenah Designs
- 5” x 7” Gel Press
- 4” Brayer by Speedball
- Foundry 3D Alterations Foundry Embossing Folder by Tim Holtz for Sizzix
- Gears Alterations Embossing Folder by Tim Holtz for Sizzix
- Sprightly Sprockets Shapeabilities Die Set
- Nuts and Bolts Craftables Punch Die by Marianne Designs
- Mini Gears Die Set by Memory Box
- Premier Ink Blending Tools by Hunkydory Crafts
- Premier Ink Blending Sponges by Hunkydory Crafts
- Steampunk Pets Clear Stamp Set by Funky Fossil Designs
- Classic Sentiments Clear Stamp Set by Hefty Doodle
- Copic Markers
- Spray Mister
- Curved Craft Scissors by Fiskar’s
- Heat Gun
Misti Stamping Platform by My Swe