Hello Friends! Katy here with another holiday video using VersaFine Clair inks to create a beautiful mixed media looking snowflake card. Video has all the details. Thanks for watching.
Hello Friends! Happy Holidays! How lucky would one be to come upon a peaceful scene like this, 2 deer hunting for grass on a snowy landscape? For this card I stayed focused on only two colors and some glitter paper to create this wintry scene.
Tracy
Skill: Intermediate Time: 60 Minutes
Art Supplies
• Die cutting machine • 100lb white paper • A2 Card Base • Water and a brush • Dies • Glitter cardstock • Vellum • Foam Tape • White Paint
Other Products Used • Clear Embossing Powder WOW • Snowflake Stencil-no label, but I think it is Tonic Studio • Simon Says Stamp and Die Set “Joy to You and Yours” • PVA Adhesive • Foam Tape
ALTERNATIVE PRODUCTS THAT CAN BE USED TO RECREATE SOMETHING SIMILAR
Any Inks any combination of background stamps, dies, and feature stamps and stencil
To learn how to create your own vintage Christmas card, click here!
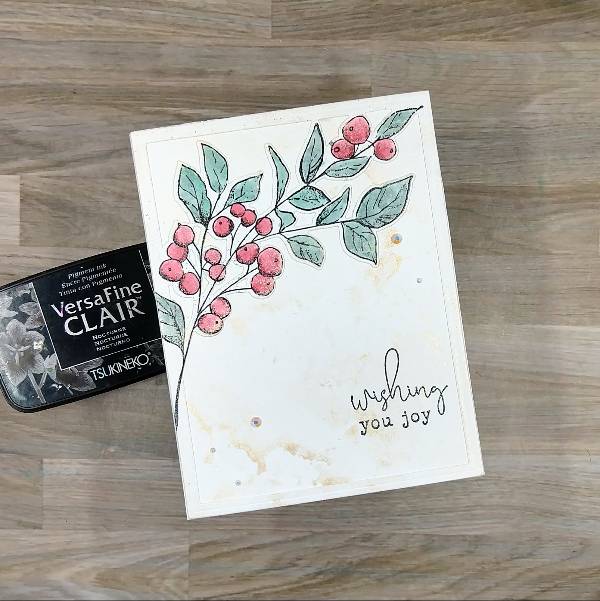
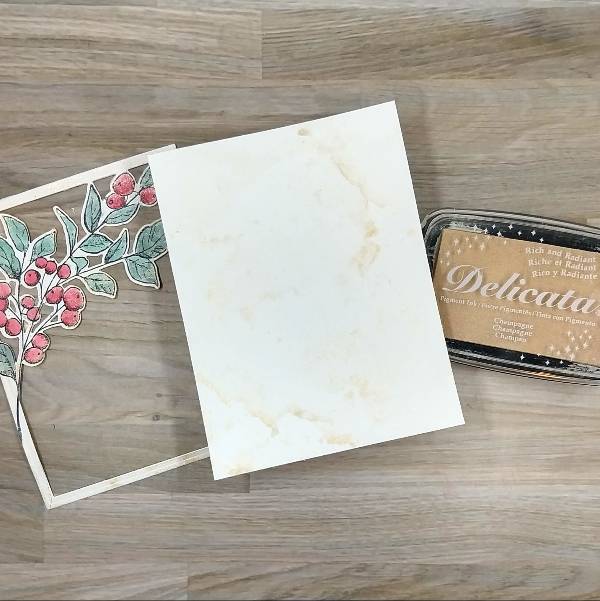
I was inspired to make a minimalist holiday card to allow the main botanical image to shine as the focal point. But I also knew that I wanted it to be shiny, so pulled out my current favorite Delicata color-Champagne- to add some subtitle shine.
Skill: Intermediate Time: 1 hour
Directions:
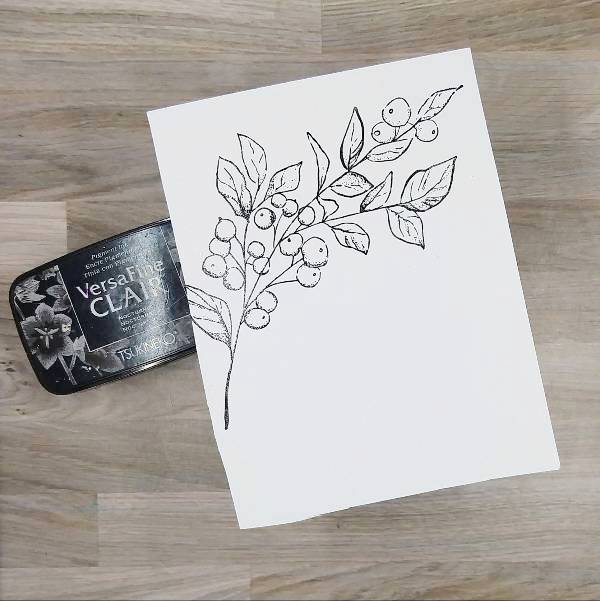
Step 1: Stamp the large botanical image on a piece of watercolor paper with Nocturne VersaFine Clair ink. Then heat emboss with clear embossing powder.
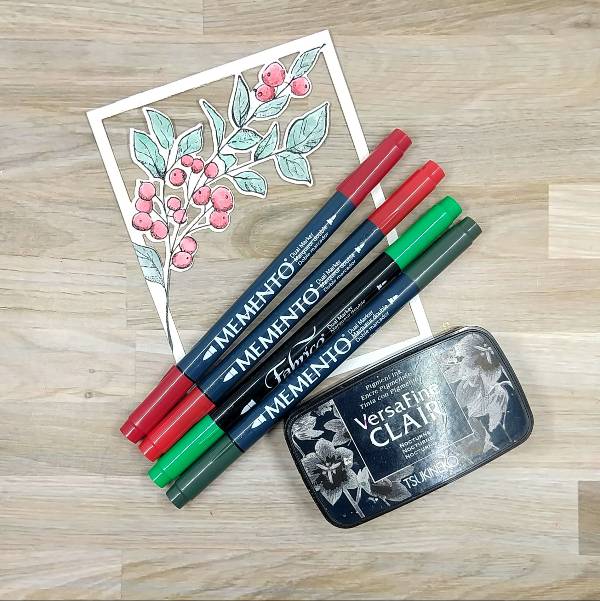
Step 2: Use markers to color in the berries and leaves. Use the Rhubarb Stalk Memento Dual Marker to color over the shaded areas of the berries. Then color a piece of acetate packaging with Lady Bug Memento Dual Marker and spray with water, use this to watercolor in the berries. While watercoloring, make sure to watercolor over all of the berries to blend in the watercolor with the darker red marker already colored in the berries. Then color another area of the acetate packaging with both the Emerald Fabrico Dual Marker and the Northern Pine Memento Dual Marker and spray with more water. Mix the two colors together to create a blend of the two colors and then watercolor the leaves. Allow to dry.
After all of the image dried, die cut the image with the corresponding die.
Step 3: Trim a second panel of watercolor paper in the papertrimmer the same size as the die cut frame created in step 2. Then press the Campagne Delicata Ink pad onto acetate packaging and spray with water to watercolor smoosh both the panel and the botanical image/frame to add sparkle to both.
Off camera, I got a small smudge on the frame with my finger. To fix this, I used some of the leftover green watercolor I made for step 2 to splatter green over the frame.
Step 4: Glue the frame onto the watercolor panel. Then stamp a sentiment on the lower right corner of the panel with more Nocturne VersaFine Clair ink and heat emboss with clear embossing powder. Glue the panel onto an A2-sized white cardbase. Glue white rhinestones on the lower left and upper right parts of the card panel to finish the card.
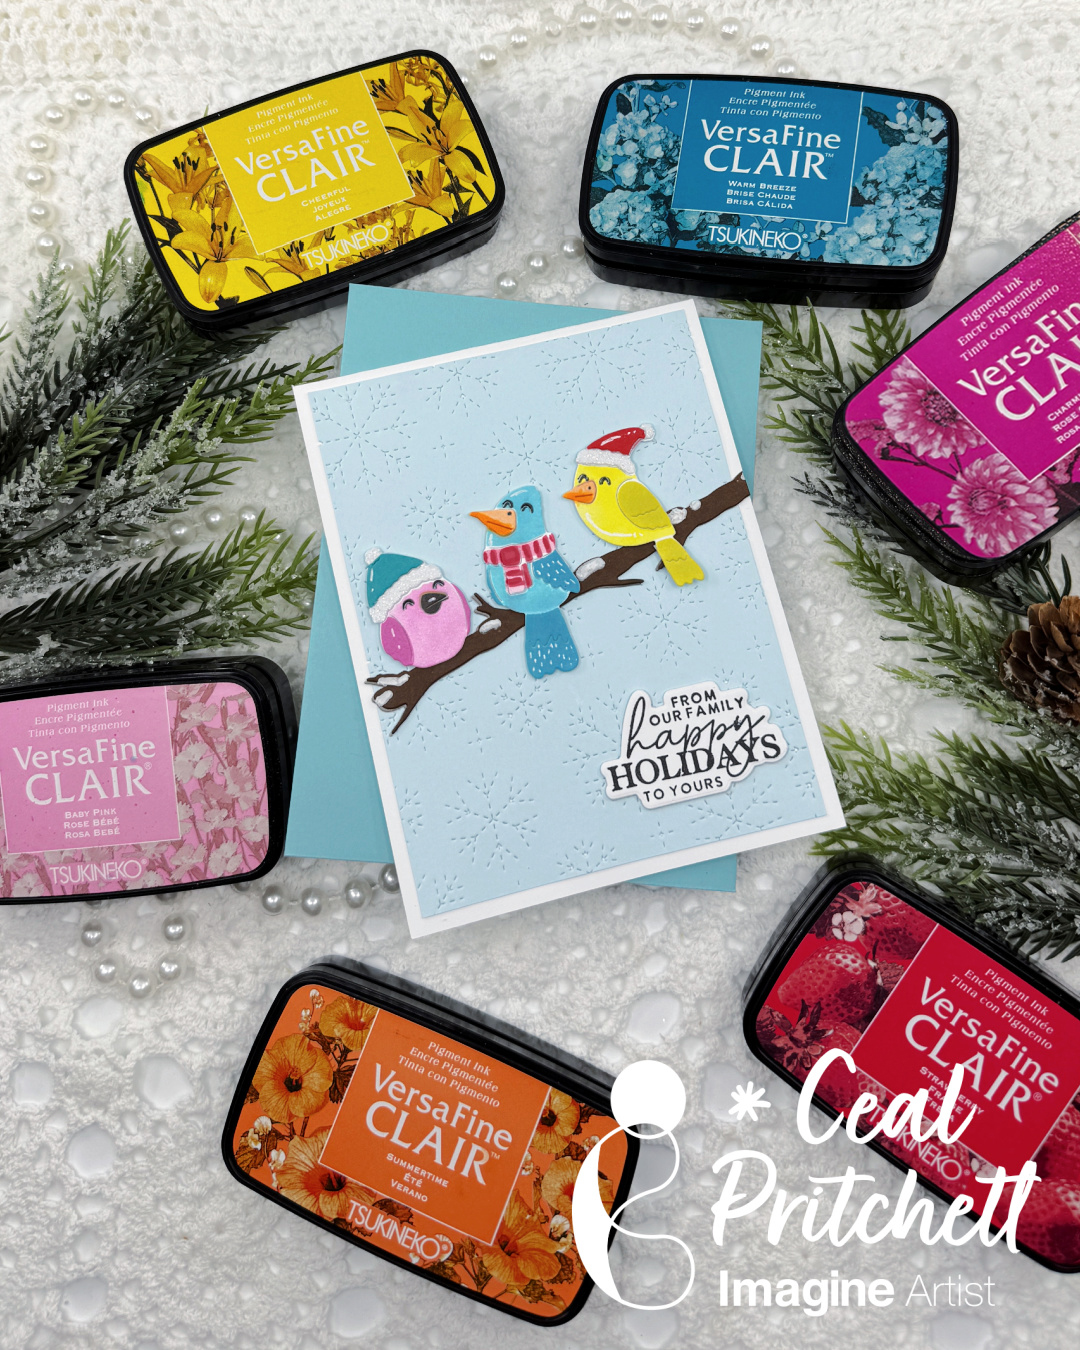
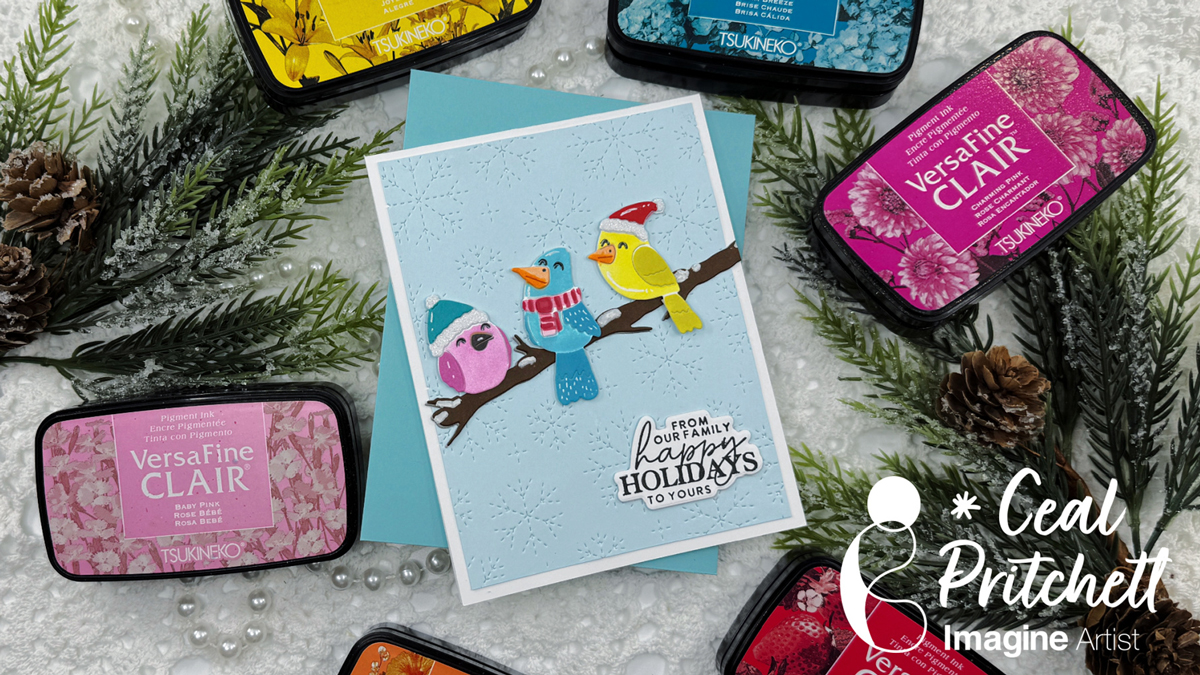
– Hello Crafty friends! It’s Ceal, here. Today I am sharing how to make this sweet birdie holiday card using some VersaFine Clair inks.
Skill: Beginner to Intermediate Time: 45 minutes
Directions:
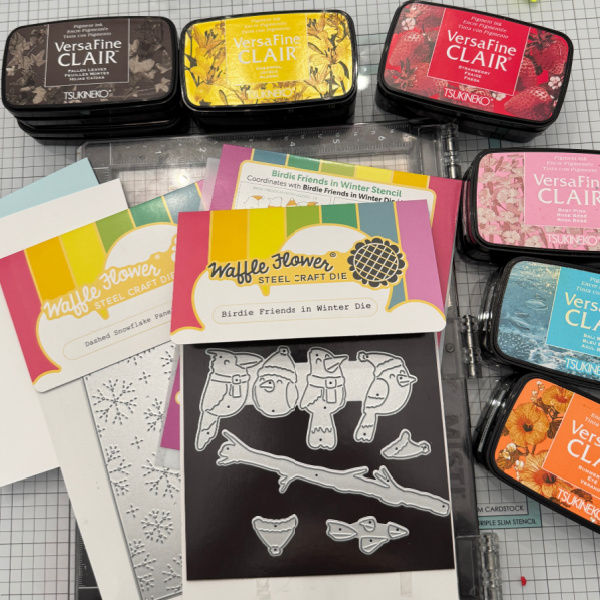
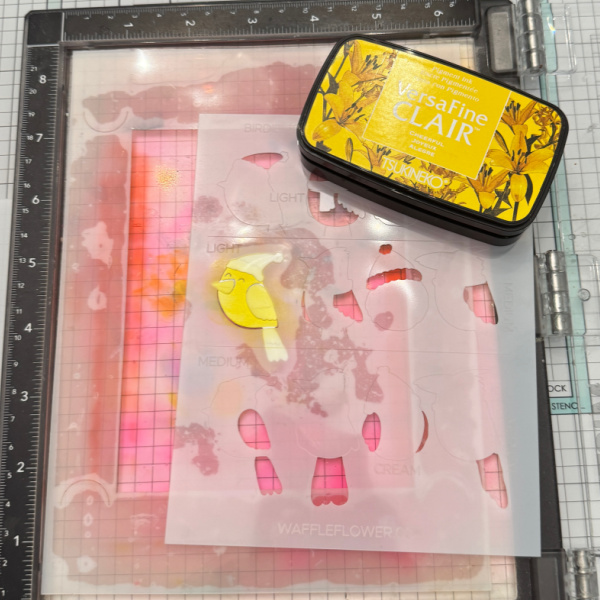
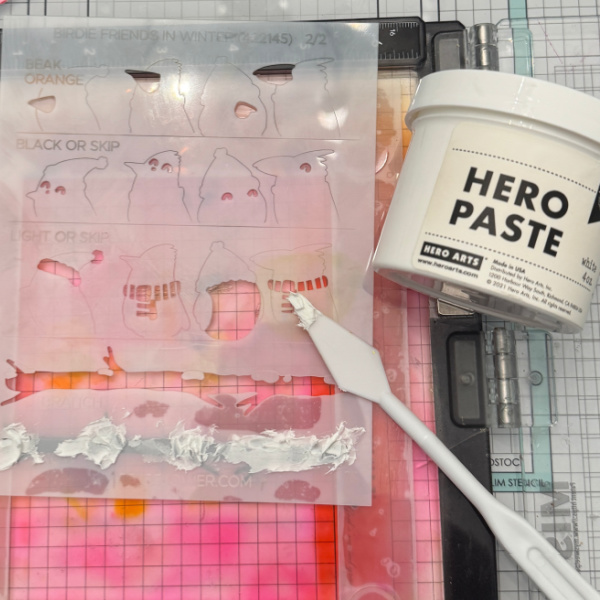
Gather your supplies. You will need several colors of ink, the Birdie Friends in Winter die and stencil or any other die/stencil combo you’d like to use. A holiday sentiment set, a snowflake
cover die or any other background you’d like to use. You will also need either a Sticky Mat or Grip Mat and some paste.
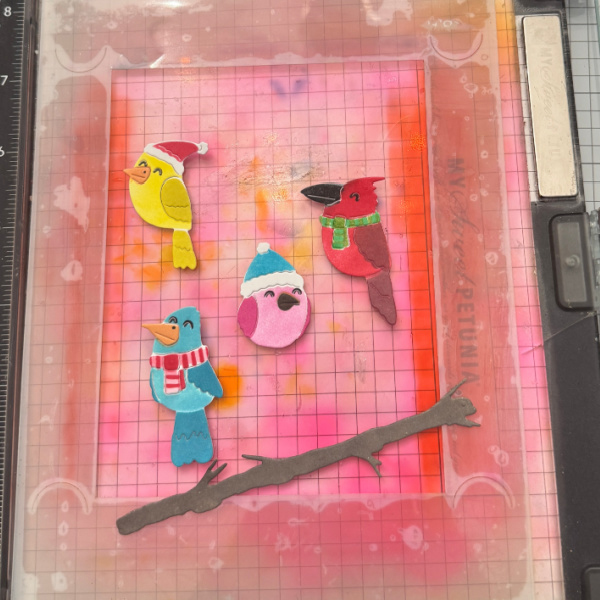
Step1: I didn’t show all of them in the picture, but the first step is to cut all the birds out of white cardstock.
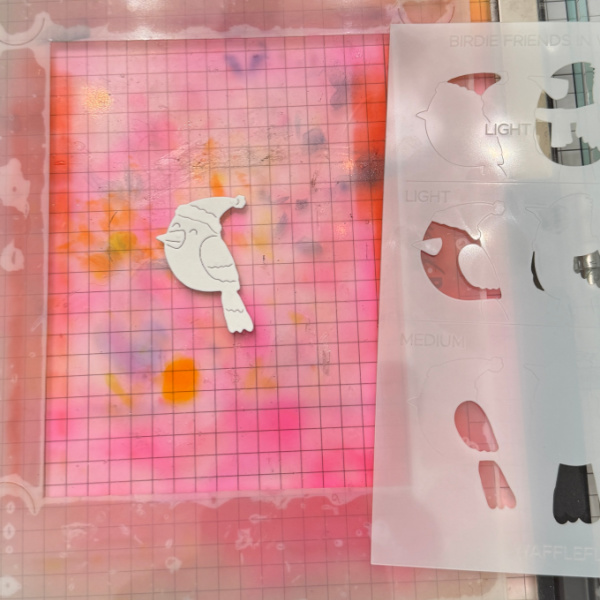
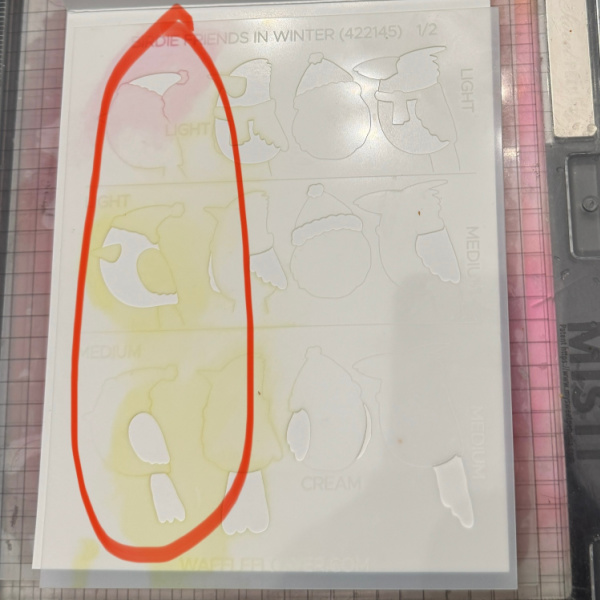
Step 2: Using the coordinating stencil add color to each bird as you please. For the pink bird I used Baby Pink and Charming Pink. The blue bird uses Warm Breeze, Bali Blue and Strawberry. The yellow bird uses Cheerful and Golden Meadow. I have a picture with the steps circled so you can see the need for different shades of color.
No Step just showing stencil steps
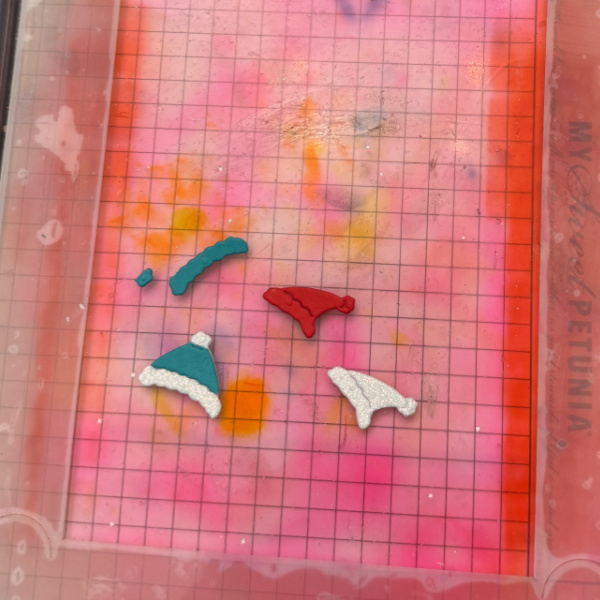
Step 3: Cut hats out of glitter cardstock and colored cardstock. Cut apart and add to glitter cardstock as shown in picture. Glue onto the birdie.
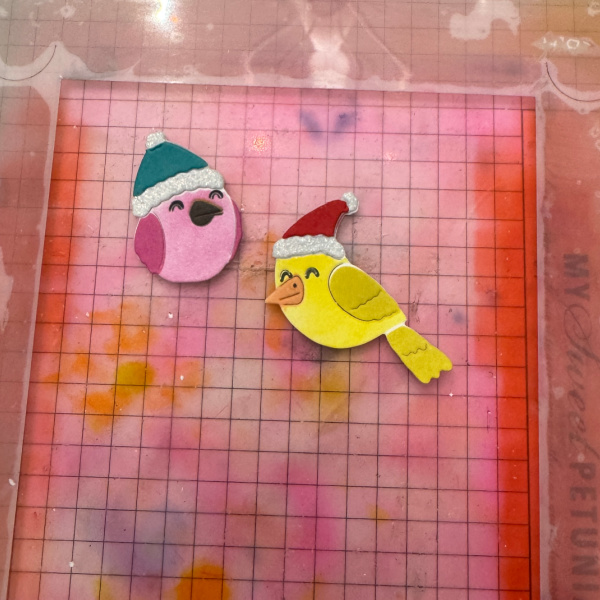
No step just showing completed birds
Step 4: Cut the branch out of a dark brown cardstock.
Step 5: Place branch under stencil, lining it up with the etched portion. Add a white paste using a palette knife.
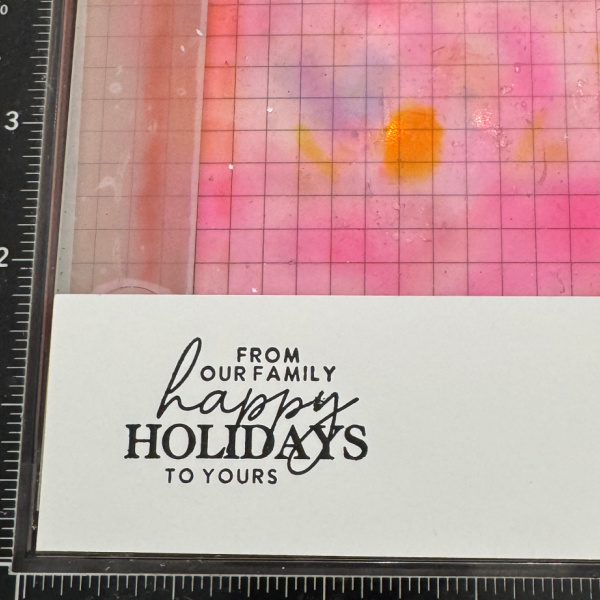
Step 6: To finish the card, stamp and cut out the sentiment to add to the front.
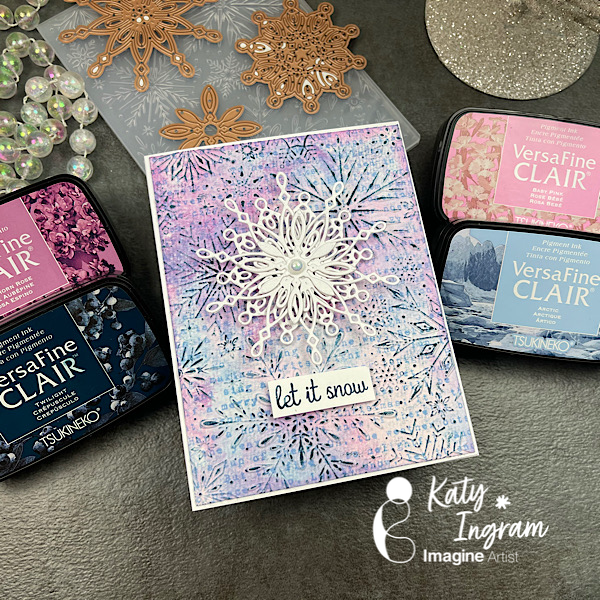
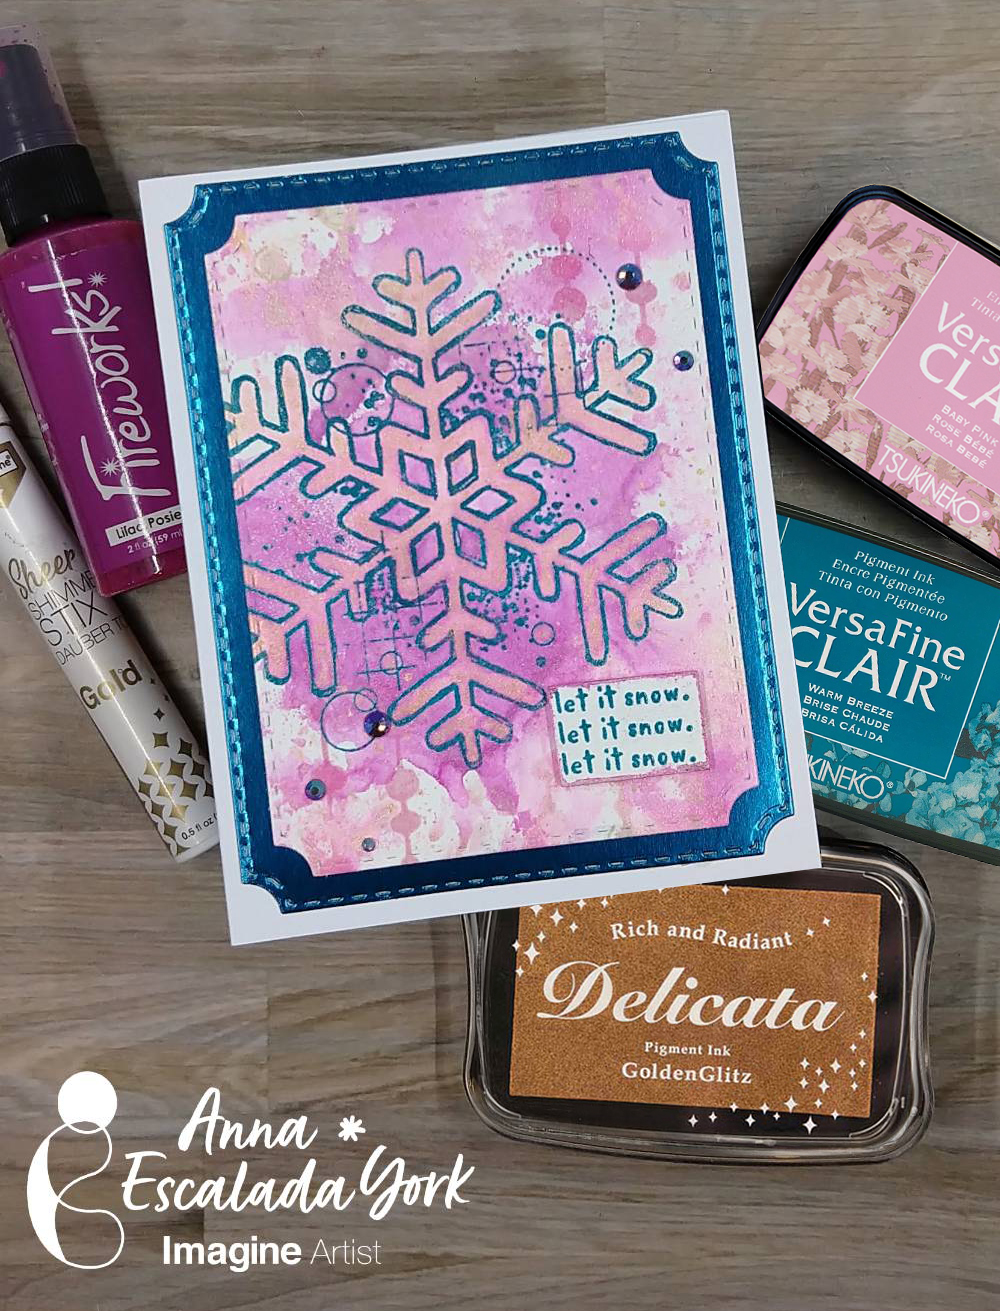
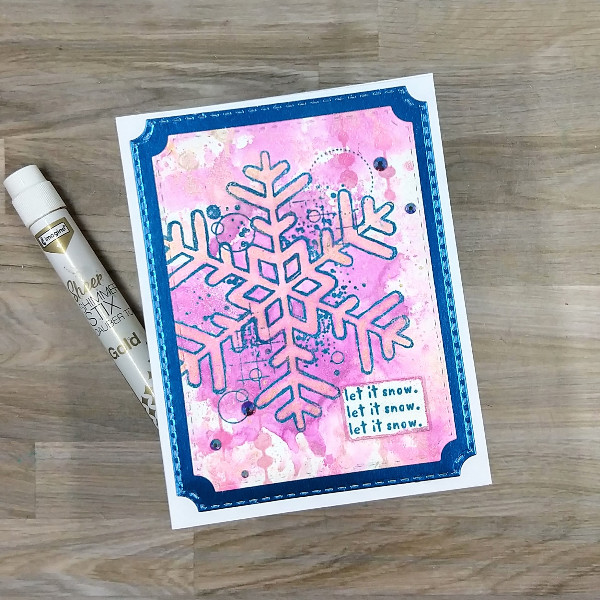
It’s July, so bring on the holiday cards! I personally love non-traditional colored holiday cards and so created one in pink, blue and purple.
Skill: Intermediate Time: 1.0 hour
Directions:
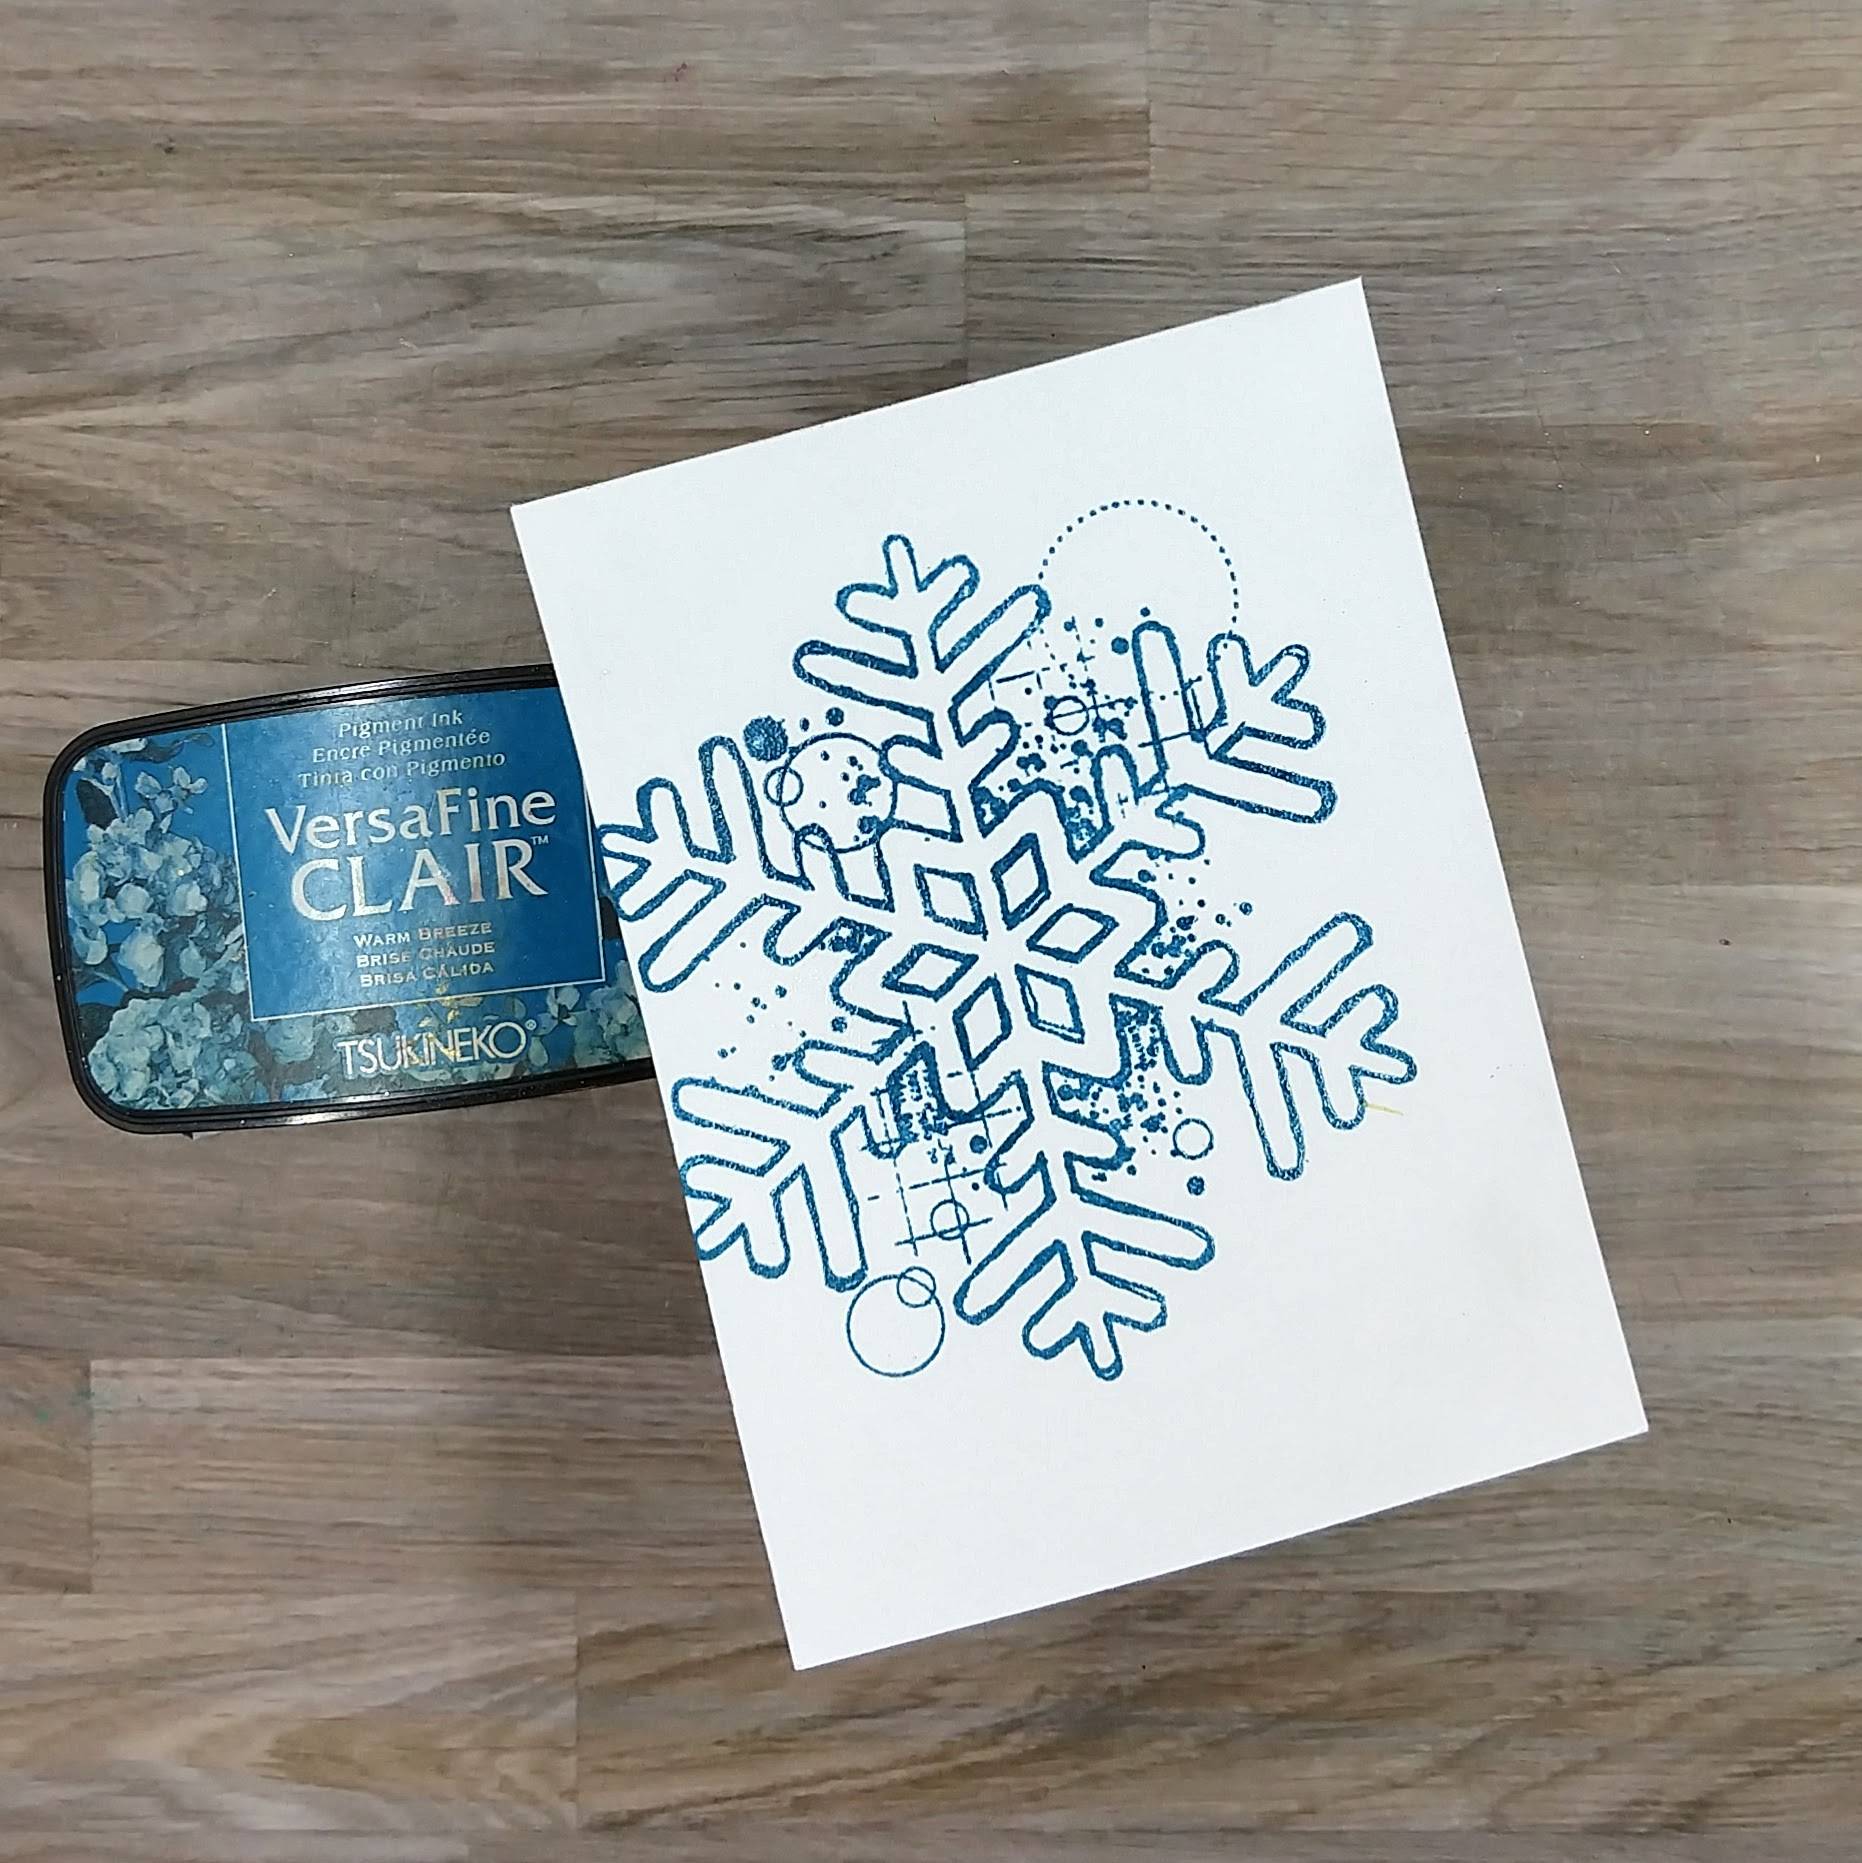
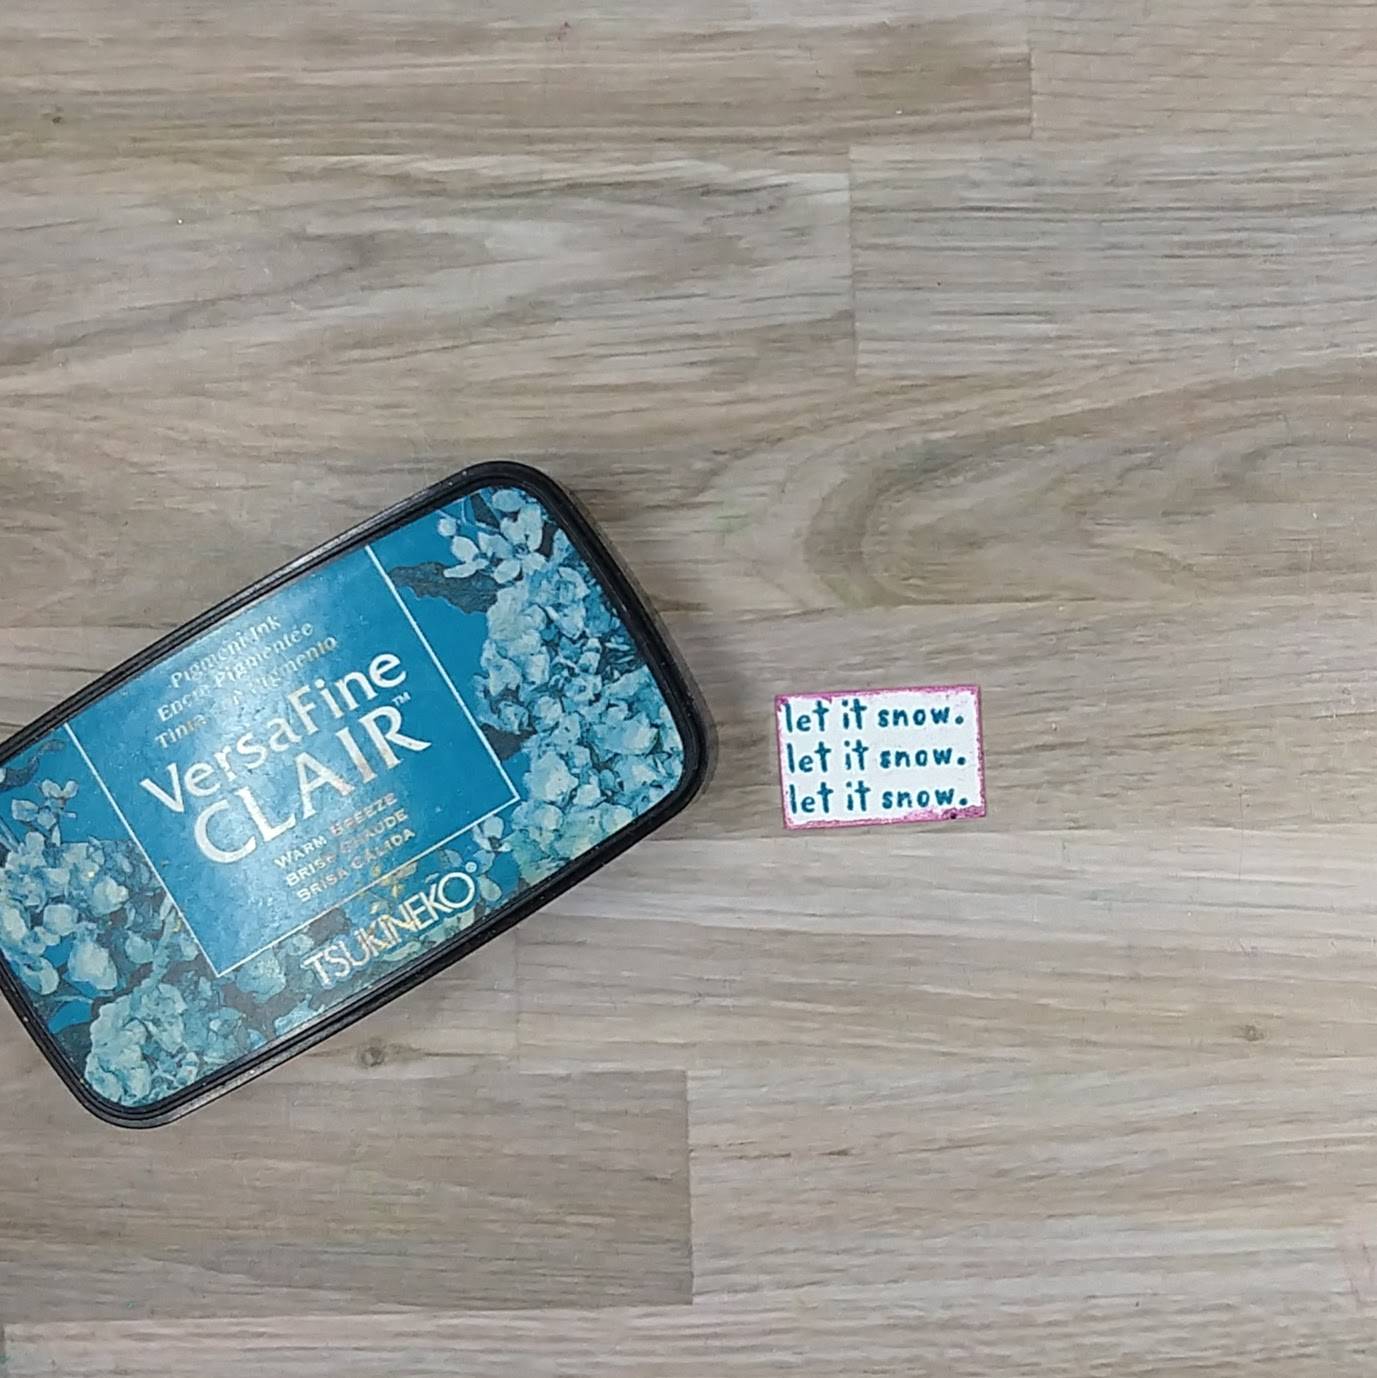
Step 1: Stamp a large snowflake stamp on watercolor paper with Warm Breeze VersaFine Clair ink and heat emboss with clear embossing powder.
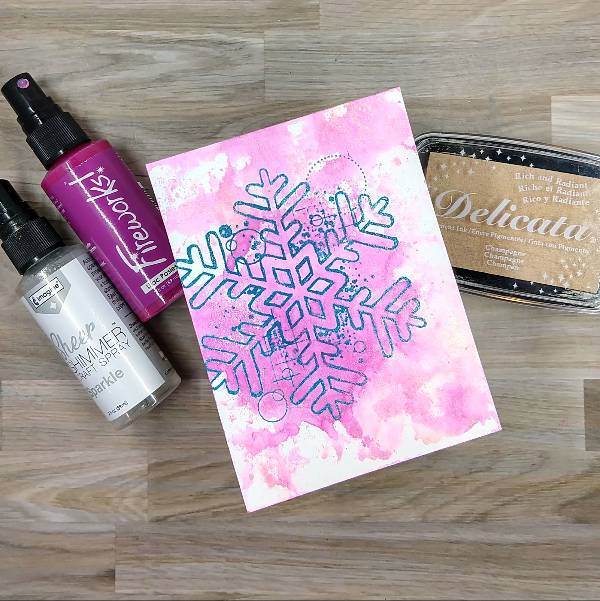
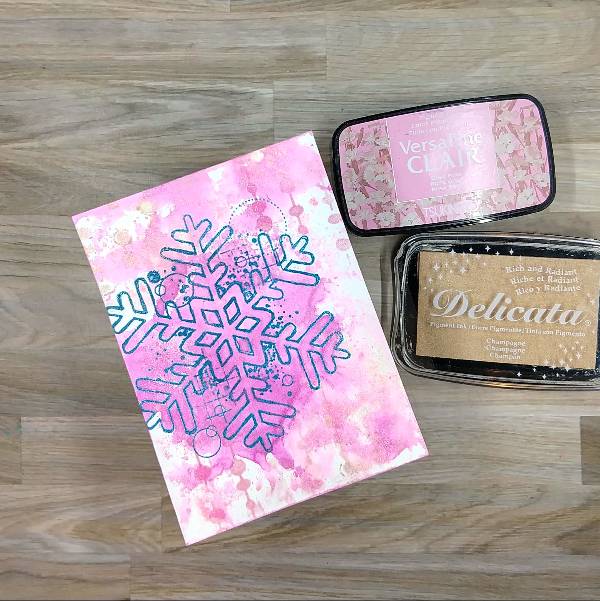
Step 2: Watercolor smoosh the watercolor panel with alternating layers of Lilac Pansies Fireworks! Craft Spray and Champagne Delicata Ink mixed with Sparkle Sheer Shimmer Craft Spray on scrap acetate.
Step 3: Ink blend a combination of Champagne Delicata Ink and
Step 4: Stamp the sentiment on a small scrap of watercolor paper with more of the Warm Breeze VersaFine Clair ink. Heat emboss with more clear embossing powder. Trim the sentiment down to the desired size with scissors. Then press the edges of the sentiment strip into the remaining mix of colors from step 2’s watercolor smooshing to color the edges.
Steps 5 and 6:
Press the Gold Sheer Shimmer Stix Dauber Top onto another piece of scrap acetate to create a liquid gold medium. Watercolor the gold liquid inside the snowflake to make it shiny. Watercolor smoosh the remaining gold watercolor onto the card panel.
After everything dried, die cut the watercolor panel with the second-largest die from an A2-sized nesting die set and a piece of blue metallic cardstock with the largest die from the same
A2-sized die set. Glue both die cut layers together. Attach the sentiment with foam tape. Glue sequins around the snowflake. Finally, glue the whole thing onto an A2-sized white cardbase.
Other • Altenew – foam tape • Crafty Meraki – embellishments – Meraki Sparkle Prismatic Blue • Idea-ology and Tim Holtz – 6 x 9 cardstock – blue (from the Metallic Colors collection) • Pink and Main – die set – Notched Corners • Scrapbook.com – stencil – String Lights • A2-sized white card base • Clear Embossing Powder • Watercolor paper • Thin paint brush • Die cutting machine • Scissors • Glue
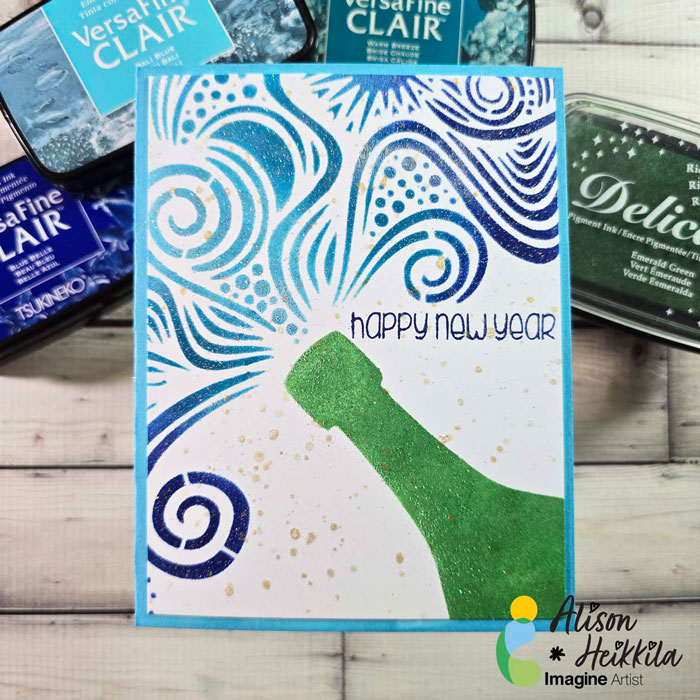
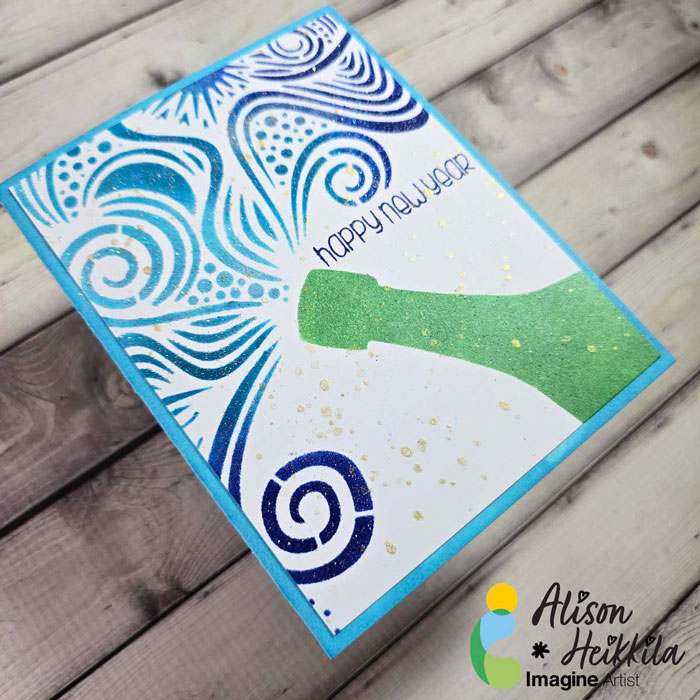
Hello! Alison Heikkila here. Do you make New Year’s cards? I like to make them when it’s too late to send out Christmas, Hanukkah, etc. cards. It takes off a bit of pressure, but still shows folks we’re thinking about them. I’ve got a quick and fun card that’s perfect not just for New Year’s, but for other celebrations too.
Skill Level: Beginner-Intermediate Time to Complete: 15-20 Minutes
*Some affiliate links are used in this post. That means that if you shop through these links, I may receive a small compensation, at no cost to you.
Here is the YouTube video. If it doesn’t play properly, please click HERE.
I hope you’ll try blending with your VersaFine Clair Inks. And perhaps you’ll want to make some New Year’s cards too! Thanks for stopping by. Have an inspiring day!