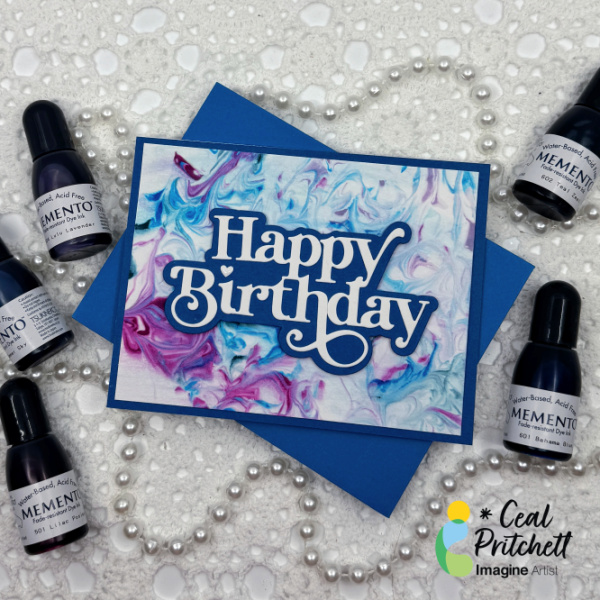
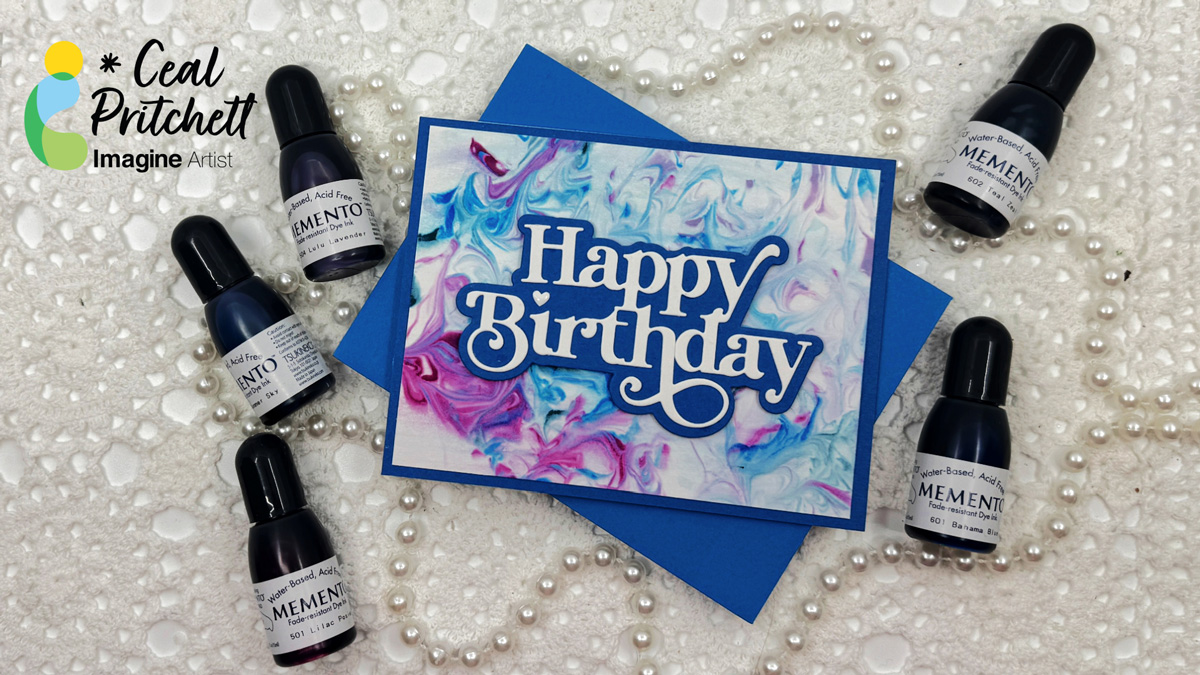
Hello Friends, It’s Ceal, here. Today I am sharing a fun background technique with you that even a child can create. This is a Mixed Media project. Does the word mixed media have you thinking I can’t make a mixed meda card? It used to for me but honestly mixed media is simply a card made with two different mediums, so this one is shaving cream and ink. Don’t let the word mixed media scare you.
Skill: Beginner Time: 45 Minutes
Directions:
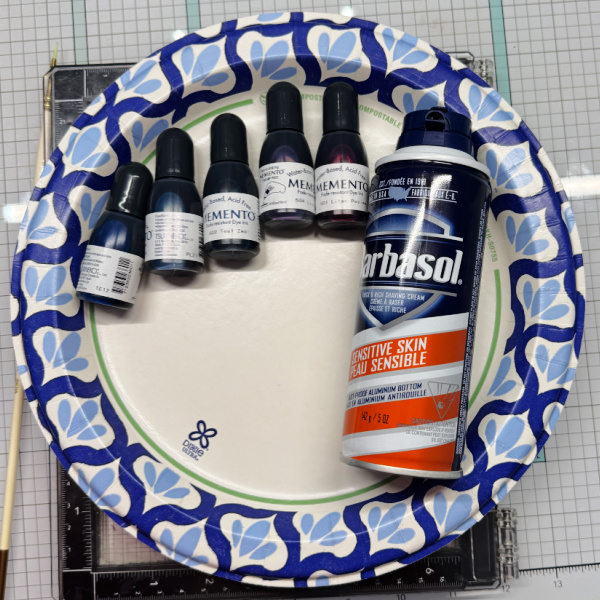
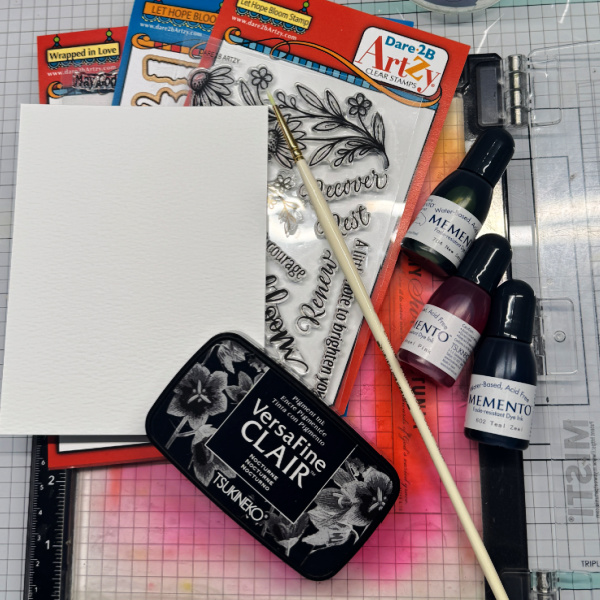
Gather your supplies. You will need a sentiment die cut of your choosing, some foaming shaving cream (gel will not work, some re inkers in different colors, a paper plate, a toothpick and some water friendly paper.
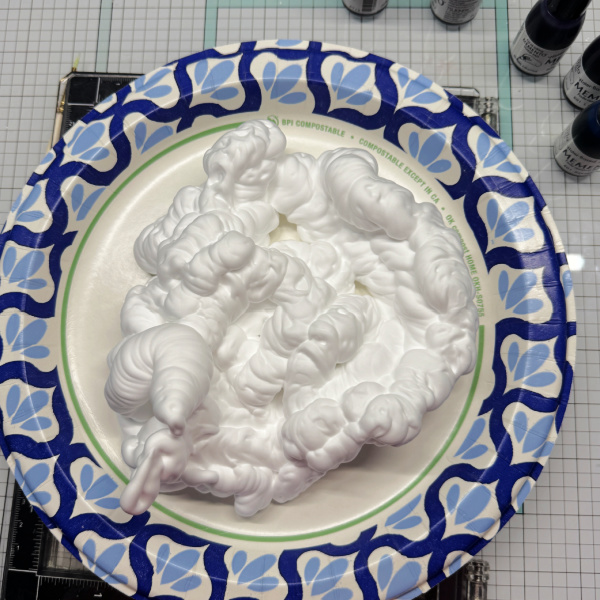
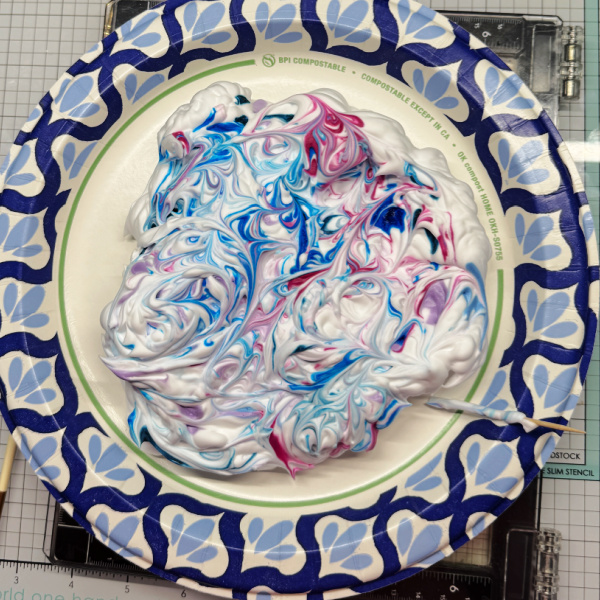
Step 1: Add shaving cream to the paper plate.
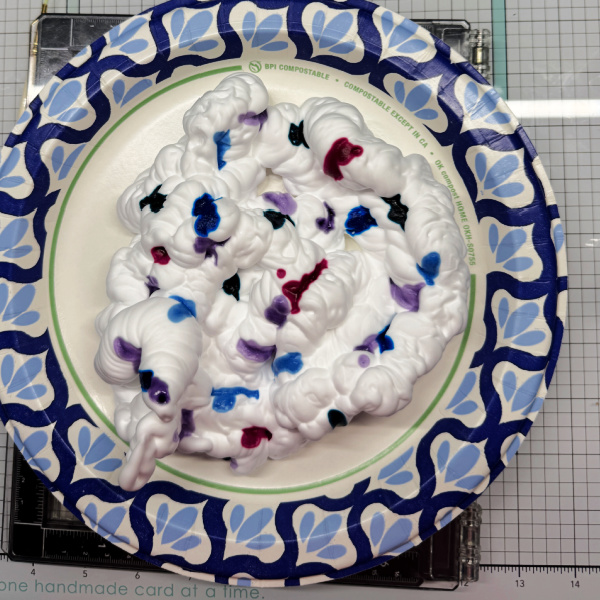
Step 2: Add drops of re inkers to the shaving cream. I used 5 different colors.
Step 3: Using a tooth pick, swirl the colors around.
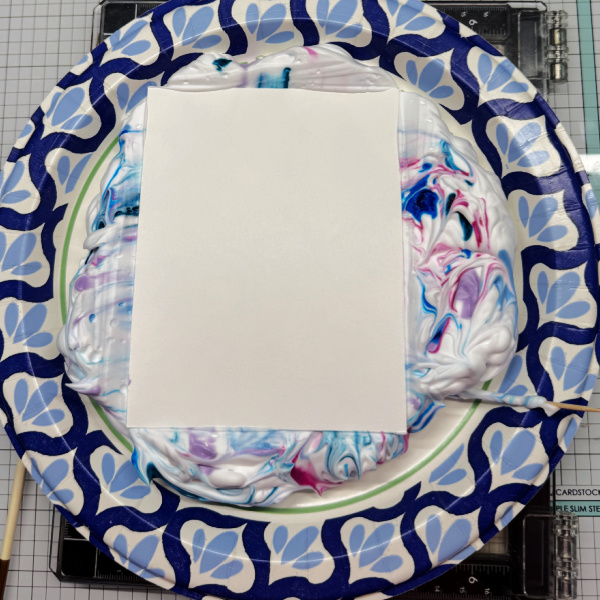
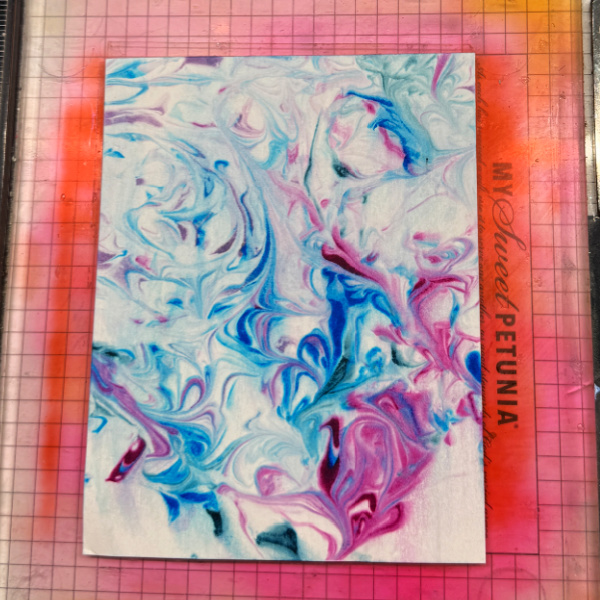
Step 4: Place water friendly paper (I used Bristol Vellum) face down into the shaving cream. Wipe off with paper towel. The results will look like the next photo and as a added bonus, it will smell so good.
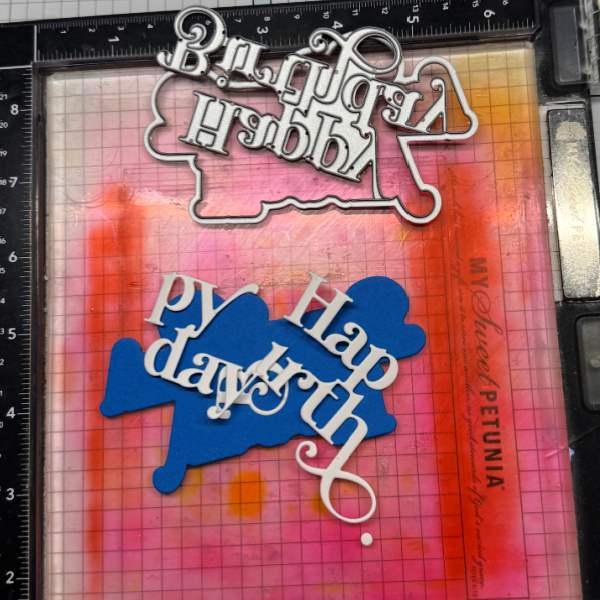
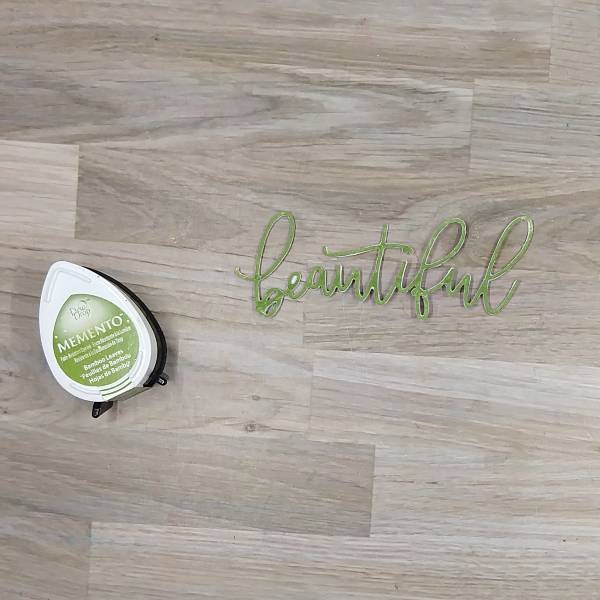
Step 5: Cut the sentiment out of White cardstock and the backer out of a coordinating color of cardstock. Adhere them together and add to the front of the card.
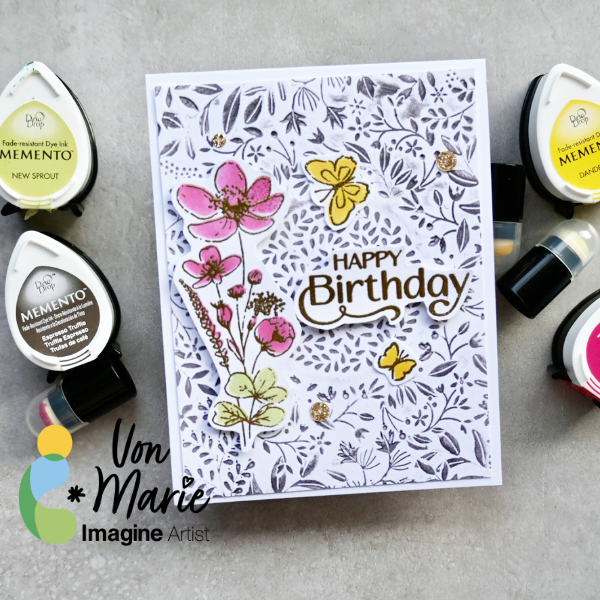
Hello everyone. Von Marie here with my newest video using colorful inks to use with stencils. Memento inks are really perfect for inking and stamping. I used Memento Dew inks to stencil some pretty florals and leaves. The video will have more details. I hope you enjoy. Thank you for watching.
Skill: Intermediate Time: 45 Mins.
Products Used:
• 100lb white Hammermill Paper • A2 Card Base • Glass Board and magnets • Glue • Die-cutting Machine • Heat Tool • Foam Tape • Scissors • Sequins
• Simon Says Stamp Butterfly Blossoms Stamp and Coordinating Stencils
• Simon Says Stamp Splendid Leaves Circle Frame Embossing Folder
• Kat Scrappiness Platinum Gold Glitter Sequins
ALTERNATIVE PRODUCTS THAT CAN BE USED TO RECREATE SOMETHING SIMILAR Any stamps, inks, and or Embossing Folder. You can watch how to create this Birthday Card Click Here
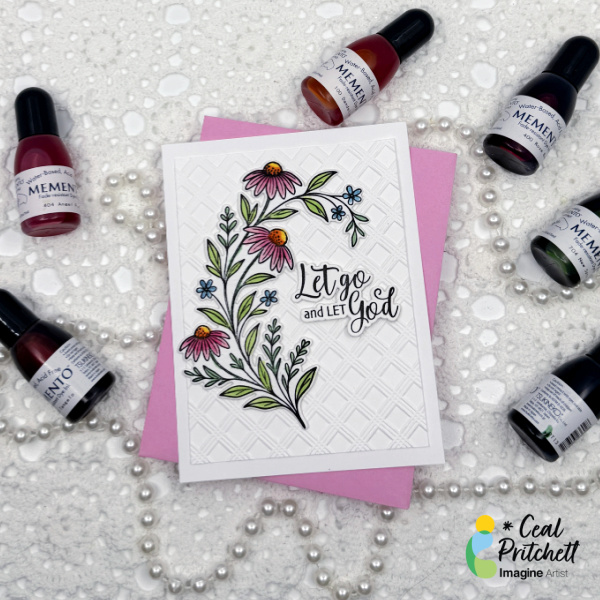
It’s Ceal, here. Today I am sharing a card that showcases my style which is clean and simple. This is also a watercolor card which I love to watercolor, it’s so relaxing.
Skill: Intermediate Time: 45 Minutes
Directions:
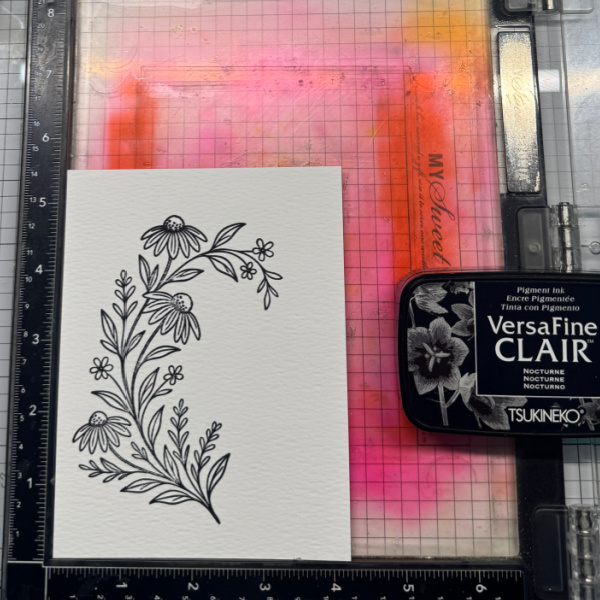
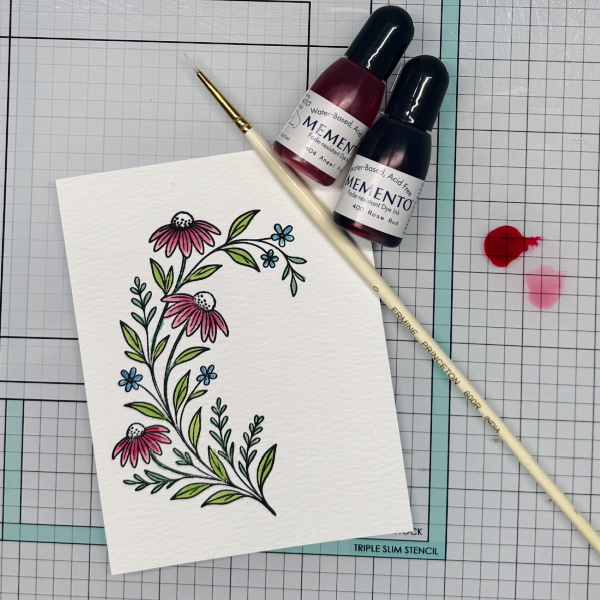
Gather your supplies. You will need a floral image stamp or a line image that you can color, several colors of water based re-inkers to watercolor with, small paintbrush, water friendly paper and a pigment ink.
Step 1: Stamp the image with a pigment ink
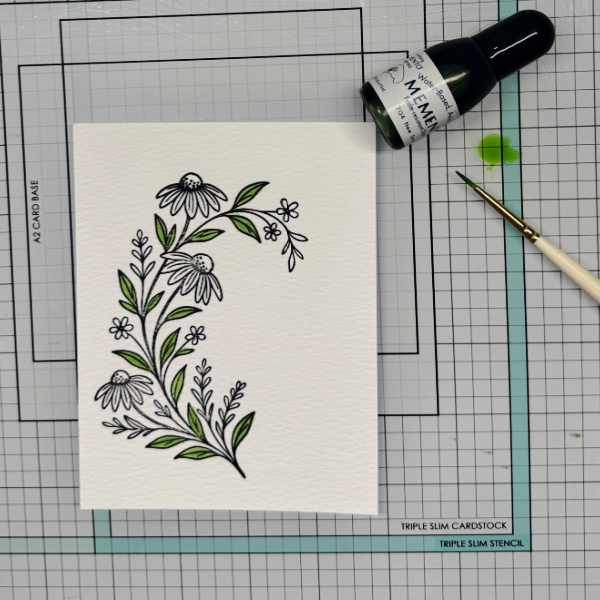
Step 2: Using a green re-inker paint the leaves on the floral image.
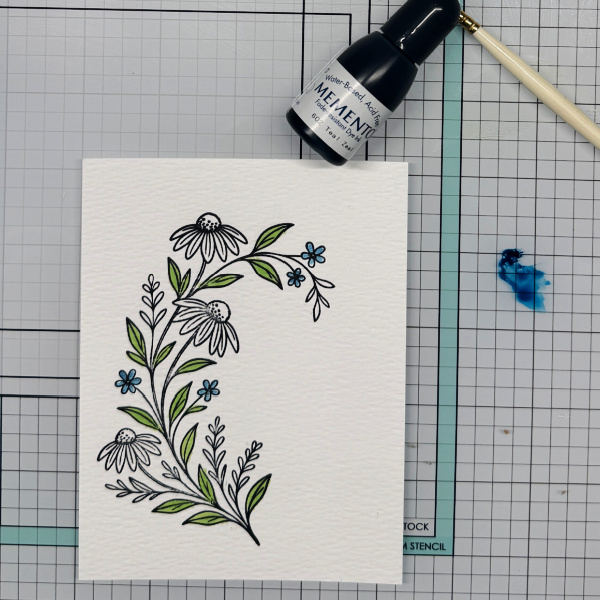
Step 3: Use a teal re-inker to paint the small flowers
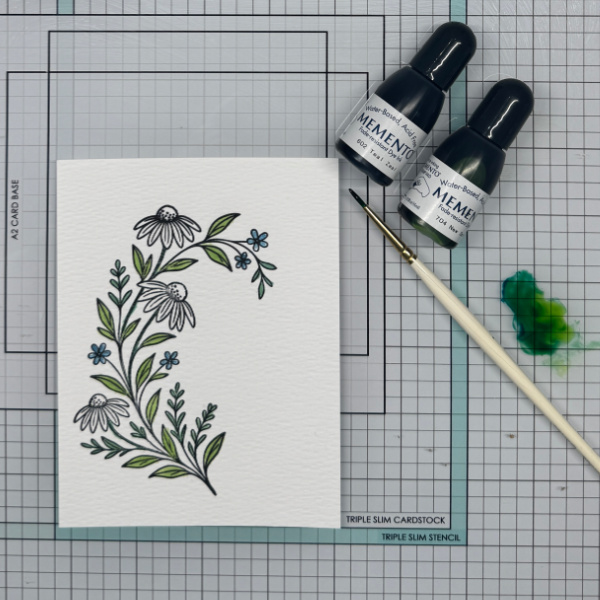
Step:4 Mix the teal ink and the green ink together to create a darker green ink to paint the different leaves.
Step:5 Using a light and a bright pink re-inker paint the daisies.
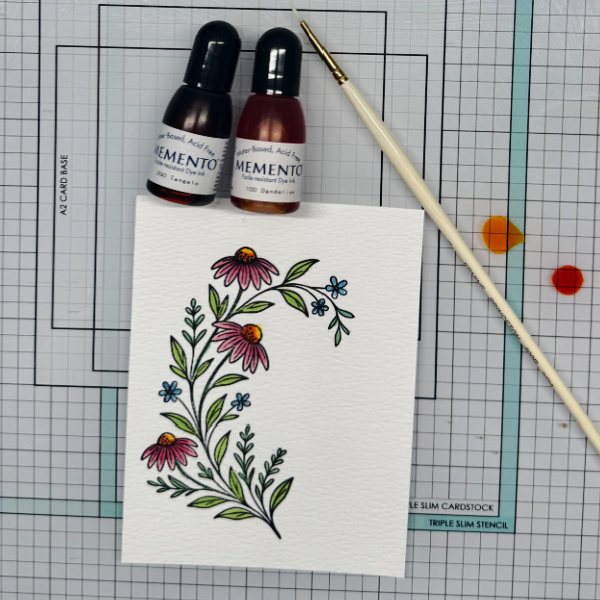
Step: 6 Using a yellow and orange ink paint the centers of the flowers, first yellow and then orange near the bottom.
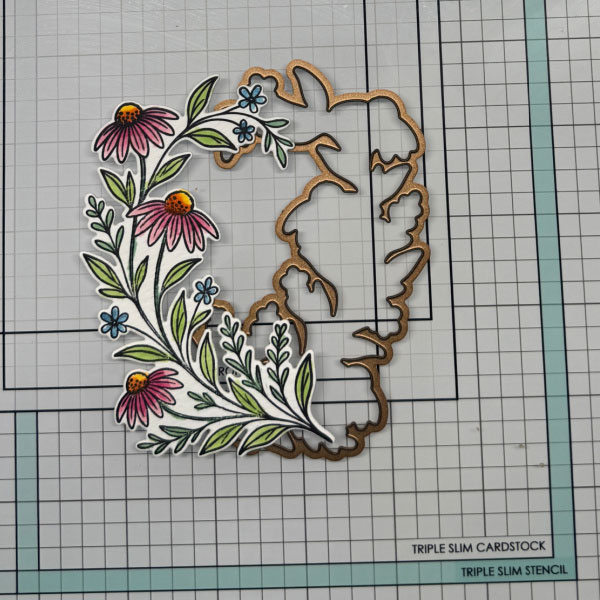
Step: 7 After the image is painted use the coordinating die to cut it out.
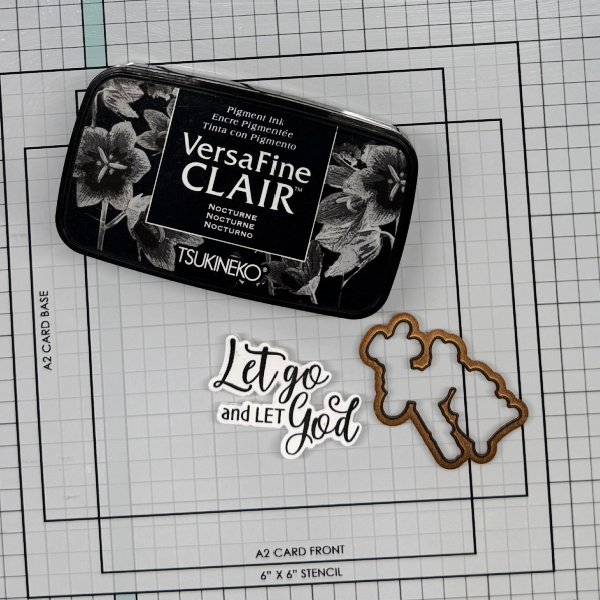
Step: 8 Stamp a sentiment and cut it out with the coordinating die. Place all the elements on the embossed panel (I added an embossed panel at the end) and add the sentiment.
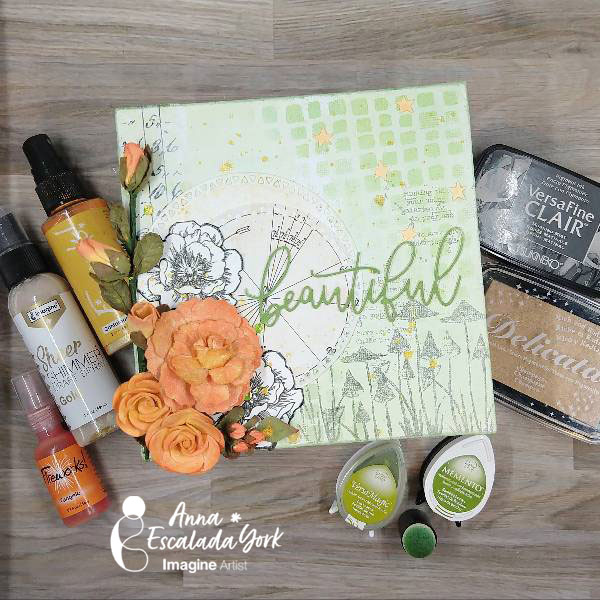
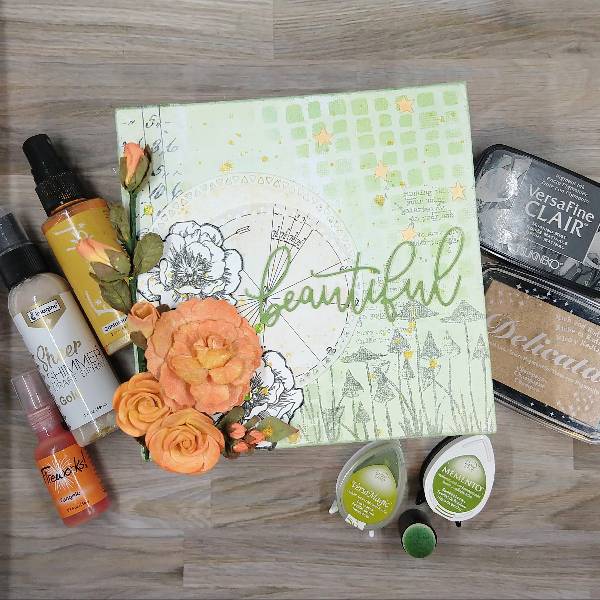
Last month, I made a jar for my younger kid and wanted to focus on my older kid in February. I made this piece for them while they were taking their ACT test! I decided to personalize the panel to feature some things they like–math and numbers, nature, space and mushrooms. This mixed media piece features sprays, ink, collage, stenciling, and cloth flowers. It was a wonderful way to spend an afternoon and I hope it inspires you to consider making something similar.
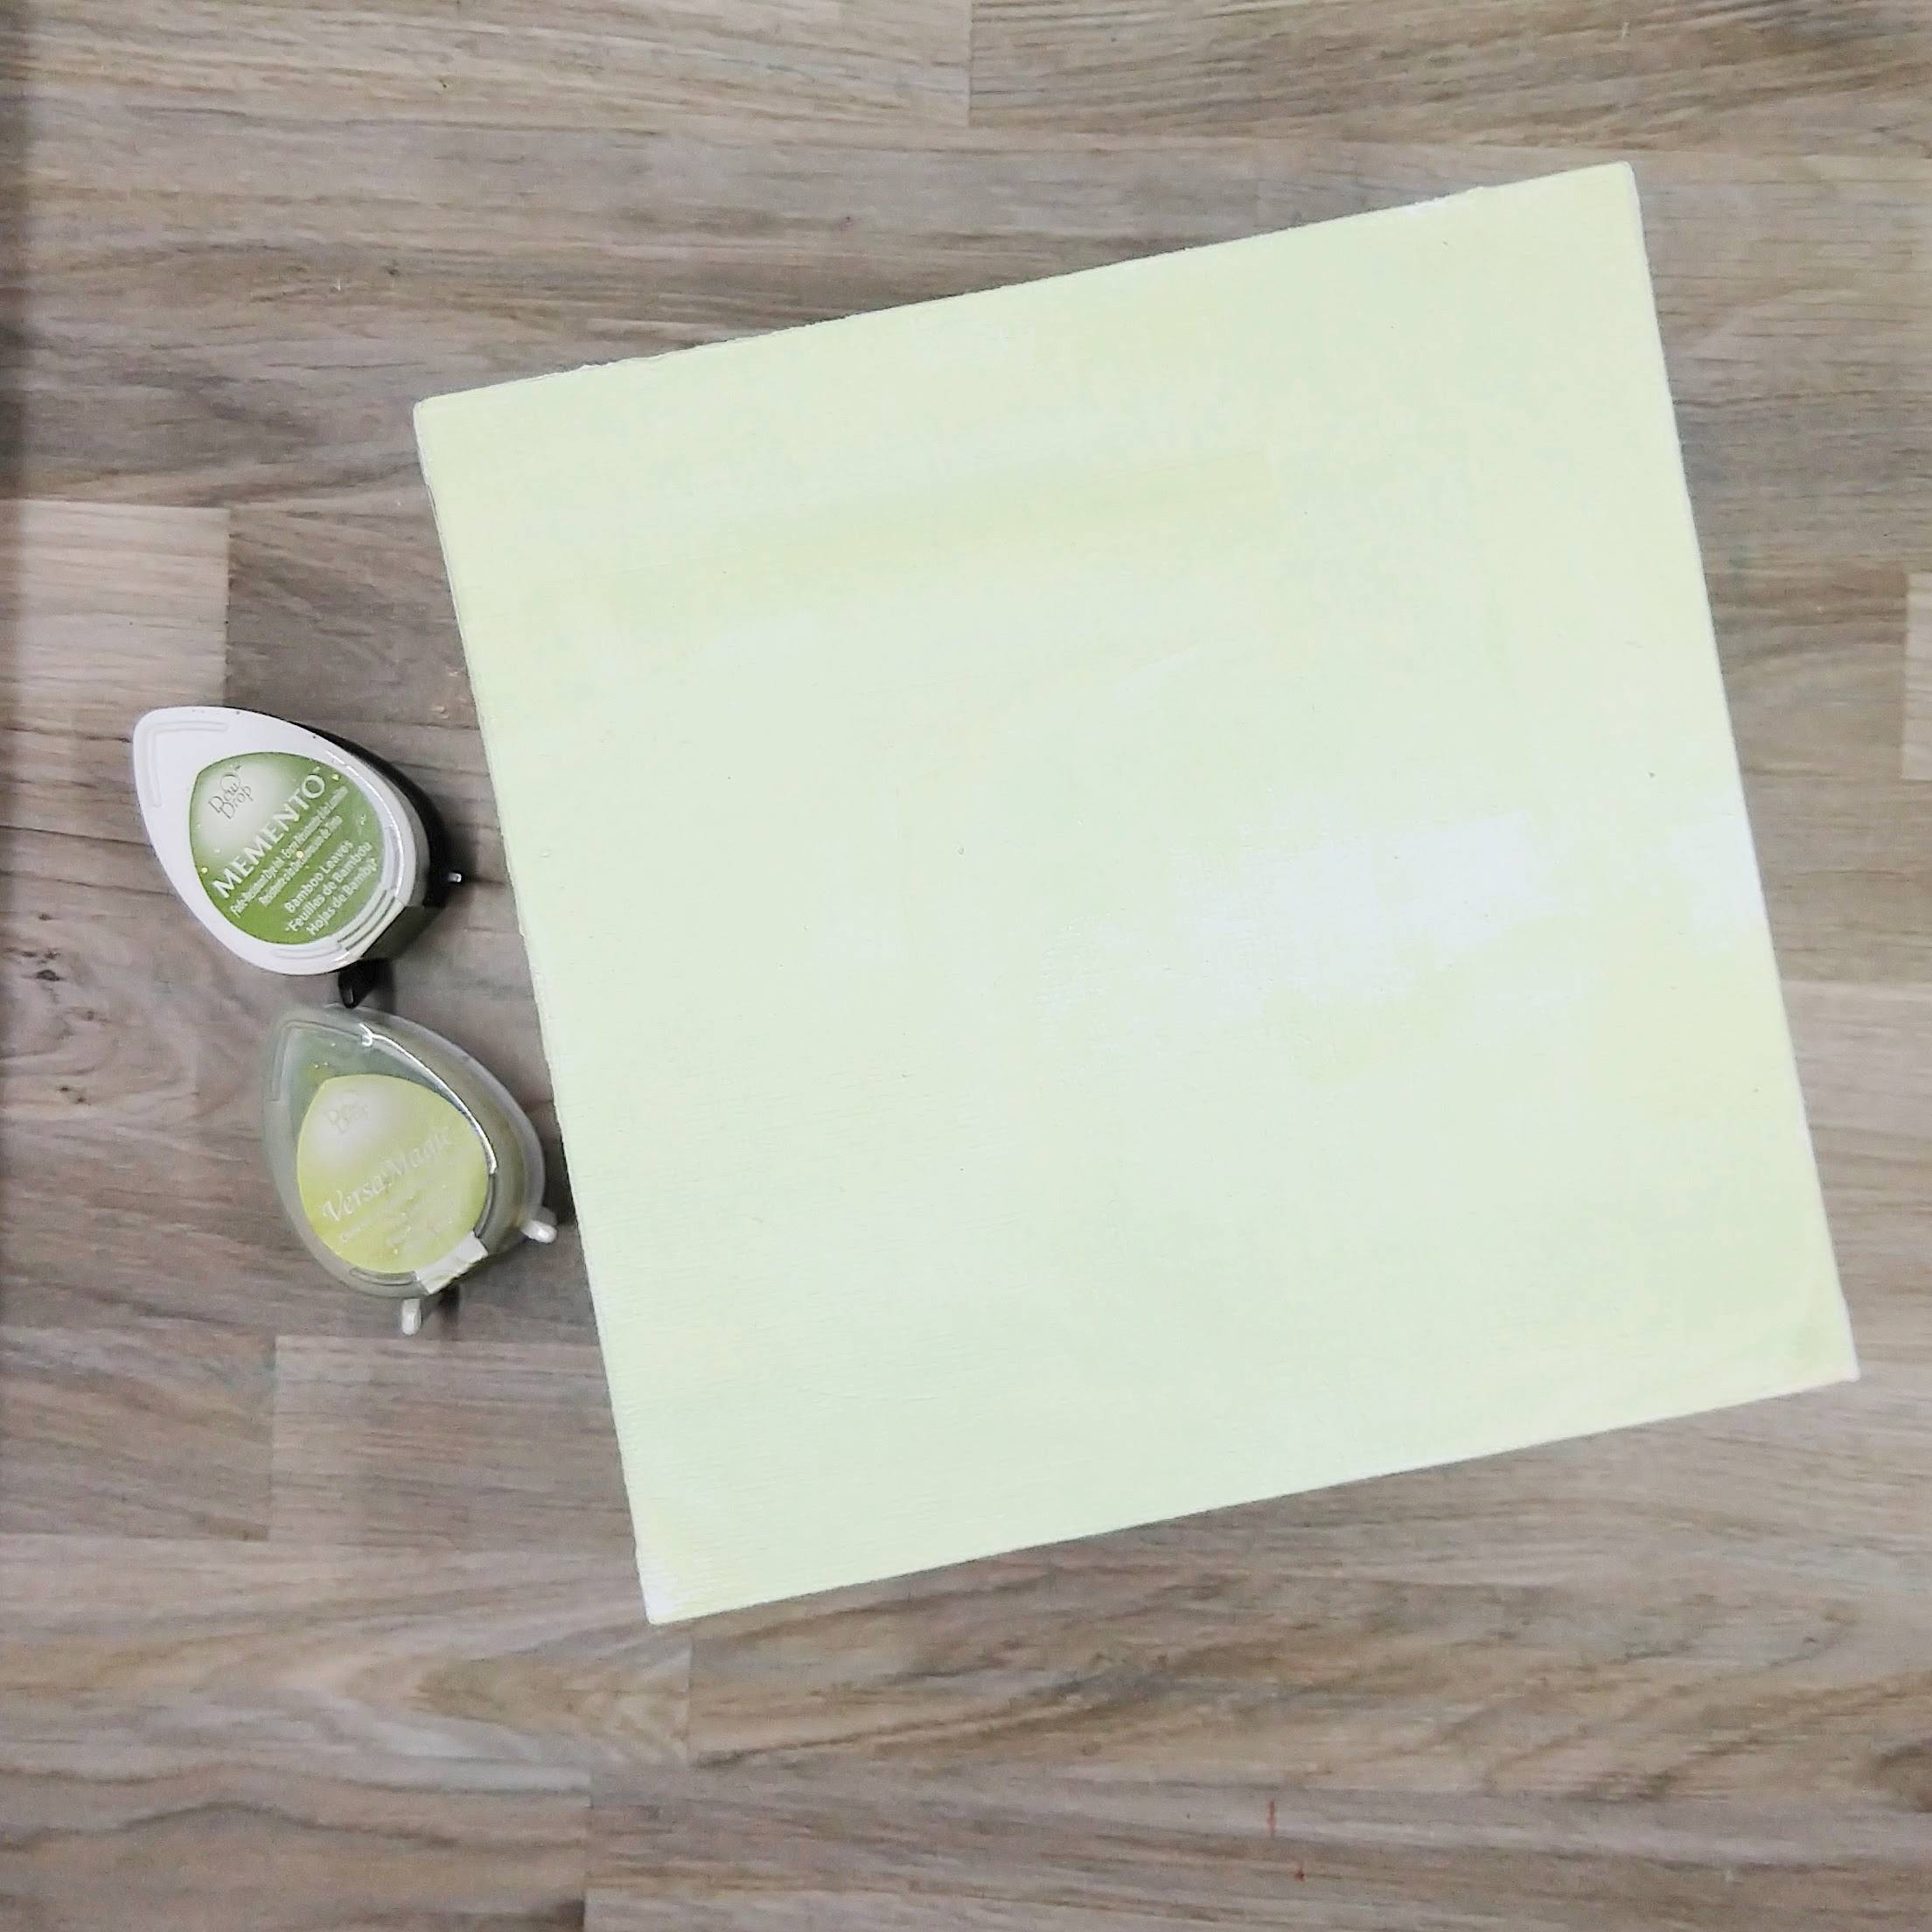
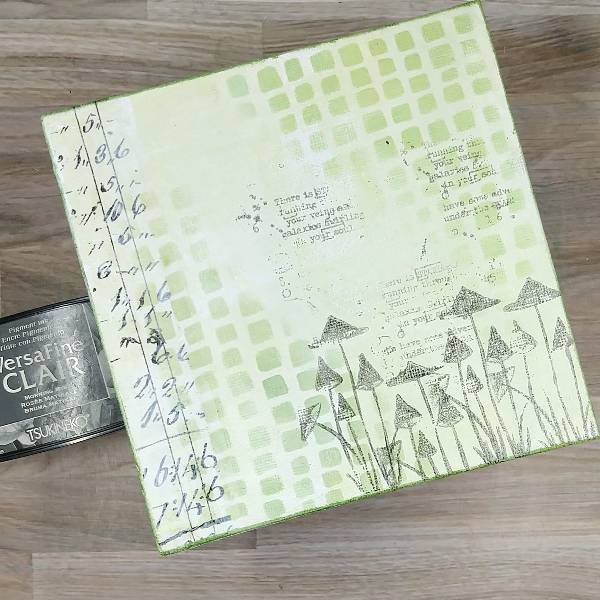
Step 1: Paint gesso onto a 6×6” canvas panel and let dry. Then mix a small amount of gesso with Tea Leaves VersaMagic chalk ink on a palette (or a piece of plastic packaging) to create a very light green tin. Repeat the process with more gesso and Bamboo Leaves Memento ink to create a slightly darker green tint of gesso. Using a wide paintbrush, brush both the lighter and the darker green gesso across the panel randomly. Allow to dry a second time. (Or if you are feeling impatient, dry with a heat tool.)
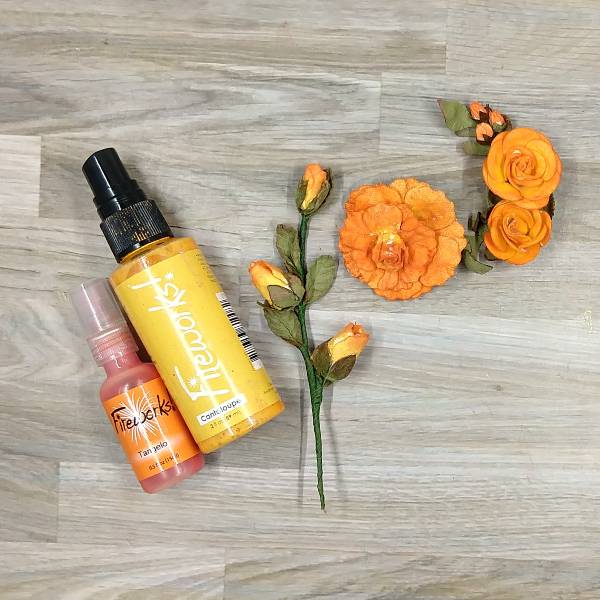
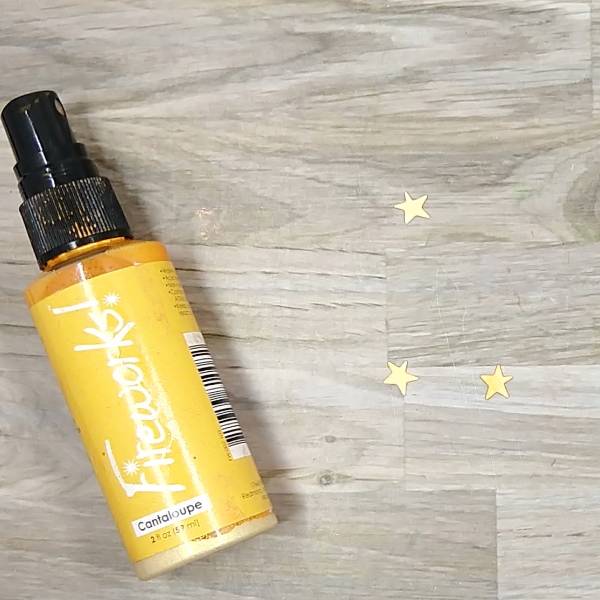
Step 2: Using a smaller paintbrush, paint the entire surface of each paper flower’s petals with Cantaloupe Fireworks! Shimmery Craft Spray and then paint the edges with Tangelo Fireworks! Shimmery Craft Spray. Allow to dry.
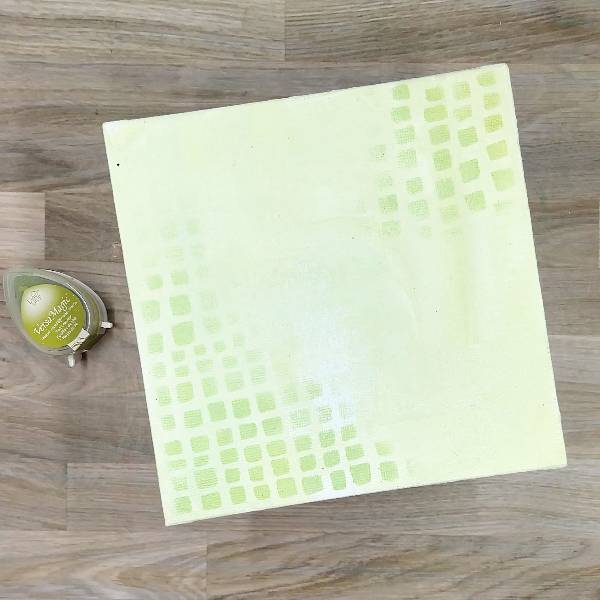
Step 3: Using a sponge dauber, blend Tea Leaves VersaMagic Chalk Ink through a stencil on the upper right and lower left corners of the panel. Allow to dry.
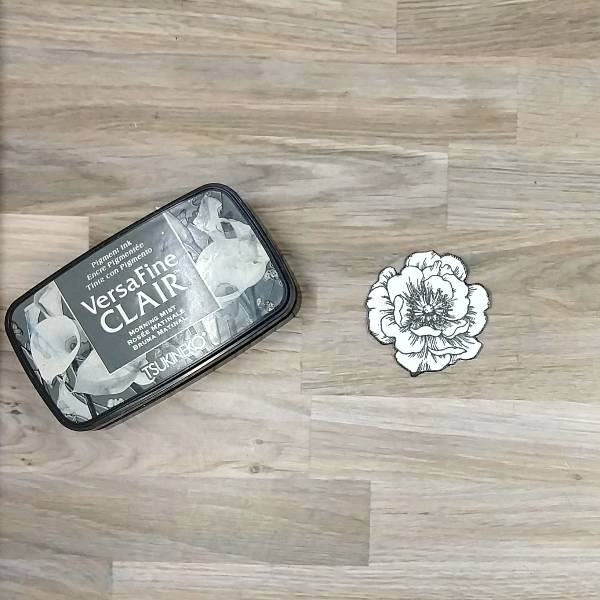
Step 4: Stamp a mid-sized flower with Morning Mist VersaFine Clair ink. Heat emboss with clear embossing powder. Fussy cut the flower and then press the edges along the edges of the flower with more of the Morning Mist VersaFine Clair ink to disguise any imperfections left behind when fussy cutting and heat emboss a second time with clear embossing powder.
(When I took the picture I had intended to only include one stamped flower. Later, when assembling the panel, I realized I needed another flower and so repeated the process to make two flowers in total.)
Step 5: Press the Campagne Delicata ink pad onto watercolor paper. When dry, die cut the watercolor paper with a large circle in a nesting circle die set. Then spray with Gold Sheer Shimmer Craft Spray and allow to dry.
While drying, die cut a piece of collage paper with the next sized down circular die (not pictured).
Step 6: Return to the canvas panel. Cut out a vertical strip of collage paper and glue it to the left side of the panel. Paint over with leftover gesso on the paint brush (from steps 1 and 3). Add more stenciled texture by blending Bamboo Leaves Memento Ink through the same stencil on the lower left corner of the panel. Then add ink along the edges of the panel by running the Bamboo Leaves Memento Ink pad along the edge.
Step 7: Partially stamp the center of a small stamp multiple times across the upper and mid right side of the panel with Morning Mist VersaFine Clair ink by adding ink to the central part of the stamp (the text) and wiping away the ink from the edges of the stamp and then pressing just the center of the stamp onto the panel. Repeat the process 3 times.
Then stamp a small mushroom stamp multiple times on the lower right side of the panel with more Morning Mist VersaFine Clair ink, sometimes moving the stamp higher and lower on the panel to change the heights of the mushrooms. Allow the ink to dry.
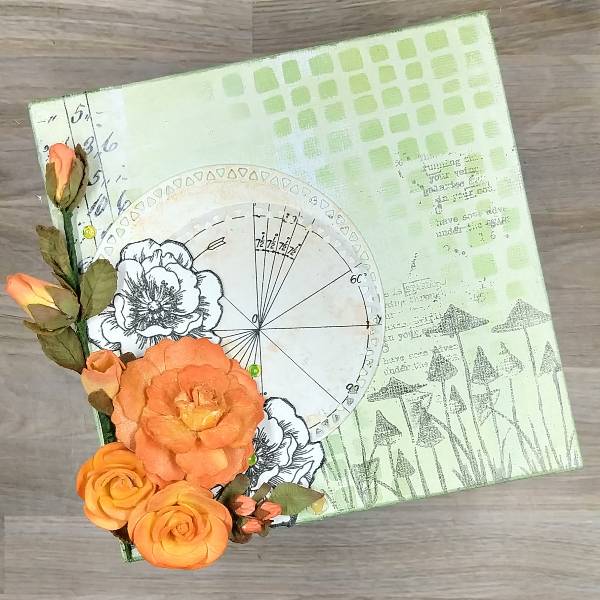
Step 8: Start to assemble the panel. Glue the die cut watercolor paper circle (step 5) and the collage paper circle together and then glue onto the panel. Then glue the stamped flowers and the 3D paper flowers onto the lower left part of the card. Glue yellow and clear sequins around the flowers.
After I assembled the panel, I realized that it wasn’t done and needed something more.
Step 9: Die cut a scrap of watercolor paper and use Cantaloupe Fireworks! Craft Spray to paint them yellow with a small paintbrush.
Step 10: Press Bamboo Leaves Memento Ink onto another scrap of watercolor paper and then die cut the paper with a sentiment. Then use scrap cardstock to die cut two additional layers of the sentiment. Glue all three layers together for dimension.
Step 11: Splatter the panel with Gold Sheer Shimmer Craft Spray, making sure that gold splatter landed on the petals of the 3D flowers. Glue the beautiful sentiment and the stars onto the panel to finish the card.
Other • AALL & Create – stamp – Astroventurer (#912)–used for the sentiment in the background • Alt Alternatives – 6×6” Economy Cotton Canvas Panel • Catherine Pooler – sequin mix – Saint Lucia • Concord & 9th – die set – Botanical die set (beautiful sentiment) • 49th and Market – Salt (white colored) Paper Flower 8 pack • Gina Marie Designs – die set – Mosaic Triangle Edge Circle • Golden – Gesso Semi-Opaque Acrylic Primer • Lavinia Stamps – stamp – Slender Mushrooms • Simon Says Stamp – stamp set – Beautiful Flowers • The Crafter’s Workshop (TCW) – stencil – Square Stones (TCW1087s) • Tim Holtz and Idea-ology – collage paper – Archives (TH94366) • Tim Holtz and Sizzix – die set – Creative Cutouts die set (for the stars) • Clear Embossing Powder • Heat tool Scissors • Wide paint brush • Small paint brush • Glue • Watercolor paper
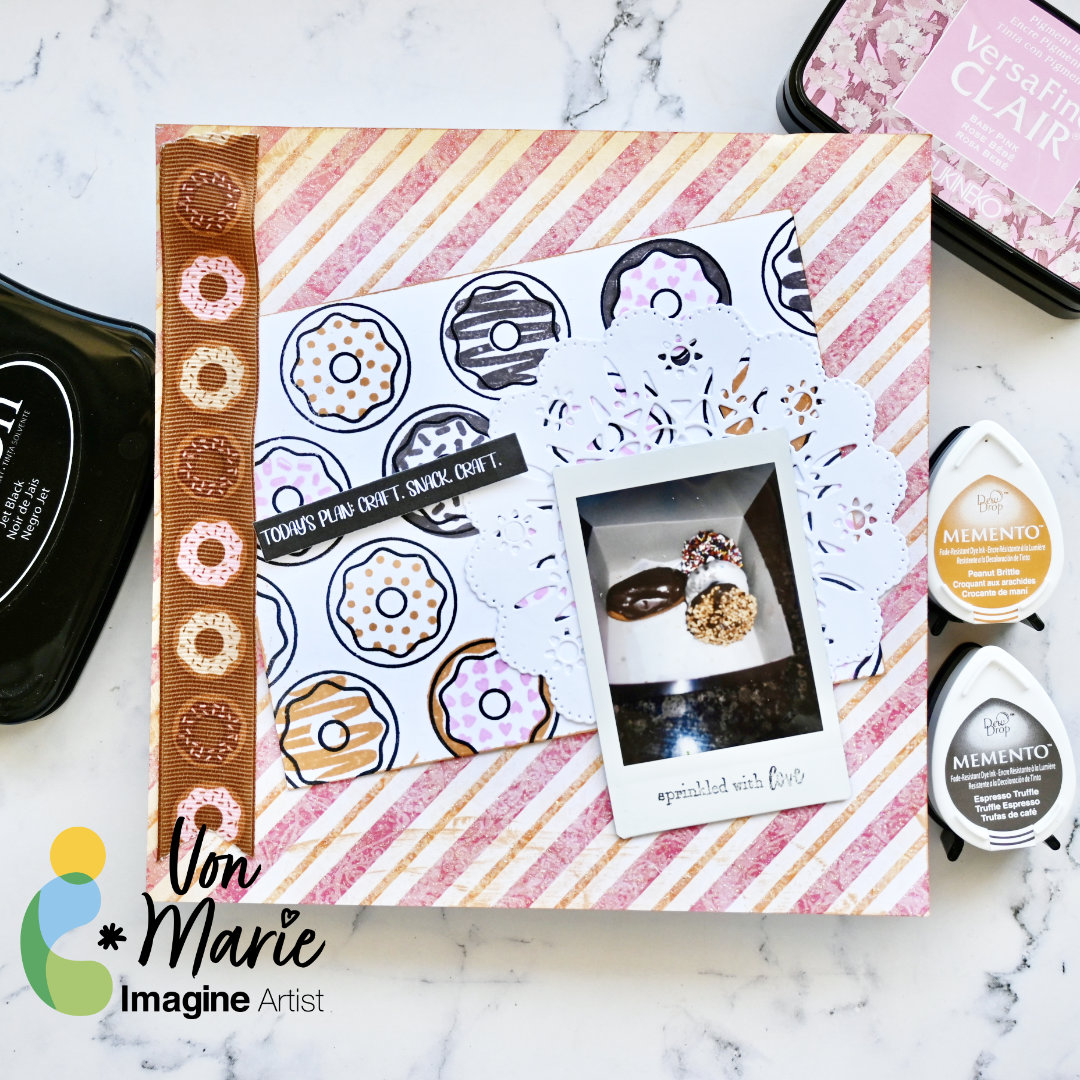
Hello everyone. Von Marie here and I have my newest video sharing an easy and fun Donuts Mini Layout Page perfect for hanging in your craft room. I love donuts and this page is so much fun to create using Memento inks. You can make any kind of page perfect to hang in your craft room. The video will have more details.
Skill: Beginner Beginner Time: 30 Minutes
Craft Supplies
• 100lb white Hammermill Paper • A2 Card Base Glue • Photo • Pattern Paper • Ribbon • Clips • Doily Die-cut • Stamping Block
• Taylored Expressions Donut Days Cling & Clear Combo • Stamps Of Life Doily 1 Die Set • LV Handcrafted Gnome Love Sentiment Printable • Donut Ribbon from my stash • Instax Mini SE
ALTERNATIVE PRODUCTS THAT CAN BE USED TO RECREATE SOMETHING SIMILAR Any stamps, inks, and or pattern paper
You can watch how to create this Donuts Mini Layout Click Here
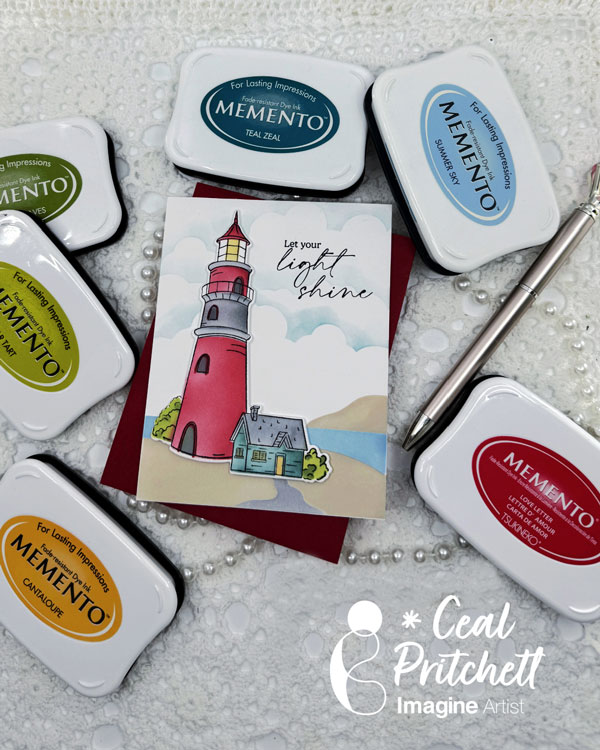
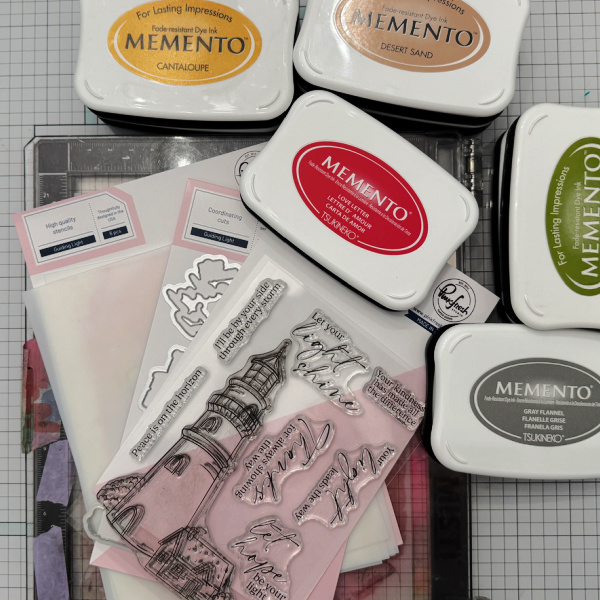
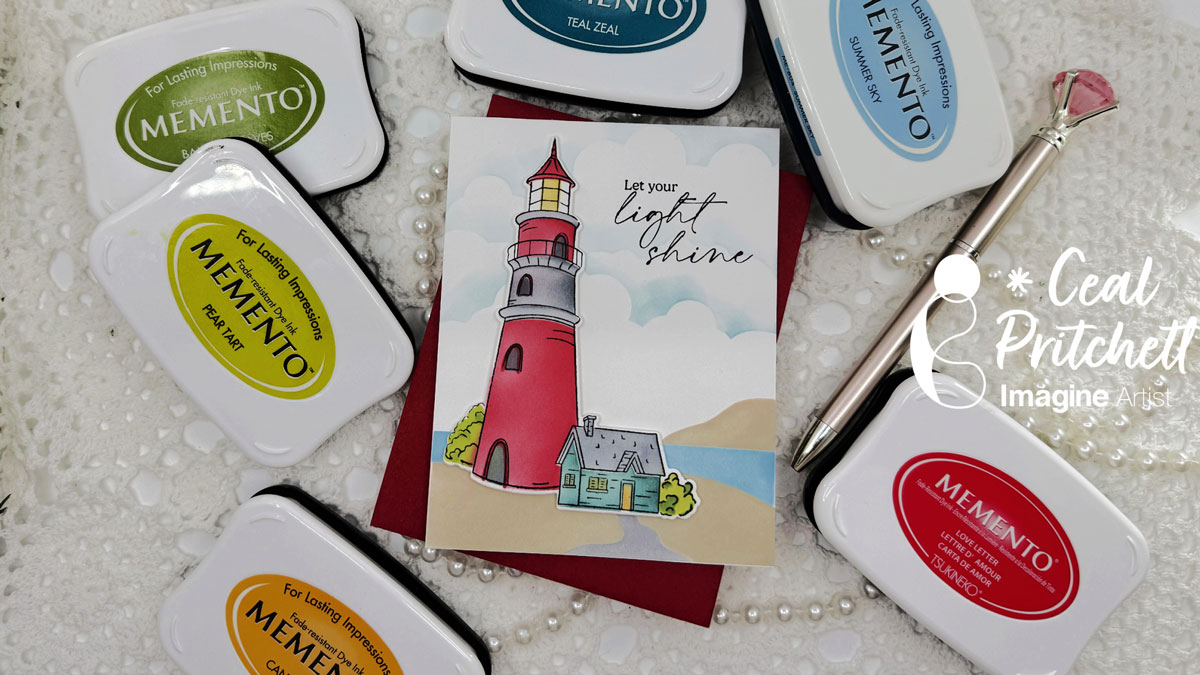
It’s Ceal, here. Today I am sharing how to make this beautiful light house card using supplies by Pinkfresh studio and Memento Inks.
Skill: Intermediate to Advanced Time: one hour
Directions:
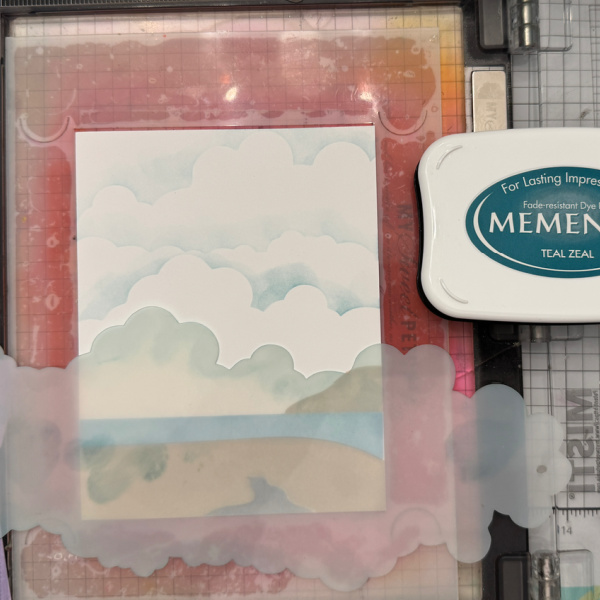
Gather your supplies. You will need a lighthouse or similar stamp set with coordinating stencils and dies. To make this card I started with a white top folding A2 card base and a white panel.
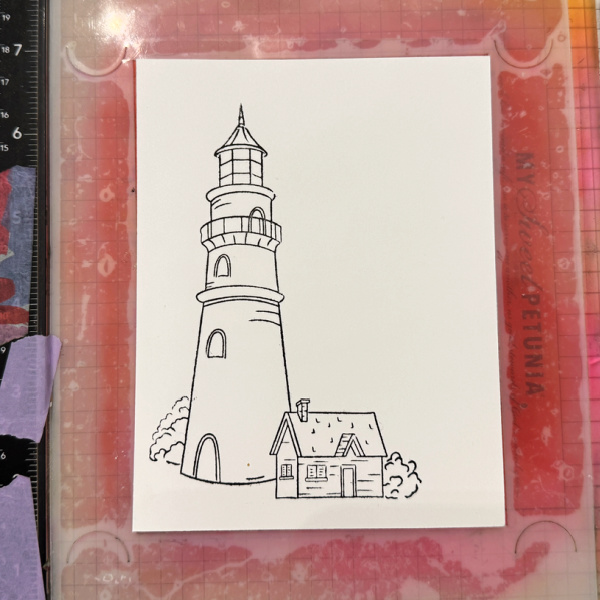
Step 1: Stamp the image with VersaFine Clair Nocturne ink on a white panel.
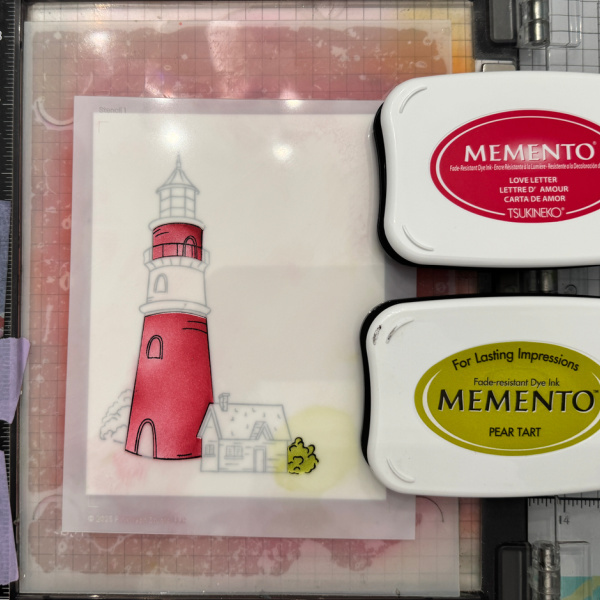
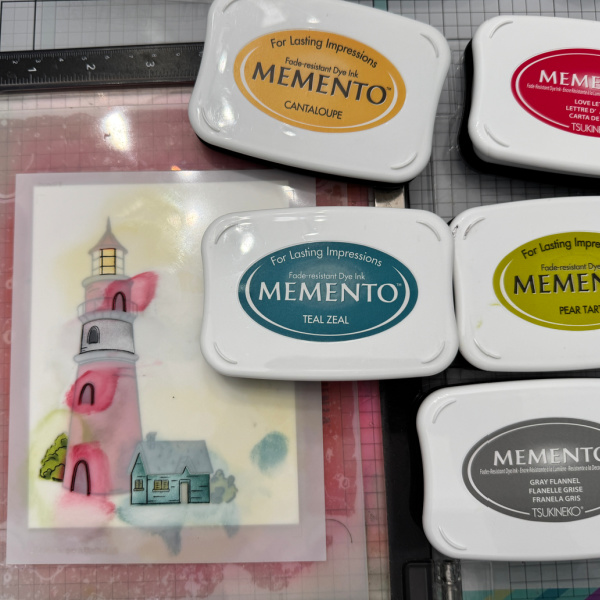
Step 2: Using the first stencil color the portion of the lighthouse and bush. I used Love Letter and Pear tart Memento ink.
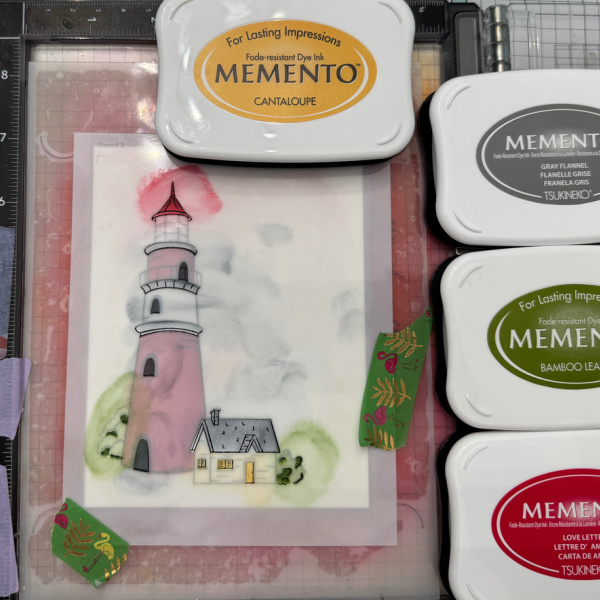
Step 3: Color the open portions of the second stencil. I used Gray Flannel, Love Letter, Cantaloupe, and Bamboo Leaves
Step 4: Color the open portions of the third stencil. I used Cantaloupe, Love Letter, Teal Zeal, Pear Tart and Gray Flannel. This will complete the coloring of the image.
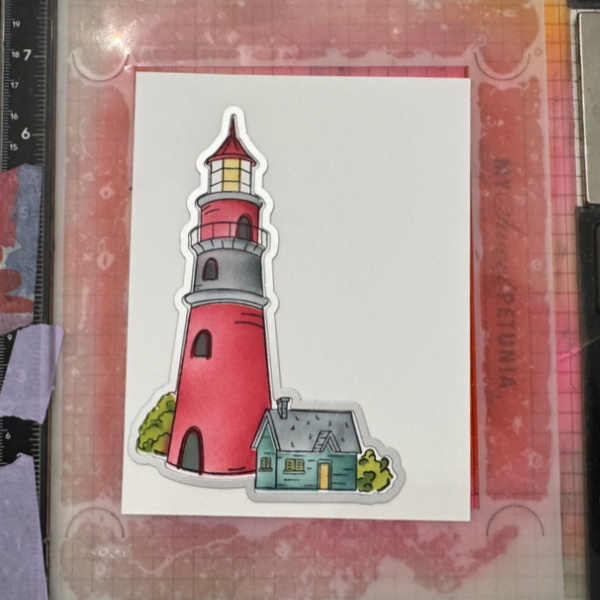
Step 5: Cut the image out with the cording die using a die cutting machine.
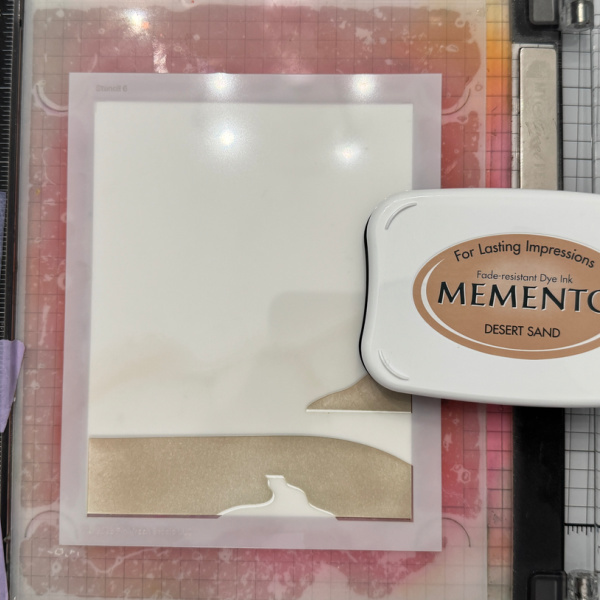
Step 6: Color the open portion of the fourth stencil creating the sand. I used Desert Sand. For the walkway/path I used Gray Flannel.
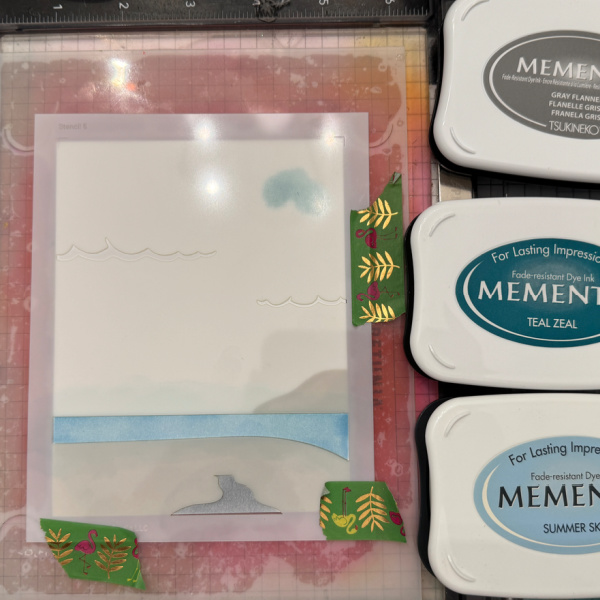
Step 7: Color the open portion of the stencil creating the water. I used a mixture of Summer Sky and Teal Zeal.
Step 8: Create clouds in the background by using a cloud stencil. The ink I used is Teal Zeal.
Step 9: Add a sentiment to the panel and adhere the finished panel to the card base popping up the lighthouse.
Products Used:
Imagine Products: Memento Inks in the following colors Teal Zeal Summer Sky Pear tart Bamboo Leaves Love Letter Cantaloupe Desert Sand Gray Flannel
Other Supplies:
Guiding Light by Pinkfresh Studio Stamp set Coordinating Coloring Stencils Coordinating Dies