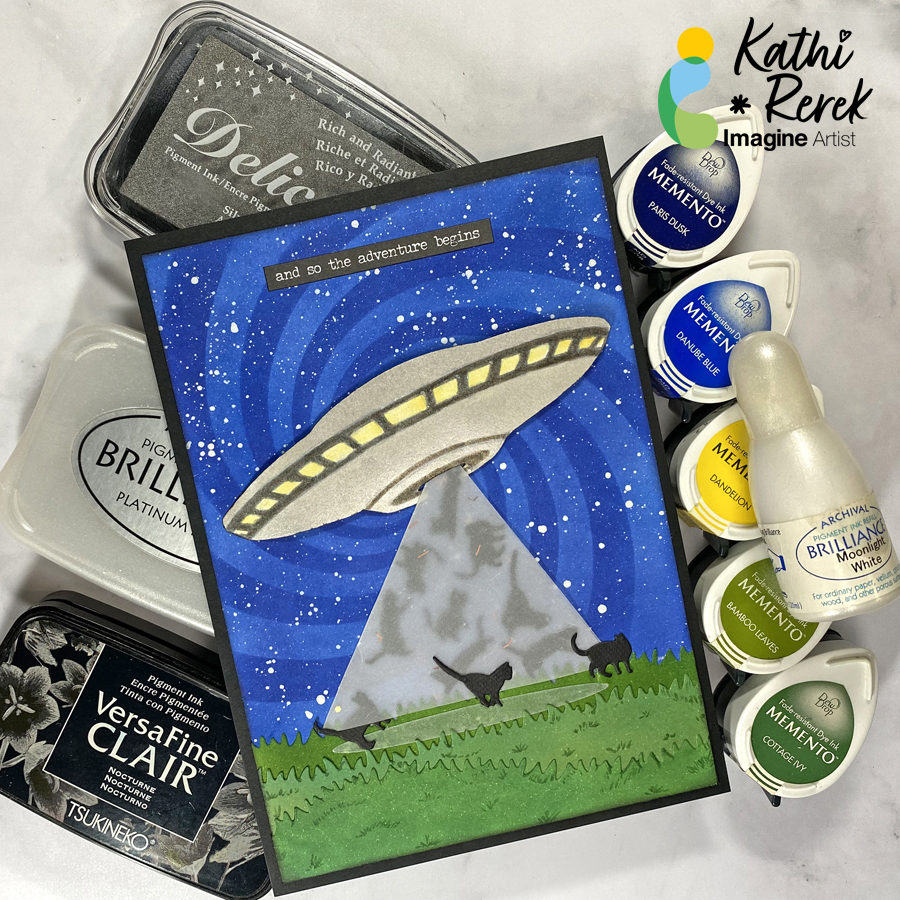
– Here’s a rare project from me that with no stamping at all. I’ve used inks, stencils, and cutting dies to create what will either be a wall hanging or a journal page.
Skill Level: Beginner to Intermediate
Time: 1.5 hours
Step 1.
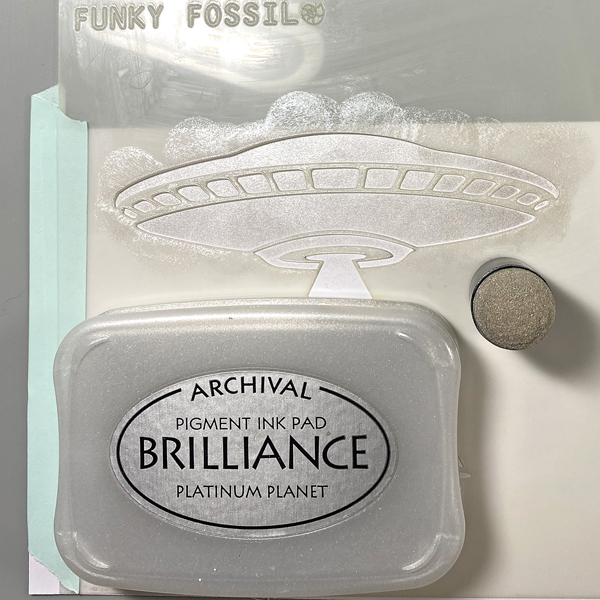
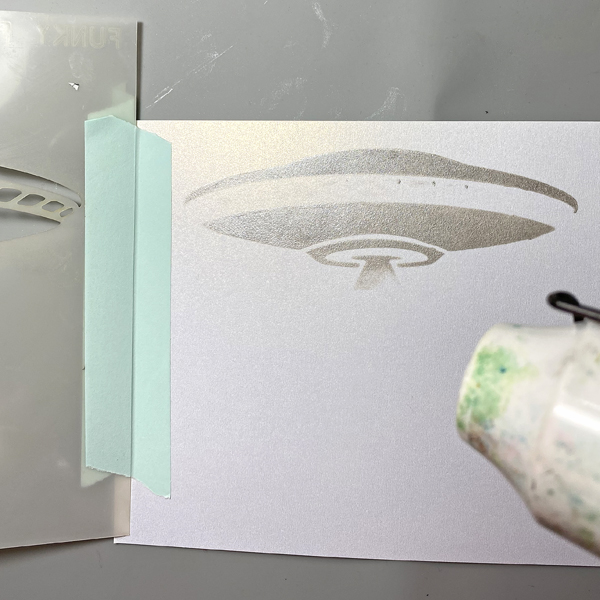
Secure the UFO stencil to a piece of cardstock with removable tape on both sides of the paper, creating a hinge. Apply Platinum Planet Brilliance over the stencil onto the cardstock. Open the hinged stencil and heat set the image panel.
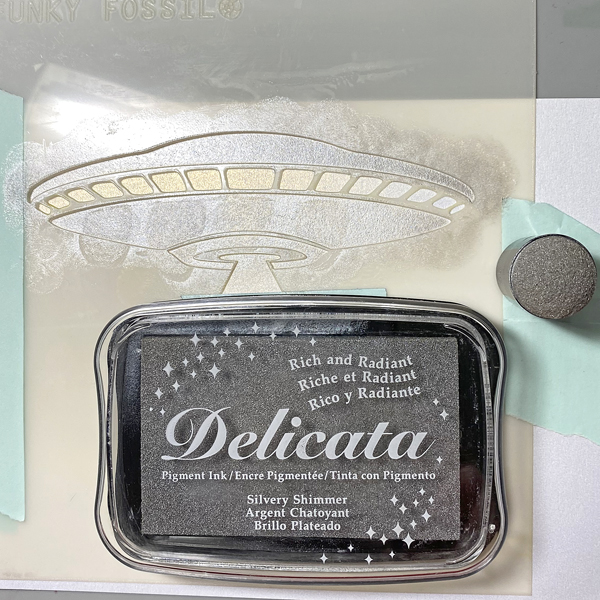
Step 2:
Put the UFO stencil back in place. Use a sponge dauber to apply Silver Shimmer Delicata over the stencil onto the image panel. Open the hinged stencil and heat set the image panel.
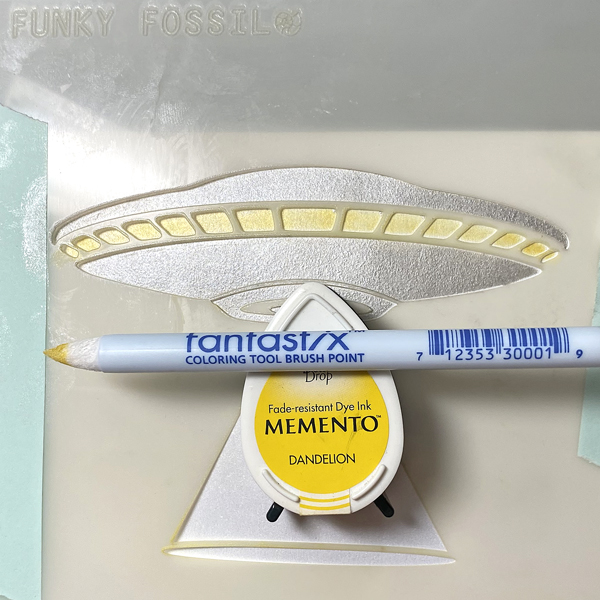
Step 3:
Use a brush-tipped Fantastix to apply Dandelion Memento ink through the UFO’s windows onto the image panel. Remove and clean the stencil.
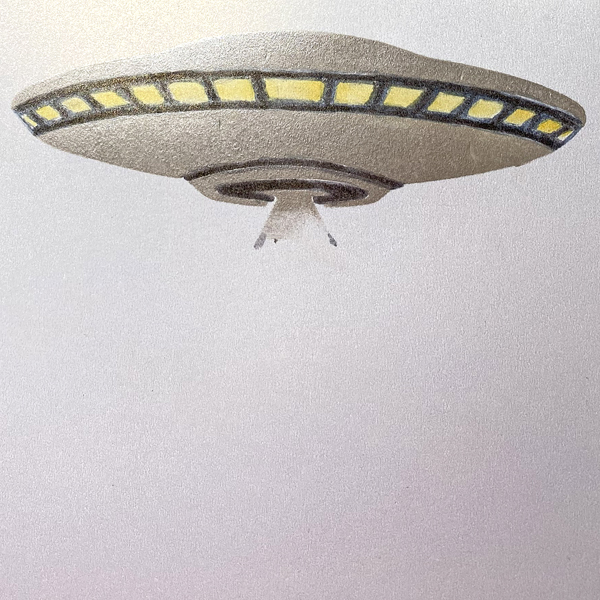
Step 4:
Touch up the windows with the Fantastix. Use a grey watercolor marker to color the window frames and the bottom aperture of the UFO.
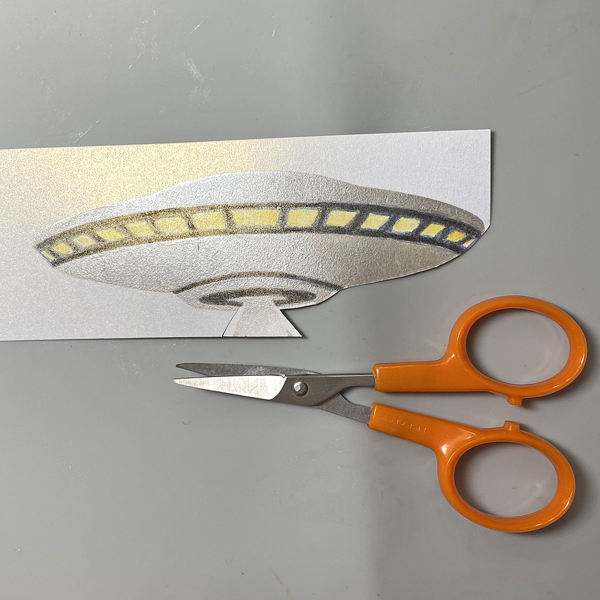
Step 5:
Fussy-cut the UFO, edge with a dark marker, and set aside.
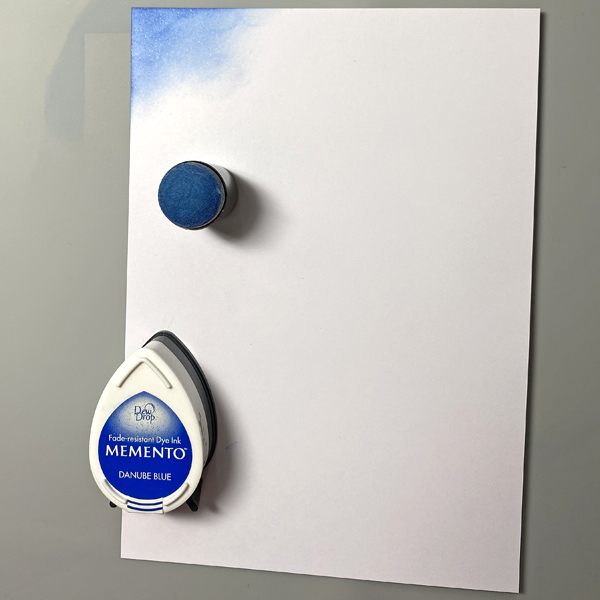
Step 6:
Use a sponge dauber to apply Danube Blue onto a 4.75” x 6.75” piece of Bristol Paper. Use a sponge dauber to blend Paris Dusk onto the Bristol Paper to create a mottled background.
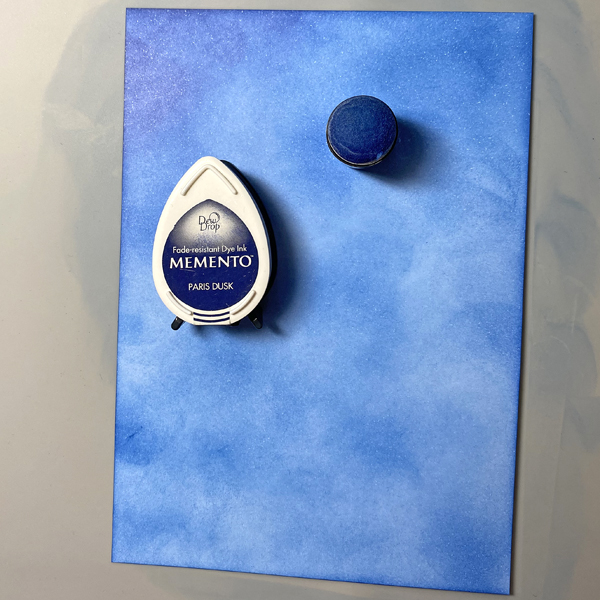
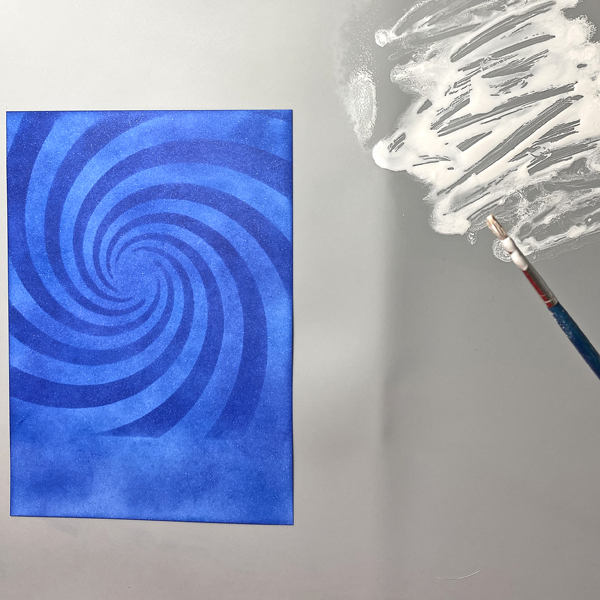
Step 7:
Tape the Time Tunnel Stencil over the inked background panel. Use a sponge dauber to apply Paris Dusk Memento ink over the stencil onto the paper.
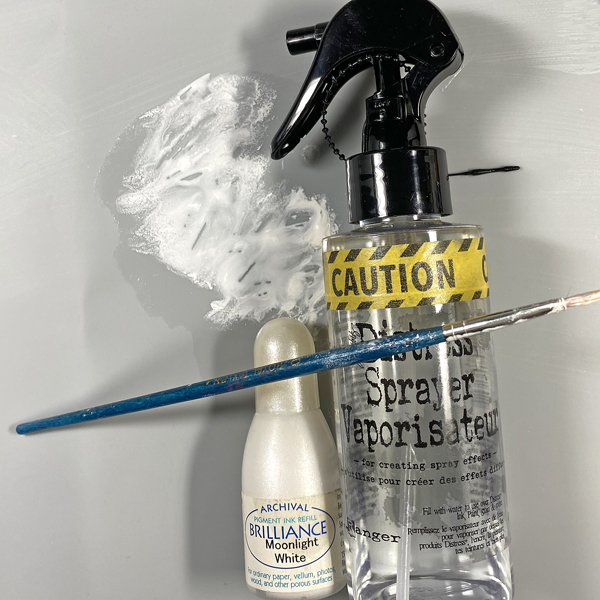
Step 8:
Squeeze a few drops of Moonlight White Brilliance re-inker onto a craft mat. Spray with 91% Isopropyl Alcohol. Use a paintbrush to mix the ink. Load the paintbrush with the diluted Moonlight Brilliance ink and splatter the background panel. Let air dry or heat set.
Step 9:
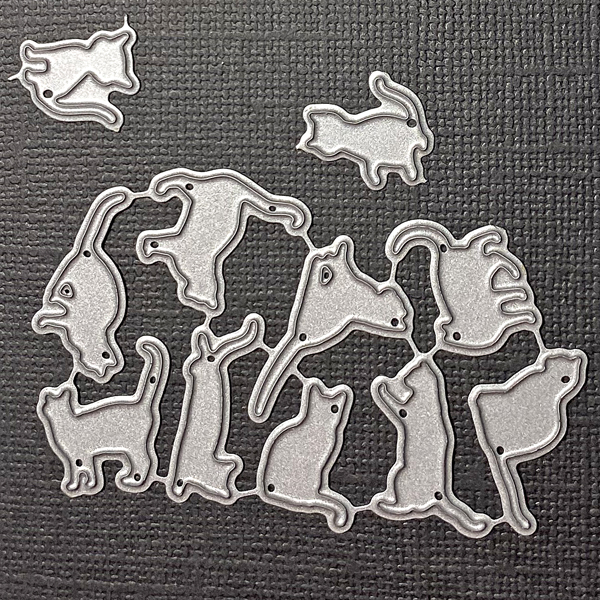
Use the Mini Cats die to cut Raven cardstock. Set the cat dies aside.
Step 10:
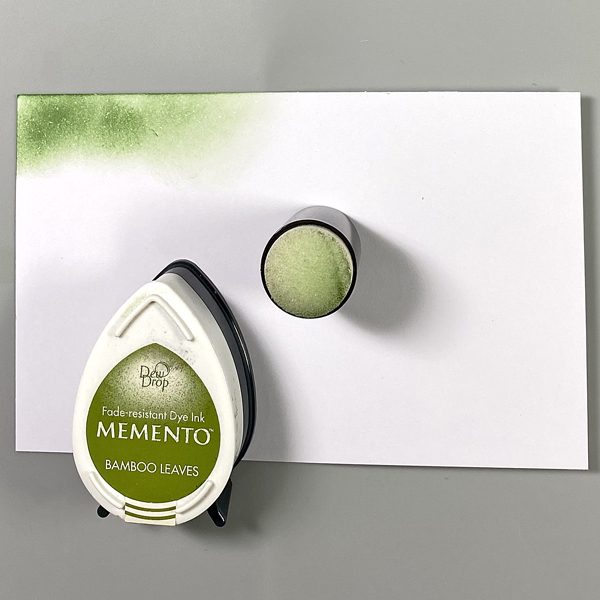
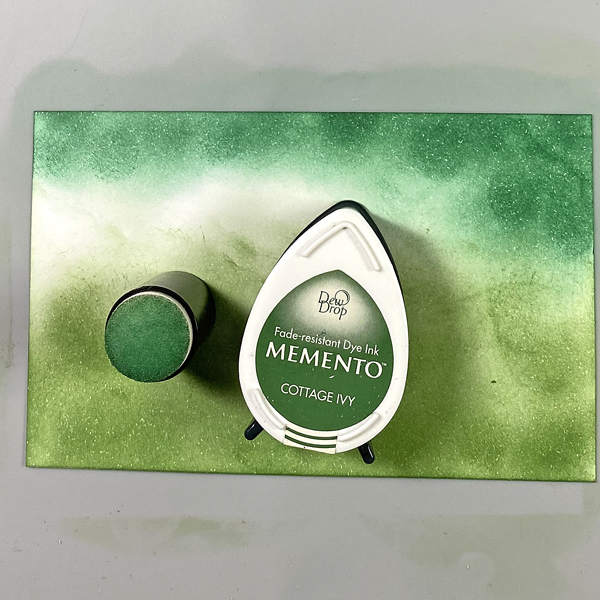
Use a sponge dauber to apply Bamboo Leaves Memento ink onto a white cardstock panel. Repeat Cottage Ivy Memento ink until the panel is covered.
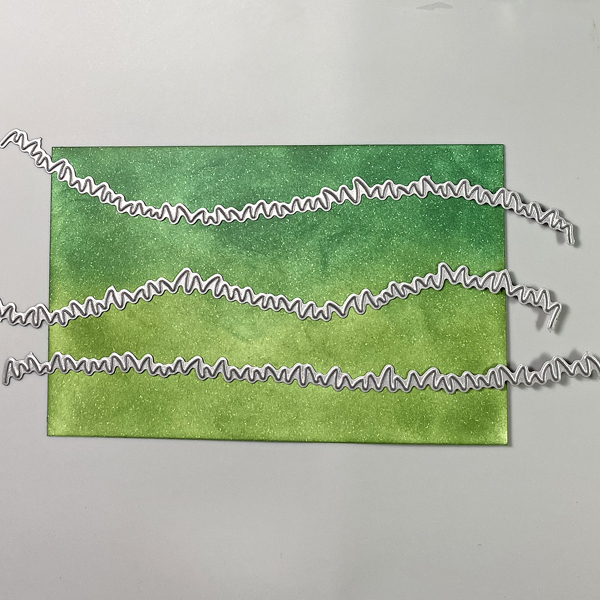
Step 11:
Use the Grassy Hills Die set to cut the inked panels. Use a green Copic marker to edge the grass and to add details. Using Memento Ink to create backgrounds allows you to use Copic markers overtop!
Step 12:
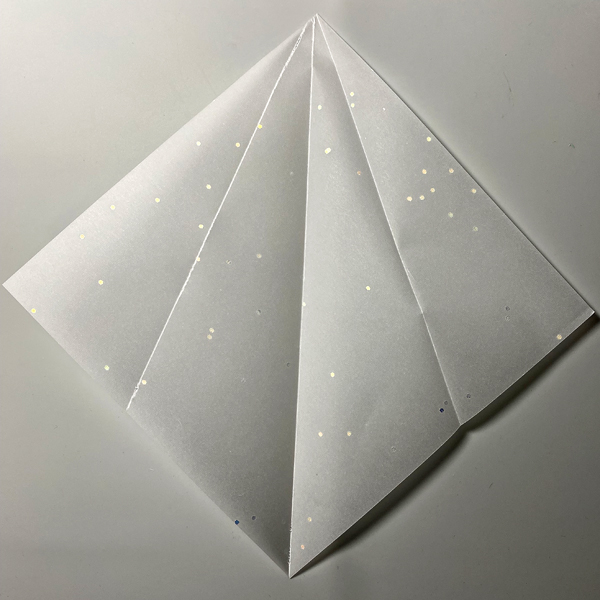
Cut a piece of vellum to 6” square. Score on the diagonal from one point to the opposite point. Fold.
Repeat with both sides until it looks like the above photo.
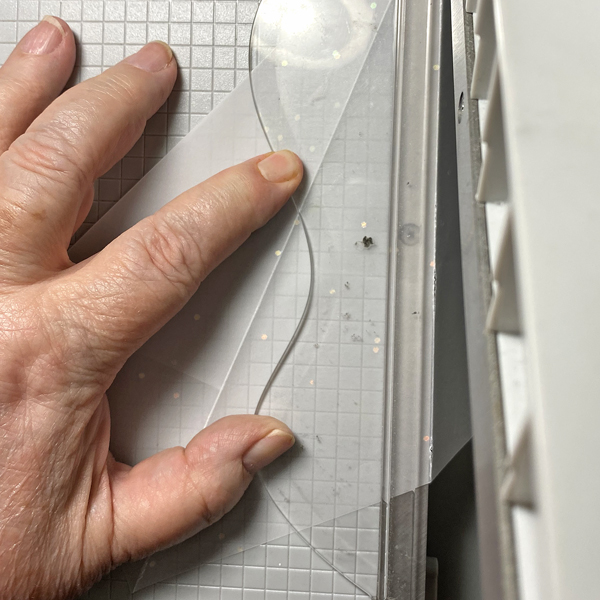
Step 13:
Place one edge of the scored, folded square along the cutting edge of a guillotine trimmer. Cut.
Step 14:
Use On Point Glue to adhere the die-cut cats to the interior of the folded vellum triangle. Sorry that I forgot to take a photo.
Step 15:
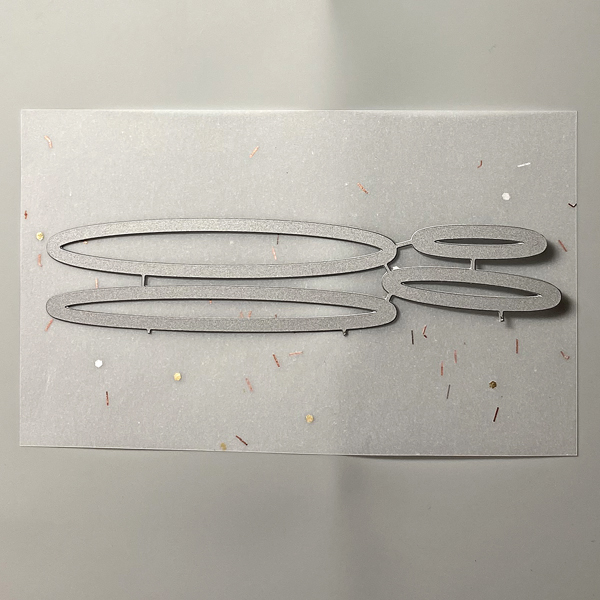
Back a piece of vellum with two-sided tape. Use the Oval Shadows Die-namics to cut the vellum.
Step 16:
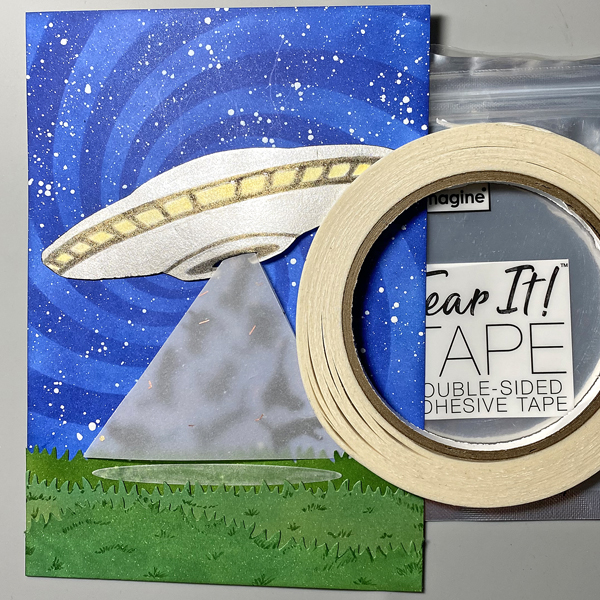
Use Tear It! Tape to adhere the three layers of grass to the background panel as shown. Edge the panel with VersaFine Clair Nocturne .
Adhere the vellum cone and the vellum oval as shown. Use On Point Glue to adhere escaping and/or partially beamed-up cats atop the vellum oval and cone.
Use dimensional foam adhesive to adhere the UFO as shown.
Step 17:
Adhere the image panel to a 5” x 7” piece of Black Mixed Media paper. Add the sentiment sticker to finish the piece.
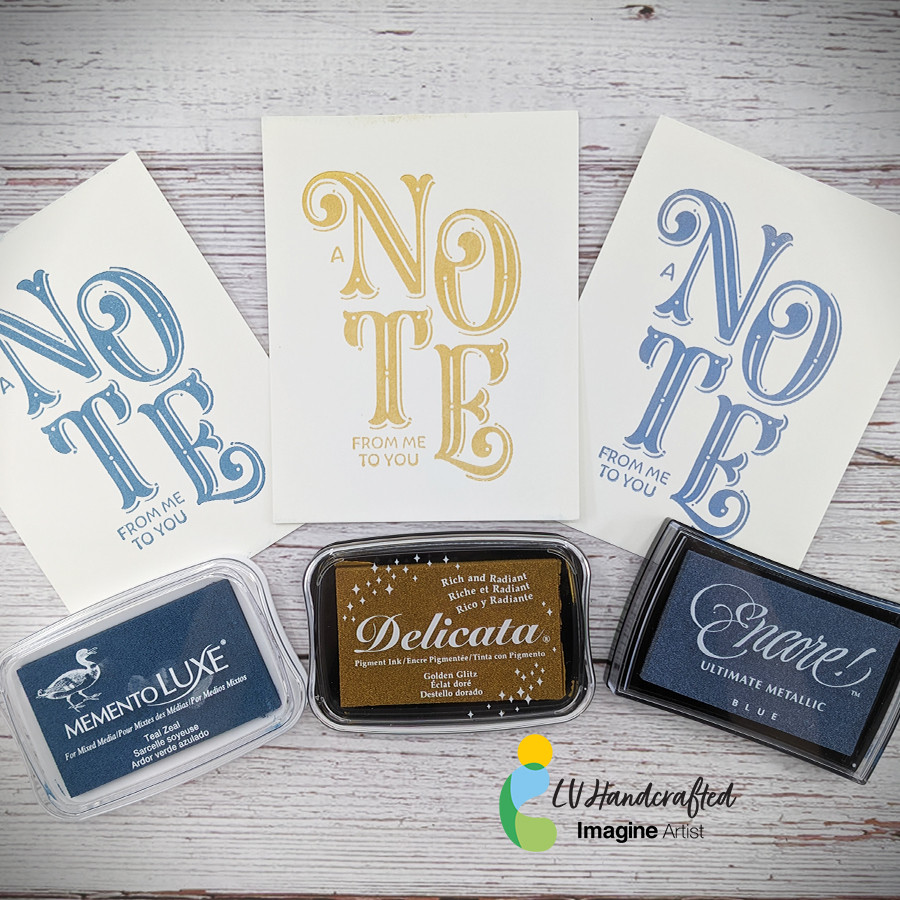
Hello friends! This is Linh (or LV Handcrafted on all the socials). Did you know just about all the Tsukineko inks work BEAUTIFULLY with the BetterPress system? You aren’t restricted to just the special BetterPress Inks. You have the whole rainbow of Tsukineko inks that work just as well. Here are three that I think are particularly gorgeous and fairly consistent and easy to use. These make amazing gift sets that are easy and fast to make yet impressive!
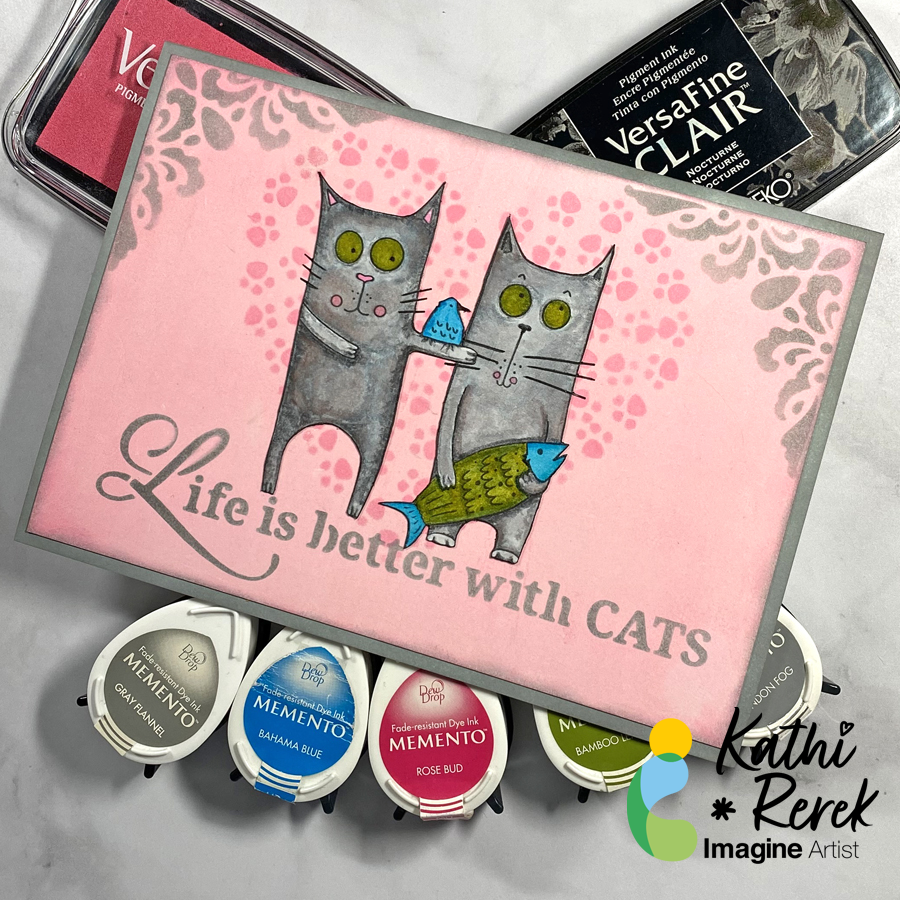
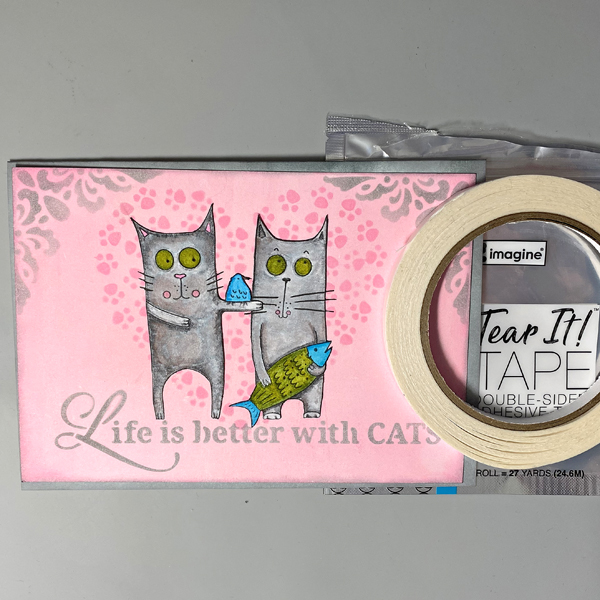
Cats rule the internet and my heart. Here’s a quick card created with inks, stencils, and white paper.
Skill Level: Beginner to Intermediate
Time: 1.5 hours
Directions:
Step 1.
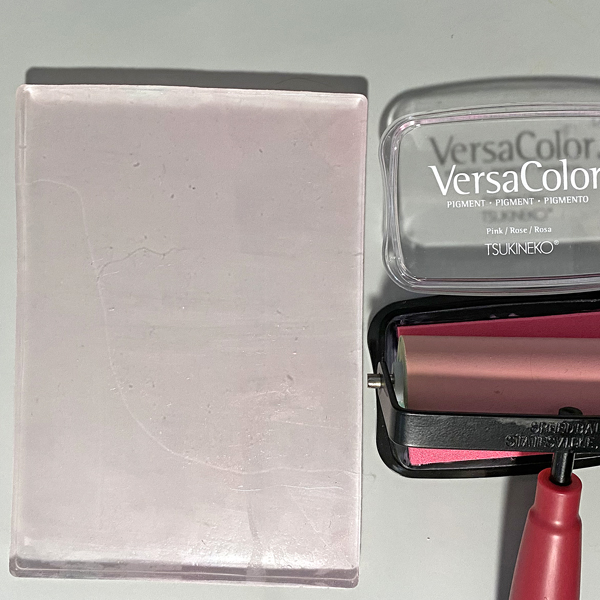
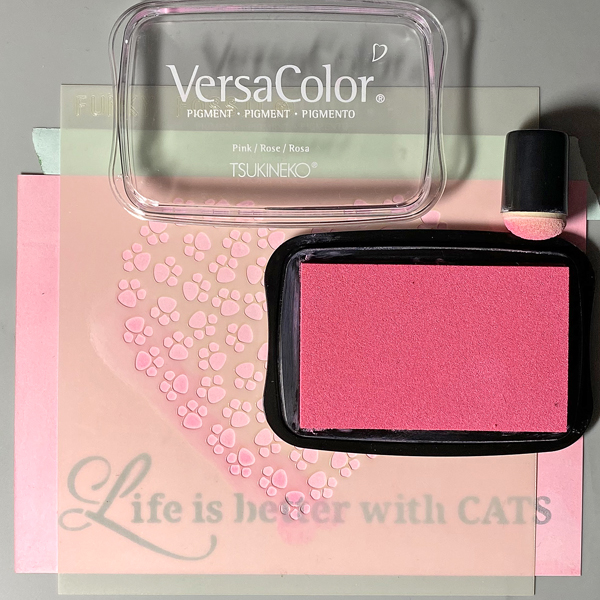
Roll a 4” Brayer onto a Pink VersaColor inkpad, then apply the ink onto a 5” x 7” Gel Press. Place a 5” x 7” panel of Bristol Paper onto the Gel Press, press the back of the paper to pull the print. Heat set the ink.
Step 2:
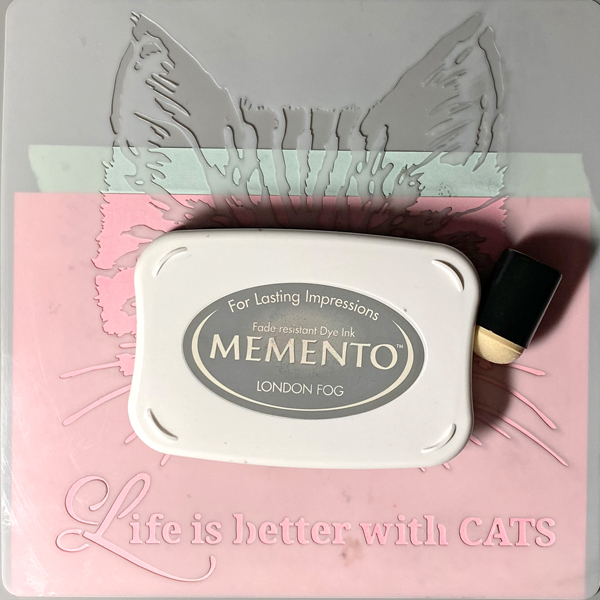
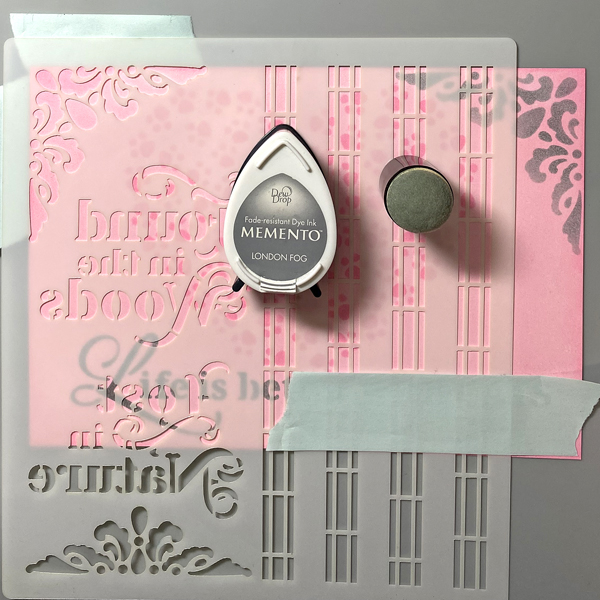
Position the quote on the Life with Cats stencil along the bottom of the inked paper panel. Use tape to secure the stencil to the back of the panel.
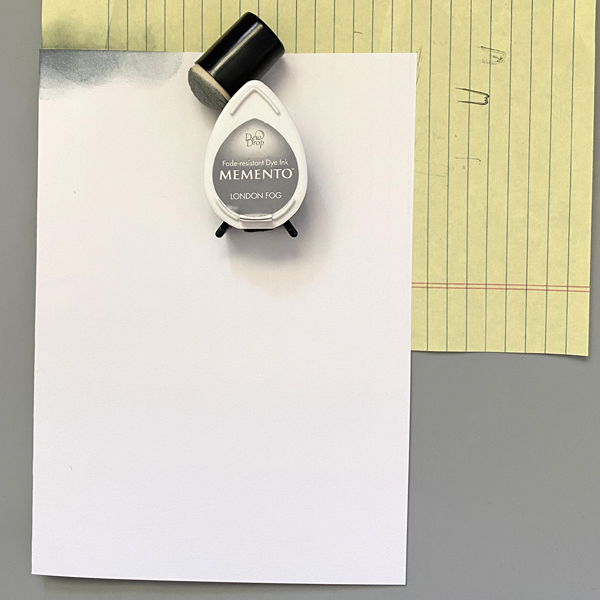
Use a Sponge Dauber to apply London Fog Memento Ink over the stencil onto the inked panel. Remove the stencil.
Step 3:
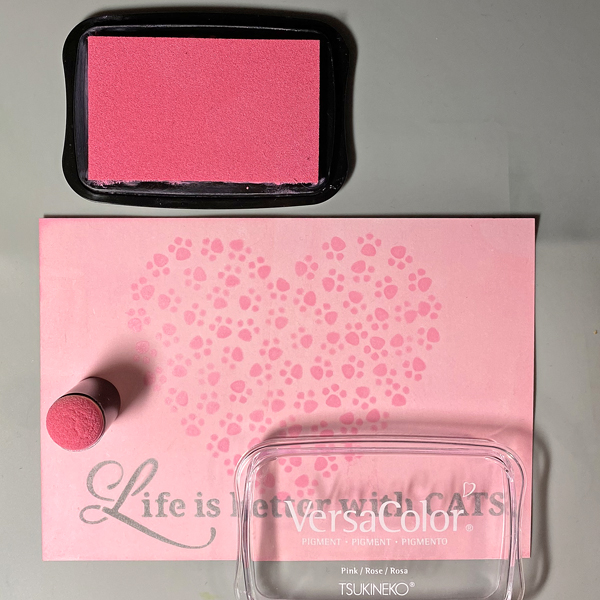
Position the Pawsome Hearts stencil to the center of the inked panel. Use tape to secure the stencil to the back of the panel.
Use a Sponge Dauber to apply Pink VersaColor Ink over the stencil onto the inked panel.
Remove the stencil and heat set the inked panel.
Step 4:
Use the Sponge Dauber to edge the stenciled panel with Pink VersaColor Ink. Heat set.
Step 5:
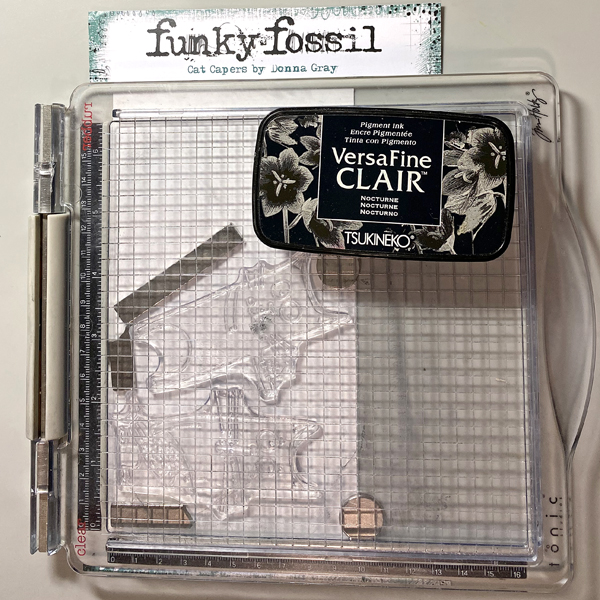
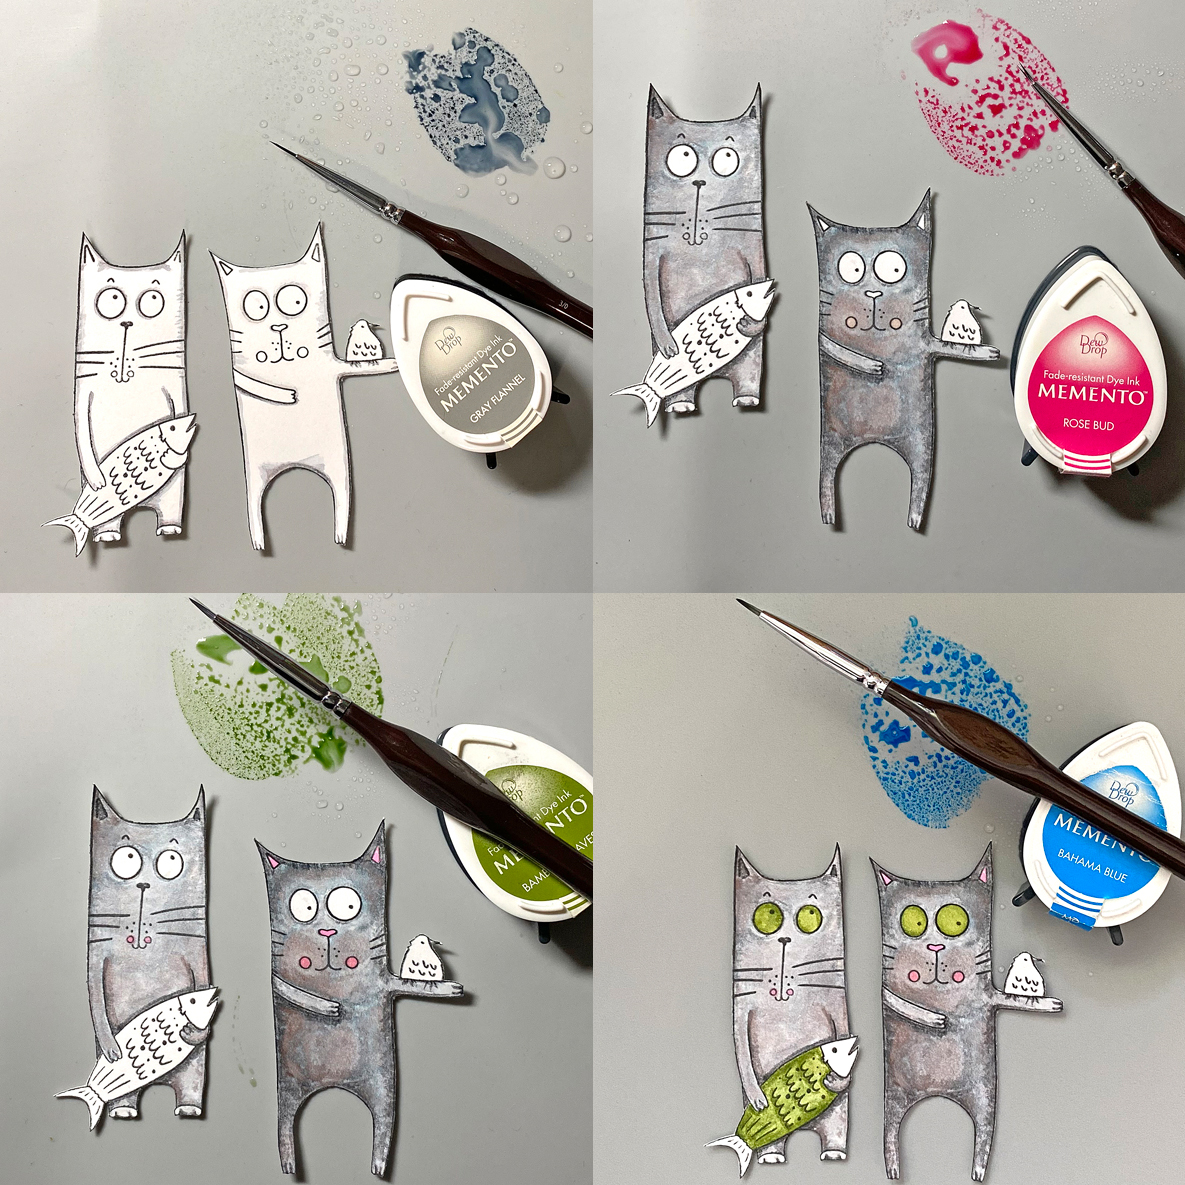
Use a stamping platform and Nocturne VersaFine Clair Ink to stamp two cats from the Cat Capers Clear Stamp Set onto a panel of Bristol Paper. Heat set.
Step 6:
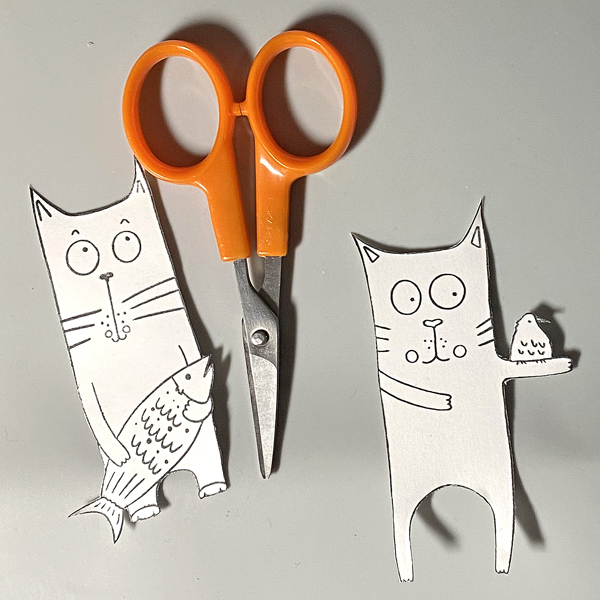
Fussy-cut both cats.
Step 7:
Smoosh London Fog Memento Ink onto a craft mat. Mist with water. Use a fine paintbrush to color the cats’ fur. Clean the ink off of the craft mat and the paint brush.
Repeat the above steps with Rose Bud Memento Ink to color the cheeks, nose, and ears. Bamboo Leaves Memento Ink for their eyes and the fish body, and Bahama Blue Memento Ink for the bird and the fish head and tail.
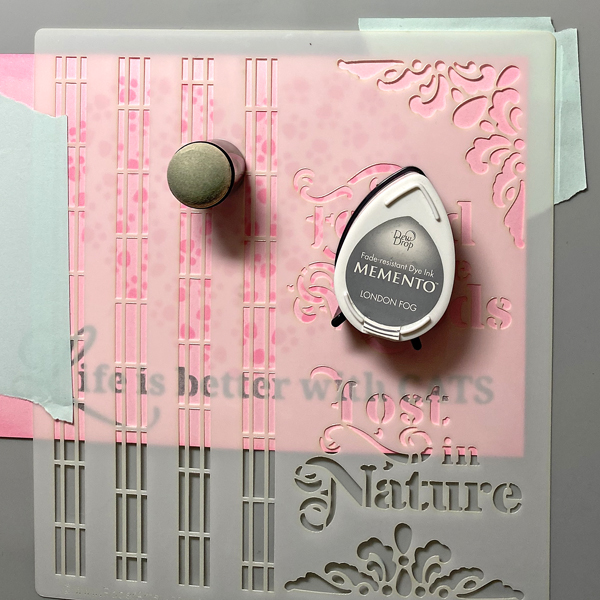
Step 8:
Position the corner flourish of the stencil on the upper right corner of the background panel. Secure with tape on the reverse.
Use a Sponge Dauber to apply London Fog Memento Ink over the stencil onto the panel.
Remove the stencil. Clean and dry it thoroughly.
Flip the stencil, position the corner flourish of the stencil on the upper left of the background panel. Secure with tape on the reverse.
Use a Sponge Dauber to apply London Fog Memento Ink over the stencil onto the panel.
Remove the stencil. Use a Sponge Dauber to edge the panel with London Fog Memento ink.
Step 9:
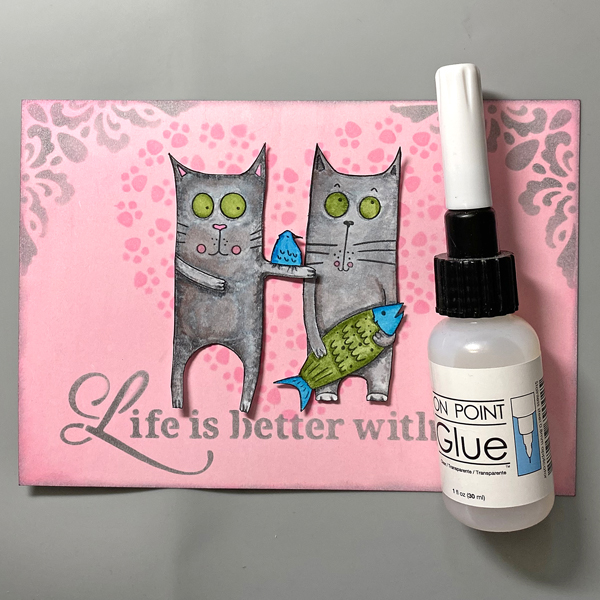
Use On Point Glue to secure the cats to the background panel as shown.
Step 10:
Create a 7” x 5” card from white cardstock. Apply London Fog Memento Ink around the edges of the white cardstock.
Step 11:
Use Tear It! Tape to adhere the panel to the inked card.
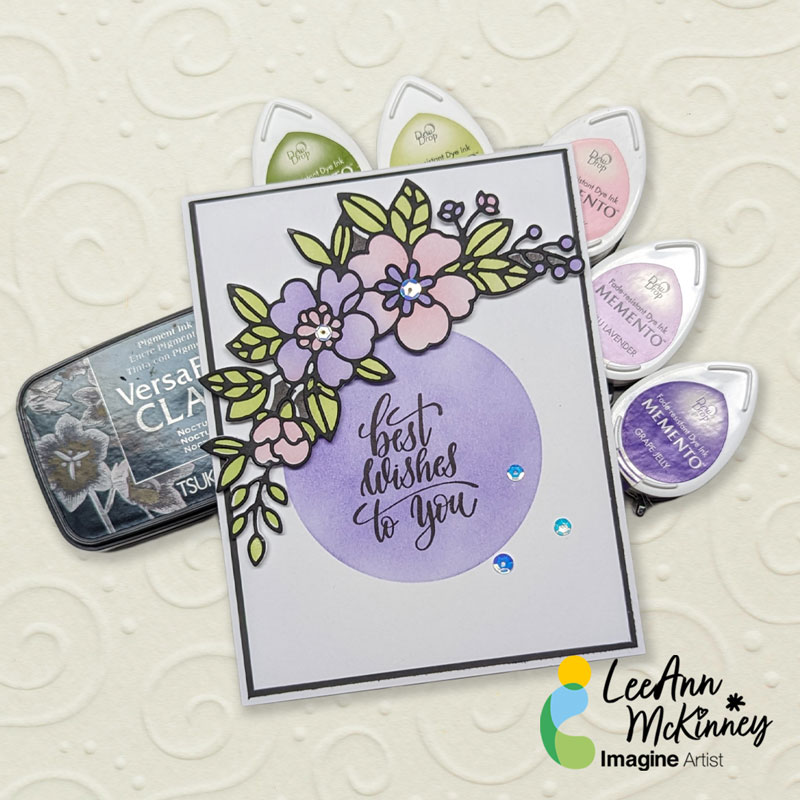
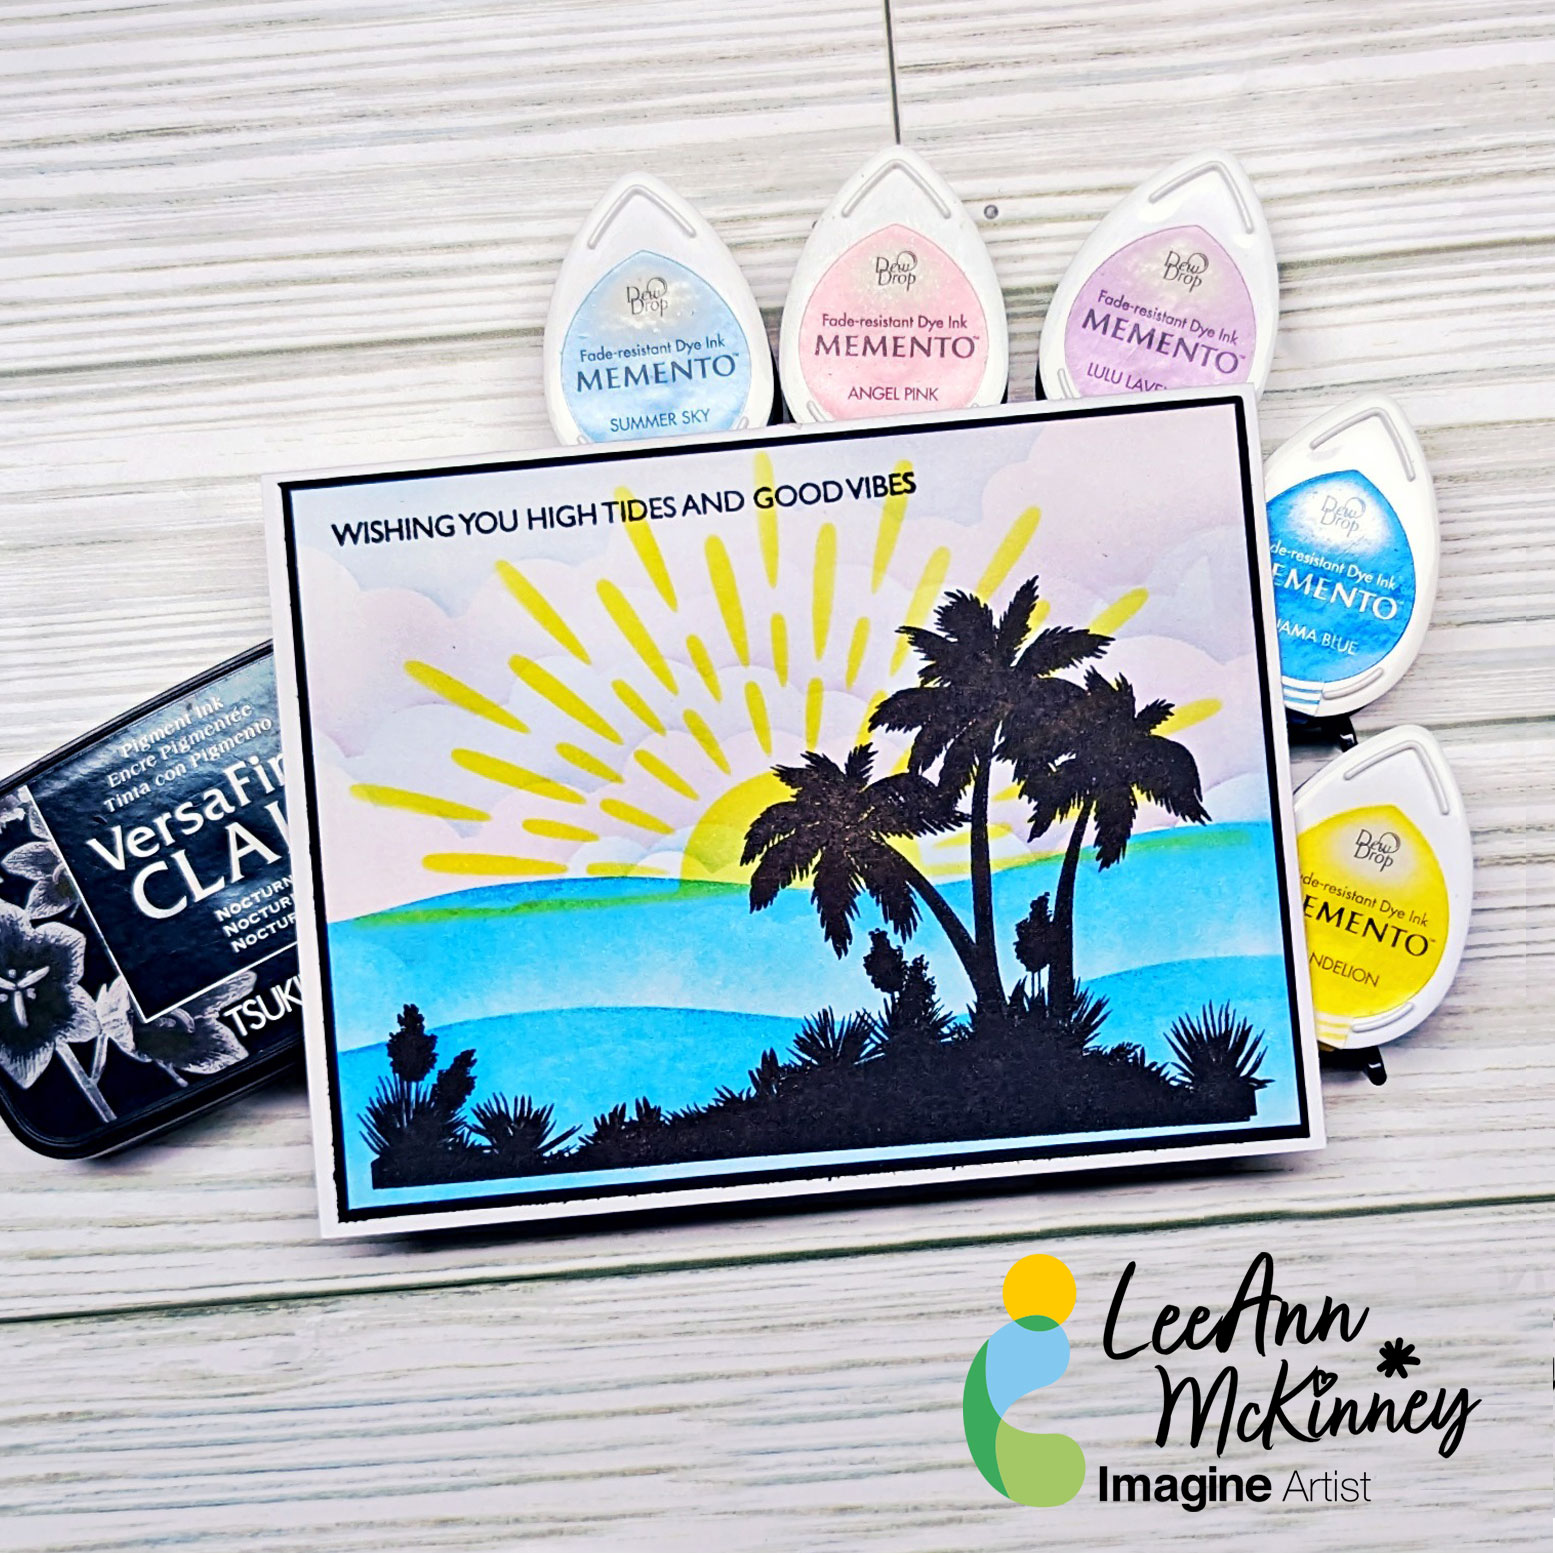
Greetings friends and fellow crafters, LeeAnn here with a fun to make, retirement card using both stencils and stamps. I am finding myself in love with stencils these days, and you will see more coming from me in the upcoming months.
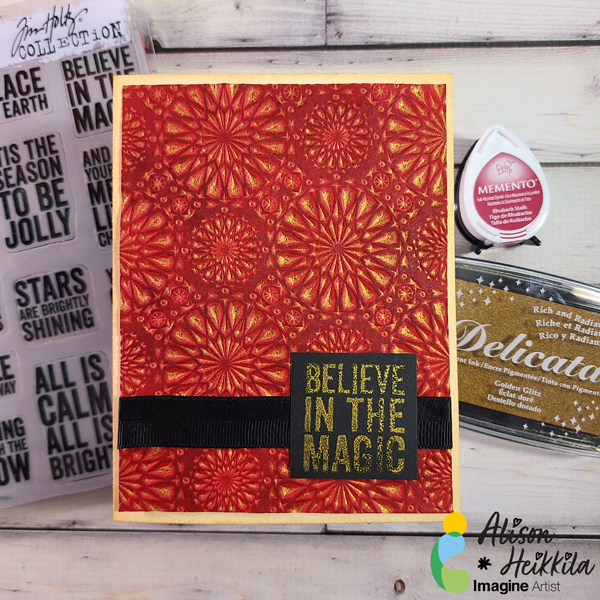
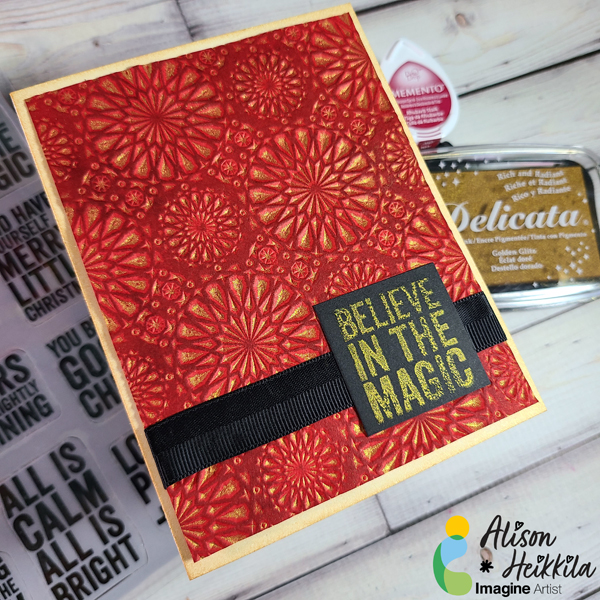
Greetings! It’s Alison Heikkila. I recently watched a video from Jennifer McGuire that was all about inking embossing folders to create beautiful inky and dimensional cards easily. I wanted to give her techniques a try using inks from Imagine. I also decided that this would be a great opportunity to make a Christmas card. You can check out my YouTube video below.
Skill Level: Beginner Time to Complete: 15 minutes