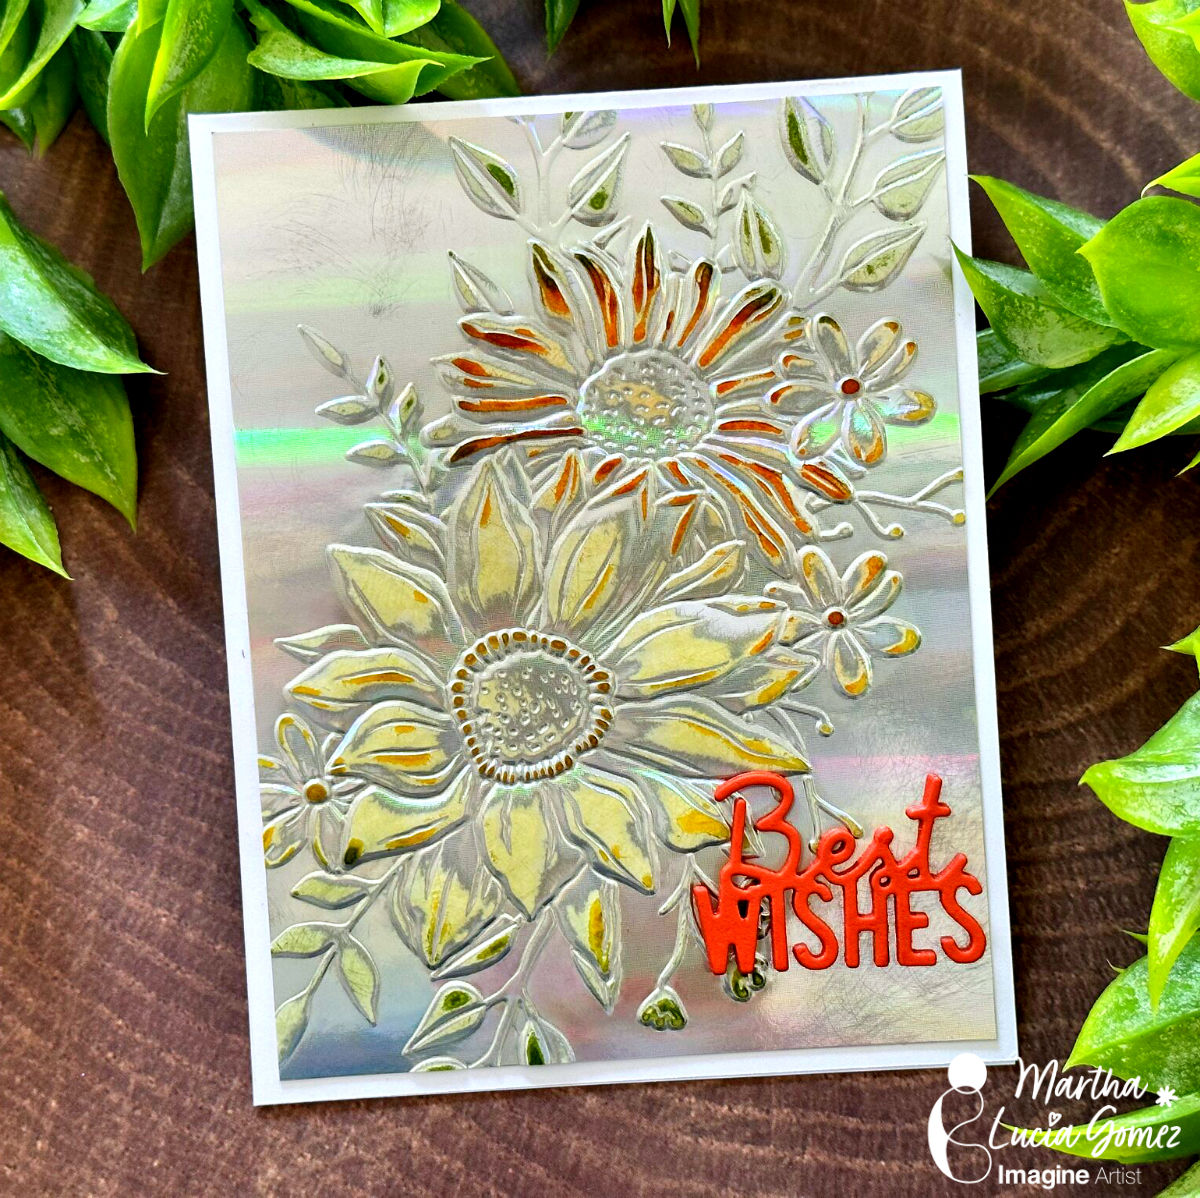
Hello crafty friends! Today, I have a fun tutorial to make a unique congratulations wedding card. Let me share the project with you.
Skill Level: Beginning Time: 60 minutes
Directions:
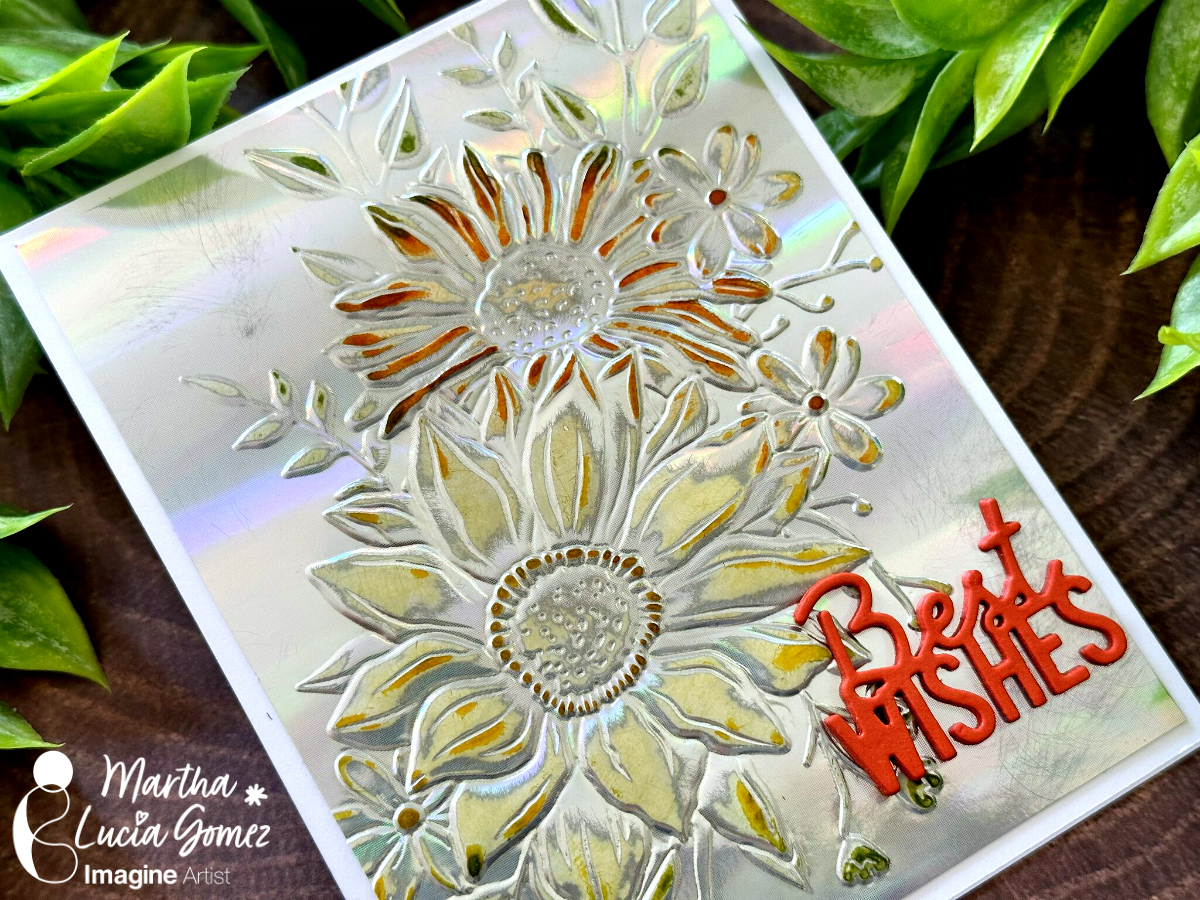
To make this card is important that you use one side metallic cardstock with an embossing folder. This cardstock can be glossy or matte.
Step 1:
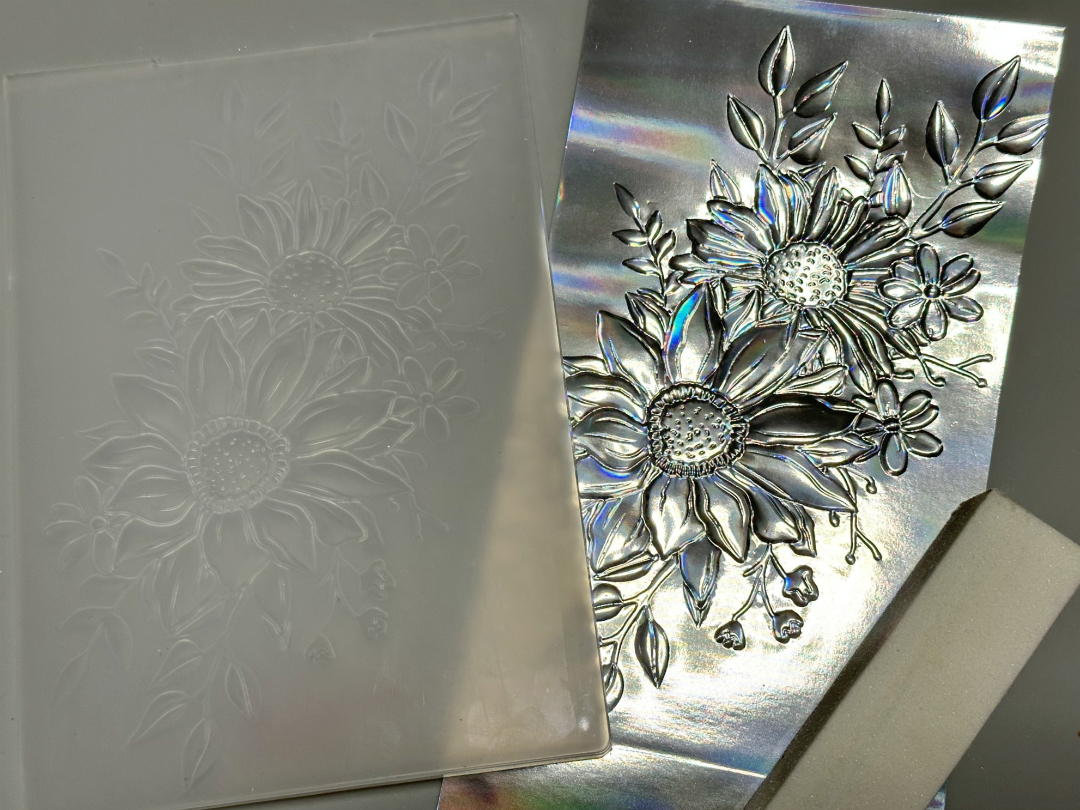
Take a piece of one side glossy silver cardstock and dry emboss it with the embossing folder of your preference.
Step 2:
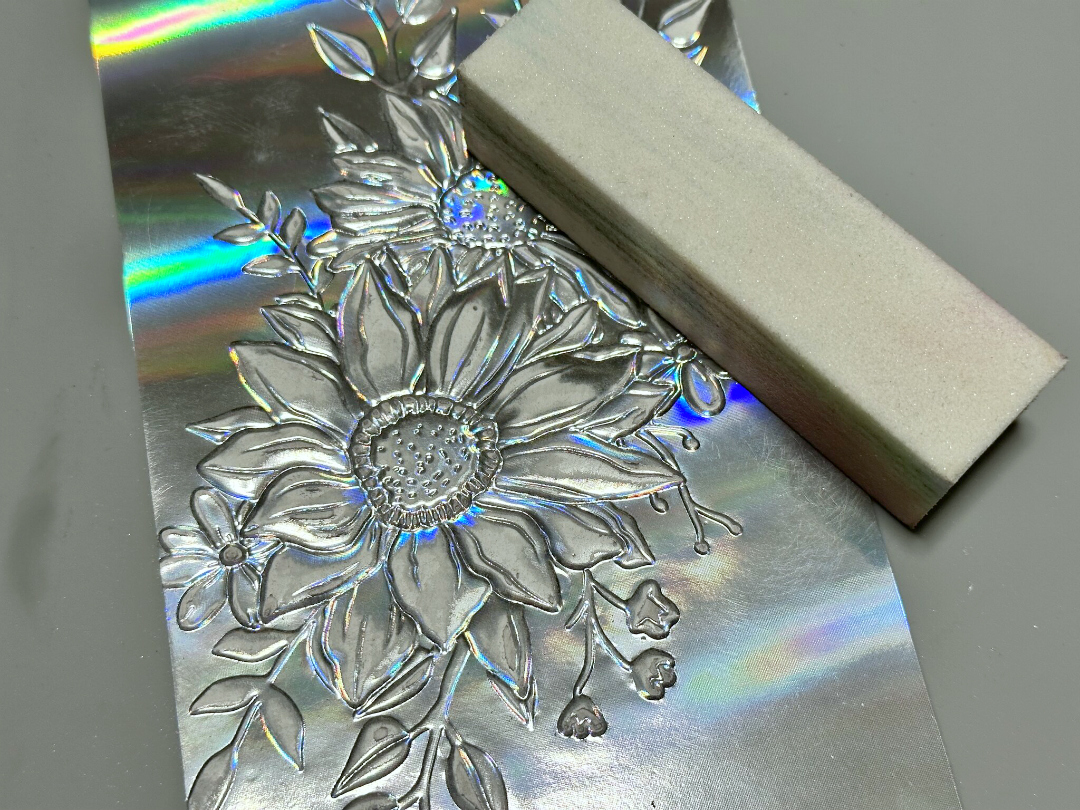
Remove the metallic color over the embossing with a sanding block. Make it soft so that it doesn’t break the cardstock. Clean with a dry cloth.
Step 3:
Select the colors of ink that you want to give to the embossing design. In my sample, I am using Memento Ink in colors Dandelion, Tangelo and Bamboo Leaves. Then, apply the colors directly over the sanded areas or use a sponge dauber.
When you are satisfied with the colors, pass a dry cloth over the embossed area to remove the excess ink. Resize the layer and paste it over the card base.
Step 4:
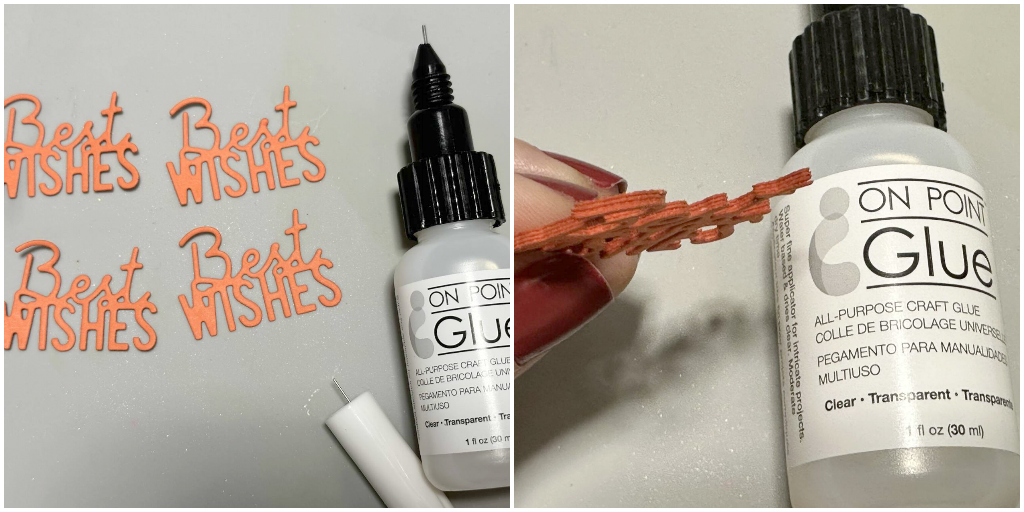
To finalize the card, you can use a die cut sentiment with more dimensions. In my sample, I die cut four times the Best Wishes sentiment using the same color of cardstock and then I paste all of them with OnPoint Glue.
Step 5:
Adhere the sentiment over the card base using the same adhesive.
Thanks for stopping by and remember, you don’t need to create complicated projects. Just use the best inks and let your creativity shine!
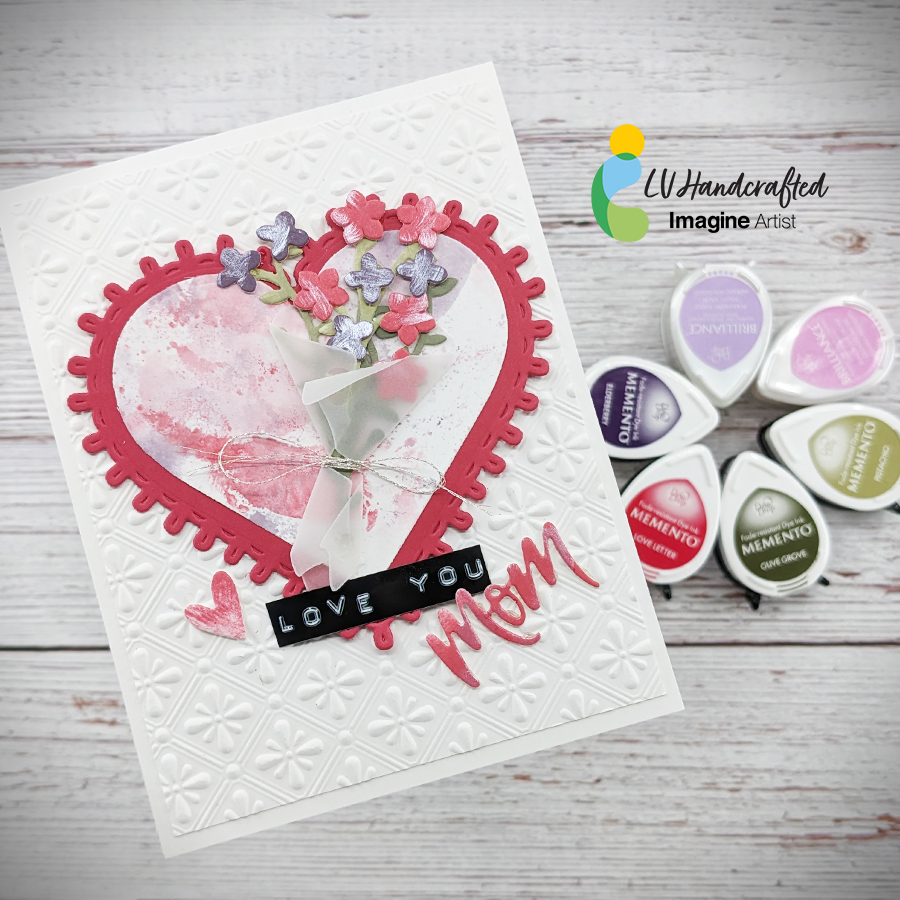
Hello friends! This is Linh (or LV Handcrafted on all the socials). Do you feel like doing something a little abstract? Try these techniques out for creating some fun backgrounds you can use as panels or die cut out of like I’ve done here. In my video, I’ll show you 3 techniques for using Imagine inks to turn plain ol’ white cardstock into beautiful, abstract papers. All the techniques are super easy but I’ll list them below in order of what I think is simplest to the most elaborate.
Technique #1 – Swipe your Memento Dew Drop ink pad directly onto your white cardstock. you can create a solid block of color or use a lighter touch to create a more stripy, imperfect effect. Instantly, you’ll have a panel of color cardstock! The benefit to making your own cardstock this way is if you use that ink pad to stamp with, you now have paper that perfectly coordinates with it.
[Note: I used this technique for the flowers — stems and flower blooms]
Technique #2 – Smear some ink onto a piece of acetate or clear plastic packaging. Spritz with water — more water will dilute the color more, less water will keep the colors strong and vibrant. Smoosh the watered down ink onto a white cardstock panel. Repeat with a single or multiple colors until you have the desired effect. Tip – if you are using plain cardstock and not watercolor paper, the more water you use, the more your paper will warp. Try less water or put your panel under a stack of books to flatten it out.
[Note: I used this technique for the inner heart die cut behind the bouquet of flowers.]
Technique #3 – Start with Technique #1 to lay down a solid block of color. Then, using a Brilliance Dew Drop in Pearlescent finish, make random swipes, swirls, streaks, etc. across your panel. Brilliance ink is a pigment ink, so it will take a little bit of time to dry, but you can also take a heat gun to the panel or cover with clear Mboss powder and melt it for a lovely shine. The result is a panel that has some lovely streaks of pearlescent shine.
[Note: I used this technique on the flower blooms to give them an abstract look. I also die cut the word “Mom” and the heart from this panel too.]
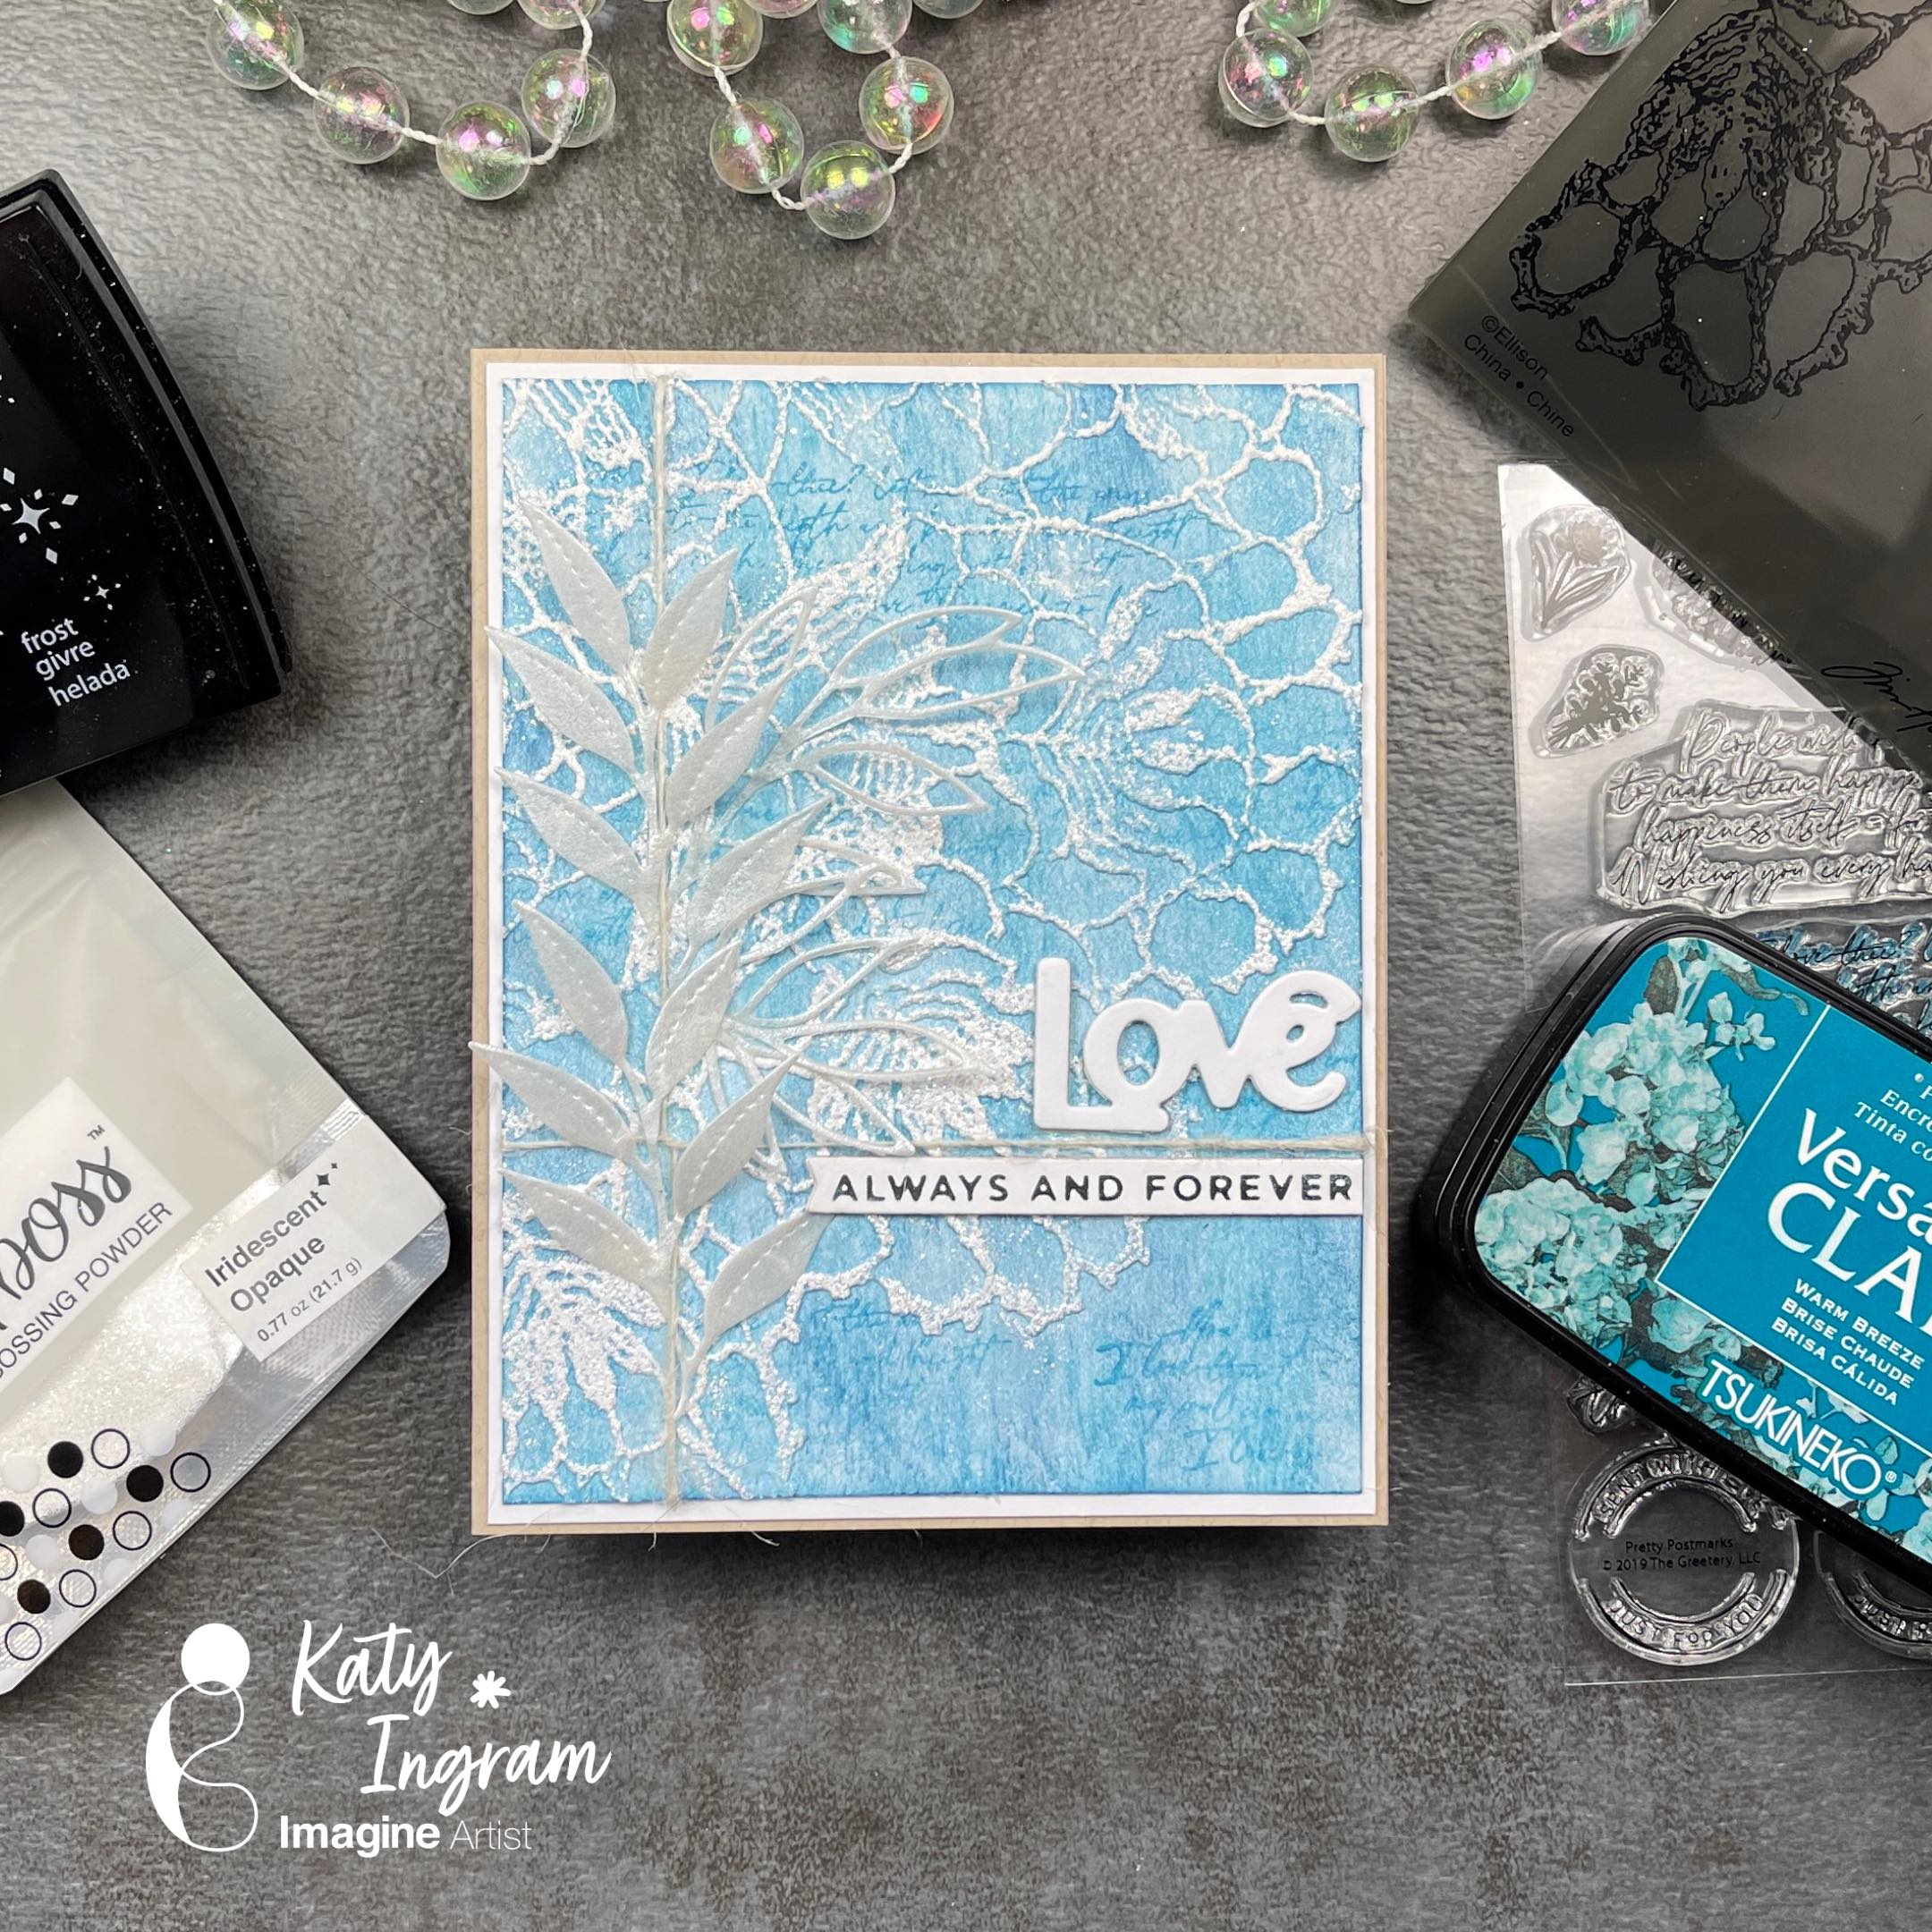
Hello Friends! Katy here and today I am excited to share this really cool background technique.
In today’s video tutorial I am sharing how I use a 3D embossing folder and iridescent opaque Mboss embossing powder to create a wedding or anniversary card. The colors I chose definitely give me a beachy vibe and I am loving it!
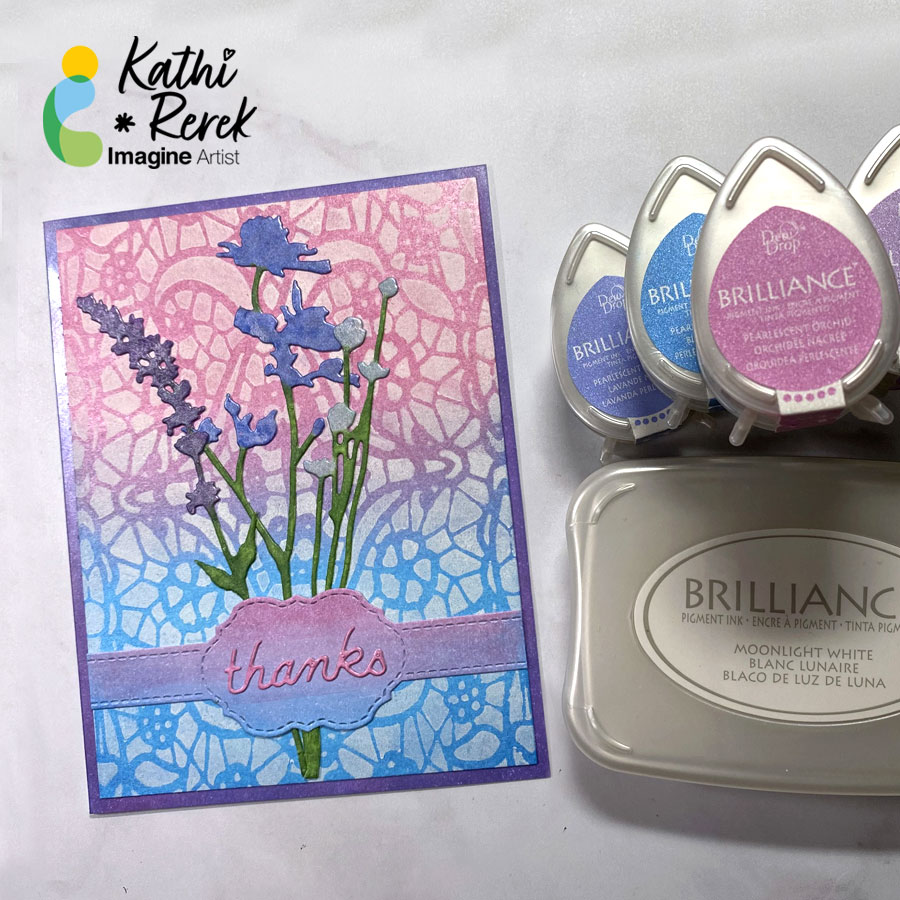
– Greetings! It’s Kathi here. In today’s tutorial, I am going to show you how to create a shimmery Thank You card using multiple Brilliance Ink colors.
Skill: Beginner to Intermediate
Time: 1.5 hours
Directions:
Step 1:
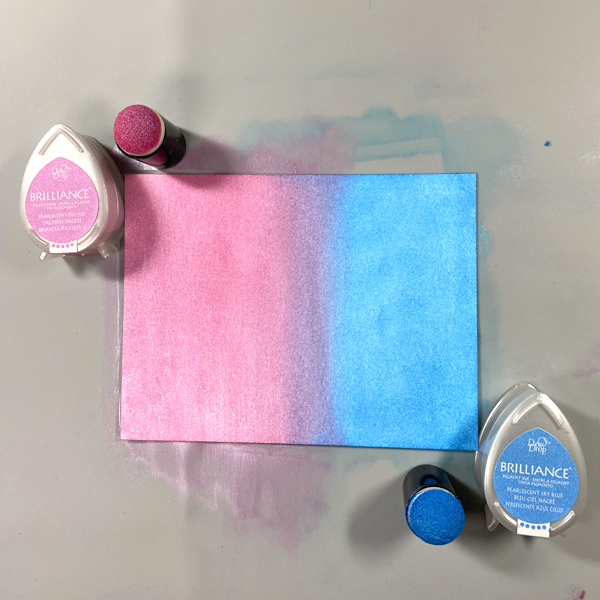
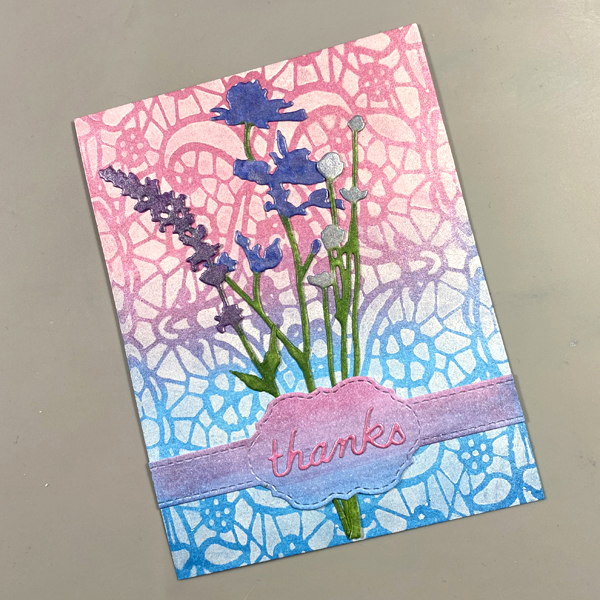
Cut a piece of Mixed Media paper to 4” x 5.25”. Using a Sponge Dauber, apply Sky Blue Pearlescent Brilliance Ink to half of the panel. Use another Sponge Dauber to apply Orchid Pearlescent Brilliance ink to the other side. Blend the two colors of ink in the center.
Repeat this step with a second piece of paper. Set this piece aside to be used later.
Step 2:
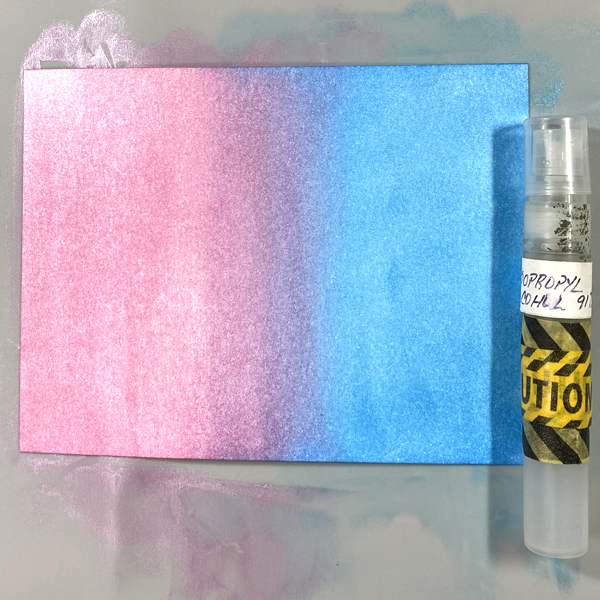
Spray Isopropyl Alcohol onto ink blended paper panel and let sit for a minute. The alcohol will lighten, blend, and add white speckles to the paper. Heat set.
Step 3:
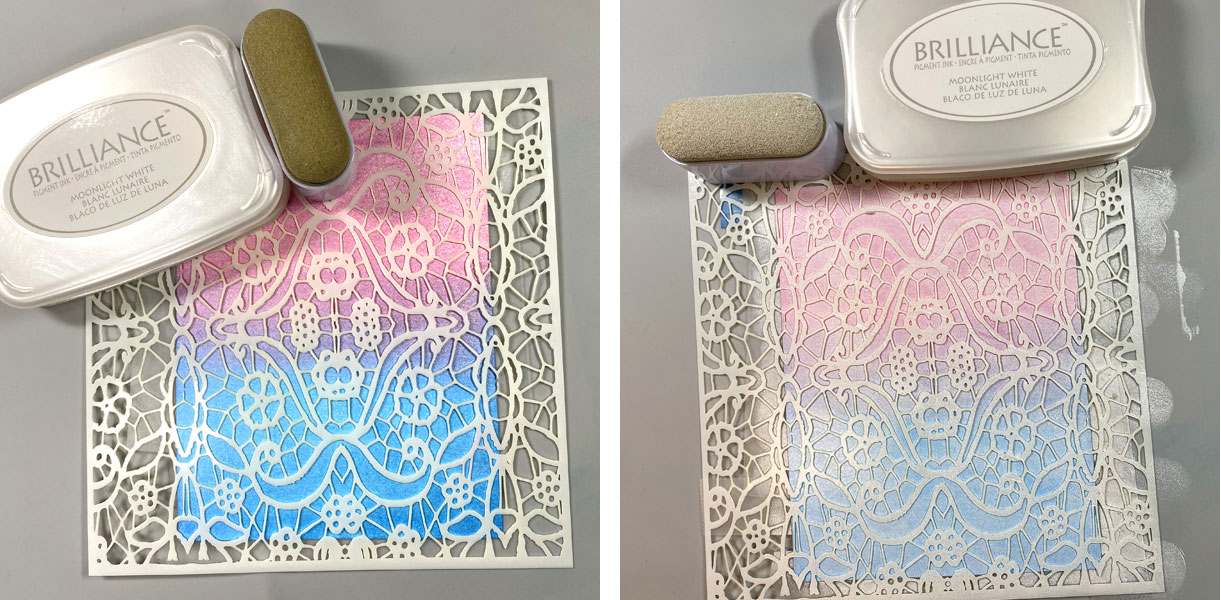
Use Removable Scotch Tape to tape the background panel to the back of the Mosaic Stencil, then use an Ink Sweeper to apply Moonlight White Brilliance ink over the stencil onto panel.
Step 4:
Remove the tape and the stencil. Heat set.
Step 5:
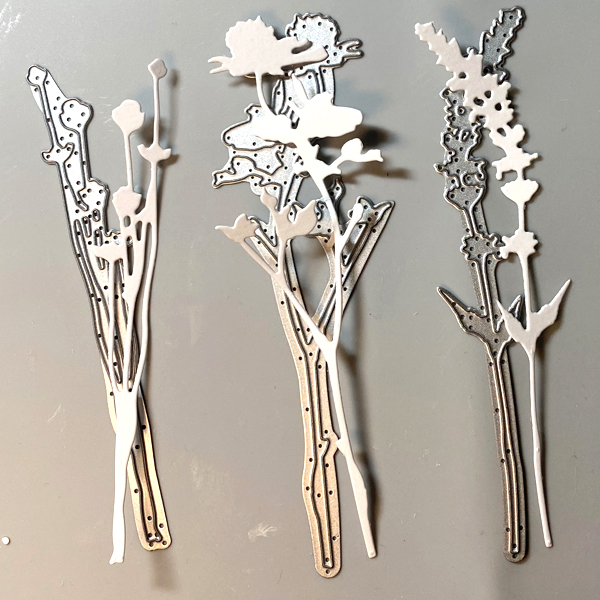
Use three flower dies from the Wildflowers 1 Thinlits Die Set to cut Mixed Media Paper.
Step 6:
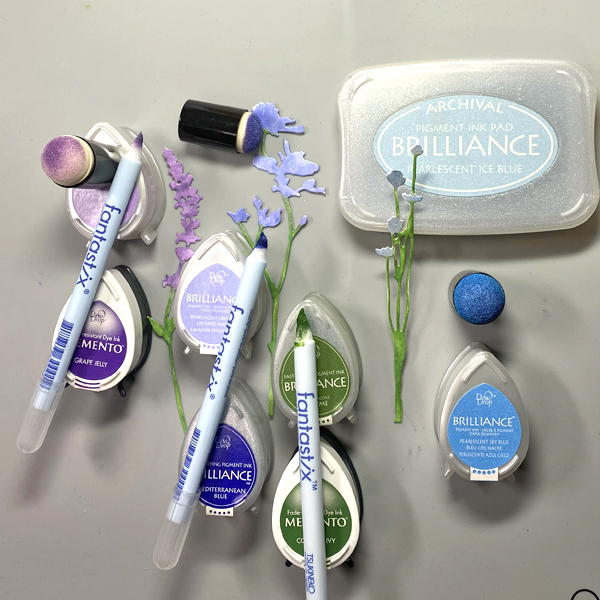
Use Sponge Daubers to apply Pearlescent Purple, Pearlescent Ice Blue, and Pearlescent Lavender to the flowers. Use Fantastix Brush applicators to detail the flowers with Mediterranean Blue Brilliance, Pearlescent Sky Blue Brilliance, Grape Jelly Memento inks. Color the flower stems and leaves with Pearlescent Thyme Brilliance and Cottage Ivy Memento inks.
Step 7:
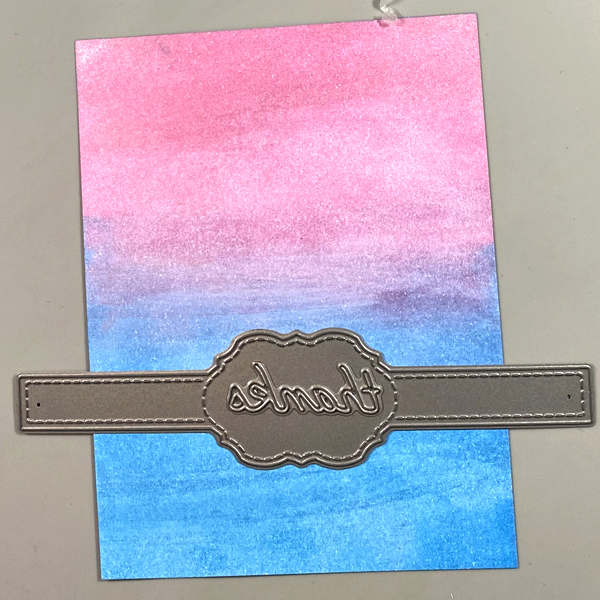
Use the Belly Band and “thanks” dies to cut the extra panel of paper created in Step 1.
Step 8:
Adhere the flower die-cuts to the stenciled panel. Adhere the Belly Band die-cut over the flower stems. Adhere the “thanks” die-cut to the center ornament of the Belly Band.
Step 9:
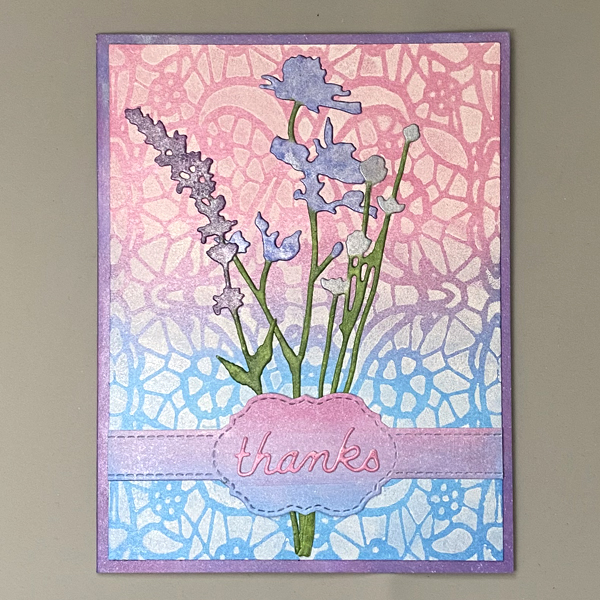
Cut a piece of white cardstock in half. Score and fold to form an A2 card. Put a piece of scrap paper inside the card, then use a Sponge Dauber to apply Purple Brilliance ink around the edges of the front of the card. Heat set.
Step 10: Use Tear It! Tape to adhere the image panel to the card.
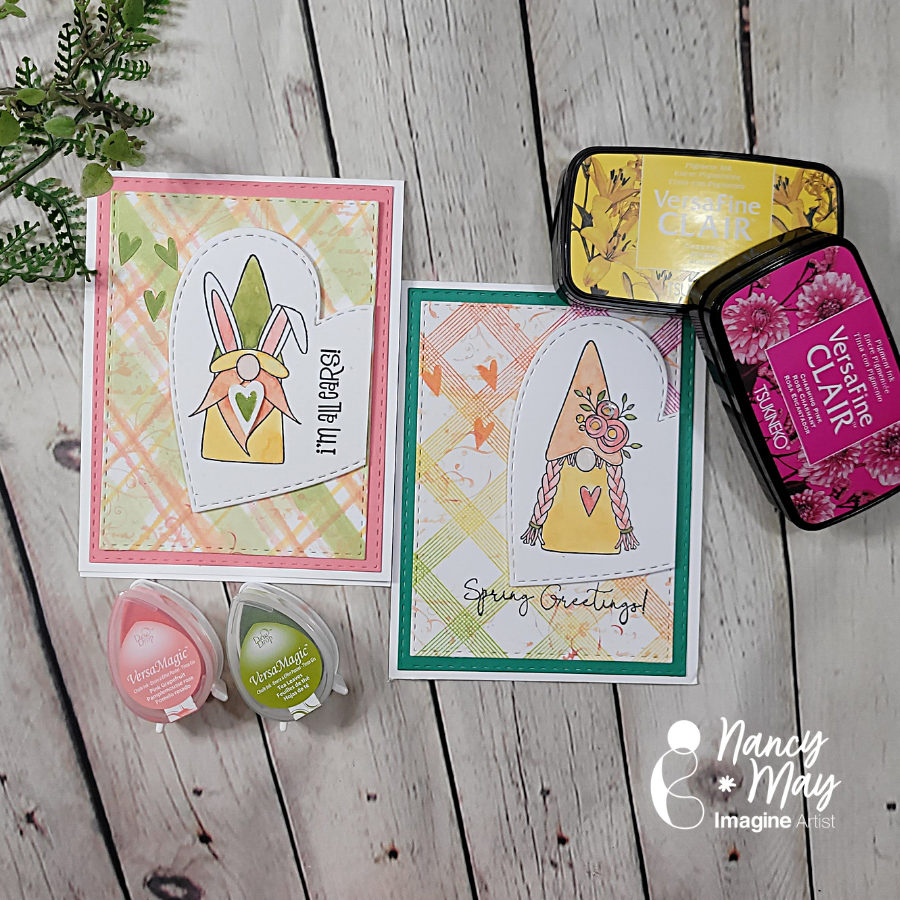
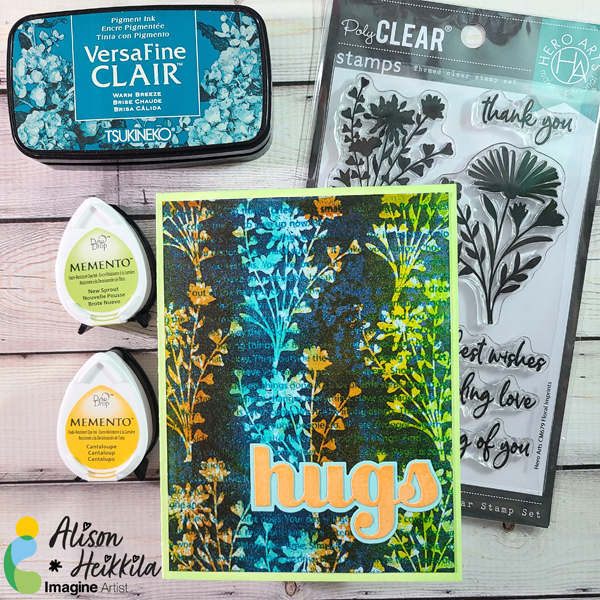
Hey y’all. We are going to make two very different fun, bright Spring plaid backgrounds. One is very controlled, precise, and clean, stamped in VersaFine Clair inks with a fun color gradient; the other is much looser and more organic, hand painted with VersaColor inks for a more painterly look.
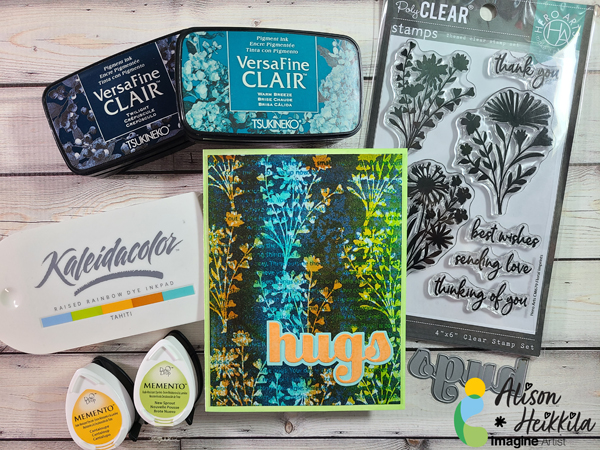
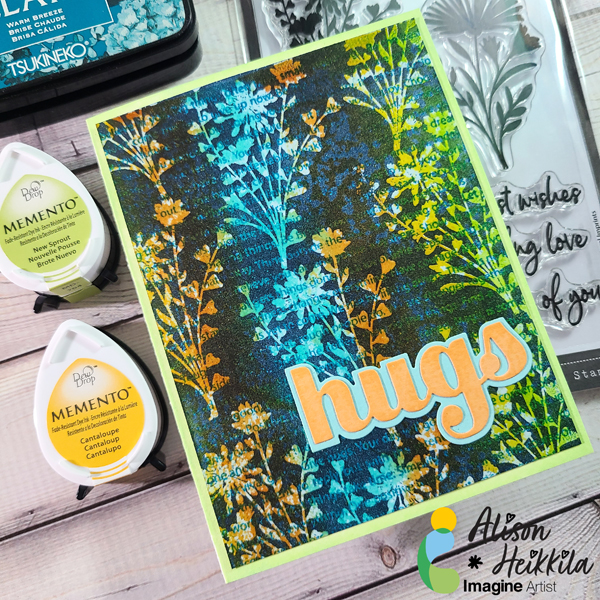
Hello! I have a new tutorial for Imagine today and it uses some of my favorite types of inks: Kaleidacolor and VersaFine Clair. I’m going to show you how to use bold silhouette stamps, along with a detail stamp to get a unique “trapped rainbow” effect.
*Some affiliate links are used in this post. That means that if you shop through these links, I may receive a small compensation, at no cost to you.For more information, please see my Affiliates page, where I also have some coupon codes.
Difficulty: Intermediate Time to Complete: Approx. 45-60 Minutes
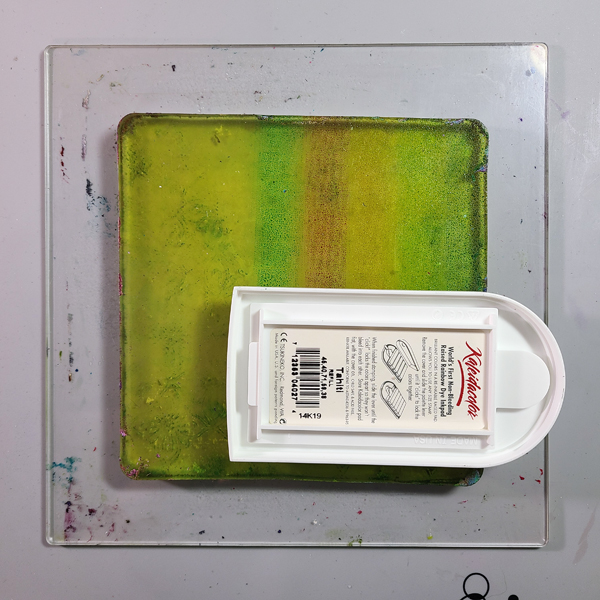
Step 1:
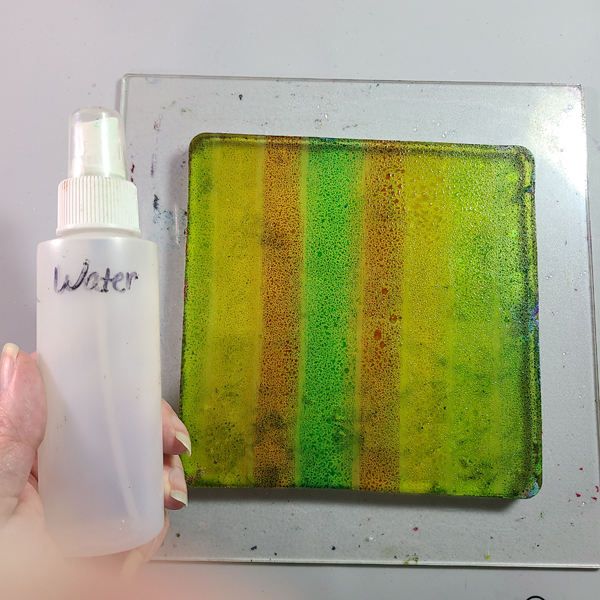
Apply Tahiti Kaleidacolor Ink to a 6×6 Gel Press Plate. Gently tap the color. You don’t need much.
Pro Tip: The Kaleidacolor Inks do not need to be clicked together. The pad does not reach across the entire surface, and the little area for your finger to click the colors together can get in the way of inking the Plate. I have mine hang over the edge, as seen above, then I flip the pad around to the other side of the Plate to finish inking it.
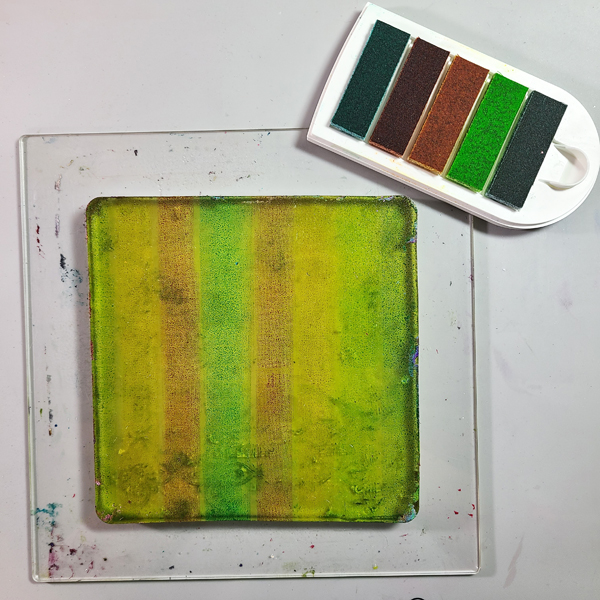
Your Gel Press Plate will look like this when you are done inking.
Step 2:
Spray the Plate lightly with water.
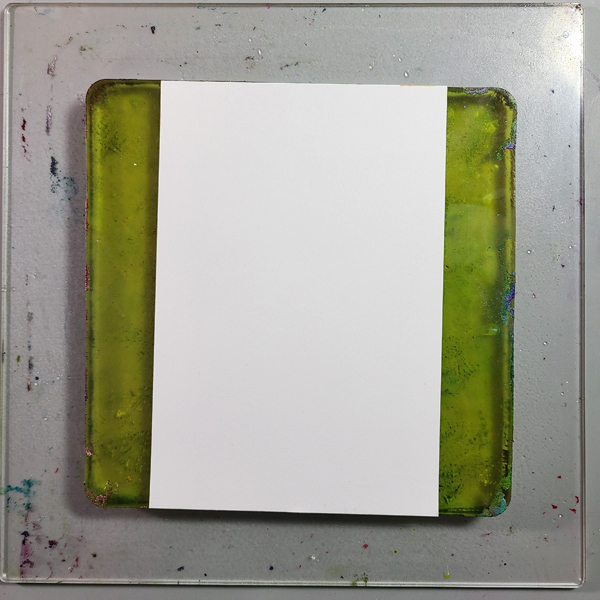
Step 3:
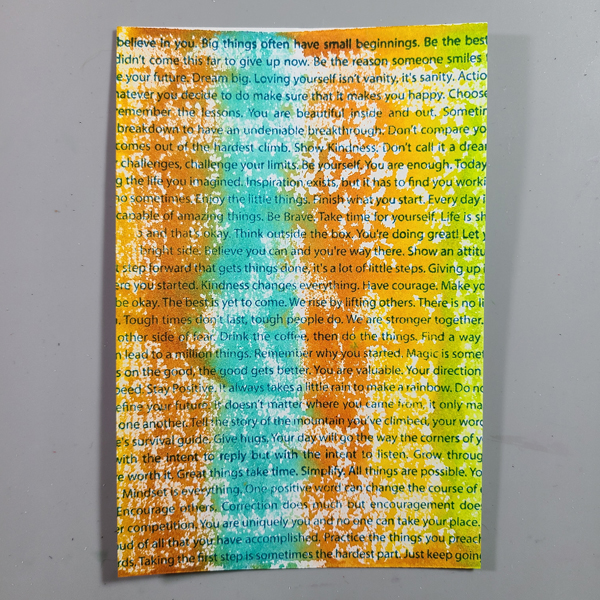
Lay a piece of cardstock on to the Plate. Gently rub your hand across the back of the cardstock. If you are worried about getting ink on your hands, cover the whole plate with a piece of copy paper and rub.
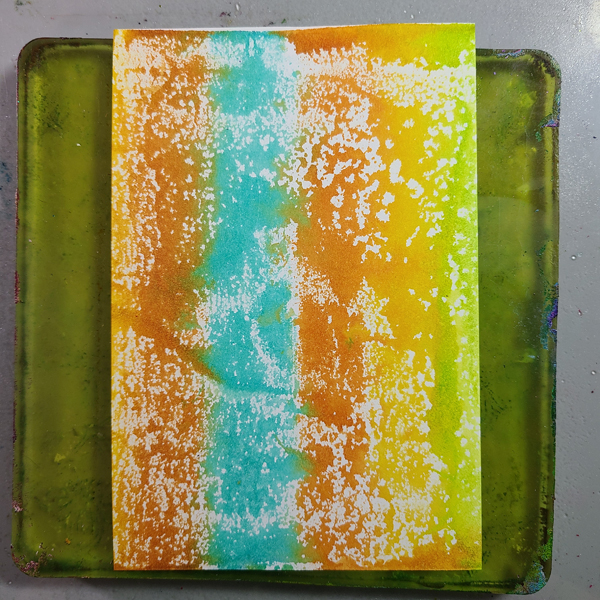
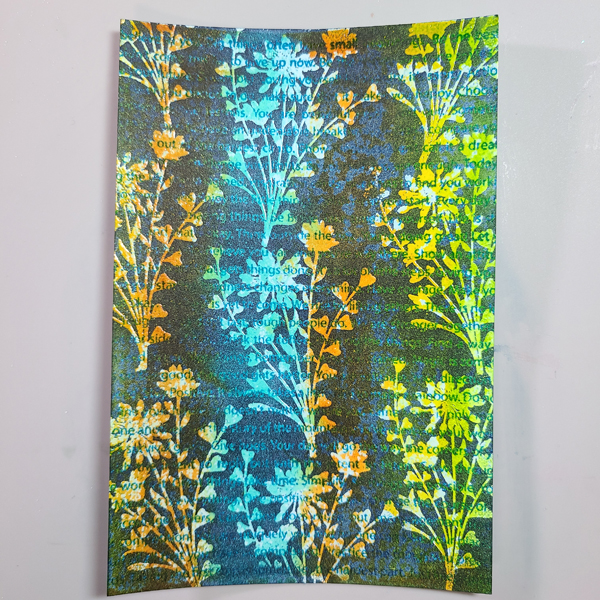
This is what the monoprint, or “pull” will look like. I love the bits of white showing…it makes it look grungy.
Step 4:
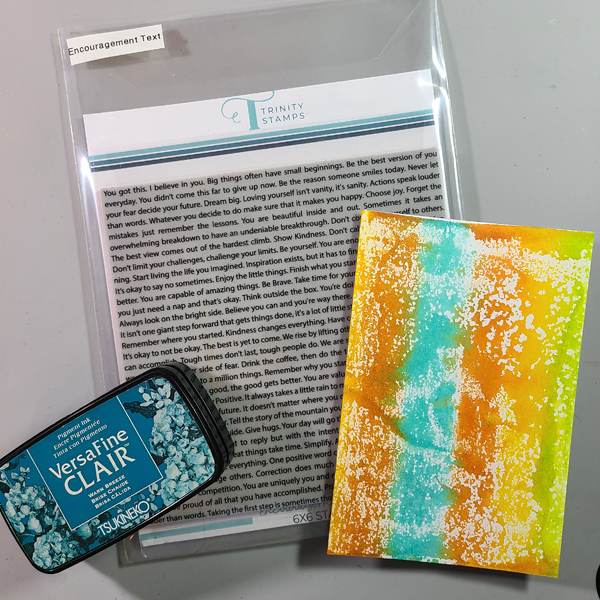
Let’s add some more interest by stamping a large text stamp on to our background. I inked this stamp up with Warm Breeze. Don’t worry about what the stamp says, you won’t be able to read much of it when we’re finished.
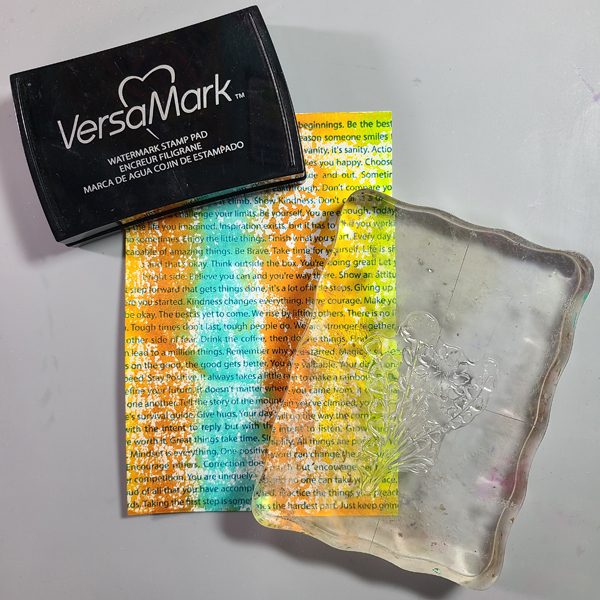
Step 5:
Dry the panel completely with a heat tool or embossing gun. VersaFine Clair ink stays wet for a long time, and we don’t want embossing powder to stick anywhere just yet.
Step 6:
Apply your silhouette stamp to an acrylic block. Stamp it all over the panel, without overlapping the images. It will be hard to see, so if you are having trouble, go back and forth between this step and the next.
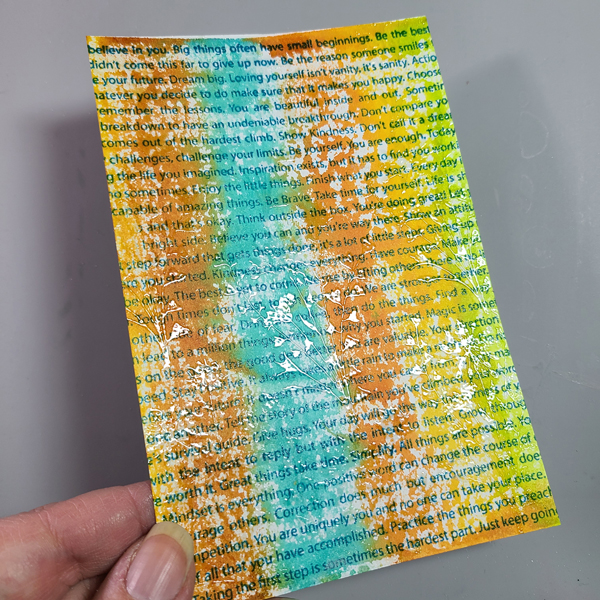
Step 7:
Sprinkle Clear Embossing Powder on to the stamped images and heat set.
You can see some of the shine from the embossed florals above. Don’t worry, with the next step, they will be much easier to see.
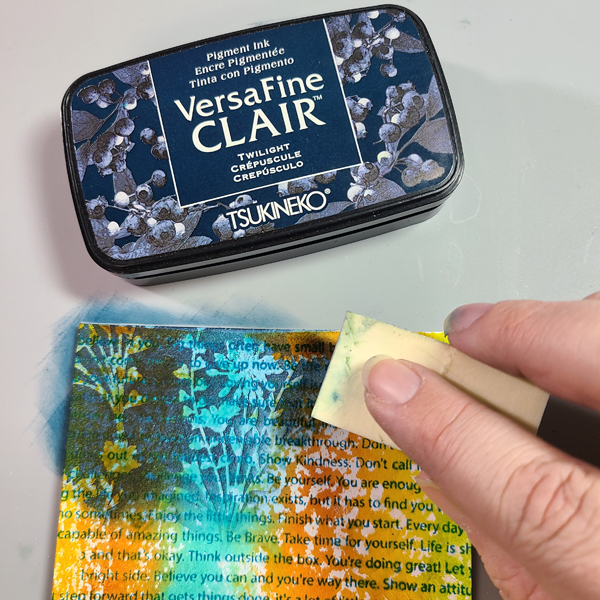
Step 8:
Using a cosmetic sponge (which gives a nice heavy application), apply Twilight Ink across the entire panel. You will see that the areas that have been embossed will resist the ink.
Step 9:
When you are done inking the panel, buff off the excess with a dry cloth or paper towel. Trim the panel down to 4″ x 5 1/4.”
Step 10:
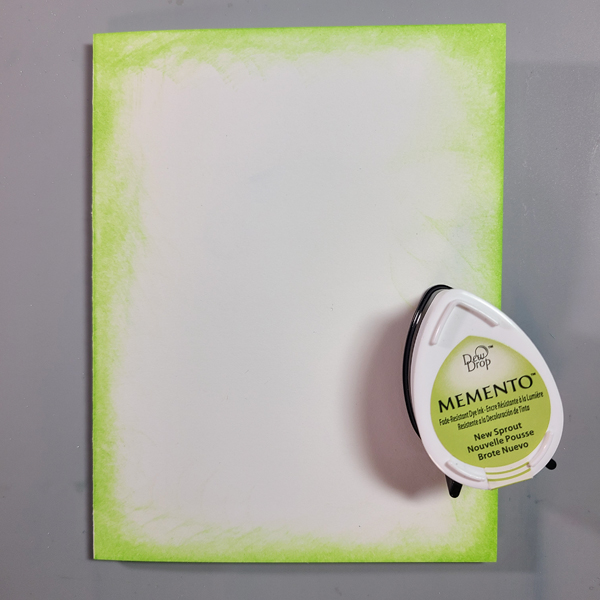
Apply New Sprout ink to your white card base, just around the perimeter.
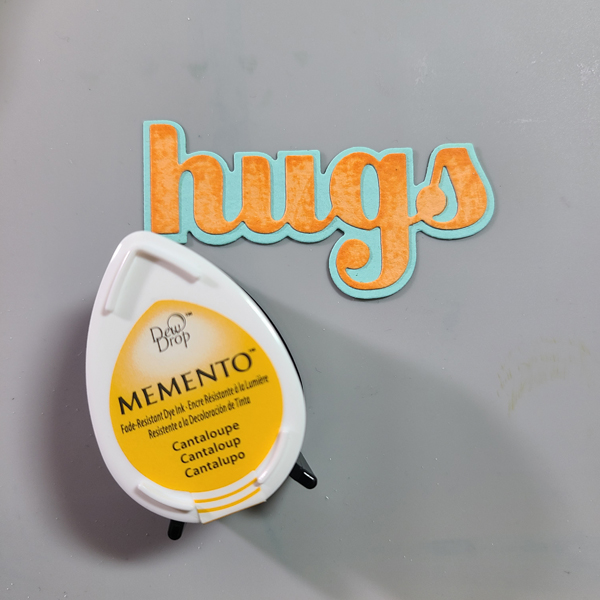
Step 11:
Die cut your sentiment. To grunge it up a bit, lightly apply Cantaloupe Ink to the top layer, which will bring out the texture in the cardstock.
You can of course change up the colors however you like! Kaleidacolor Inks come in a wide range of palettes. I hope you will try this technique for yourself. Thanks so much f stopping by. Have an inspiring day!