by Kyriakos Pachadiroglou

Owls are mysterious nocturnal birds and to honor their unique characters I decided to make a scrapbook or art layout using a combination of colors and techniques. Combining different kinds of inks, I colored a background in deep purple shades. Walnut Ink lowers the intense hue of Fireworks in Lilac Posies on the background.
The owl almost appears to glow as it is embossed on a piece of tracing paper that has Memento Grape Jelly colored on its back side. To further contrast the design, a piece of Sheet Metal is used to enhance the owl and adds shine and detail. I love this design and feel it can be used in so many different ways. Make a card, a scrapbook page or adjusted to make a cover on a book.
Skill: Intermediate
Time: 1 hour
Directions

Step 1

Spray the A4 watercolor page with Ink Potion No 9, Fireworks Shimmery Craft Spray in Lilac Posies and Walnut Ink in Lilac, in this order, from about 8-inch distance. Two sprays of the color inks are enough. Let them dry or use a heat gun to speed up the process.

Step 2

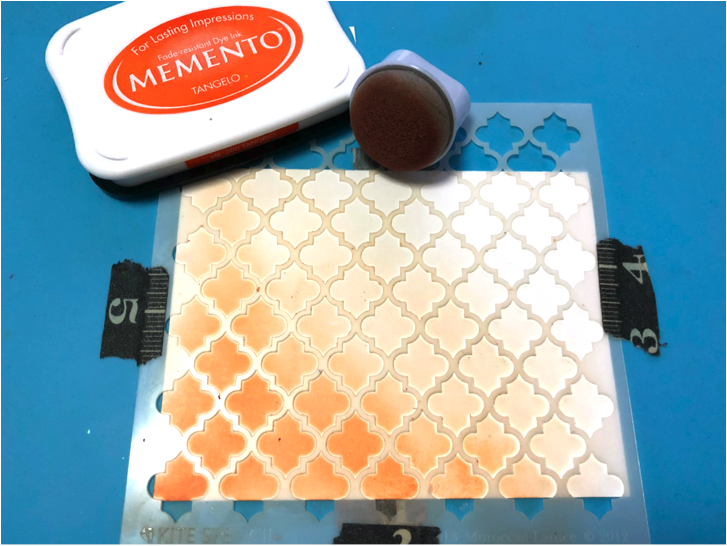
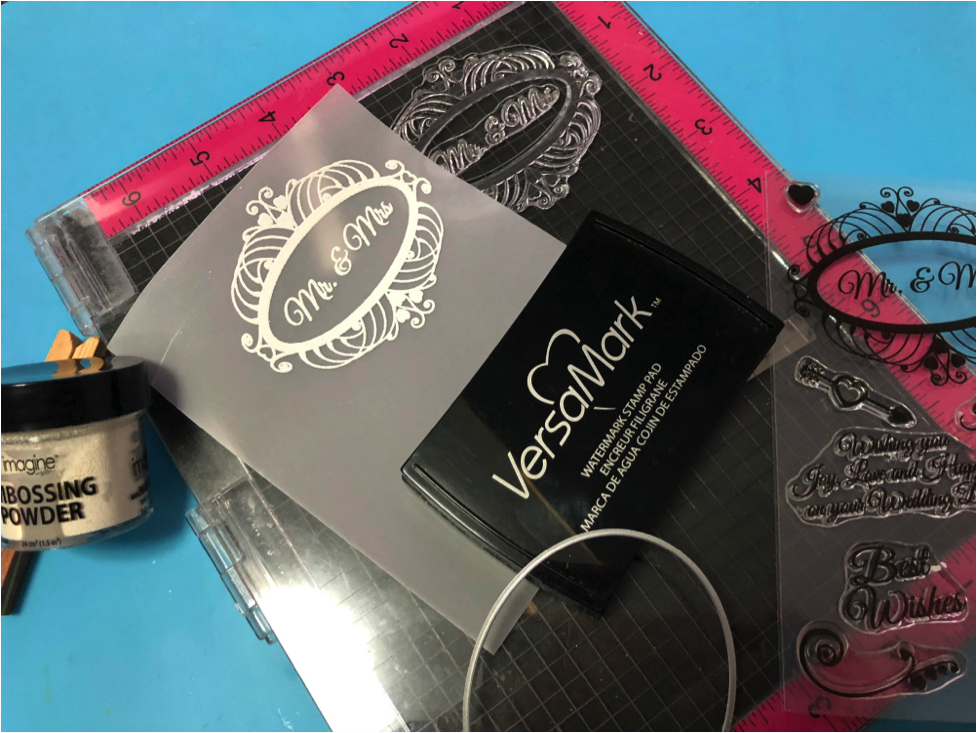
On a 3 ¼ x 5 ½ inch tracing paper stamp with the owl design with the VersaMark, cover with Imagine’s White Embossing Powder and heat set.

Step 3

Turn the tracing paper at the back and using a sponge dauber cover the owl design with the Memento Grape Jelly ink pad. Let it dry and repeat for a deeper color.

Step 4

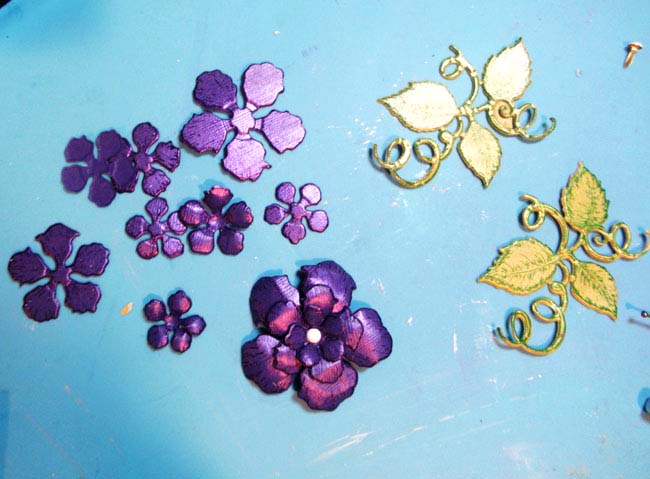
Use a sponge dauber to cover the SHEET Metal in a diamond shape with the StazOn Royal Purple. Let Dry.

Step 5

Press the SHEET metal diamond shape on the rubber owl stamp that is covered with VersaMark. Cover with the Imagine’s White Embossing Powder and heat set.

Step 6

Color the chipboard words with a sponge dauber and the Memento Grape Jelly ink pad.

Step 7

Stamp the A4 watercolor page with the Memento Grape Jelly ink pad and the numbers stamp.

Step 8

Cut a 6 x 1-inch tracing paper stripe and a 5-inch long chevron ribbon. Use the On Point Glue to set them in the center of the page and continue with the owl embossed design.

Step 9

Cut 5 – 6 inch long pieces of jewelry wire, twist together and curve them.

Step 10

Use the hot glue gun to set the feathers, the wires, and the SHEET Metal in a diamond shape on the owl design.

Step 11
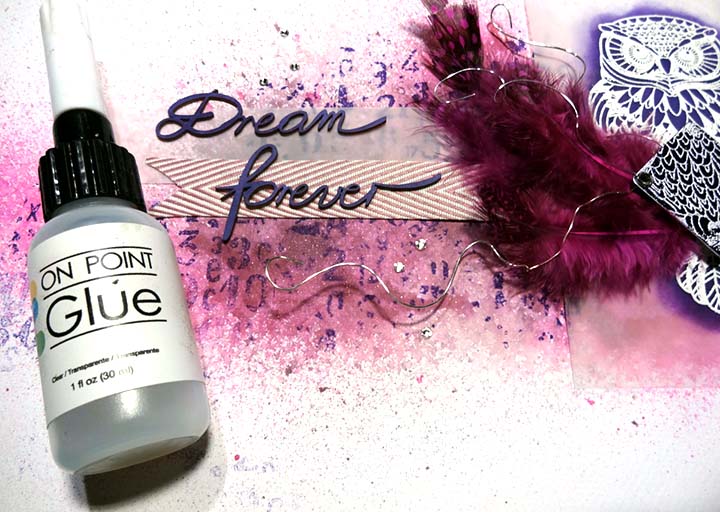
Glue the chipboard words and add rhinestones.

Step 12
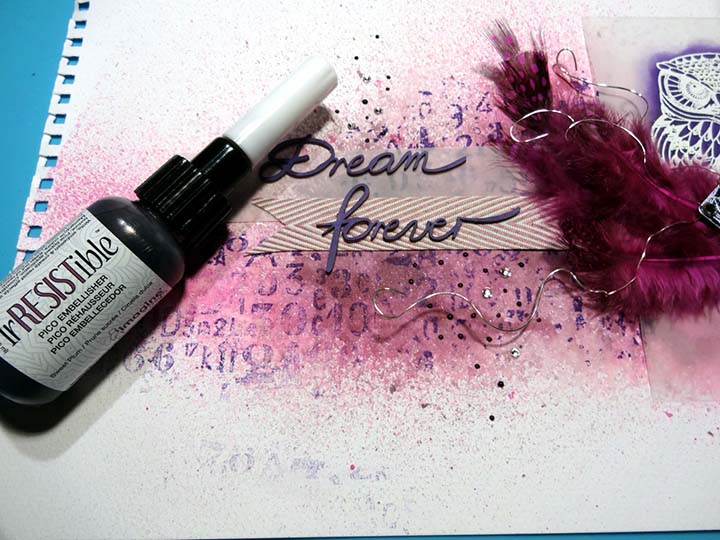
Make small dots to embellish further and add texture with the irRESISTIble Pico Embellisher in Sweet Plum. Trim to desired size.

Thank you for stopping by the Imagine blog and if you enjoyed this tutorial then please comment below or share on social media!
Supplies
Imagine
- Fireworks! Shimmery Craft Shimmer – Lilac Posies
- Walnut Ink – Lilac
- Ink Potion No. 9
- irRESISTible Pico Embellisher – Sweet Plum
- VersaMark
- Embossing Powder – White
- Memento – Grape Jelly
- StazOn – Royal Purple
- SHEET Metal – Diamond 1.25
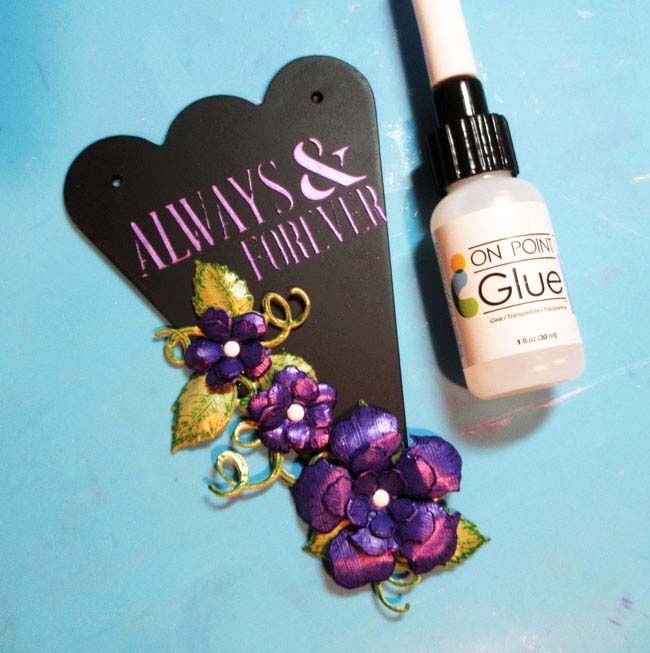
- On Point Glue
- Sponge daubers
Other
- Feathers
- Stamperia – Owl stamp
- Studio Light – Instructional Numbers stamp
- A4 watercolor page
- Jewelry wire
- Chevron ribbon
- Tracing paper
- Rhinestones
- Decorative chipboard words
- Heat gun
- Hot glue gun