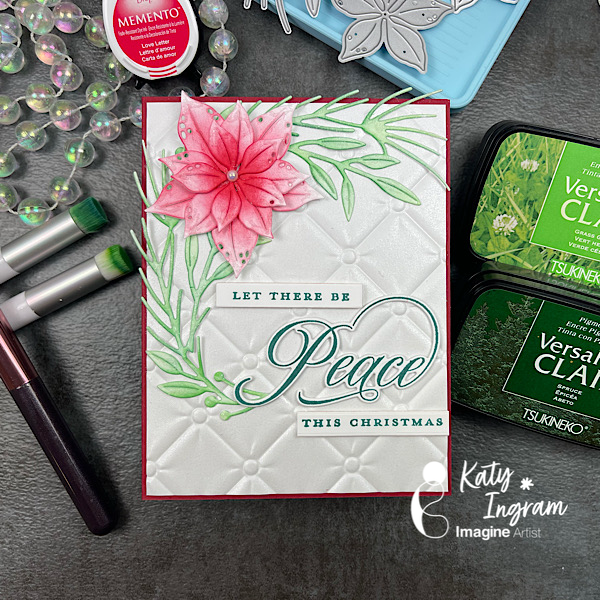
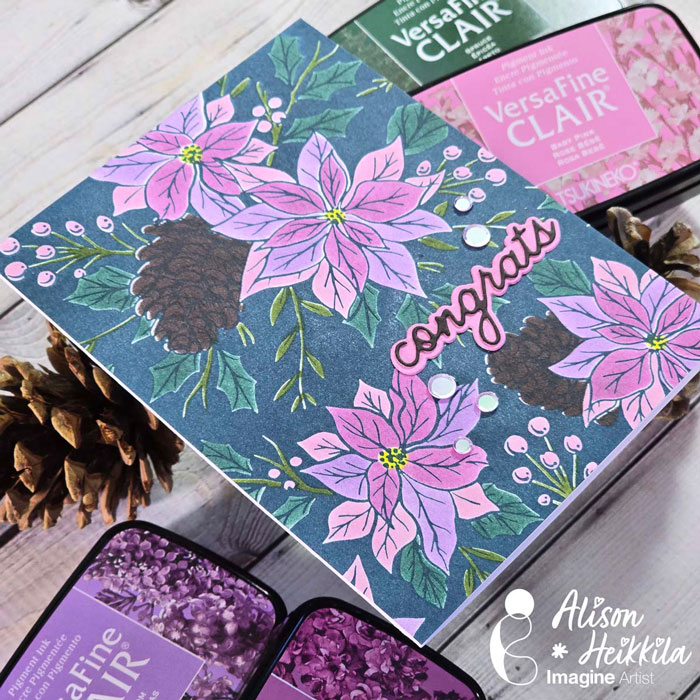
Hello Friends! Katy here with a holiday video using Versafine Clair inks and Love Letter Memento Ink. With some simple touches and color combos you can create a stunning elegant holiday card in just a few steps. Video has all the details. Thanks for watching.
Other Products Used The Greetery Scripted Holiday Sentiments Stamp Set The Greetery Scripted Holiday Sentiments Die Set White Cardstock White Metallic Cardstock Stamp positioner tool Foam Tape
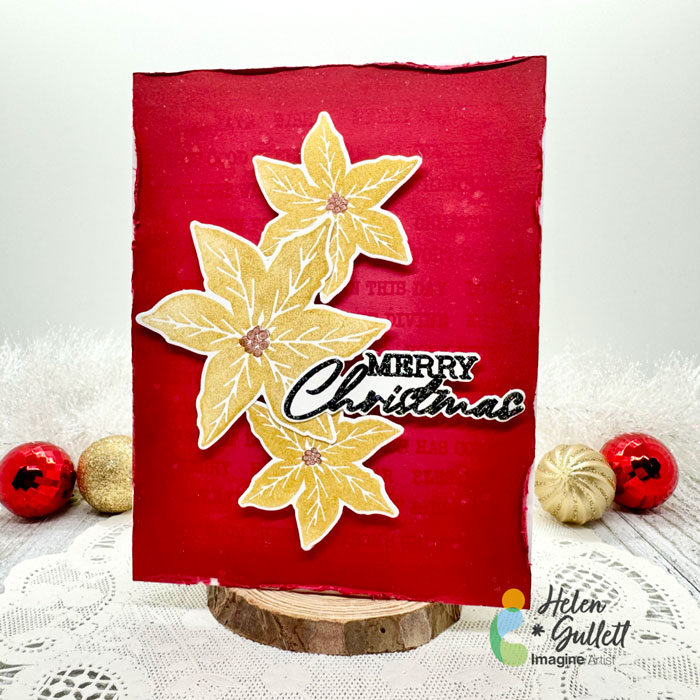
Hello crafty friends! It’s the time of the year to start making some Holiday projects. As for me, I love making and sending handmade Christmas cards. Today, I wanna share how to make this CAS Christmas Poinsettia Card.
Let’s get crafting!
Skill: Intermediate Time: 15-20 minutes
Direction:
Step 1
Cut out a piece of any color cardstock into 4.25 inch x 5.5 inch that you want to use as your background panel.
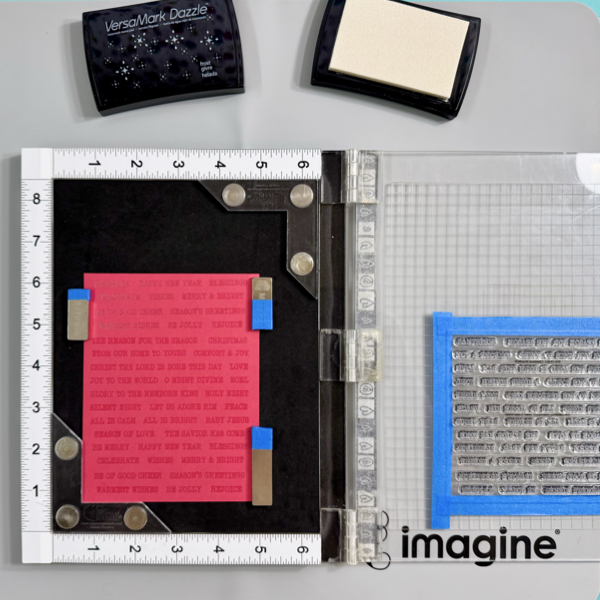
I used all the words on the stamp set I used so I taped the whole sheet on the stamping tool lid instead of taking it out one by one. You can use any word stamp set you have to create a similar background pattern.
Stamp the words on the cardstock using VersaMark Dazzle. Make sure to cover the whole panel.
Step 2
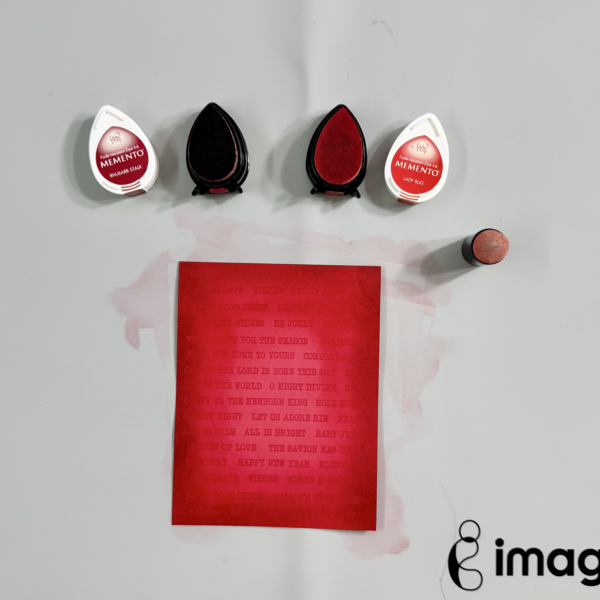
Add some darker shadow to the edges of the background panel using Memento Dew Drop ink pads and finger sponge dauber.
First, add the Lady Bug ink on the panel, then add the Rhubarb Stalk ink, and then add the Lady Bug ink again to blend them together.
Step 3
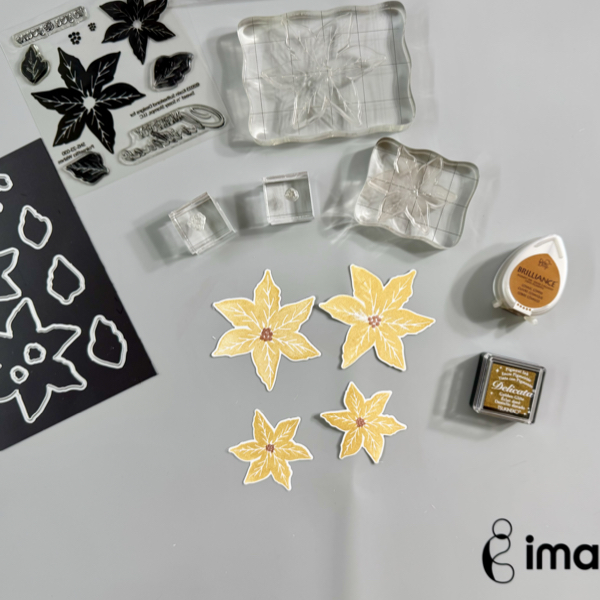
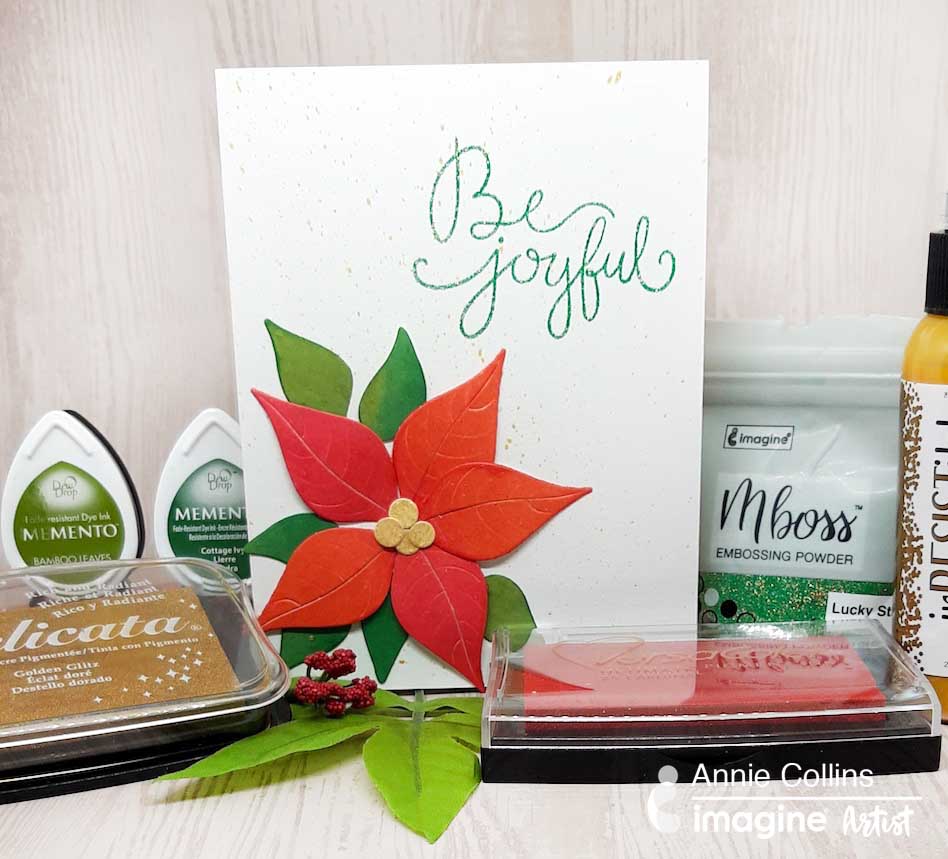
Stamp each layer of the poinsettia flower with the Delicata Golden Glitz ink.
Stamp the middle buds part of the poinsettia with the Brilliance Cosmic Copper ink. Dry the stamped images with a craft heat gun.
Cut each of the images with their matching dies, or you can fussy cut them if you don’t have the matching dies.
Step 4
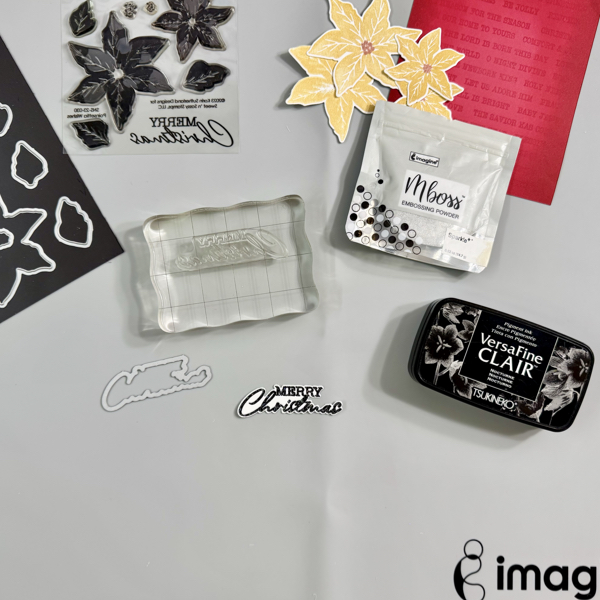
On a piece of white cardstock, stamp the sentiment with VersaFine Clair Nocturne, and then add some of the Sparkle Mboss Embossing Powder, then heat set it with a craft heat gun.
Cut the sentiment with the matching die set, or you can fussy cut it with scissors if you don’t have a matching die.
Step 5
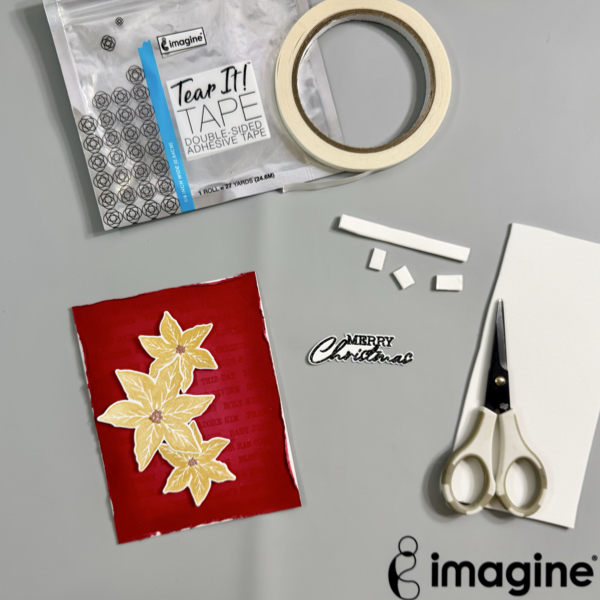
Distress all edges of the background panel with distresser tool or scissors. Add the background panel to the card base with some of the Tear It! Tape.
Add the poinsettia flowers and the sentiment to the card with some of the fun foam and Tear It! Tape for some dimension.
Step 6
For more extra sparkle to the Christmas card, add some splatters of the Sheer Shimmer Craft Spray using a fan brush.
Use the craft heat gun to dry the splatters.
Hope this Christmas card gives you an idea to start your Holiday projects. Thank you for stopping by our blog today. Have a fabulous day!
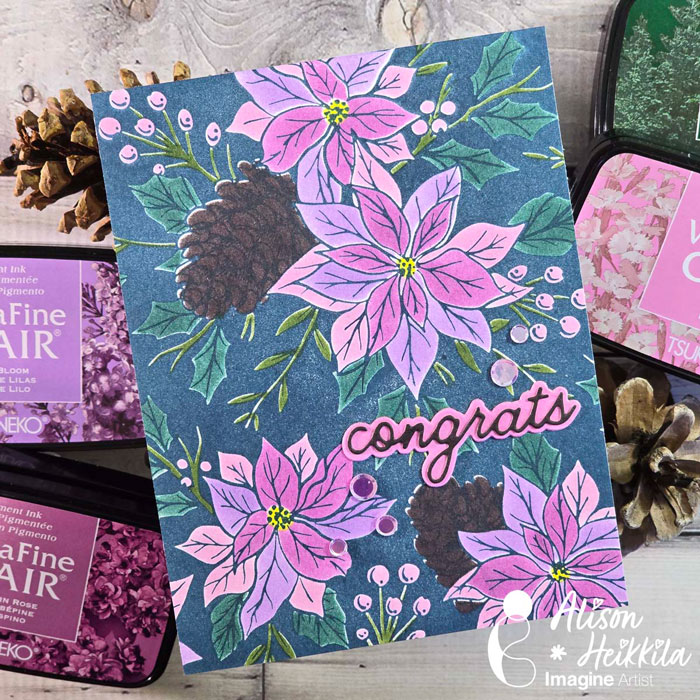
Hello! I’m Alison Heikkila. For my latest video for Imagine, we will be using some of the newest VersaFine Clair Ink colors along with a new BetterPress Plate from Yana Smakula and Spellbinders. The card was made with a Winter Wedding theme in mind, but you can change this to suit your needs.
Skill Level: Beginner-Intermediate Time to Complete: 20-30 Minutes
*Some affiliate links are used in this post. That means that if you shop through these links, I may receive a small compensation, at no cost to you.
Hello Crafty Friends! Annie here with a clean and simple Joyful Poinsettia Holiday card using die cuts, embossing powders, and inks. I really love how the sparkle in Mboss Lucky Stars creates an extra shine in this card design.