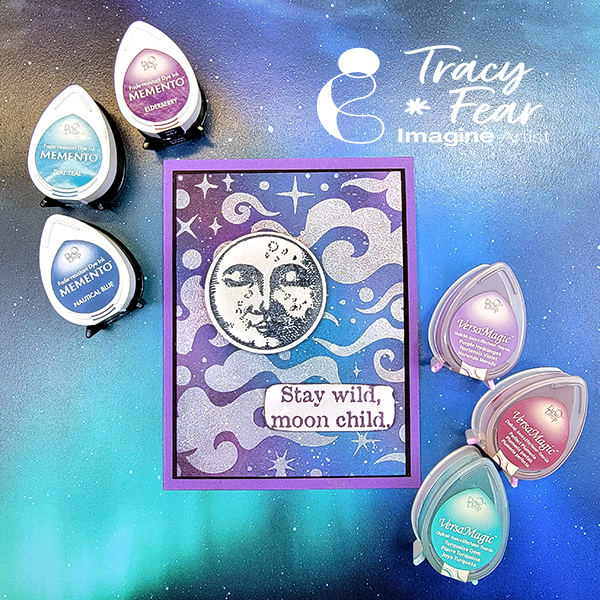
Hello Friends! Tracy here and today I am excited to share this really easy galactic, out of this world background technique!
In today’s video tutorial I am sharing how I use some Memento, VersaMagic, Brilliance, and VersaFine Clair inks to create this stunning card along with a paint pen, a stencil from my stash and some holographic embossing powder!
I used to be intimidated by the idea of multimedia cards, but all they are cards that have different types of products. This card features stamping, watercoloring with sprays and Amplify! Ink, and embossing.
Skill: Intermediate Time: 2 hours
Directions:
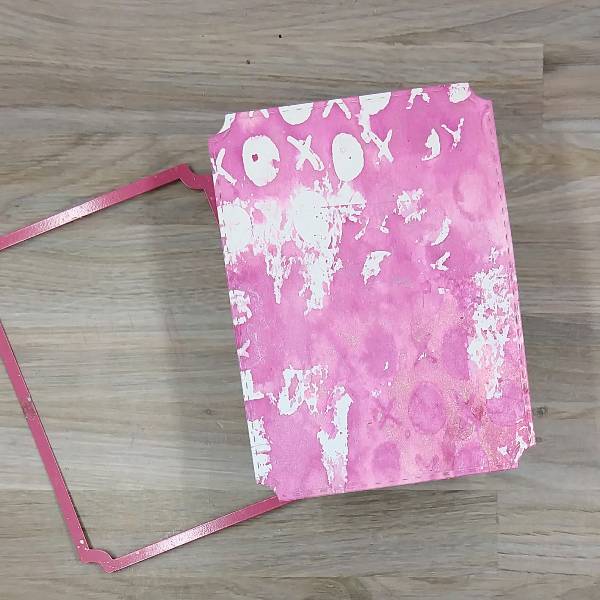
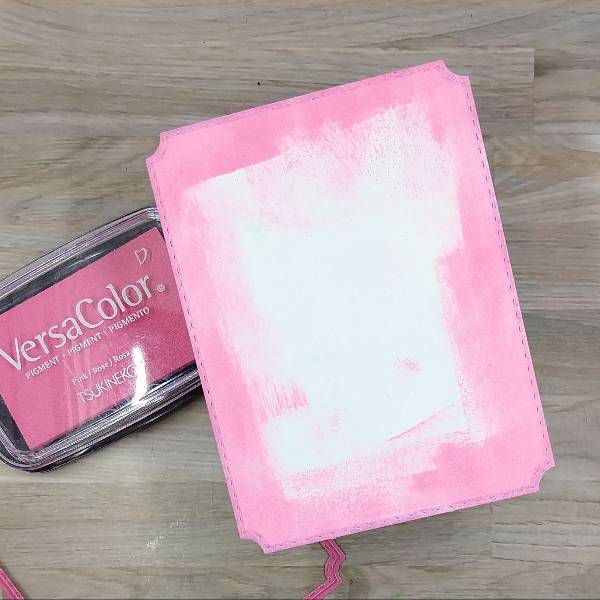
Step 1: Spray Sweet Plum Fireworks! Shimmery Craft Spray onto a 6” x 6” stencil and then flip the stencil over and gently press the stencil onto a piece of watercolor paper. Repeated this process with and Rose Gold Sheer Shimmer Craft Spray, partially overlapping part of the stencil on the watercolor paper. Repeat the process a few times, overlapping the stencil a few times and then set the panel aside to dry.
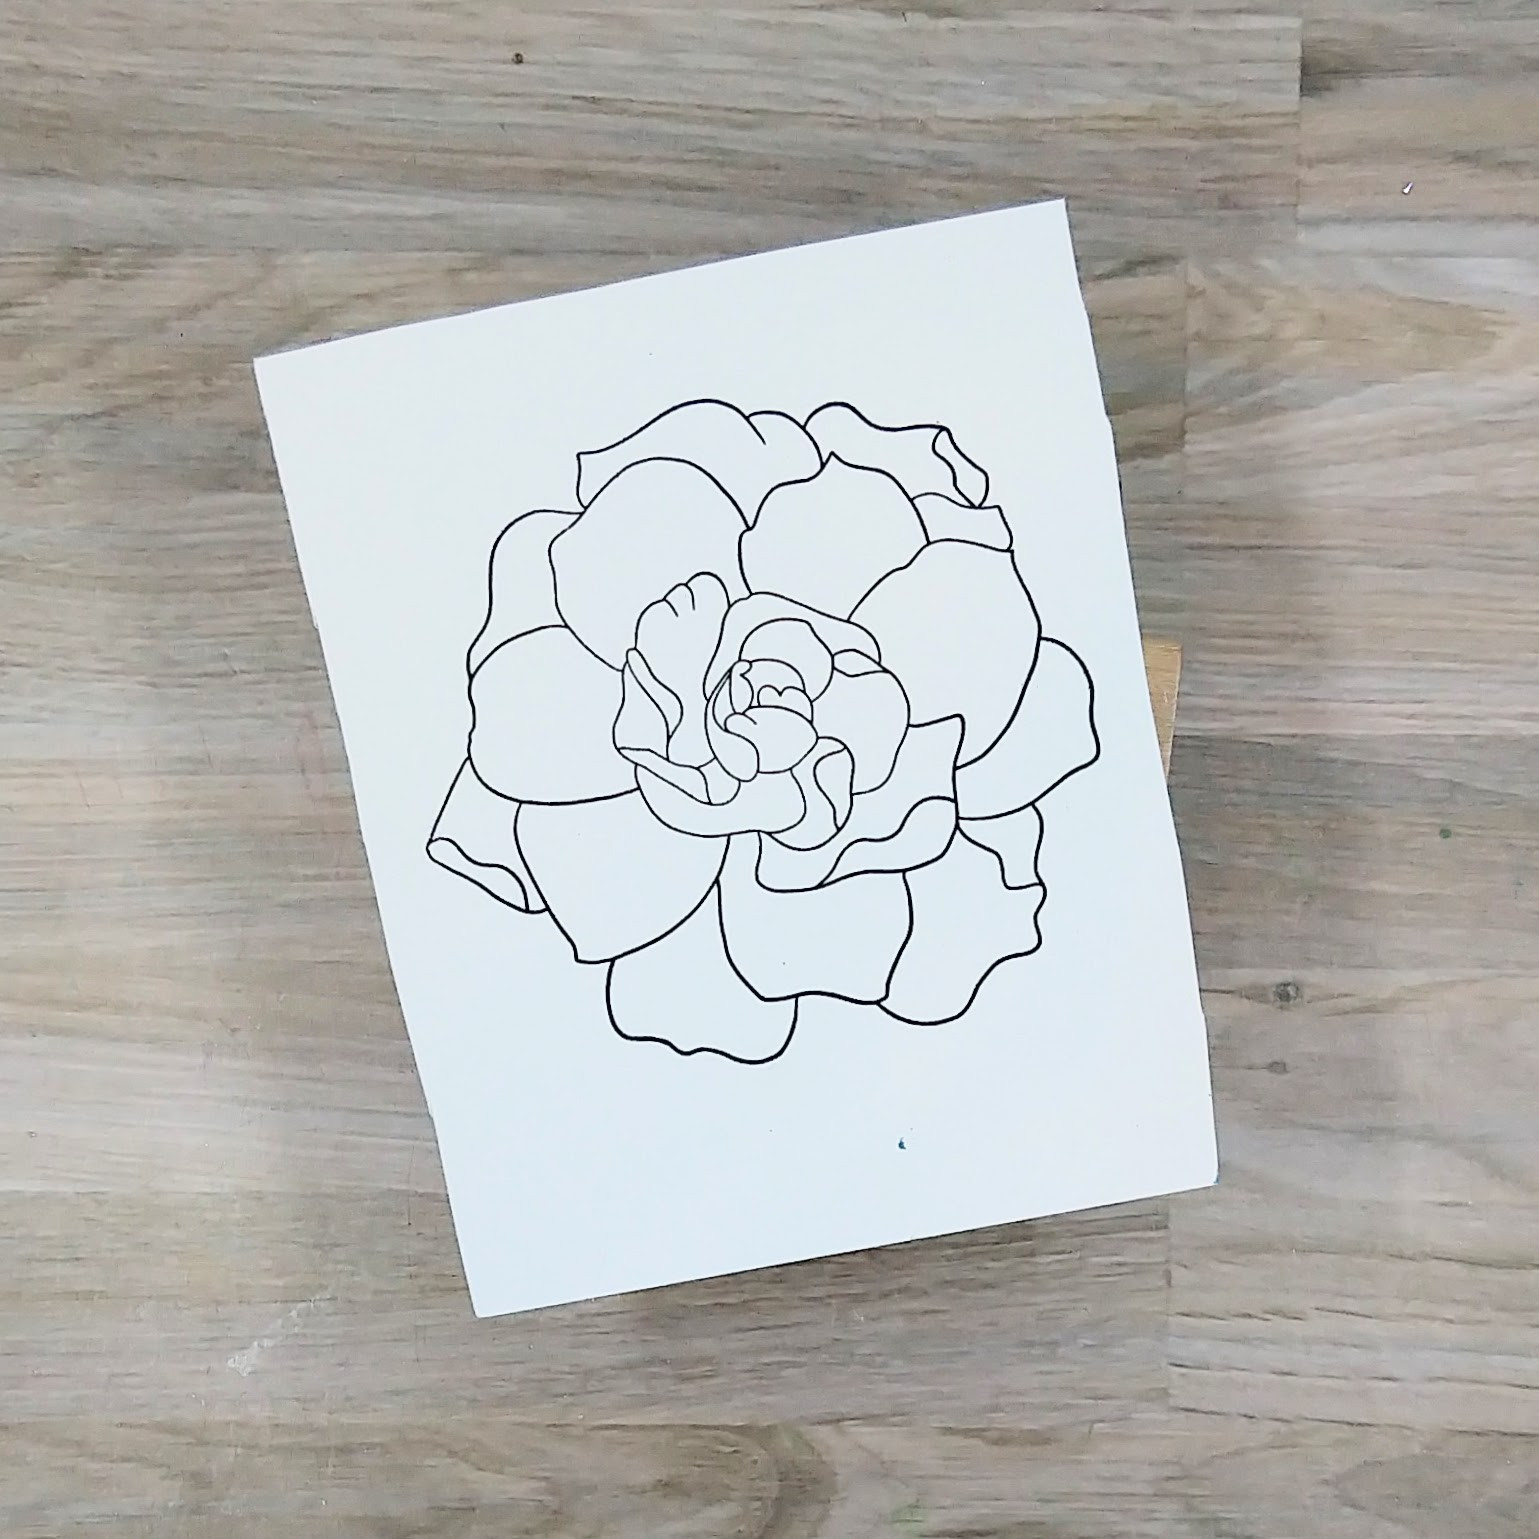
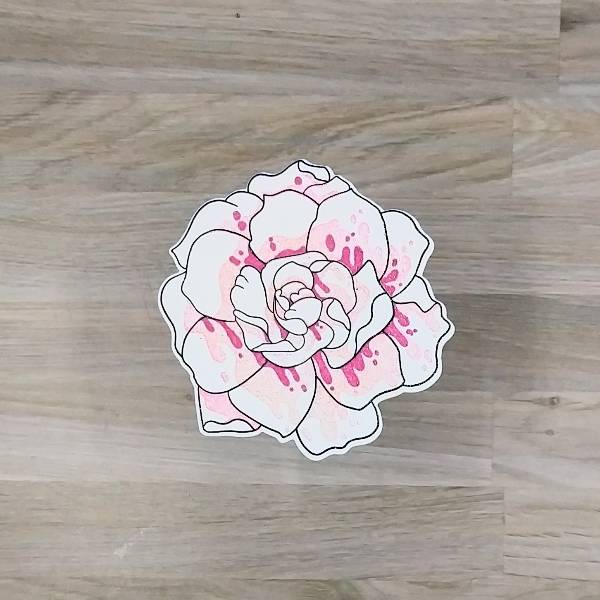
Step 2: The next three steps use a layered floral stamp set. Stamp the outline of the flower with Nocturne VersaFine Clair ink onto another scrap of watercolor paper and then heat emboss with clear ink.
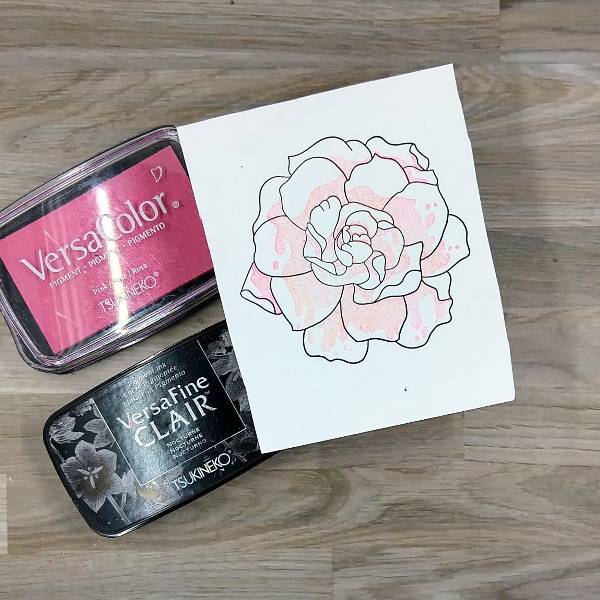
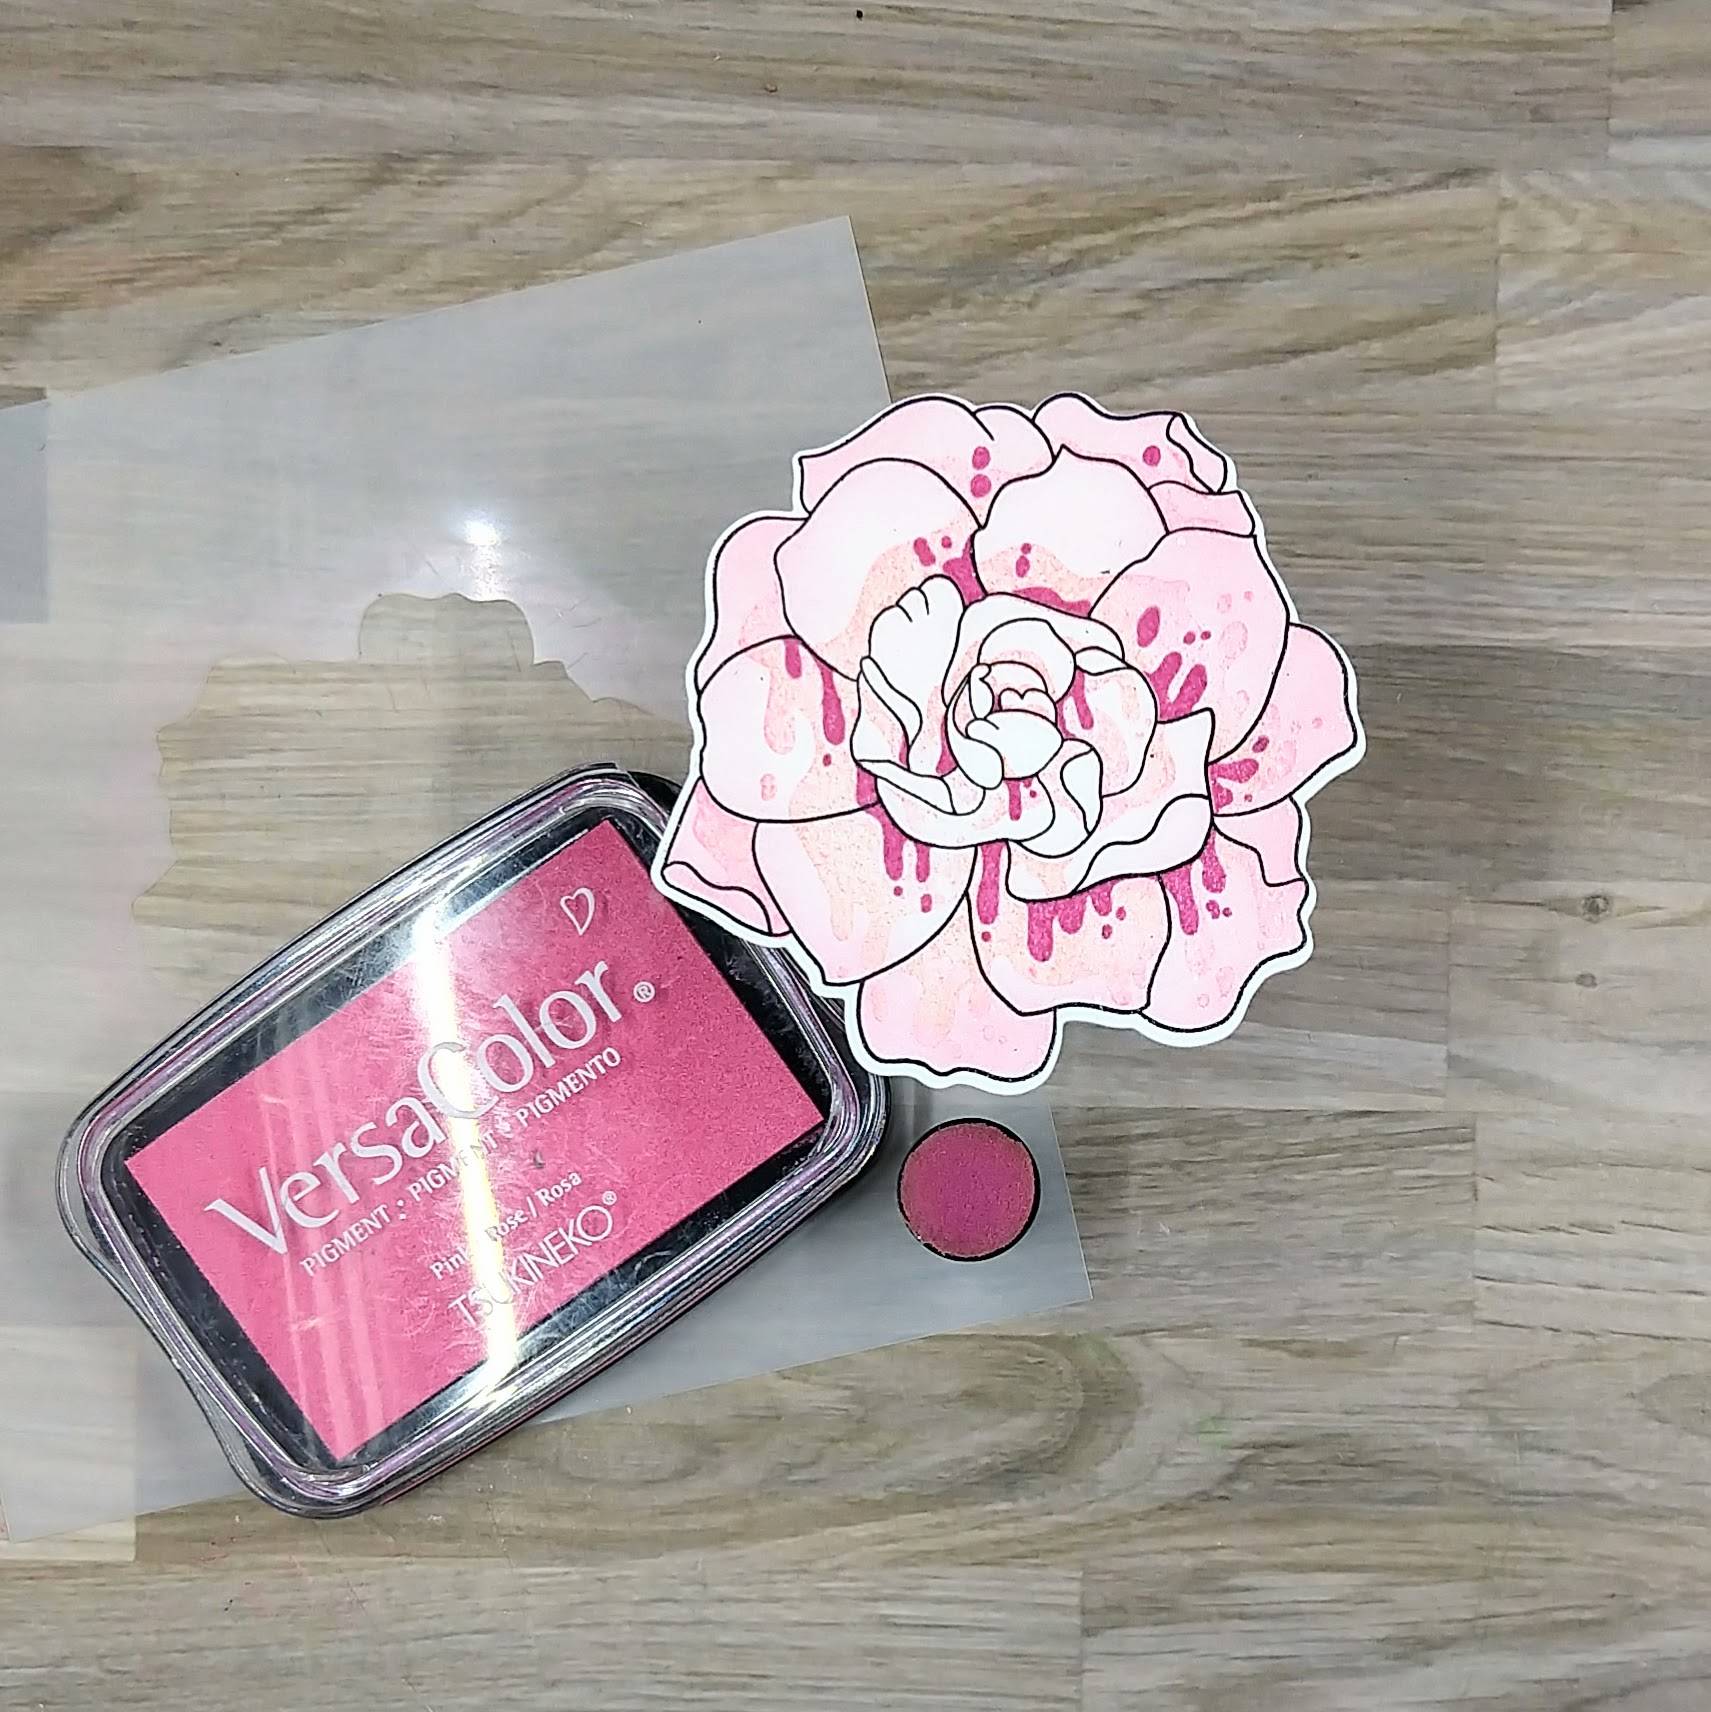
Step 3: Stamp the second layer of the floral layer stamp set with Pink VersaColor ink onto the flower.
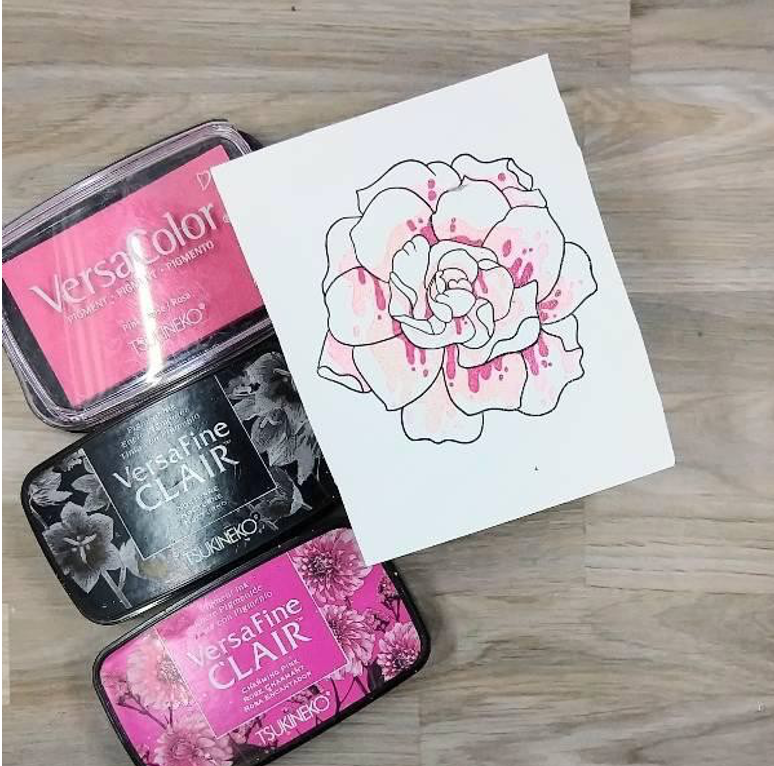
Step 4: Stamp the third layer of the floral layered stamp set with Charming Pink VersaFine Clair ink. Then heat emboss with more clear embossing powder.
Step 5: Die cut the flower with the corresponding die.
Step 6: Use a sponge dauber to ink blend more Pink VersaColor ink onto the flower using a matching stencil–using more ink and pressure on the outer petals, and less ink and less pressure on the inner petals.
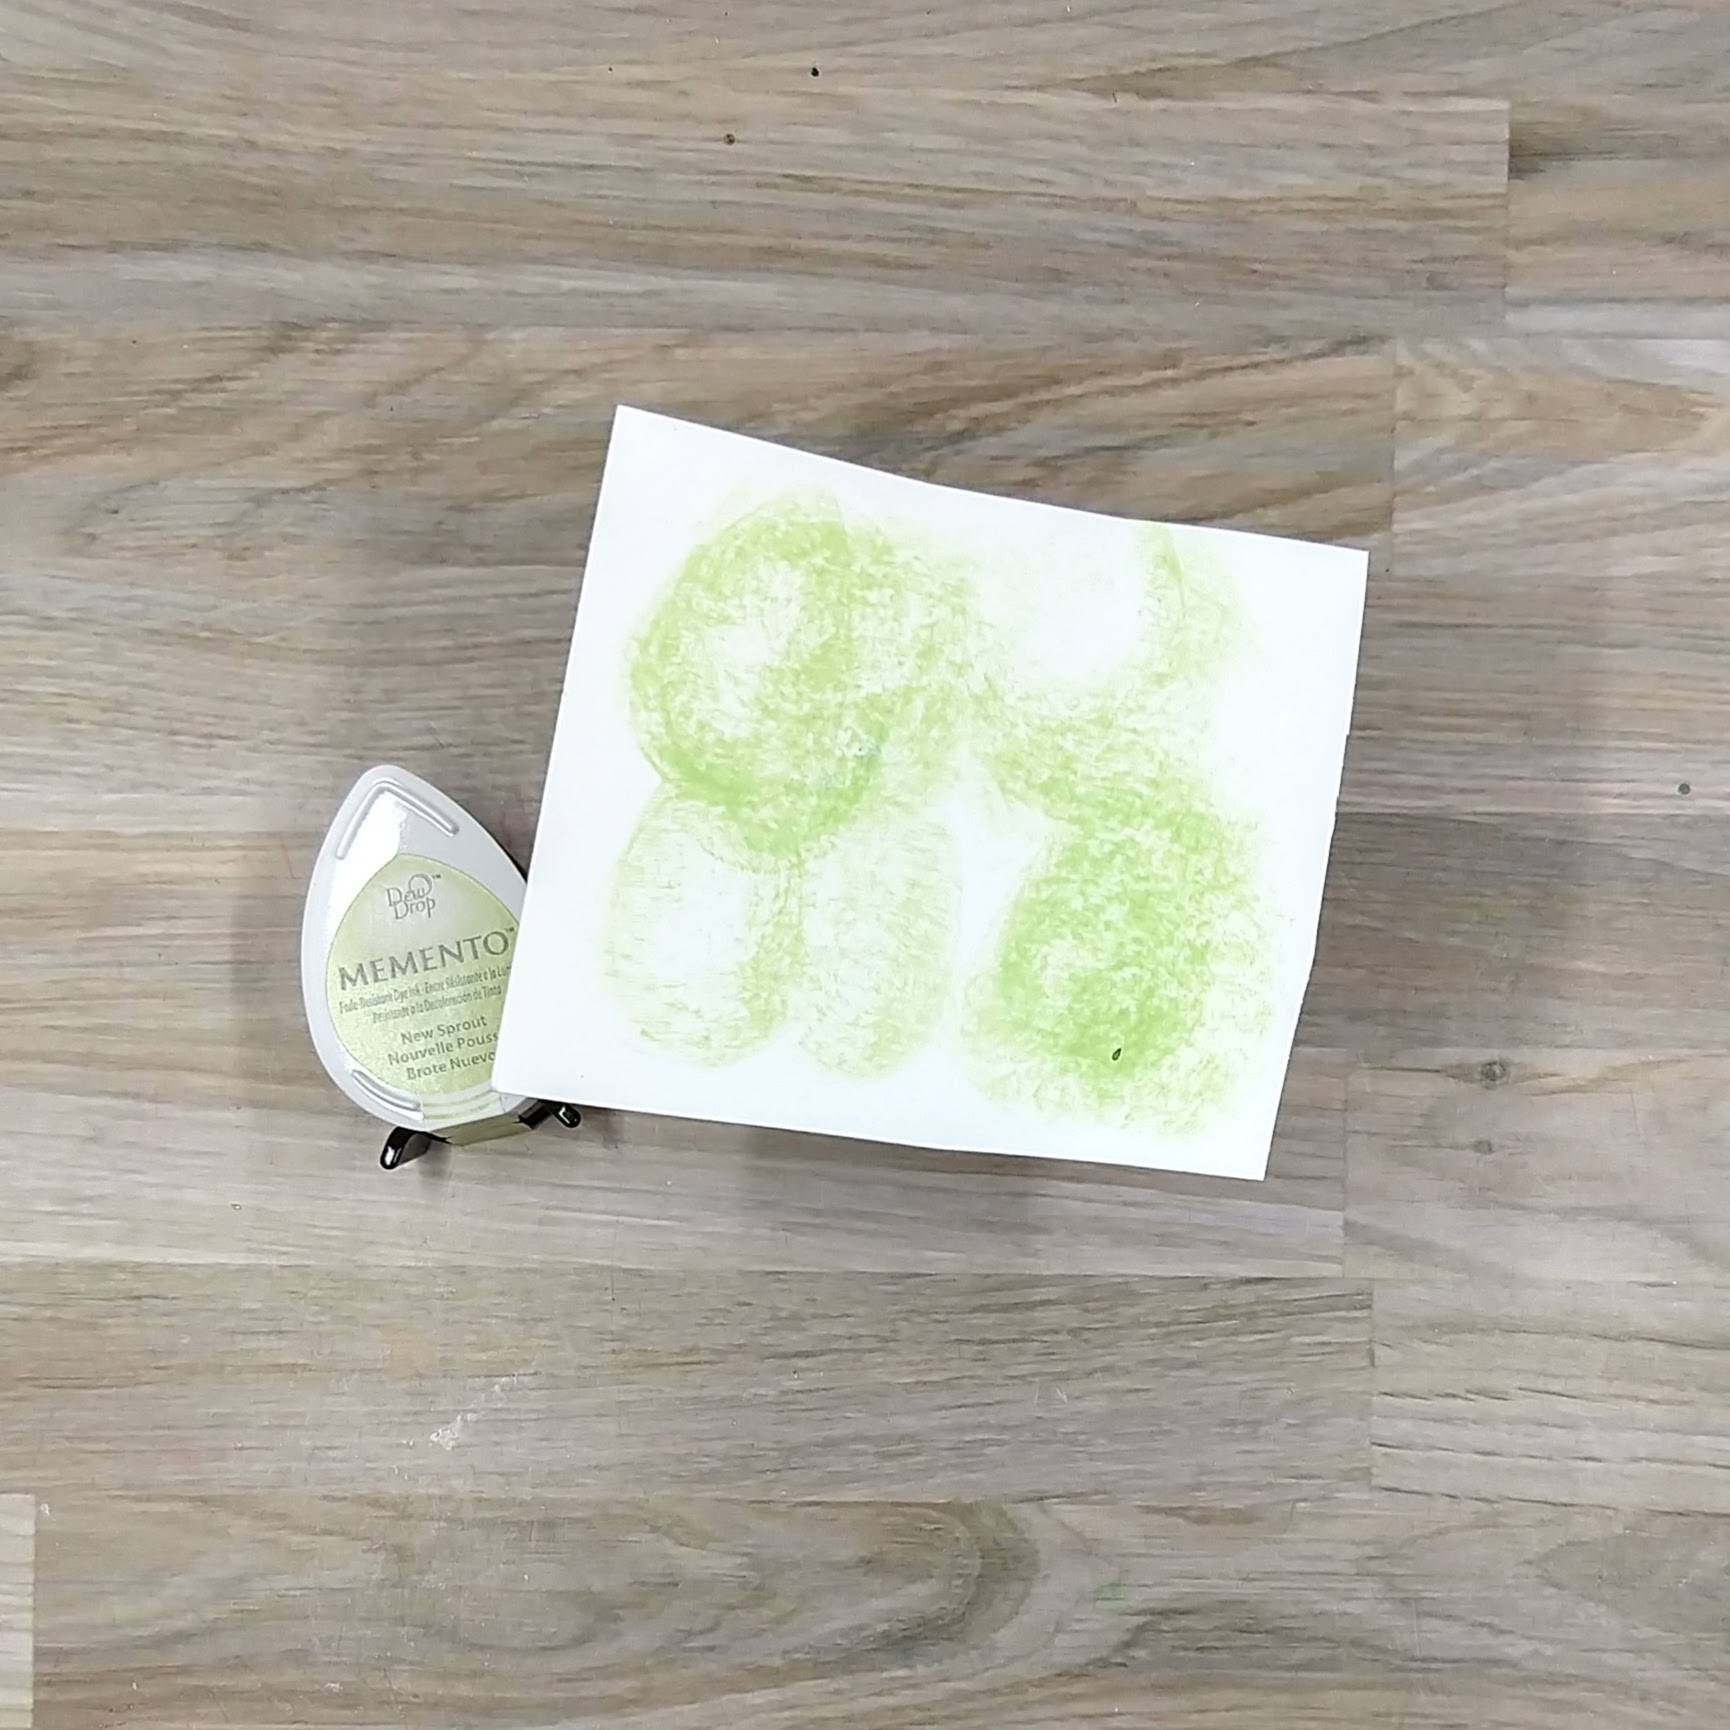
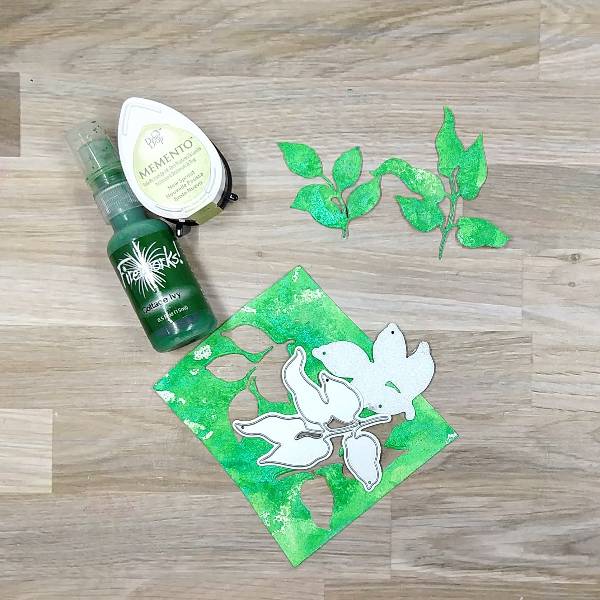
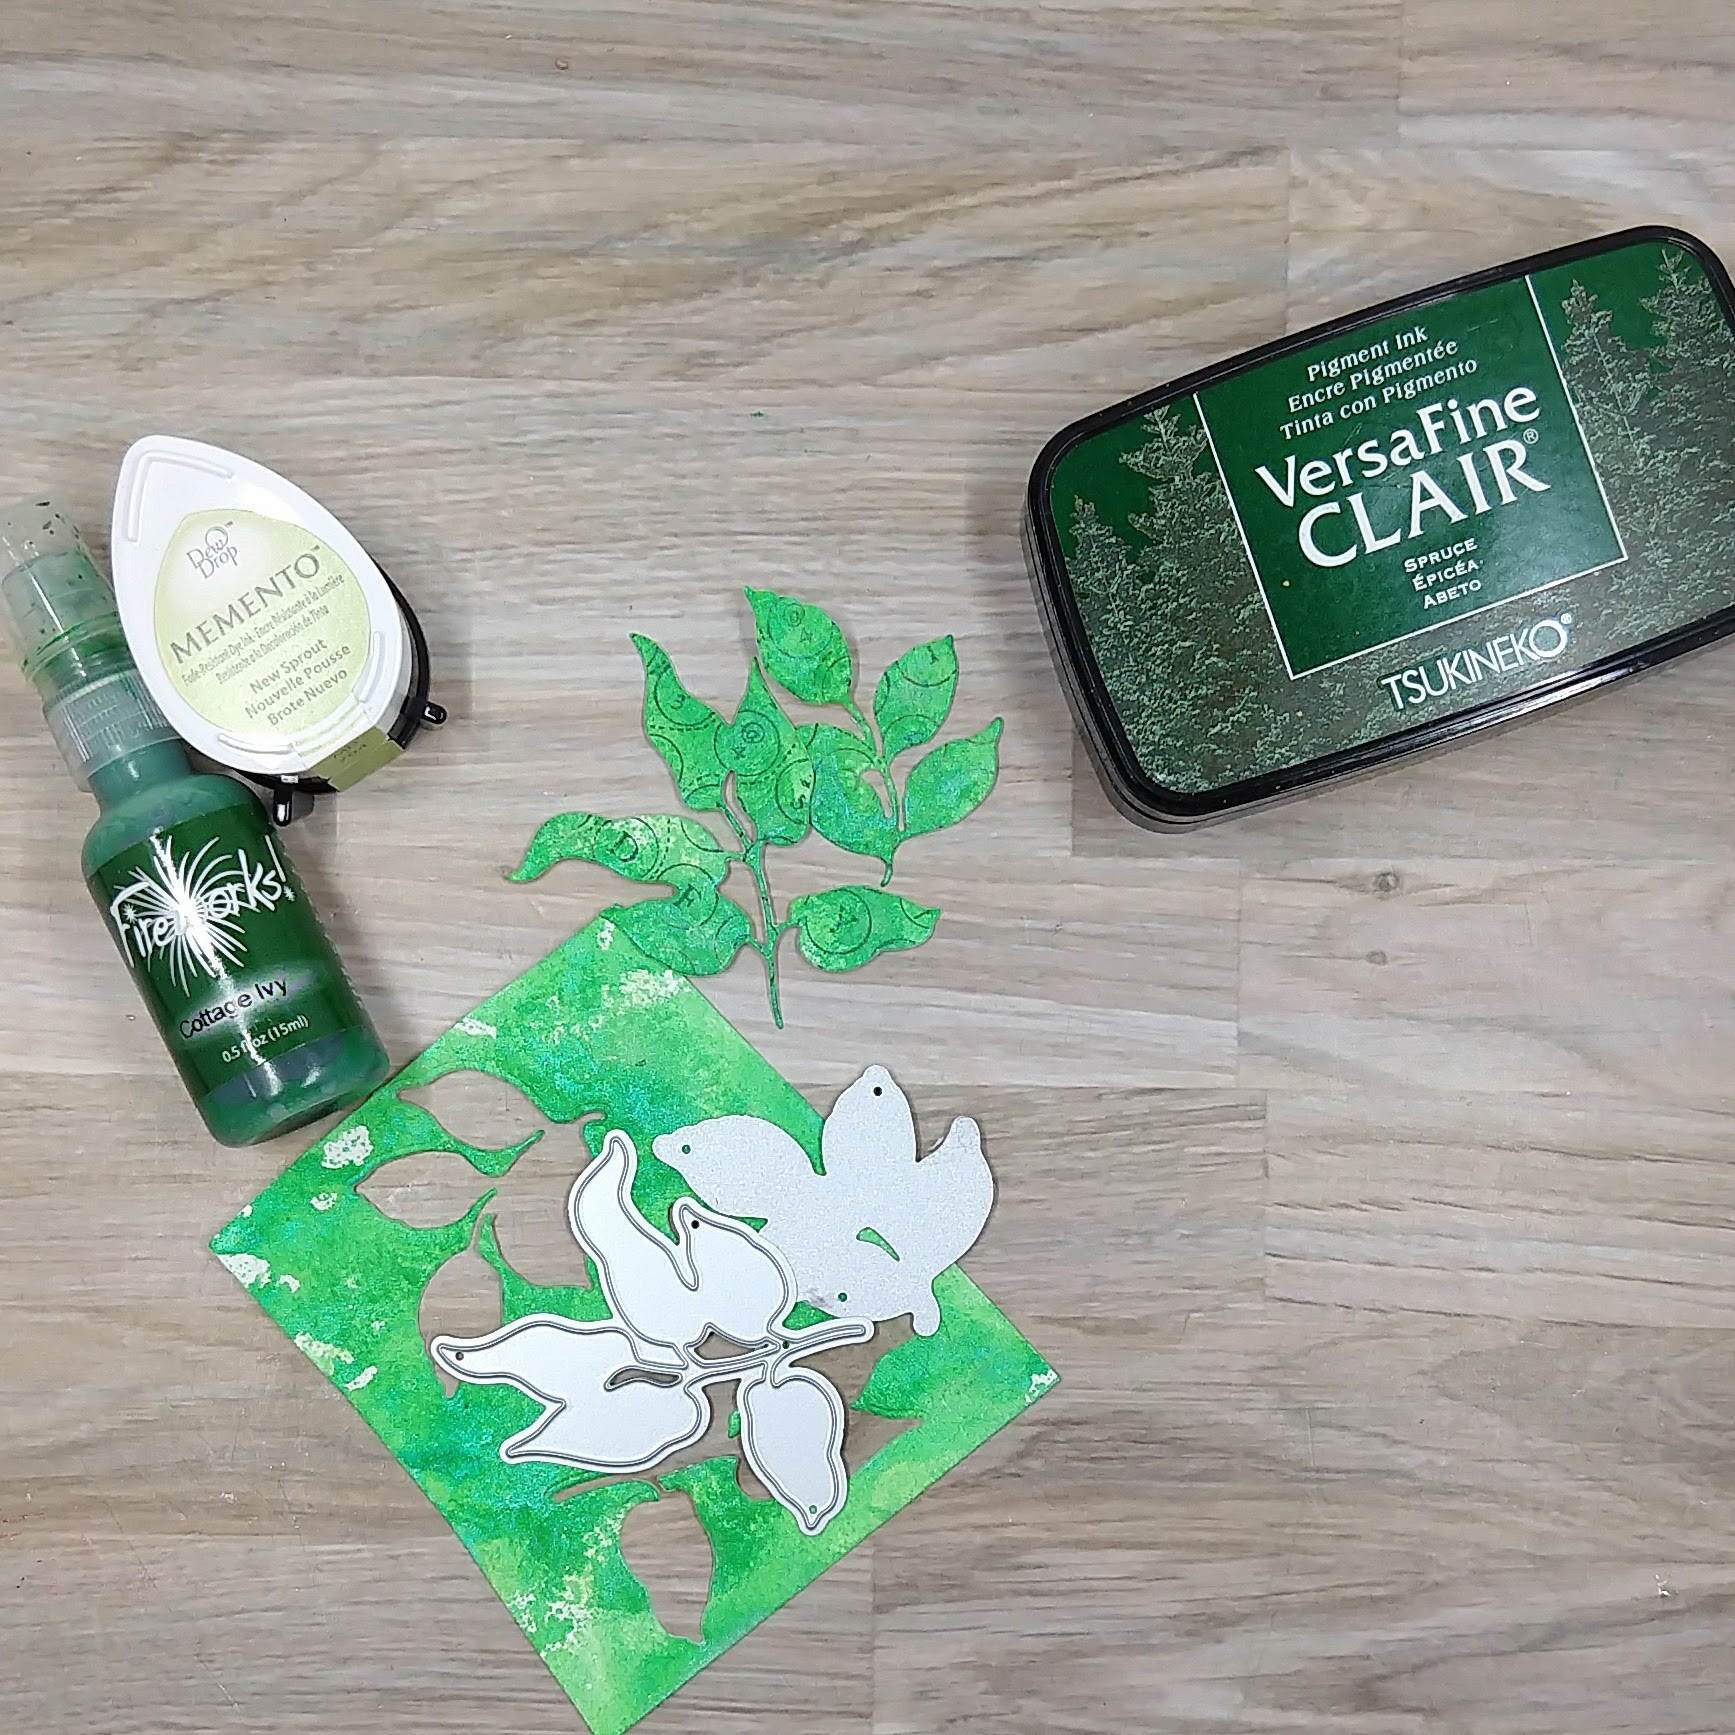
Step 7: Press New Sprout Memento Dye Ink onto a scrap of watercolor paper to start to add green textured color onto the watercolor paper.
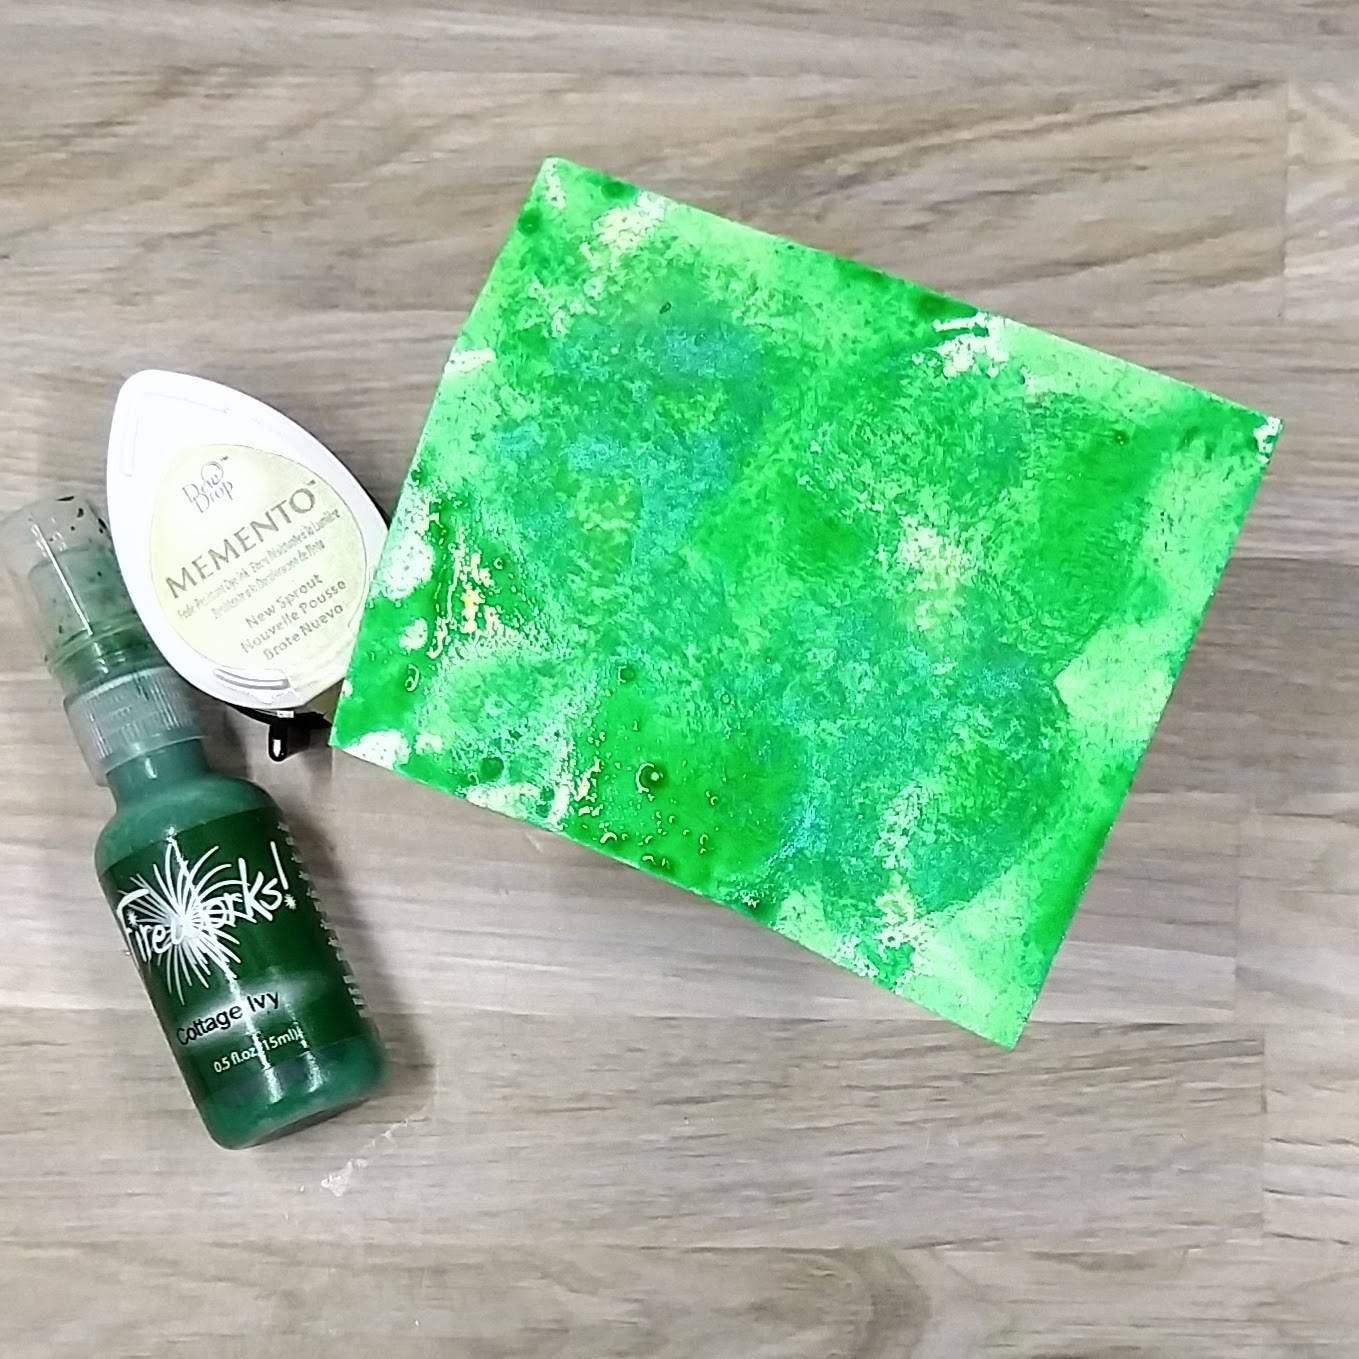
Step 8: Spray Cottage Ivy Fireworks! Shimmery Craft Spray onto the same scrap of watercolor paper. Allow to dry.
Step 9: Die cut leaves out of the green watercolor paper using two leaf cluster dies.
Step 10: Stamp Spruce VersaFine Clair Ink onto a woodblock typewriter key stamp and press the die cut leaves onto the stamp. Set the leaves aside to let the ink dry.
Step 11: Die cut the inked watercolor paper from step 1 with the second-largest die in a nesting A2-sized die set.
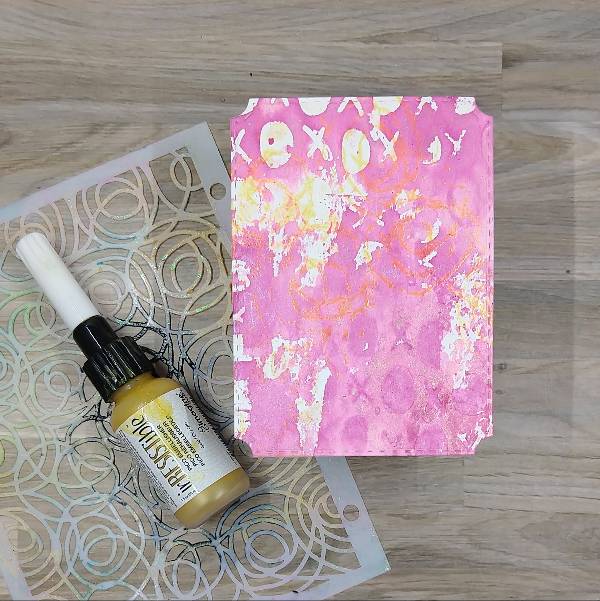
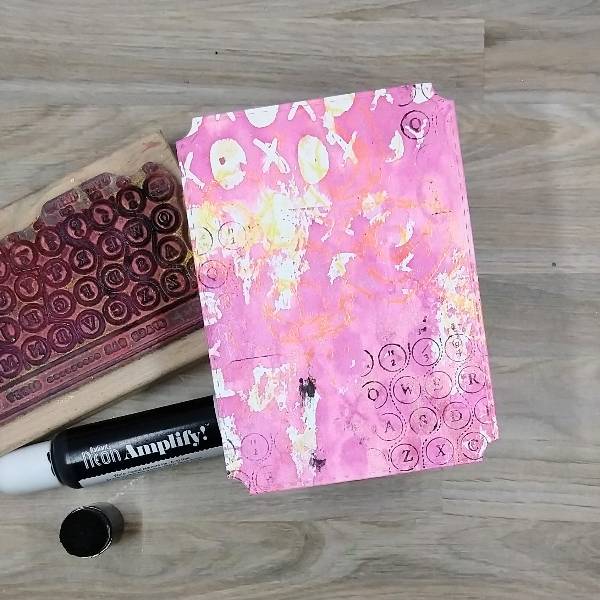
Step 12: For more texture and interest on the panel, use the Gold irRESISTible Pico Embellisher’ fine tip applicator to add the medium directly onto part of the stencil. Then flip over the stencil and press it onto the watercolor panel. (You may want to put a paper towel over the stencil before pressing or you will probably get some on your hands.)
Step 13: Run more Pink VersaColor ink along the edges of another piece of watercolor paper to make the edges pink. Then die cut the panel with the largest die from the nesting A2-sized die set from step 11.
Step 14: Add a small drop of Black Radiant Neon Amplify! onto another sponge dauber and press the dauber onto the same woodblock typewriter stamp and partially stamp the smaller panel multiple times.
A couple of smudges were mistakenly stamped onto the panel, which were mostly dealt with by splattering more Black Radiant Neon Amplify! mixed with water onto a piece of acetate and then splattered onto the panel.
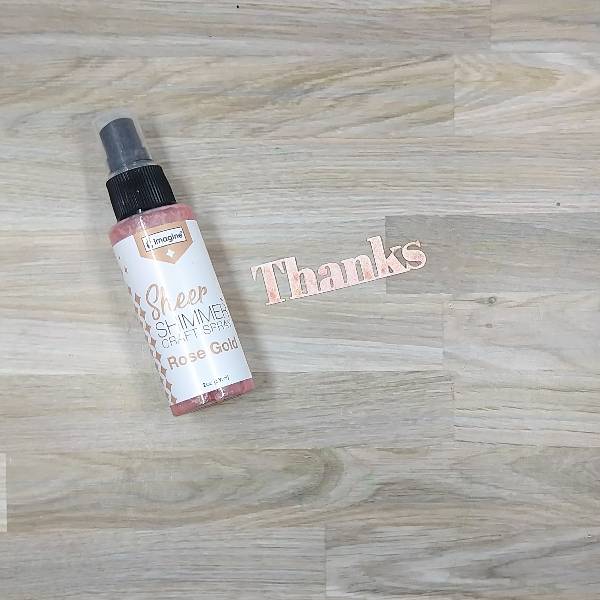
Step 15: Die cut another piece of watercolor paper with a sentiment die and then spray the die cut multiple times with Rose Gold Sheer Shimmer Craft Spray.
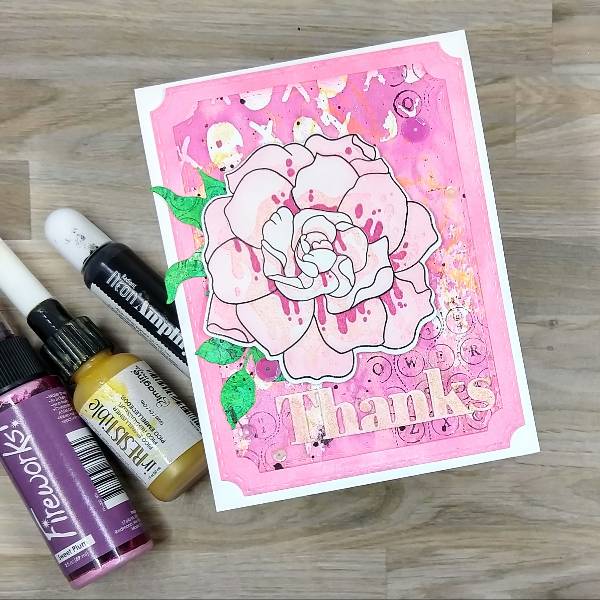
Step 16: Assemble the card by gluing the leaves and sentiment onto the smaller panel. Attach the flower to the panel with foam tape. Then glue the two panels together and glue them both onto an
A2-sized white card base. Finally, glue sequins around the flower.
• Altenew – foam tape • Altenew – die set – Amazing Things • Altenew – die set – Just Leaves • Altenew – stamp set – Amazing Things • Altenew – stencil set – Amazing Things • American Crafts – stencil – Storyteller Radiate • Catherine Pooler – sequin mix – Sofia • Pink & Main – die set – Notched Corner • Simon Says Stamp – die set – Bold Thanks • Old woodblock • typewriter key stamp • Clear Embossing Powder • Watercolor paper • Die cutting machine • Scissors • Glue
Hello friends, Katy here and in today’s video tutorial, I’m going to show you how to make a quick background using Memento inks and Sheer Shimmer Spray. Todays project is for Mother’s Day, but it can lend itself to Many different sentiments. Listed below are products I used in todays video including some Affiliate links at no additional cost to you. l thank you for using those links and supporting my work.
Hello crafty friends! It’s Ceal, here. Today I will show you how to create a Mother’s Day card with you that uses several layers of stenciling, some stamping and then die cut out. This card can also be used for other occasions because the “Happy Mother’s Day” greeting is on the inside.
Skill Level: Intermediate to Advanced Time: 45 mins to an hour
Directions:
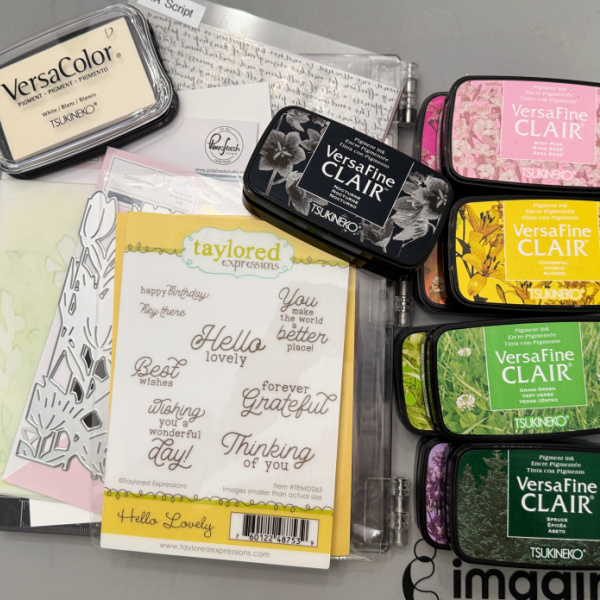
Gather your supplies. You will need cardstock, a layering stencil (Pinkfresh Studio used here) Coordinating Dies, several colors of ink (listed below) and a sentiment stamp set (Taylored Expressions used here).
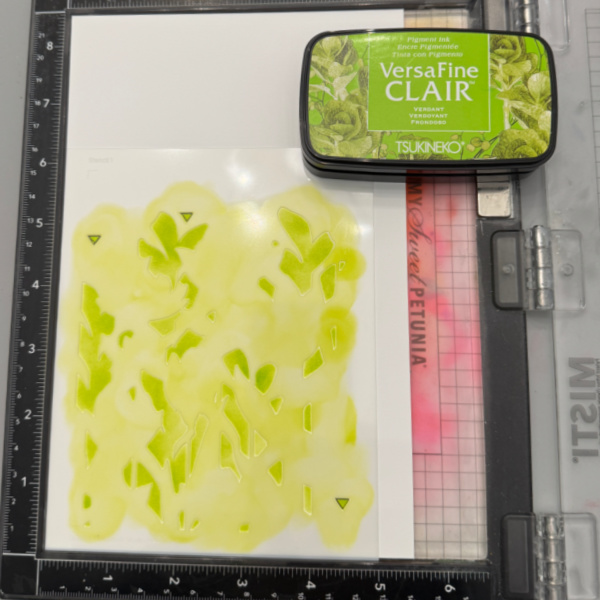
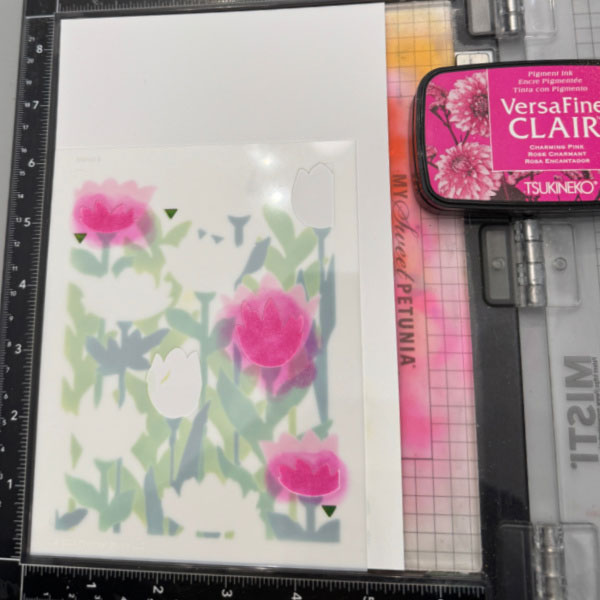
Step 1: Lay stencil one over a piece of cardstock cut to 5.5 x 8.5 and blend VersaFine Clair Verdant ink over it. Remove and clean stencil.
A little tip for you, I place mine in the corner of the Misti so I will be placing all of them in the same place. This set also has alignment guides which are triangles, be sure to add ink to them.
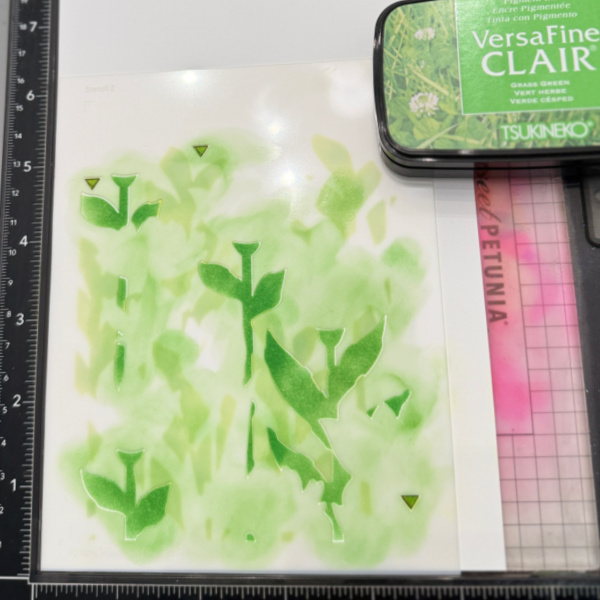
Step 2: Lay stencil 2 over the cardstock, lining up the triangle placement guides and blend VersaFine Clair Grass Green over it. Remover stencil and clean it.
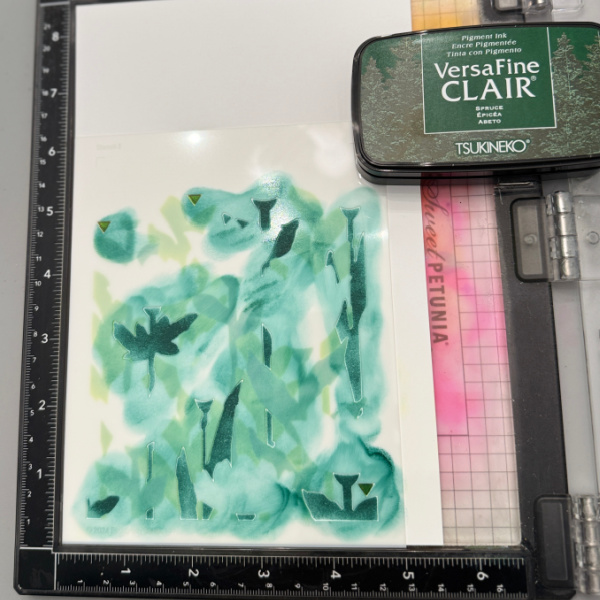
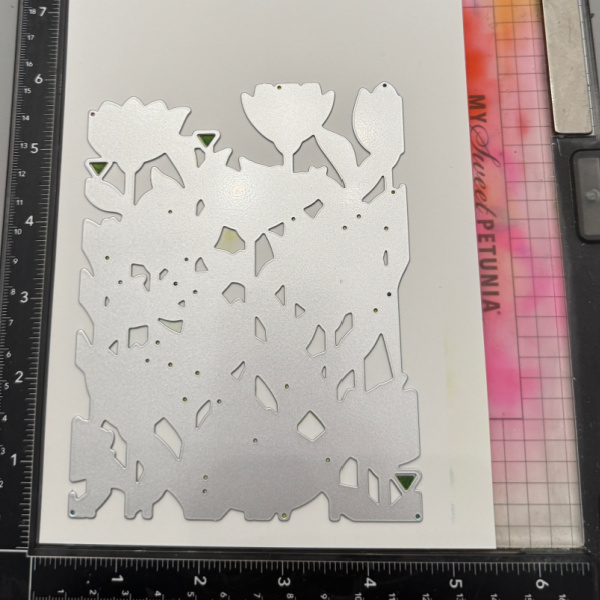
Step 3: Lay stencil 3 over the cardstock, lining up the triangles and blend VersaFine Clair Spruce over it. Remove stencil and clean it.
Step 4: This step starts the flowers. Lay stencil 4 over the cardstock and blend VersaFine Clair Baby Pink over the open flowers. This photo shows the triangles that are used to align the stencils. Remove stencil and clean it.
Step 5: Lay stencil 5 over the cardstock, lining up the triangles and blend VersaFine Clair Charming pink over open spaces on the pink flowers and VersaFine Clair Lilac Bloom over the other open spaces. Remove and clean the stencil.
**I forgot to take a photo of the Lilac Bloom, but you can see it below.
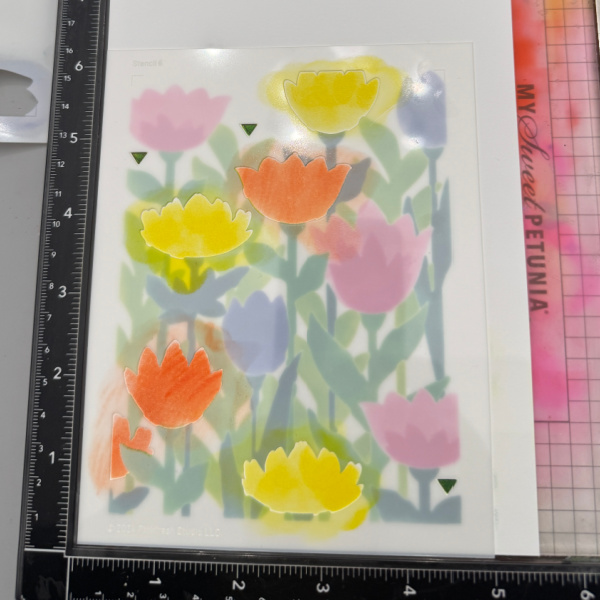
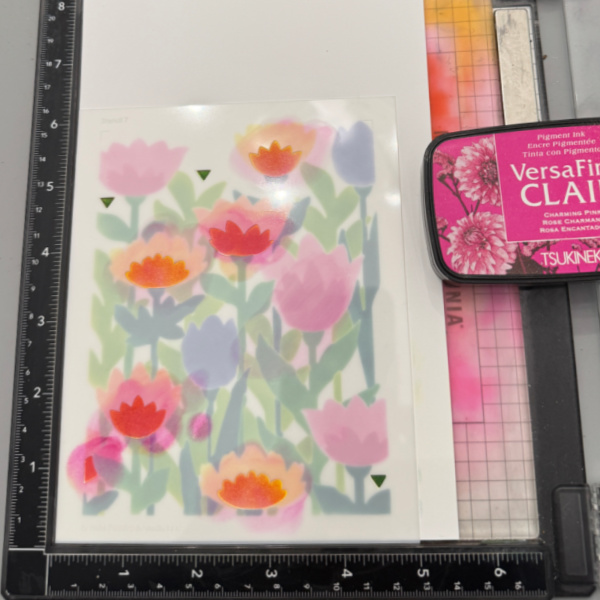
Step 6: Lay Stencil 6 over the cardstock and blend VersaFine Clair Cheerful and VersaFine Clair Summertime inks over the open flowers. Remove and clean the stencil.
Step 7: Lay stencil 7 over the cardstock and blend VersaFine Clair Charming Pink in the open spaces. Remove and clean the stencil.
This photo is showing the alignment triangles I have been referring to. For the next step you will need to know where they are.
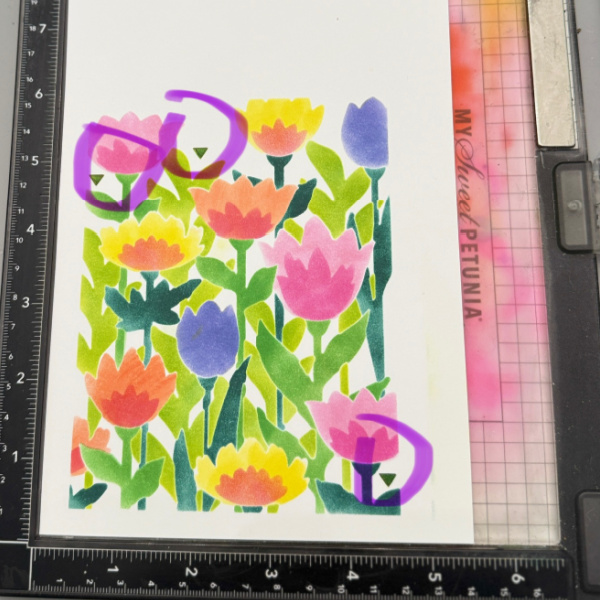
Step 8: Lay the coordinating die over the flowers lining up the triangles as pictured above. Tape it down so it doesn’t move and run it through the die cutting machine. This also adds the texture to the flowers.
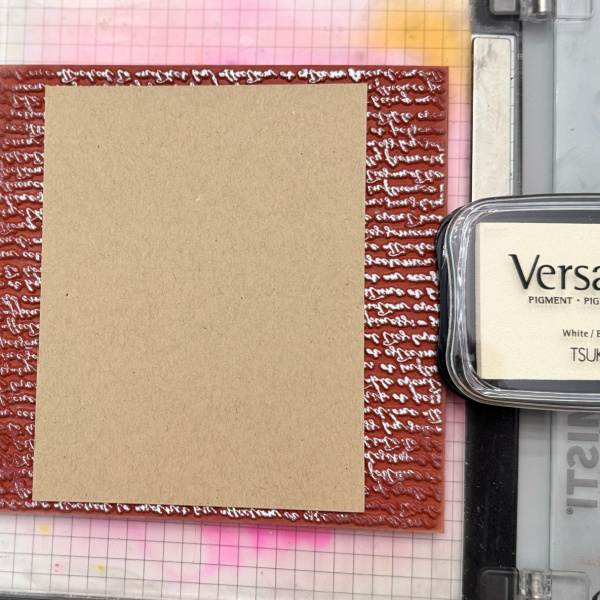
Step 9: Cut a piece of kraft cardstock to A2 size 4.25 x 5.5. Ink up a script stamp with VersaColor White and lay the kraft panel over the ink and rub across with your hand.
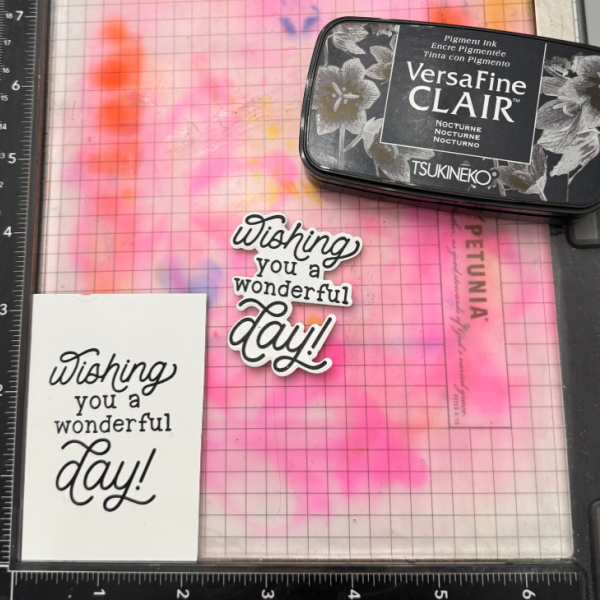
Step 10: Stamp the sentiment and cut it out multiple times for dimension. Adhere the kraft panel to an A2 white card base. Add the floral panel and then the sentiment. Also stamp a sentiment on the inside.
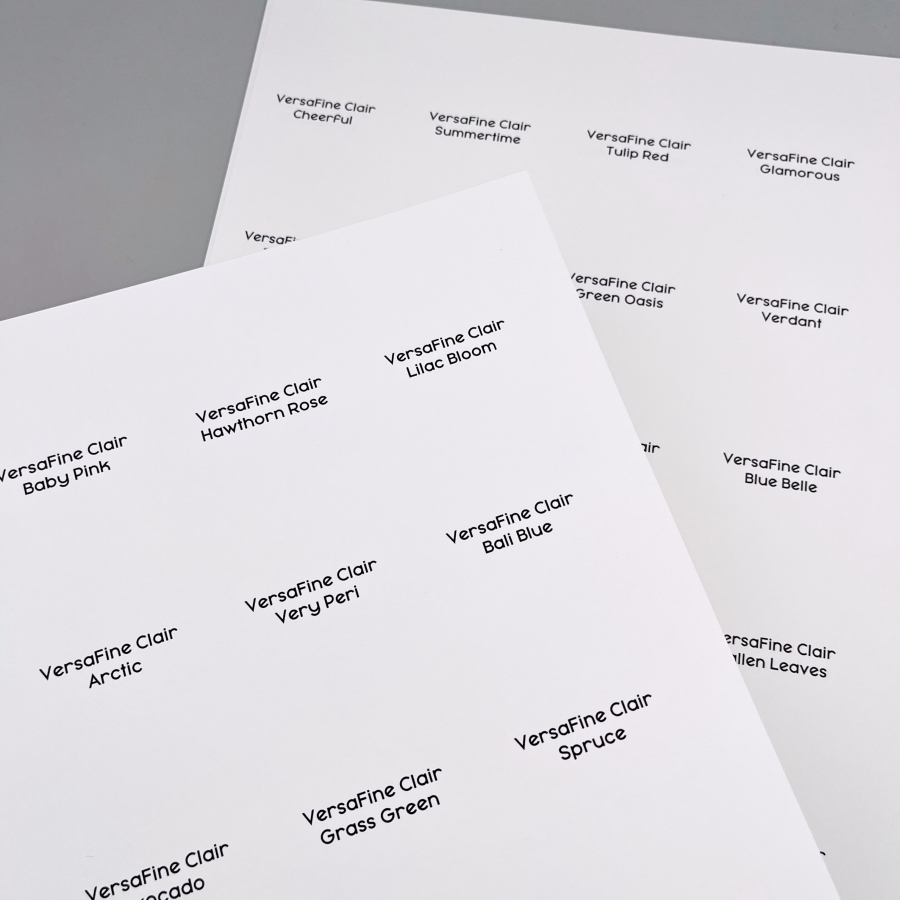
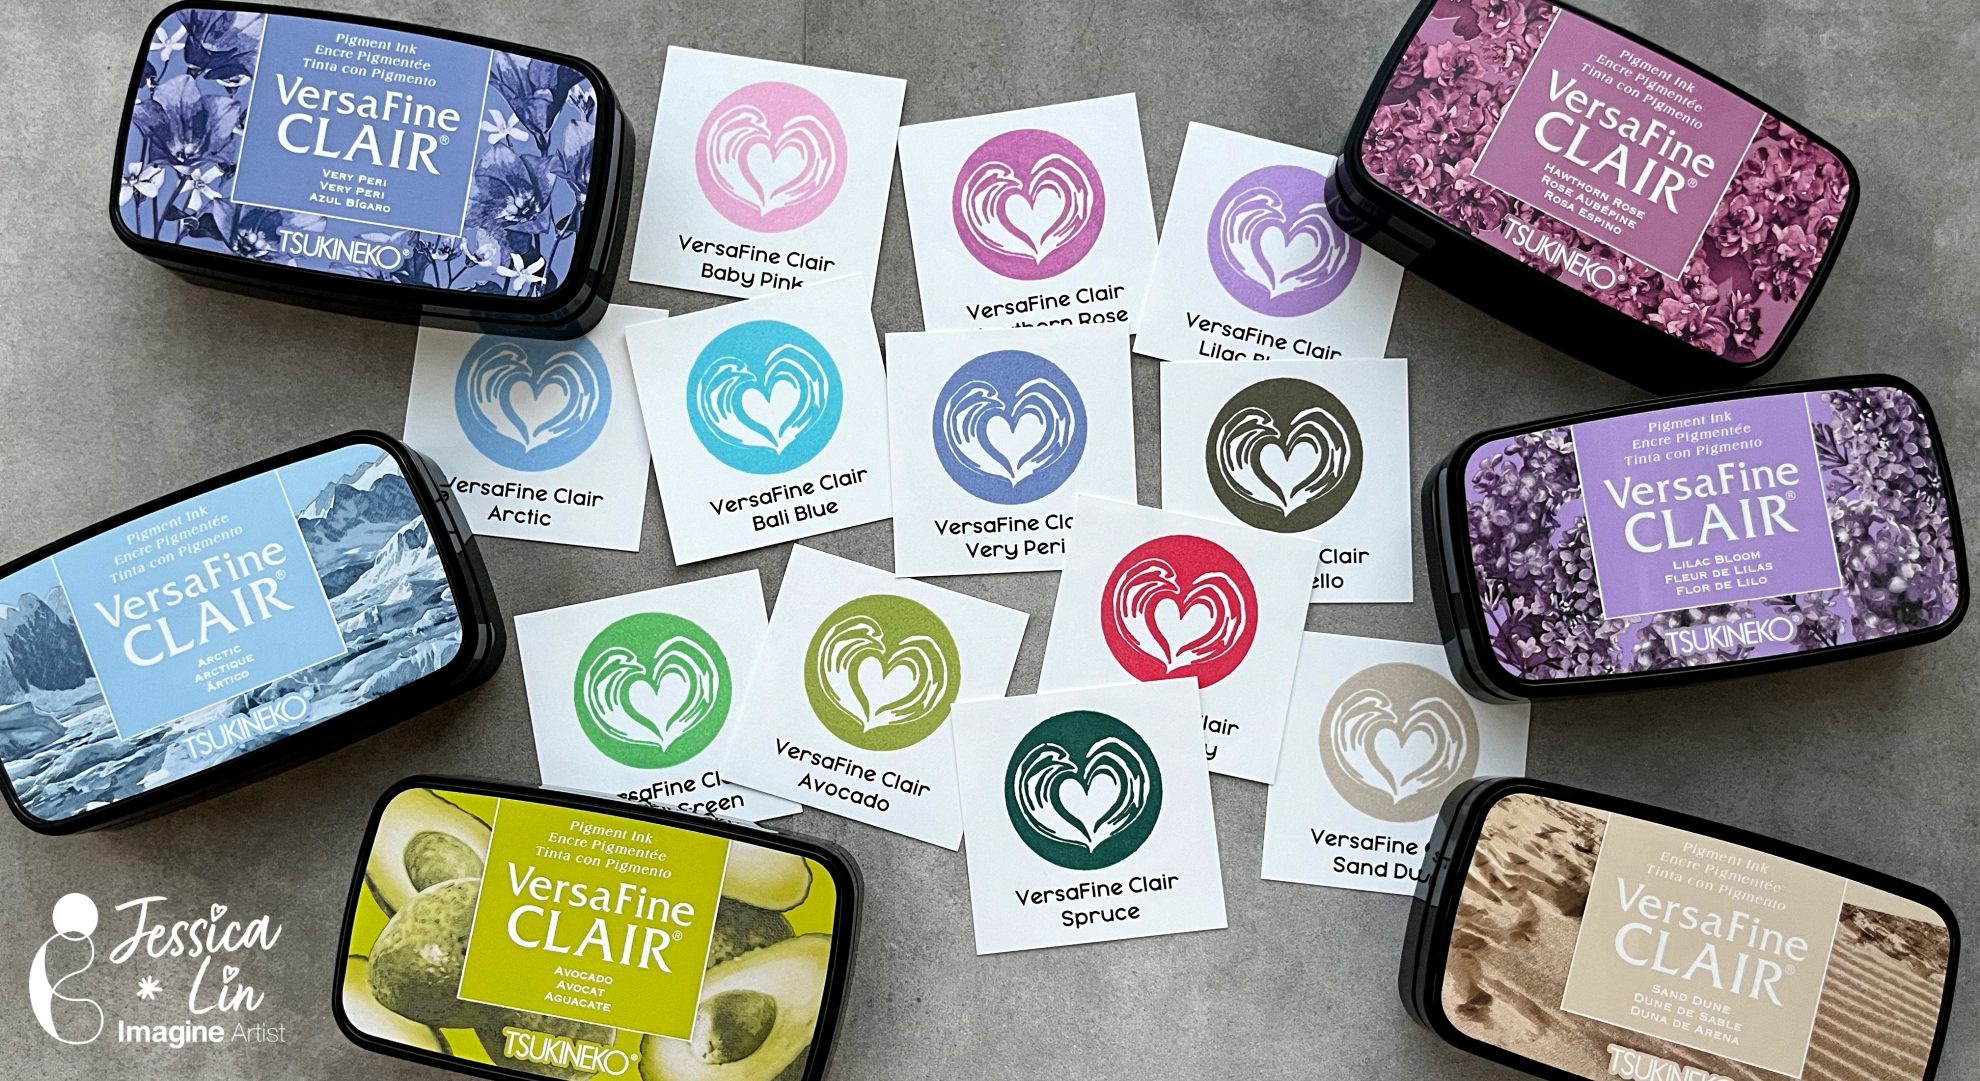
Hi everyone, it’s Jessica here. I am loving the new VersaFine Clair inks and I hope you are enjoying the creations from the Imagine team! Today I decided to create new ink swatches so I can have a quick on-hand reference for the colors.
Step 1: Print the labels onto your go-to white cardstock. For me, that is Neenah Solar White Cover in 80lbs. I used Word to create the labels template and it takes a bit of trial and error to align everything perfectly. I found that checking the “show grid lines” box was helpful during the process.
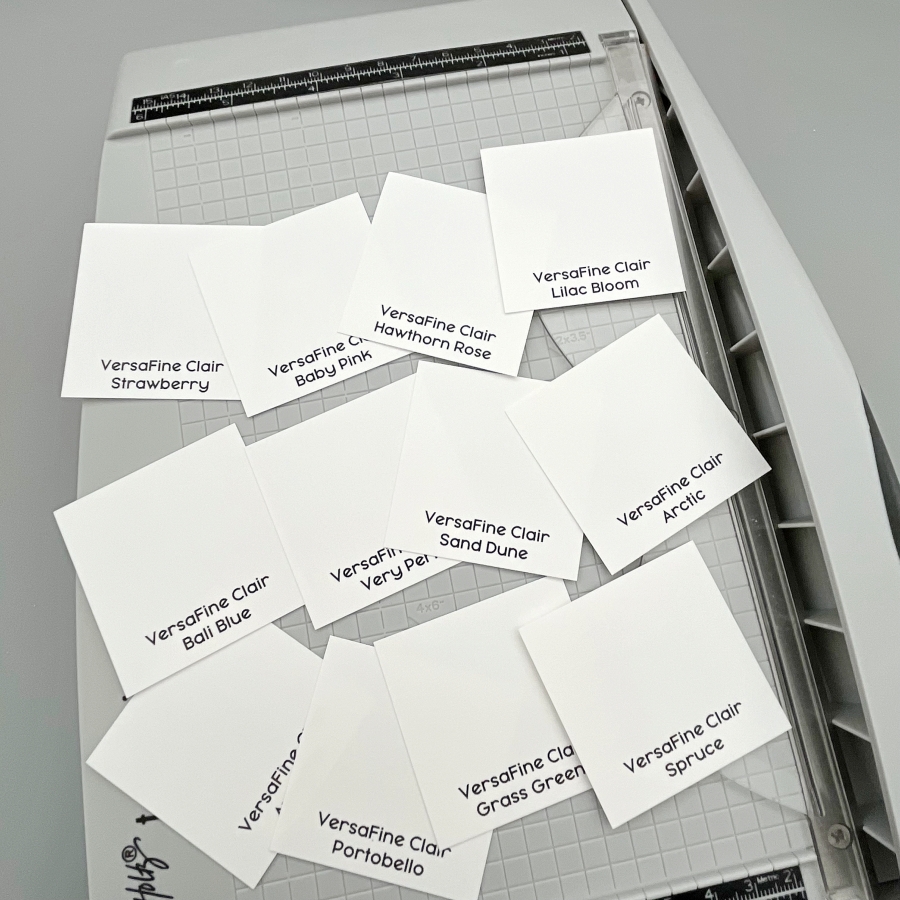
Step 2: Trim the labels to 2 x 2’’ squares. I used a standard 8.5 x 11’’ cardstock to print so each page equals to 20 labels at the end.
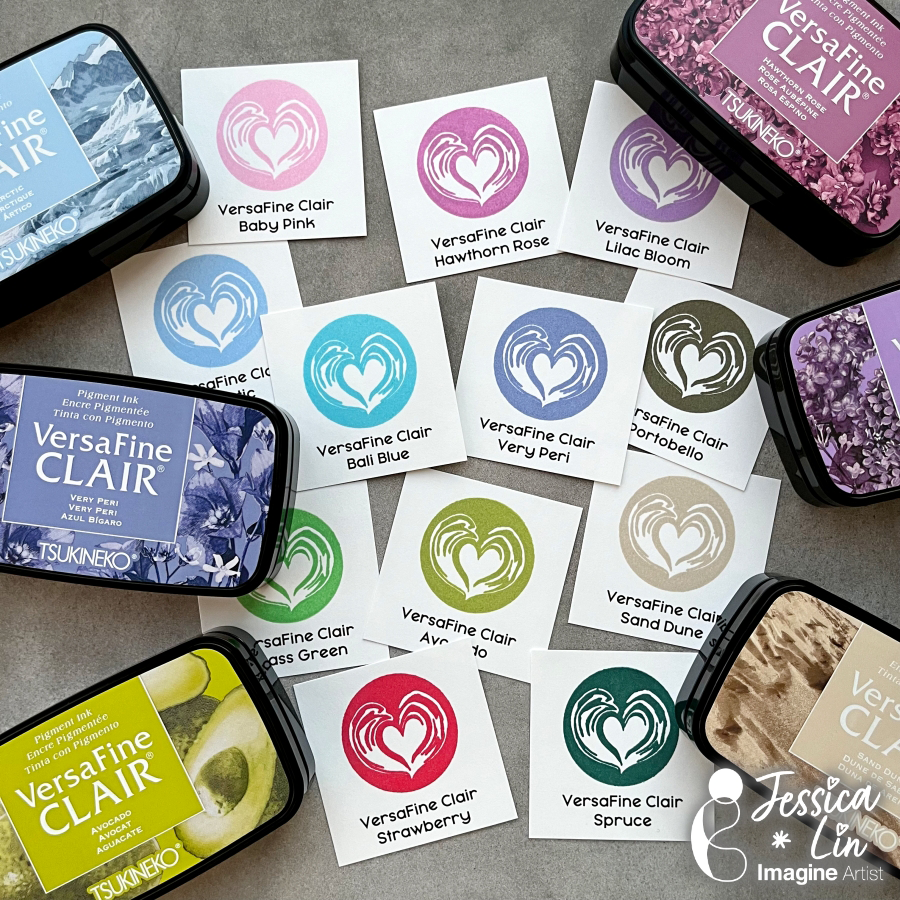
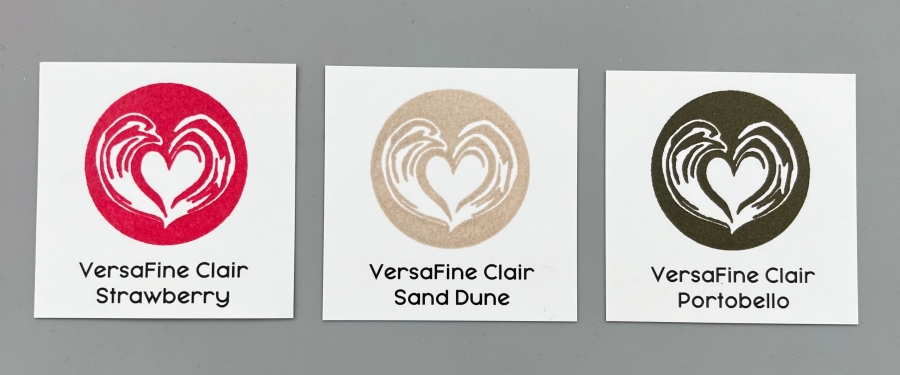
Step 3: Then stamp each label with the corresponding ink pad. I used a stamp positioning tool but it is completely optional. As for the stamp used for ink swatching, I would recommend an image that is solid so that there is enough area to truly showcase the ink color. I like to pick something that also has some fine lines; some inks have great coverage but are not the best at showing fine details. I recently bought a coffee-themed stamp set called Latte Love from Stampin’ Up!, and this coffee swirl stamp is perfect.
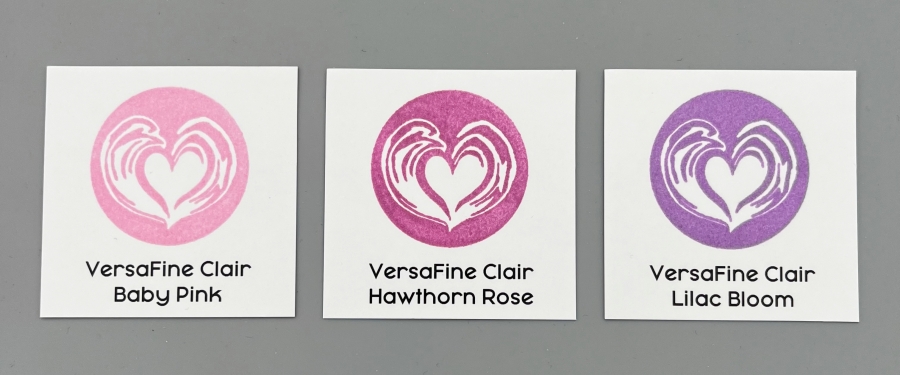
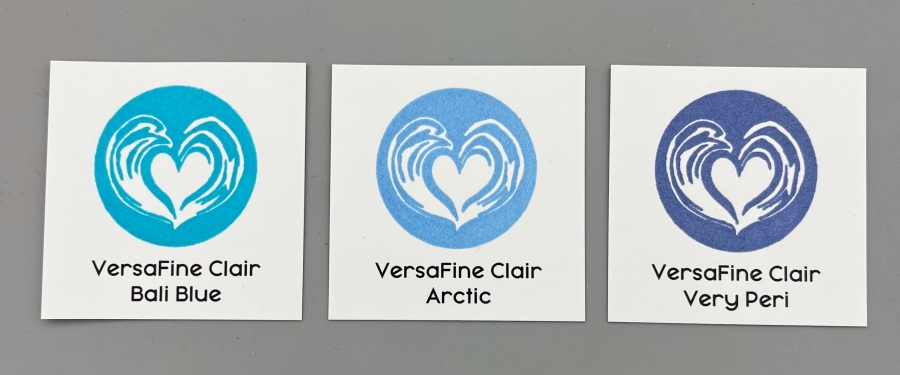
Below are all the new VersaFine Clair colors. As you can see, they are great inks that offer great ink coverage and retain super-fine details of the stamps. I double stamped most of them as I
typically double stamp my images when I am creating. I tried to minimize the amount of editing on these images so the colors are kept as true as possible. Hopefully they can provide a visual for you as well if you are interested in these inks.
I hope today’s tutorial inspires you to create new ink swatches! They are handy tools and the ink swatching process is so cathartic. I can’t wait to create more projects with these inks!
I used to be intimidated by the idea of multimedia cards, but all they are cards that have different types of products. This card features stamping, watercoloring with sprays and Amplify! Ink, and embossing.
Skill: Intermediate Time: 2 hours
Directions:
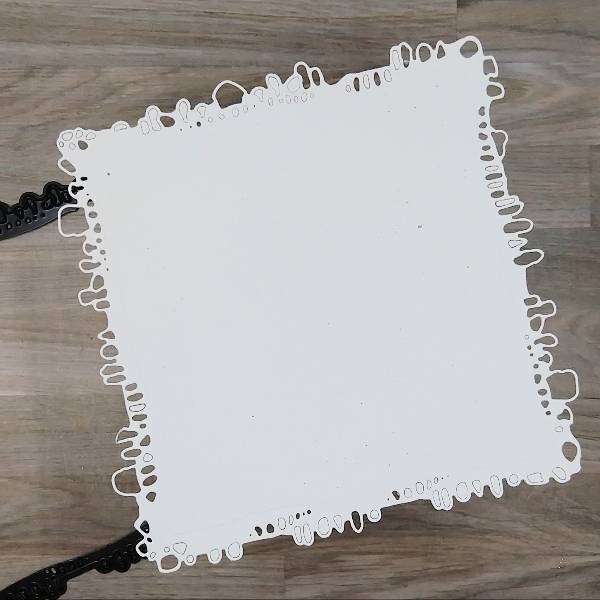
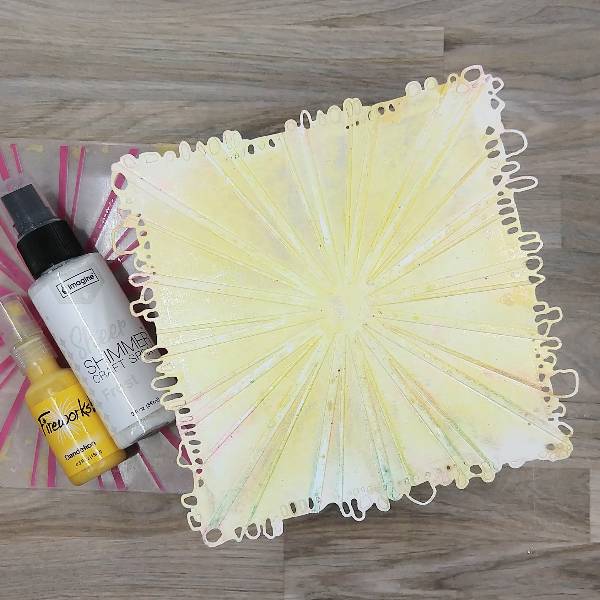
Step 1: Die cut a piece of watercolor paper.
Step 2: Spray Dandelion Fireworks! Shimmery Craft Spray onto the center part of an embossing folder and Frost Sheer Shimmer Craft Spray around the edges. Place the die cut watercolor panel in the embossing folder. (The folder had some residual color from a previous project, but it will be covered up later.)
Step 3: Rub a Sunflower Yellow Brilliance Ink pad over the edges of the embossed watercolor panel.
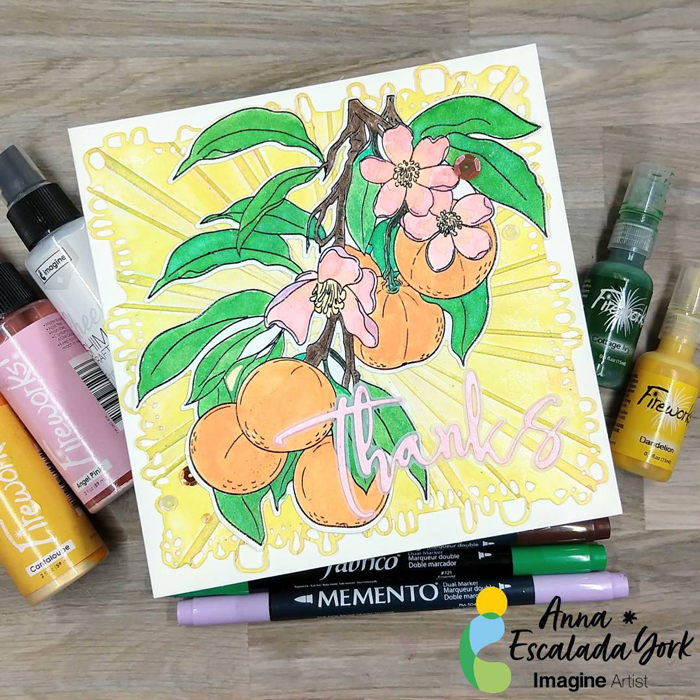
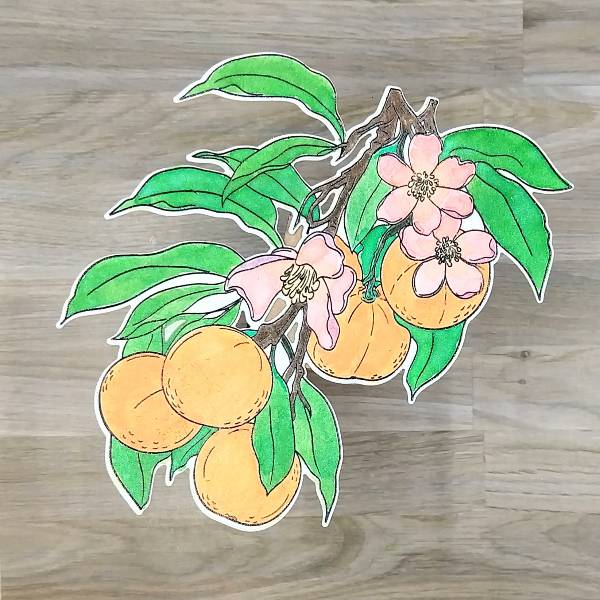
Step 4: Stamp the main image onto another piece of watercolor paper with Nocturne VersaFine Clair ink. Heat emboss with clear embossing powder.
Step 5: Use a variety of sprays and other media to color in the image.
The leaves were watercolored with Cottage Ivy Fireworks! Shimmery Craft Spray.
The green stems were colored with Emerald Fabrico Dual Marker.
The small branches were colored in with Rich Cocoa Memento Dual Marker.
The flowers were watercolored with Angel Pink Fireworks! Shimmery Craft Spray on the petals. After the petals dried, the center of the flower and the center part of the petals were water colored with Cantaloupe Shimmery Craft Spray. Finally, the outside parts of the petals were colored with Lulu Lavender Memento Dual Marker.
Electric Orange Radiant Neon Amplify! pigment ink and Cantaloupe Shimmery Craft Spray were mixed on a piece of scrap acetate and was watercolored onto the tangerines.
Step 6: Die cut the image with the corresponding die.
Step 7: Press Angel Pink Memento Dye Ink onto a scrap of watercolor paper. After the ink dries, spray Angel Pink Fireworks! Shimmery Craft Spray onto the same scrap of watercolor paper and allow it to dry.
Step 8: Die cut the pink watercolor paper with a thanks sentiment die and a piece of vellum with the sentiment’s shadow die.
Step 9: Glue the tangerine image onto the embossed watercolor background panel. Then glue the sentiment die cut to the vellum shadow sentiment die cut. Glue the sentiment onto the panel as well.
Step 10: Glue the panel onto a 6” by 6” square cardbase. Glue sequins on the lower left and upper right parts of the panel to finish the card.
AALL & Create – die set – Nature’s Doily Alex Syberia Designs – die set – Large Thanks die Altenew- die set – Tangerine Grove Altenew- stamp set – Tangerine Grove Catherine Pooler – sequin mix – València Sequin Mix Pink & Main – Embossing Folder – Sun Ray Clear Embossing Powder 6” by 6” cardbase Watercolor paper Vellum Die cutting machine Scissors Glue