Use StazOn Pigment in Snowflake to Create Christmas Gift Tags

by Elina Stromberg

Use StazOn Pigment in Snowflake to Create Christmas Gift Tags

Very soon it is the time of the year again when we start wrapping Christmas gifts for our loved ones. A handmade gift tag makes the present even more special; it delivers a heartfelt message that the receiver is important to you. These adorable Christmas penguins by Joy Clair are the perfect addition to your personalized message. Just start by punching a pile of tags from leftover cardstock pieces, and soon you will have a pile of gift tags ready to spread out the Christmas feeling to your friends and family!

Skill: Beginner/Intermediate
Time: 1 hour

Directions
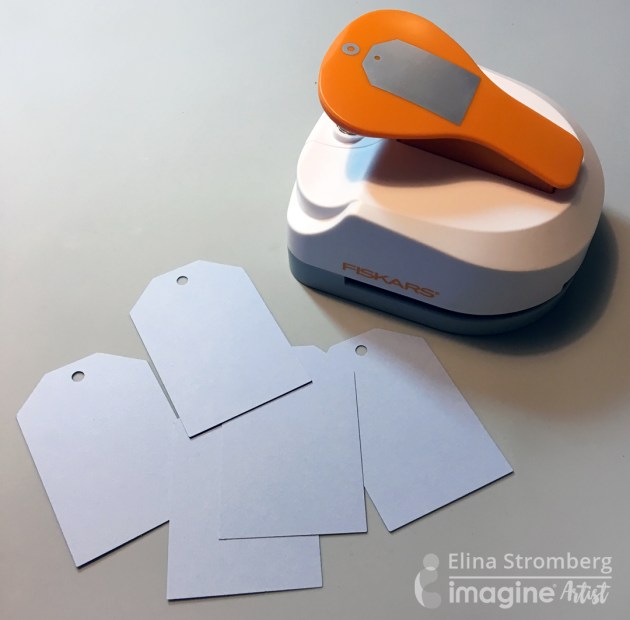

Step 1

Punch or hand-cut gift tags from light blue cardstock.
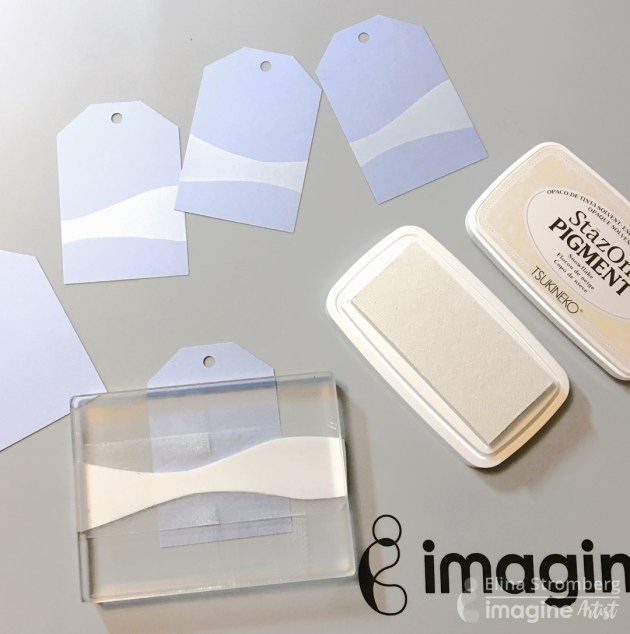
Stamp a snowy hill shape on each tag using white StazOn Pigment ink.
Step 2

Cut a wave shape from fun foam. Attach to an acrylic block using double-sided tape. Stamp a snowy hill shape on each tag using white StazOn Pigment ink.

Stamp Christmas penguins on white paper with black ink
Step 3

Stamp Christmas penguins on white paper with black ink. Color with markers or color pencils. Cut around the edges. To make the fuzzy cutting quick and easy you can cut out the little details on the wings and feet; those parts will be re-stamped later on the tag background.
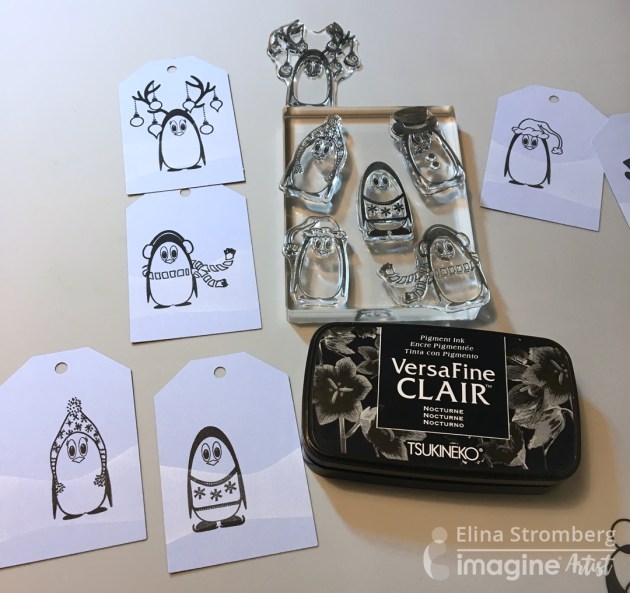

Step 4

Stamp the penguins on the tags using black VersaFine Clair.
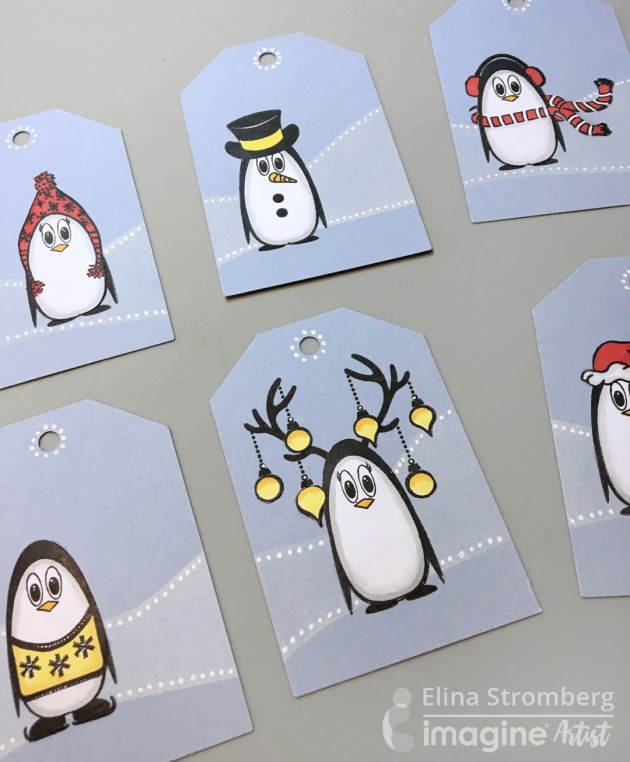

Step 5

Glue the fuzzy cut images on the tags, aligning the fuzzy cut and stamped penguin images. Decorate with a white gel pen.

Supplies

Imagine

StāzOn Pigment – Snowflake
Memento – Tuxedo Black
VersaFine Clair – Nocturne
Craft Mat

Other

• Joy Clair Stamps – Christmas Penguin
• Fiskars Tag punch
• Cardstock in light blue
• Piece of fun foam
• Double-sided tape. Glue
• Acrylic markers
• White gel pen
• Acrylic block for stamping
• Scissors
Create a Snowy Winter Scene Creative Medium and StazOn Pigment

by Lori Warren

Create a Snowy Winter Scene Creative Medium and StazOn Pigment

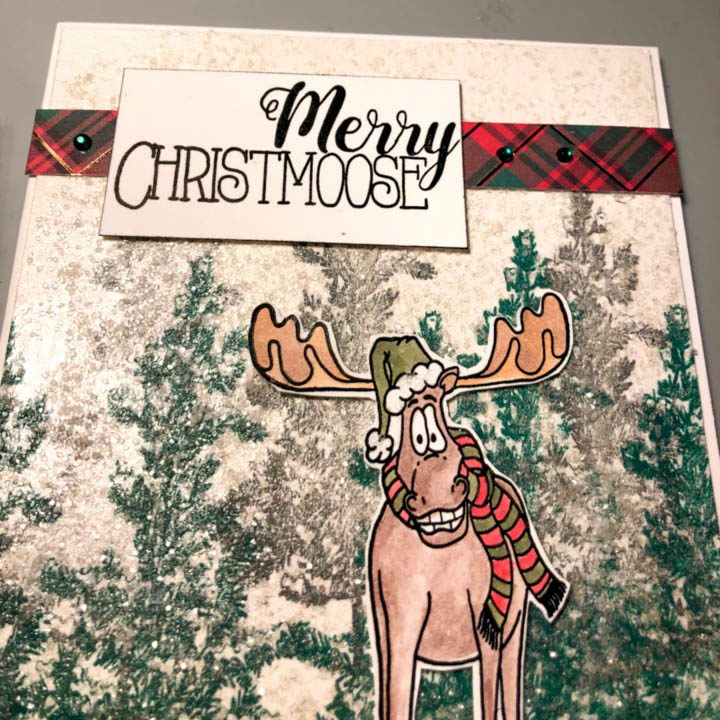
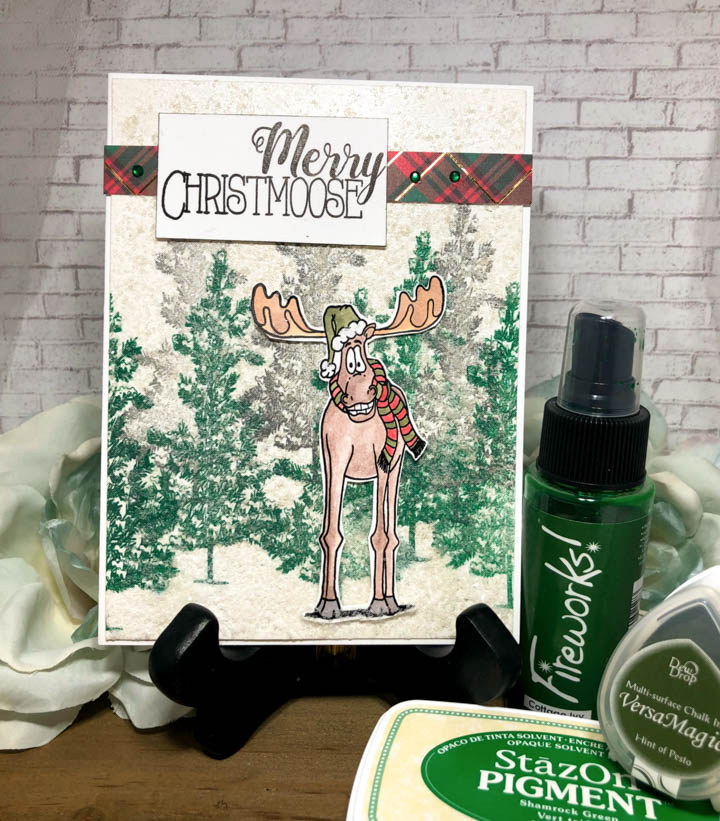
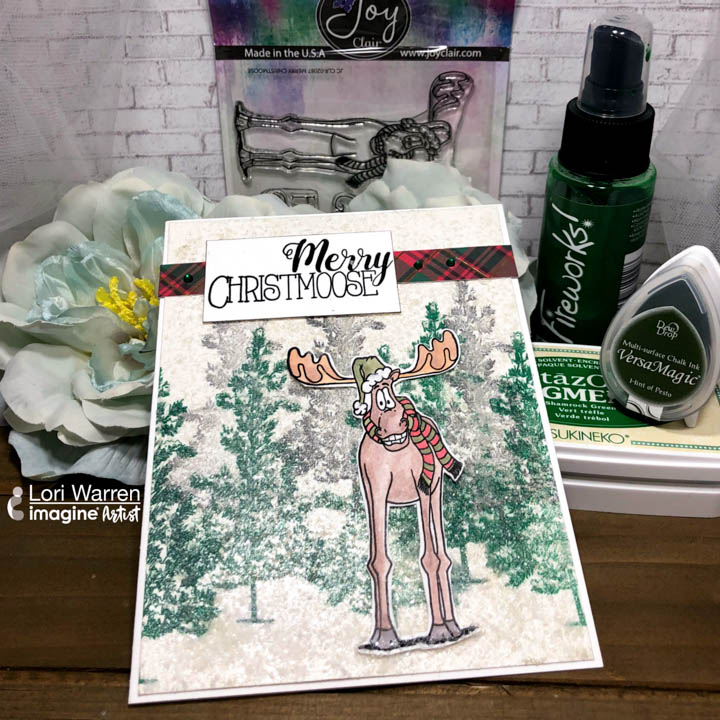
Create a Winter Wonderland background using Clear Artist Creative Medium, StazOn Pigment ink, and clear glitter. I love how the sparkly background shows off the Joy Clair Christmoose.

Skill: Intermediate
Time: 75 minute

Directions


Step 1

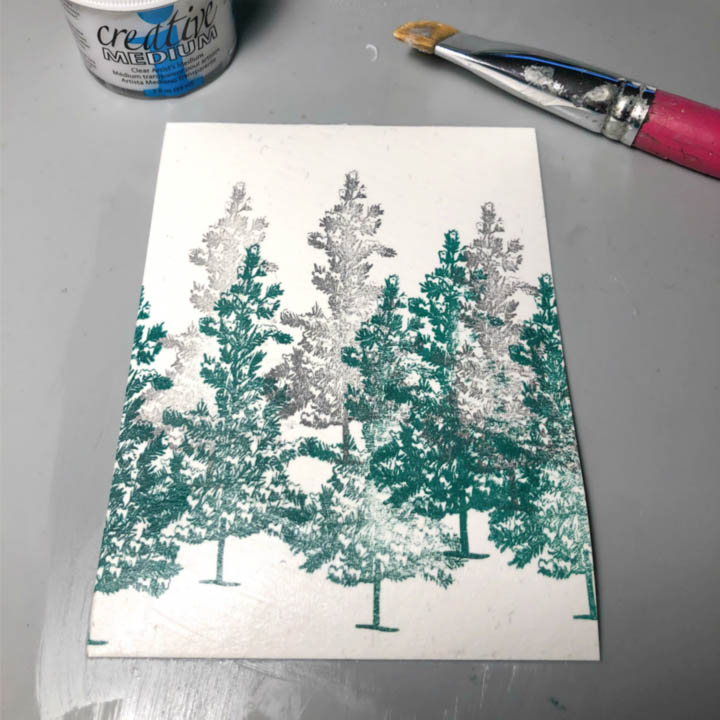
Stamp tree image (from the Joy Clair – Merry Christmoose set) onto a 4 ¾” x 4 ¾” card panel using StazOn ink. Stamp Koala Grey in the back and Shamrock Green in front.


Step 2

Once the ink dries, apply a coat of Clear Artist Creative Medium over card panel.


Step 3

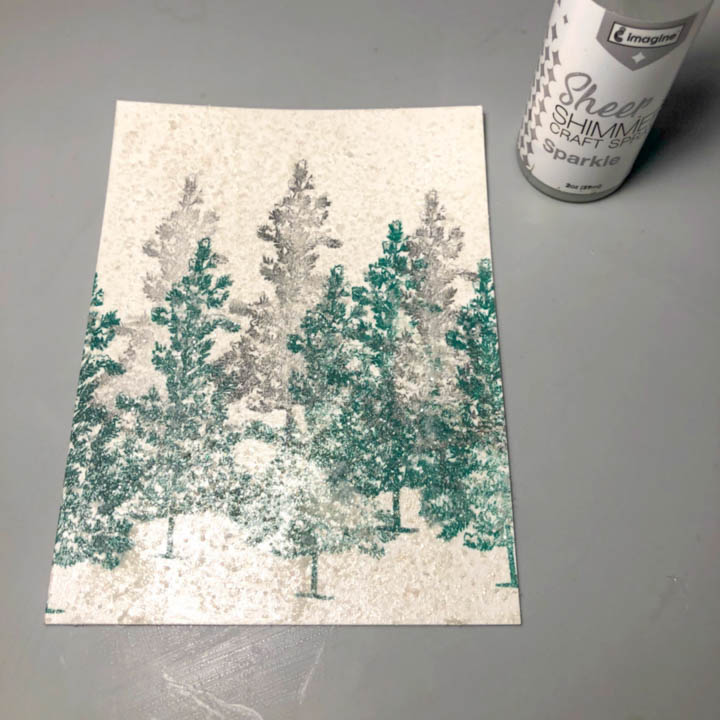
Apply clear glitter over wet medium. Allow medium to dry.


Step 4

Spray panel with Sheer SHIMMER Craft Spray – Sparkle.


Step 5

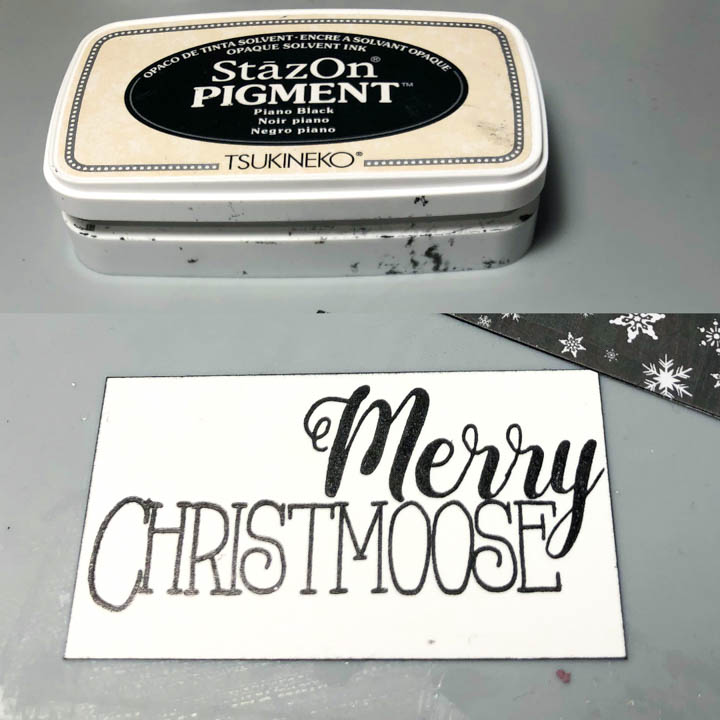
Stamp Christmoose and Merry Christmoose saying onto a separate piece of white card stock.


Step 6

Trim saying to 2 ½” x 1 ¼” in size. Edge panel with StazOn Pigment – Piano Black.


Step 7

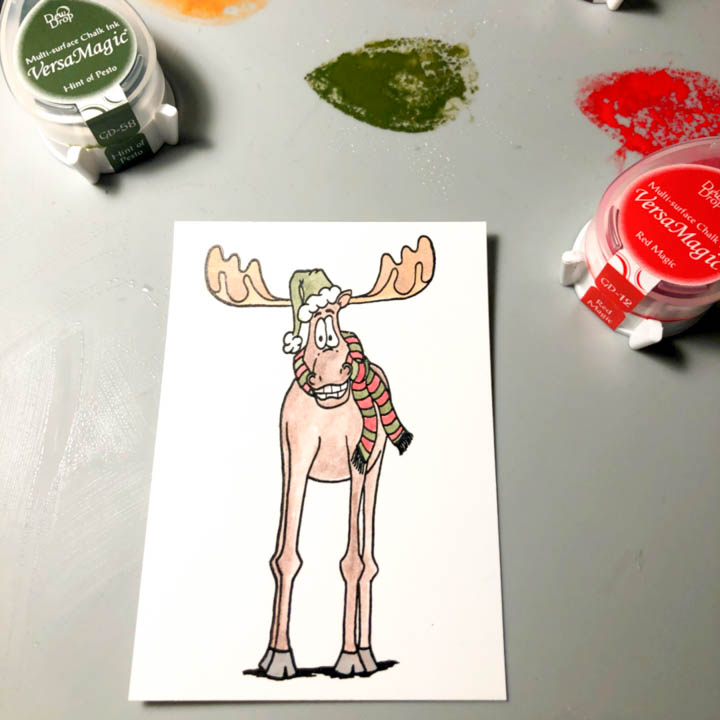
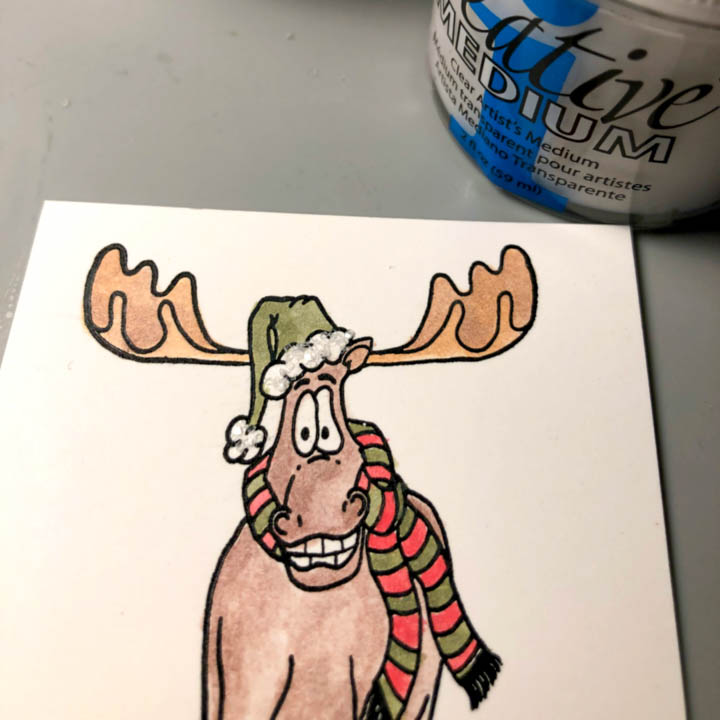
Apply VersaMagic ink directly to craft matte, add water and use wet ink as watercolors to paint the Christmoose image.


Step 8

Add Creative Medium to the fluff of the Christmoose’s hat, apply clear glitter.


Step 9

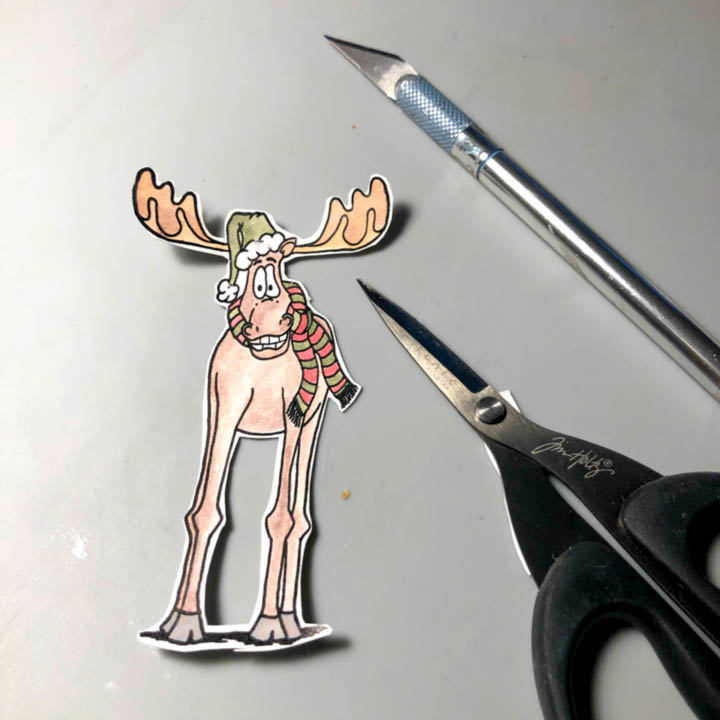
Fussy cut Christmoose.


Step 10

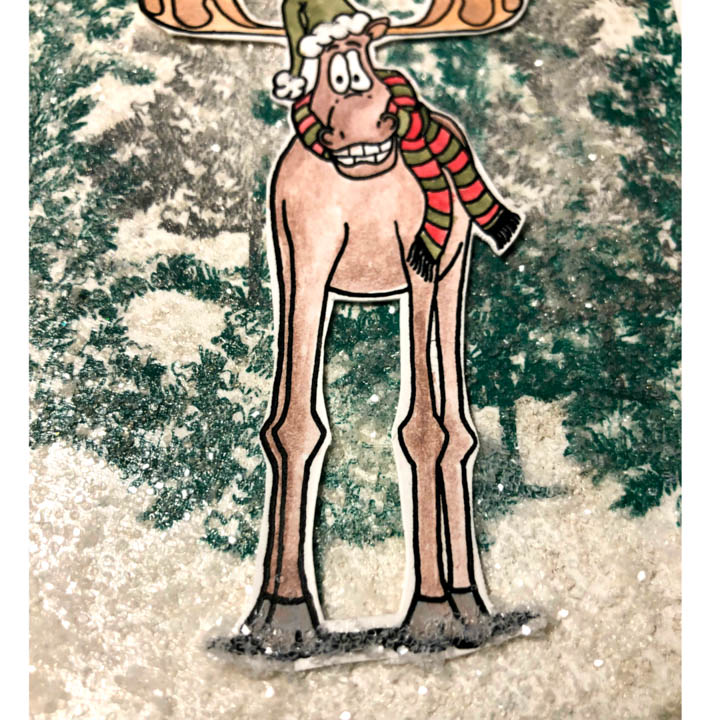
Apply more Creative Medium to bottom of the Christmoose’s feet, add glitter.


Step 11

Adhere panel to the card front. Cut a ½” by 4 ½” piece of decorative paper and adhere to top of the card.


Step 12

Adhere saying over a decorative strip of paper and embellish both sides with jewels.

Supplies

Imagine

Creative Artist Medium – Clear
StazOn Pigment Ink – Piano Black, Shamrock Green, Koala Grey
Sheer SHIMMER Craft Spray – Sparkle
VersaMagic Inkpad – Jumbo Java, Pumpkin Spice, Red Magic, Piano Black
Memento Ink – London Fog

Other

• Joy Clair Stamps– Merry Christmoose
• Cardstock – White
• Recollections – Fireside Paper pad
• Bo Bunny – Double Dot Jewels
• Paintbrush

Come Let Us Adore Him Christmas Card

by Lindsay Adreon

Come Let Us Adore Him Christmas Card

I am constantly making backgrounds and sometimes, depending on the design of the card, I cut and die cut those backgrounds and I have “leftover” pieces. In today’s video, I wanted to share two different Christmas cards made with just one background. Using Joy Clair Stamps with Memento Ink makes it super fun!

Skill: Advanced
Time: 30 minutes

Directions

Supplies

Imagine
Other

Get Inky with VersaColor, Fireworks Sprays and Joy Clair Stamps

by Melissa Andrew

Get Inky with VersaColor, Fireworks Sprays and Joy Clair Stamps

Today, I create a fun card using Fireworks Sprays with a stencil to create a fun background for this adorable sloth from Joy Clair Stamps. Join me for a masking technique cardmaking tutorial. Also, learn how to make simple coffee rings on your cards with Fireworks in Rich Cocoa!

Skill: Advanced
Time: 1 hour

Directions

Supplies

Imagine

Fireworks Spray – Rich Cocoa, Desert Sand
VersaColor – Cyan
• VersaFine Clair – Nocturne
Imagine Craft Mat
Brushstix

Other

• Joy Clair – Feeling Slothly – https://www.joyclair.com/collections/clear-stamps/products/feeling-slothly-clear-stamps
• Circle Die Cut
• Stencil – La La Land Crafts
• White Cardstock
• Heat Tool
• Paper Trimmer

Inking & Masking Technique To Create A Wintery Scene

by Nadine Carlier

winter-theme-penguin-card-by-nadine-carlier-ic-web

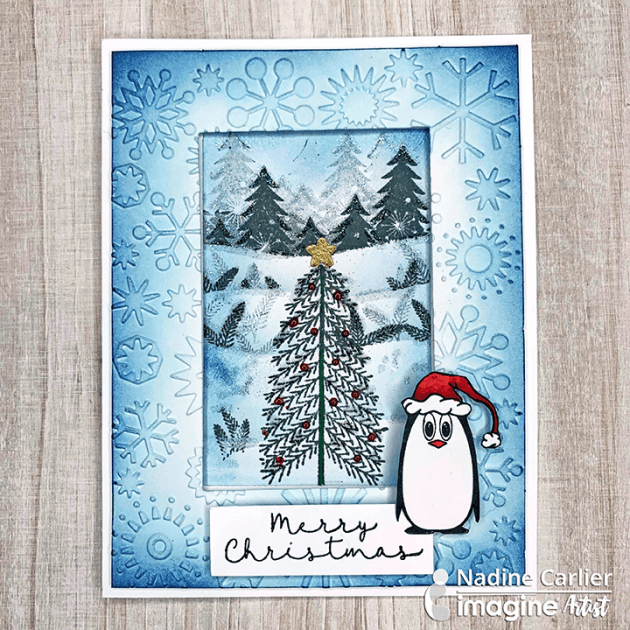
Watch my video tutorial below to see how I used Memento Inks and a mask to create a wintery Christmas scene. Enjoy!

Skill: Intermediate
Time: 30 minutes

Supplies

Imagine
Other

Visit our YouTube Channel for more inspirational videos and subscribe. Make sure to click the bell to get updates when we post new videos.

Create Monochromatic Watercolor with Mboss Powder and VersaMagic

by Lori Warren

Create Monochromatic Watercolor with Mboss Powder and VersaMagic

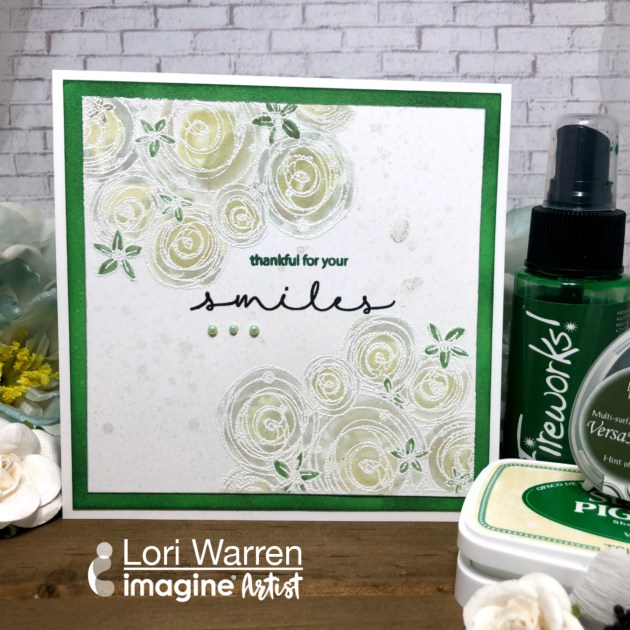
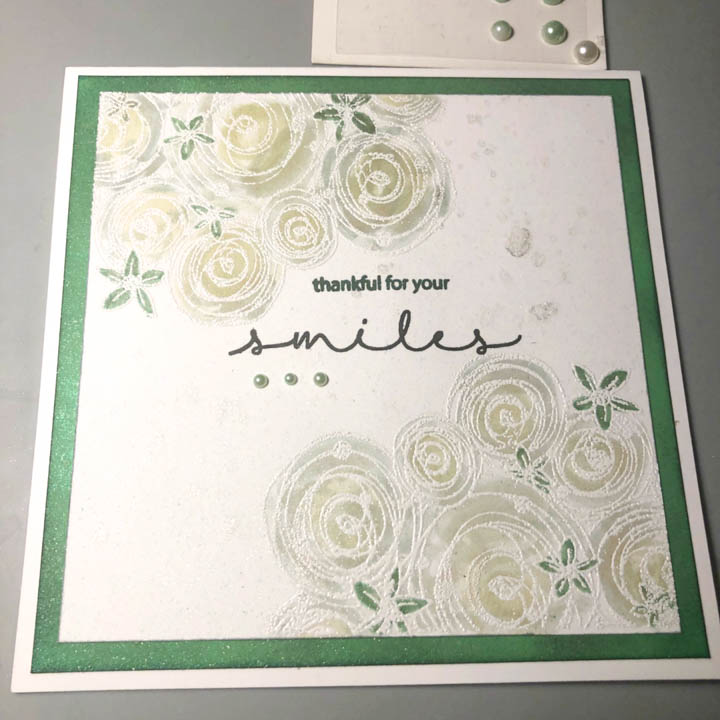
A monochromatic color scheme can produce a lovely outcome; especially when framed with White MBoss Embossing powder.

Skill: Intermediate
Time: 60 minutes

Directions


Step 1

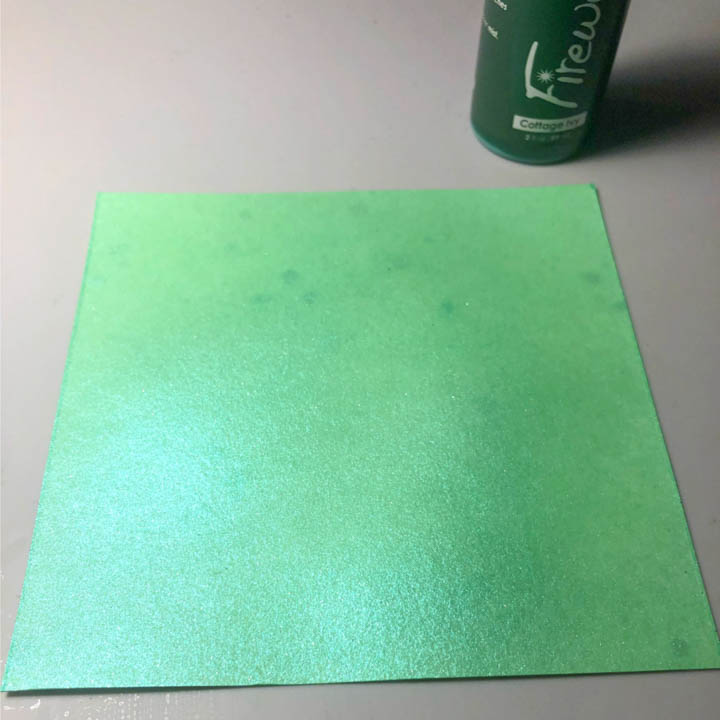
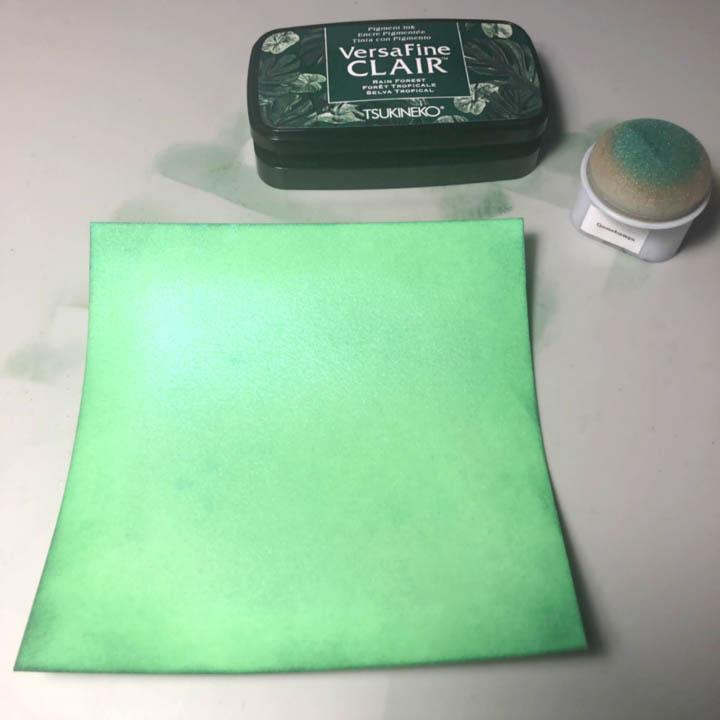
Color a 5” x 5” white cardstock panel with Fireworks! Cottage Ivy spray.


Step 2

Edge panel with VersaFine Clair Rain Forest.


Step 3

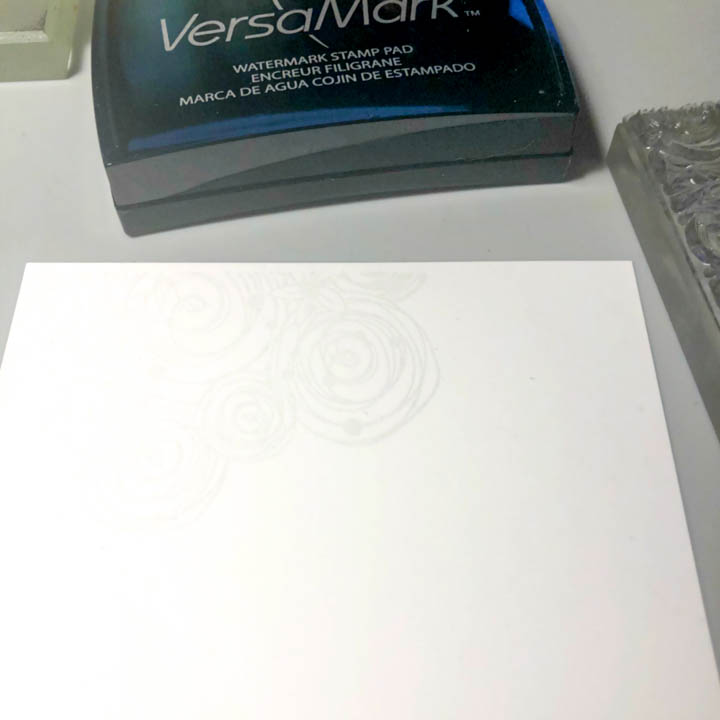
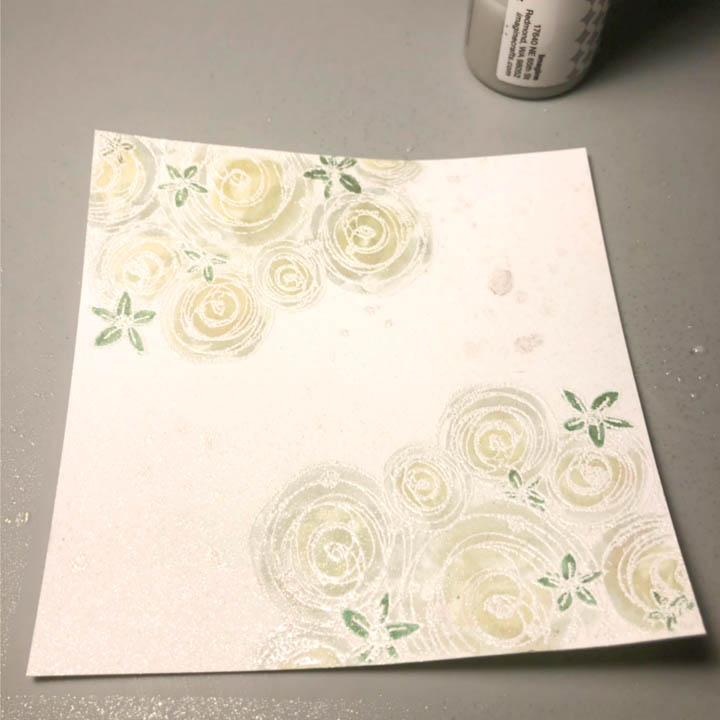
With a VersaMark Watermark stamp pad, stamp the floral image onto corners of a 4 ¾” x 4 ¾” white cardstock panel.


Step 4

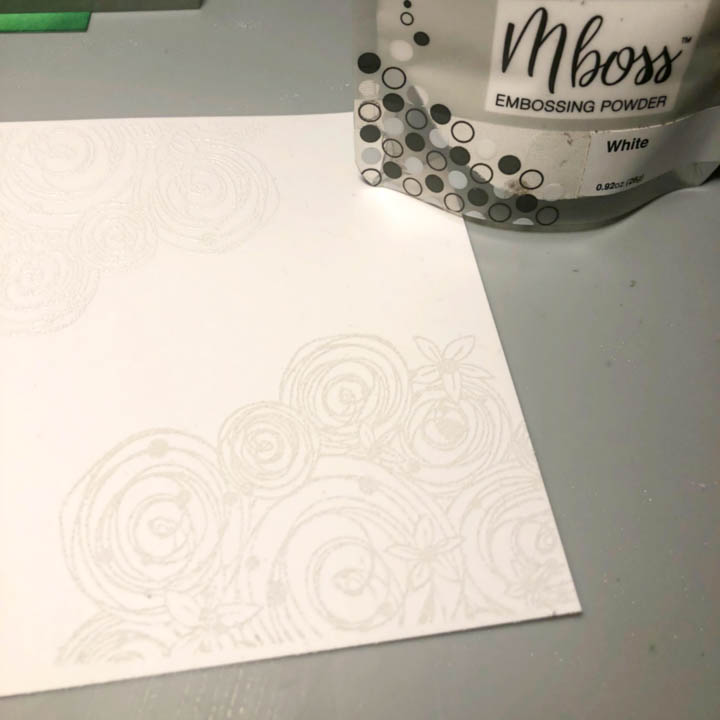
Cover VersaMark stamped Image with White MBoss Embossing Powder and heat to set.


Step 5

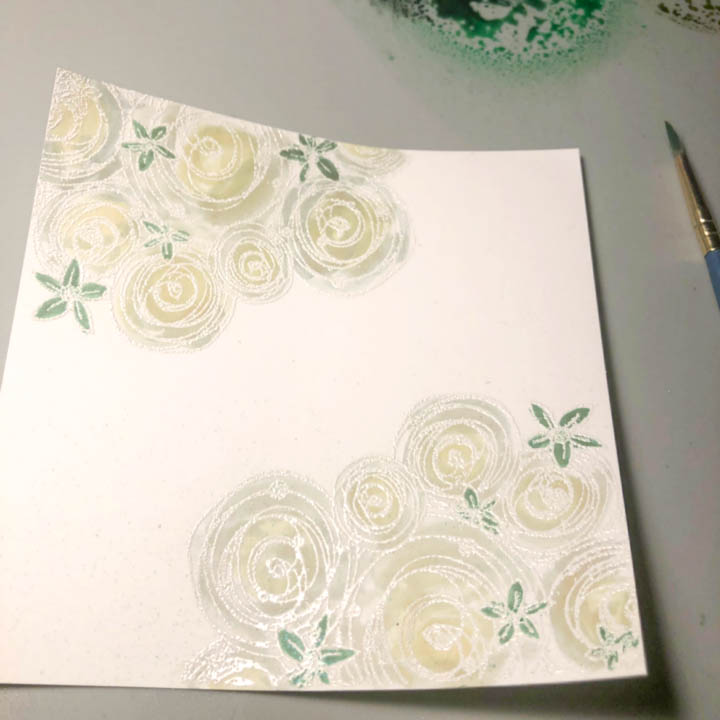
Apply VersaMagic in Hint of Pesto to a craft mat, add water and use wet ink to color floral image (using a paintbrush).


Step 6

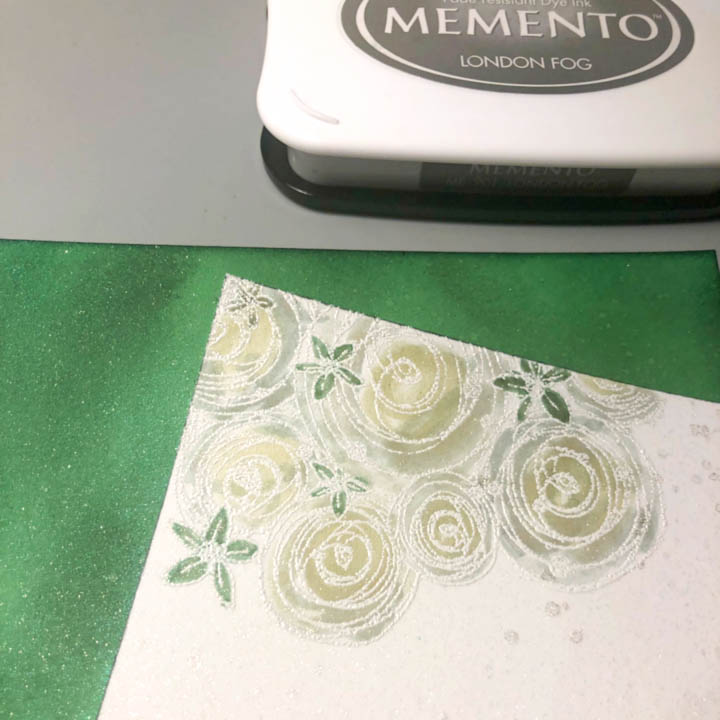
Spray panel with Sheer Shimmer Craft Spray in Sparkle. Allow drying.


Step 7

Edge panels with Memento Ink in London Fog.


Step 8

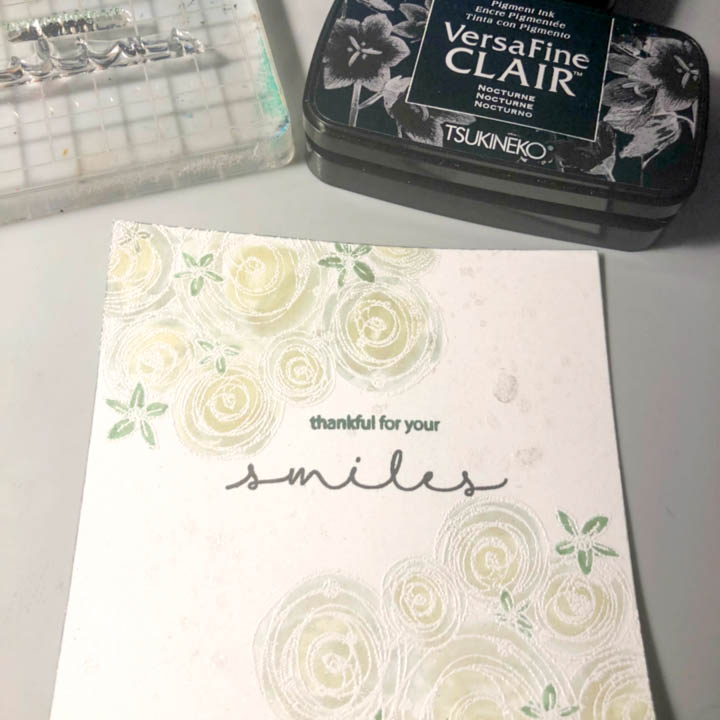
Stamp center of the panel with the sentiment using VersaFine Clair in Nocturne, Rain Forest.


Step 9

Layer panels onto a 5 ¼” x 5 ¼” card base and embellish with adhesive pearl.

Supplies

Imagine
Other
  • Joy Clair Stamps – Hugs and Smiles
  • Cardstock
  • Kaiser Craft – Adhesive Pearls in Ice Green
  • Acrylic Block
  • Paintbrush