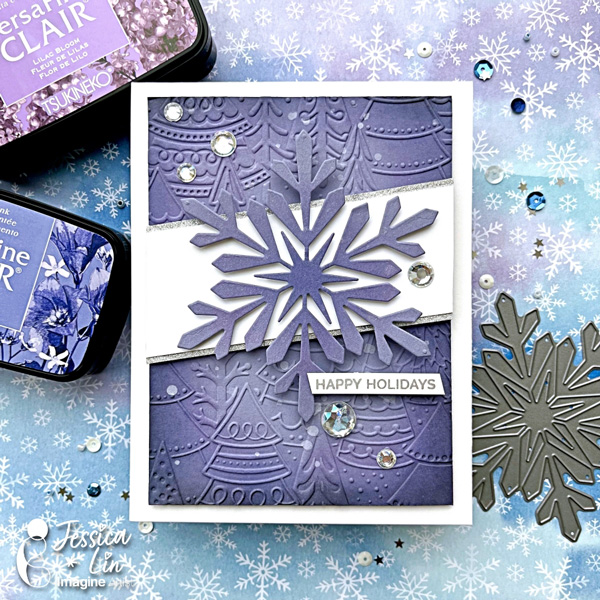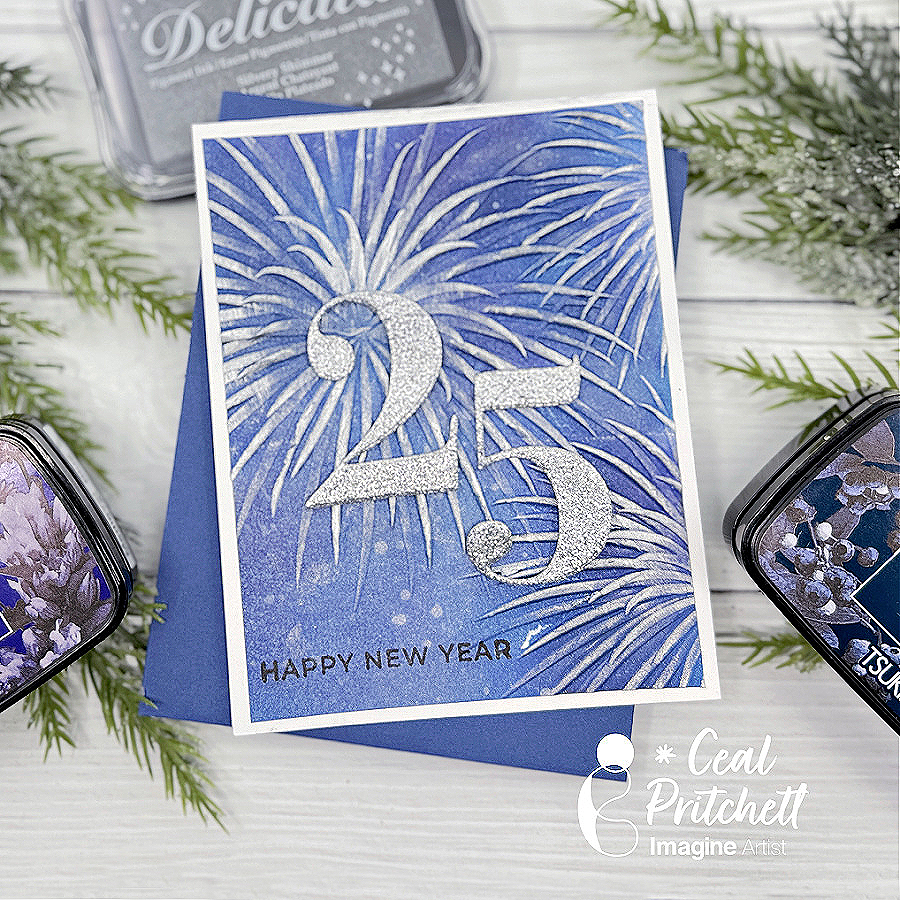
By Anna Escalada York
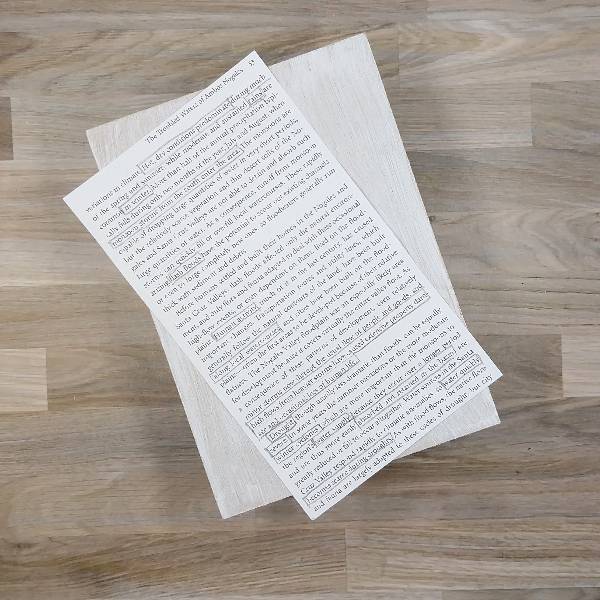
When I’m not making cards, I am a high school teacher and graduate student. I made something way out of my comfort zone for the final project for my graduate school class, and wanted to share it here as well. I created a blackout poem from a copy of a text related to my project and then added some stamped images related to it over the poem. I had a lot of fun making it, so I may have to start making more blackout poems in the future….
Skill: Intermediate
Time: 3 hours
Directions:

Step 1:
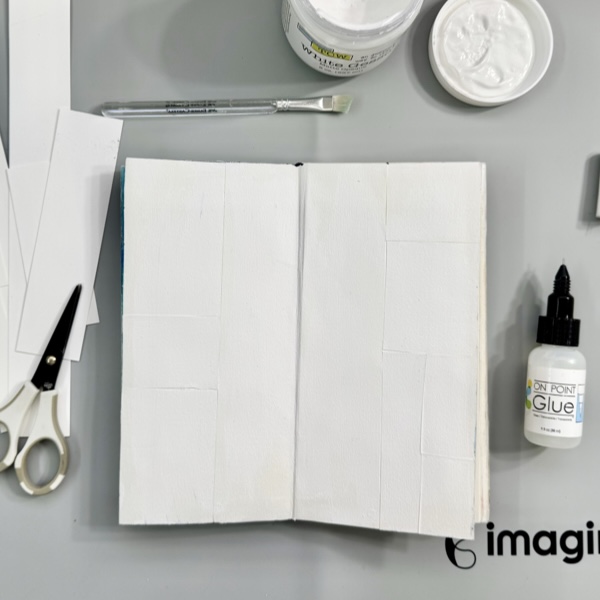
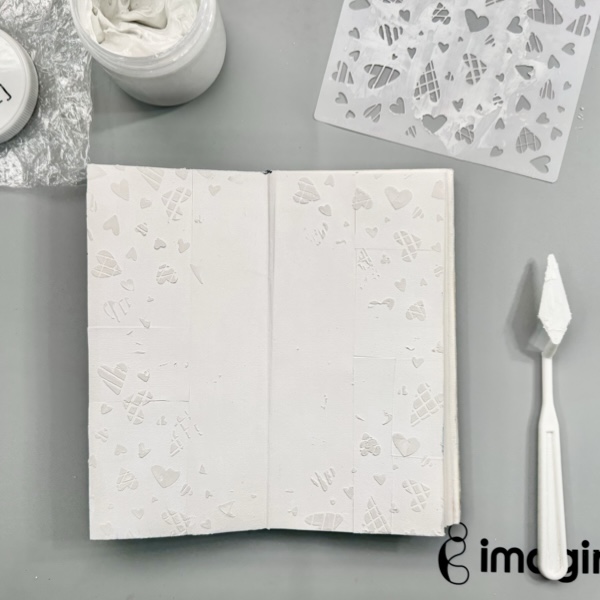
Paint a thin layer of white gesso onto a 5” by 7” medium density fiberboard (MDF) panel.
Step 2:
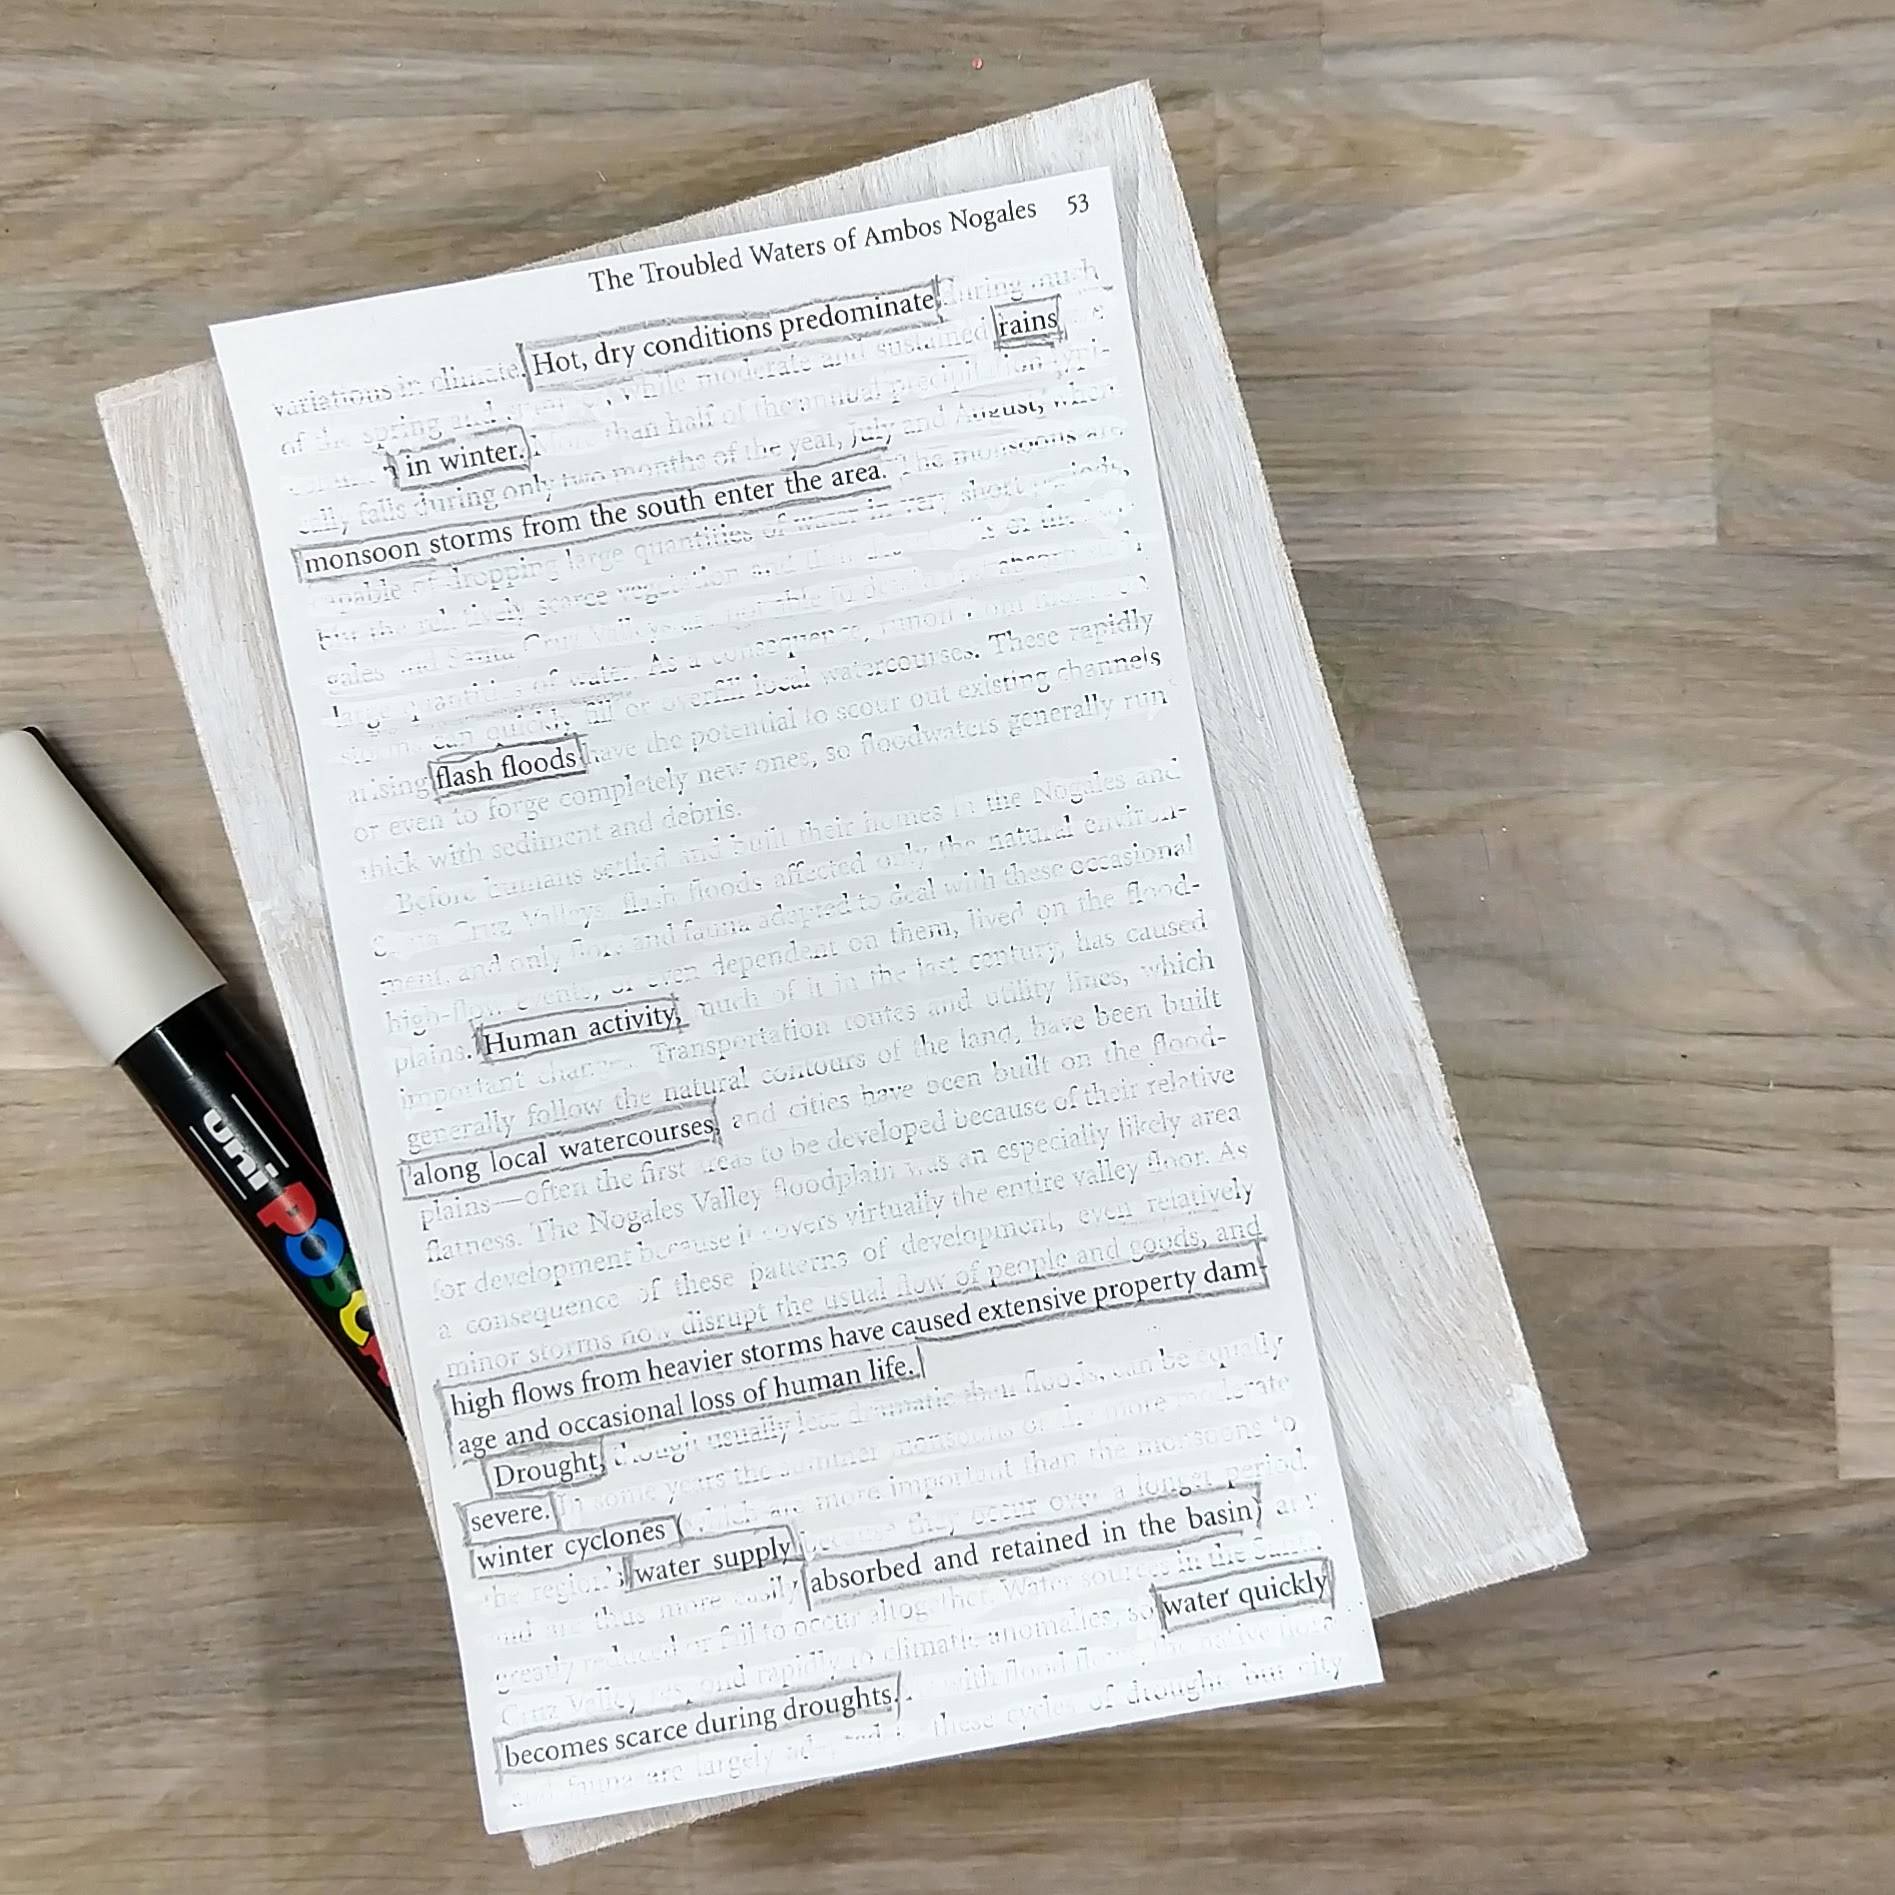
Identify words that you want to keep by underlying them or drawing boxes around them in pencil (the other words will be crossed out).
Step 3:
Using a white marker, cross out the other words, leaving the underlined words as the only words that we can see on the page. Erase the pencil marks.

Step 4:
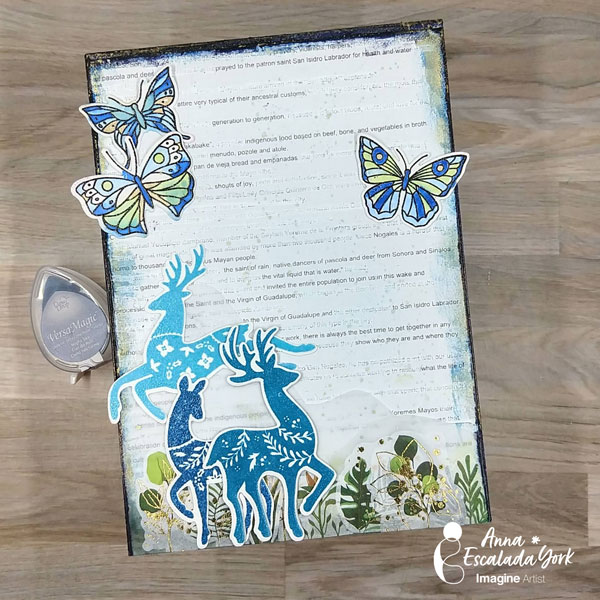
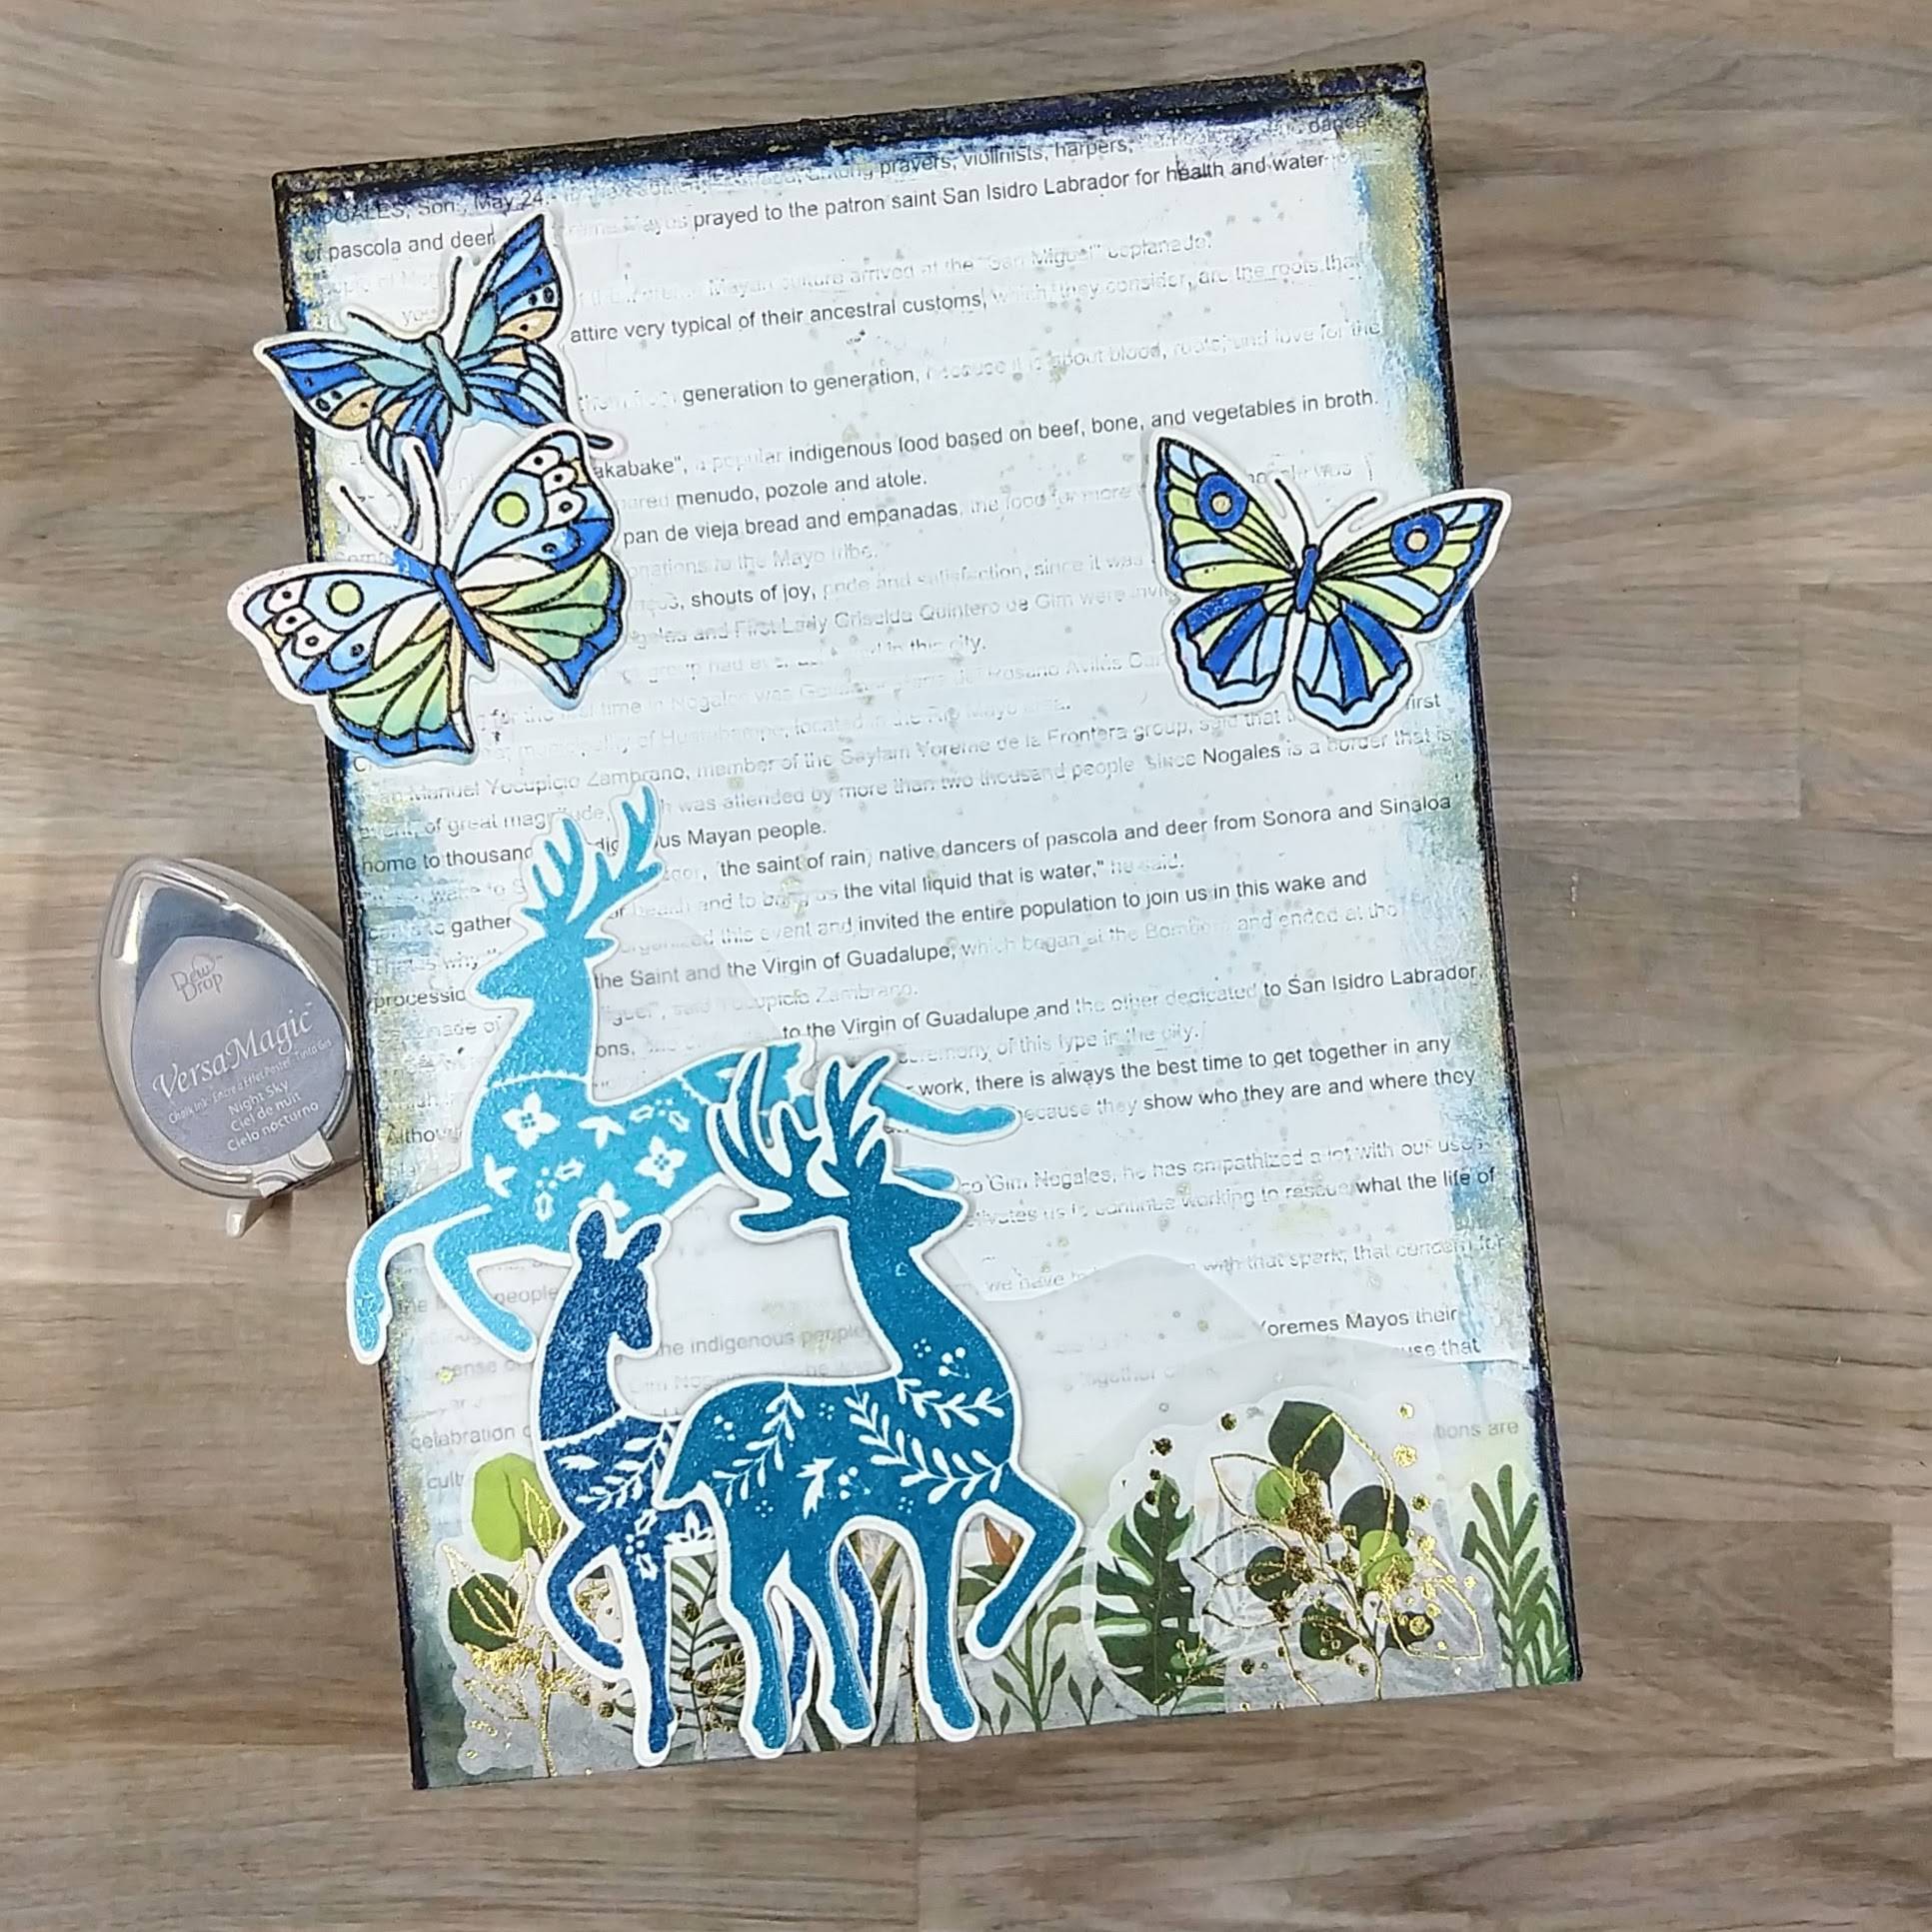
Stamp two deer using Warm Breeze and Bali Blue VersaFine Clair Ink and then heat emboss both of them with clear Mboss powder. Die cut them with their corresponding dies. If desired, die cut the additional layers of scrap cardstock to fit behind the Warm Breeze buck (the deer that is standing rather than jumping) and glue them behind the stamped and embossed layer for dimension.
Step 5:
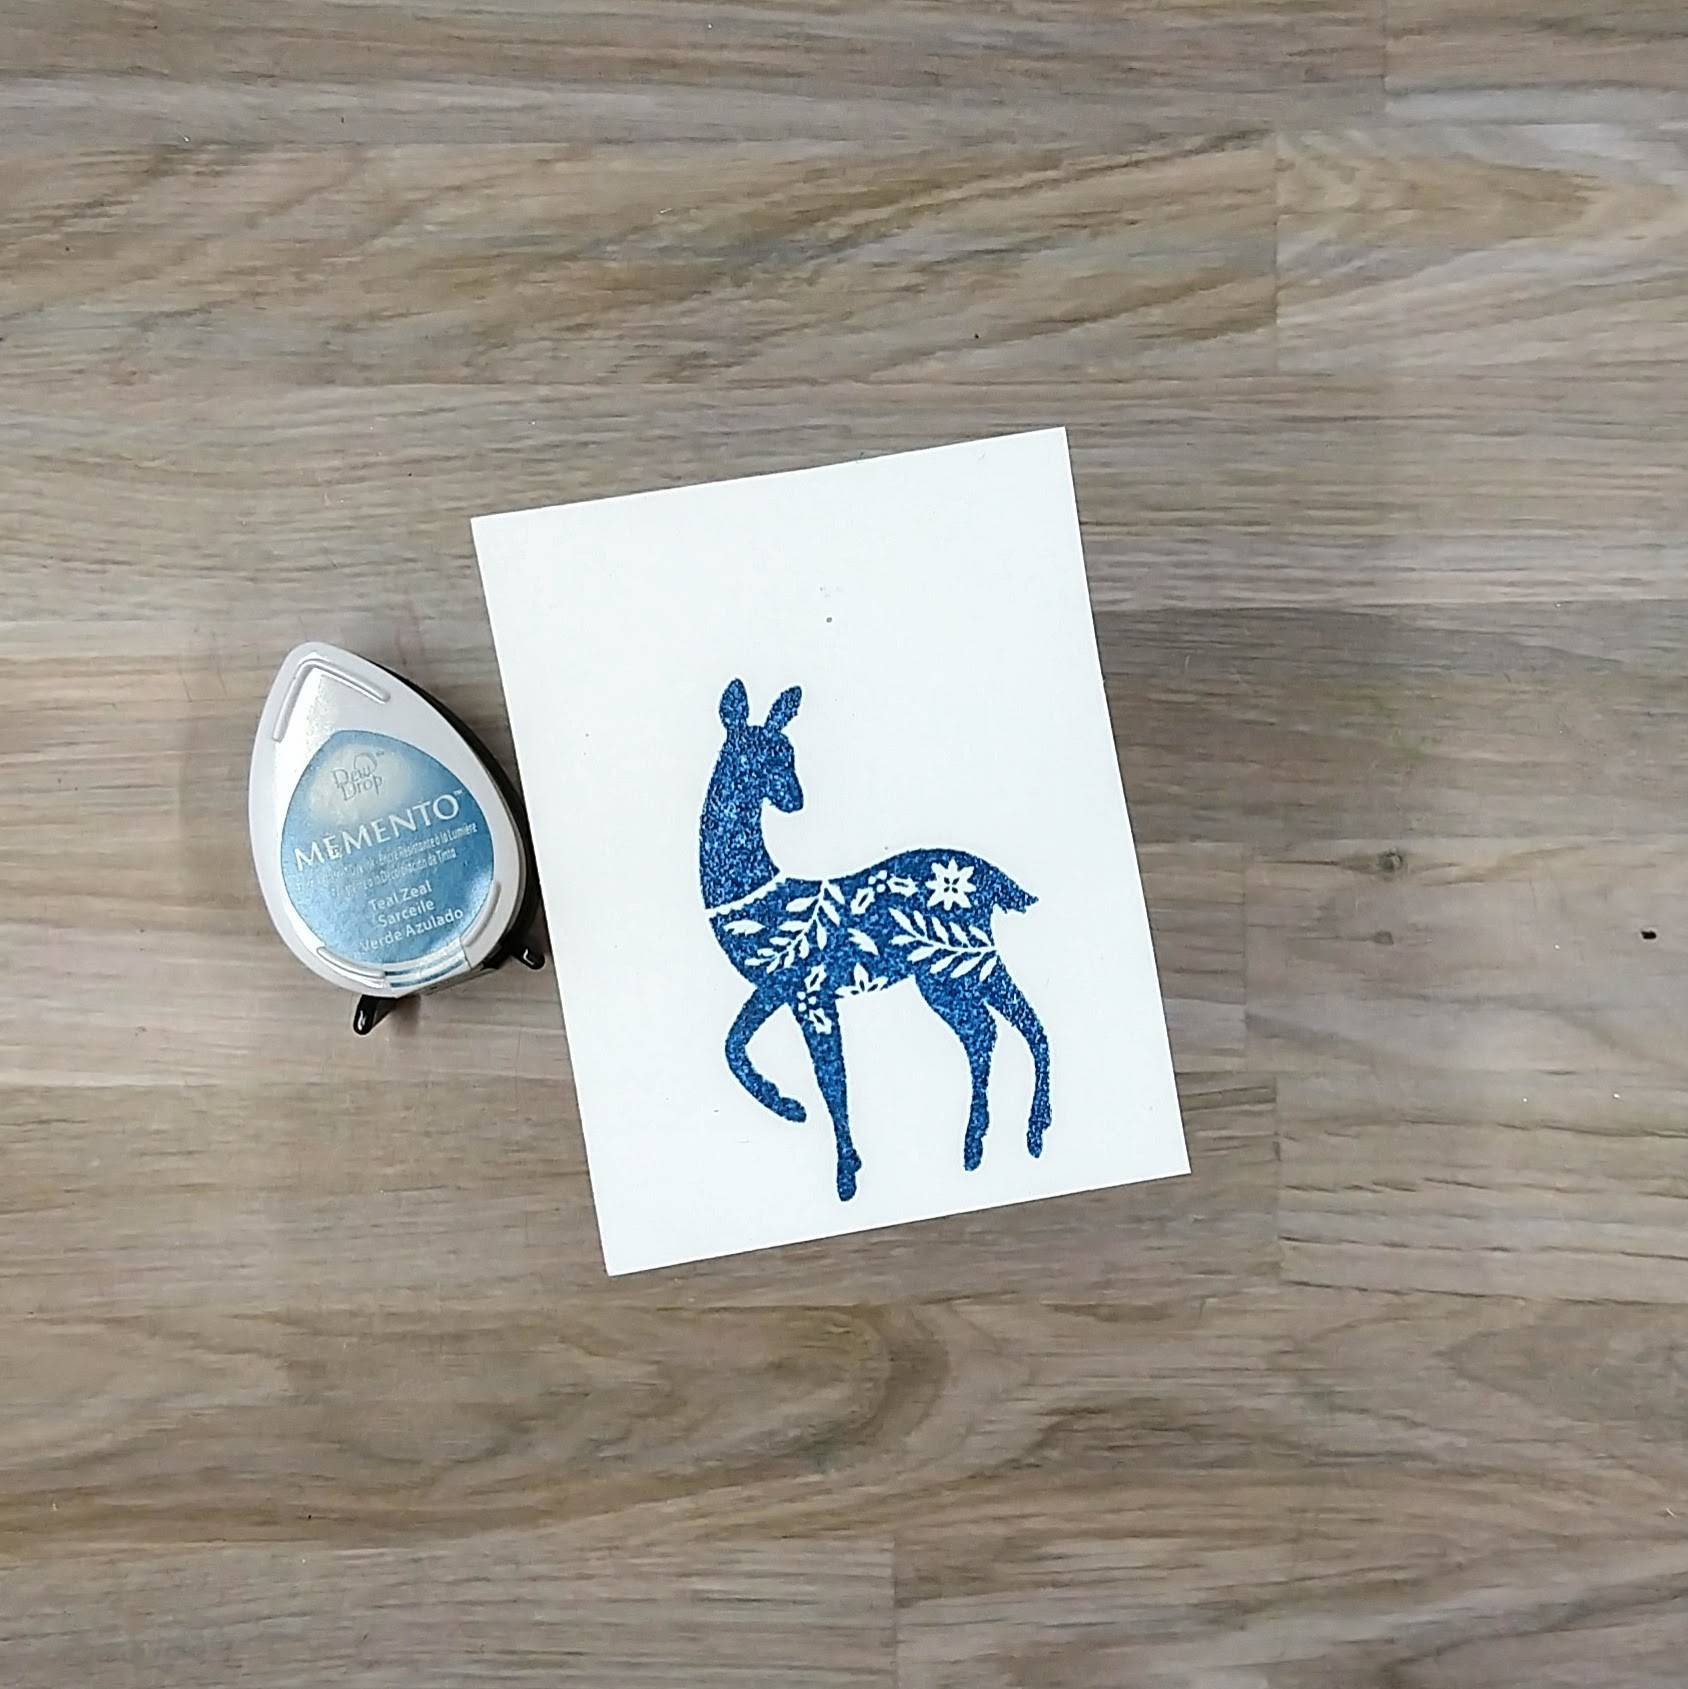
If you are very quick and add embossing powder onto die ink immediately, you can emboss it! I decided to stamp and die cut one more deer for the panel and so repeated the process from step 4 with Teal Zeal Memento ink and more clear Mboss powder.
Step 6:
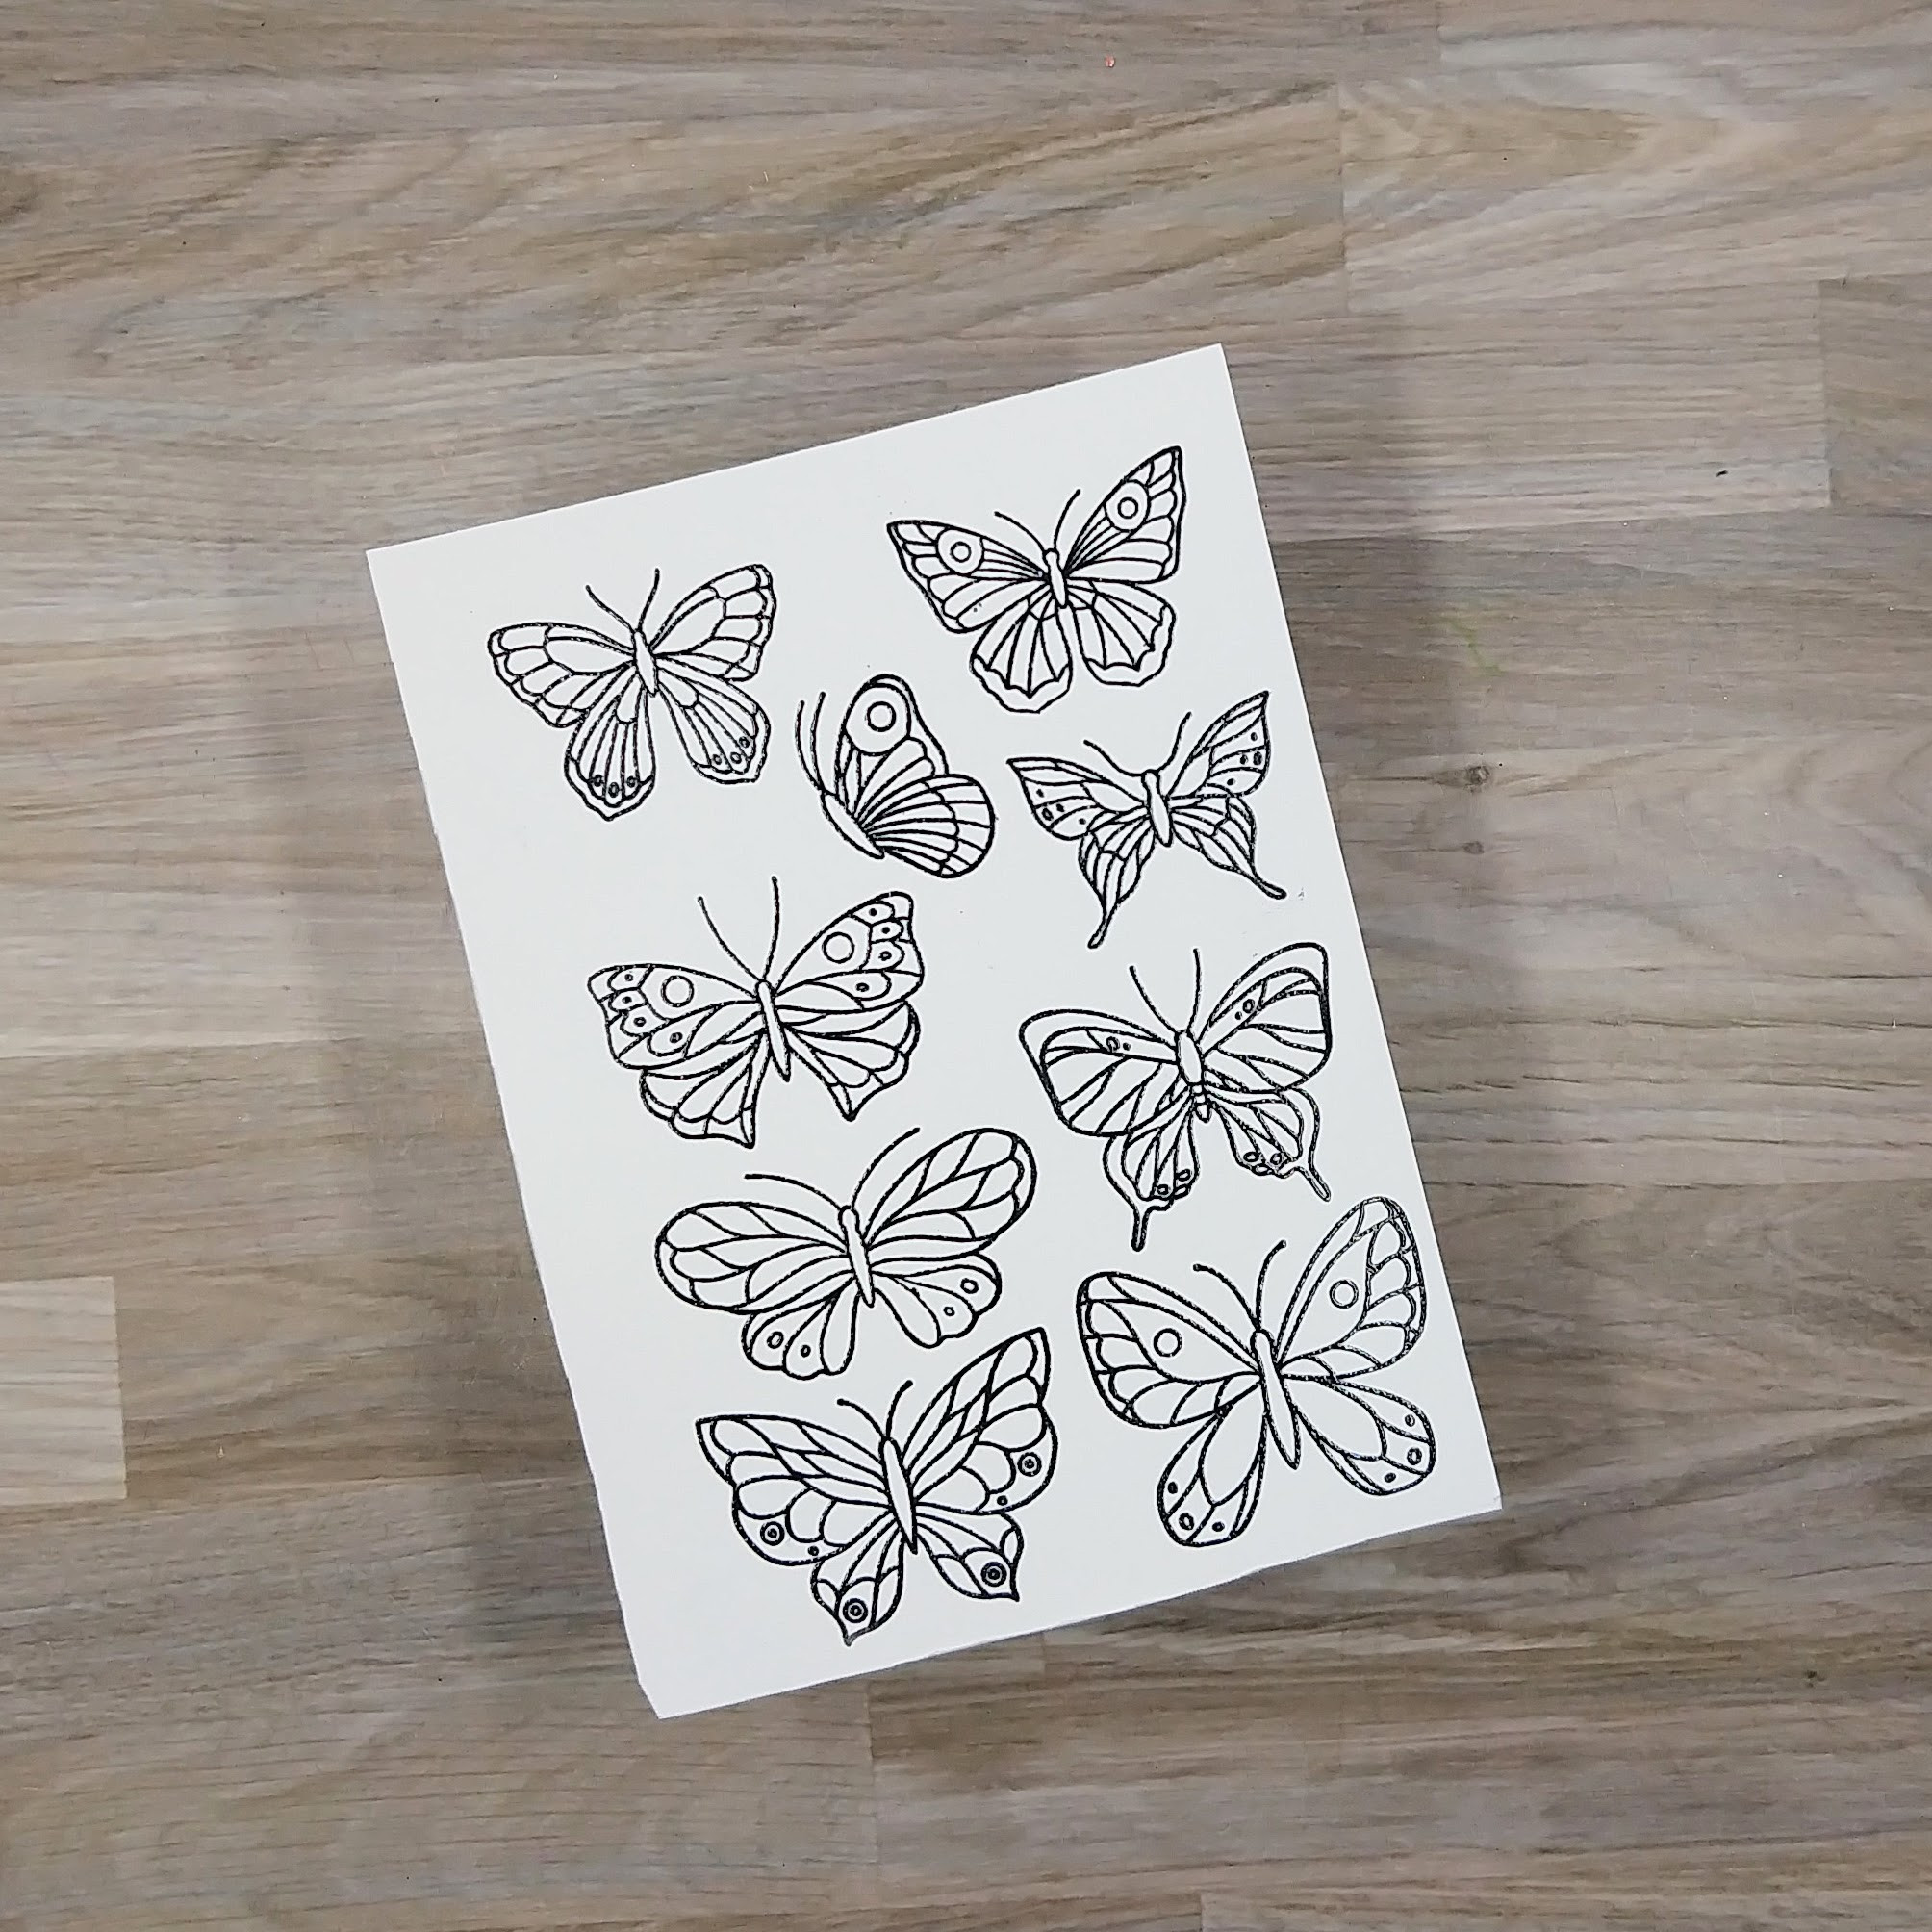
Stamp butterflies onto another piece of watercolor paper with Nocturne VersaFine Clair ink. Heat emboss again with more clear Mboss powder.
Step 7:
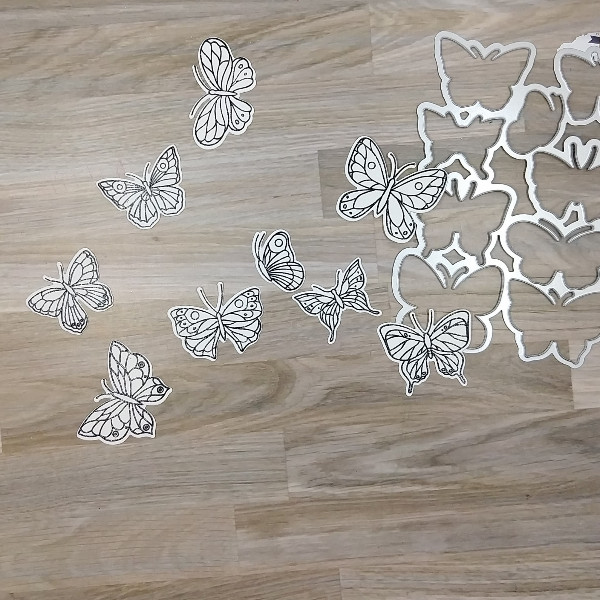
Die cut the butterflies with their corresponding die.
Not pictured: Color in the butterflies with New Sprout, Summer Sky and Danube Blue Memento Dual Markers and spray them with water to make the color blend into each other. After the water dried, color parts of the butterflies with a gold pen.

Step 8:
Cut a piece of vellum with scissors to look like a mountain. Color the bottom of the vellum with Northern Pine Memento Dual Marker and then use your finger to smudge the marker color.
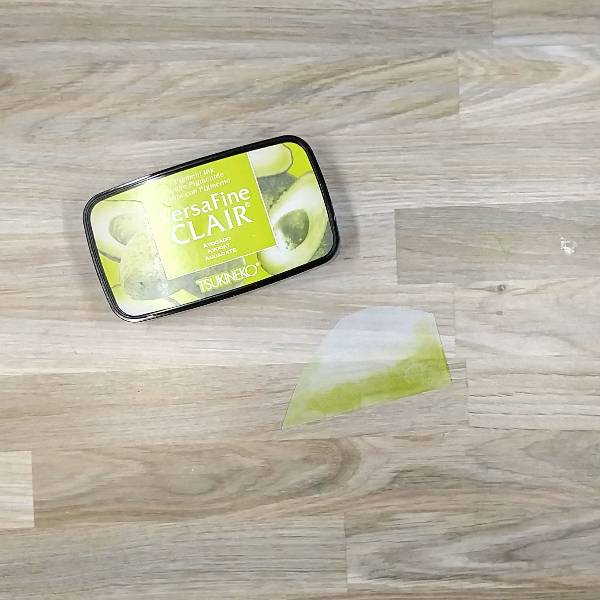
Step 9:
Cut another smaller hill shape out of vellum and then smudge Avocado VersaFine Clair ink along the bottom and allow it to dry.

Steps 10-12:
My decided not to save the pictures of steps 10-12. This picture was taken the next day after I realized that my camera betrayed me! Here are the steps that I took to get to finish the panel:
Step 10:
Glue the blackout poem onto the backing panel. Then press the Night Sky VersaMagic ink pad onto the top and sides of the panel (to help cover up the fact that the blackout poem didn’t quite meet the edges of the panel) and heat emboss with clear Mboss powder. Repeat the process three times to help build up the amount of embossing powder on the side of the panel (and obscure the edges of the paper). Using a brush (or in my case my finger), smudge some Danube Blue Memento Dual Marker mixed with water on a piece of acetate around the top and
sides of the panel. Then press a Gold Sheer Shimmer Stix Dauber onto a piece of acetate packaging and add it to the sides and top edges of the panel as well. Allow to dry.
Step 11:
Glue down the two vellum mountains on the bottom edge of the panel, making sure to have the glue hiding behind the deer and other elements on the panel as well as the butterflies. Add washi tape stickers across the bottom of the panel.
Step 12:
Glue the deer onto the panel to finish the piece.
Art Supplies
Imagine
• Mboss – Clear
• Memento Dual Marker – Danube Blue, New Sprout, Summer Sky and Teal Zeal
• Sheer Shimmer Shimmer Sticks Dauber – Gold VersaFine Clair ink – Avocado
• VersaFine Clair ink – Bali Blue , Nocturne, Warm Breeze and Night Sky
Other
• Art Alternatives – MDF Panel (5” x 7”)
• Catherine Pooler – die set – Peaceful Deer
• Catherine Pooler – stamp set – Peaceful Deer
• Golden – Gesso Semi-Opaque Acrylic Primer
• Pinkfresh Studios – die set – Small Butterflies
• Pinkfresh Studios – stamp set – Small Butterflies
• The Washi Tape Shop – washi tape stickers – Green Oasis Gold pen
• Copied book page (for the blackout poem) White marker
• Watercolor paper Vellum
• Pencil Paintbrush
• Die cutting machine Paint brush
• Paper trimmer Scissors
• Glue