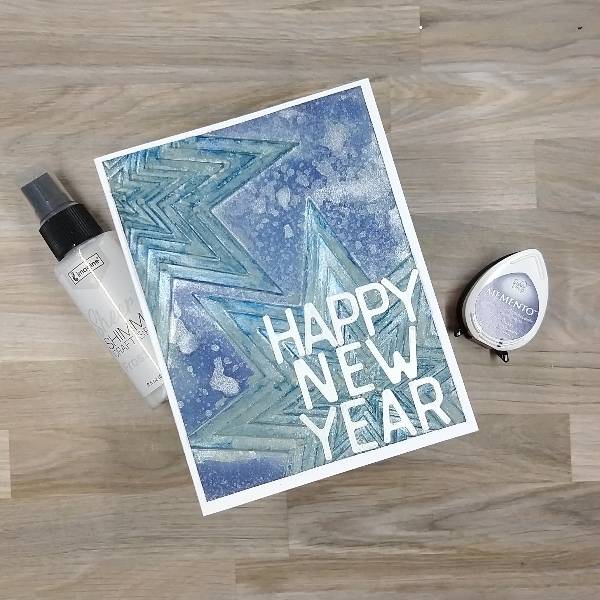
Step 1: Spray Frost Sheer Shimmer Craft Spray onto a piece of white watercolor paper and set aside to dry.
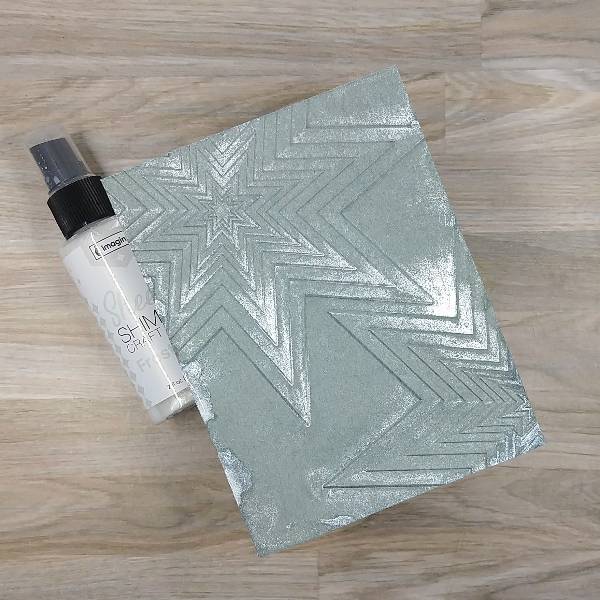
Step 2: Trim a piece of gray watercolor paper to 4” by 5.25” with a paper trimmer. Then spray the panel and the inside of an embossing folder with more of the Frost Sheer Shimmer Craft Spray, place the gray watercolor panel inside of the embossing folder and then run the embossing folder through a die cutting machine. Allow the panel to dry.
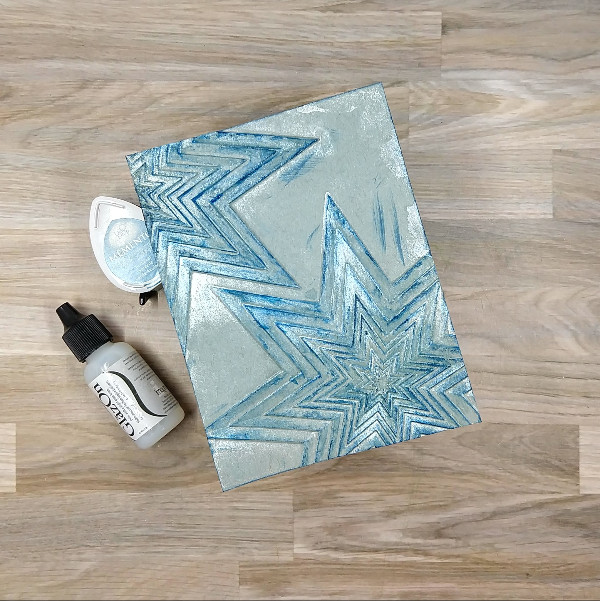
Step 3: Gently run a Teal Zeal Memento Ink pad across both of the embossed stars and around the edges of the panel. Using a small sponge dauber (or your finger), spread some shiny GlazOn onto both of the embossed stars to “lock in” the teal color.
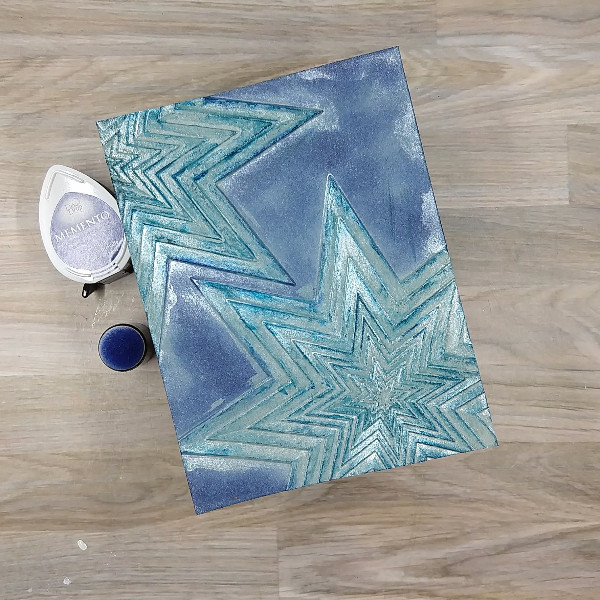
Step 4: Using a sponge dauber, ink blend Paris Dusk Memento ink around the panel (not on the stars).
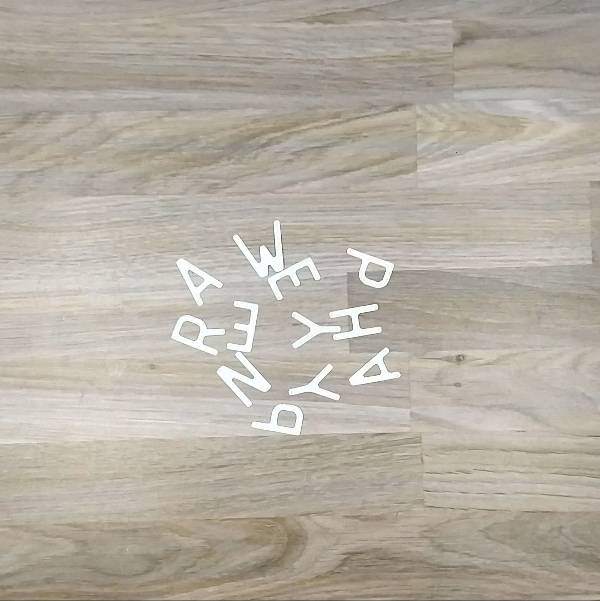
Step 5: Die cut letters to form the sentiment out of the the sprayed white cardstock from step 1.
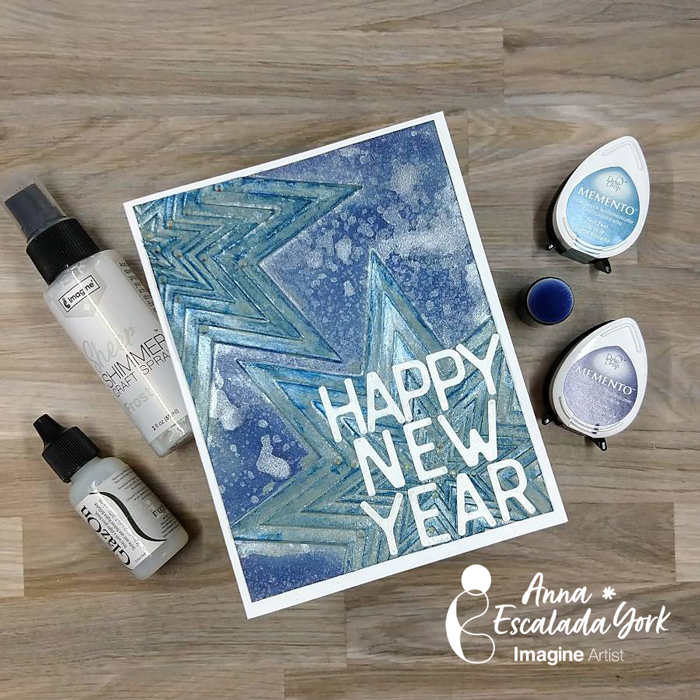
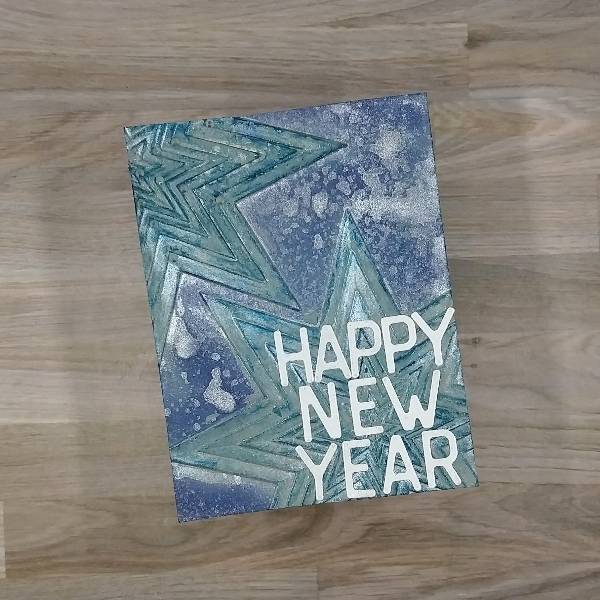
Step 6: Spray the panel with more of the Frost Sheer Shimmer Craft Spray and allow it to dry. Then glue the letters from the sentiment onto the lower right corner of the panel.
Step 7: Glue the panel onto an A2-sized white card base.
Altenew – embossing folder – Stellar Cascade Sizzix – die set – Letterboard (666859) White watercolor paper Gray watercolor paper Die cutting machine Paper trimmer Scissors Glue
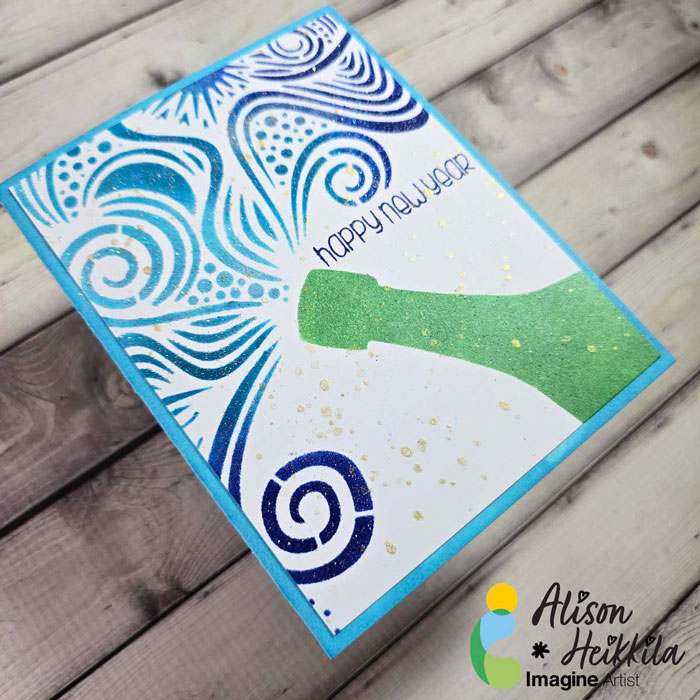
Hello! Alison Heikkila here. Do you make New Year’s cards? I like to make them when it’s too late to send out Christmas, Hanukkah, etc. cards. It takes off a bit of pressure, but still shows folks we’re thinking about them. I’ve got a quick and fun card that’s perfect not just for New Year’s, but for other celebrations too.
Skill Level: Beginner-Intermediate Time to Complete: 15-20 Minutes
*Some affiliate links are used in this post. That means that if you shop through these links, I may receive a small compensation, at no cost to you.
Here is the YouTube video. If it doesn’t play properly, please click HERE.
I hope you’ll try blending with your VersaFine Clair Inks. And perhaps you’ll want to make some New Year’s cards too! Thanks for stopping by. Have an inspiring day!
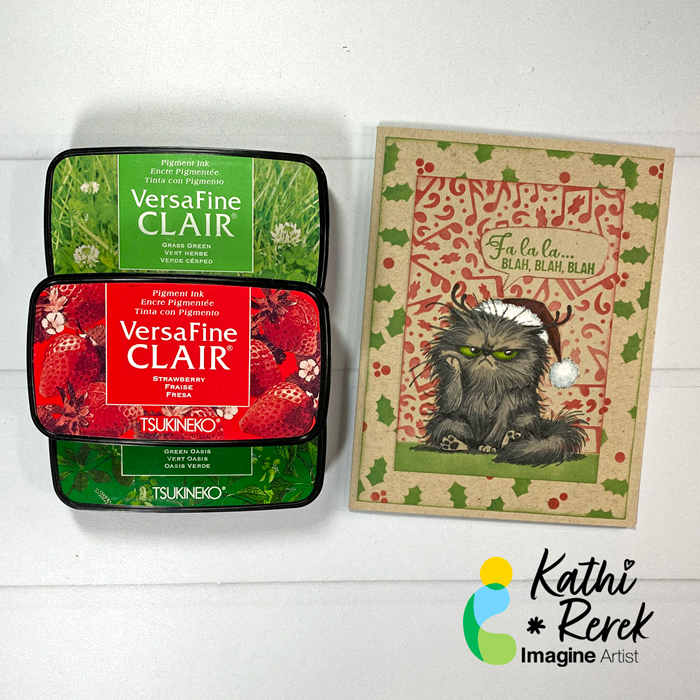
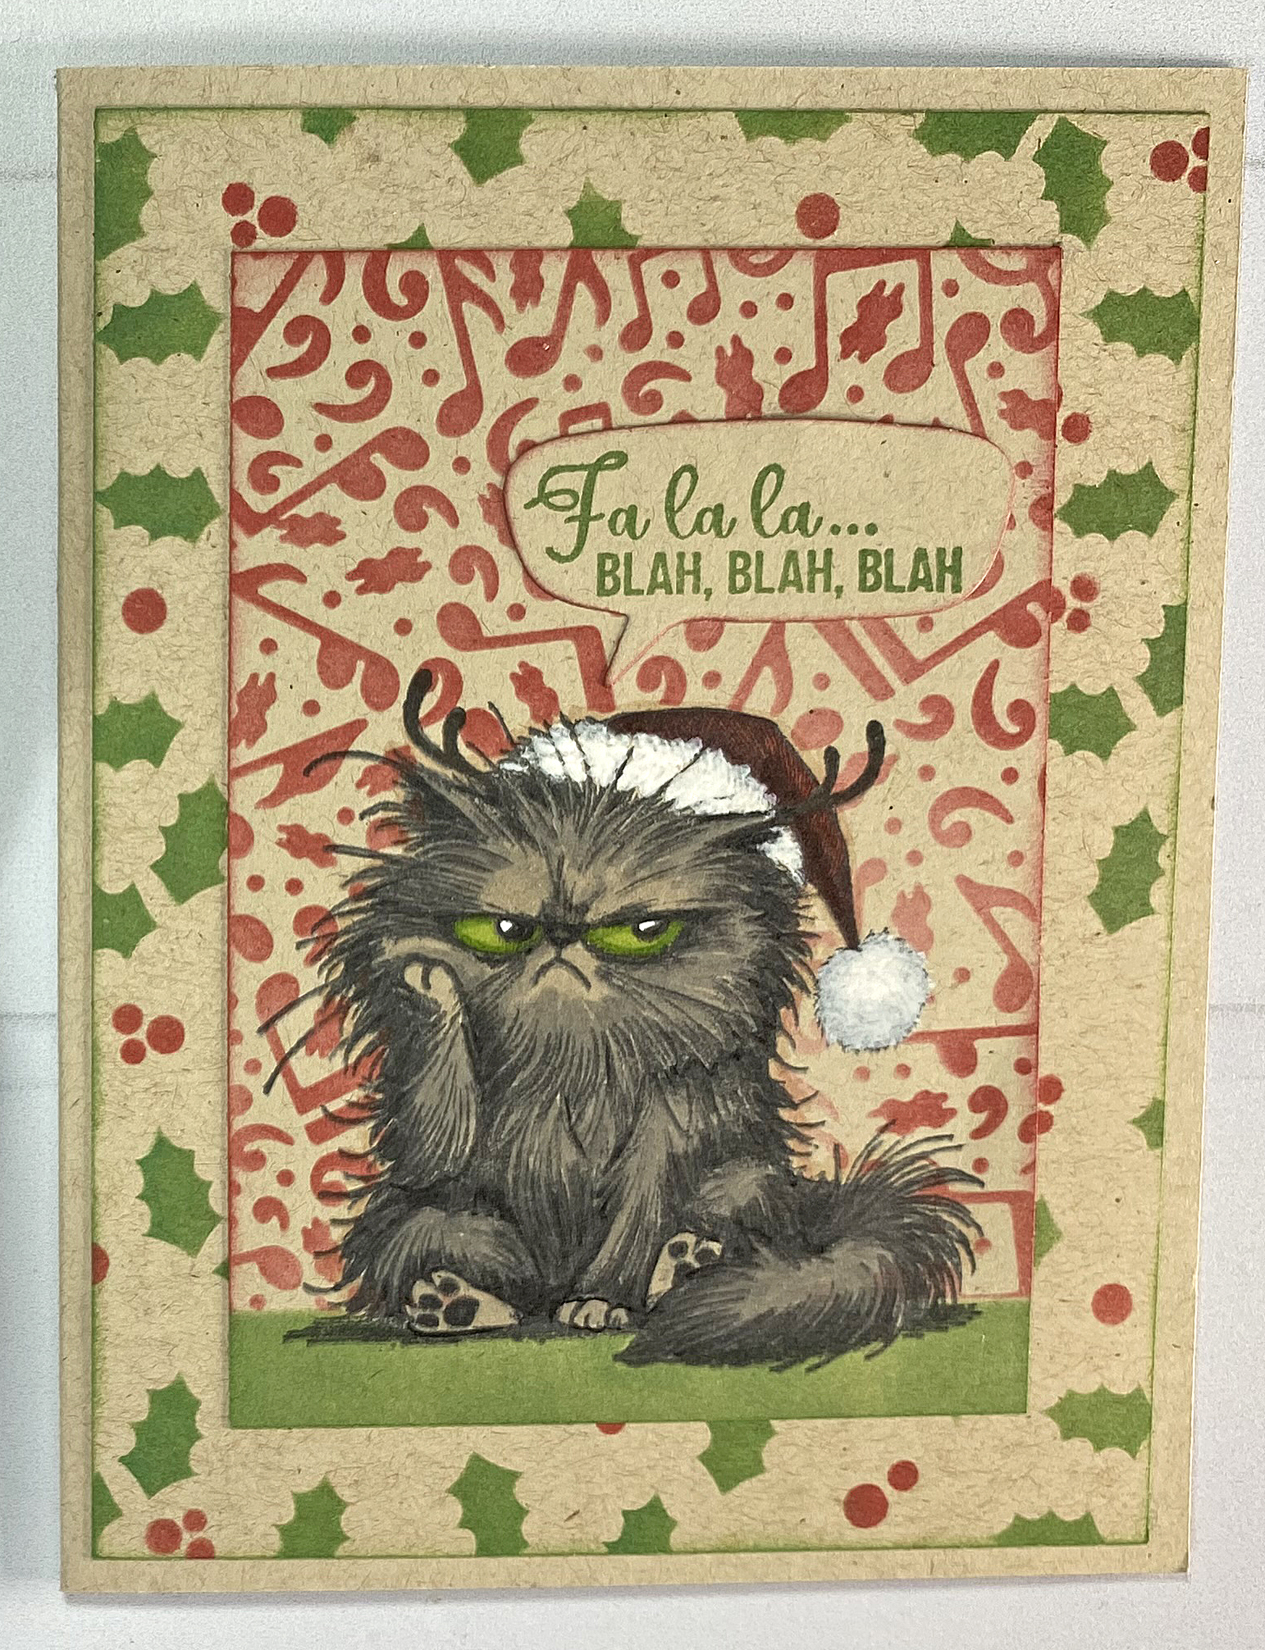
Here’s a snarky and fun Christmas card that shows how well VersaFine Clair Inks work on Kraft Cardstock!
Skill Level: Beginner Time: 45 minutes
Instructions:
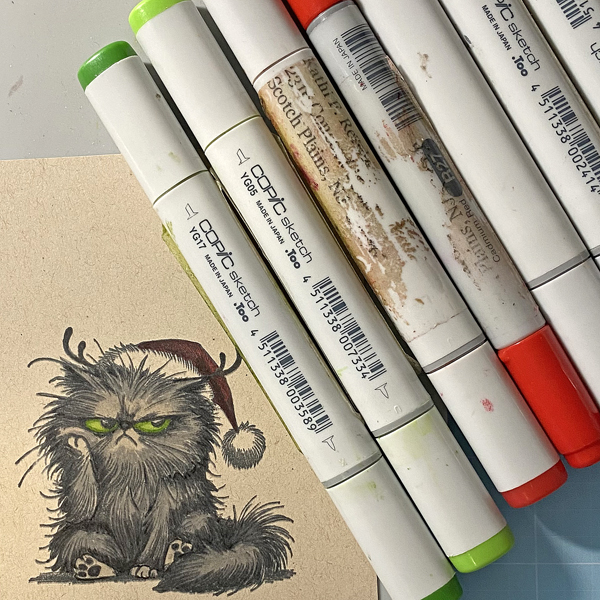
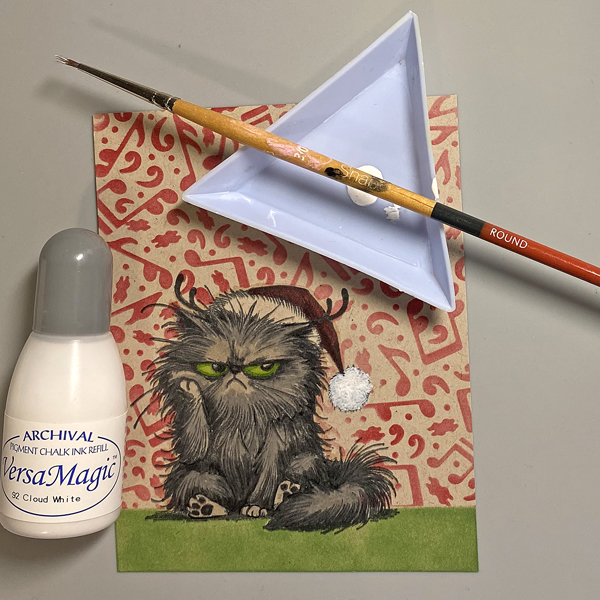
Step 1: Use Tuxedo Black Memento Ink to stamp the Pissy Kitty twice — once onto Kraft cardstock and once onto repositionable sticker paper.
Step 2: Use Copic markers to color the kitty. Use white gel pen to add highlights to his eyes.
Step 3: Fussy-cut the sticker paper version of the kitty and place it over its counterpart as a mask.
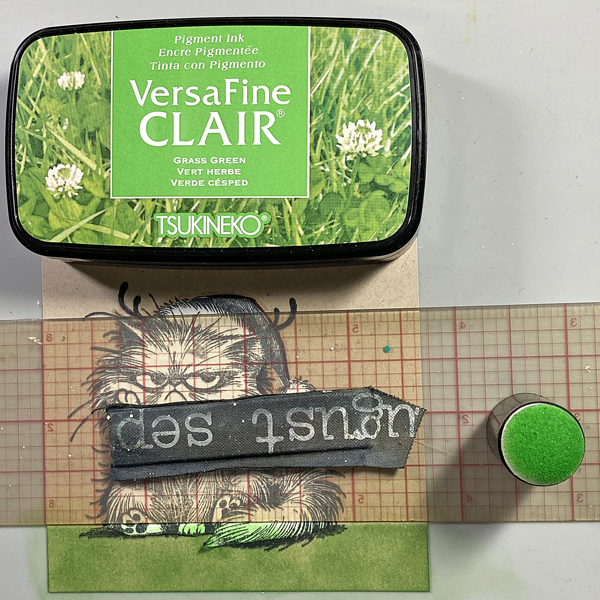
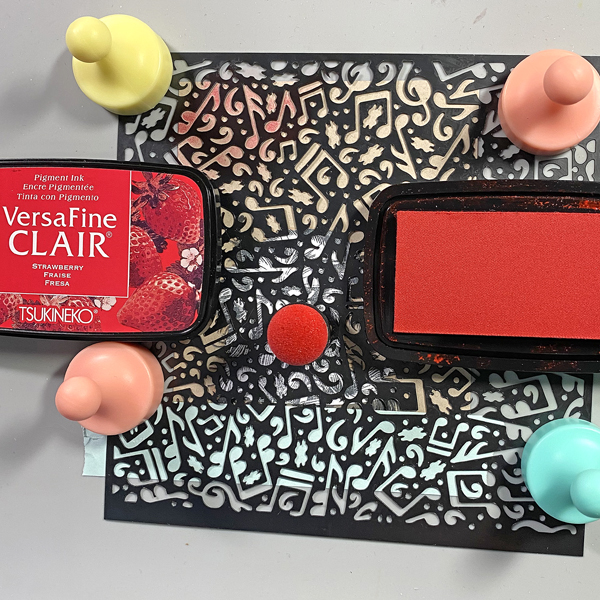
Step 4: Place a ruler horizontally across the image panel, right below the masked cat. Use a Sponge Dauber to apply Grass Green VersaFine Clair Ink over the ruler onto the bottom of the image panel.
Step 5: Use low tack tape to secure the image panel to the back of the Grunge Notes Stencil. Secure the stencil to the craft mat with magnets. Use a Sponge Dauber to apply Strawberry VersaFine Clair Ink over the stencil onto the image panel. Remove the stencil and the masks, edge the panel using both Strawberry and VersaFine Clair Inks, then heat set the image panel.
Step 6: Squeeze a few dollops of Cloud White VersaMagic Ink into a little dish. Use a paint brush to apply white paint to the pom-pom and brim of the Santa hat. Use both Strawberry and VersaFine Clair Inks to edge the image panel.
Steps 7: Cut a 4” x 5.25” panel from Desert Storm Cardstock to create your own patterned background. Use low tack tape to secure the image panel to the back of the Holly Background Stencil. Secure the stencil to the craft mat with magnets.
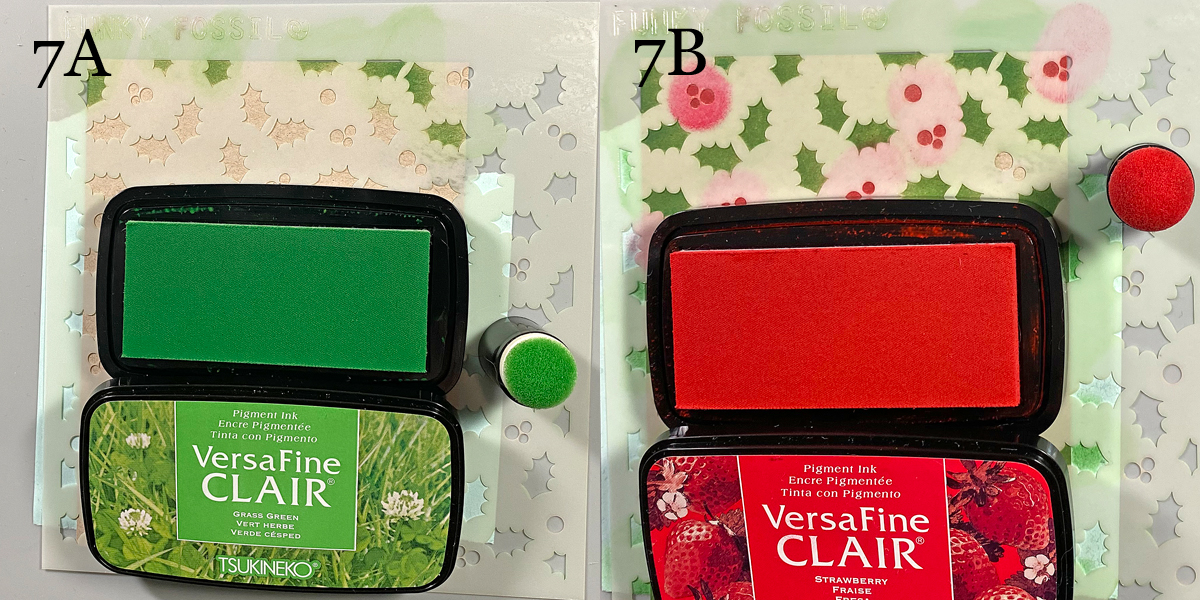
Use a Sponge Dauber to apply Grass Green VersaFine Clair Ink over the holly leaves of the stencil onto the background panel (7A). Use a small brush to apply Green Oasis VersaFine Ink, which is a slightly darker green, to the outside of the holly leaves on the stencil to add a touch of shading (Sorry. No photo).
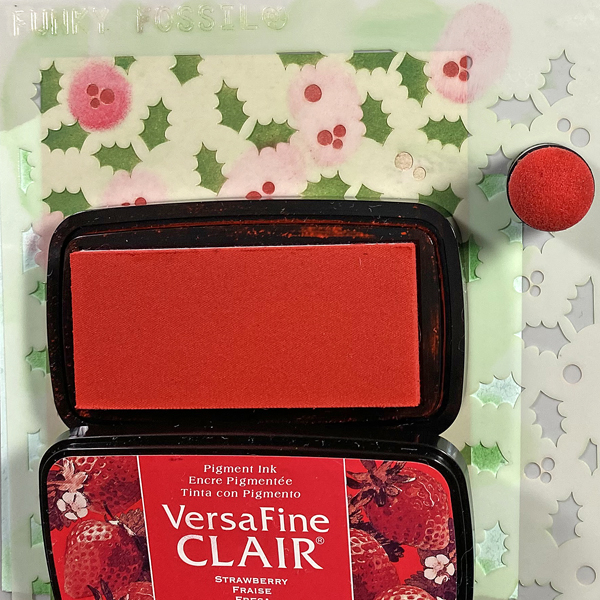
Use a Sponge Dauber to apply Strawberry VersaFine Clair Ink over the stencil’s holly berries onto the background panel (7B). Remove the stencil, edge with Grass Green VersaFine Ink, and heat set.
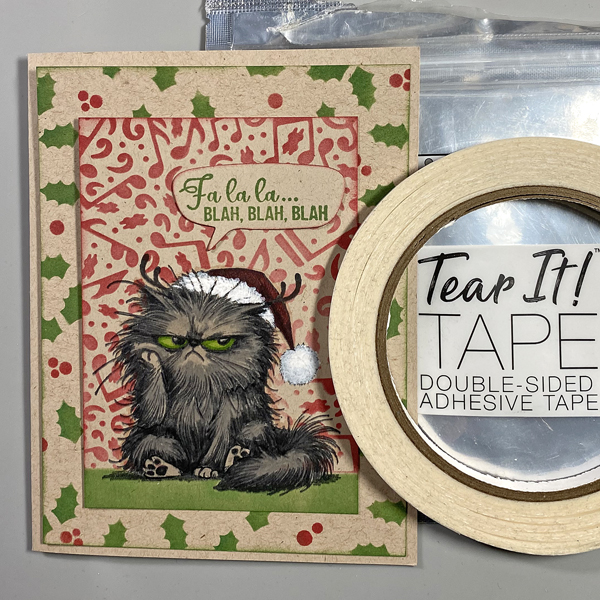
Step 8: Use Grass Green VersaFine Clair Ink to stamp the “Fa La La” sentiment onto a scrap of Kraft cardstock. Remove the stamped scrap from the stamping platform. Heat set.
Use a speech bubble die to cut the sentiment. Edge the die-cut with Strawberry VersaFine Clair Ink.
Step 9: Use Tear It! Tape to adhere the sentiment, image panel, and background panel to an A2 Kraft card.
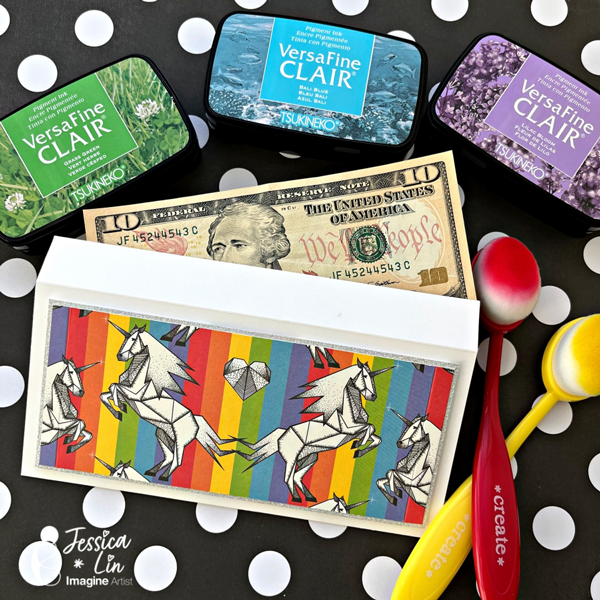
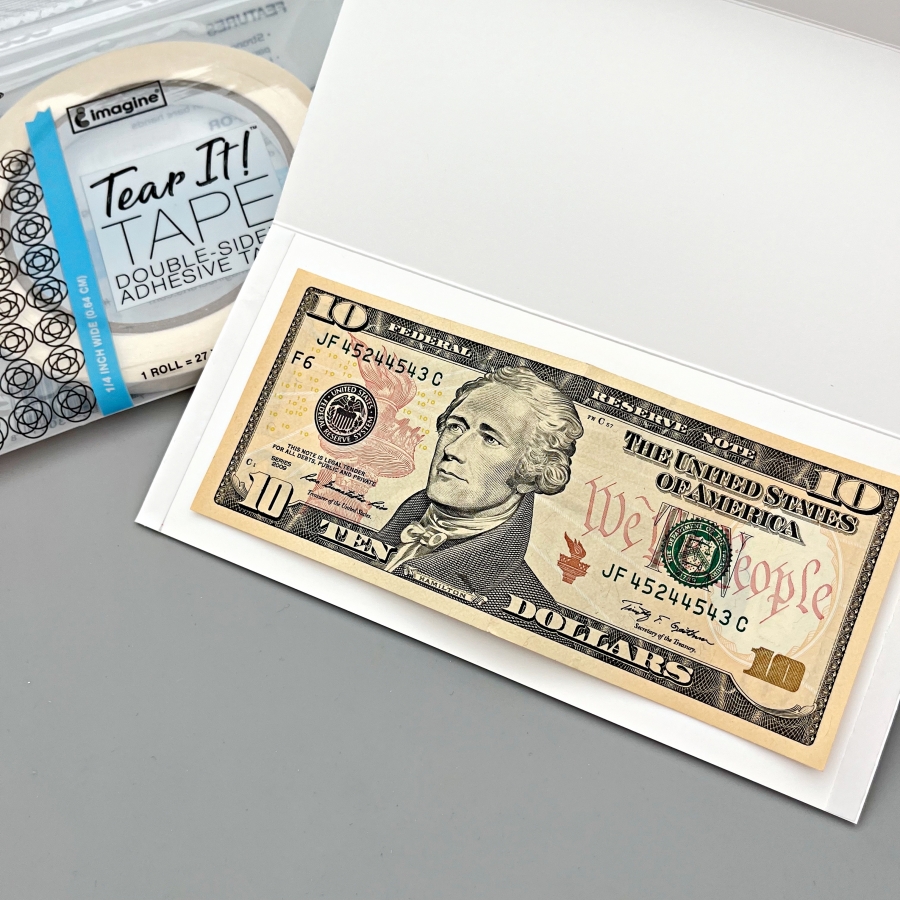
Hi everyone, it’s Jessica here. Christmas is right around the corner. Did you start preparing presents and gifts for the holidays? I recently received several Iceland chocolates and their packaging is so adorable! I decided to upcycle them into money holders which is perfect for the upcoming gift-giving season. If you like this idea, just keep reading!
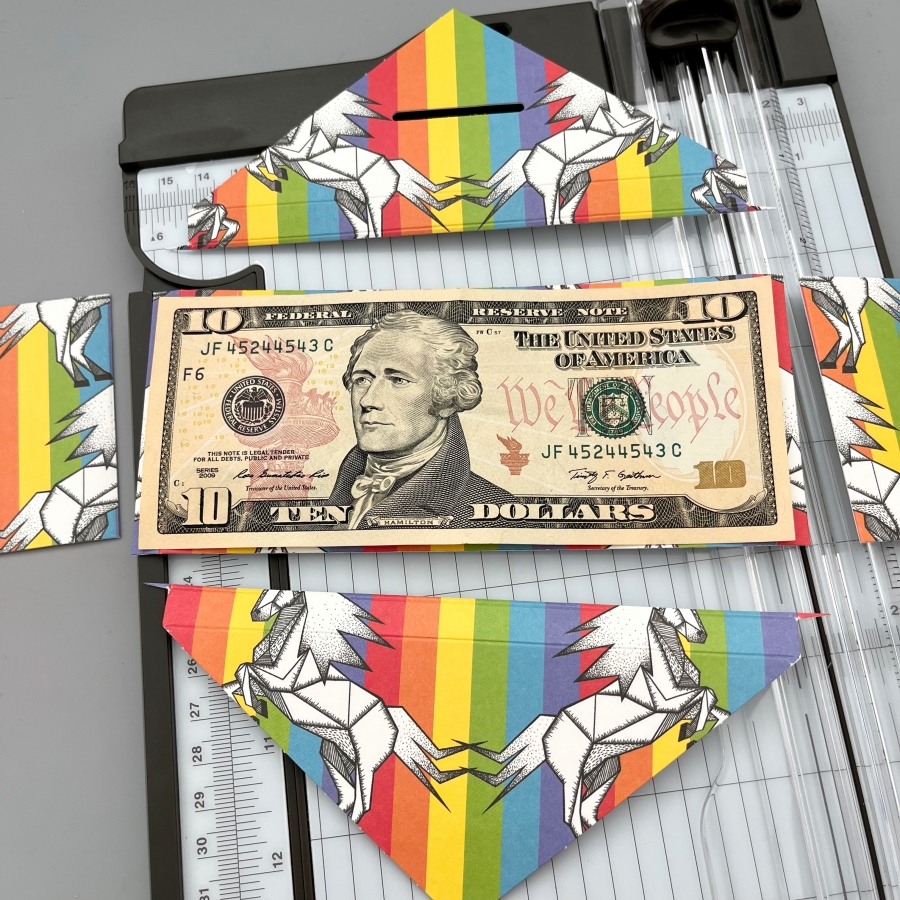
Step 1: Trim the chocolate bar packaging to size. For U.S. dollar bills, I trimmed down to 6 3/8‘’ x 2 3/4‘’. This was the largest size I could get from this packaging. If your packaging is larger, 6 1/2‘’ x 2 7/8‘’ would be a great size too.
Step 2: Cut and score a piece of white cardstock to create the envelope base. I started with a 7’’ x 7 1/2’’ piece of cardstock and scored at 3 5/16‘’ to create a 7’’ x 3 5/16‘’ envelope. This envelope also has a small flap closure but it sticks out a little bit. If you would like a larger flap that lays flatter, you could use a 7’’ x 8’’ piece of cardstock instead.
Step 3: Apply Tear It Tape to both ends of the envelope and adhere together to form the envelope pocket.
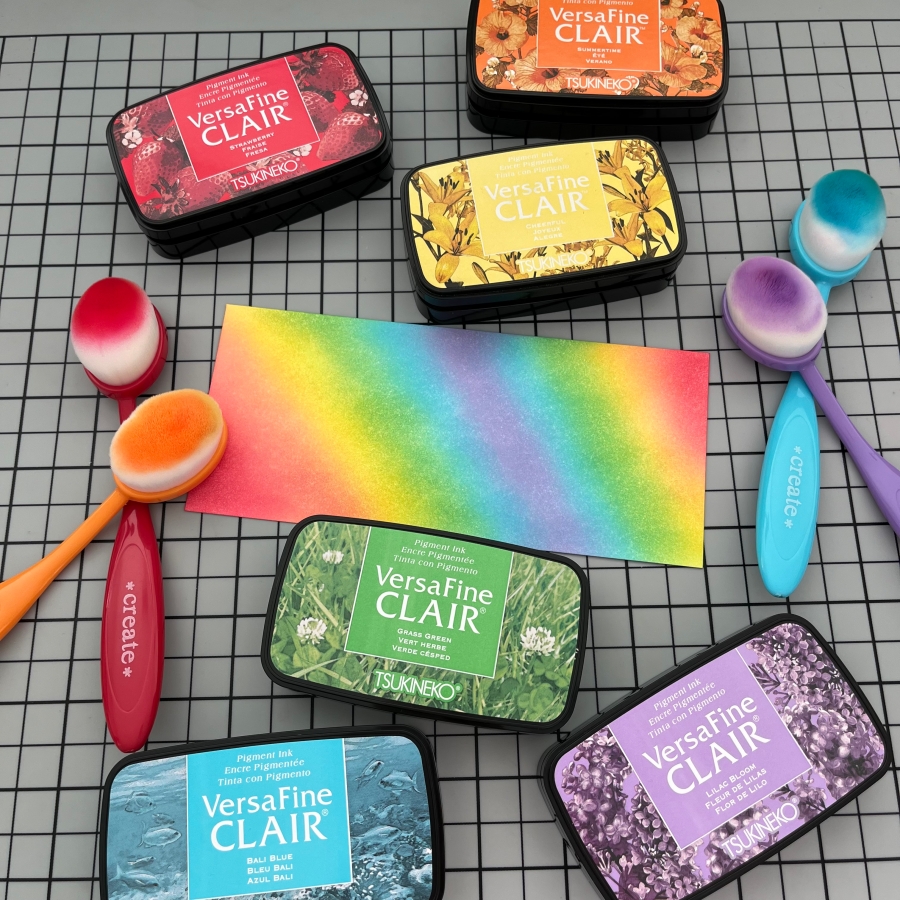
Step 4: I decided to decorate the backside of the envelope as well. I ink blended a 6 3/4‘’ x 3’’ piece of cardstock with Strawberry, Summertime, Cheerful, Grass Green, Bali Blue, and Lilac Bloom VersaFine Clair inks. I love the newly released ink colors. They create such a vibrant rainbow gradient!
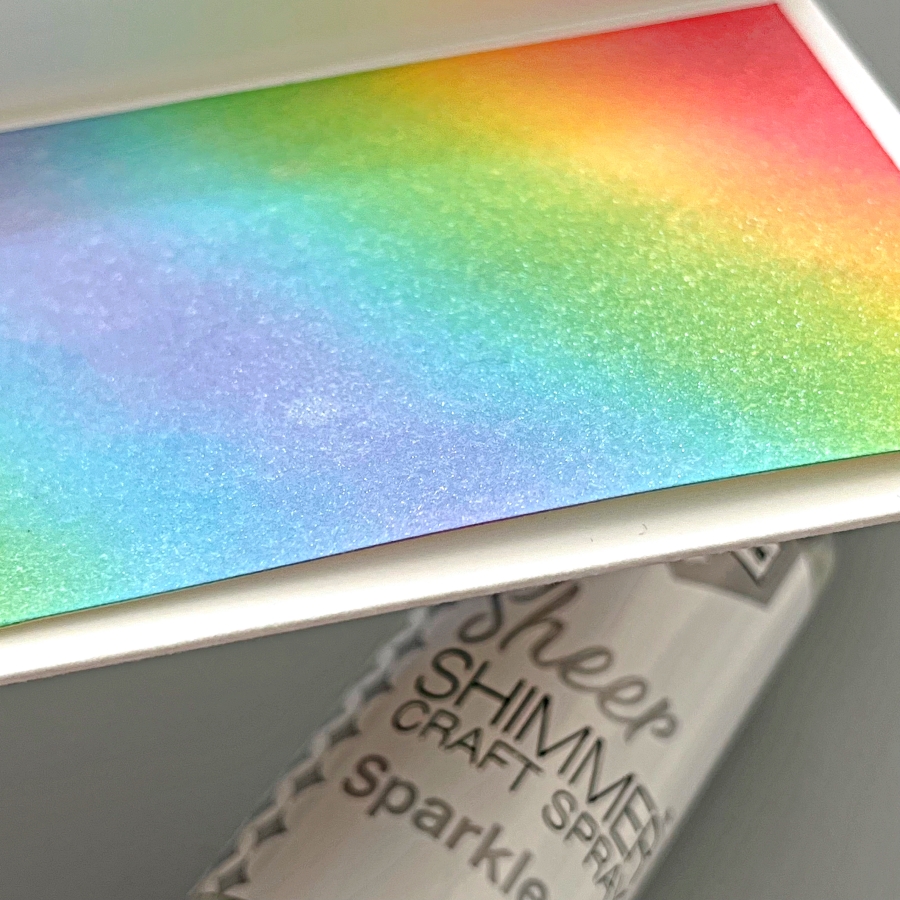
Step 5: For additional shimmer and shine, generously spritz a layer of Sheer Shimmer Craft Spray (Sparkle) and let dry.
I hope you enjoyed this tutorial and would try upcycling pretty packaging in the future. Thank you so much for stopping by, and I’ll see you next time!
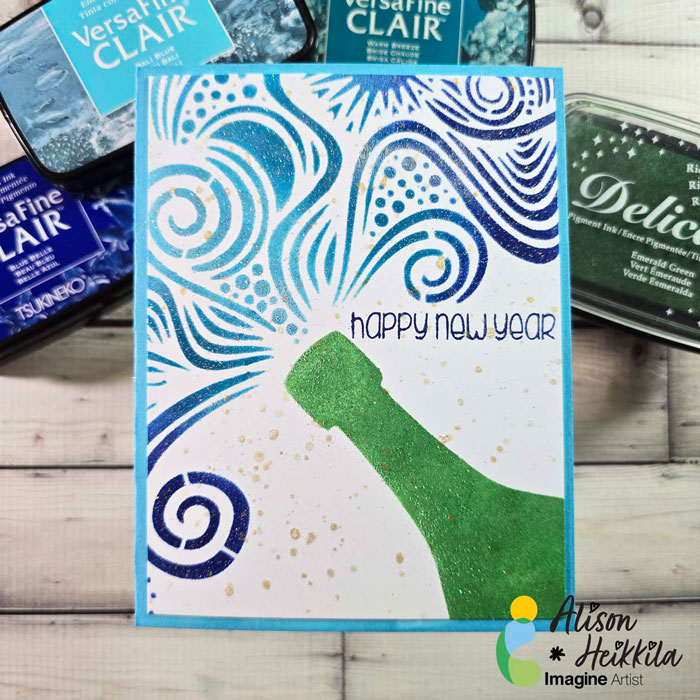
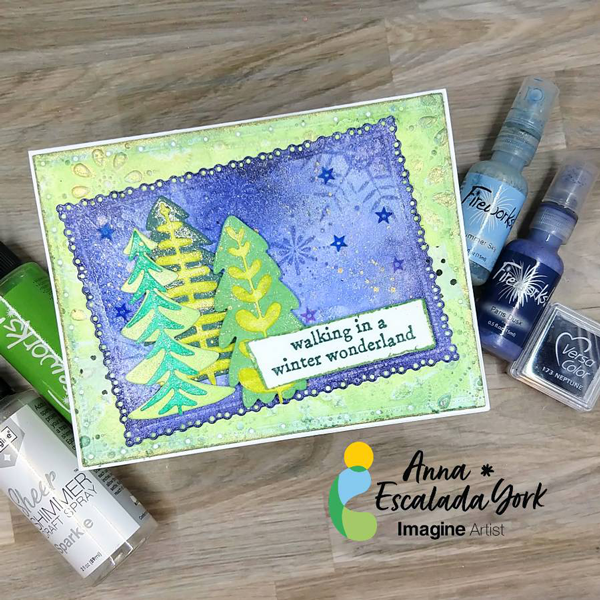
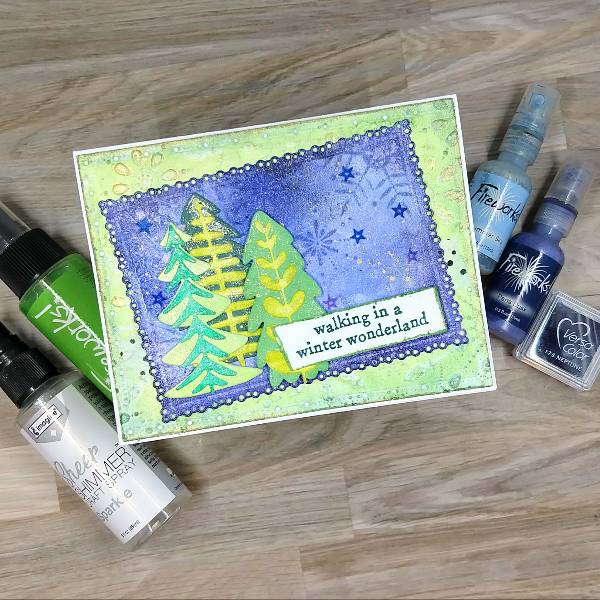
Today’s card is a winter card featuring some of the new VersaFine Clair colors.
Skill: Intermediate Time: 2 hours
Directions:
Step 1:
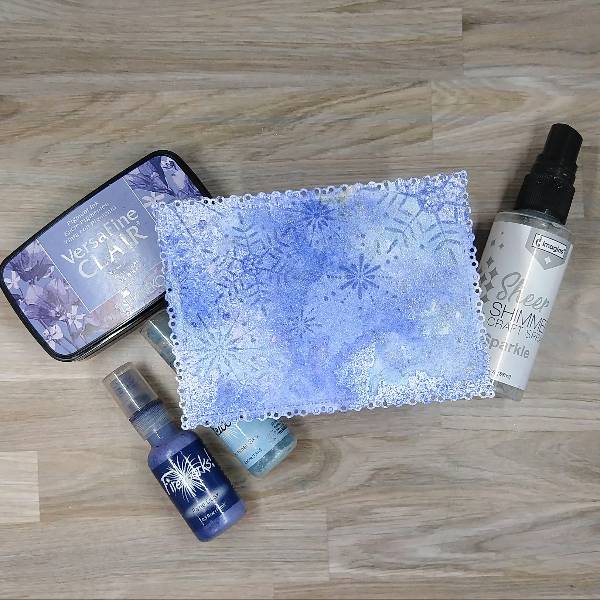
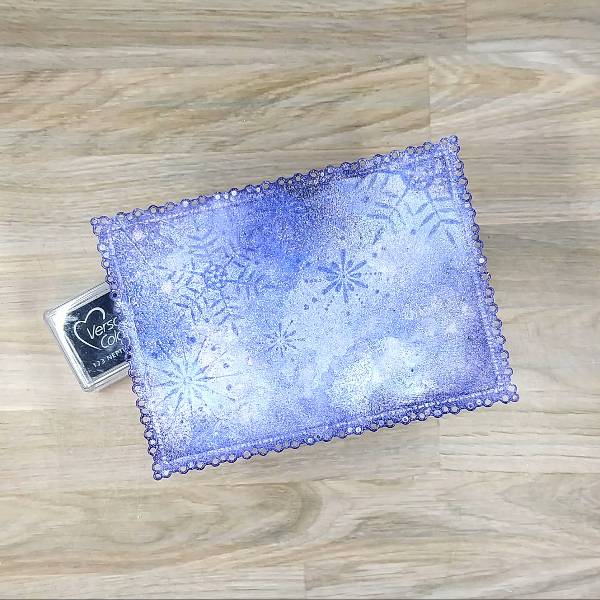
Watercolor smoosh a die cut watercolor paper panel with three sprays sprayed onto a piece of acetate packaging: Summer Sky and Paris Dusk Fireworks! Shimmery Craft Spray as well as Sparkle Sheer Shimmer Craft Spray.
(I accidentally smudged the upper edge of the panel with some yellow ink during the process, but planned on covering the color in the next few steps.)
After the sprays dried, the upper left corner of the panel was stamped with Very Peri VersaFine Clair Ink using a woodblock rubber stamp. The ink was then heat embossed with clear Mboss powder.
Step 2:
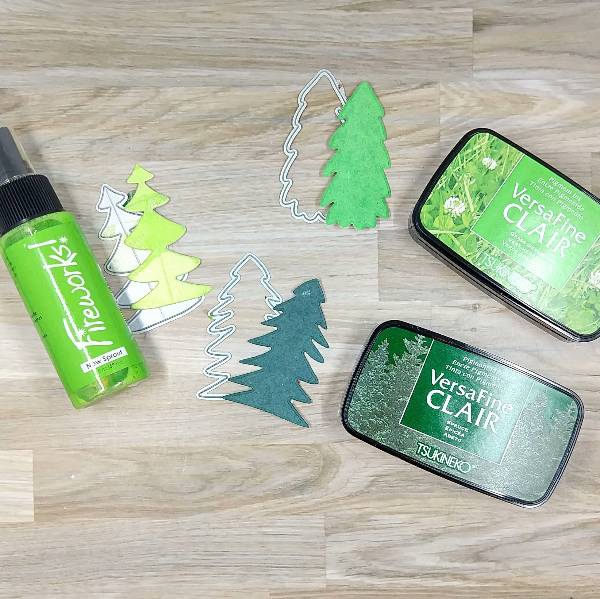
Color small pieces of watercolor paper (or in my case watercolor paper scraps) with a variety of greens: Spruce and Grass Green VersaFine Clair ink and New Sprout Fireworks! Shimmery Craft Spray. The scrap on the left was sprayed multiple times with the Fireworks! Spray and set aside to dry; the two straps on the right were pressed directly into the two ink pads until the whole scrap was colored with the ink. While there was a small space on the dark green tree (on the lower right in this picture) left uncolored, I knew that it would be covered up in the next few steps.)
After all of the papers had dried, I die cut the three small pieces of watercolor paper with three different tree dies.
Step 3:
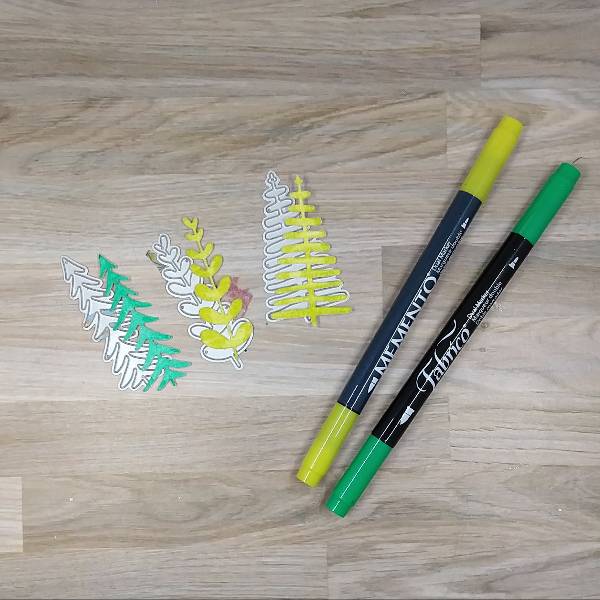
Color three more scraps of watercolor paper with Pear Tart Memento Double Marker and Emerald Fabrico Dual Marker. After the markers had dried, these three scraps were die cut with three more tree die cuts.
Step 4:
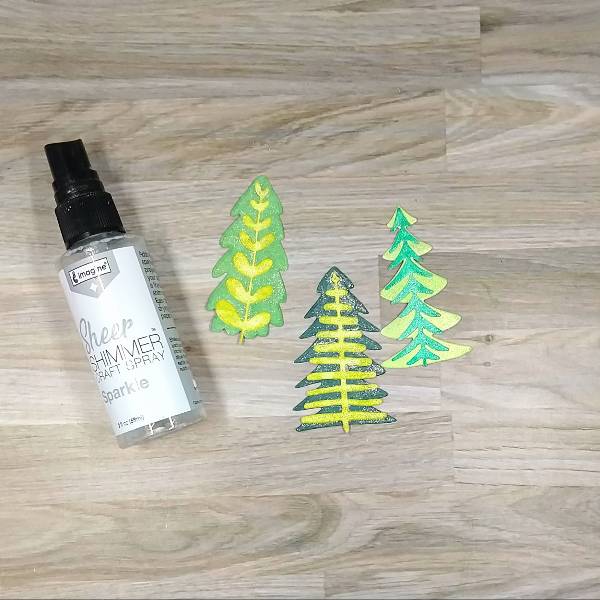
The layers of the dies were glued together. Then Sparkle Sheer Shimmer Craft Spray was sprayed onto more acetate packaging and used to paint sparkle onto the trees.
Step 5:
Ink blend the edges of the panel with Neptune VersaColor Ink until it reaches the saturation of color desired. Heat emboss with more of the clear Mboss powder.
Step 6:
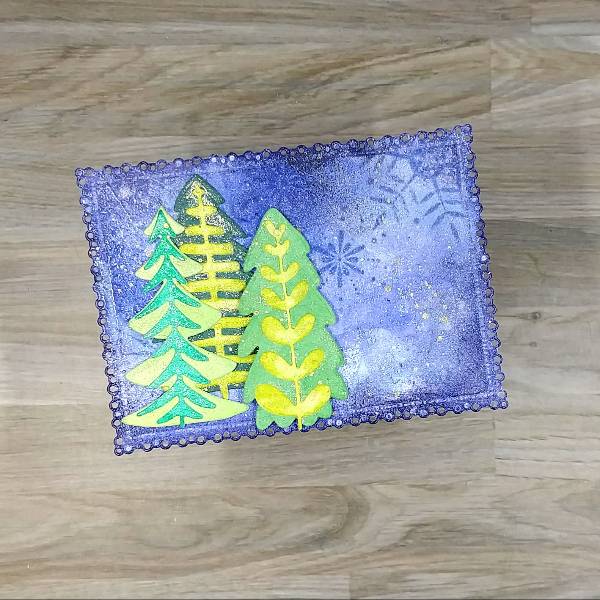
Glue the three die cut trees onto the panel. Splatter with gold watercolor.
Step 7:
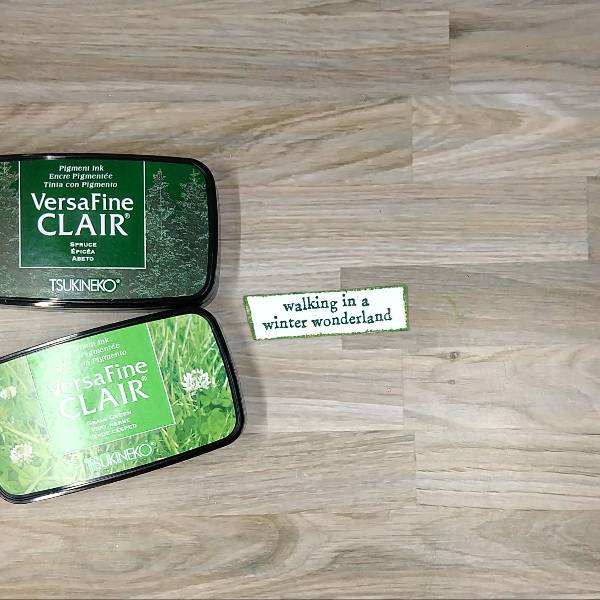
Stamp the sentiment on a piece of watercolor paper with Spruce VersaFine Clair Ink and heat emboss with clear Mboss powder. Trim the paper with a paper trimmer. Distress the edges with a pair of scissors. Then press the edges of the sentiment strip into the Grass Green VersaFine Clair Ink pad. After the ink dried, paint the edges with more of the gold watercolor. Set aside to dry.
Step 8:
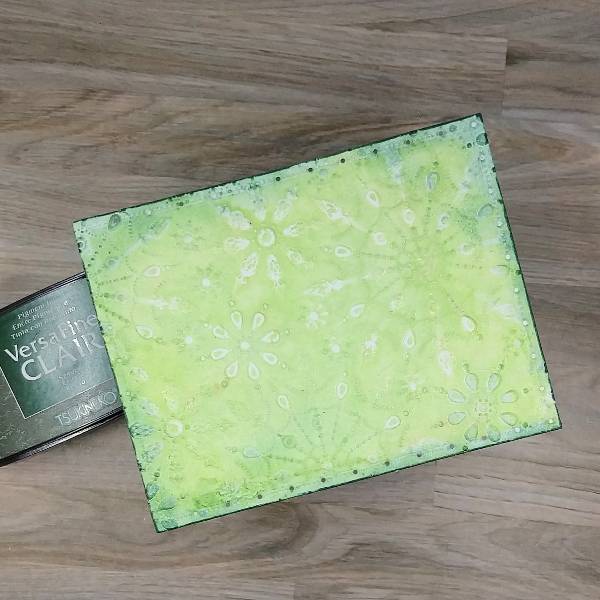
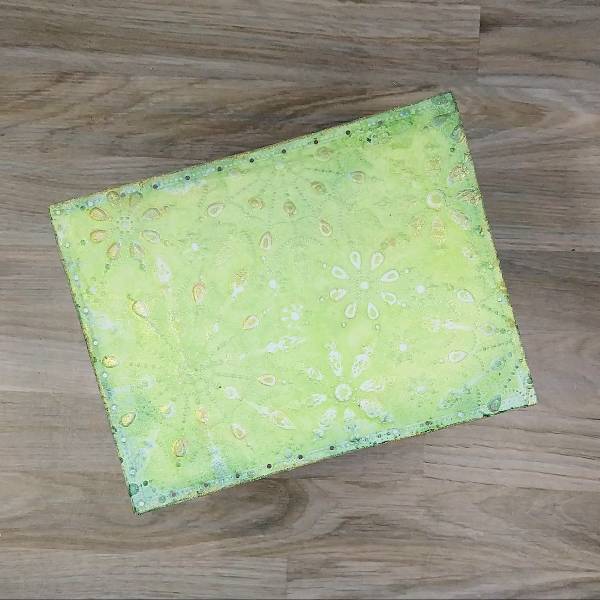
Spray New Sprout Fireworks! Shimmery Craft Spray directly onto an embossing folder. Place a die cut watercolor panel into the embossing folder and run it through a die cutting machine. Set the panel aside to dry.
Step 9:
Distress the edges of the panel with scissors. Run the edges of the panel through the Spruce VersaFine Clair ink pad to add ink directly to the edges. Then ink blend the edges with more of the Spruce VersaFine Clair Ink pad using a sponge dauber.
Step 10:
Watercolor the embossed panel with more of the gold watercolor and allow to dry.
Step 11:
Add a strip of black and white polka dotted washi tape onto the green panel. (The washi tape I used is very wide, so I ripped it into a thinner strip before attaching it to the card panel.)
Glue the smaller (blue) panel onto the larger, green panel at an angle. Glue star sequins onto the blue panel. Finally, glue the whole thing onto an A2-sized white card base.
Other • Altenew – die set – Tree Mix • Gina Marie Designs – die set – Big and Little Chain Rectangles • Gina Marie Designs – die set – Pleated Lace Rectangles • Hero Arts – woodblock stamp – Stunning Snowflakes (retired) • Kat Scrappiness – sequins – Winter Wonderland mix • Kuretake – watercolors – Starry Colors • Sizzix – embossing folder – Jeweled Snowflakes (664489) • Stampers Anonymous – stamp set – Cozy Christmas • Watercolor paper • Die cutting machine Paint brush • Paper trimmer • Scissors • Glue
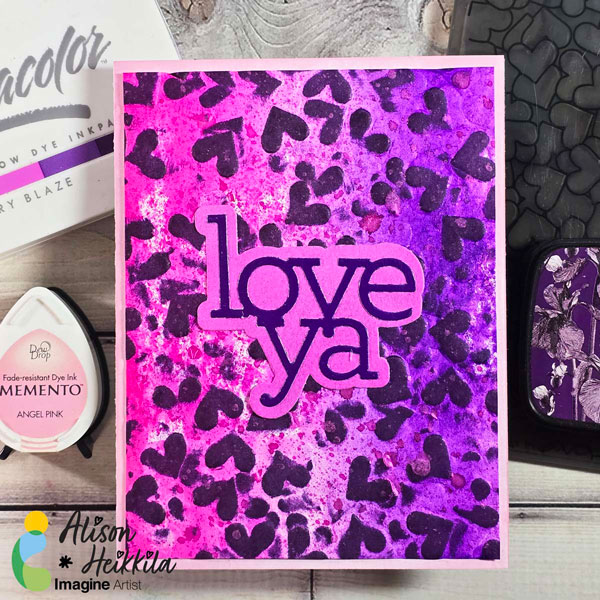
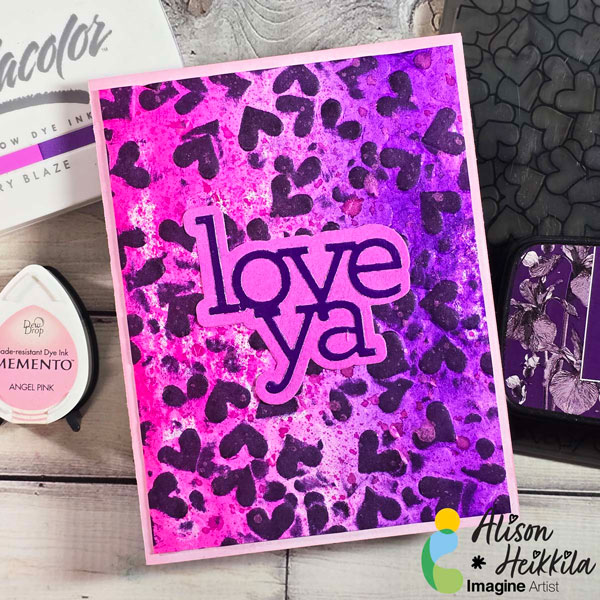
Hello! Alison Heikkila here. Today we’re making a love-themed card, but not really a romantic card. This can totally be used for your spouse or partner, but I intended it to be more for your bestie, a sibling, etc. The colors and textures of this card are really impactful…even more so in person.
Skill Level: Intermediate Time to Complete: 15-20 Minutes
*Some affiliate links are used in this post. That means that if you shop through these links, I may receive a small compensation, at no cost to you.
Here is the YouTube video. If it doesn’t play properly, please click HERE.
This card is pretty quick to make, and the splatters and imperfections of the inks make the card really interesting and unique. You can change up the colors, embossing folder, and the sentiment to suit your needs! Thanks so much for stopping by. Have an inspiring day!