By Kathi Rerek –
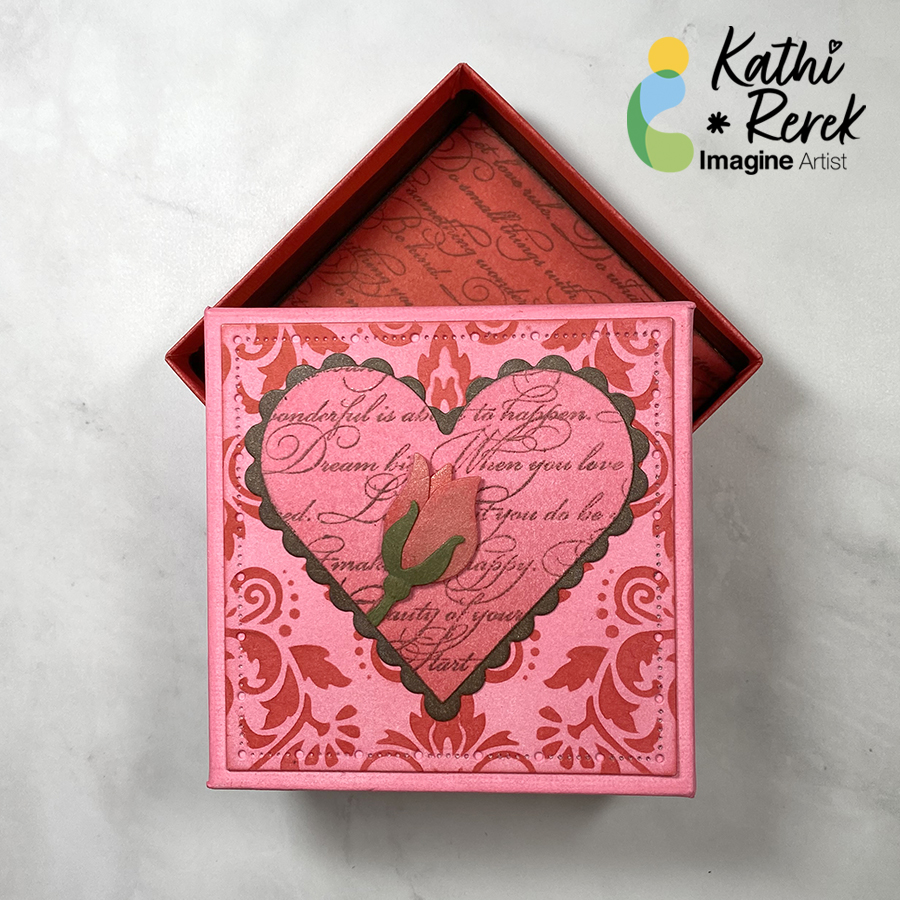
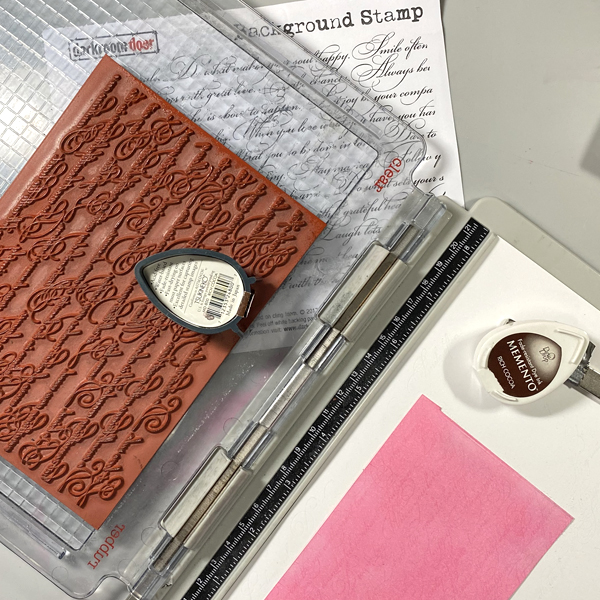
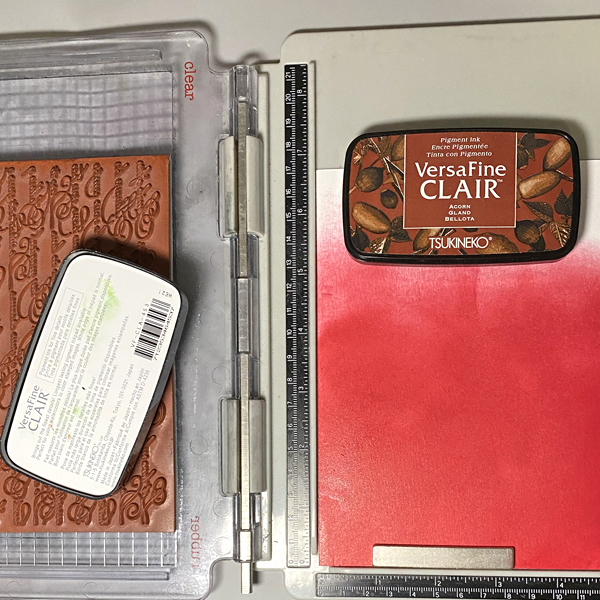
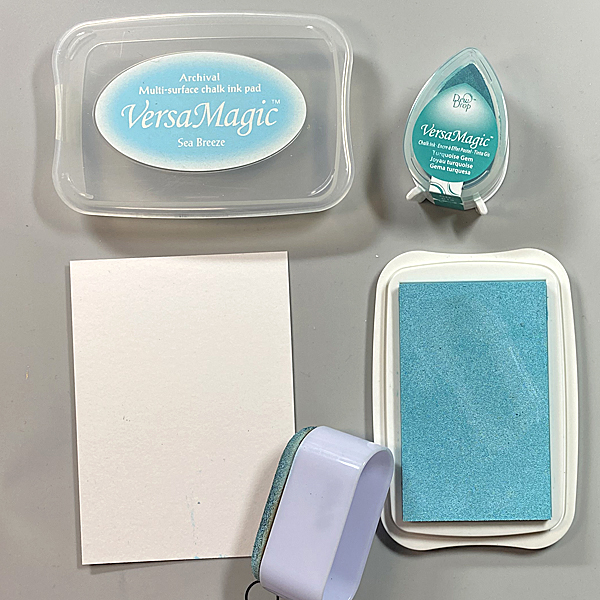
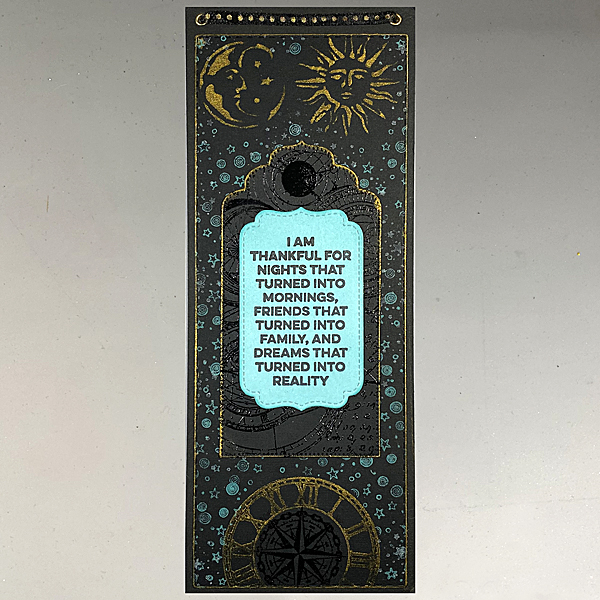
Greetings! It’s Kathi here today to share with you a tutorial about how to create an inspirational wall hanging using a favorite quote and your craft supplies. I used Golden Glitz Delicata, Nocturne, VersaFine Clair, and VersaMagic Chalk inks.
Skill: Intermediate
Time: 2 hours
Directions:
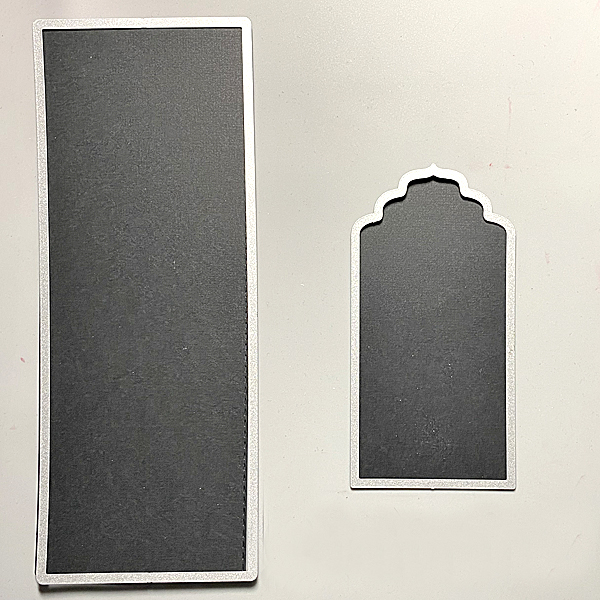
Step 1:
Use a Stitched Slimline Die and a Big Tags cutting dies to cut black cardstock for the panels.
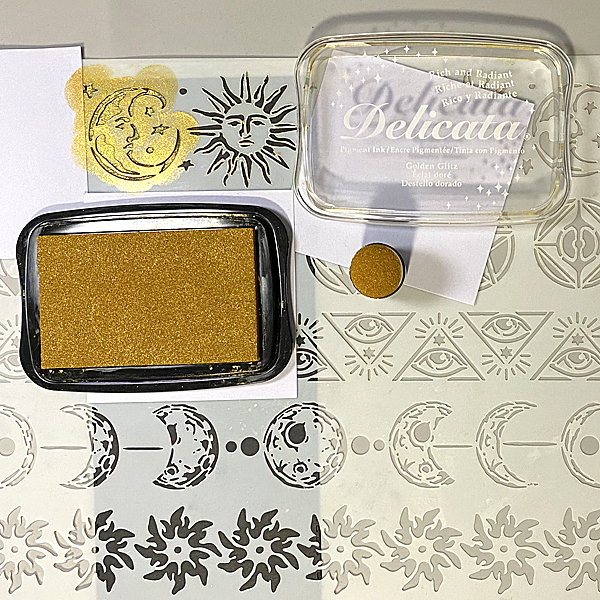
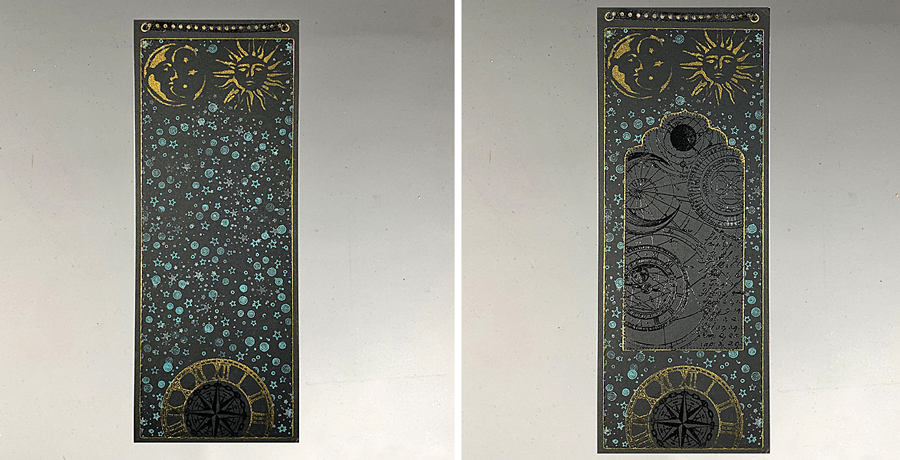
Step 2:
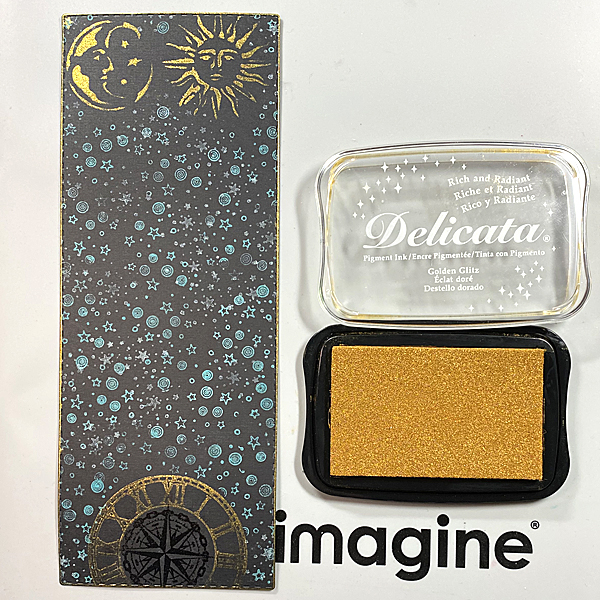
Position the moon and sun from the Alchemy Mixed Media Stencil on the top of the large rectangular die-cut. Use removable Scotch Tape to secure the stencil to the back of stencil. Cover the openings around the sun and moon with Post-It Notes. Use a Sponge Dauber to apply Golden Glitz Delicata Ink over the stencil onto the die-cut. Heat set.
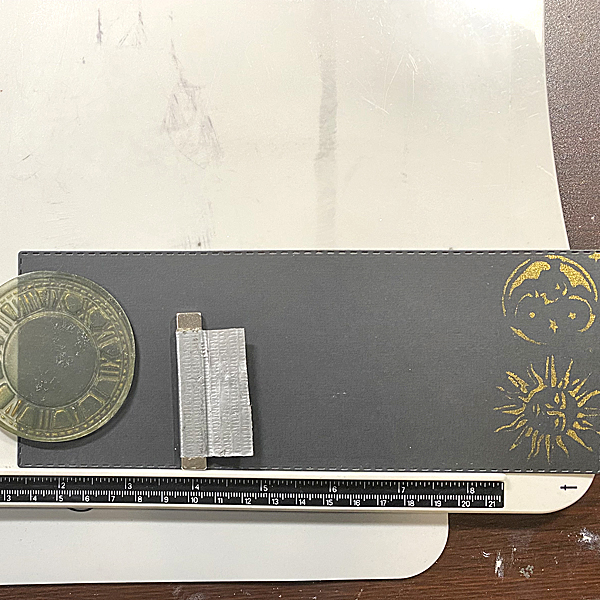
Step 3:
Use a magnet to secure the image panel horizontally along the base of a stamping platform. Position the clock from the ATC Coins Clear Stamp Set 6 facedown on the the panel, so that 12:00 is centered and facing the top of the panel.
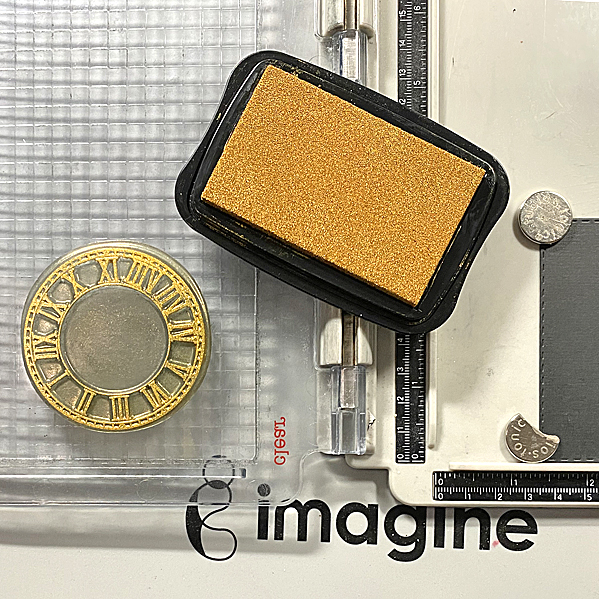
Step 4:
Ink the clock with Golden Glitz Delicata ink and stamp the clock along the bottom of the tag. Heat set to bring out the lustre.
Step 5:
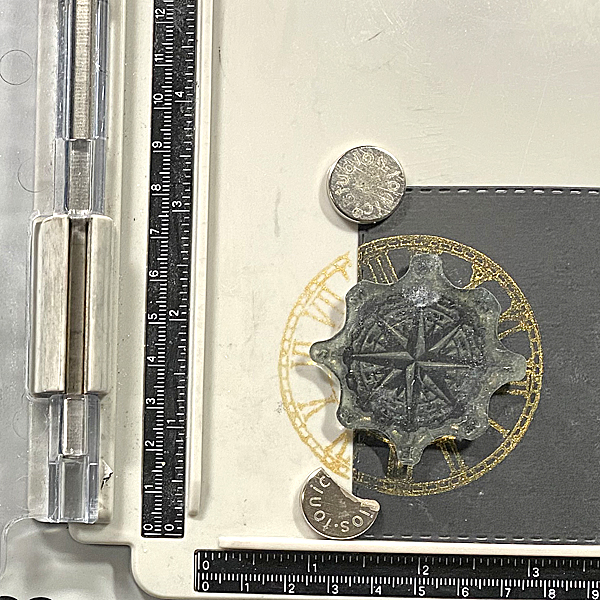
Position the compass from the Small Elements Stamp Set 2 facedown inside the circular opening of the clock with the “N” of North at 12:00.
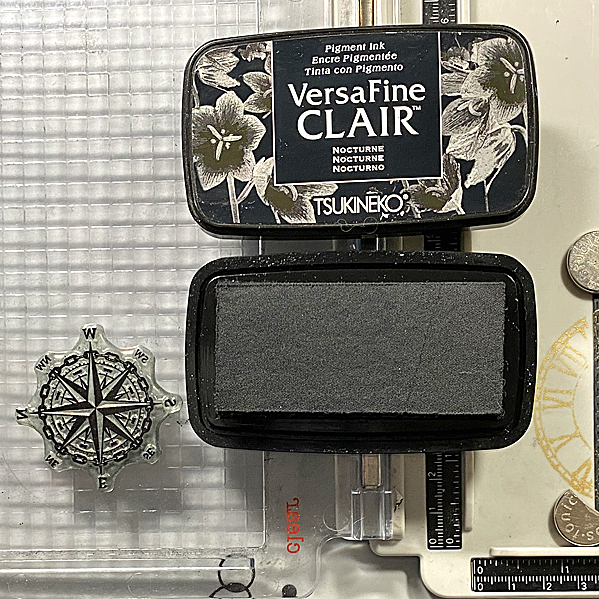
Step 6:
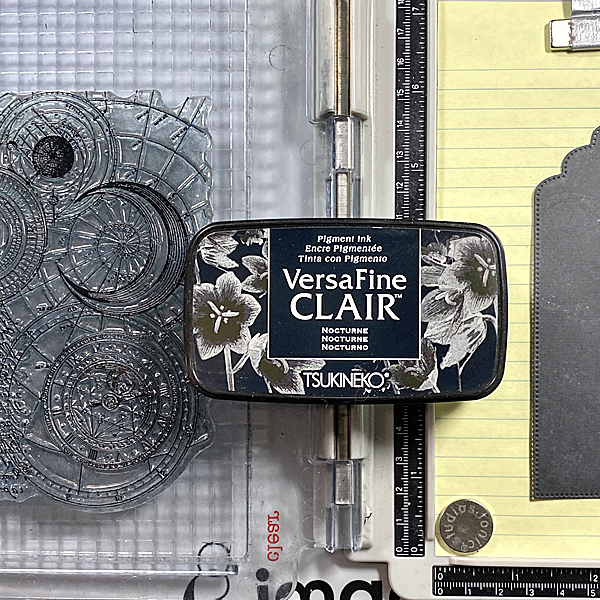
Use Nocturne VersaFine Clair ink to stamp the small compass into the center of the clock image. Cover the stamped image with Clear MBoss Clear and melt the powder with a heat tool.
Step 7:
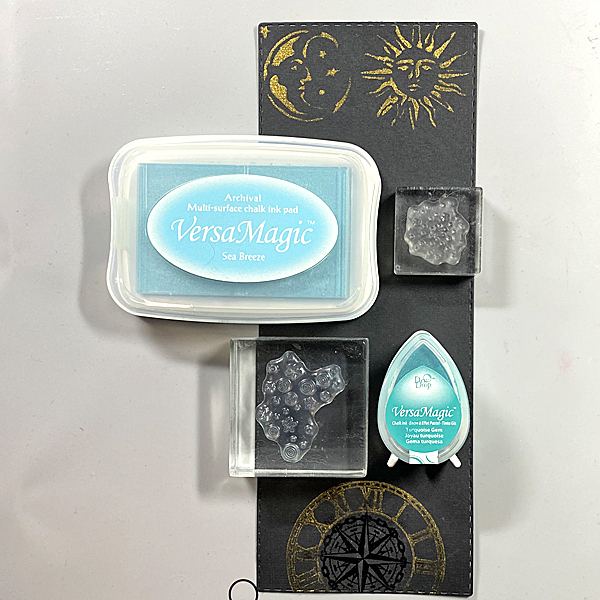
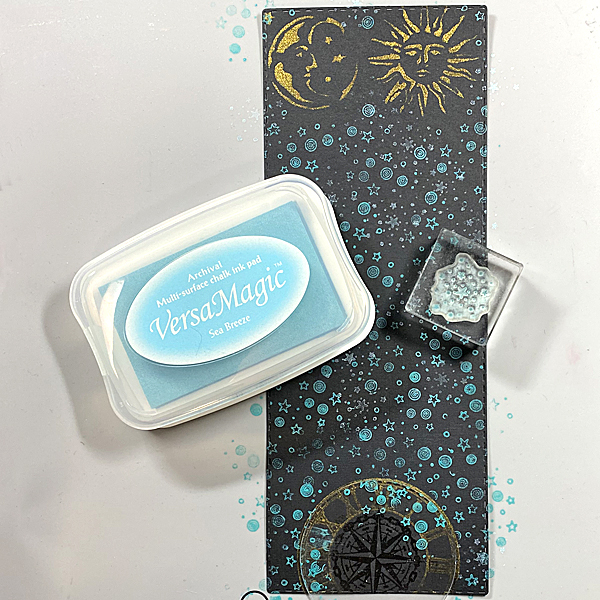
Use Turquoise Gem VersaMagic ink to stamp the swirls and stars from the Harvest Moon Clear Stamp Set and the stars from the Mini Stars Clear Stamp Set around the perimeter of the die-cut. Repeat using Sea Breeze VersaMagic ink. Heat set.
Step 8:
Edge the panel with Golden Glitz Delicata ink. I slide each edge of the piece along the side of the ink pad to create a strong golden edge. Heat set.
Step 9:
Use repositionable adhesive to secure the black tag die-cut to a piece of scrap paper, then use magnets to secure them to the base of the stamping platform.
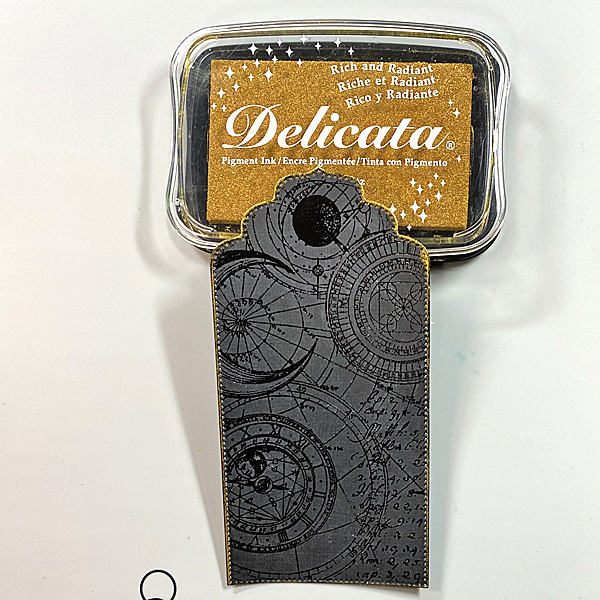
Position the Celestial Navigation Clear Stamp 398 and stamp with Nocturne VersaFine Clair.

Step 10:
Cover the stamped image with MBoss. Melt the powder with the heat tool. (MBoss image application not shown)
Step 11:
Use Golden Glitz Delicata Ink to edge the tag.
Step 12:
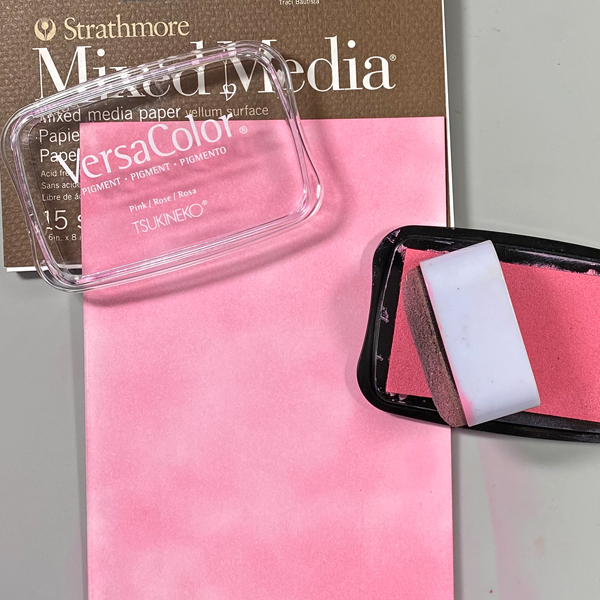
Using an Ink Sweeper, apply Sea Breeze VersaMagic to a piece of mixed media paper.

Step 13:
Use a Sponge Dauber to apply Turquoise Gem VersaMagic around the edges of the paper, then blend using the Ink Sweeper and Sea Breeze VersaMagic. Heat set.

Step 14:
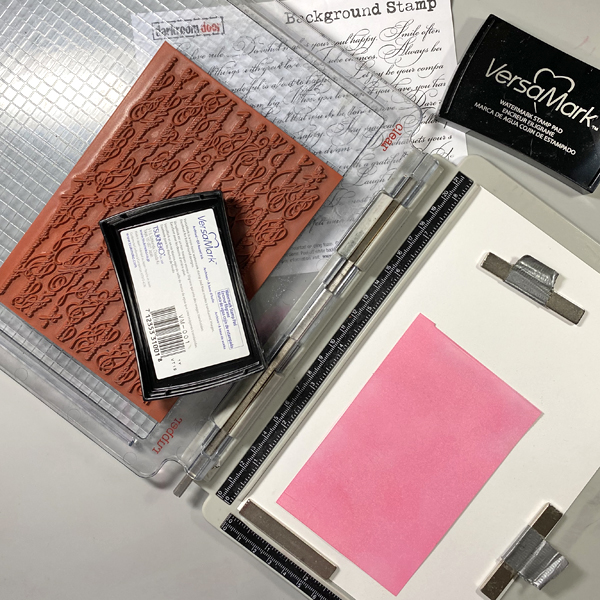
Secure the inked panel to the base of the stamping platform. Position the Ink and the Dog Mini Cling Stamp 109 stamp and stamp with with Nocturne VersaFine Clair. Heat set.
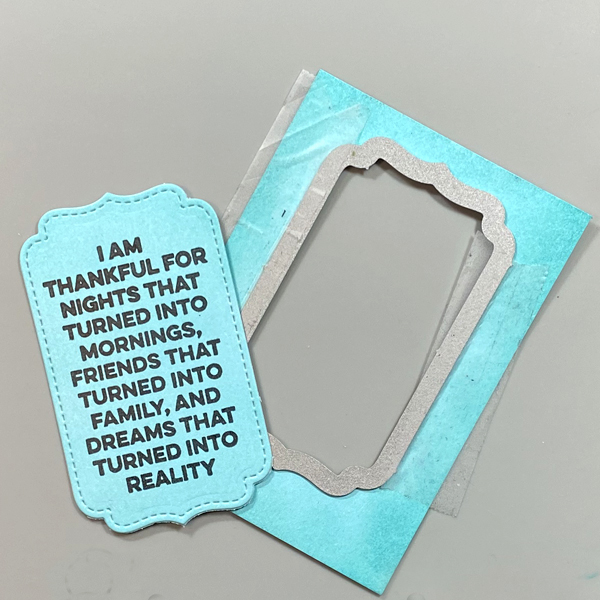
Step 15:
Use the shaped die from the Small Stitched Envelope die set to cut the sentiment panel.
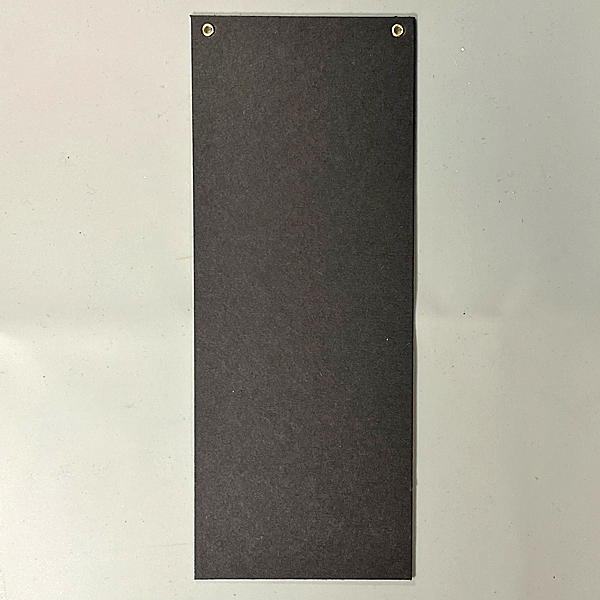
Step 16:
Cut a piece of black chipboard to 3.5″ x 9″. Punch holes in the top, insert eyelets, and thread ribbon.
Step 17:
Use Tear It! Tape to adhere the rectangular panel to the chipboard.
Step 18:
Then tape the stamped and embossed tag.
Step 19:
Lastly, adhere the quote die-cut.
Thanks for stopping by. I hope this project will inspire you as much as it inspired me!
Art Supplies:
Imagine:
Other:
• Crea-Lies: Bigz Tagz Crea-NestLies XXL #6
• Creekbank Creations: Stitched Slimline Dies
• Lawn Fawn: Small Stitched Envelope Lawn Cuts Die Set
• PaperArtsy: Ink and the Dog Mini Cling Rubber Stamp 109
• Lavinia Stamps: Mini Stars Clear Stamps
• AALL and Create: Celestial Navigation Clear Stamp Set 398
• Pink Ink: Harvest Moon Clear Stamp Set
• That’s Crafty: Small Elements Stamp Set 2
• That’s Crafty: ATC Coins Clear Stamp Set 6
• Stamperia: Alchemy Mixed Media Stencil
• Martha Stewart Crafts: Embossing Gun
• Tonic: Tim Holtz Stamping Platform
• Sizzix: Big Shot