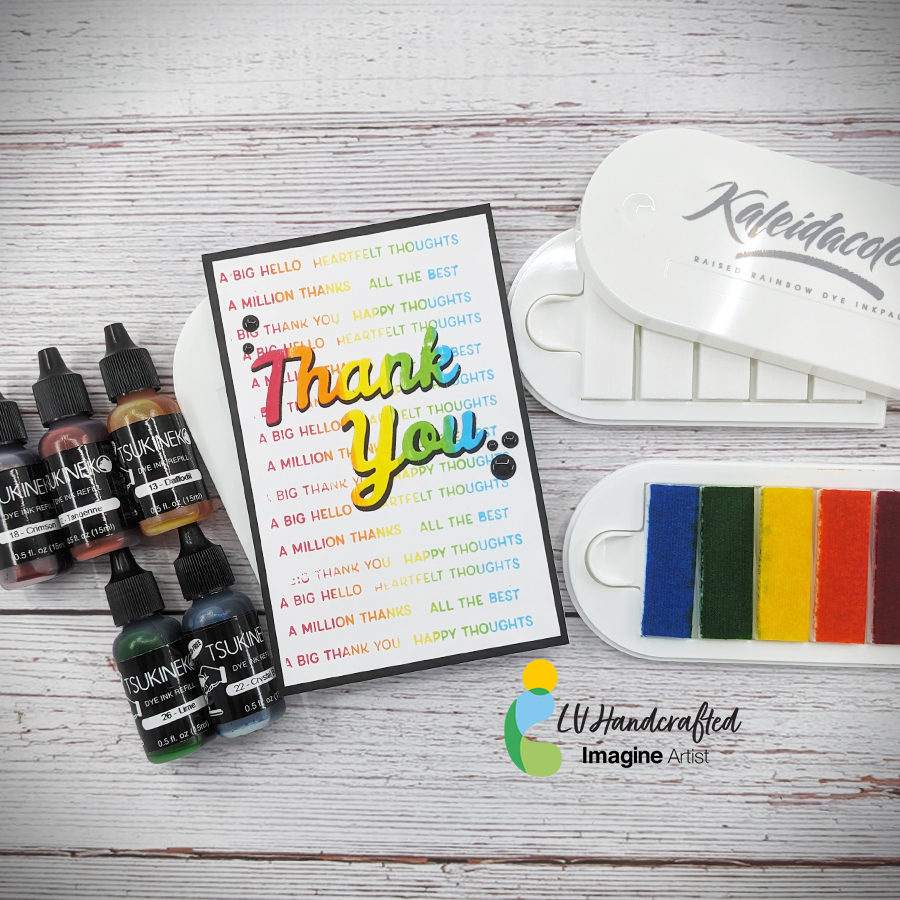
– Hello friends! This is Linh (or LV Handcrafted on all the socials). Let your imagination fly and make your own Kaleidacolor ink pad! It is so easy to create any combination of 5 colors. Mix and match any set of dye ink refills to create your favorite color blends. These fun ink pads make it so easy to create ombre backgrounds and papers to die cut from. For this card, I combined several small sentiment stamps and used my rainbow ink pad to ink up my stamps and create a custom rainbow sentiment background — you can’t do that with any other ink pad!
Babies are born all year, so why not ghost themed Hello Baby cards? And all things are better with a little bling. Let’s use Imagine Tear it! Tape and Creative Medium to add some shiny foil to a couple Hello Baby cards.
– I’ve been experimenting with 91° Isopropyl Alcohol to blend inks and decided to see what would happen with Kaleidacolor Ink. I’m totally thrilled with the results!
Skill Level: Beginner to Intermediate
Time: 1.5 hours
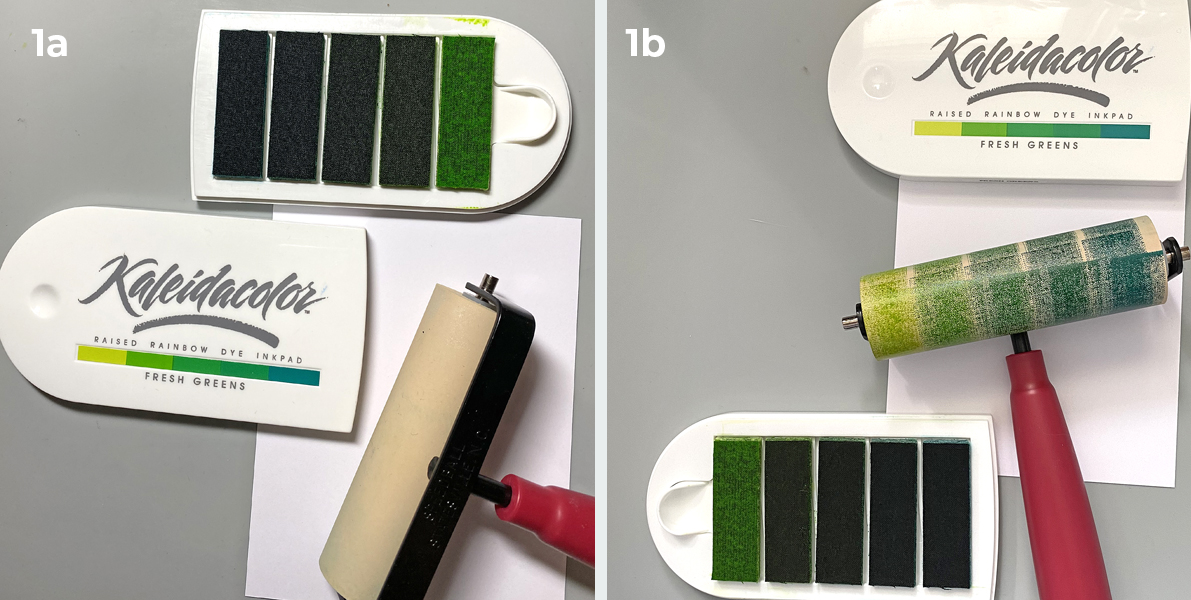
Step 1.
Keeping the Kaleidacolor’s ink pads separate, apply ink to the brayer.
Step 2:
Use the brayer to roll the ink onto one side of a 4.25” x 5” panel of white cardstock. Re-ink the brayer if necessary. Notice that the lightest green is in the center of the paper.
Flip the paper 180° and repeat. It’s always a good idea to create more than one panel of inked cardstock!
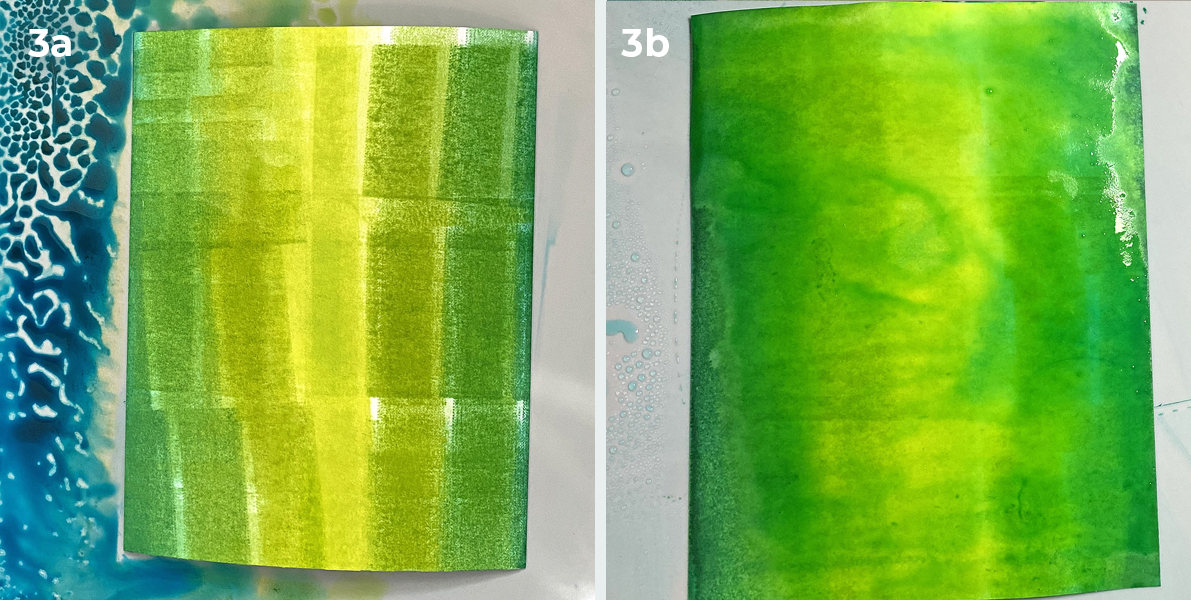
Step 3:
Spray the inked cardstock with Isopropyl Alcohol until the paper is completely saturated. Tilt the paper so that the alcohol moves the ink around. Note that whereas the paper is wet, it is not pilling!
Safety Warning: Be sure to have good ventilation when using any kind of solvent!
Pro Tip:
Place a piece of white seam binding or ribbon into the puddle of ink to create perfectly matching trim!
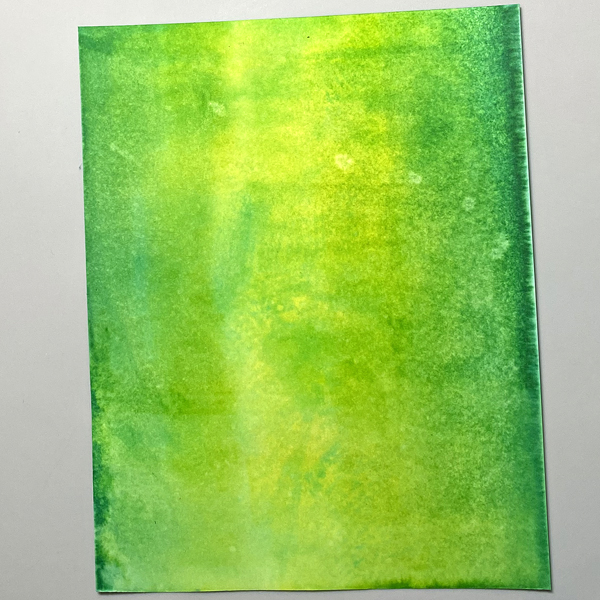
Step 4:
Mist the cardstock with water to add white speckles and blotches. Heat set.
Step 5:
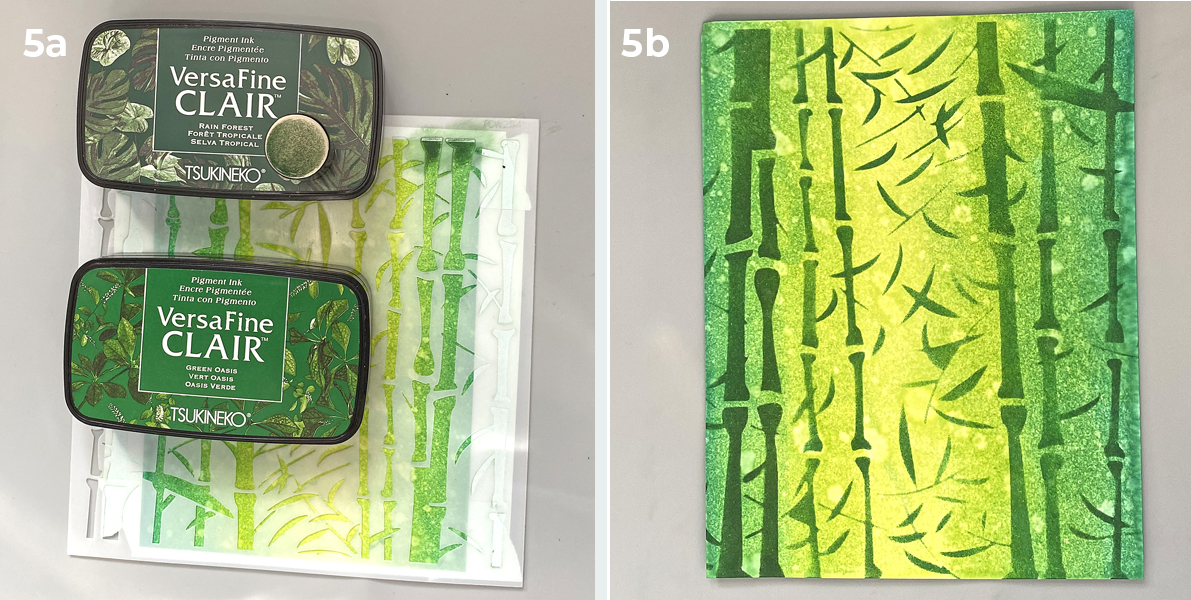
Tape the inked cardstock to t he back of the bamboo stencil.
Sponge Rainforest and Green Oasis VersaFine Clair Inks over the stencil onto the inked cardstock. Heat set.
Step 6:
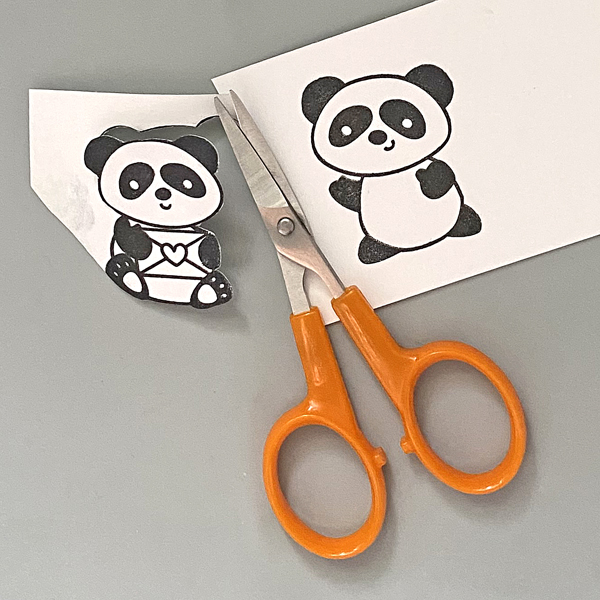
Use Nocturne VersaFine Clair Ink to stamp two of the pandas from the Pandamonium Clear Stamp Set. Heat set.
Step 7:
Fussy-cut both pandas.
Step 8:
Smoosh Rose Bud, Angel Pink, Summer Sky, and Dandelion Dew Drop Inkpads onto a craft mat. Mist with water. Use a fine paintbrush to color the pandas.
Step 9:
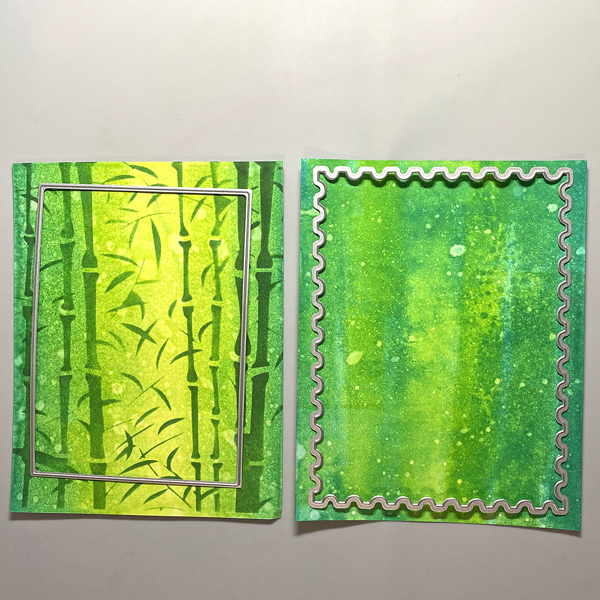
Use a plain rectangle and a postage edged rectangle dies to cut inked panels.
Step 10:
Place a piece of paper tape across the bottom of the stenciled cardstock.
Heavily sponge Rain Forest VersaFine Clair Ink below the tape to cover the stenciling. Use the ink to edge the piece as well.
Step 11:
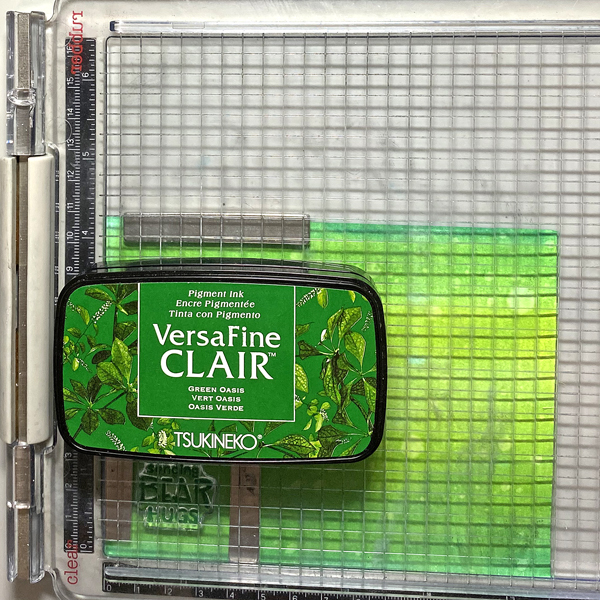
Use Green Oasis VersaFine Clair Ink to stamp the sentiment.
Step 12:
Use a Postage Edged die to cut the sentiment.
Step 13:
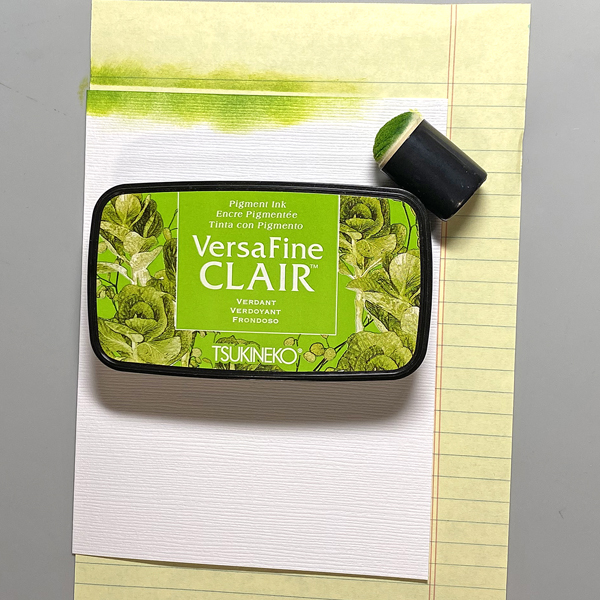
Create an A2 card from Avalanche cardstock. Apply Verdant VersaFine Clair Ink around the edges of the white cardstock. VersaFine Clair Ink works really well with textured cardstock!
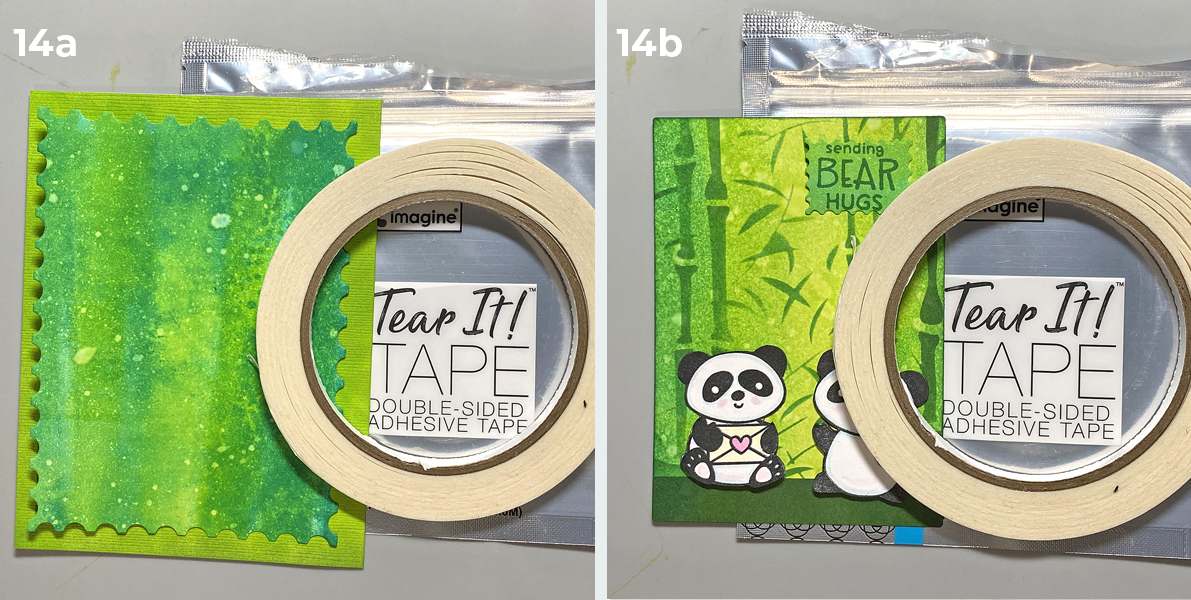
Step 14:
Use Tear It! Tape to attach the postage edged die-cut to the card.
Adhere the pandas and the sentiment die-cut to the stenciled panel, then adhere the stenciled panel to finish the card.
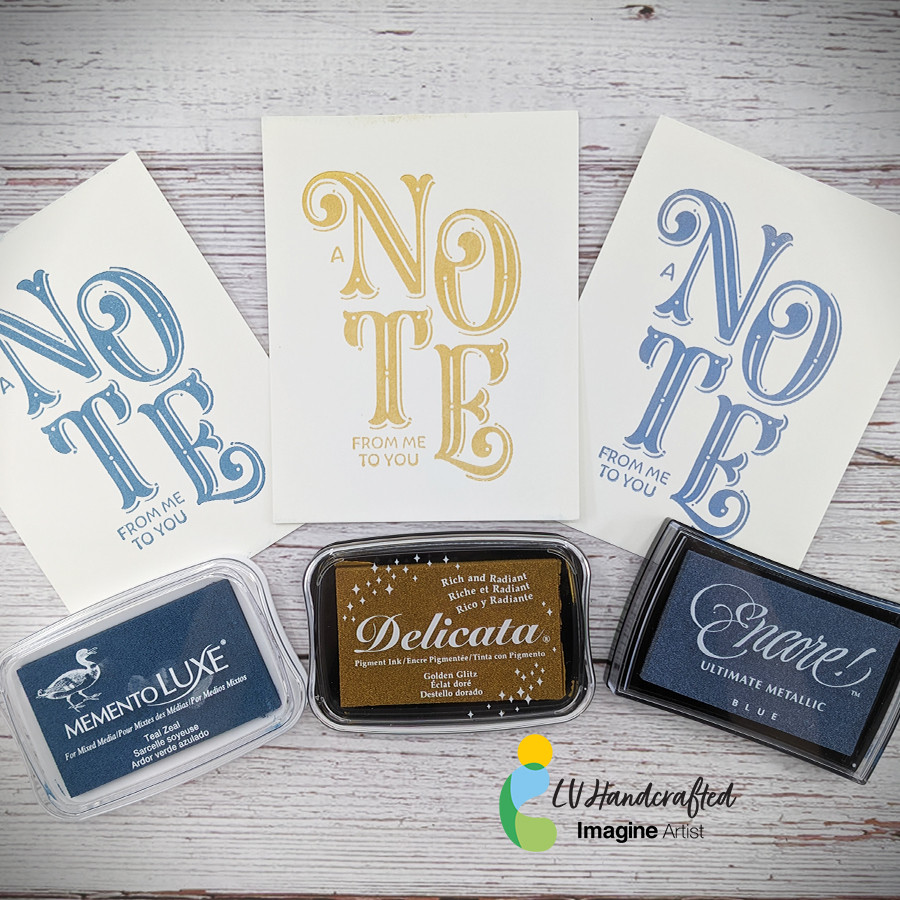
Hello friends! This is Linh (or LV Handcrafted on all the socials). Did you know just about all the Tsukineko inks work BEAUTIFULLY with the BetterPress system? You aren’t restricted to just the special BetterPress Inks. You have the whole rainbow of Tsukineko inks that work just as well. Here are three that I think are particularly gorgeous and fairly consistent and easy to use. These make amazing gift sets that are easy and fast to make yet impressive!
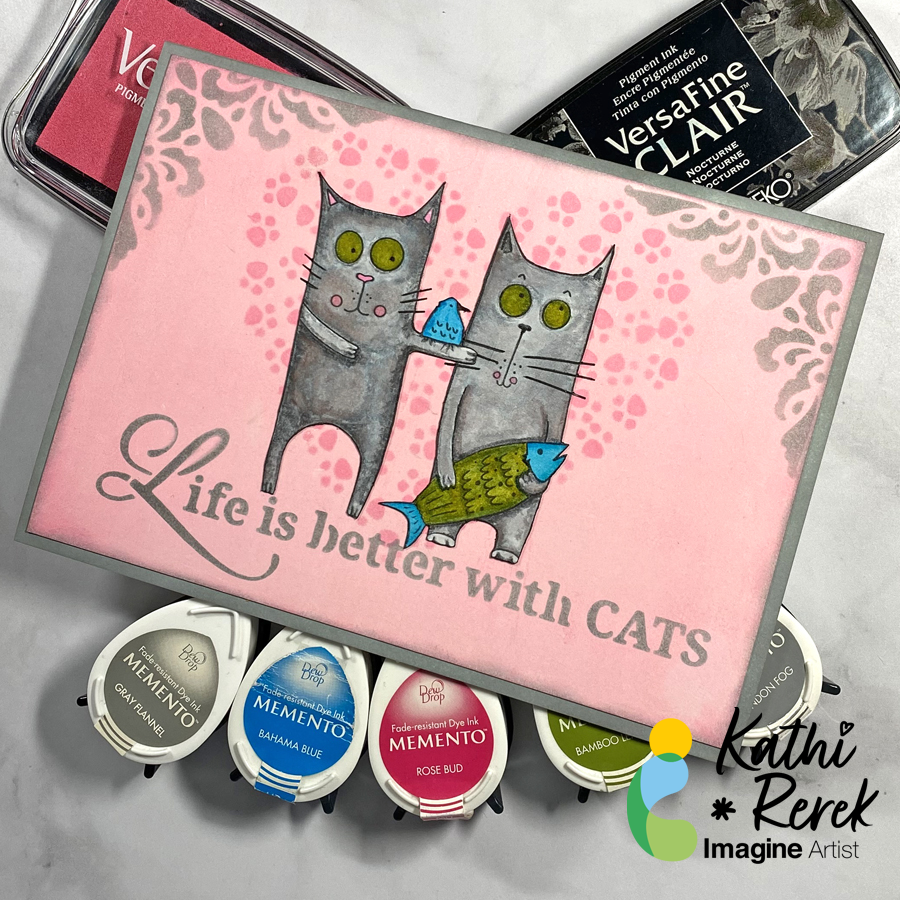
Cats rule the internet and my heart. Here’s a quick card created with inks, stencils, and white paper.
Skill Level: Beginner to Intermediate
Time: 1.5 hours
Directions:
Step 1.
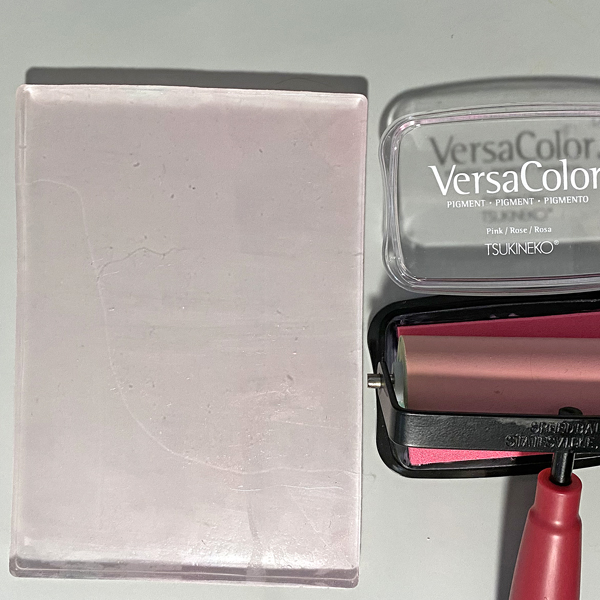
Roll a 4” Brayer onto a Pink VersaColor inkpad, then apply the ink onto a 5” x 7” Gel Press. Place a 5” x 7” panel of Bristol Paper onto the Gel Press, press the back of the paper to pull the print. Heat set the ink.
Step 2:
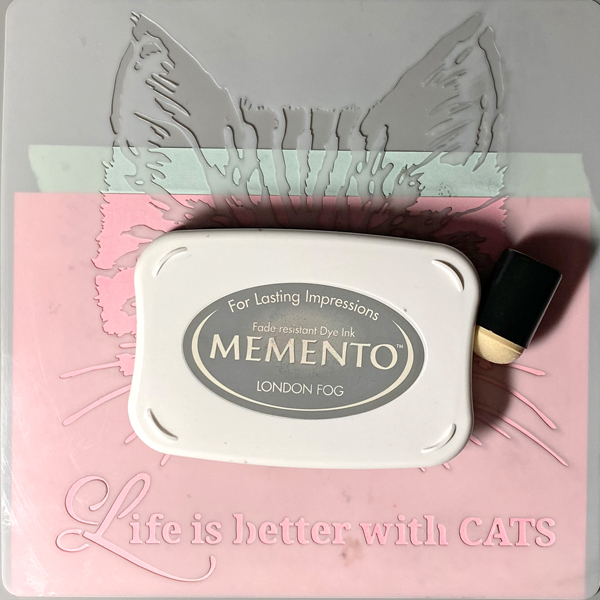
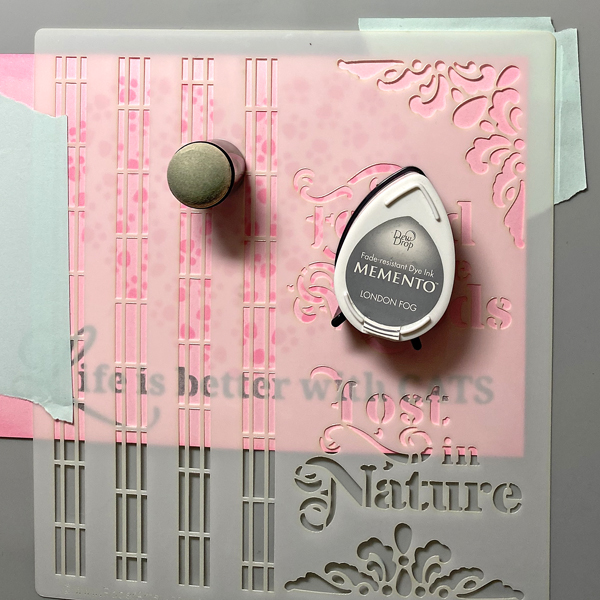
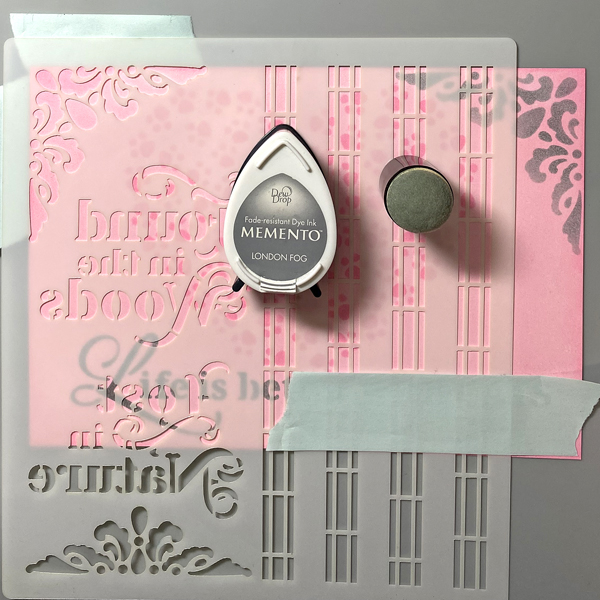
Position the quote on the Life with Cats stencil along the bottom of the inked paper panel. Use tape to secure the stencil to the back of the panel.
Use a Sponge Dauber to apply London Fog Memento Ink over the stencil onto the inked panel. Remove the stencil.
Step 3:
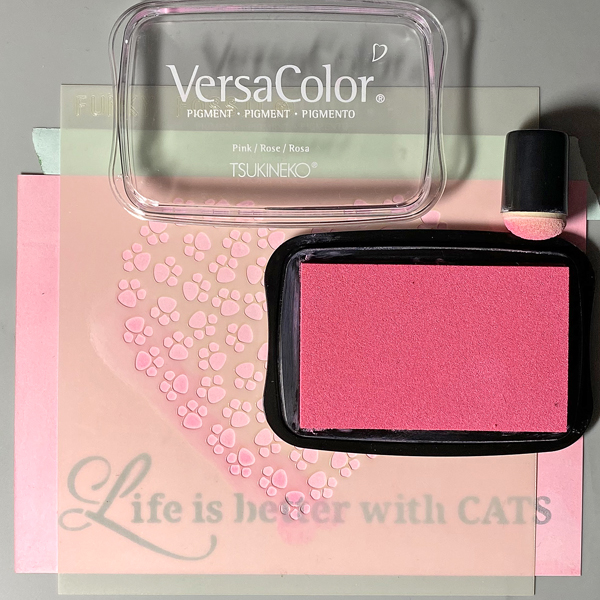
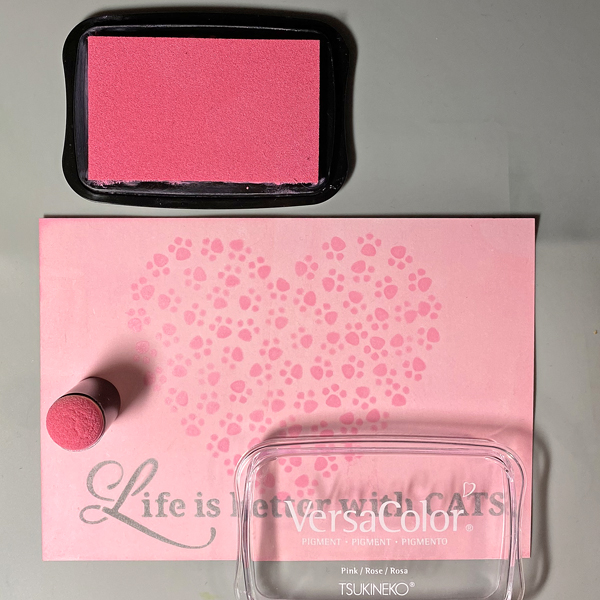
Position the Pawsome Hearts stencil to the center of the inked panel. Use tape to secure the stencil to the back of the panel.
Use a Sponge Dauber to apply Pink VersaColor Ink over the stencil onto the inked panel.
Remove the stencil and heat set the inked panel.
Step 4:
Use the Sponge Dauber to edge the stenciled panel with Pink VersaColor Ink. Heat set.
Step 5:
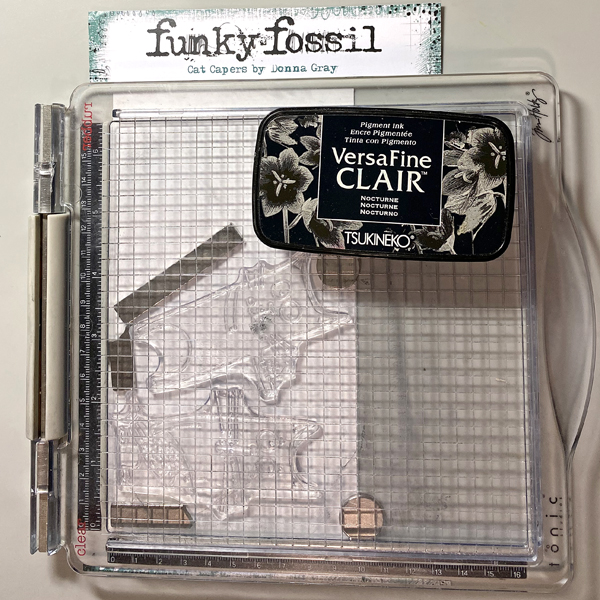
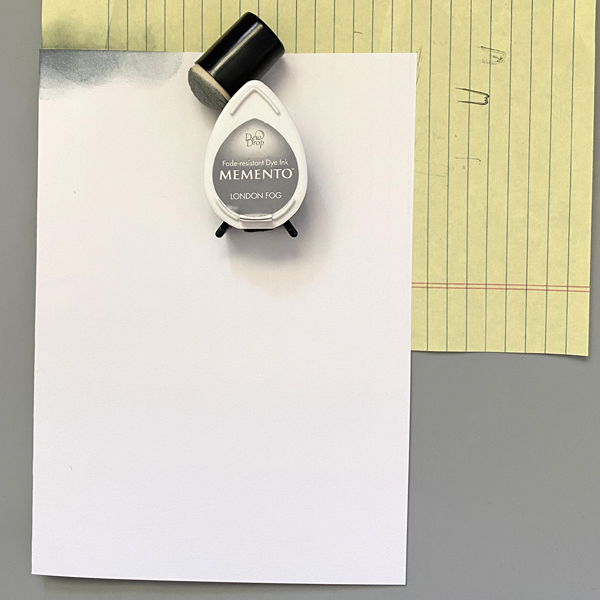
Use a stamping platform and Nocturne VersaFine Clair Ink to stamp two cats from the Cat Capers Clear Stamp Set onto a panel of Bristol Paper. Heat set.
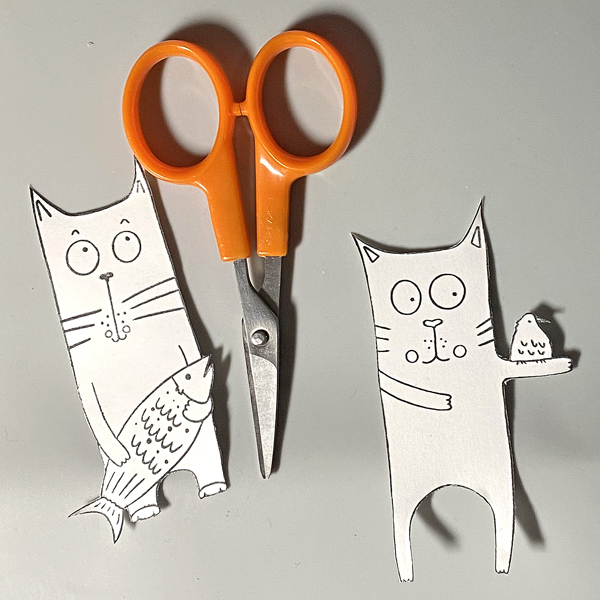
Step 6:
Fussy-cut both cats.
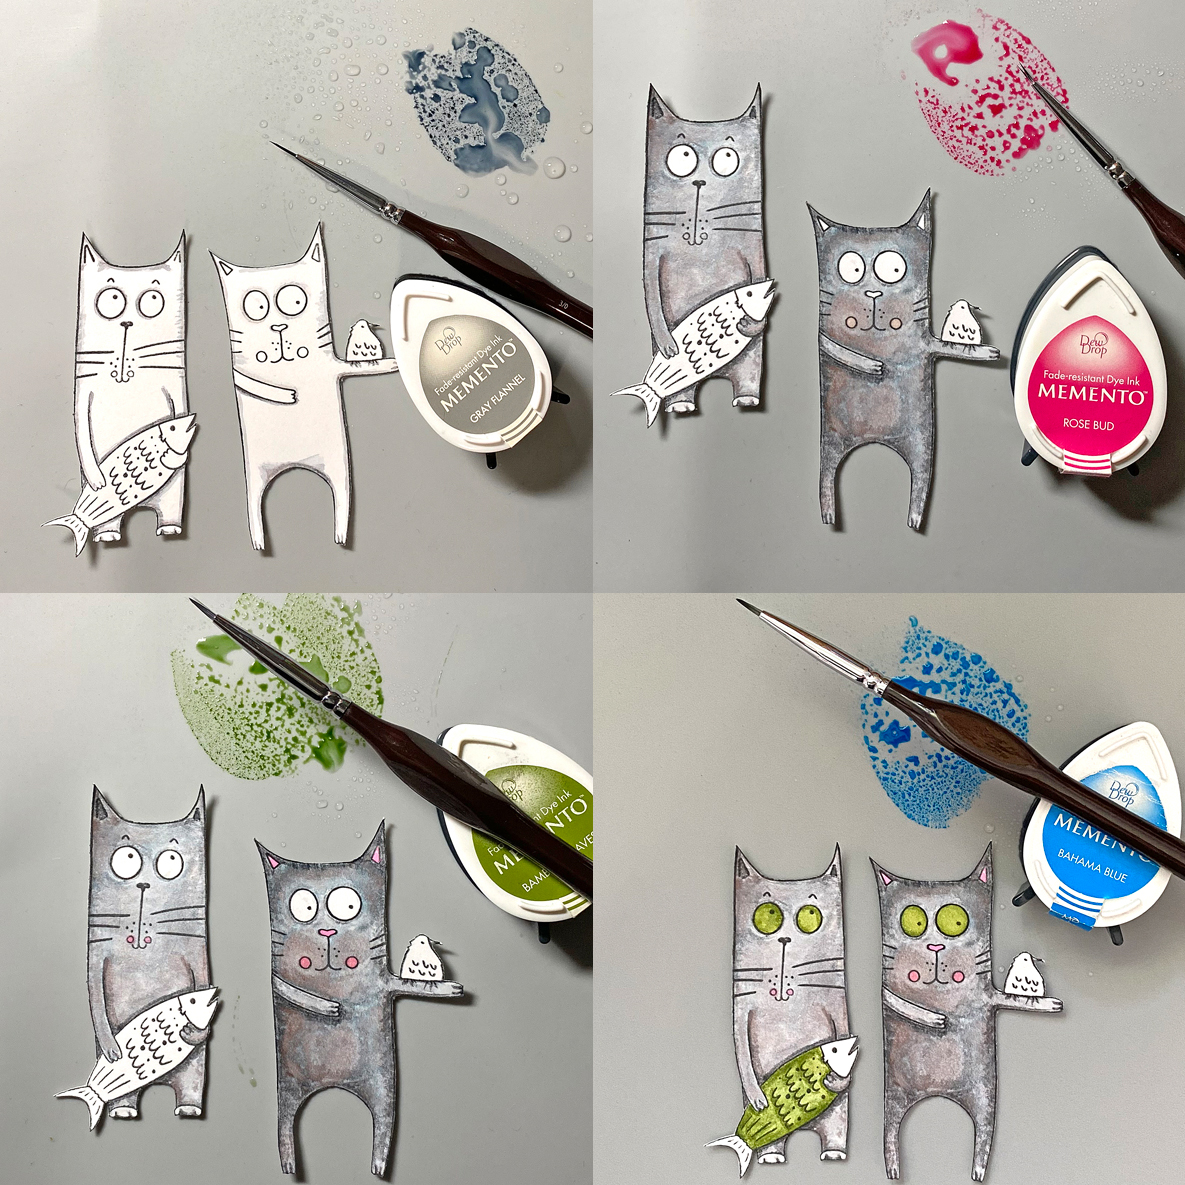
Step 7:
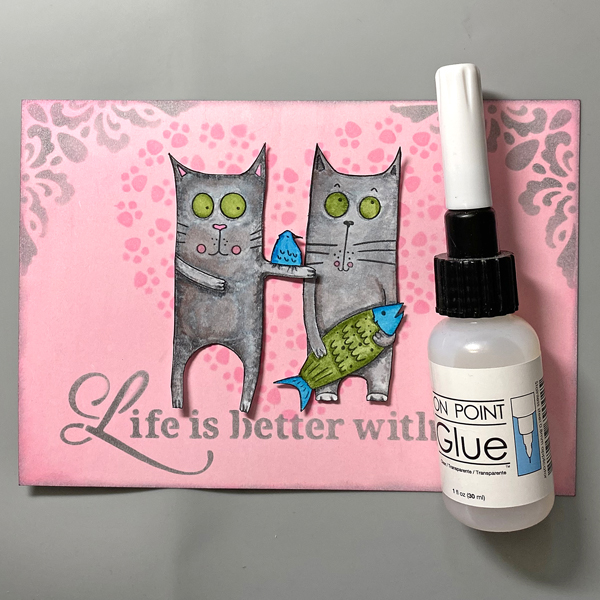
Smoosh London Fog Memento Ink onto a craft mat. Mist with water. Use a fine paintbrush to color the cats’ fur. Clean the ink off of the craft mat and the paint brush.
Repeat the above steps with Rose Bud Memento Ink to color the cheeks, nose, and ears. Bamboo Leaves Memento Ink for their eyes and the fish body, and Bahama Blue Memento Ink for the bird and the fish head and tail.
Step 8:
Position the corner flourish of the stencil on the upper right corner of the background panel. Secure with tape on the reverse.
Use a Sponge Dauber to apply London Fog Memento Ink over the stencil onto the panel.
Remove the stencil. Clean and dry it thoroughly.
Flip the stencil, position the corner flourish of the stencil on the upper left of the background panel. Secure with tape on the reverse.
Use a Sponge Dauber to apply London Fog Memento Ink over the stencil onto the panel.
Remove the stencil. Use a Sponge Dauber to edge the panel with London Fog Memento ink.
Step 9:
Use On Point Glue to secure the cats to the background panel as shown.
Step 10:
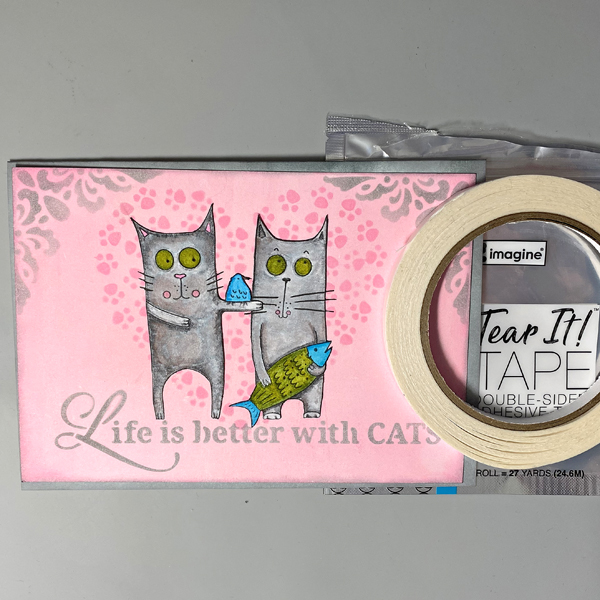
Create a 7” x 5” card from white cardstock. Apply London Fog Memento Ink around the edges of the white cardstock.
Step 11:
Use Tear It! Tape to adhere the panel to the inked card.
Have you ever stamped with your Fireworks! Shimmery Craft Sprays?
This was totally new to me and I loved it! I ended up creating several cards, including a full panel shaker with recycled packaging. Oh! And I used Creative Medium to add transfer foil to a project. Let’s jump into it for loads of fun!