By Anna Escalada York
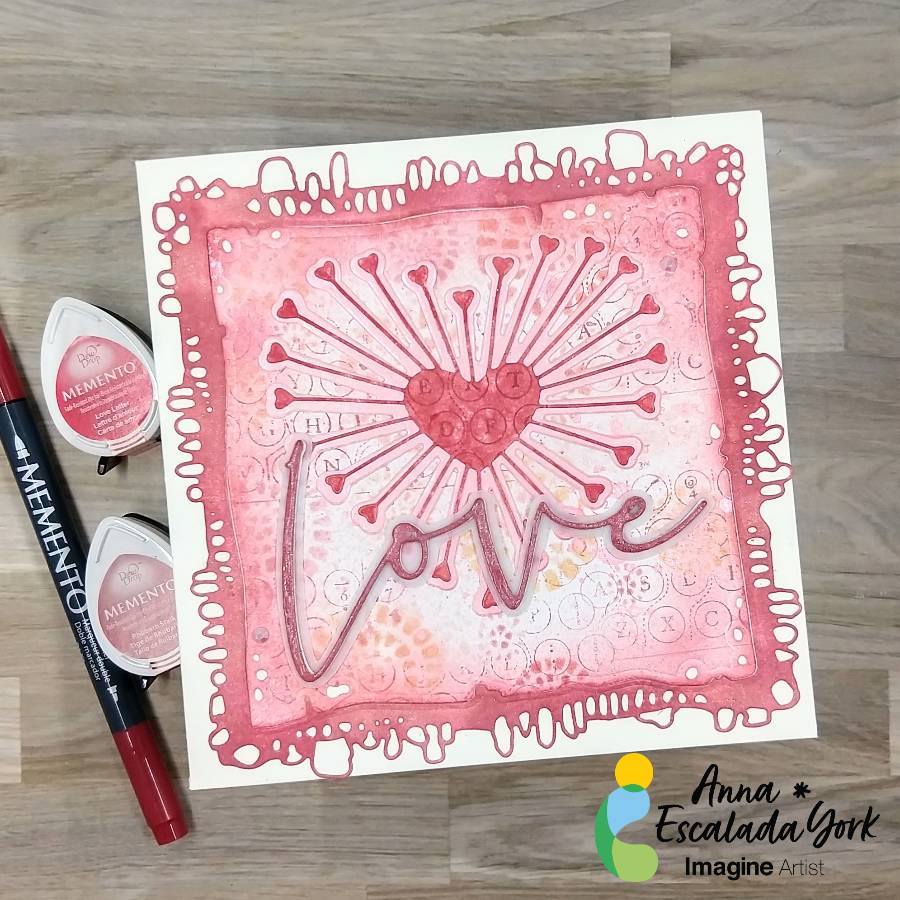
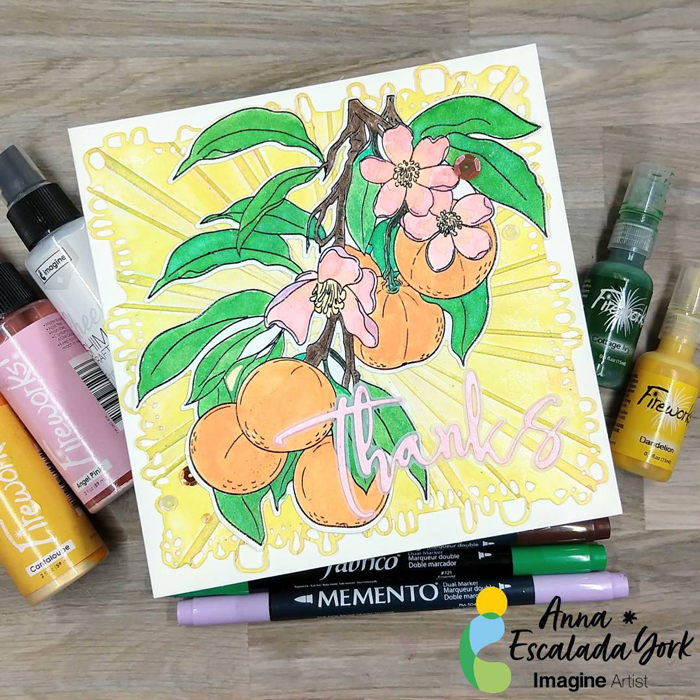
I used to be intimidated by the idea of multimedia cards, but all they are cards that have different types of products. This card features stamping, watercoloring with sprays and Amplify! Ink, and embossing.
Skill: Intermediate
Time: 2 hours
Directions:
Step 1:
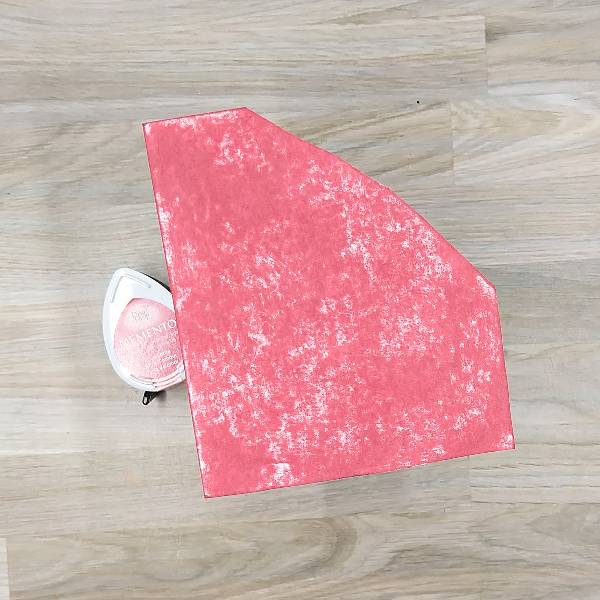
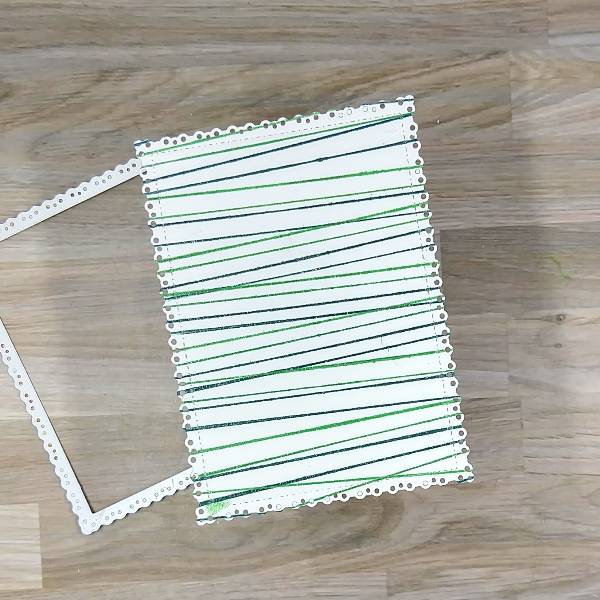
Die cut a piece of watercolor paper.
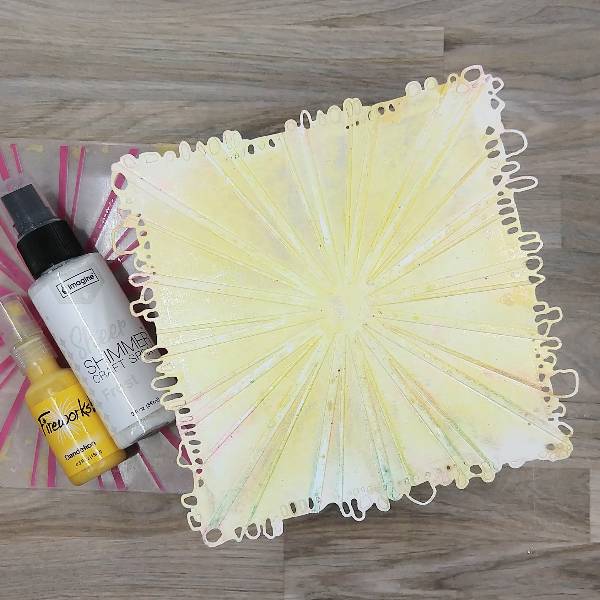
Step 2:
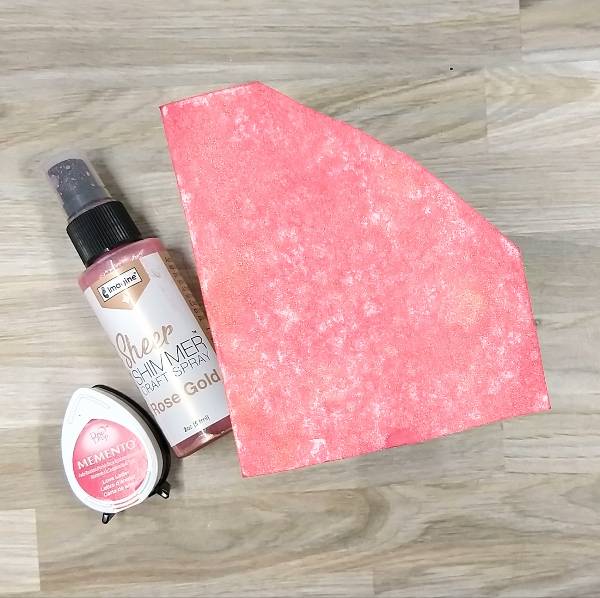
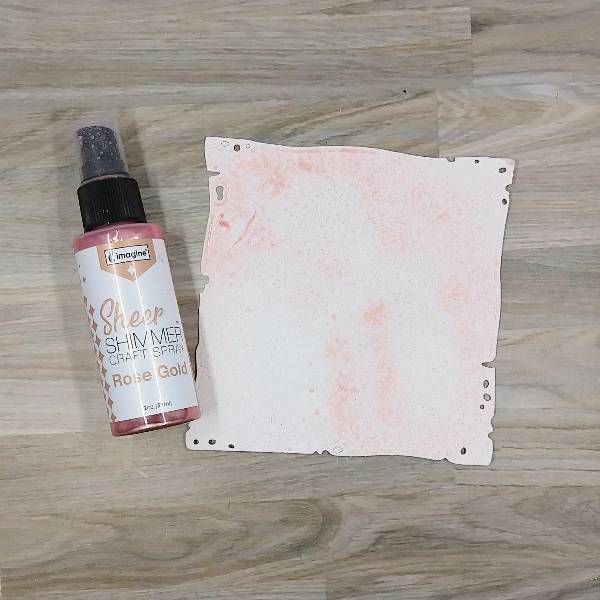
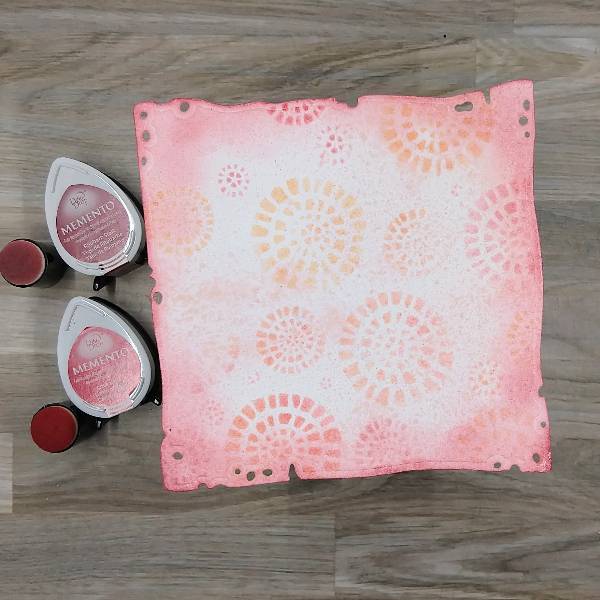
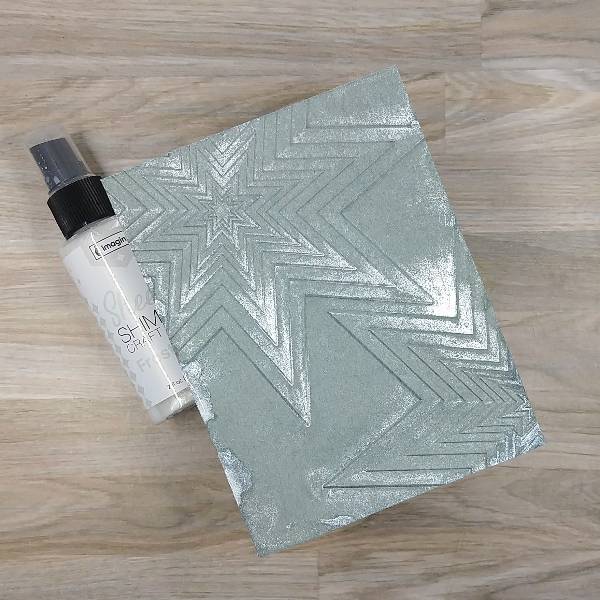
Spray Dandelion Fireworks! Shimmery Craft Spray onto the center part of an embossing folder and Frost Sheer Shimmer Craft Spray around the edges. Place the die cut watercolor panel in the embossing folder. (The folder had some residual color from a previous project, but it will be covered up later.)

Step 3:
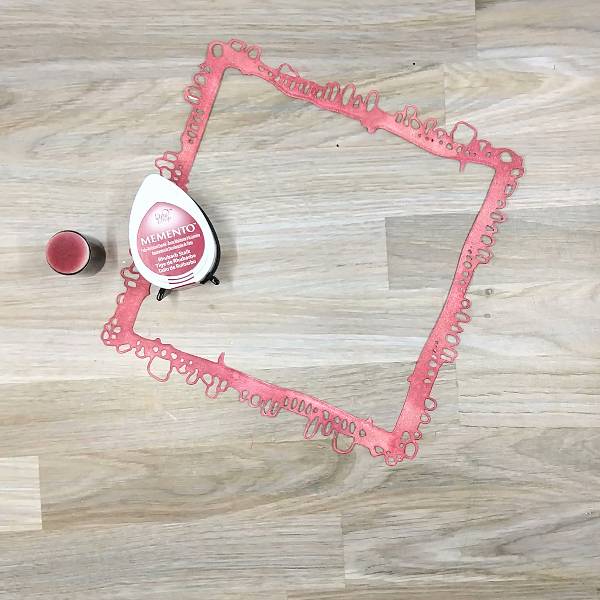
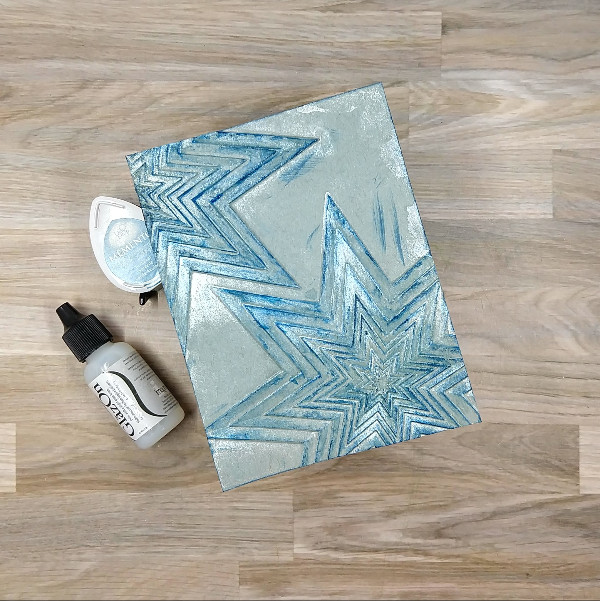
Rub a Sunflower Yellow Brilliance Ink pad over the edges of the embossed watercolor panel.

Step 4:
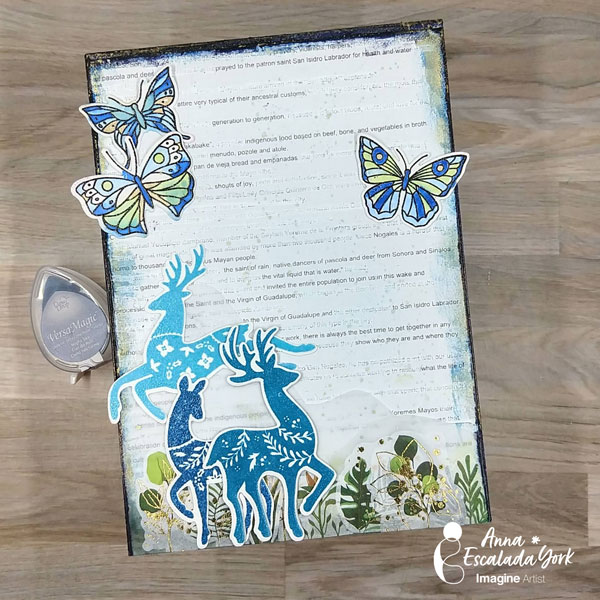
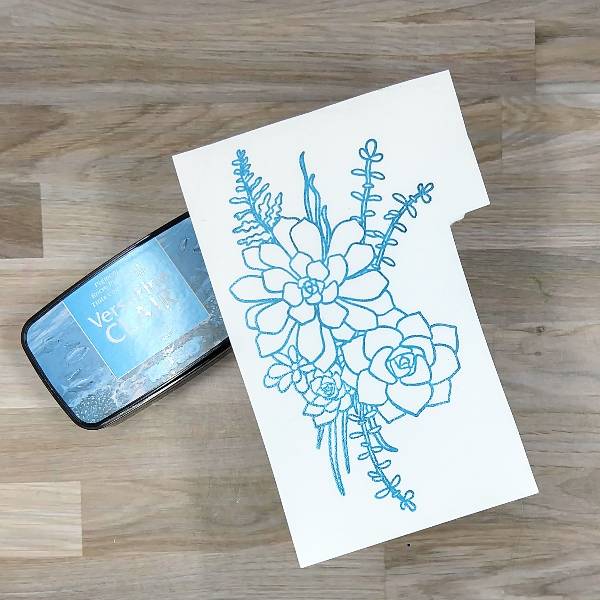
Stamp the main image onto another piece of watercolor paper with Nocturne VersaFine Clair ink. Heat emboss with clear embossing powder.

Step 5:
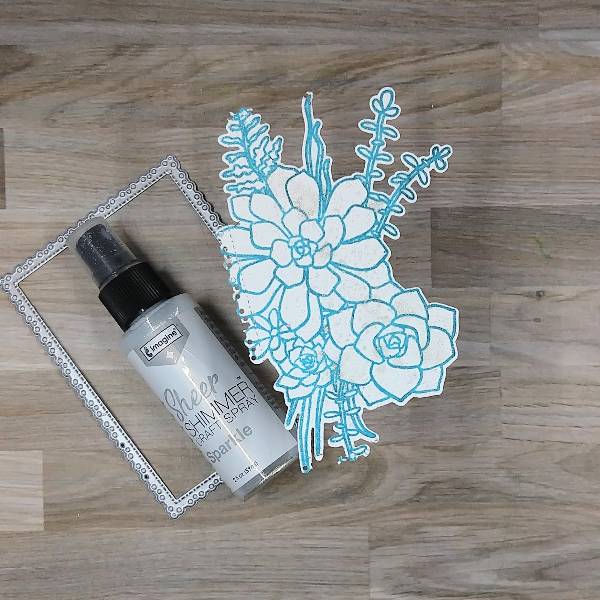
Use a variety of sprays and other media to color in the image.
- The leaves were watercolored with Cottage Ivy Fireworks! Shimmery Craft Spray.
- The green stems were colored with Emerald Fabrico Dual Marker.
- The small branches were colored in with Rich Cocoa Memento Dual Marker.
- The flowers were watercolored with Angel Pink Fireworks! Shimmery Craft Spray on the petals. After the petals dried, the center of the flower and the center part of the petals were water colored with Cantaloupe Shimmery Craft Spray. Finally, the outside parts of the petals were colored with Lulu Lavender Memento Dual Marker.
- Electric Orange Radiant Neon Amplify! pigment ink and Cantaloupe Shimmery Craft Spray were mixed on a piece of scrap acetate and was watercolored onto the tangerines.
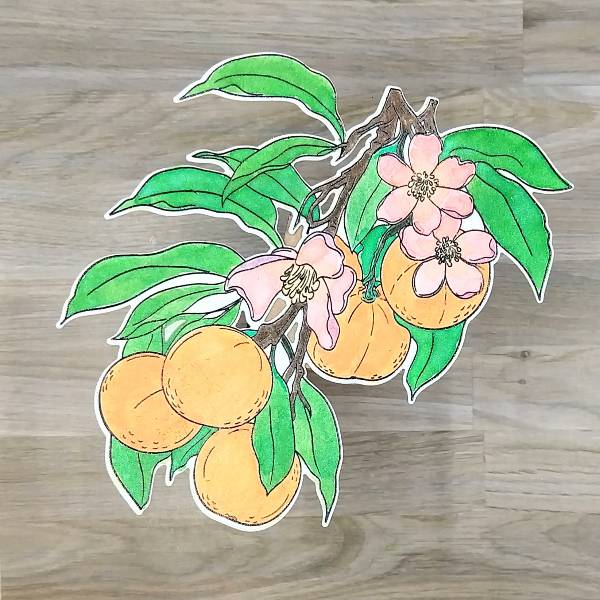
Step 6:
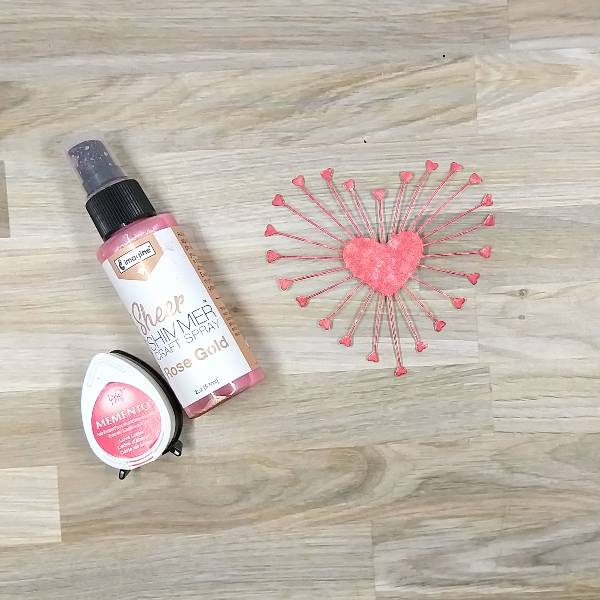
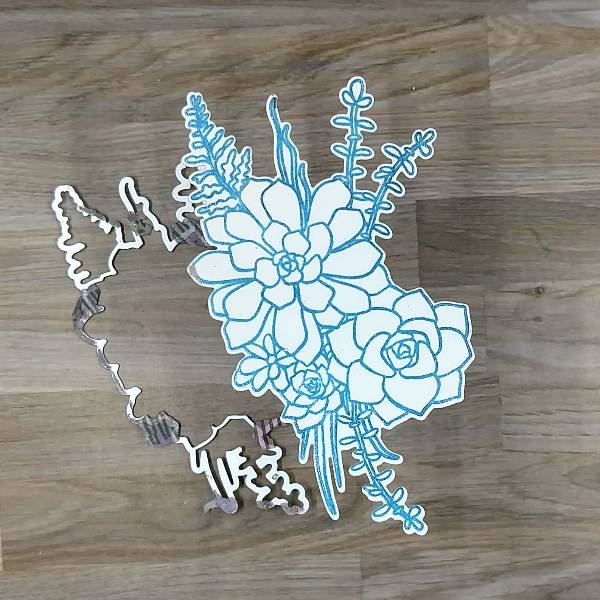
Die cut the image with the corresponding die.

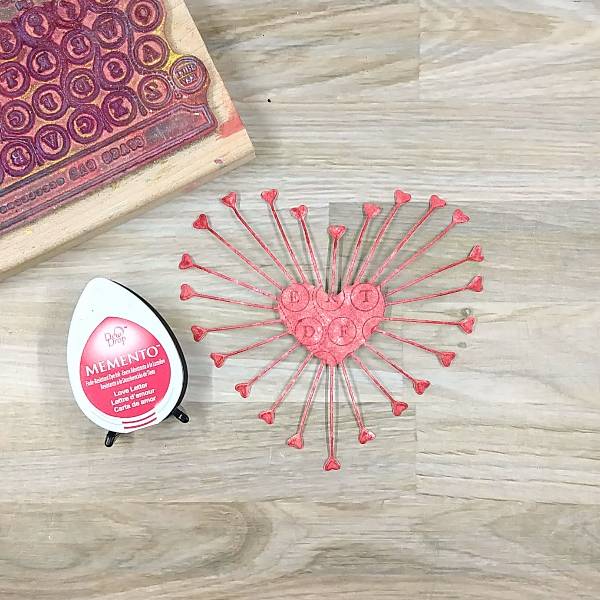
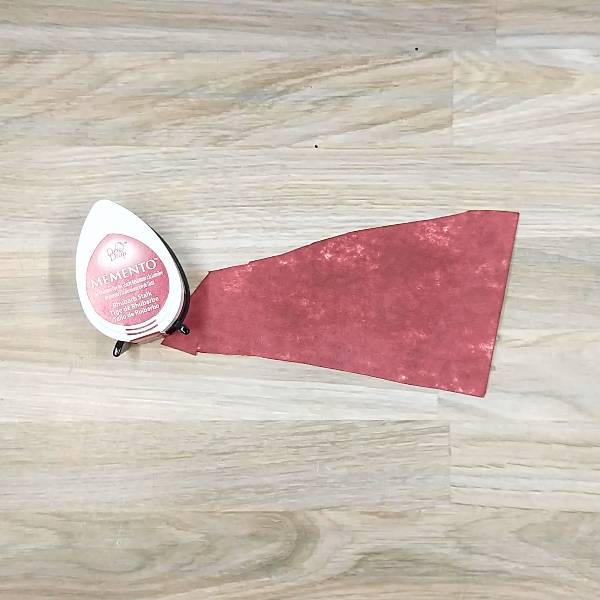
Step 7:
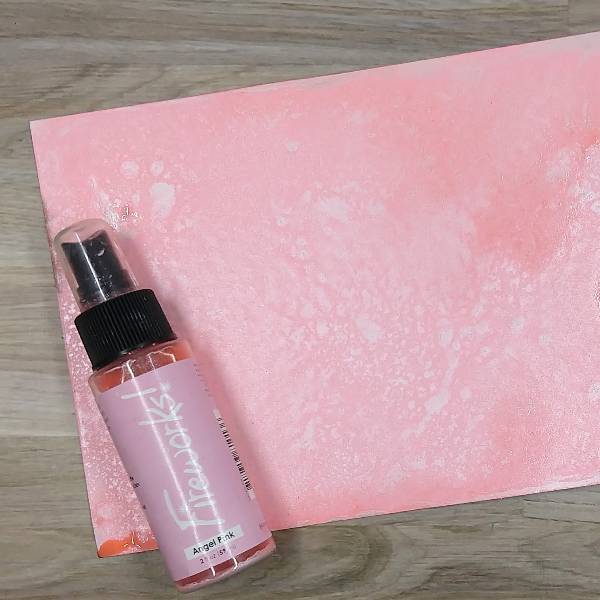
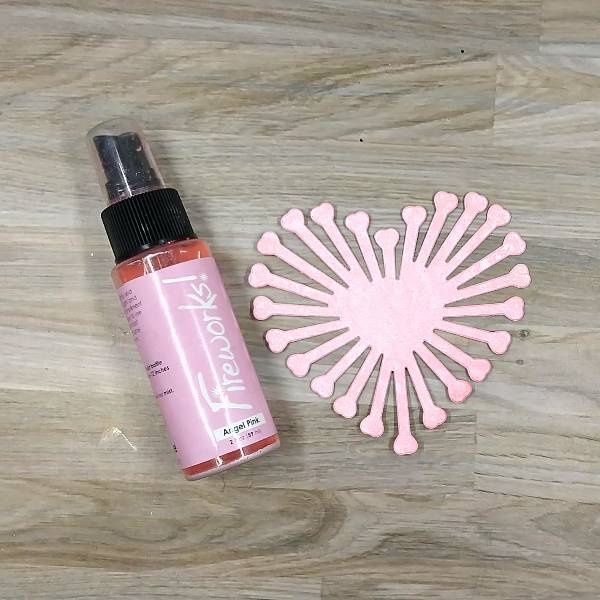
Press Angel Pink Memento Dye Ink onto a scrap of watercolor paper. After the ink dries, spray Angel Pink Fireworks! Shimmery Craft Spray onto the same scrap of watercolor paper and allow it to dry.

Step 8:
Die cut the pink watercolor paper with a thanks sentiment die and a piece of vellum with the sentiment’s shadow die.

Step 9:
Glue the tangerine image onto the embossed watercolor background panel. Then glue the sentiment die cut to the vellum shadow sentiment die cut. Glue the sentiment onto the panel as well.

Step 10:
Glue the panel onto a 6” by 6” square cardbase. Glue sequins on the lower left and upper right parts of the panel to finish the card.
Art Supplies
Imagine
• Amplify! Radiant Neon pigment ink – Electric Orange
• Brilliance Ink – Sunflower Yellow
• Fabrico Dual Marker – Emerald
• Fireworks! Shimmery Craft Spray – Angel Pink, Cottage Ivy, Cantaloupe and Dandelion
• Memento Dual Marker – Lulu Lavender and Rich Cocoa
• Sheer Shimmer Craft Spray – Frost
• VersaFine Clair Ink – Nocturne
Other
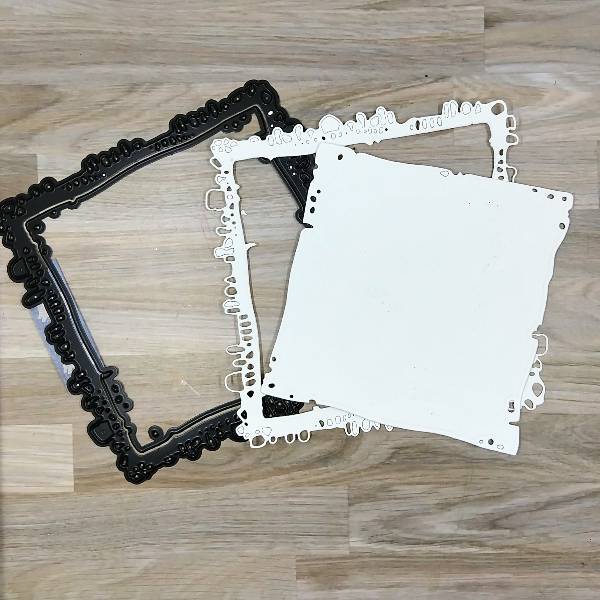
AALL & Create – die set – Nature’s Doily
Alex Syberia Designs – die set – Large Thanks die Altenew- die set – Tangerine Grove
Altenew- stamp set – Tangerine Grove
Catherine Pooler – sequin mix – València Sequin Mix Pink & Main – Embossing Folder – Sun Ray
Clear Embossing Powder 6” by 6” cardbase Watercolor paper
Vellum
Die cutting machine Scissors
Glue