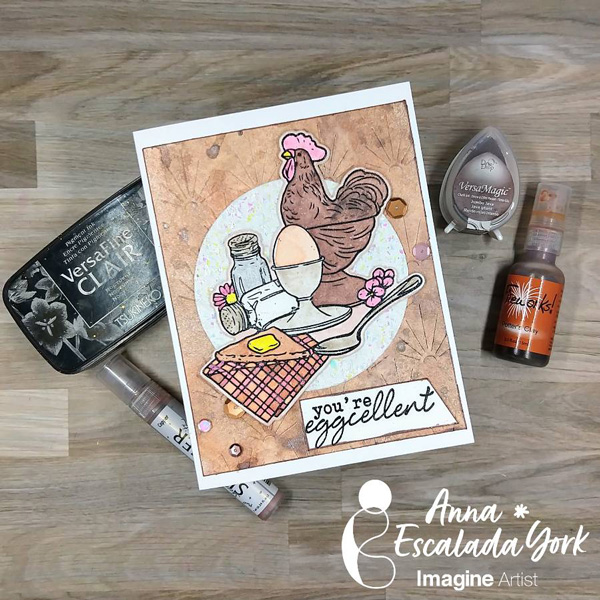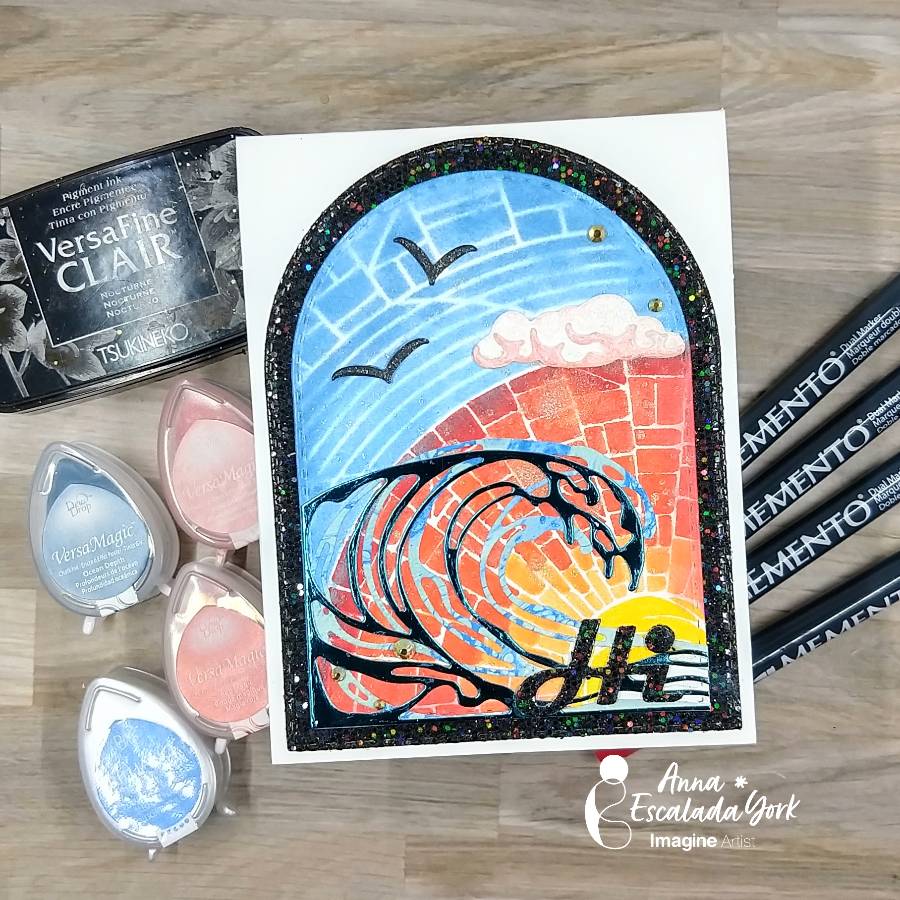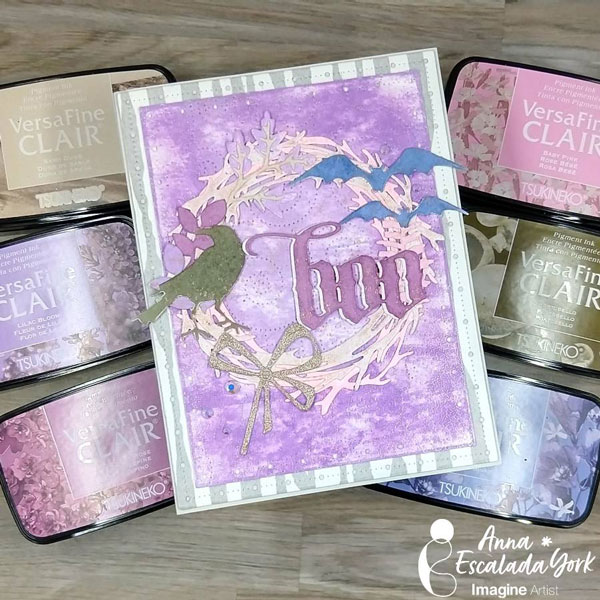
By Anna Escalada York
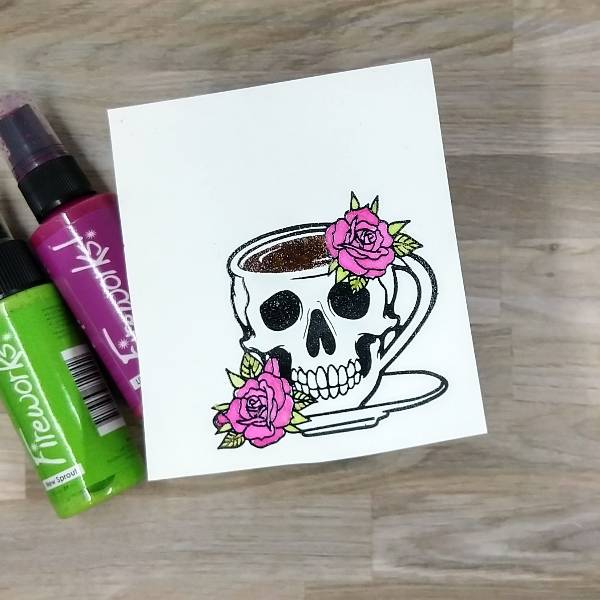
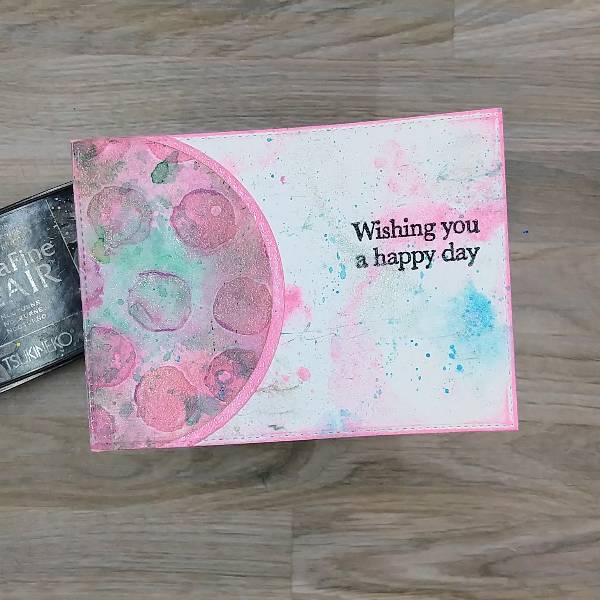
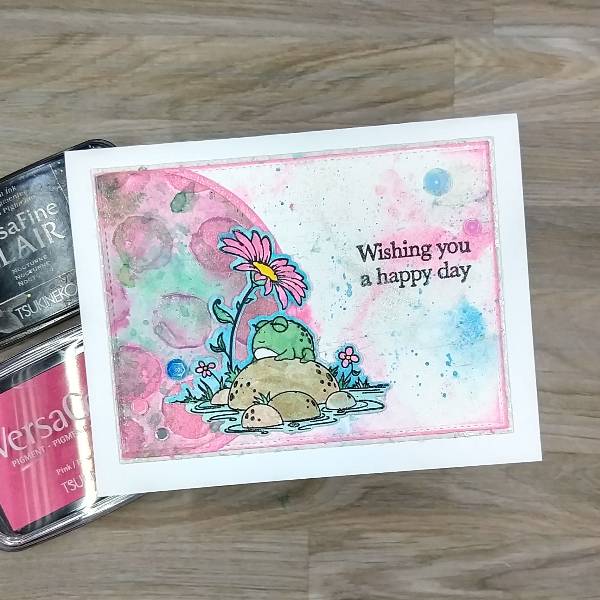
In today’s card, I used many of the new VersaFine Clair Ink colors to make another Halloween card.
Skill: Intermediate
Time: 1.5 hours
Directions:

Step 1:
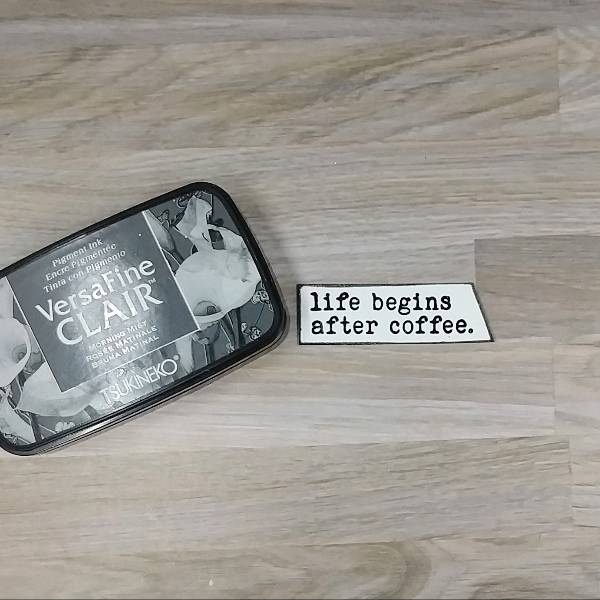
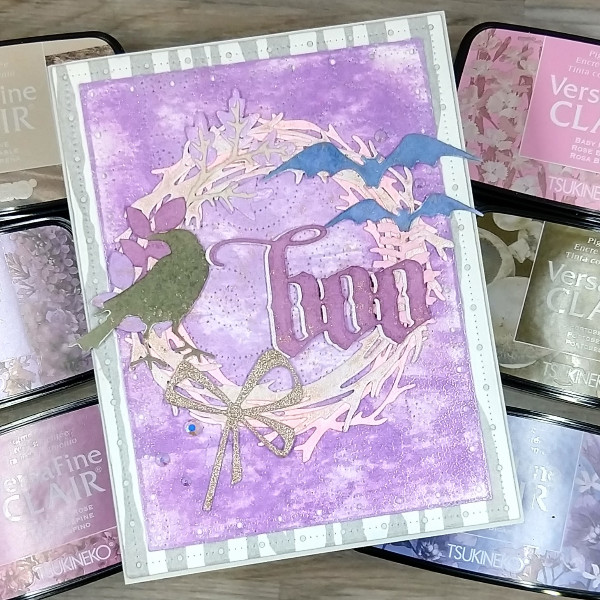
Die cut leaves and stems out of watercolor paper. Ink blend the fern-y shaped leaf with Baby Pink VersaFine Clair ink and the individual leaves with Lilac Bloom VersaFine Clair ink. I pressed the stem die cut into the Sand Dune VersaFine Clair ink pad and the leaf cluster die cut into the Lilac Bloom VersaFine Clair ink pad. These were all set aside.
Step 2:
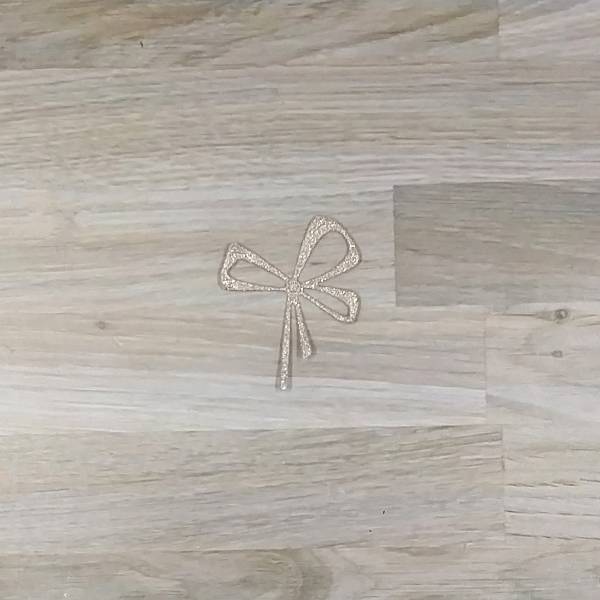
A sparkly piece of rose colored cardstock was die cut with a bow die cut.
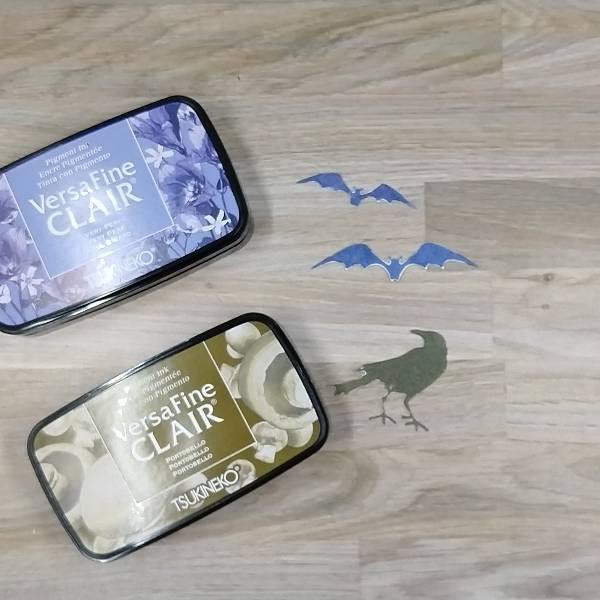
Step 3:
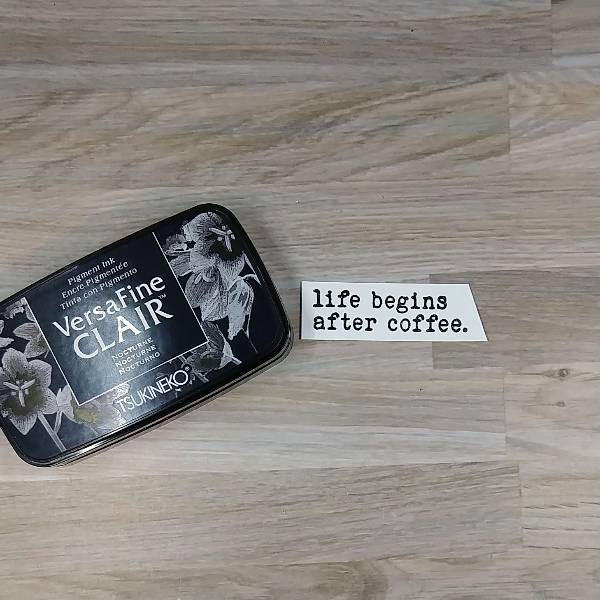
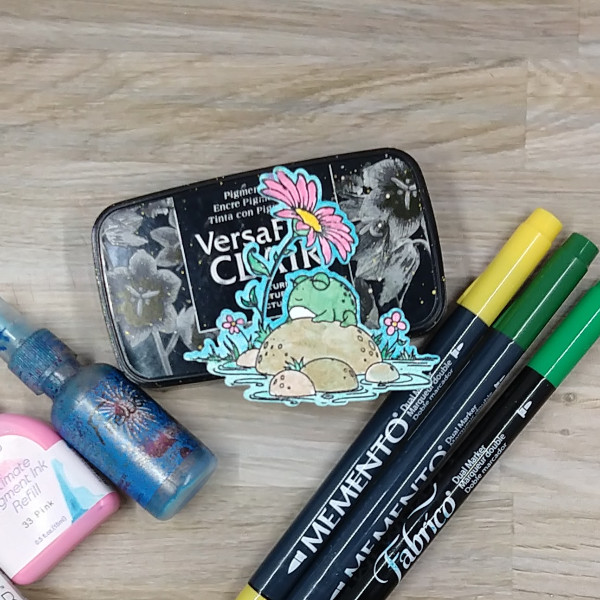
Two bats and a crow were die cut out of watercolor paper. The crow die cut was pressed into the Portobello VersaFine Clair ink pad and the two bats were pressed into the Very Peri VersaFine Clair ink pad.
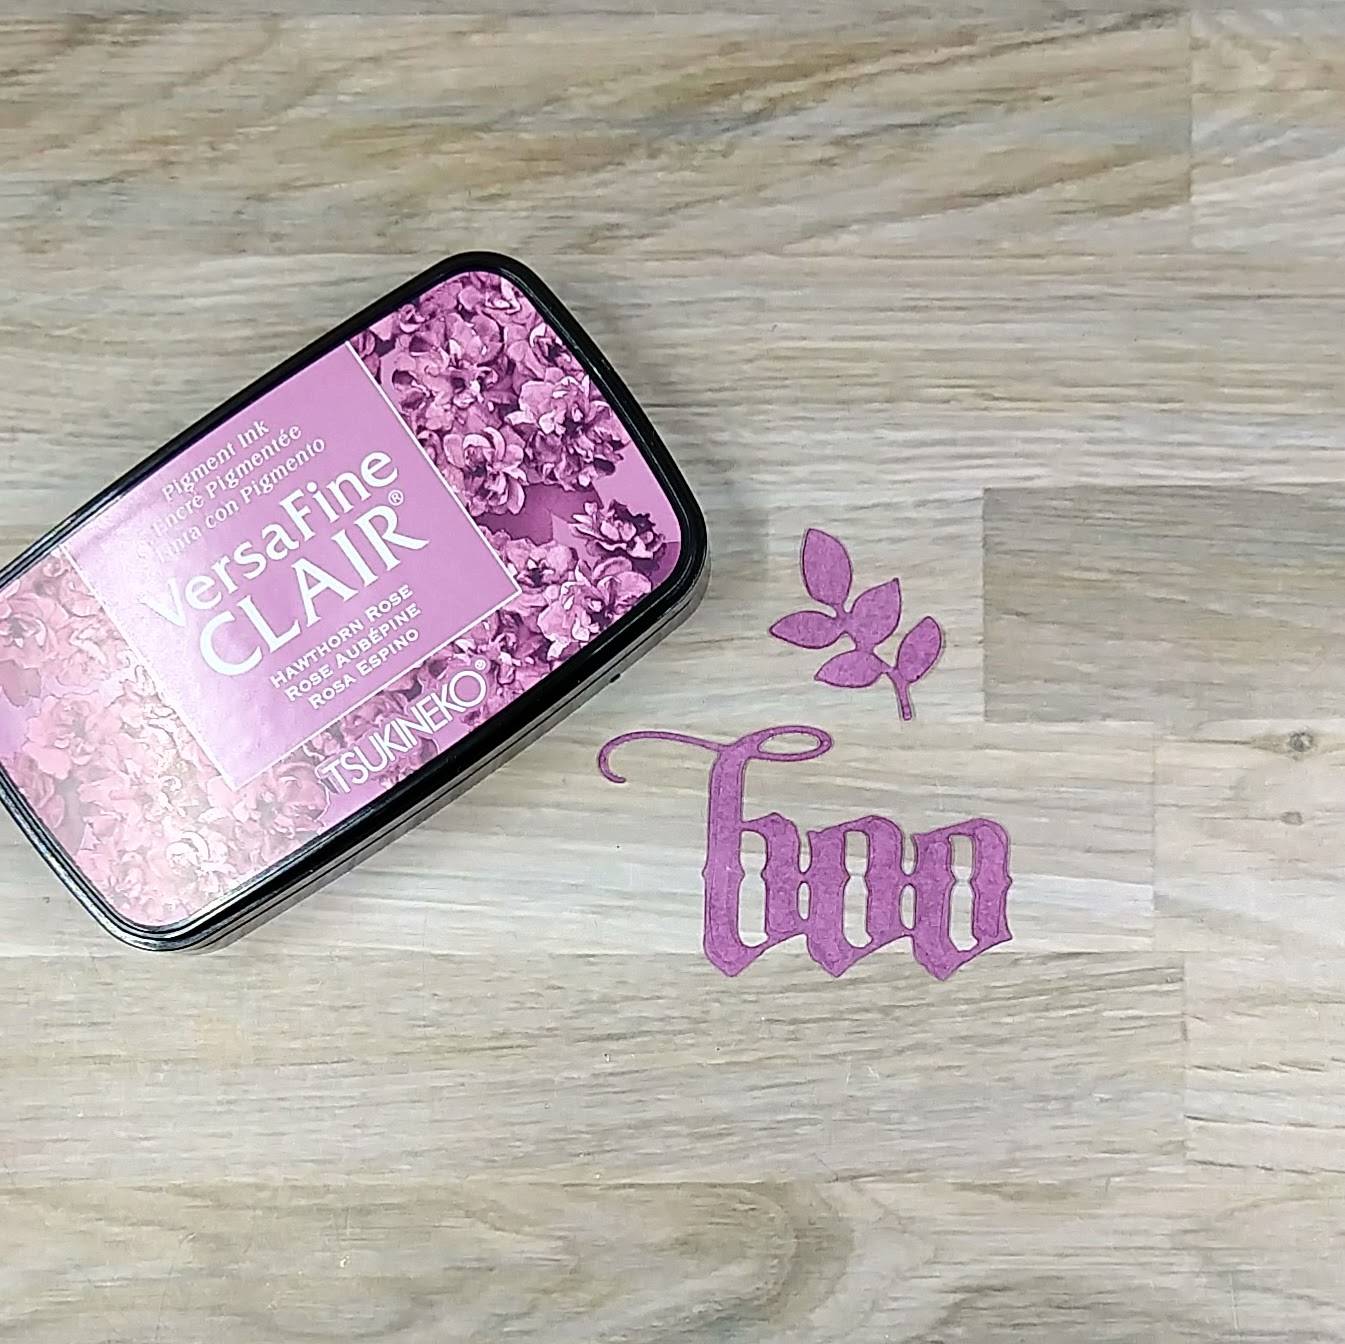
Step 4:
Press a die cut leaf cluster and boo sentiment die cuts into the Hawthorn Rose VersaFine Clair ink pad.
Not pictured: die cut a piece of sparkly white cardstock with the same boo sentiment. If desired, also die cut scrap cardstock twice with the same sentiment. Glue the sparkly white cardstock behind the boo sentiment so that the white sparkly cardstock peeks out on the side (like a shadow).
If adding the two layers of scrap cardstock layers behind the sentiment, trim the second o (the one on the right side) off both layers so that when it gets glued onto the wreath, it lays flat.
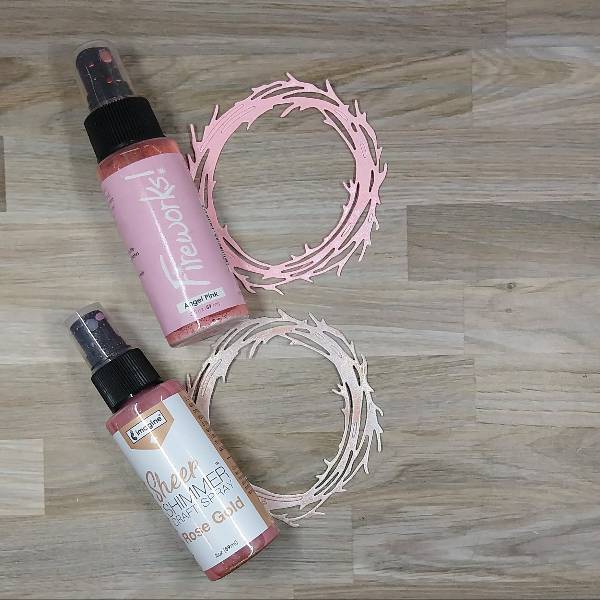
Step 5:
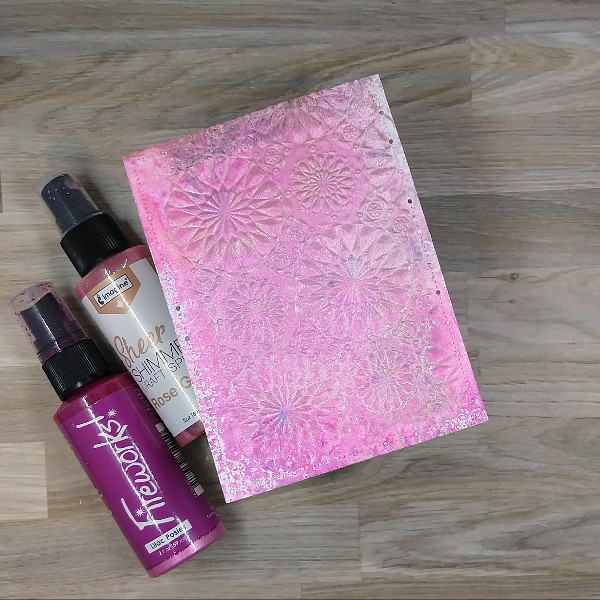
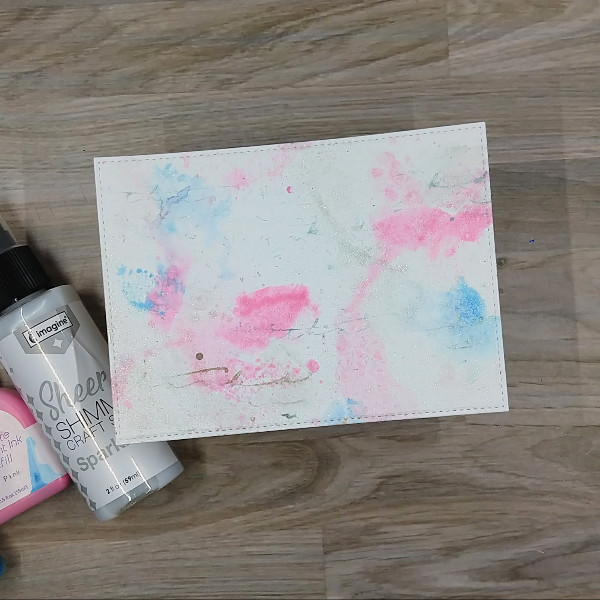
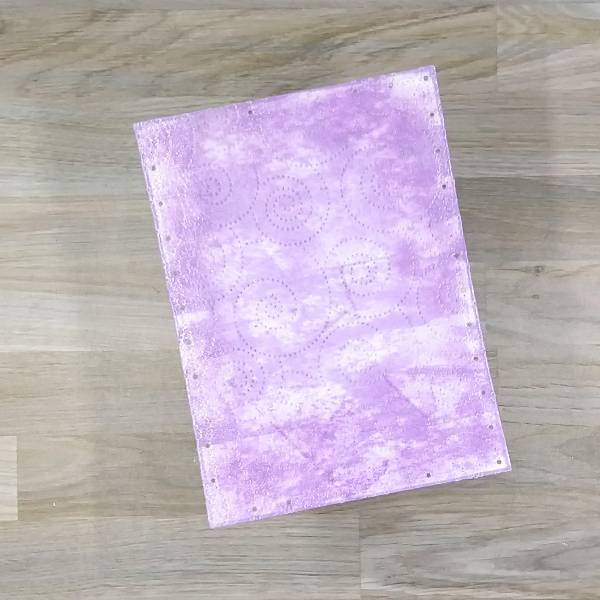
Die cut the wreath twice–once out of watercolor paper and once with more of the white sparkly cardstock. Spray the watercolor paper wreath with Angel Pink Fireworks! Shimmery Craft Spray and the white sparkly cardstock wreath with Rose Gold Sheer Shimmer Craft Spray. Set aside to dry.
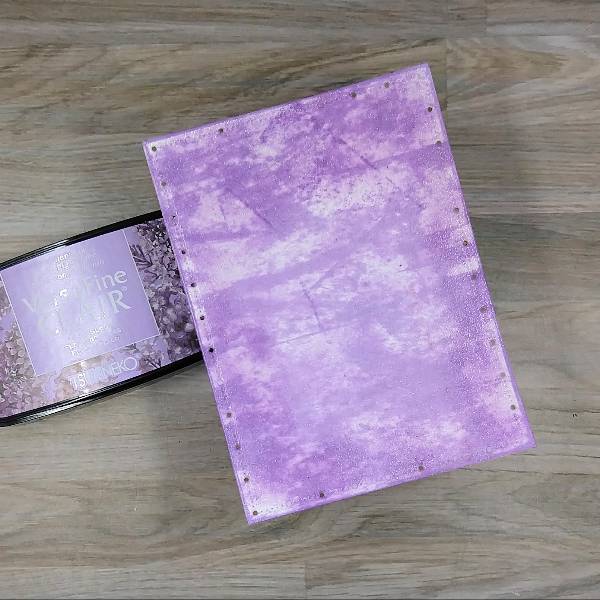
Step 6:
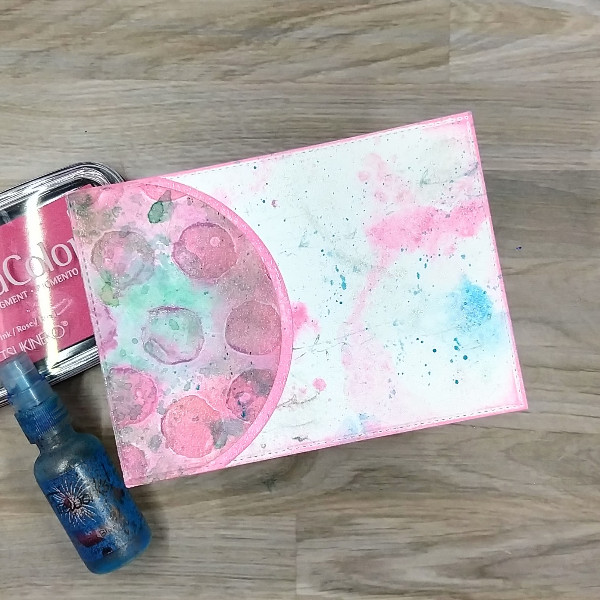
Die cut another piece of watercolor paper with a smaller panel die cut. Roughly ink blend the panel with more of the Lilac Bloom VersaFine Clair ink. Then swipe the panel with the ink pad in a variety of directions and the edges of the panel. Add Clear Mboss embossing powder to the edges fo the panel and heat emboss.
Step 7:
Add a piece of patterned washi tape to a piece of scrap cardstock and die cut with a larger panel die cut. (If you don’t have washi tape, use patterned paper or a colored piece of cardstock.)
Step 8:
Run the smaller card panel through the die cutting machine with the plate die to add some additional texture.
Step 9:
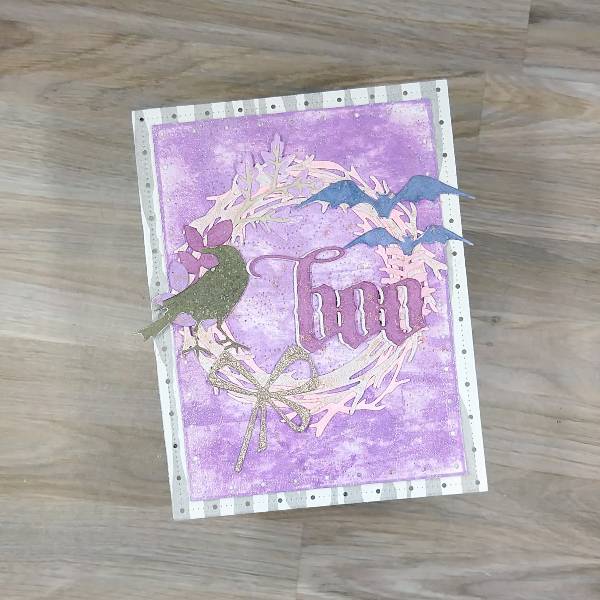
Glue all of the die cut elements together. Start with the two wreaths, with the pink layer underneath the rose gold sparkly wreath on the top, making sure they are off set. Then glue the leaves, the crow and the bats along the wreath. The bow is glued down on the lower left part of the wreath. Glue the wreath onto the purple panel. The sentiment was glued down next. Gle the whole panel onto the larger, washi tape panel. Then splatter the whole thing with more of the Rose Gold Sheer Shimmer Craft Spray. Let dry.
Step 10:
Glue the frame gems on the lower left and upper right parts of the panel.
Step 11:
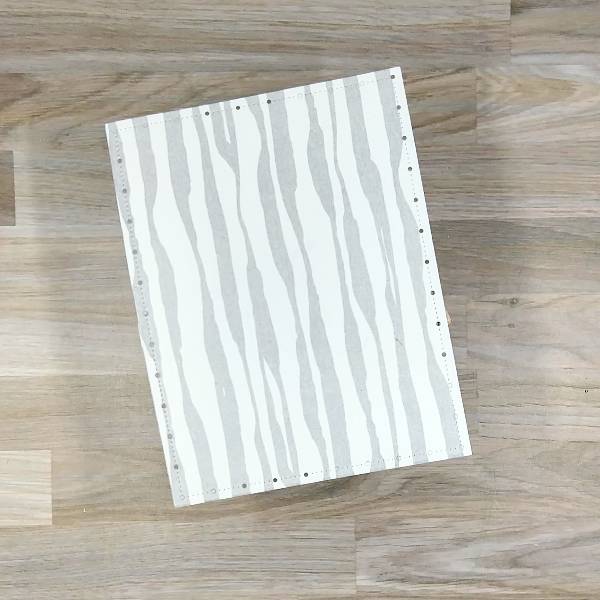
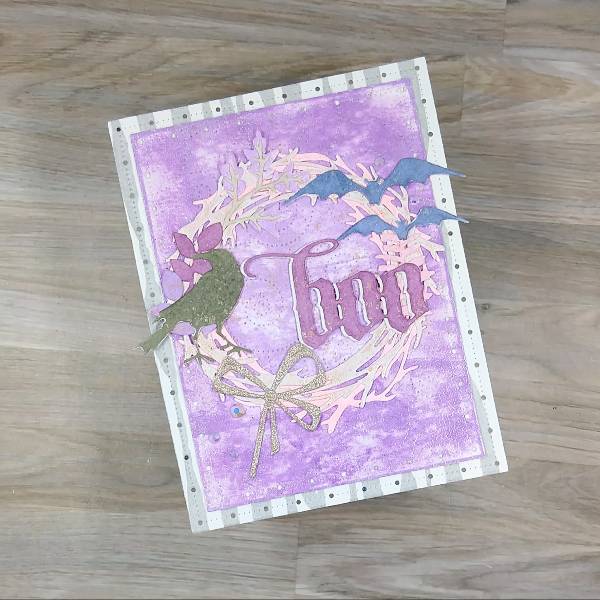
Glue the whole thing onto an A2-sized gray cardbase.
Art Supplies
Imagine
- Fireworks! Shimmery Craft Spray – Angel Pink
- Mboss – Clear
- Sheer Shimmer Craft Spray – Rose Gold
- VersaFine Clair ink: Baby Pink, Hawthorn Rose, Lilac Bloom, Portobello, Sand Dune, Very Peri
- Sponge Daubers
- On Point Glue
Other
- Crafty Meraki – Embellishments – Meraki Sparkle Clear
- Gina Marie Designs – Die set – Big and Little Chain Rectangle die set
- Simon Says Stamp – Die – Detail Swirls Plate wafer die
- Sizzix and Tim Holtz – Die set – Vault Foliage Wreath Thinlits dies
- Sizzix and Tim Holtz – Die set – Vault Gothic Portraits Thinlits dies
- Sizzix – cardstock – Rose Gold Opulent Cardstock
- Watercolor paper
- White glittery cardstock
- Die cutting machine
- Paper Trimmer
- Scissors