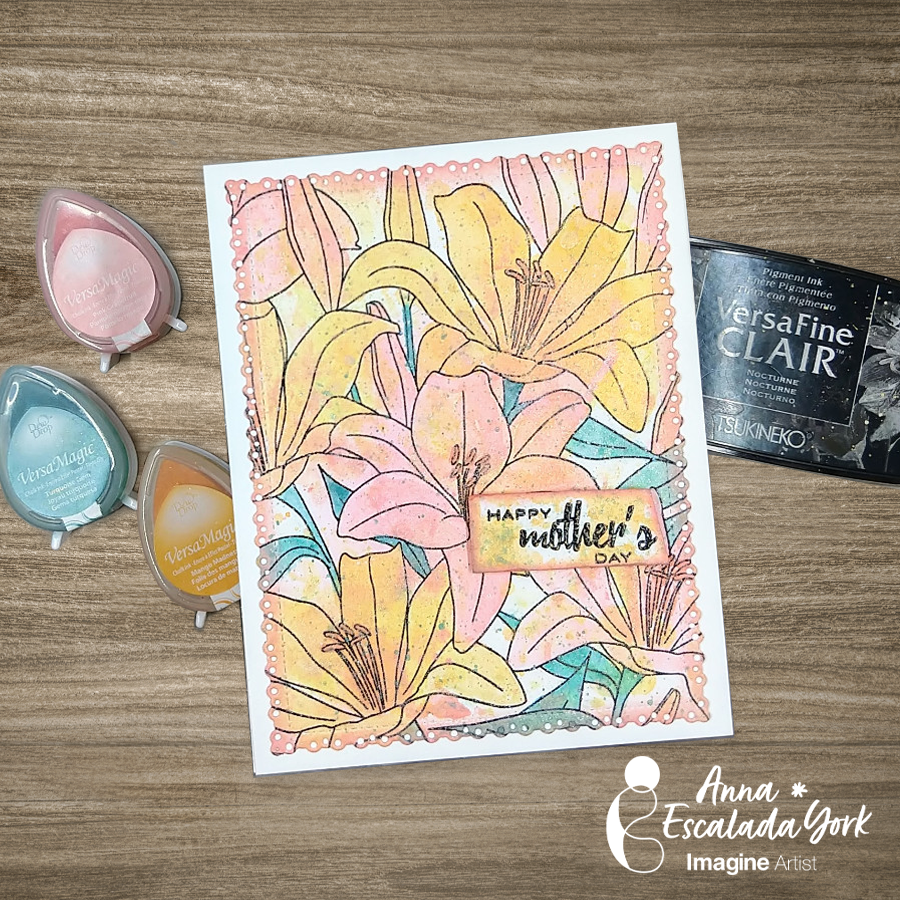
By Anna Escalada York
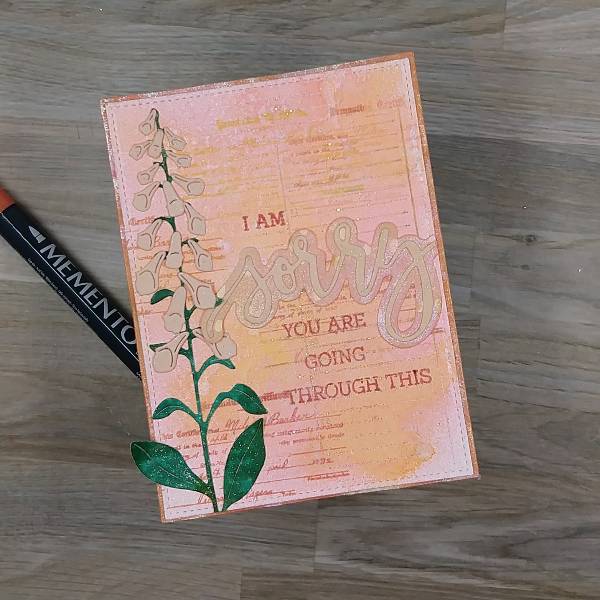
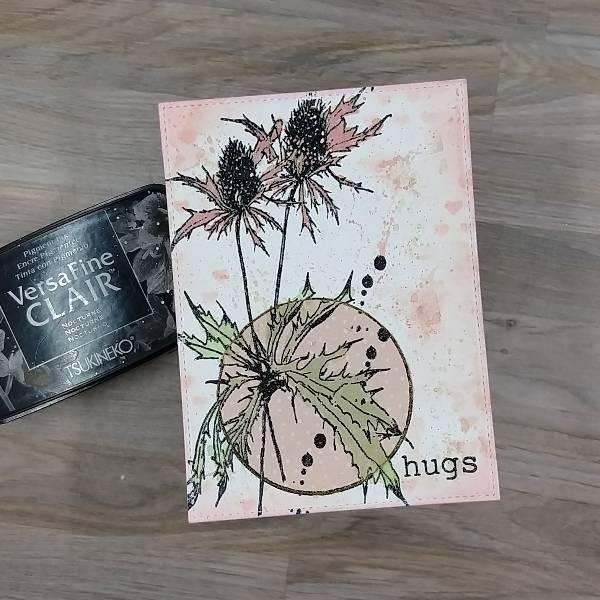
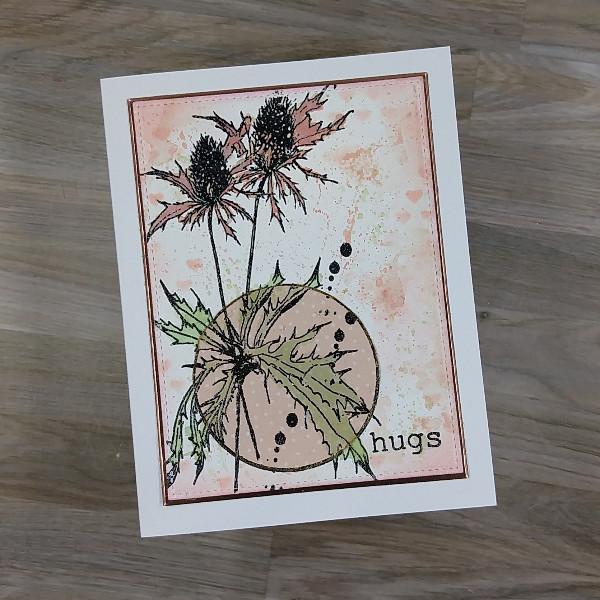
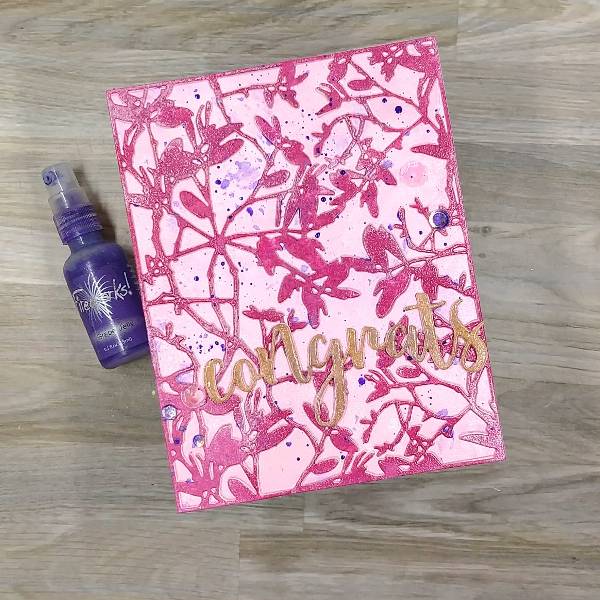
In today’s post, I am sharing a wedding card. I don’t have any wedding specific craft supplies, so
I used some general craft supplies.
Skill: Intermediate
Time: 1 hour
Directions:
Step 1:
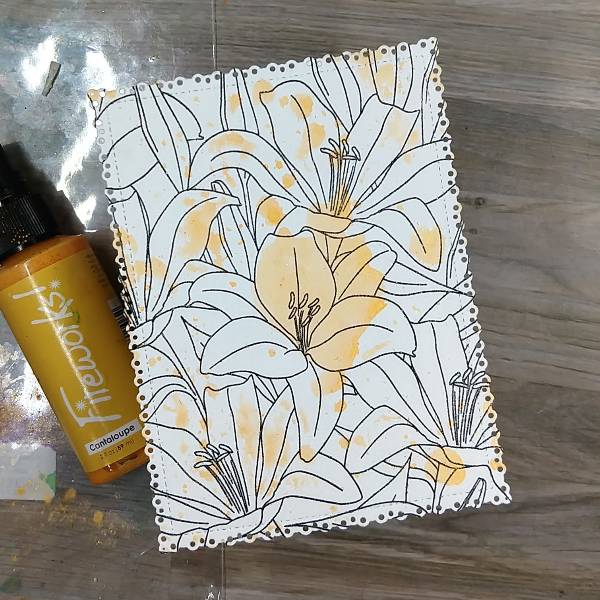
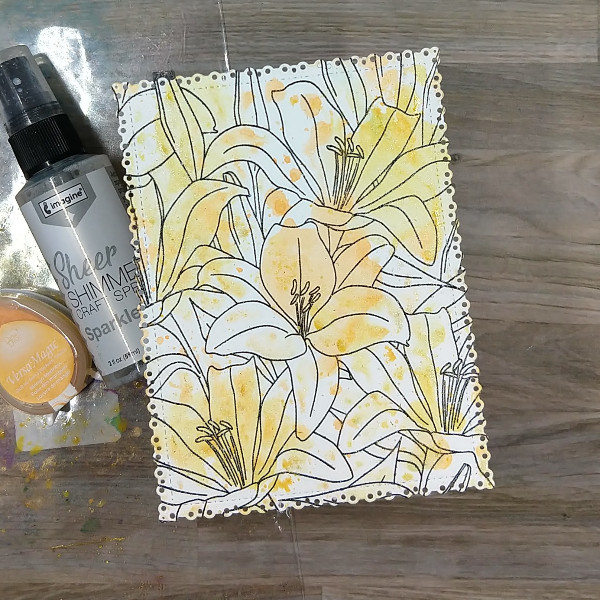
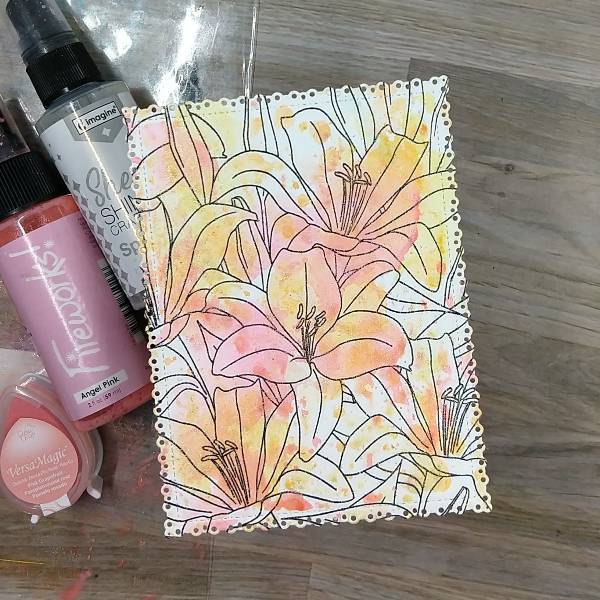
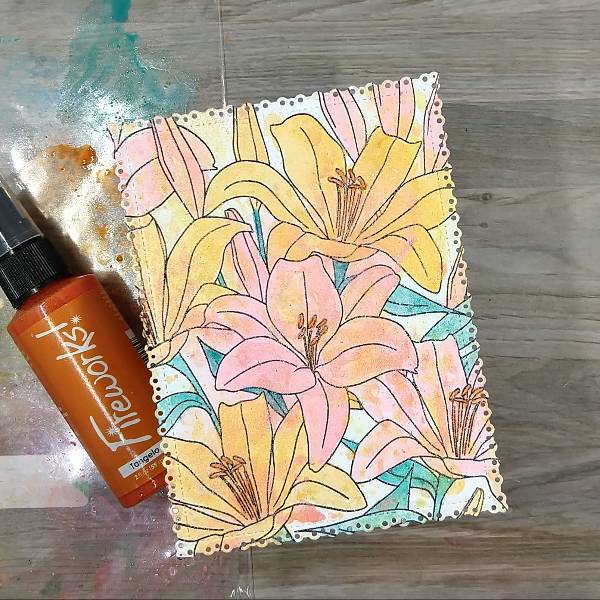
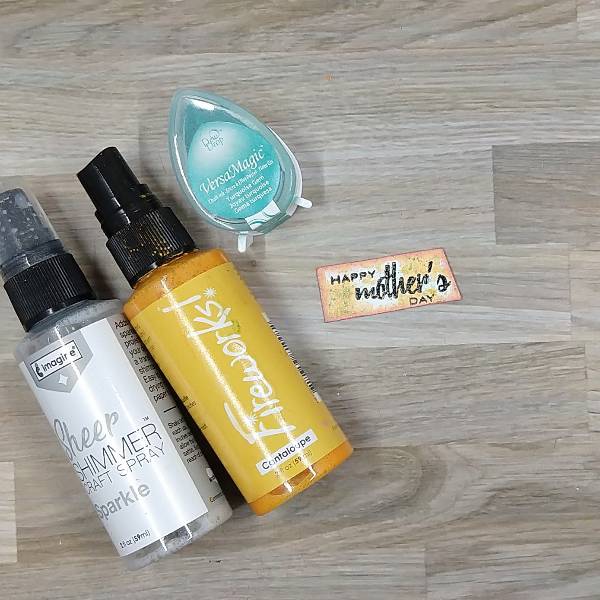
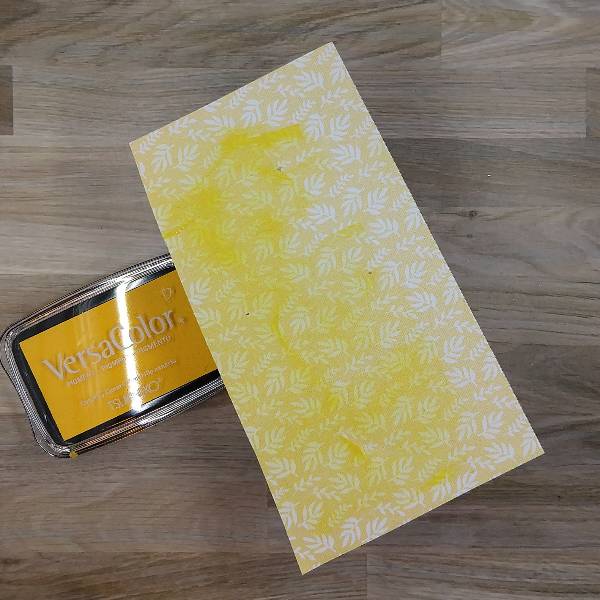
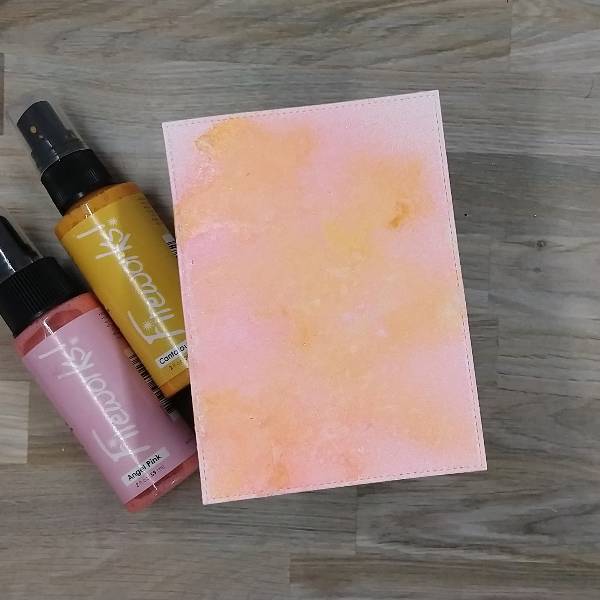
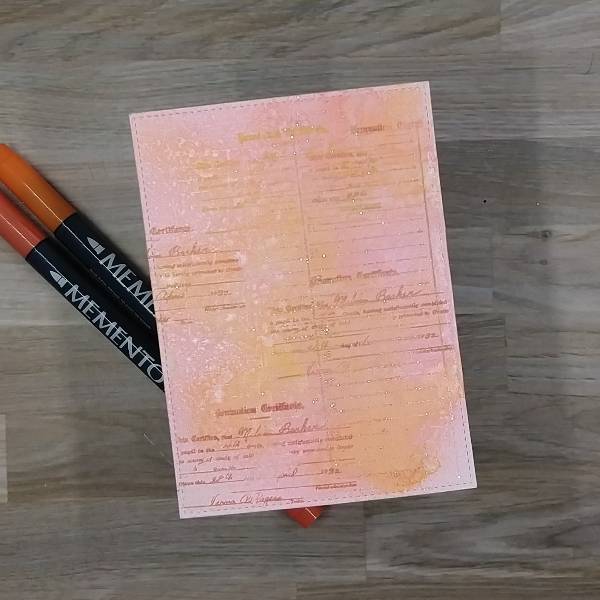
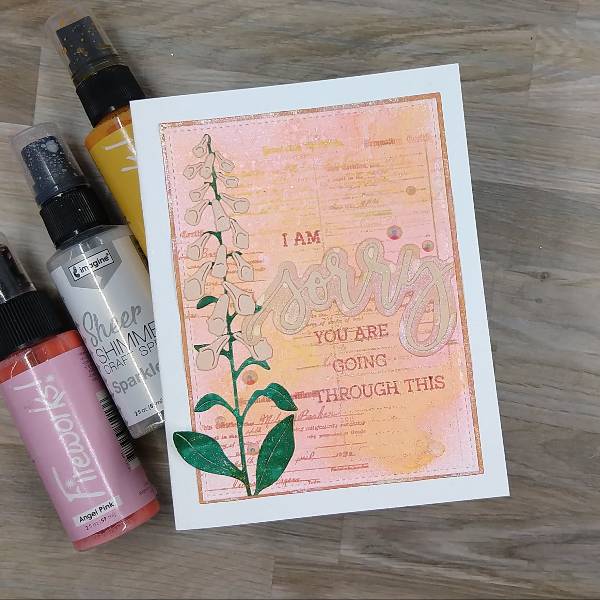
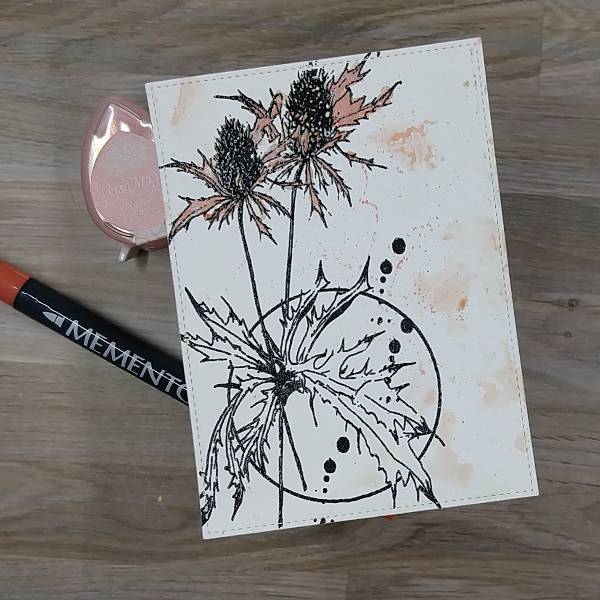
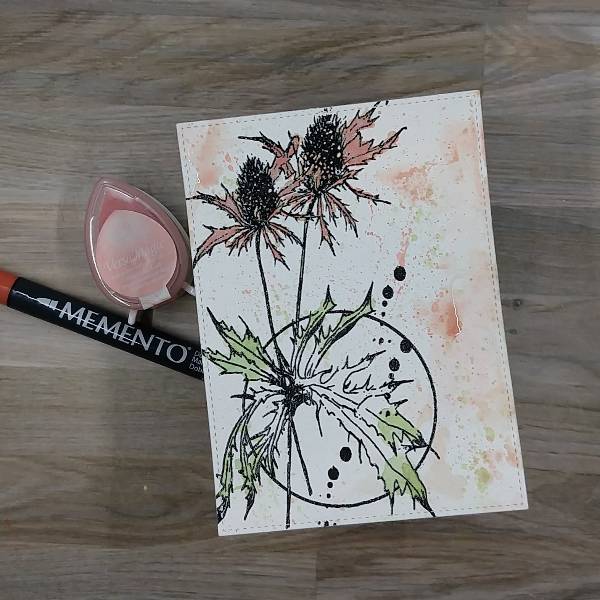
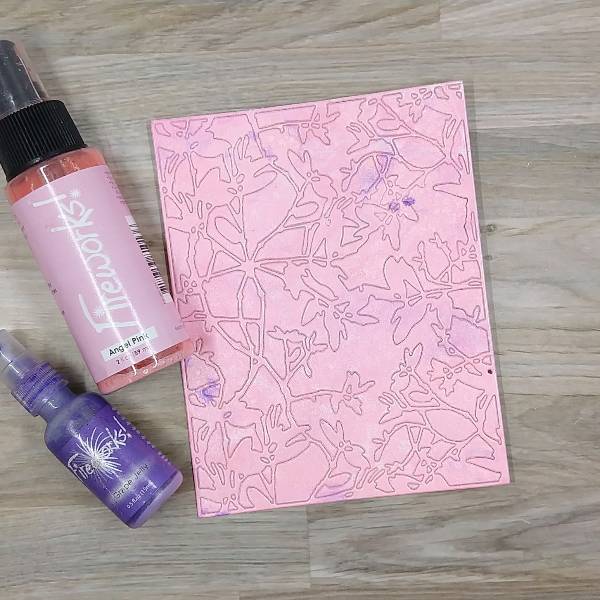
Spray a panel of watercolor paper with Angel Pink Fireworks! Spray. After it dried, splatter some
Grape Jelly Fireworks! Spray on the panel, and the spray more Angel Pink Fireworks! Spray to
help diffuse the purple color. Then set the whole thing aside to dry.
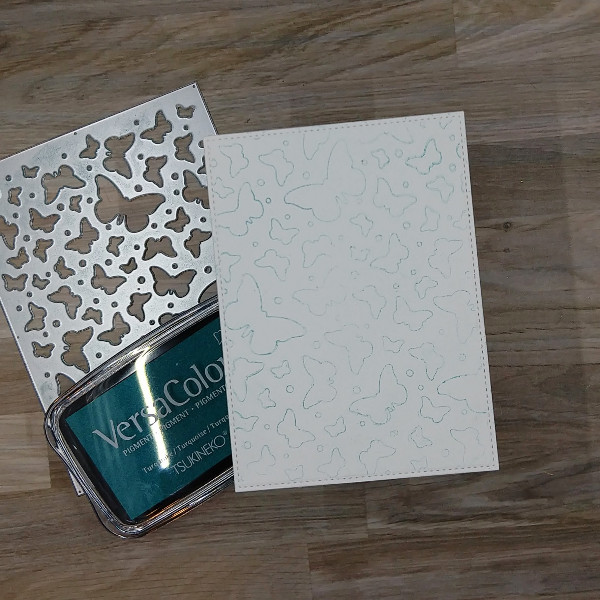
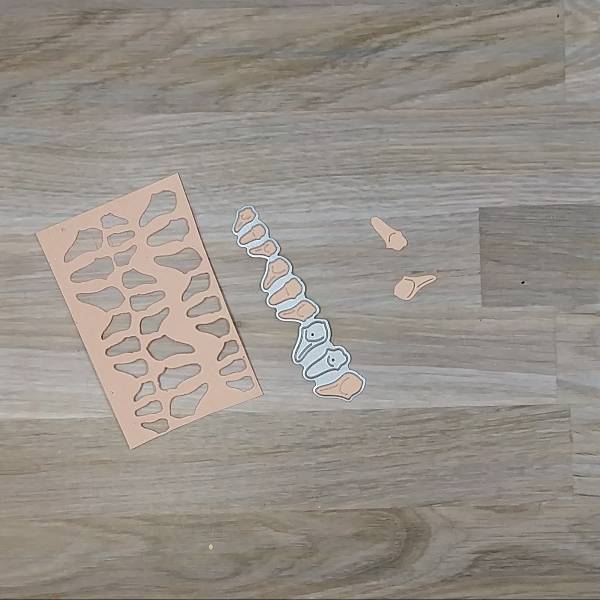
After the panel dried, die cut the panel.
Step 2:
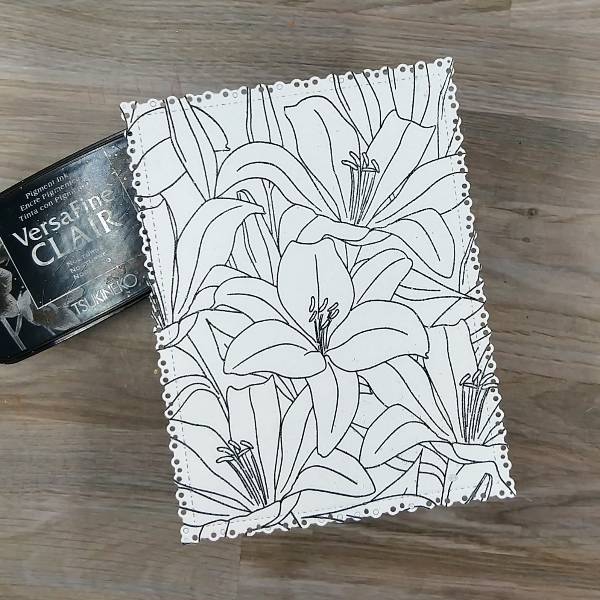
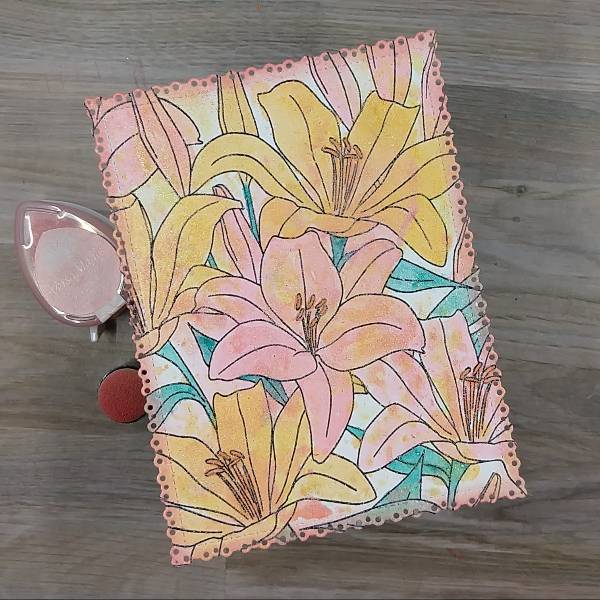
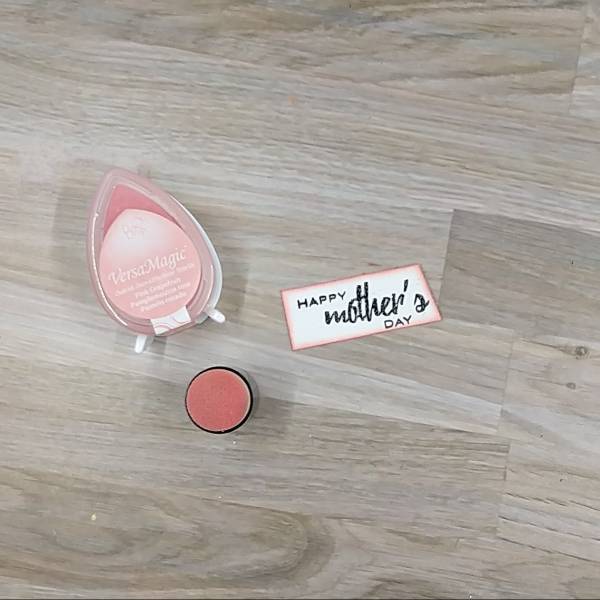
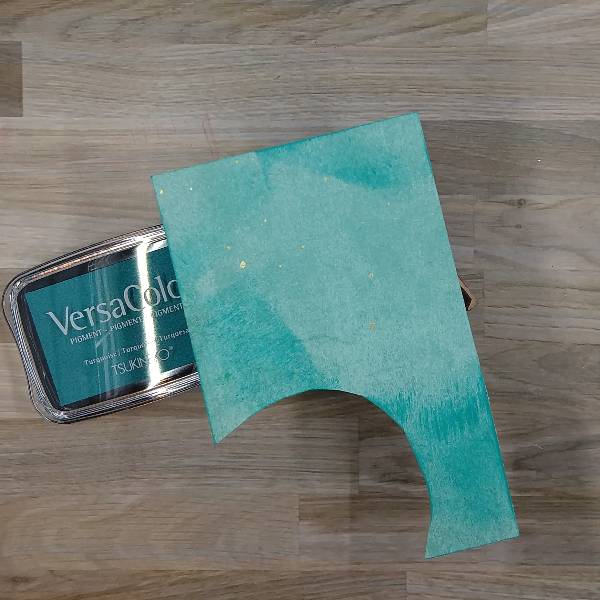
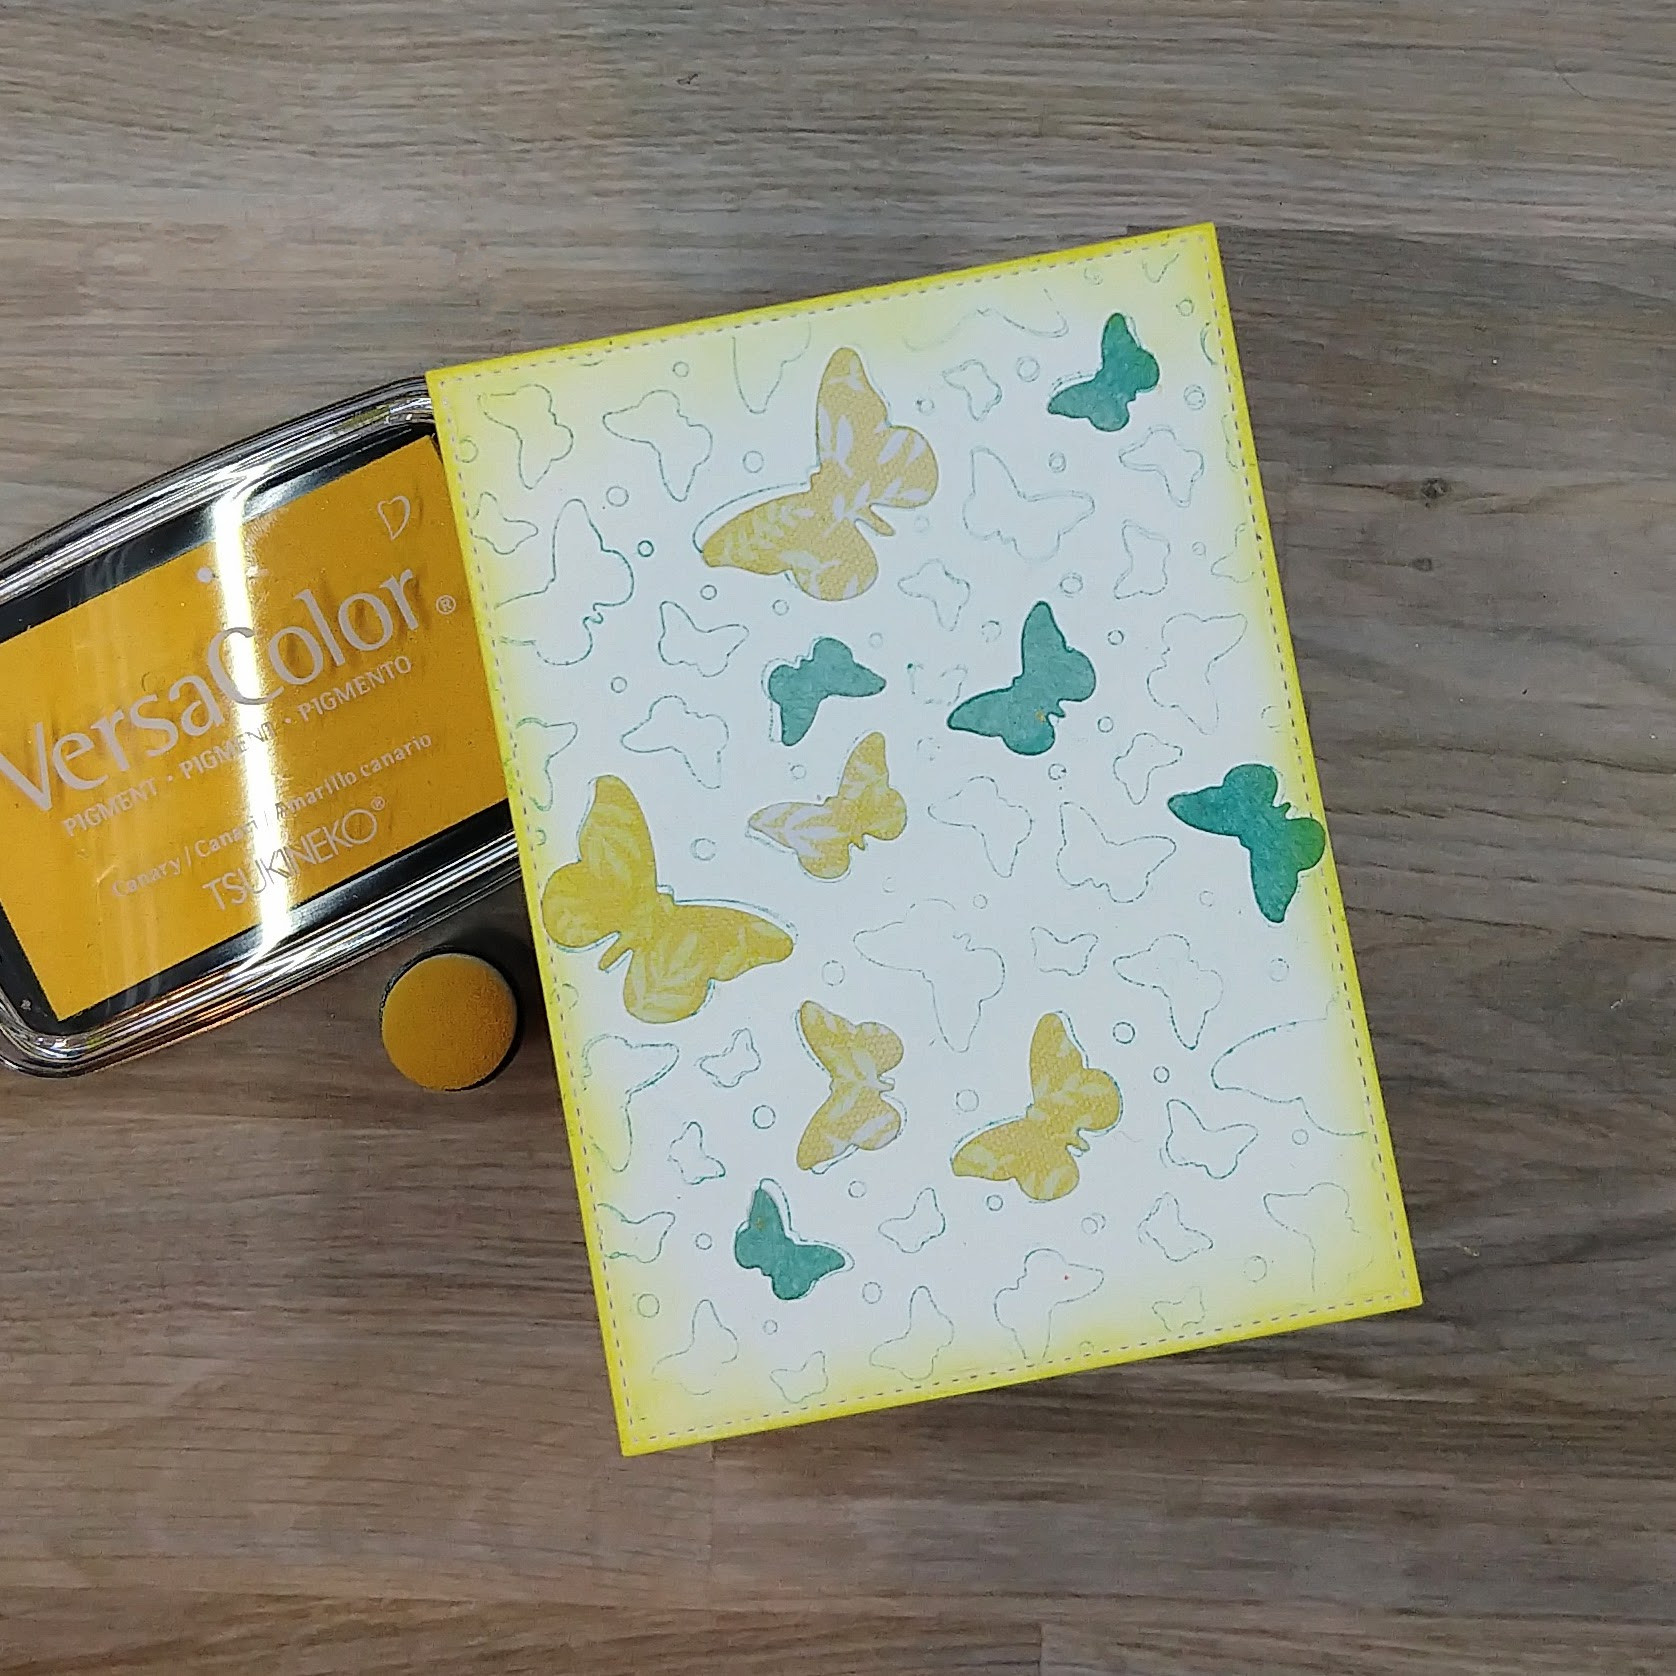
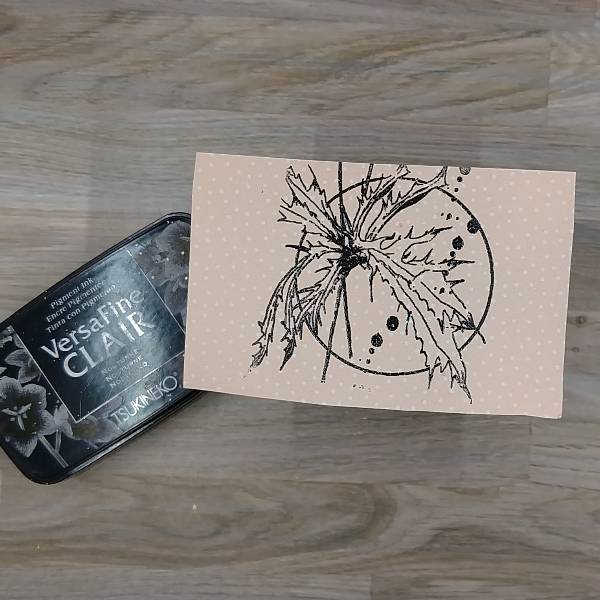
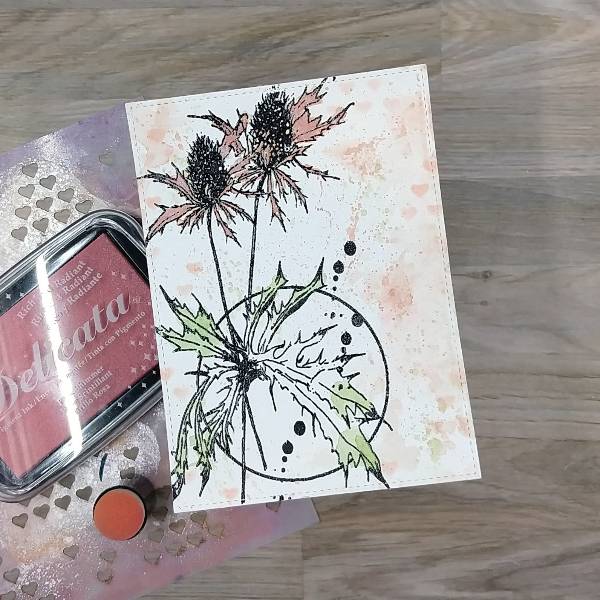
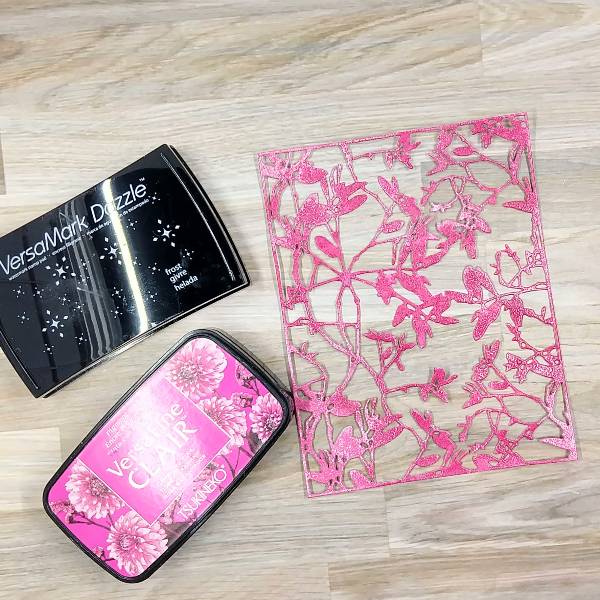
Press Charming Pink VersaFine Clair ink onto a second panel of watercolor paper. Then die cut
the panel with the same die. For this layer, get rid of negative parts of the die cut. Then press
the die into a Frost VersaMark Dazzle stamp pad.
Optional step: heat emboss with clear embossing powder.
Step 3:
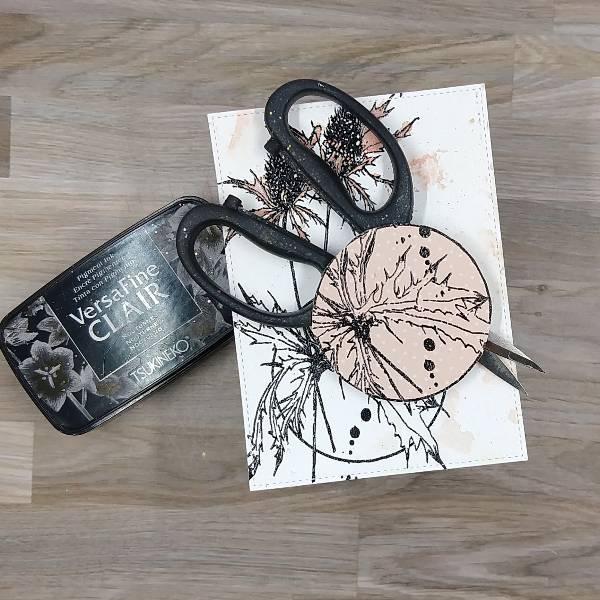
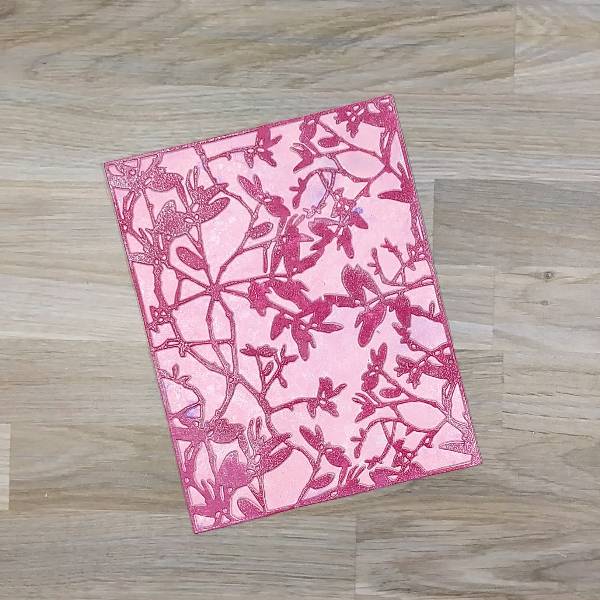
Glue the two die cuts together, so that the dark pink layer overlaps the corresponding light pink
layer.
Step 4:
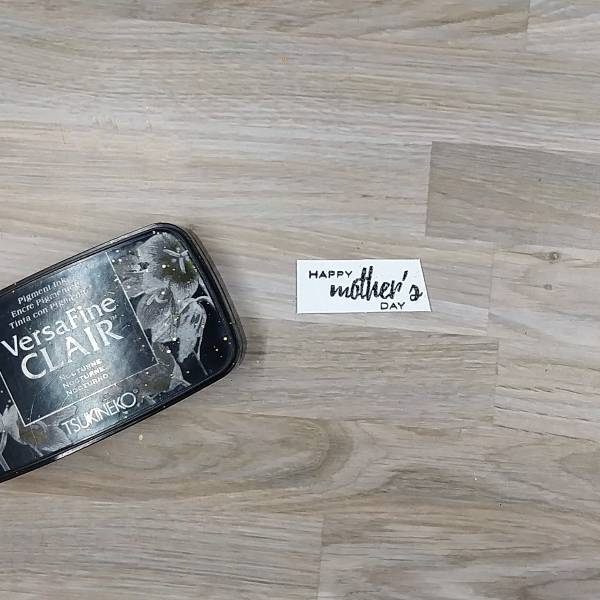
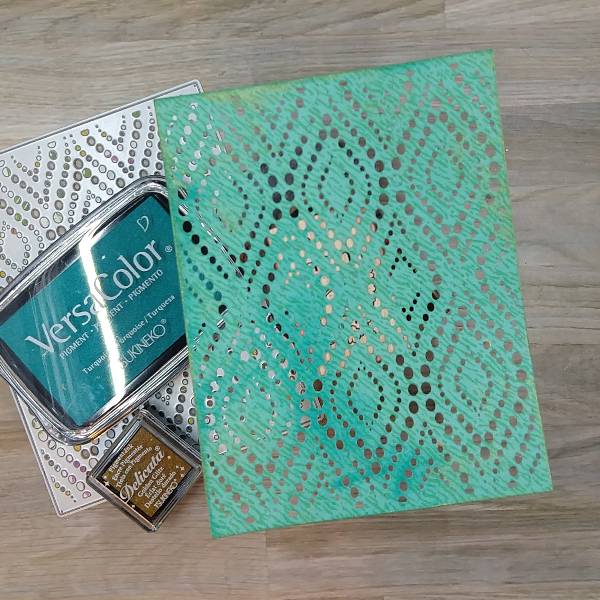
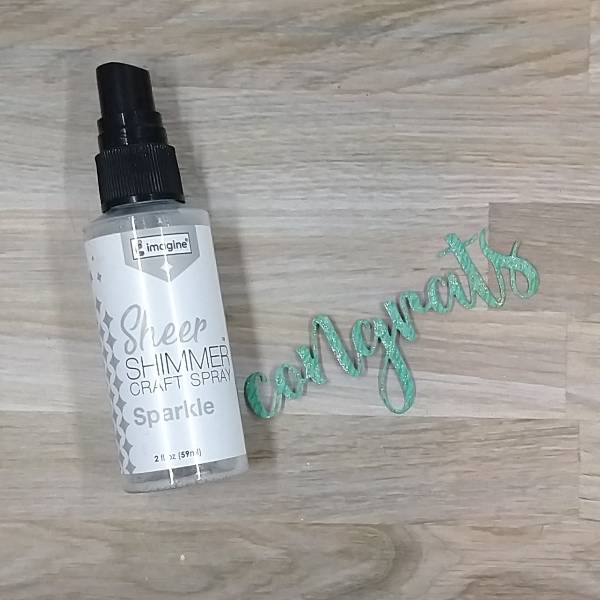
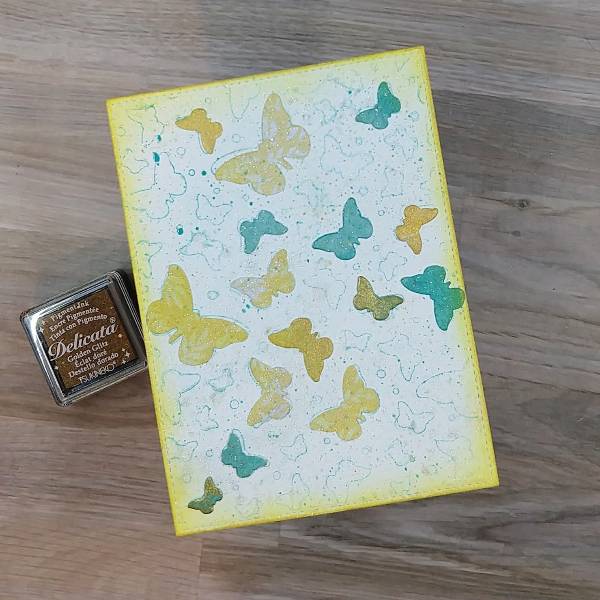
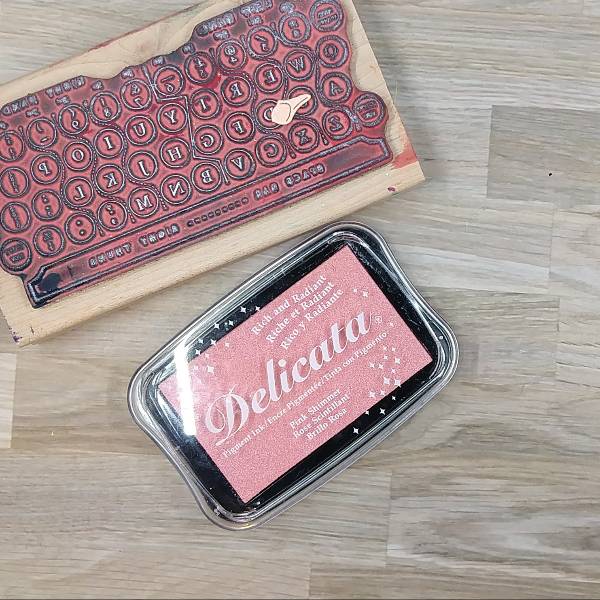
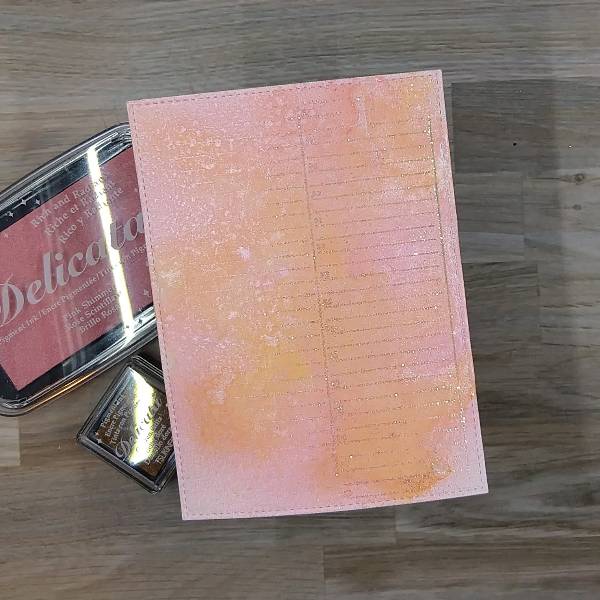
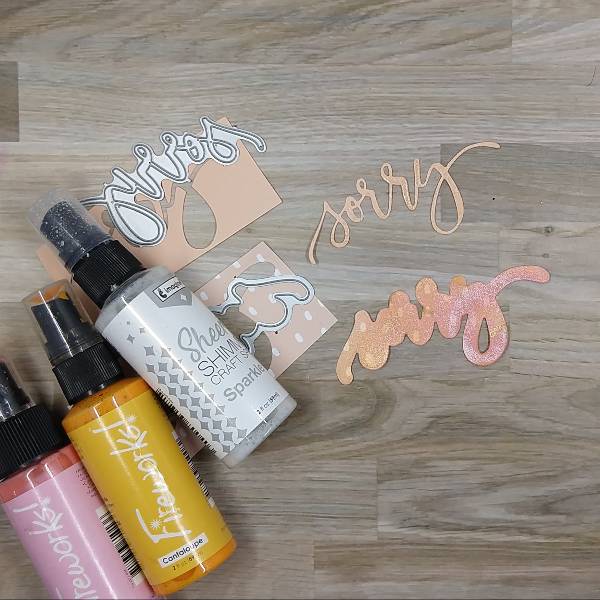
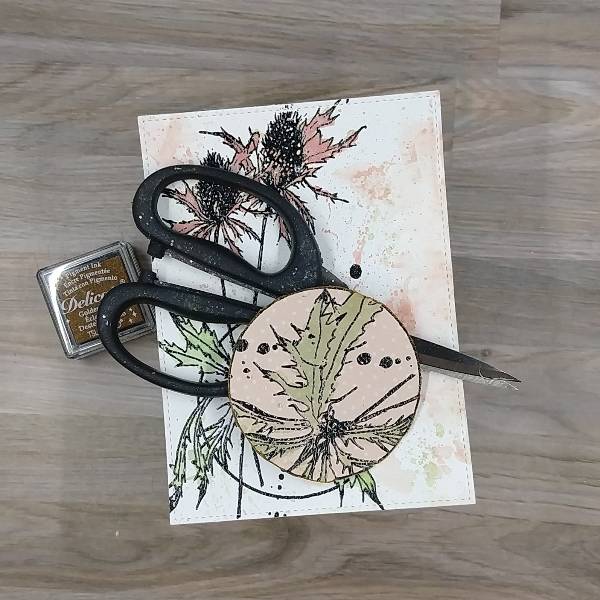
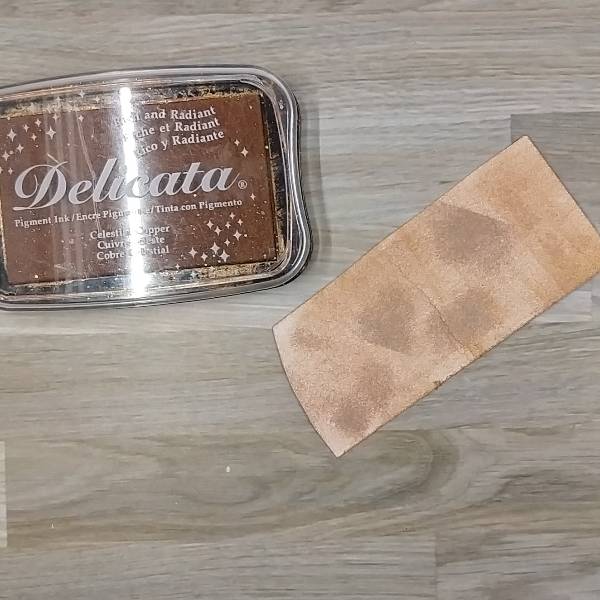
Press Celestial Copper Delicata ink onto a scrap of watercolor paper.
Optional step: Heat emboss with clear embossing powder.

Step 5:
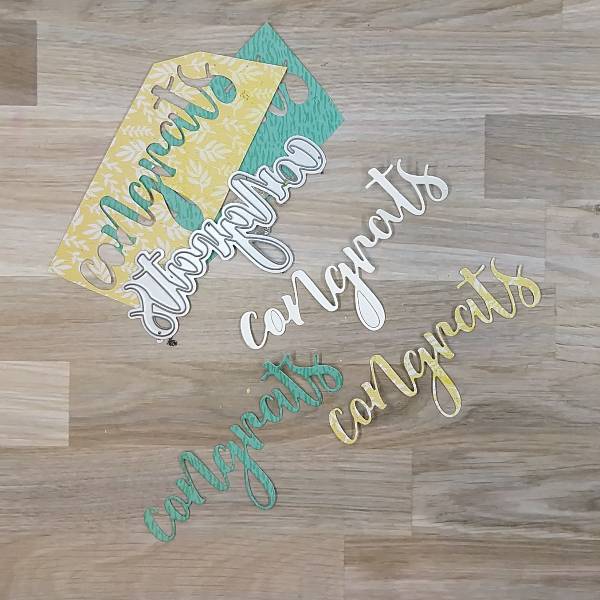
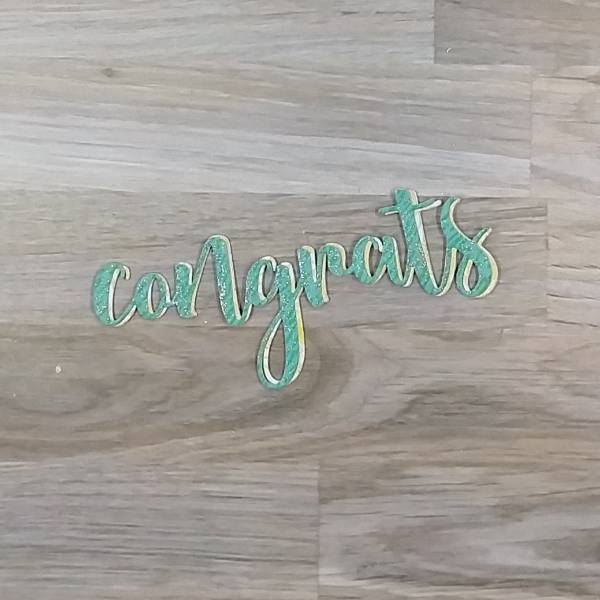
Die cut the copper-colored watercolor scrap with the congrats sentiment die. If desired, press
the sentiment into the Celestial Copper Delicata ink pad a second time for a more saturated
color.
Optional step: Heat emboss with clear embossing powder.
Optional step: Die cut 2 additional pieces of scrap cardstock with the same die and glue them
behind the copper layer to add dimension to the sentiment.
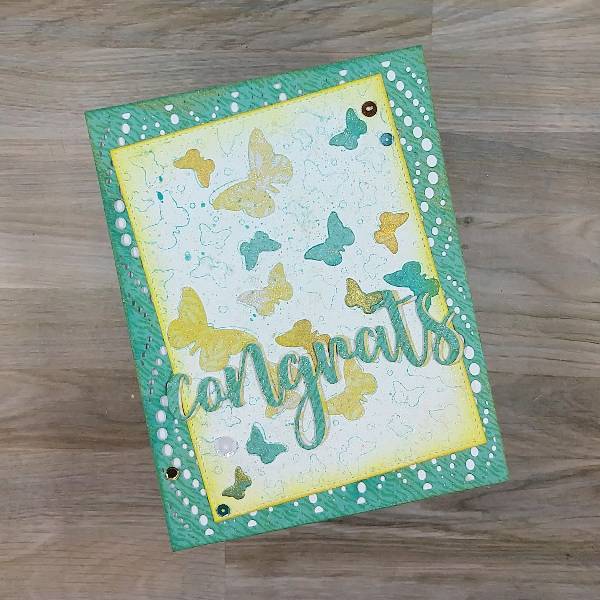
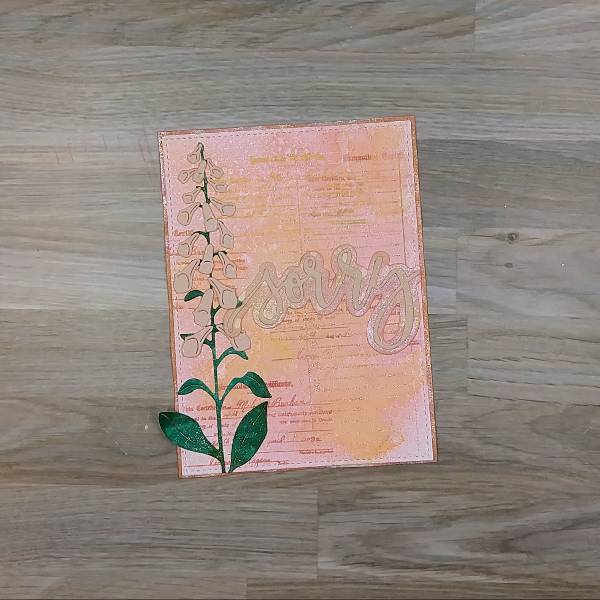
Step 6:
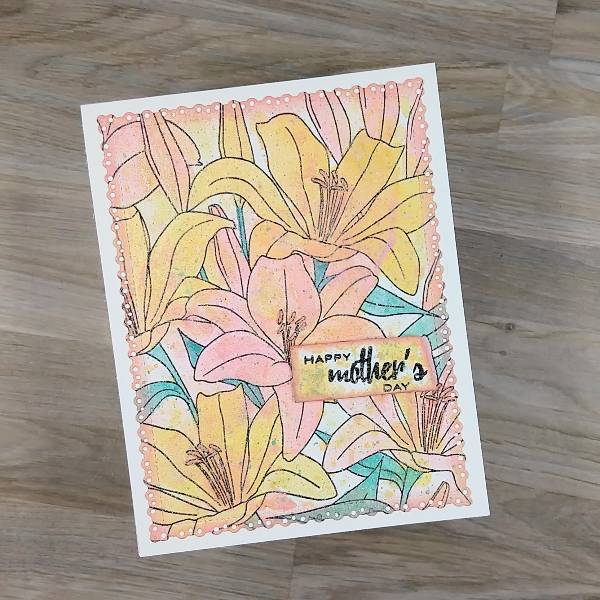
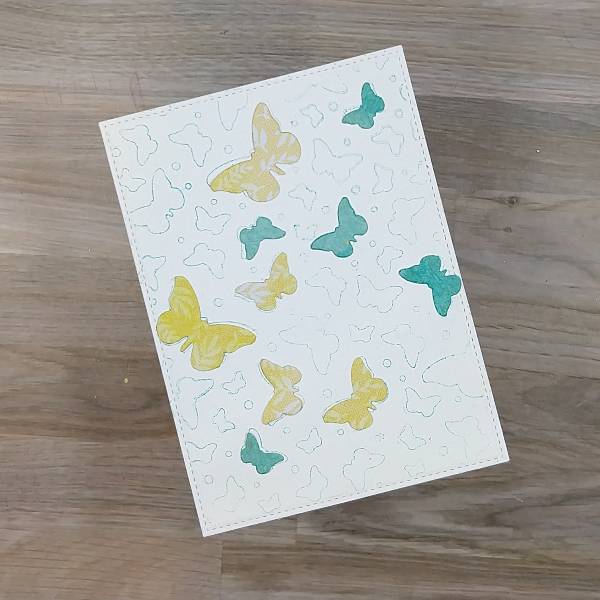
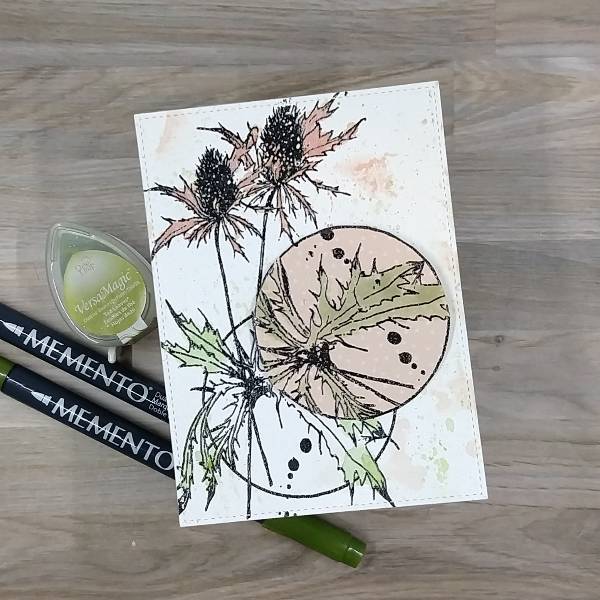
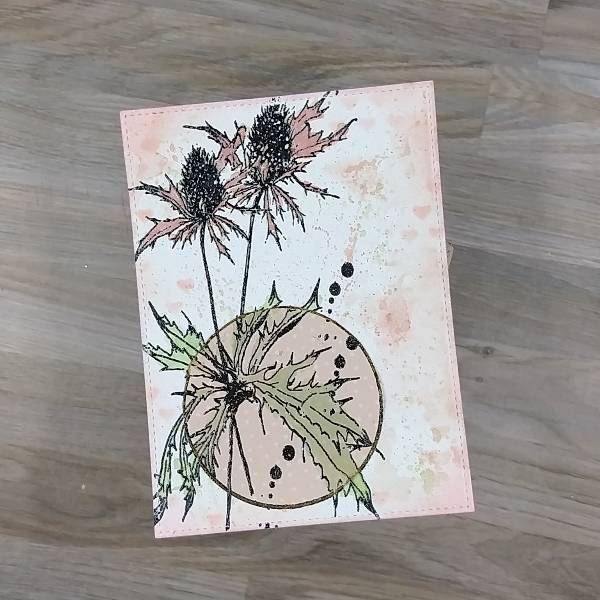
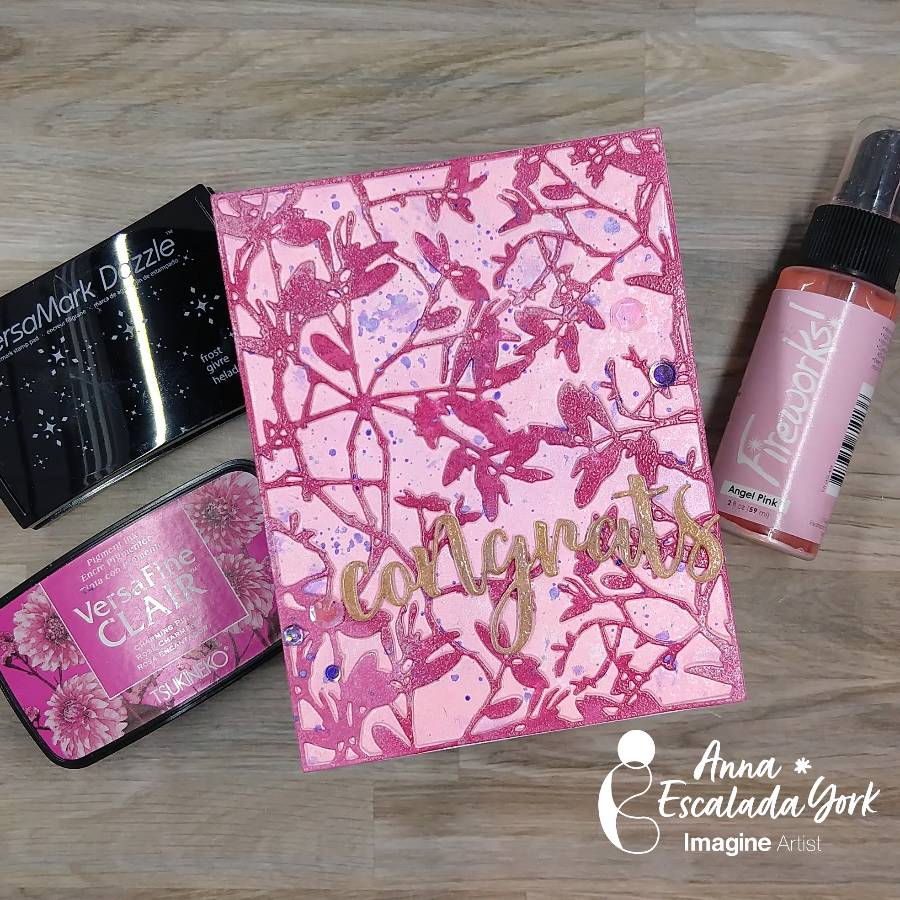
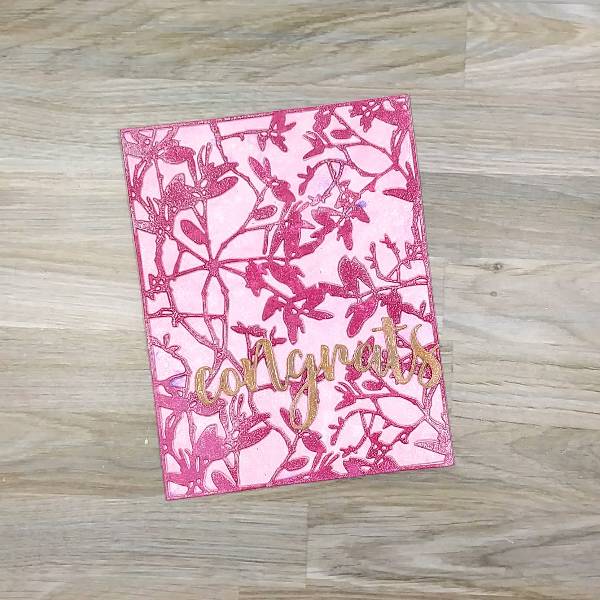
Glue the sentiment die on the lower third of the pink die cut panels. Then glue the panel
onto an A2-sized white card base. (You can’t see the card base because the pink layer is the
exact same size as the card base.)
Step 7:
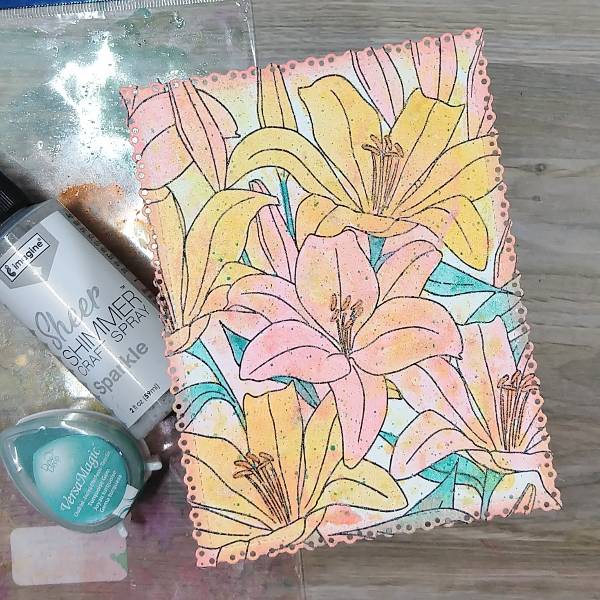
Splatter additional Grape Jelly Fireworks! Spray onto the panel. Glue pink and purple
sequins onto the panel on the left of the sentiment die and on the upper right part of the card.
Supplies Used
Imagine
• Delicata Ink – Celestial Copper
• Fireworks! Spray – Angel Pink, Grape Jelly
• VersaFine Clair ink – Charming Pink
• VersaMark Dazzle – Frost
Other
• Honey Bee Stamps – Die – Congrats Honey Cuts die set
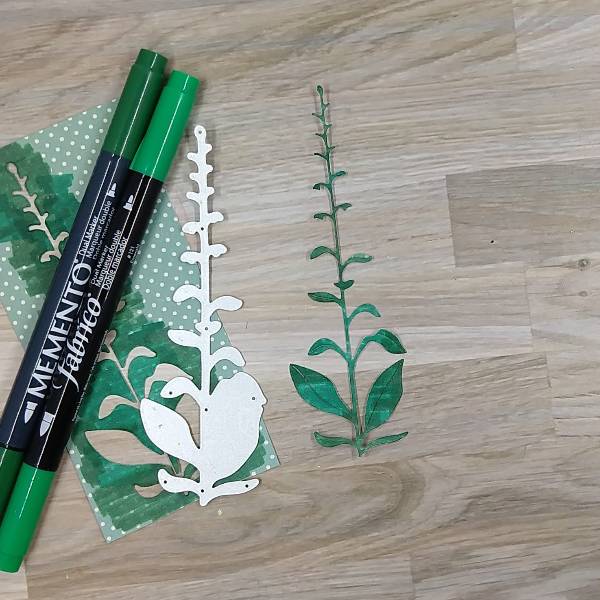
• Sizzix – Die- Leafy Twigs
• Catherine Pooler Designs – Sequins – Miami mix (purple sequins)
• Catherine Pooler Designs – Sequins – Rome mix (pink sequins)
• Clear embossing powder
• Scissors
• Glue