By Helen Gullett
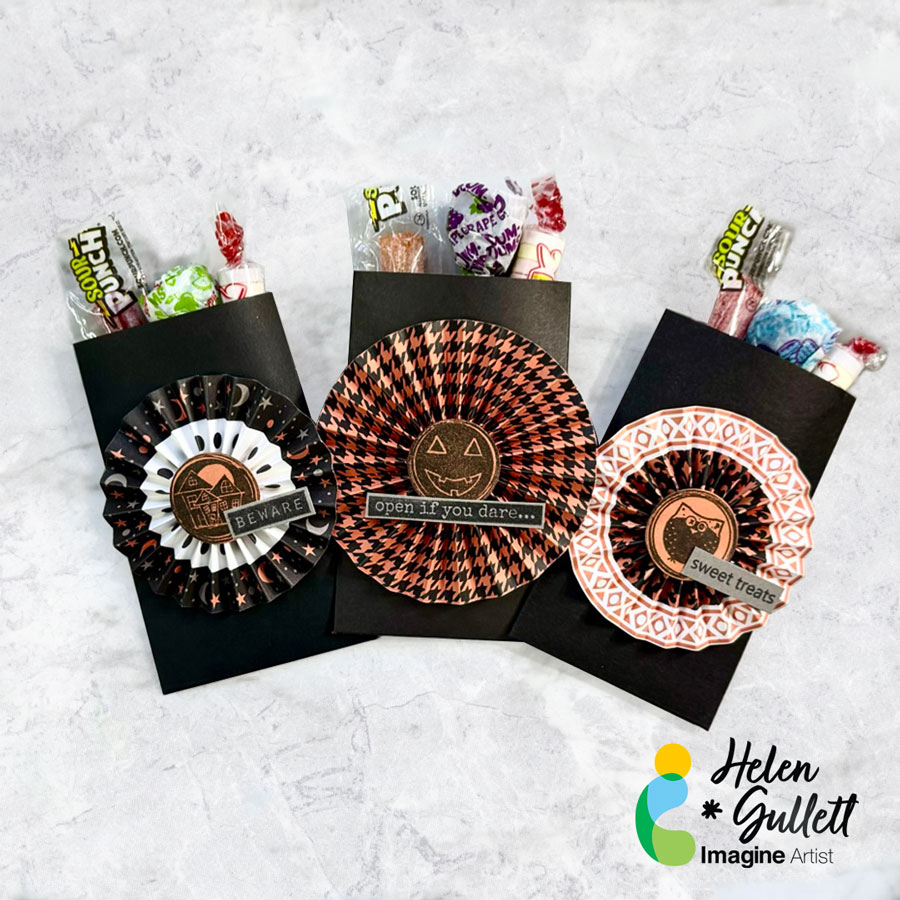
Hello crafty friends! October is here and Halloween is just right around the corner. Today, we are going to make these Halloween treat bags. It is easy and fun to make for giving away treats on Trick-or-Treat day.
Let’s get crafting!
Skill: Intermediate
Time: 15 minutes
Direction:
Step 1
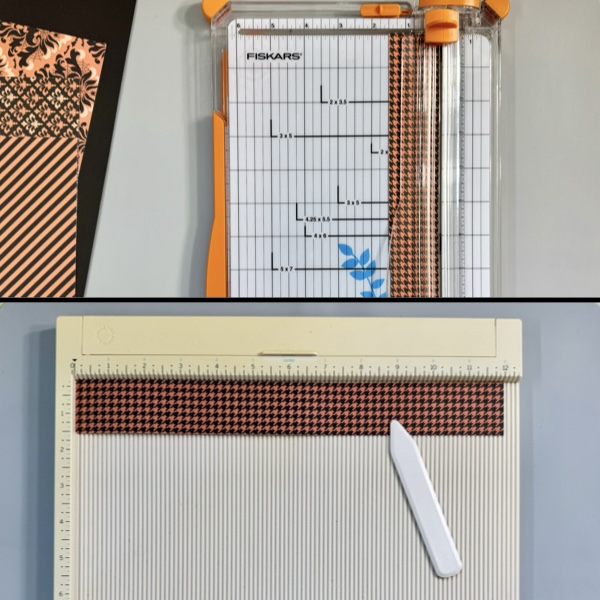
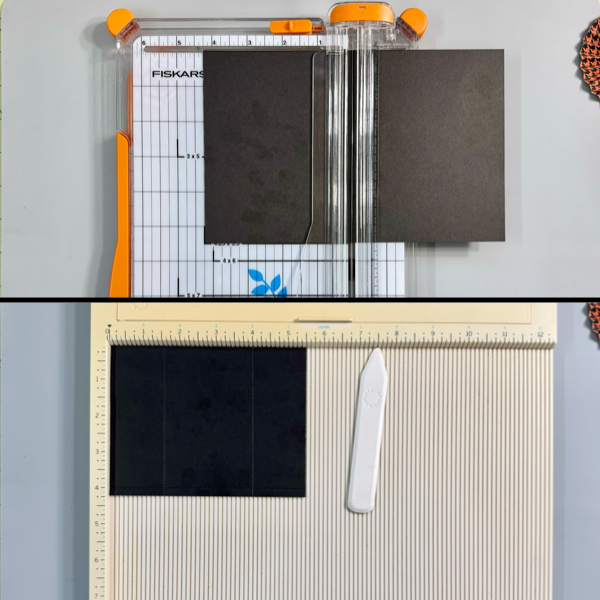
We are going to make the paper ribbon pinwheel. It is better using double-sided pattern scrapbook paper, but one-sided paper will work too. First, cut out some pattern papers into 1.25 inch x 12 inch paper strips. For a smaller size, you can cut your paper into 1 inch x 12 inch.
After cutting your paper strips, score the paper in ½ inch using the scoring board.

Step 2
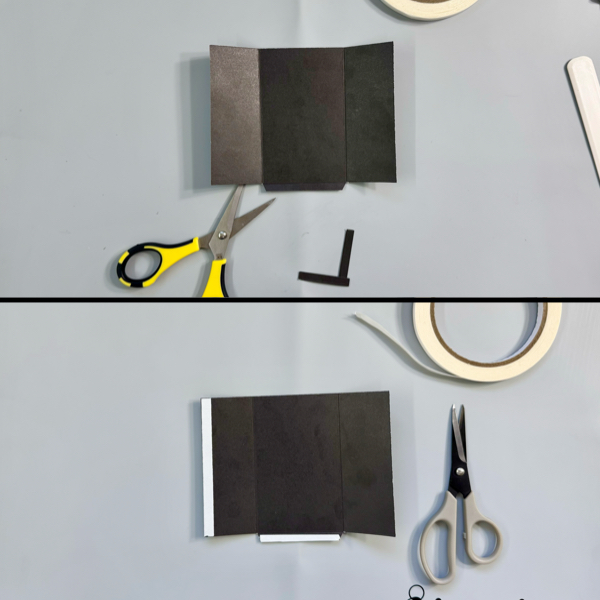
Fold the paper strips following the scoring lines. You can use a scoring folder tool to make the folded part crisper.
Snip off the last folded strip (one of the ends is okay).
Added a piece of Tear It! Tape on the last folded strip and connect it to the other end of the paper.
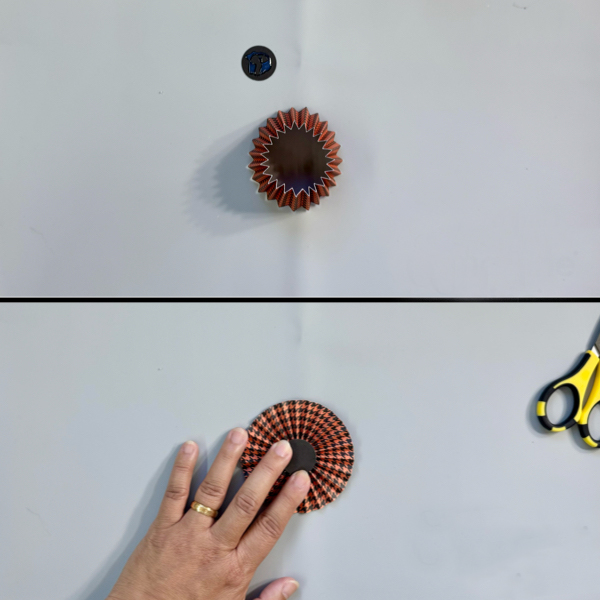
Step 3
Punch a black cardstock (or any matching color cardstock) using a 1 inch punch tool or you can cut using any circle die set.
Add some of the On Point Glue on the circle cardstock and add it to one of the sides of the pinwheel. Firmly press it down for a few seconds to make sure the glue dries well. Or you can put a couple stamping blocks on it while you are working on the next one. This is the back of the pinwheel.
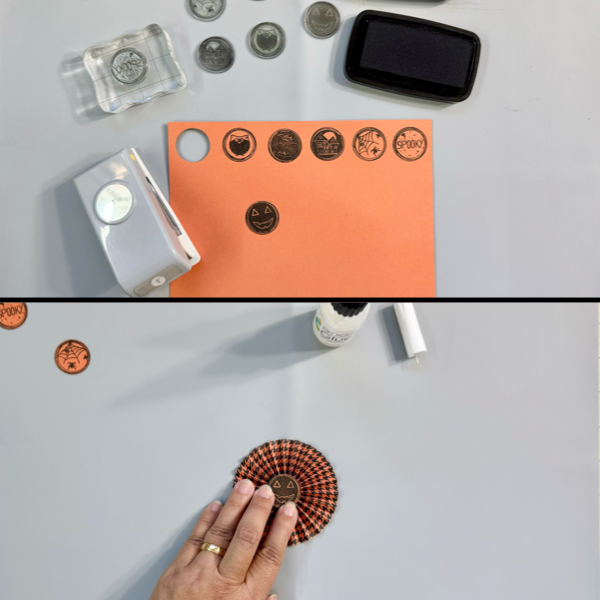
Step 4
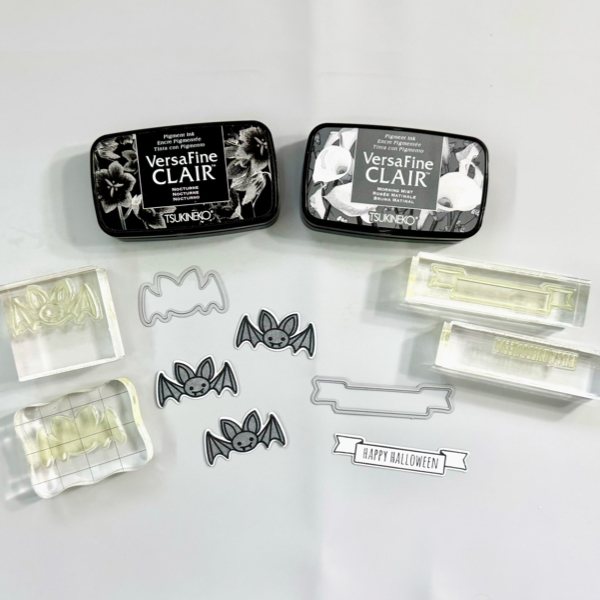
On a piece of orange cardstock (or any matching color cardstock to your patterned paper), stamp the images.
Use the 1 inch punch to punch each of those stamped images.
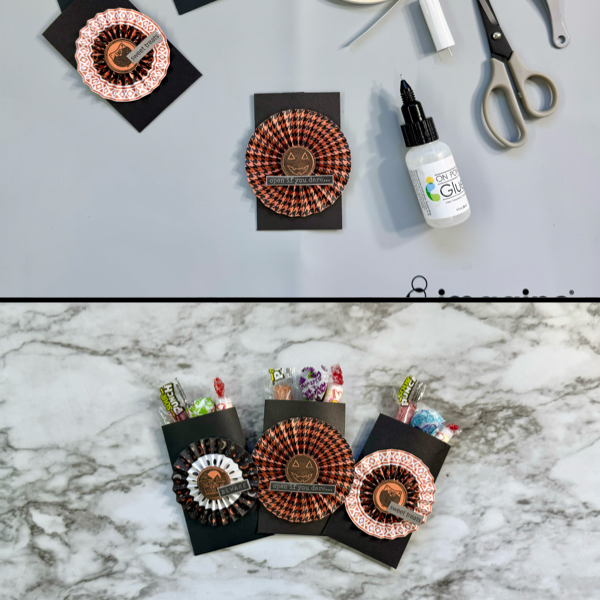
Add some of the On Point Glue on the back of the circle and add it to the front of the pinwheel in the middle. Firmly press it down for a few seconds to make sure the glue dries well. Or you can put a couple stamping blocks on it, then do the same thing to the other pinwheels.
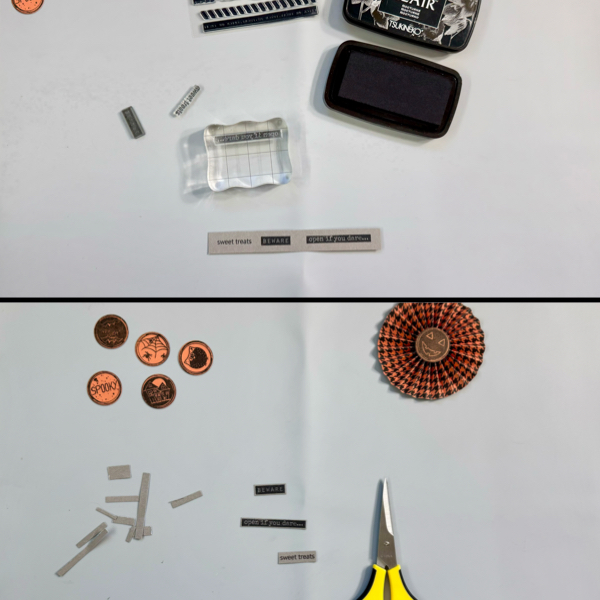
Step 5
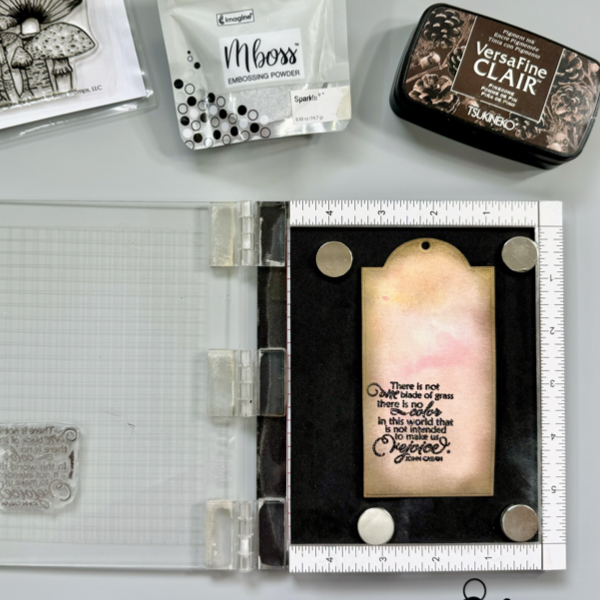
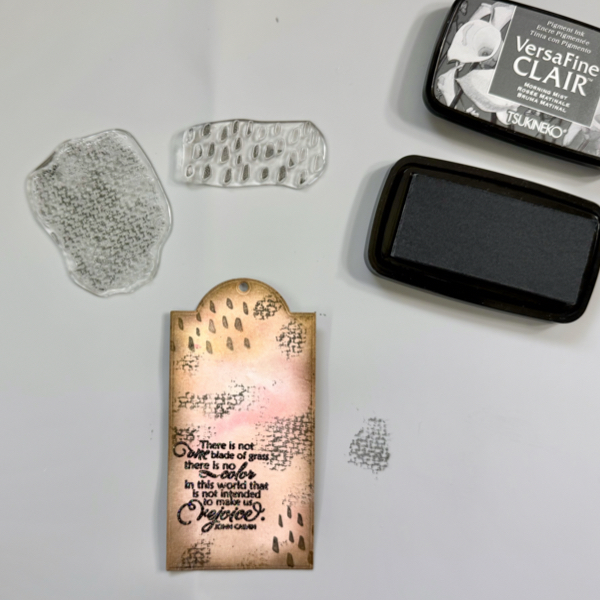
On a piece of gray cardstock (or any matching color cardstock to your patterned paper), stamp the sentiments with VersaFine Clair Nocturne ink pad.
Use the scissors to trim the sentiments.
Step 6
Cut a couple of black cardstocks into 4.25 inch x 5.5 inch
Using the scoring board, score the cardstock at 1.5 inch and 4 inch, and then score the bottom at ¼ inch.
Step 7
Use the scoring bone folder to fold the cardstock.
Cut on the scoring line at the bottom of the 2 sides only, leave the center, and fold the bottom flap.
Add some of the Tear It! Tape at the left side and also at the bottom flap. Remove the tape backing off.
Fold the right side first, and then the left side, press firmly to make sure the tape adheres well. And then fold up the bottom flap to close the bottom, press firmly.
Step 8
Add some of the On Point Glue on the back of the sentiment strips and then add them to the pinwheels.
And then add some of the On Point Glue on the back of the pinwheels and add them to the front of those treat bags. Wait a few minutes until the glue to dry well before you fill them up with candies.
Aren’t those treat bags cute for giving away some candies on Trick-or-Treat Day? You can make them for your kids’ classmates also. They are big enough for 3 or 4 candies. Thank you for stopping by our blog today. Have a fabulous day!
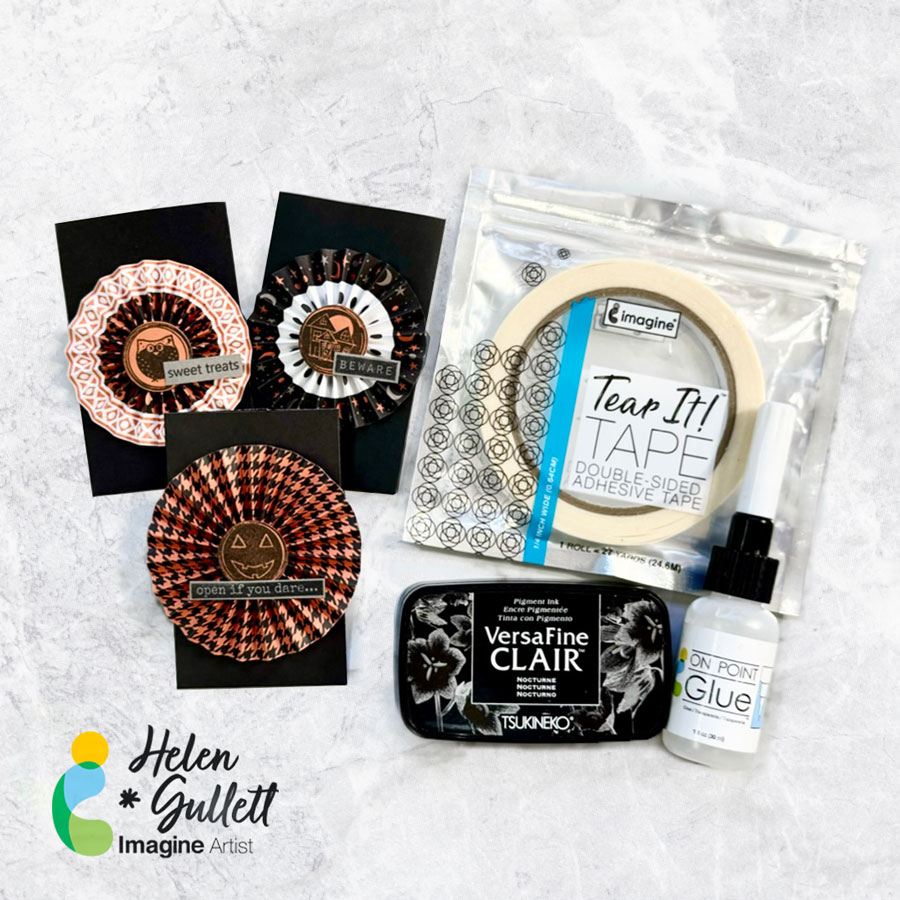
Craft Supplies
Imagine Crafts:
- VersaFine Clair (Nocturne)
- Tear It! Tape
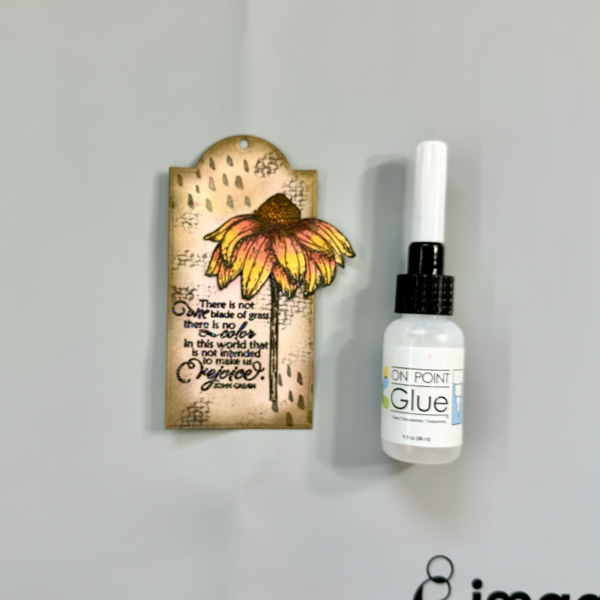
- On Point Glue
- Imagine Craft Mat
- Staz-On All Purpose Stamp Cleaner
Others:
- Beware Halloween Stamp Set (Precious Remembrance)
- Halloween Pattern Papers (Close To My Heart, retired)
- Black, Grey, Orange Cardstocks (Close To My Heart, retired)
- MISTI stamping tool
- Stamping Blocks
- Micro-tip scissors
- 1 inch circle punch (or circle dies)
- Paper trimmer
- Scoring Board & bone folder