By Helen Gullett
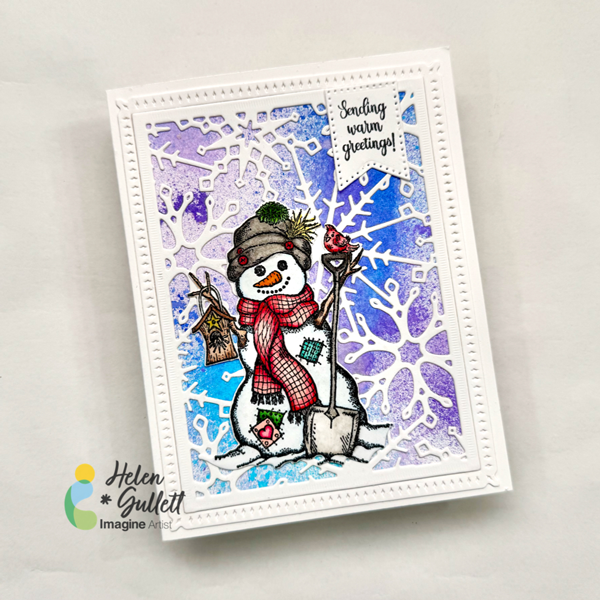
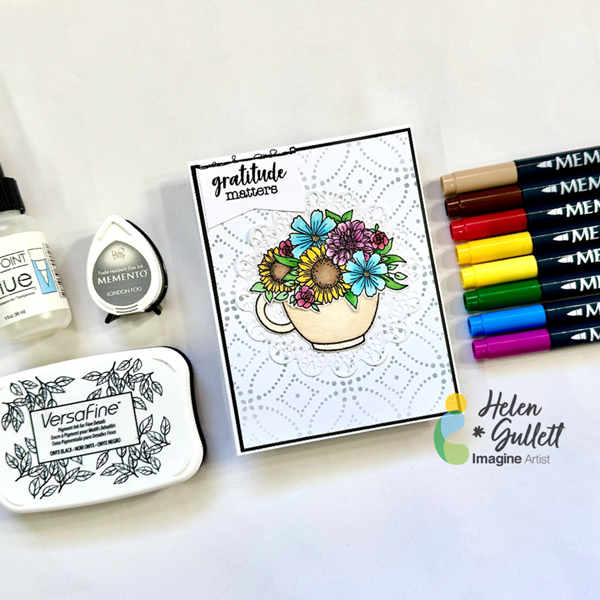
Hello crafty friends! Today, we are going to do some watercoloring with Memento markers, stenciling with Memento ink, and stamping with VersaFine ink to make this Fall floral coffee mug card. Let’s gather your supplies, grab a cup of coffee, and get crafting together!
Skill: Intermediate
Time: 15-20 minutes
Direction:
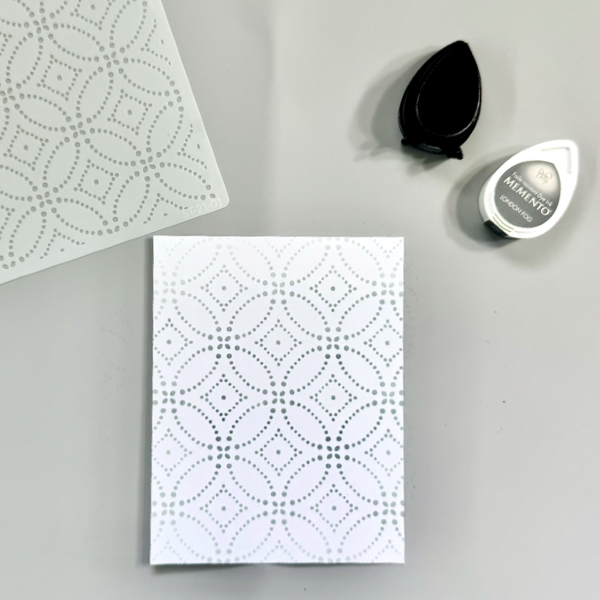
Step 1
Cut out a piece white cardstock into 4″ x 5 1/4″
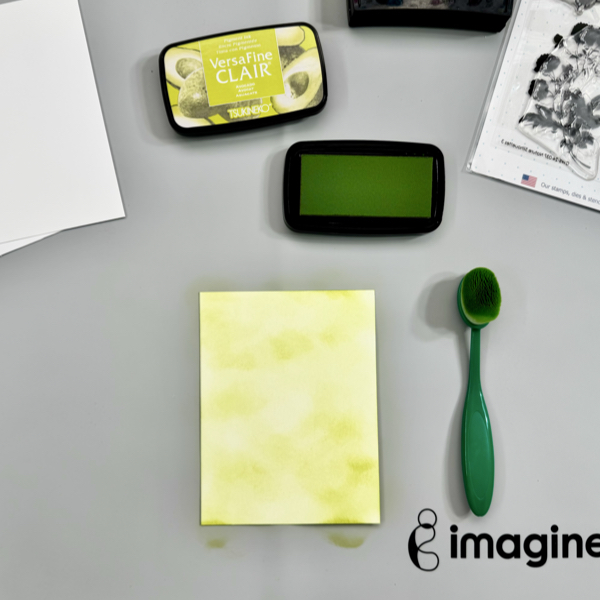
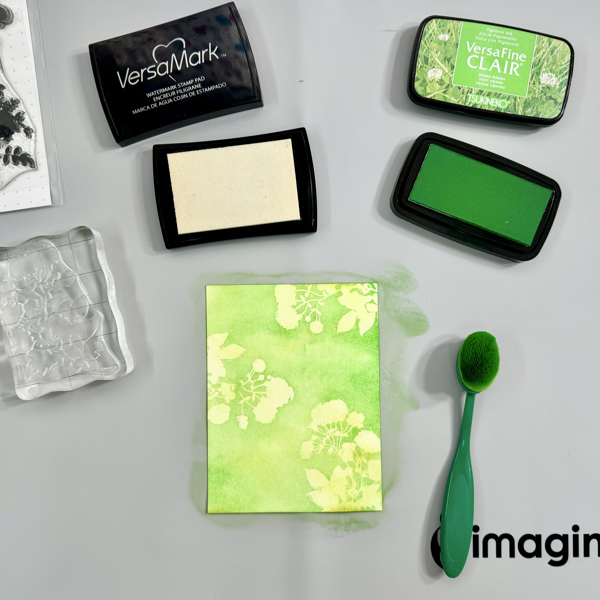
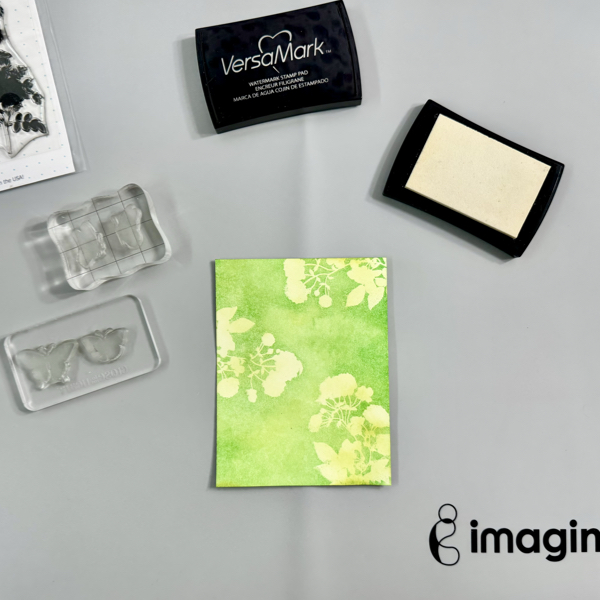
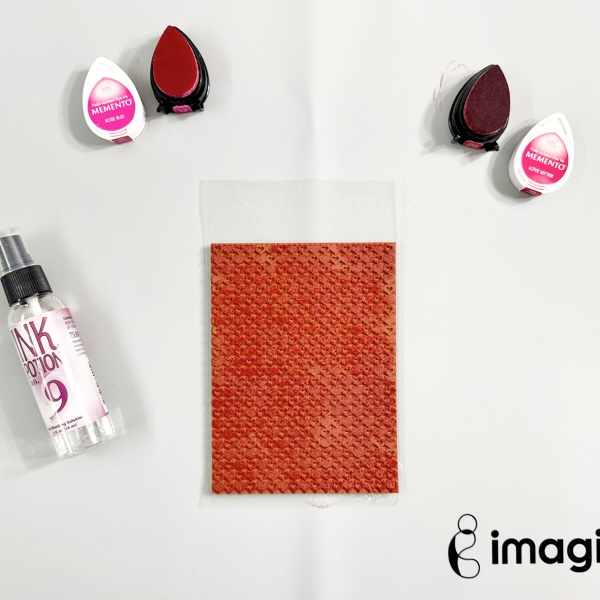
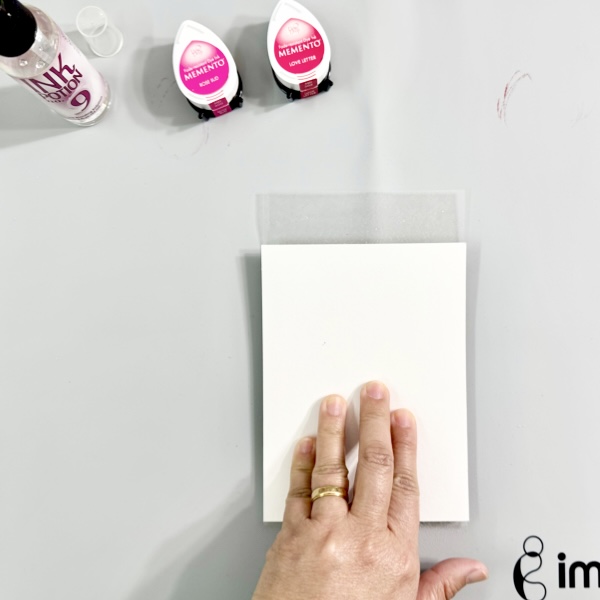
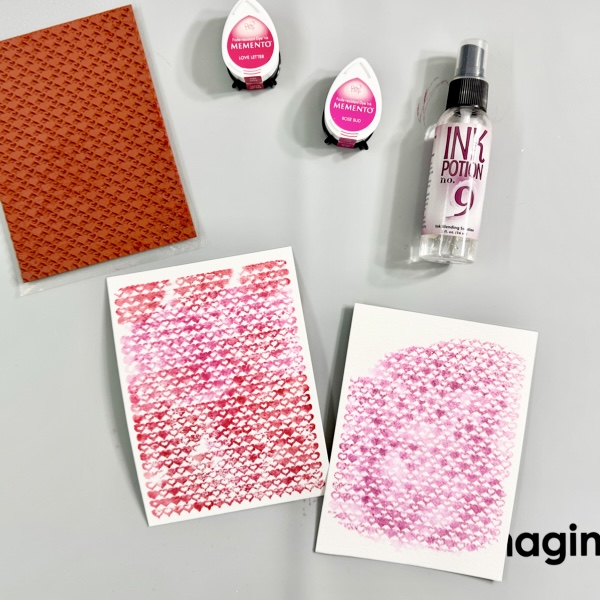
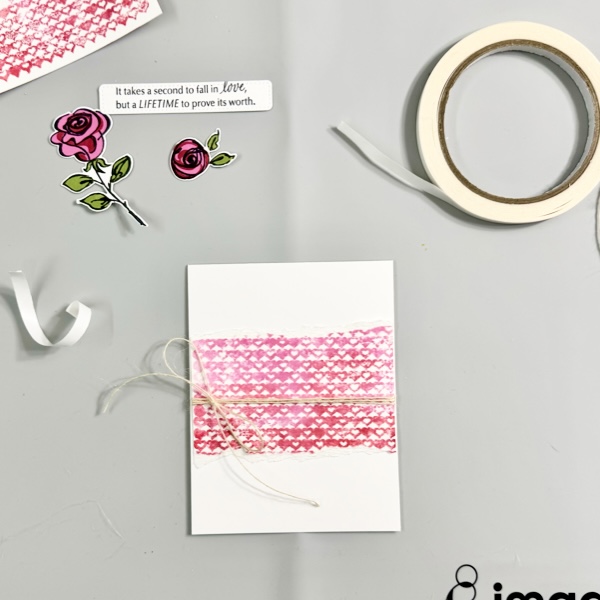
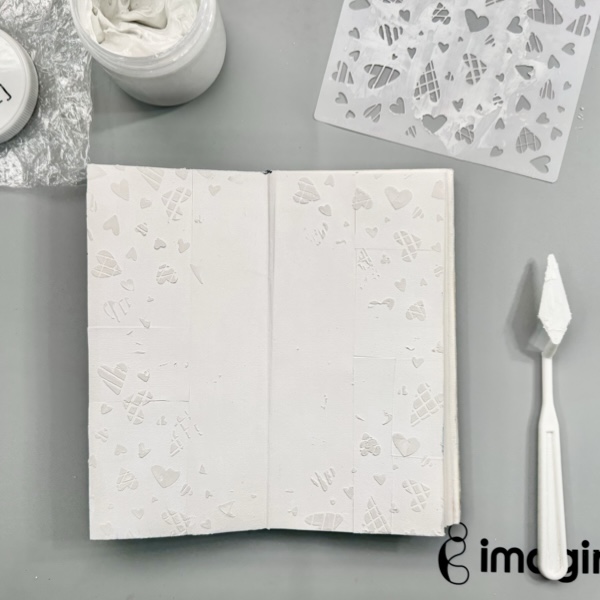
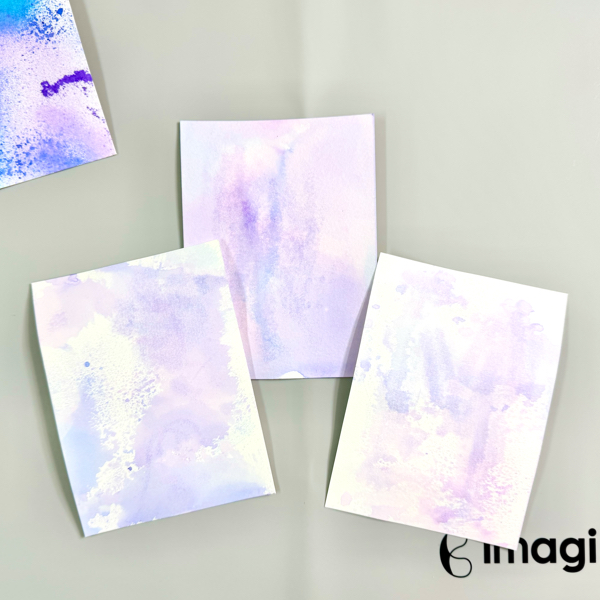
Put the stencil on top of the cardstock and secure it with some washi tape or removable tape.
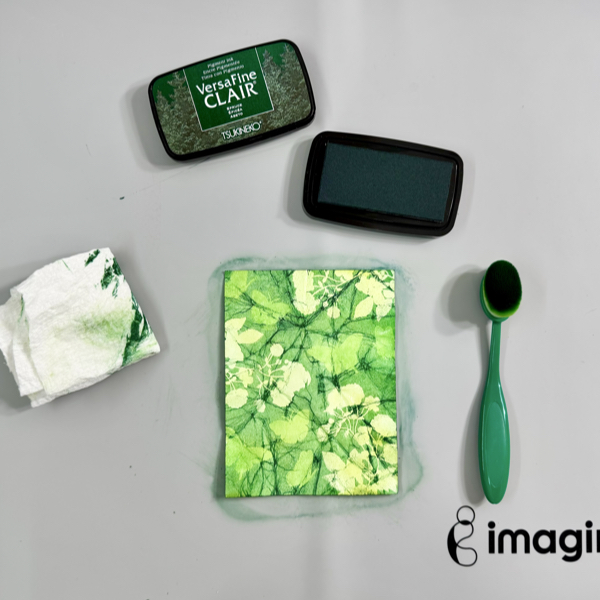
Use a blending brush to add the Memento London Fog ink to the cardstock.
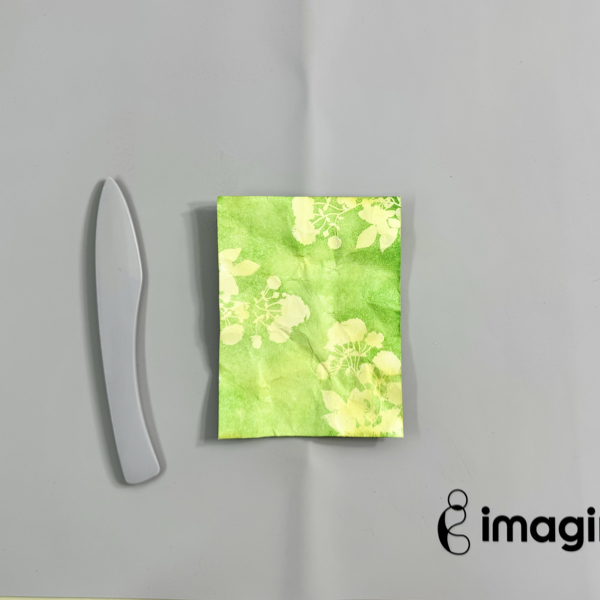
Remove the stencil and set aside for the ink to dry.
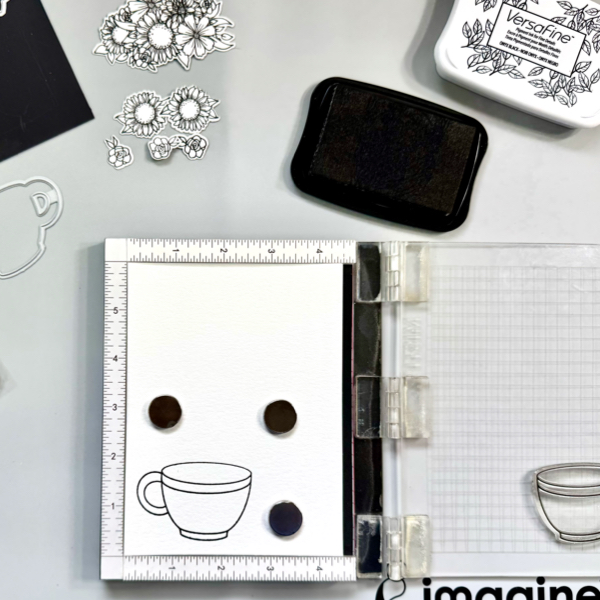
Step 2
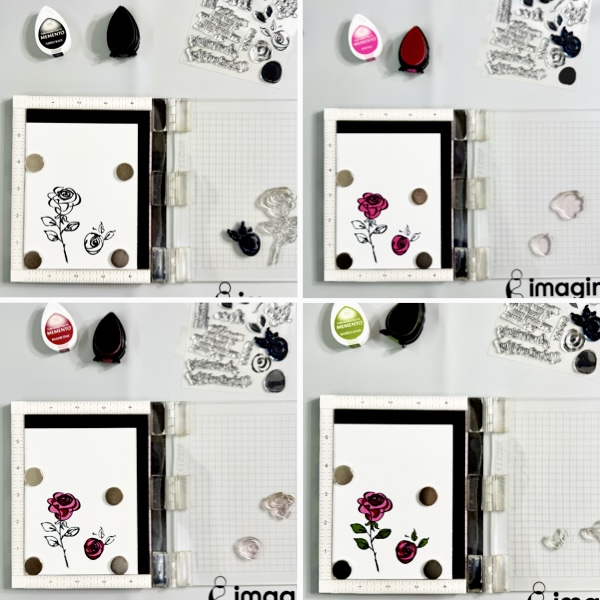
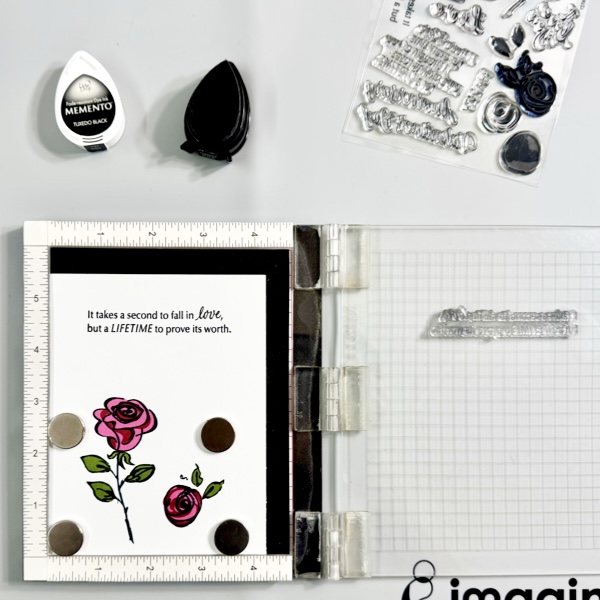
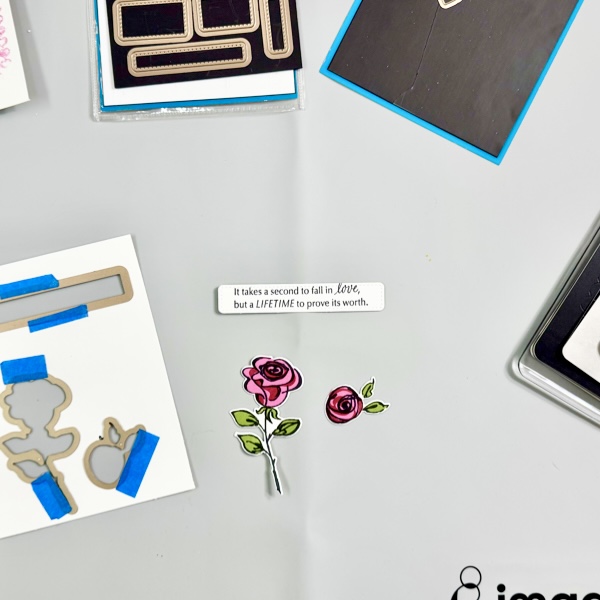
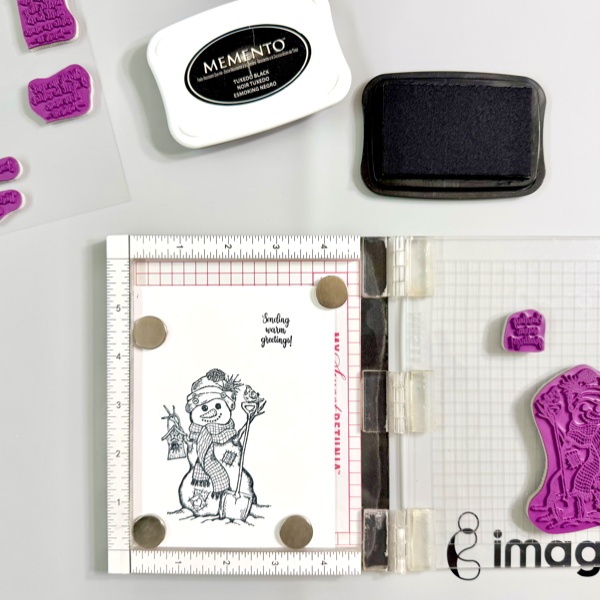
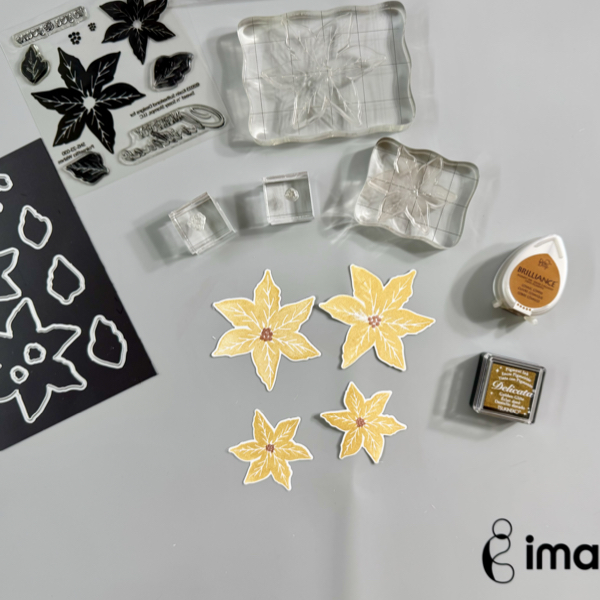
On a piece of watercolor cardstock, stamp all the floral and cup images with the VersaFine Onyx Black ink.
Cut them with their matching die set or you can simply fussy cut them with scissors.
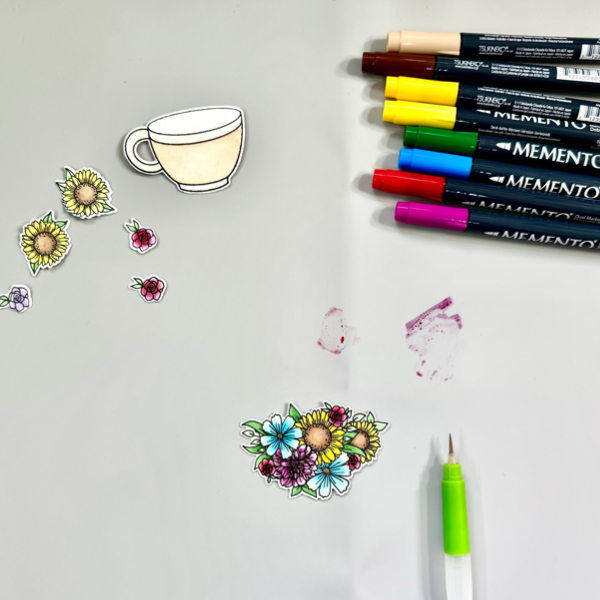
Step 3
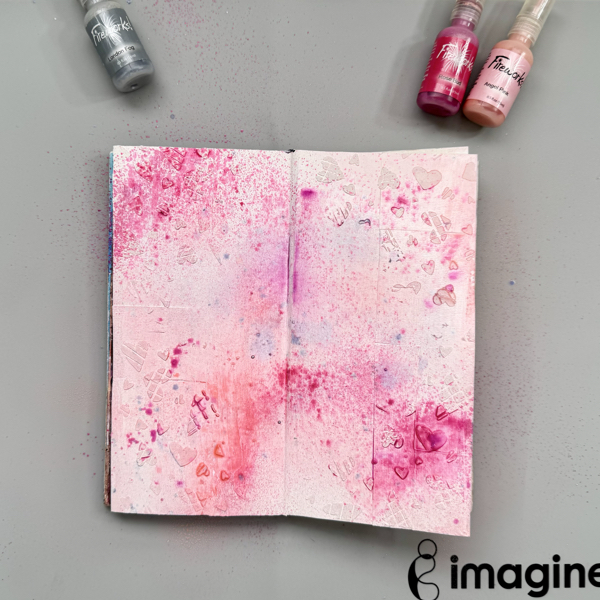
There are two ways of watercoloring. The first option is you can do wet on wet technique by lightly wet the area where you want to add the watercolor paint, and then pick up the ink with a water brush and color on the wet watercolor paper. And the second option is called wet on dry technique where you add the watercolor paint directly on the dry watercolor paper. Both ways work well with these Memento Markers.
On this project, I used the wet on wet technique. First, scribble each color of the Memento Marker on the craft mat. Wet the stamped image, pick up the ink with a wet water brush, and then add the color to the image. Dry the watercolored image with a craft heat gun.
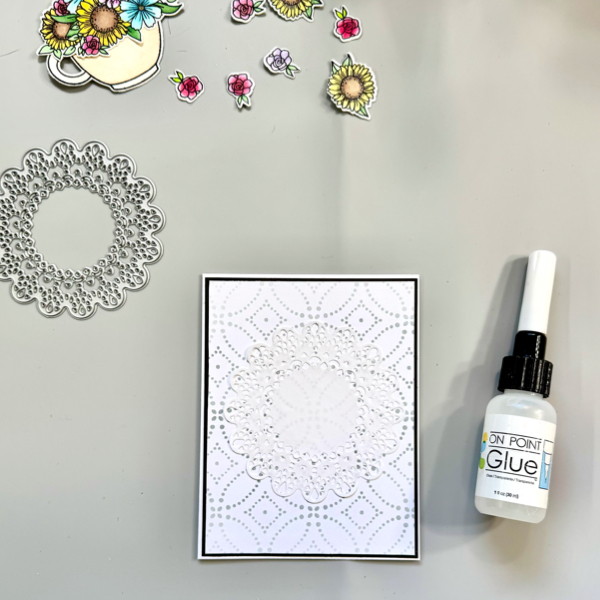
Step 4
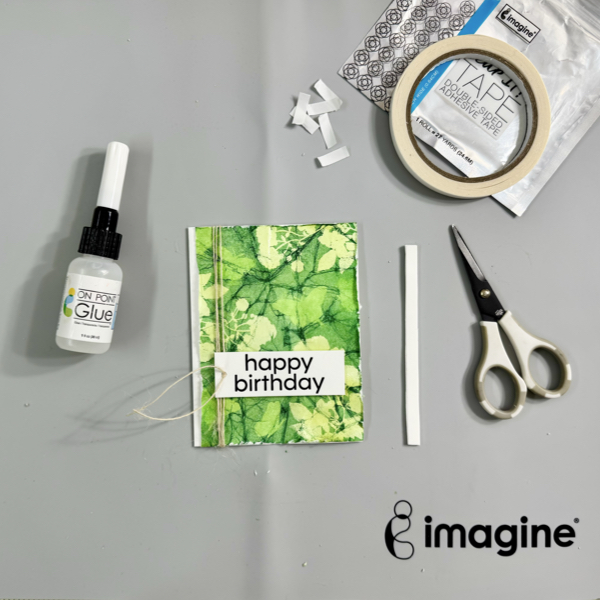
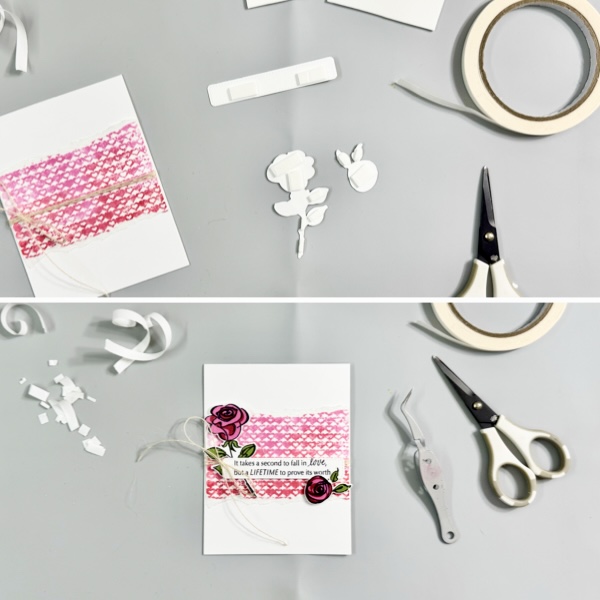
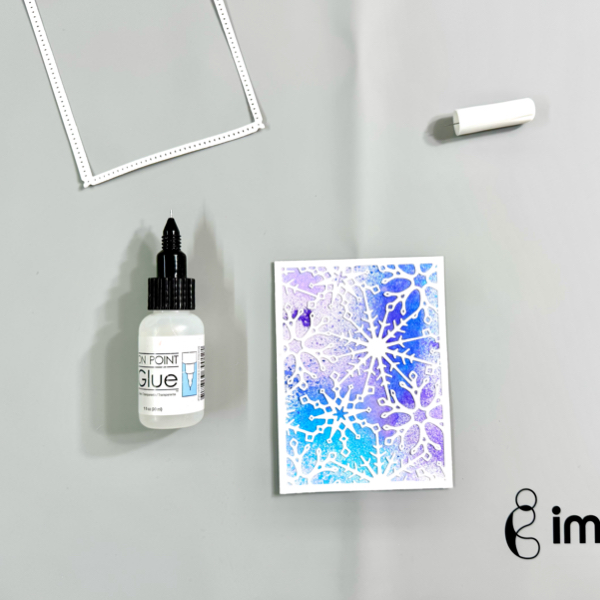
Cut out a piece of copy paper with the doily die to make paper doily. Add it to the stenciled panel with On Point Glue.
Cut a piece of black cardstock into 4 1/8″ x 5 3/8″ mat, add the stenciled panel to it with On Point Glue.
Add the whole background panel to the card base with On Point Glue.
Put together the watercolored coffee mug and flower bouquet cluster with On Point Glue.
Step 5
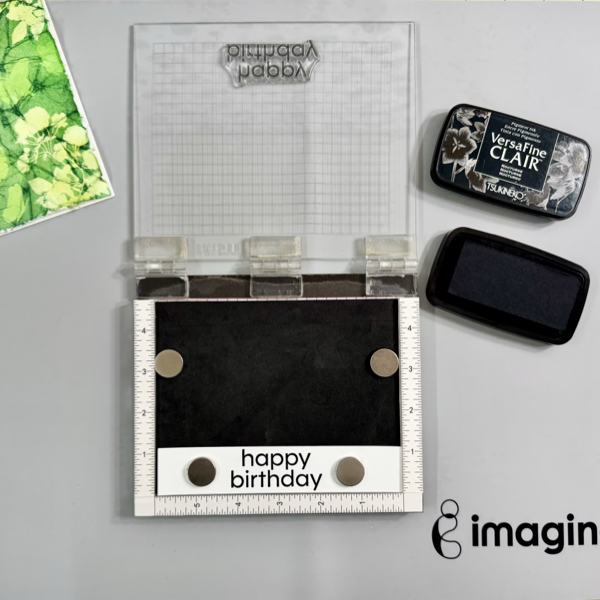
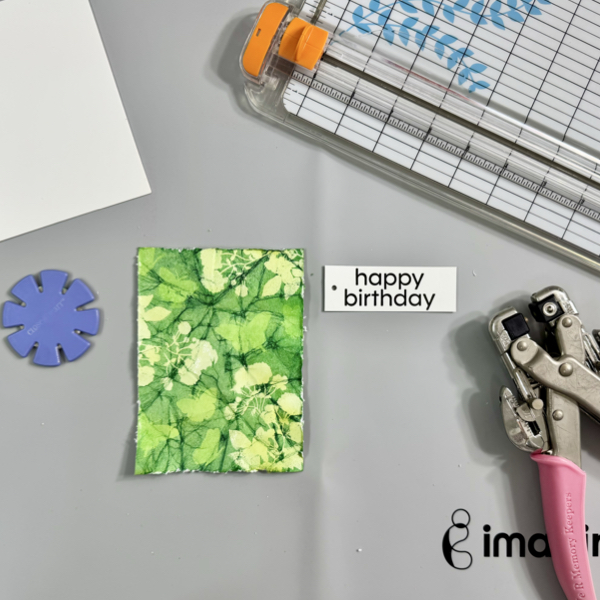
Stamp the sentiment and faux stitch pattern on a piece of white cardstock with VersaFine Onyx Black, and then trim it into a sentiment banner.
Add the floral coffee mug in the middle of the card, on top of the doily with On Point Glue.
Add the sentiment banner on the left top of the card with On Point Glue.
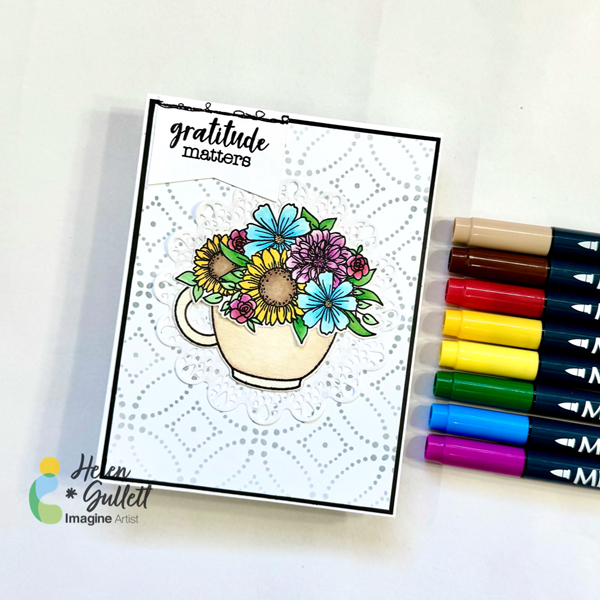
Memento Markers are not only for coloring, but also watercoloring. I had fun making this card with a watercoloring technique using these markers. And I hope this Fall Floral Coffee mug card can perk you up!
Thank you for stopping by our blog today. Have a wonderful day!
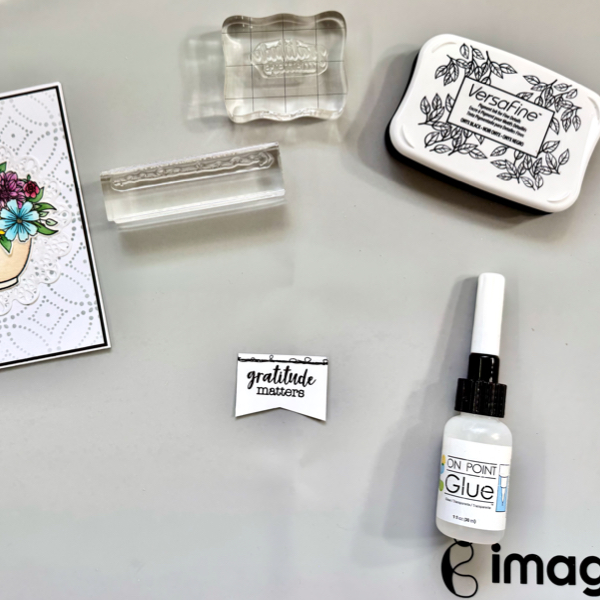
Craft Supplies
Imagine Crafts:
- Memento Dew Drops (London Fog)
- Memento Markers (Desert Sand, Rich Cocoa, Lady Bug, Cantaloup, Dandelion, Cottage Ivy, Bahama Blue, Grape Jelly)
- VersaFine (Onyx Black)
- On Point Glue
- Imagine Craft Mat
- Staz-On All Purpose Stamp Cleaner
Others:
- Gratitude Matters Stamp and Die Bundle (Creative Worship Stamps)
- Sew Many Stitches Stamp Set (Creative Worship Stamps)
- Delicate Doily Die Set (Creative Worship Stamps)
- Delightfully Delicate Stencil (Creative Worship Stamps)
- White cardstock
- Black cardstock
- Watercolor cardstock
- Copy Paper
- Stamping tool
- Acrylic stamping blocks
- Water Brush
- Paper Towel / baby wipes
- Craft heat gun
- Die Cutting Machine