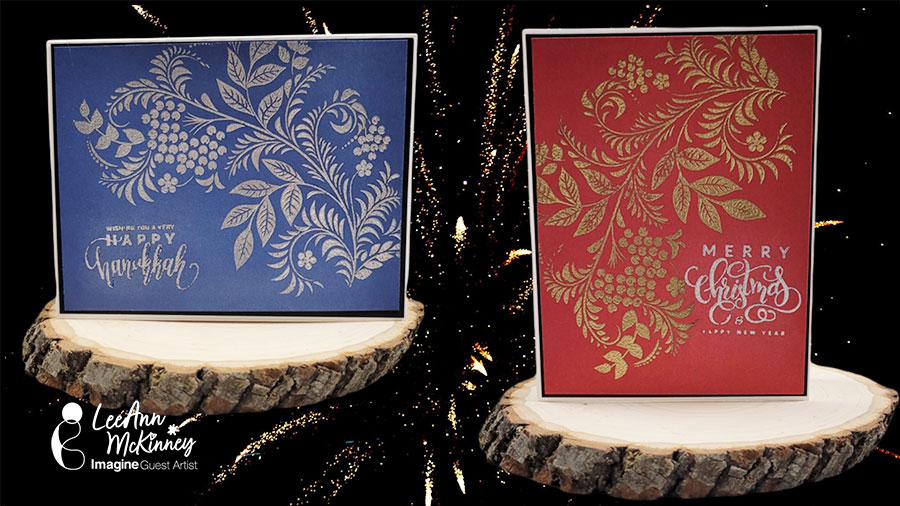
By Helen Gullett
Hello crafty friends! One of my favorite cardmaking techniques is heat-embossing resist. Today, I want to share with you how to make these Batik cards using this technique. It is a technique you can use to create fun and colorful backgrounds with heat embossing and ink blending.
Let’s get crafting!
Skill: Beginner
Time: 20 minutes
Direction:
Step 1
Cut out a piece of 8.5 inch x 11 inch white cardstock into 4 panels of 4.25 inch x 5.5 inch.
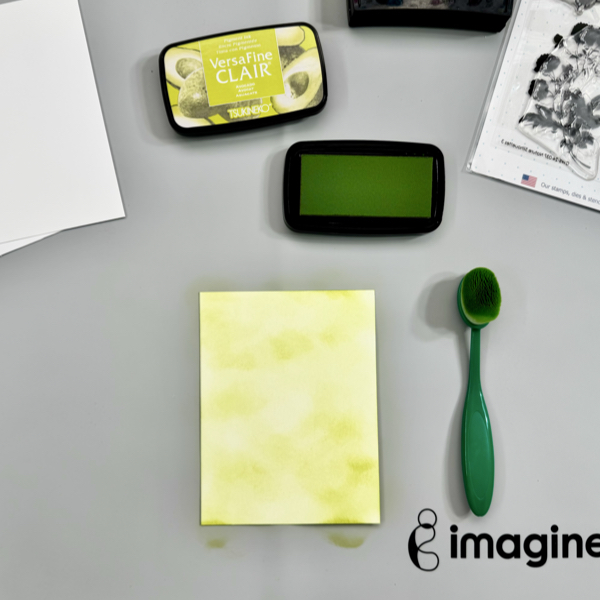
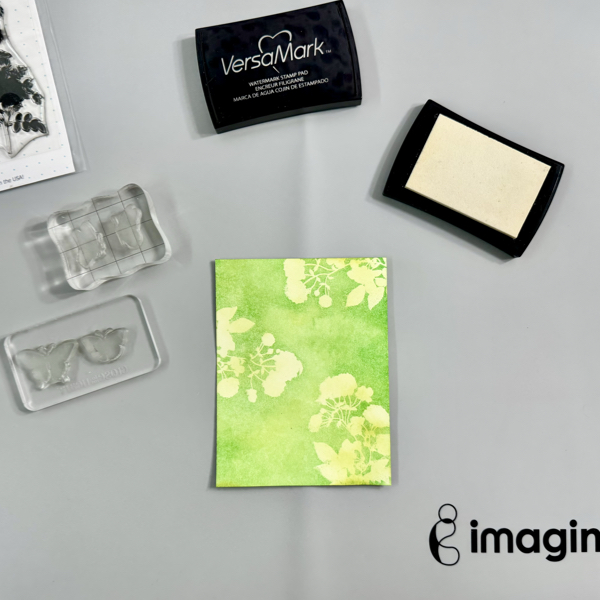
Using a blending brush, add some of the VersaFine Clair Avocado ink to one of the white cardstock panels.
Dry the ink on the cardstock with a craft heat gun.
Step 2
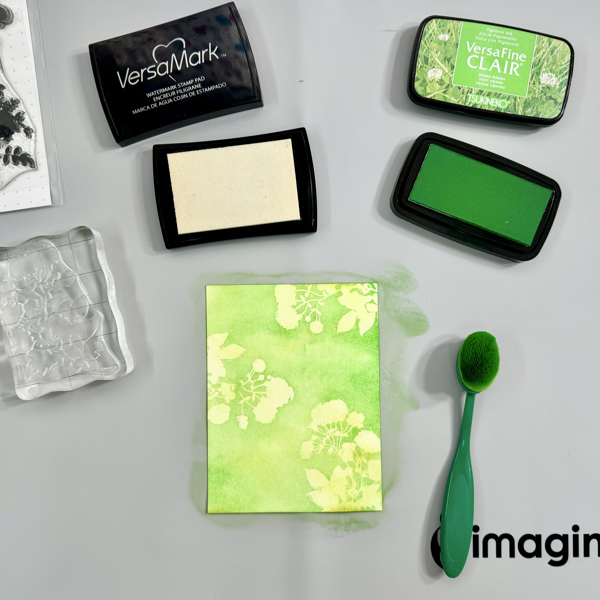
Add some of the anti-static powder all over the inked panel.
Stamp the images with VersaMark ink and add some of the clear embossing powder. Heat the embossing powder with a craft heat gun.
Using a blending brush, add some of the VersaFine Clair Grass Green ink on the panel.
Carefully dry the ink on it, not to make the embossed images melt too much. Let it cool down before touching it. Gently wipe off the extra ink with paper towel.
Step 3
Add again the anti-static powder on the panel.
Stamp the next images with VersaMark ink and add some of the clear embossing powder. Heat the embossing powder with a craft heat gun.
Step 4
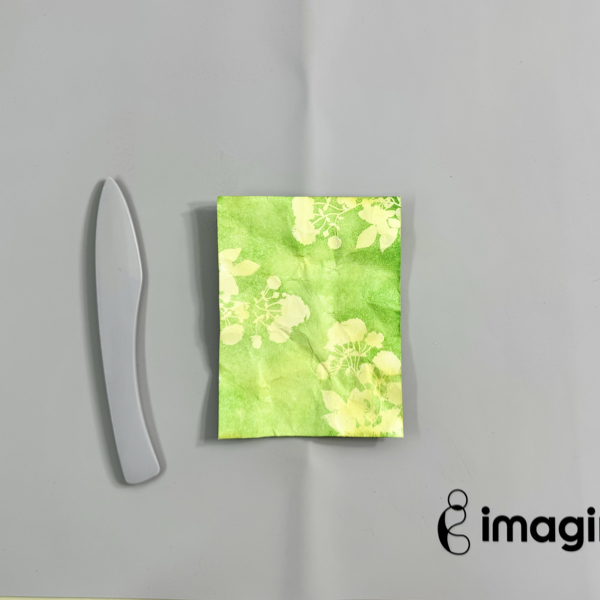
After heating up the embossing powder, crumble the cardstock. Depending on the cardstock you use, you can spray the back of the cardstock lightly with water and then crumble it.
Flat it back on the craft mat and use the bone folder to smooth it down. You won’t get perfectly smooth cardstock back but the crumble lines are the one that will give the texture that we need for the batik look.
Step 5
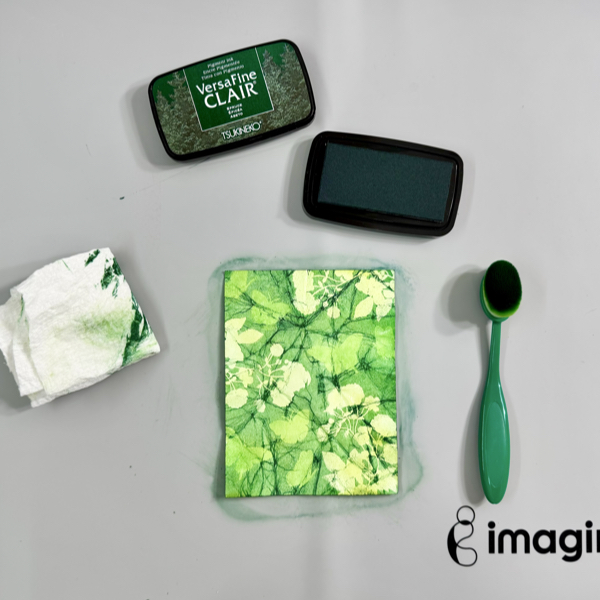
The next step is adding more color to the panel!
Use the blending brush, add some of the VersaFine Clair Spruce ink on the panel.
You will start to see the pattern. Add more ink if needed to get more contrast between 3 colors.
Use a paper towel to wipe off the extra ink off the embossed images.
Step 6
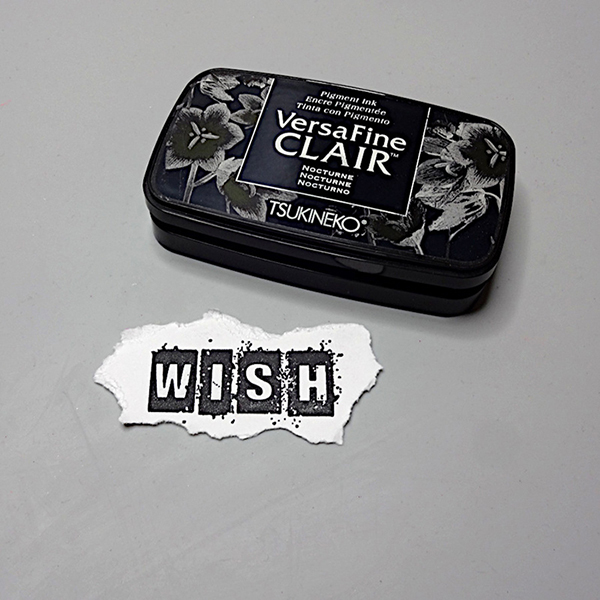
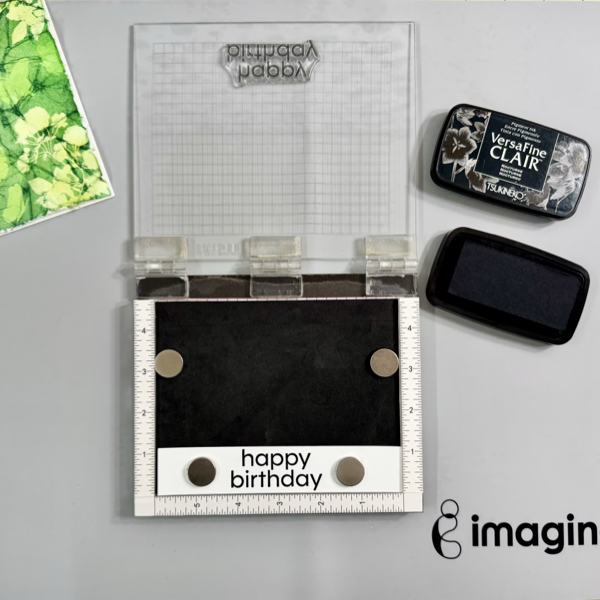
On a piece of white cardstock, stamp the sentiment with VersaFine Clair Nocturne ink.
Dry the inked sentiment with a craft heat gun.
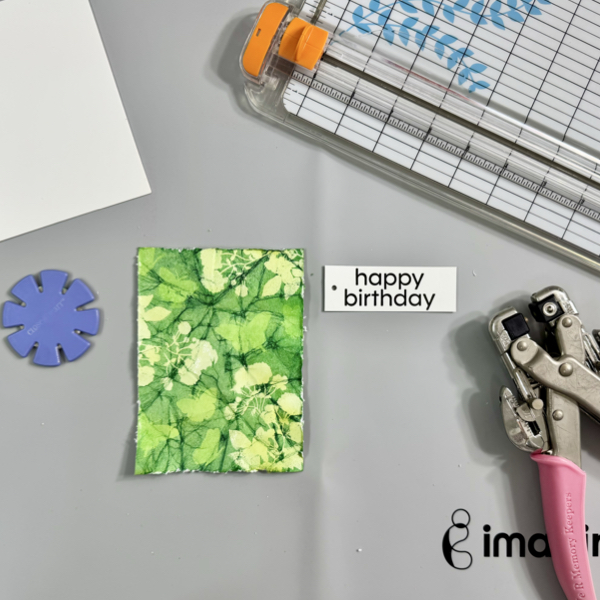
Step 7
Use a paper trimmer to trim the sentiment into a label size and punch a hole on one of the side.
Use a paper distress tool or a knife to distress all the edges of the background panel.
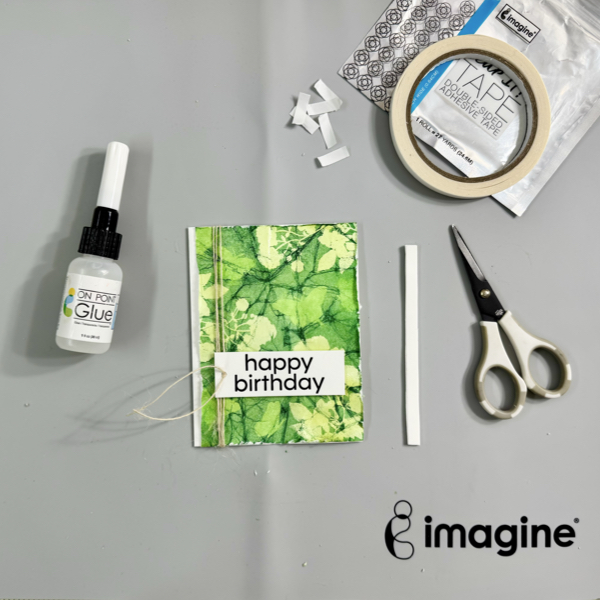
Step 8
Add the background panel on the card base using On Point Glue.
Wrap around some of the burlap twine on the card, before tie it up, add the sentiment label on the card. Put the tail of the burlap twine through the label hole. Glue the sentiment on the card with some white foam and Tear It! Tape.
Tie up the burlap twine into a bow.
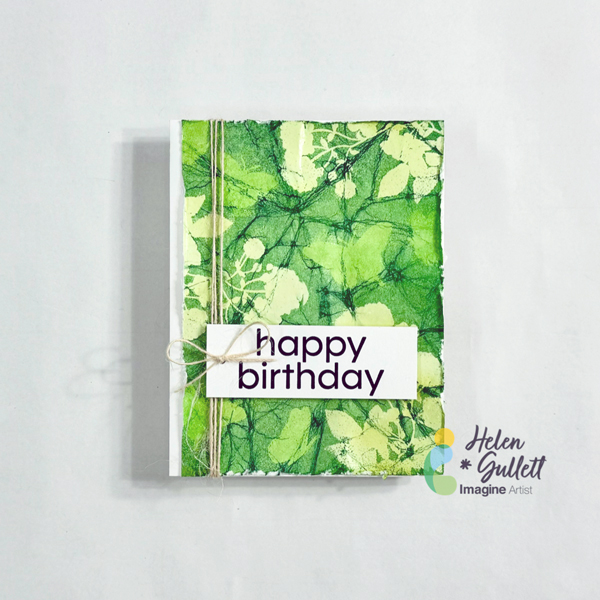
This Batik cardmaking technique works well with solid images because of the heat embossing resist effect. You can pick any 2-3 colors of inks you can use that compliment each other.
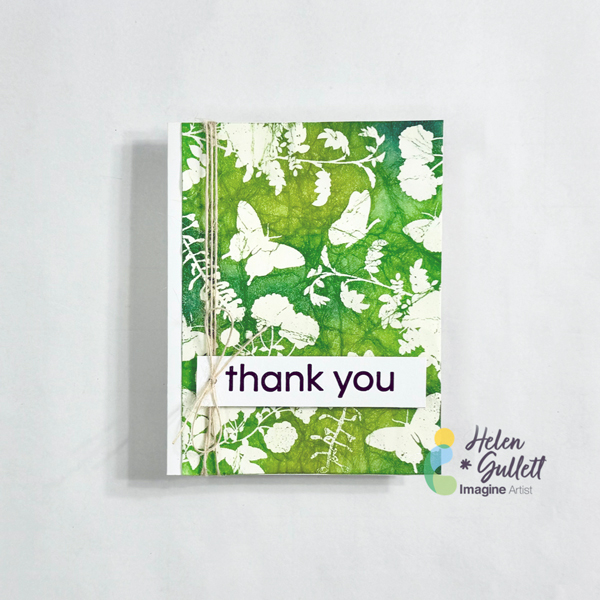
Here’s the different look of the Batik card I made using the same heat embossing technique but simpler. So, instead of multiple times heat-embossing the images and blending the inks, this one is only once. Here’s the simpler steps:
First, heat emboss the image directly to the white cardstock panel.
Second, crumble the cardstock, flat it out back using a bone folder.
Third, using blending brush add the ink on the cardstock starting with the light color, medium color, then dark color.
I hope you will give this Batik technique a try and play around with different colors. Thanks so much for stopping by our blog today.
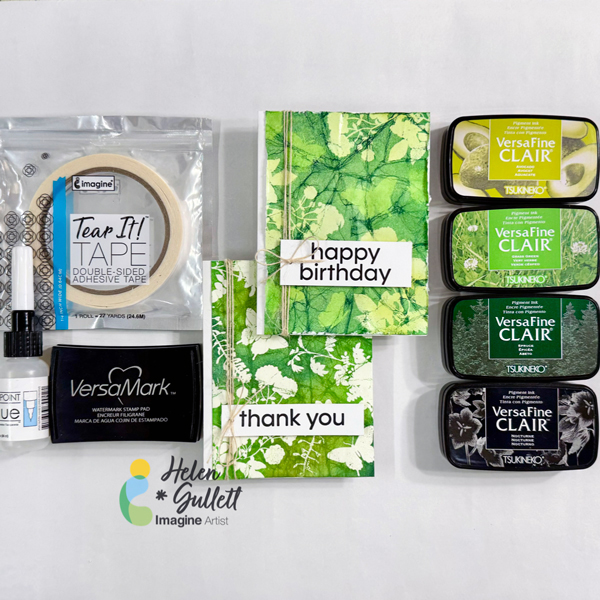
Craft Supplies
Imagine Crafts:
- VersaFine Clair (Avocado, Green Grass, Spruce, Nocturne)
- VersaMark Original (clear)
- On Point Glue
- Tear It! Tape
- Imagine Craft Mat
- Staz-On All Purpose Stamp Cleaner
Others:
- Nature Silhouettes 3 Clear Stamp Set (Creative Worship Stamps)
- Simple Sentiments Clear Stamp Set (Creative Worship Stamps)
- Burlap Twines
- Neenah Solar White Cardstock 80 lb
- White fun foam
- Blending brushes
- Stamping tool
- Acrylic stamping blocks
- Micro-tip scissors
- Paper trimmer
- Hole Punch
- Distresser Tool
- Bone Folder
- Bottle Sprayer / Mister Bottle
- Paper Towel