Create a Floral All-Occasions Card with VersaColor

By Jessica Lin

Skill: Intermediate
Time: 30 minutes

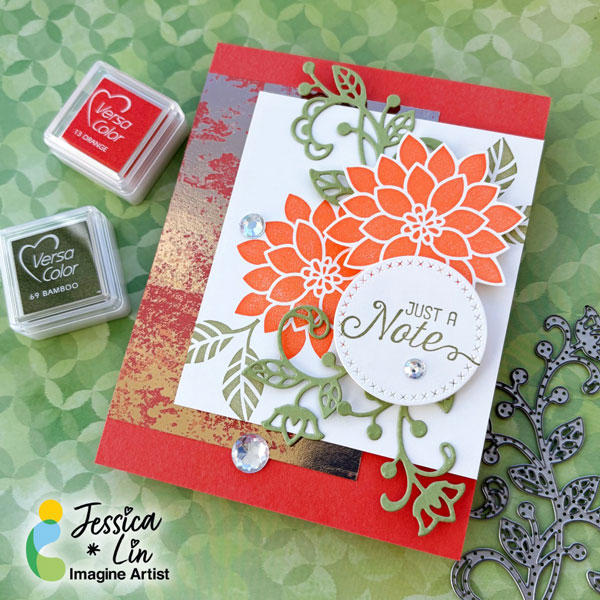
Hi everyone! It’s Jessica here. I am so happy to be on Imagine Crafts’ design team again for 2026. If you have seen some of my creations before, you would notice that I love bold, bright colors. Today, I am sharing a floral card that features this vibrant orange from the VersaColor ink line.
Step 1:
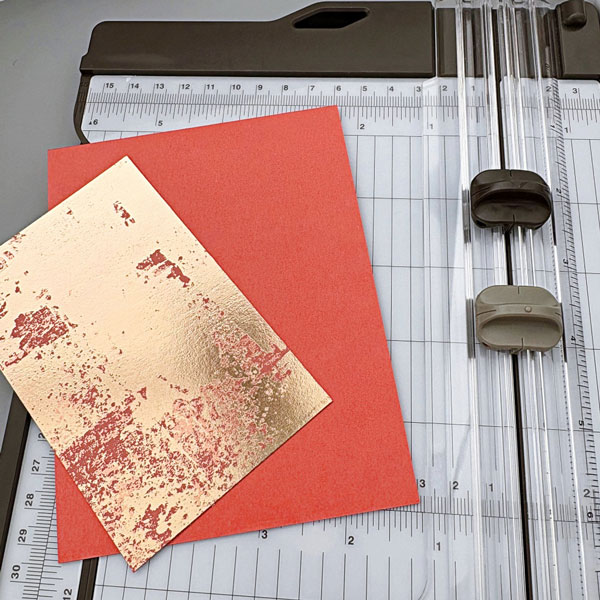
I started out by preparing an A2 card base with Calypso Coral cardstock. Then I trimmed a piece of Dry Brushed Metallic paper to 3’’ x 4.5’’ as a background accent.
Step 2:
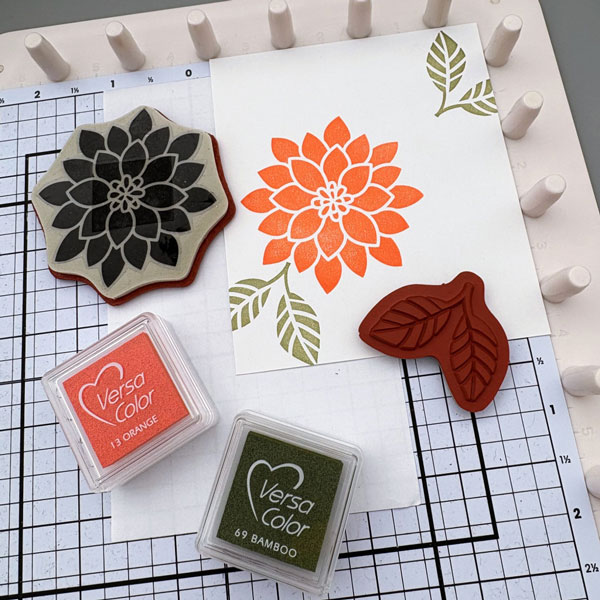
The stamp set I am using today is Flourishing Phrases from Stampin’ Up. I stamped the flower image with VersaColor Orange ink pad on a piece of 3.5’’ x 4’’ cardstock. For the leaves, I used VersaColor Bamboo ink pad.
Step 3:
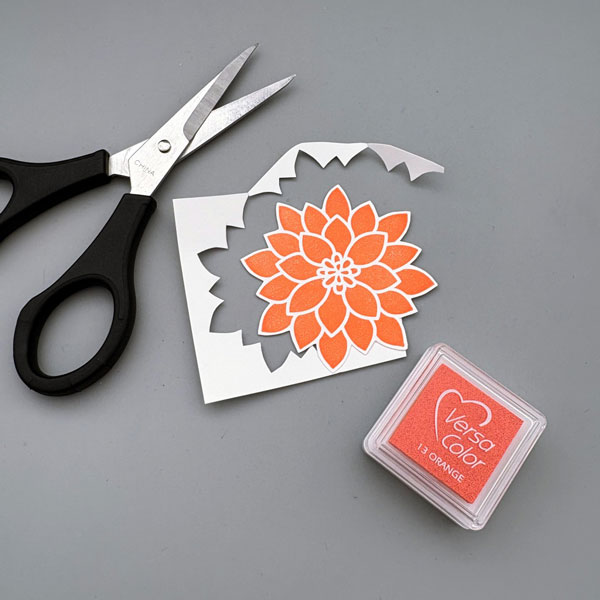
I stamped another flower image on a scrap piece of cardstock and fussy cut it along the edge.
Step 4:
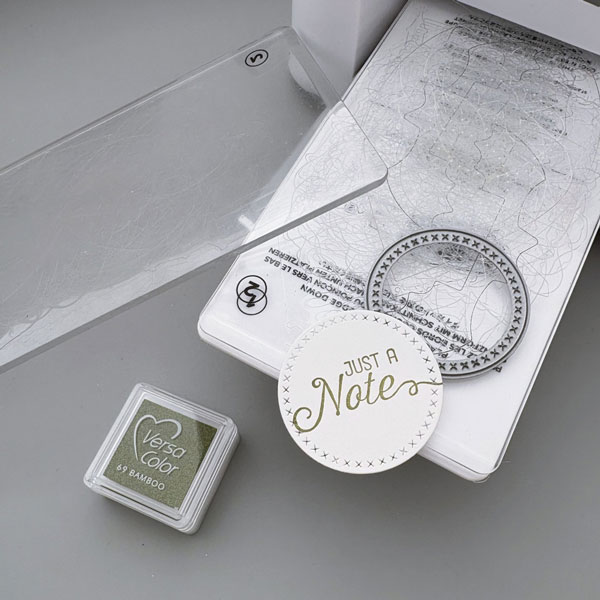
Then I die cut a circle with cross-stitch details and stamped the sentiment with VersaColor Bamboo ink.
Step 5:
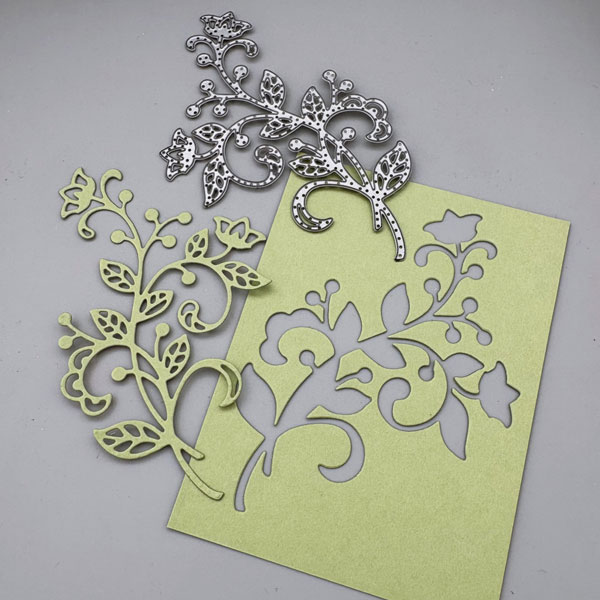
The coordinating die set includes various floral designs that work well both by themselves and with the stamp images. I decided to die cut the largest design and cut it into 3 pieces to decorate around the sentiment. Finally, I adhered all of the elements onto the cardbase, added some rhinestones, and the card is complete!

Imagine Supplies:

Other Supplies:

  • Stampin’ Up! – Stamps – Flourishing Phrases
  • Stampin’ Up! – Dies – Flourish Thinlits
  • Stampin’ Up! – Patterned Paper – Dry Brushed Metallic
  • Stampin’ Up! – Cardstock – Calypso Coral
Mixed Media Birthday Card

By Ceal Pritchett

Hello Friends,
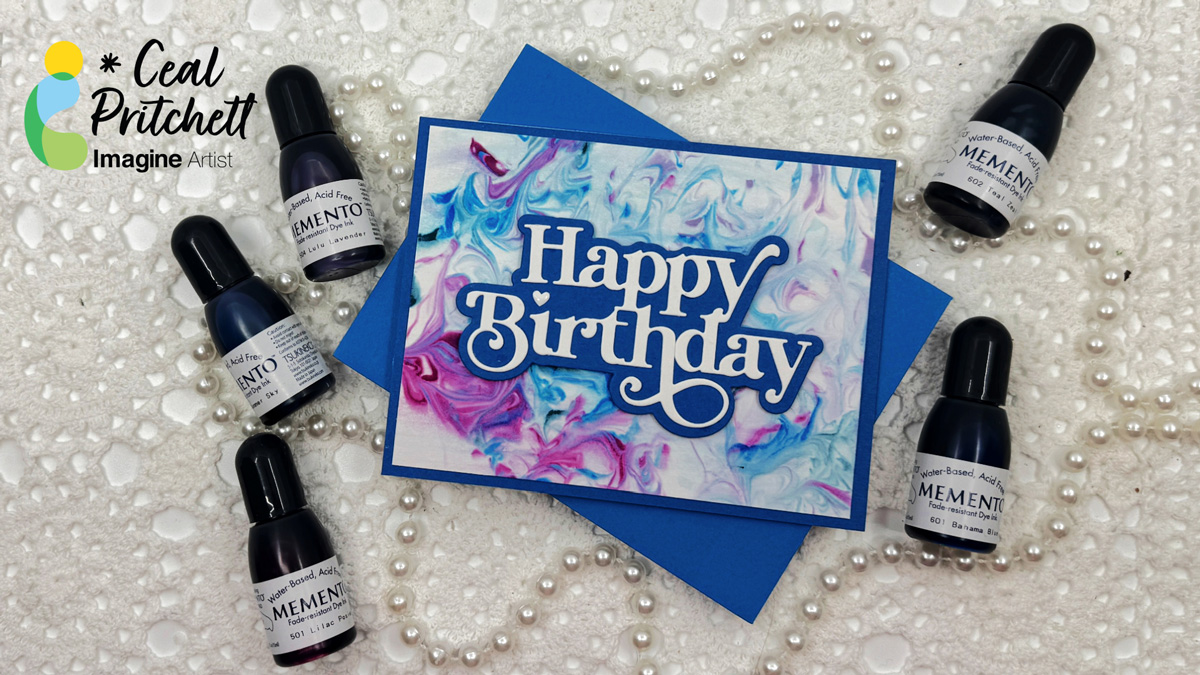
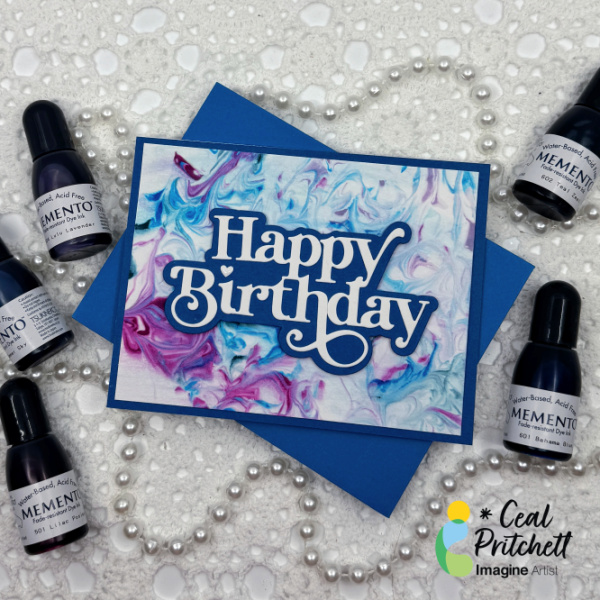
It’s Ceal, here. Today I am sharing a fun background technique with you that even a child can create. This is a Mixed Media project. Does the word mixed media have you thinking I can’t make a mixed meda card? It used to for me but honestly mixed media is simply a card made with two different mediums, so this one is shaving cream and ink. Don’t let the word mixed media scare you.

Skill: Beginner
Time: 45 Minutes

Directions:

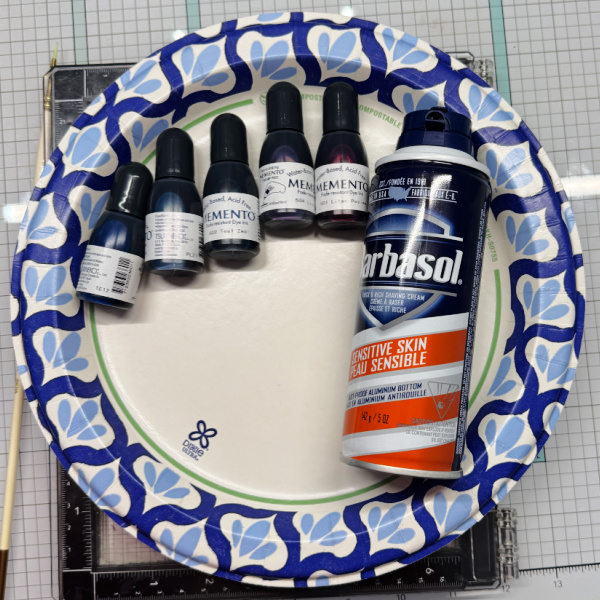
Gather your supplies. You will need a sentiment die cut of your choosing, some foaming shaving cream (gel will not work, some re inkers in different colors, a paper plate, a toothpick and some water friendly paper.

Step 1:
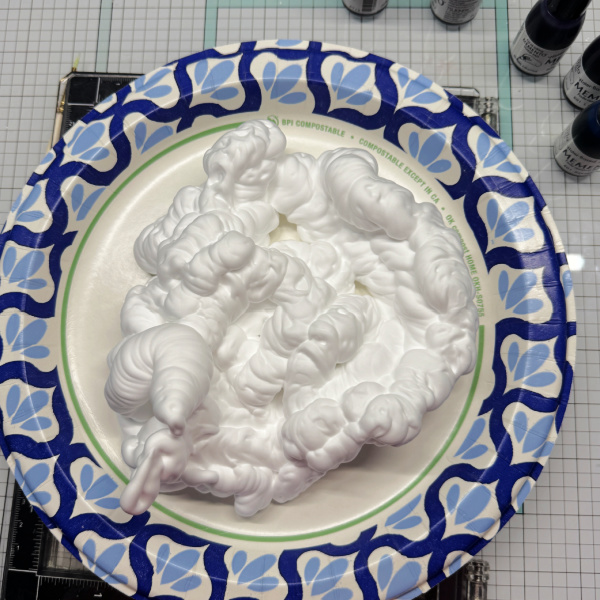
Add shaving cream to the paper plate.

Step 2:
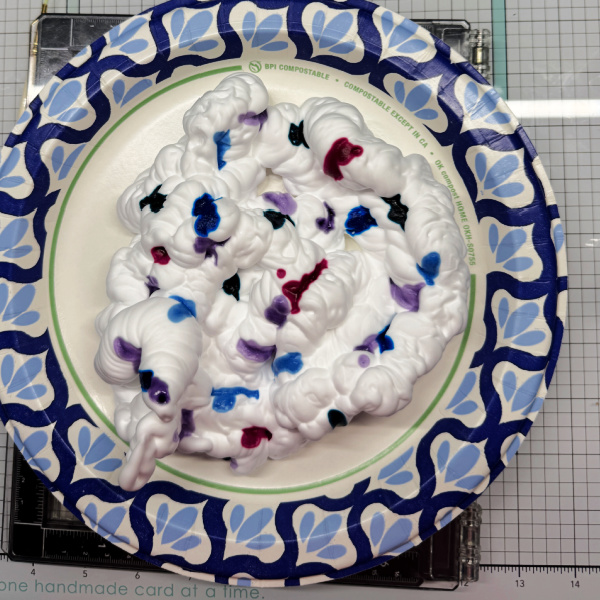
Add drops of re inkers to the shaving cream. I used 5 different colors.

Step 3:
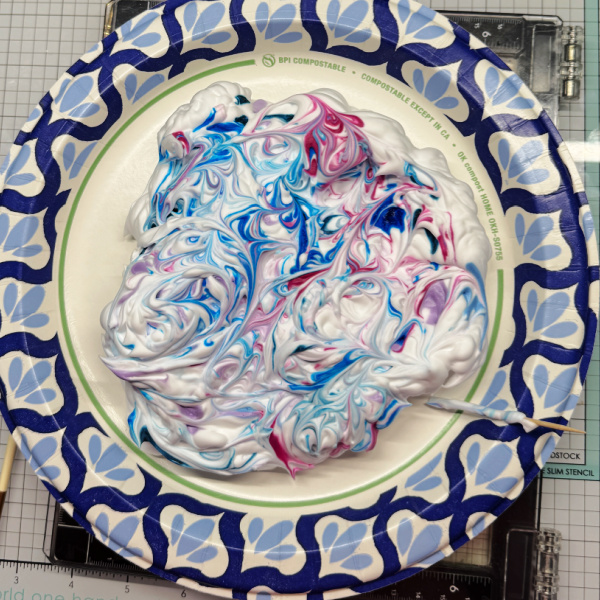
Using a tooth pick, swirl the colors around.

Step 4:
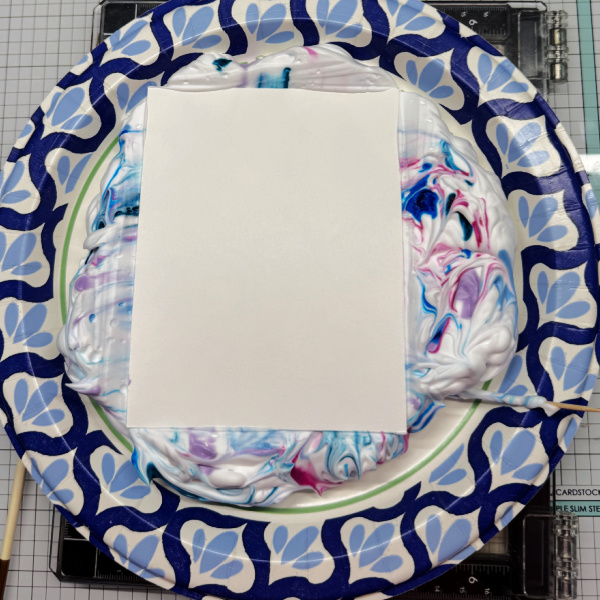
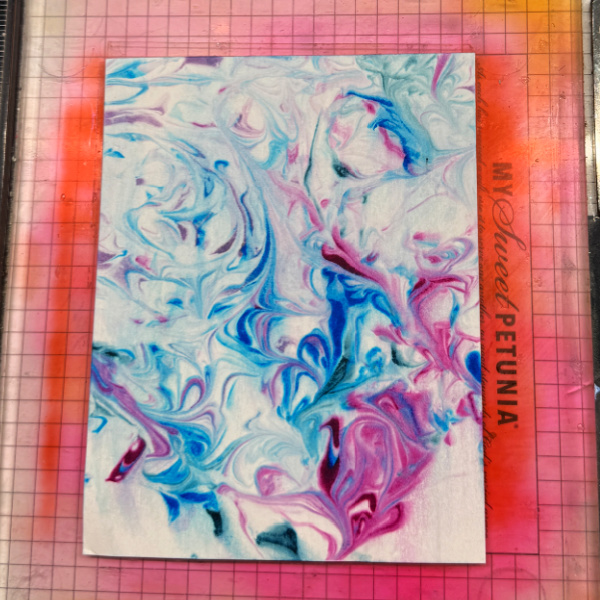
Place water friendly paper (I used Bristol Vellum) face down into the shaving cream.  Wipe off with paper towel. The results will look like the next photo and as a added bonus, it will smell so good.

Step 5:
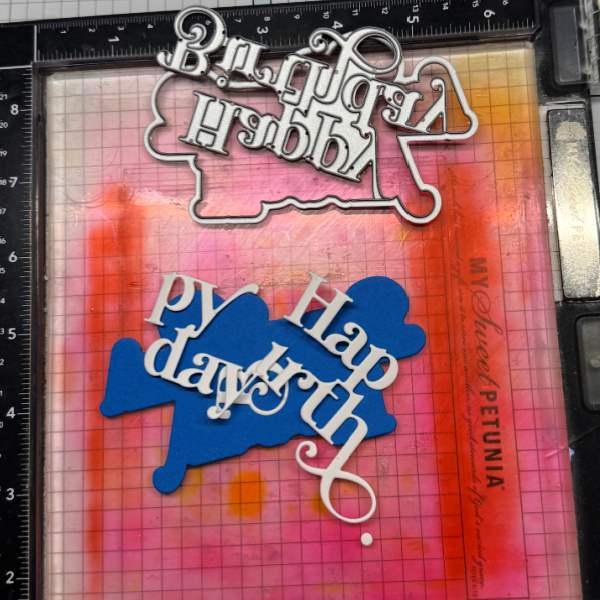
Cut the sentiment out of White cardstock and the backer out of a coordinating color of cardstock. Adhere them together and add to the front of the card.

Craft Supplies:

Imagine Products
Memento Re-Inkers:
– Bahama Blue
– Summer Sky
– Teal Zeal
– Lulu Lavender
– Lilac Posies
Tear-It!Tape

Other Products
Paper Plate
Toothpick
Shaving Cream
Happy Birthday Word die- Simon Says Stamp
Misti stamping tool

Make a Sweet Birthday Card with VersaMagic Pastel Ink Pads

By Jessica Lin –

Skill: Intermediate
Time: 30 minutes

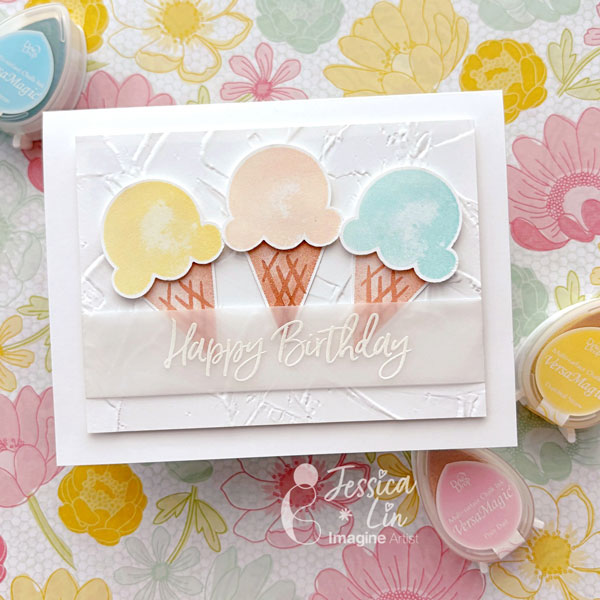
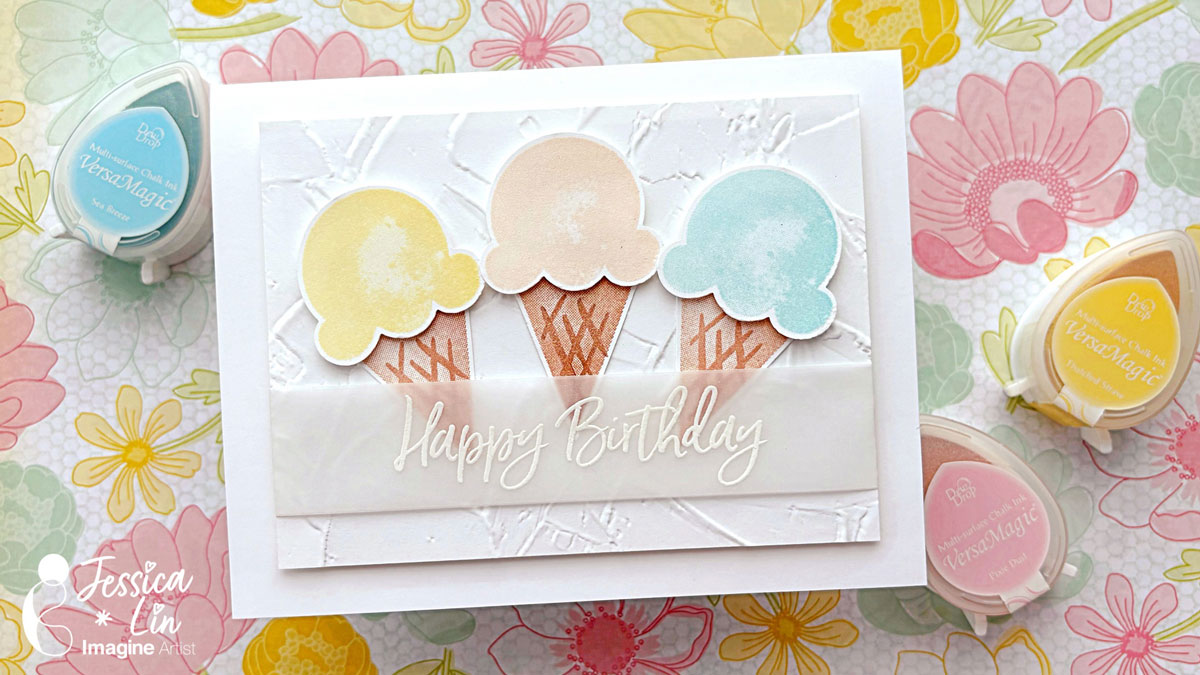
Hi everyone! It’s Jessica here. Today I am sharing a birthday card using one of my favorite ink pads – VersaMagic. They have great pastel colors that are just perfect for sorbet and ice cream images.

Step 1:
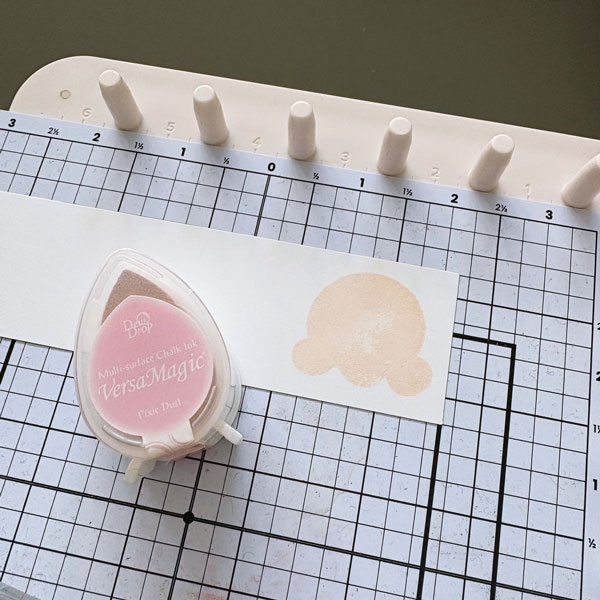
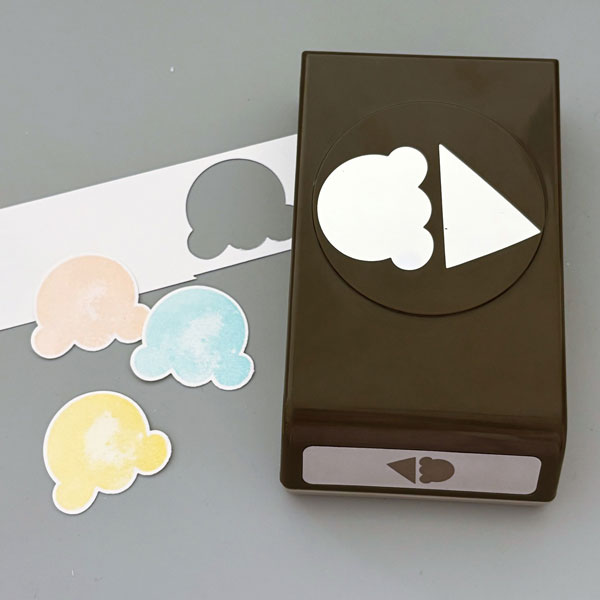
The first color I chose is VersaMagic Pixie Dust – it reminds me of the classic strawberry ice cream. I used it to stamp the ice cream scoop image from Stampin’ Up’s Sweet Ice Cream set.

Step 2:
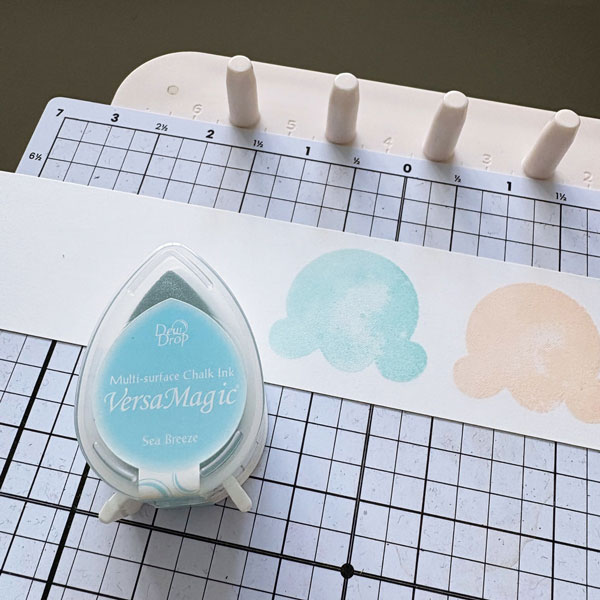
Then I used VersaMagic Sea Breeze to stamp my second scoop of ice cream. You will notice that the ice cream image is not entirely solid. I really like the “watercolor” look it gives off.

Step 3:
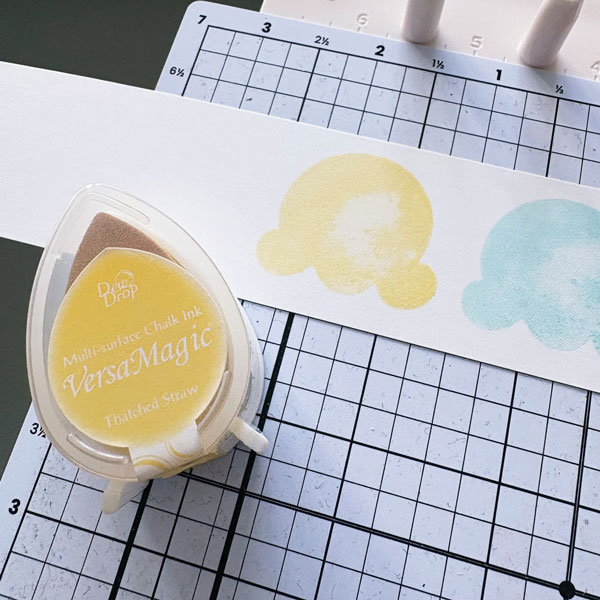
For my last scoop of ice cream, I used VersaMagic Thatched Straw. A soft yellow like this is hard to find in the ink pad world. I have yet to find a similar hue as soft as this color.

Step 4:
Once the stamped images are left to dry for 5-10 minutes, I punched them out with the coordinating Ice Cream Cone Builder punch.

Step 5:
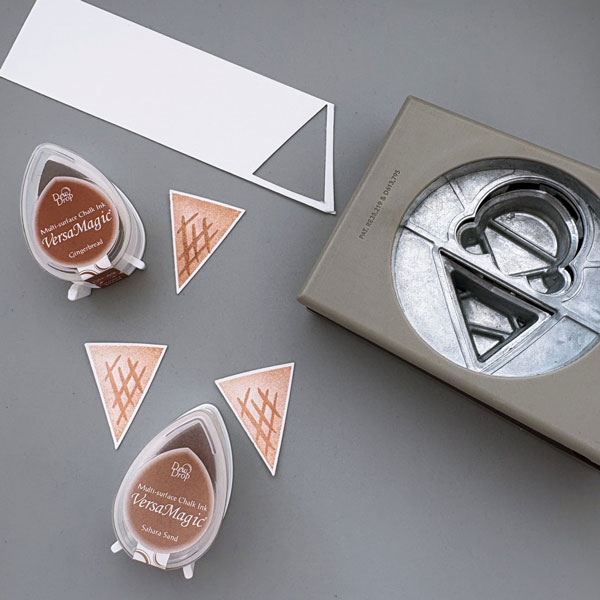
For the ice cream cones, I used VersaMagic Gingerbread and Sahara Sand. The darker one on top is stamped with Gingerbread, and the two lighter ones on the bottom are stamped with Sahara Sand.

Step 6:
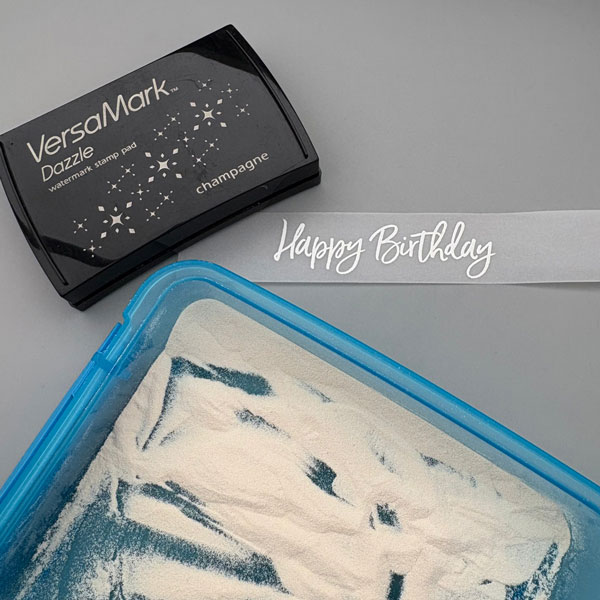
I decided to heat emboss the sentiment on vellum to match the soft, pastel palette of the card. I stamped the “Happy Birthday” stamp with VersaMark Dazzle Champagne and heat embossed with white Mboss powder.

Step 7:
To complete the card, I adhered all of the elements onto a card panel that I embossed with Stampin’ Up Painted Texture embossing folder. I hope you enjoyed today’s tutorial and have a sweet day!

Products Used:

Imagine Supplies:

Other Supplies:

  • Stampin’ Up! – Stamps – Sweet Ice Cream
  • Stampin’ Up! – Punch – Ice Cream Cone Builder
  • Stampin’ Up! – Embossing Folder – Painted Texture

Clean and Simple Watercolor Floral Card
By Ceal Pritchett

Hello everyone!

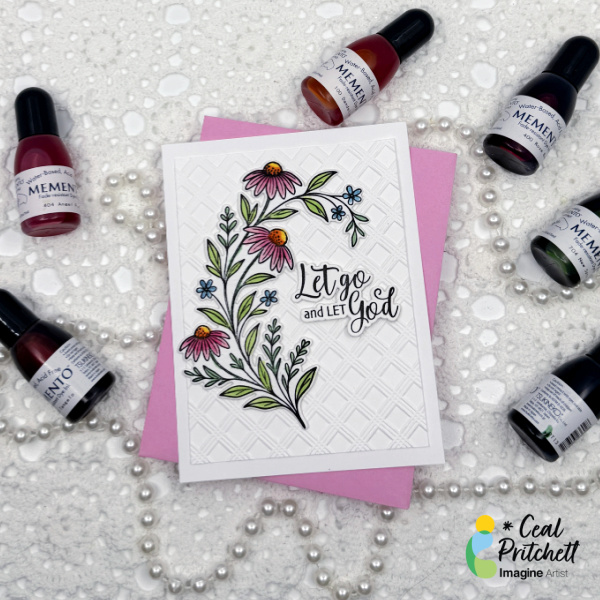
It’s Ceal, here. Today I am sharing a card that showcases my style which is clean and simple. This is also a watercolor card which I love to watercolor, it’s so relaxing.

Skill: Intermediate
Time: 45 Minutes

Directions:

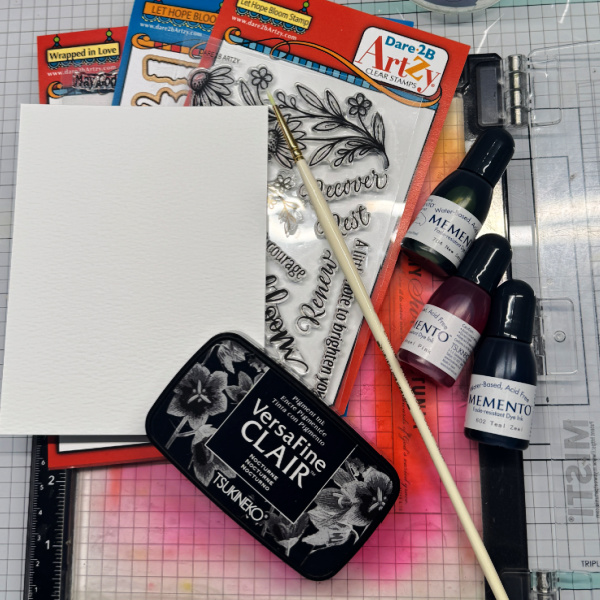
Gather your supplies. You will need a floral image stamp or a line image that you can color, several colors of water based re-inkers to watercolor with, small paintbrush, water friendly paper and a pigment ink.
Step 1:
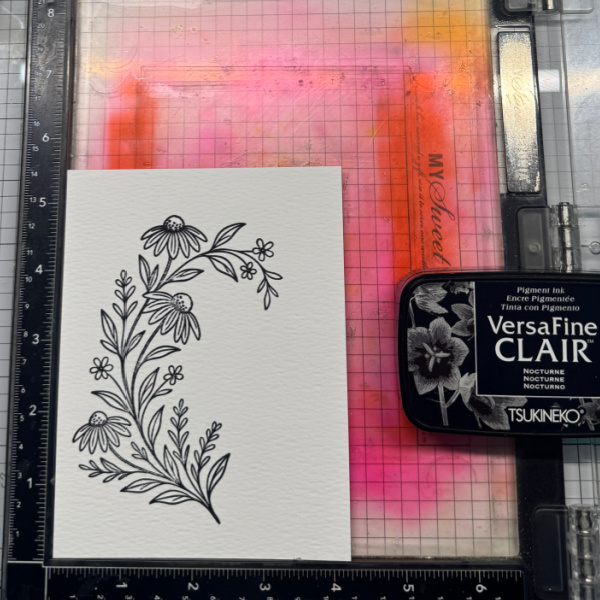
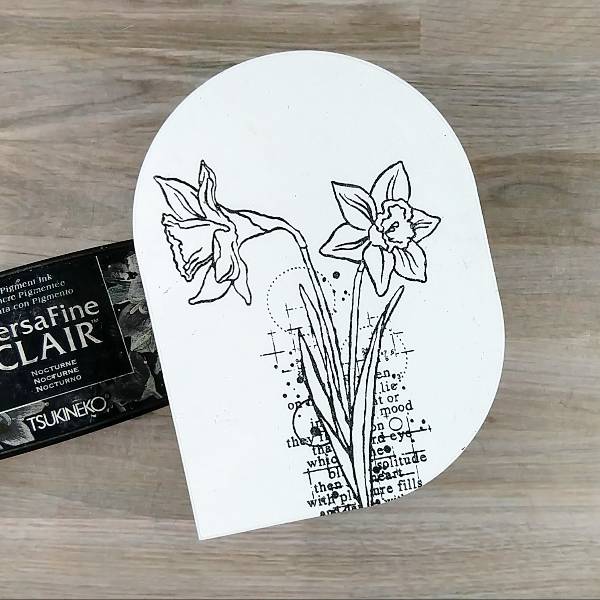
Stamp the image with a pigment ink

Step 2:
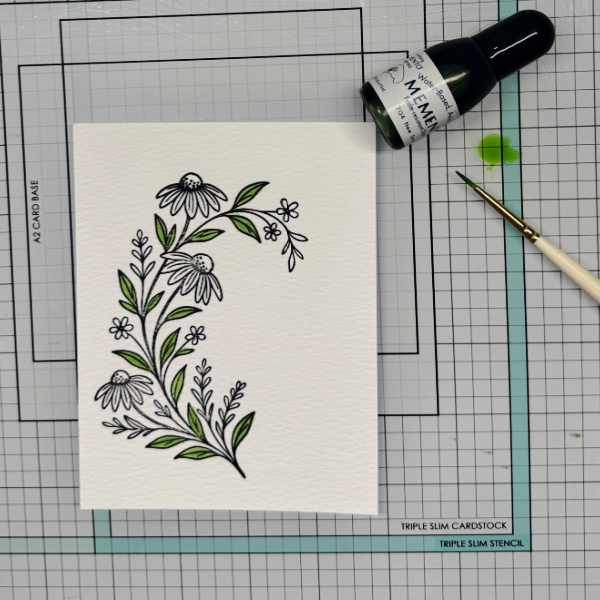
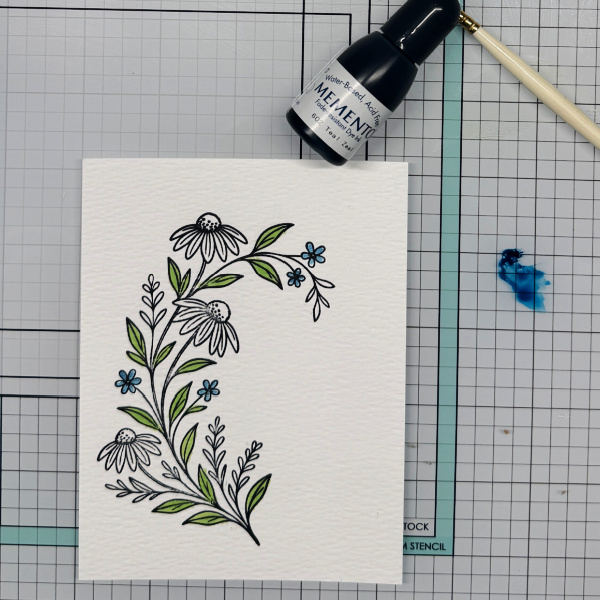
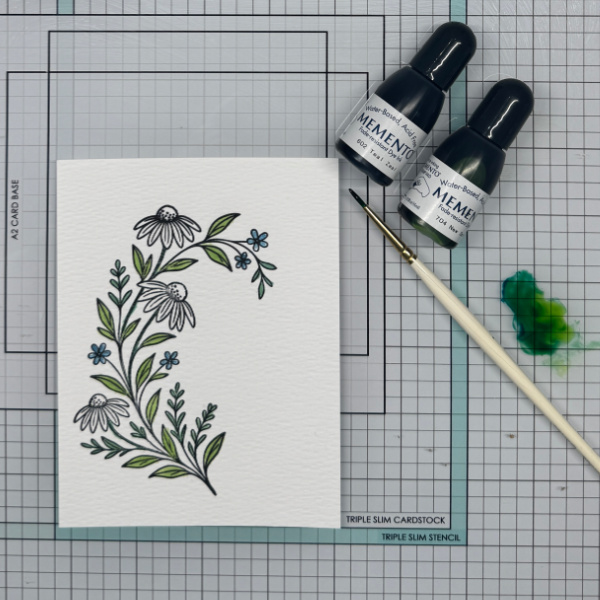
Using a green re-inker paint the leaves on the floral image.

Step 3:
Use a teal re-inker to paint the small flowers

Step:4
Mix the teal ink and the green ink together to create a darker green ink to paint the different leaves.

Step:5
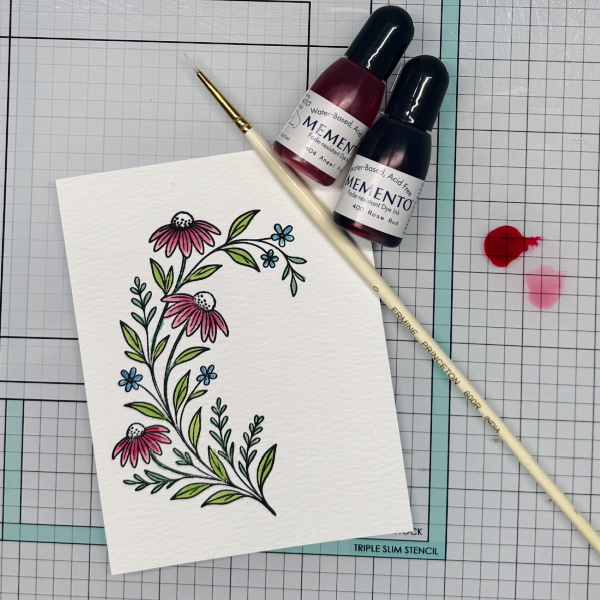
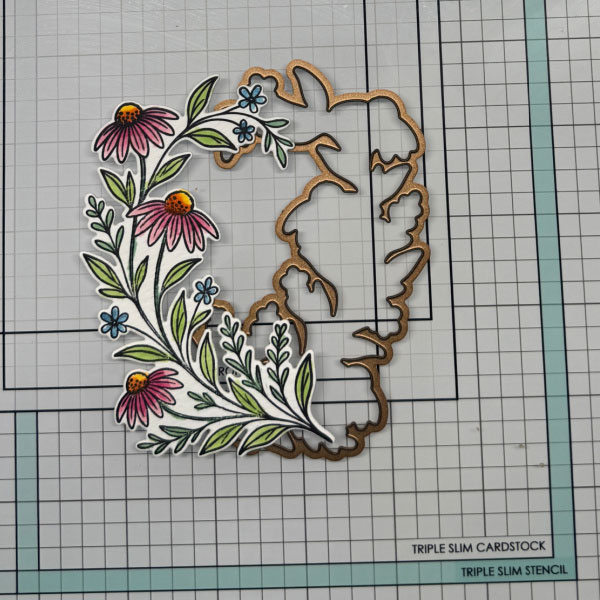
Using a light and a bright pink re-inker paint the daisies.

Step: 6
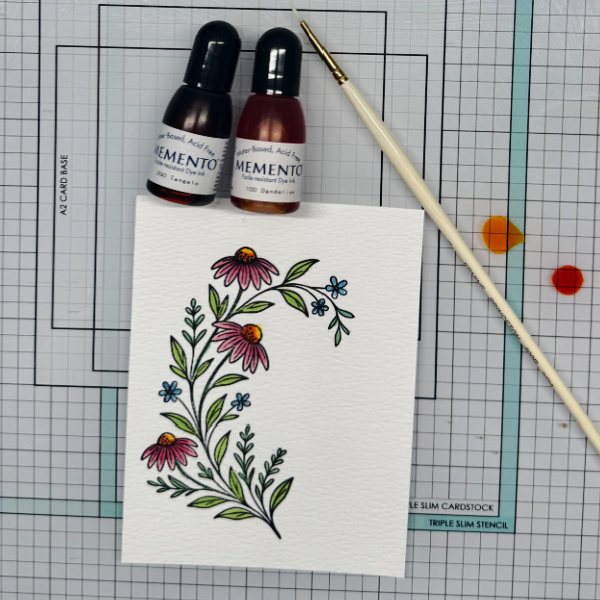
Using a yellow and orange ink paint the centers of the flowers, first yellow and then orange near the bottom.

Step: 7
After the image is painted use the coordinating die to cut it out.

Step: 8
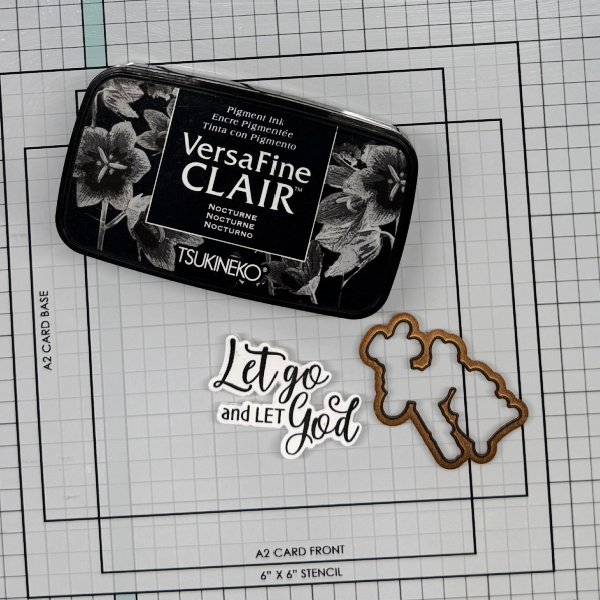
Stamp a sentiment and cut it out with the coordinating die. Place all the elements on the embossed panel (I added an embossed panel at the end) and add the sentiment.

Products Used:

Imagine Products
VersaFine Clair – Nocturne
Memento Re-inkers
– Angel Pink
– Rose Bud
– Tangelo
– Dandelion
– New Sprout
– Teal Zeal
On Point Glue

Other Products
Let Hop Bloom Stamp/die – Dare 2B Artzy
Grace is Enough stamp/die – Dare 2B Artzy
Embossing Folder – Altenew

Stamp a Gender-Neutral Birthday Card with VersaFine Clair Inks

By Jessica Lin

Skill: Beginner
Time: 20 minutes

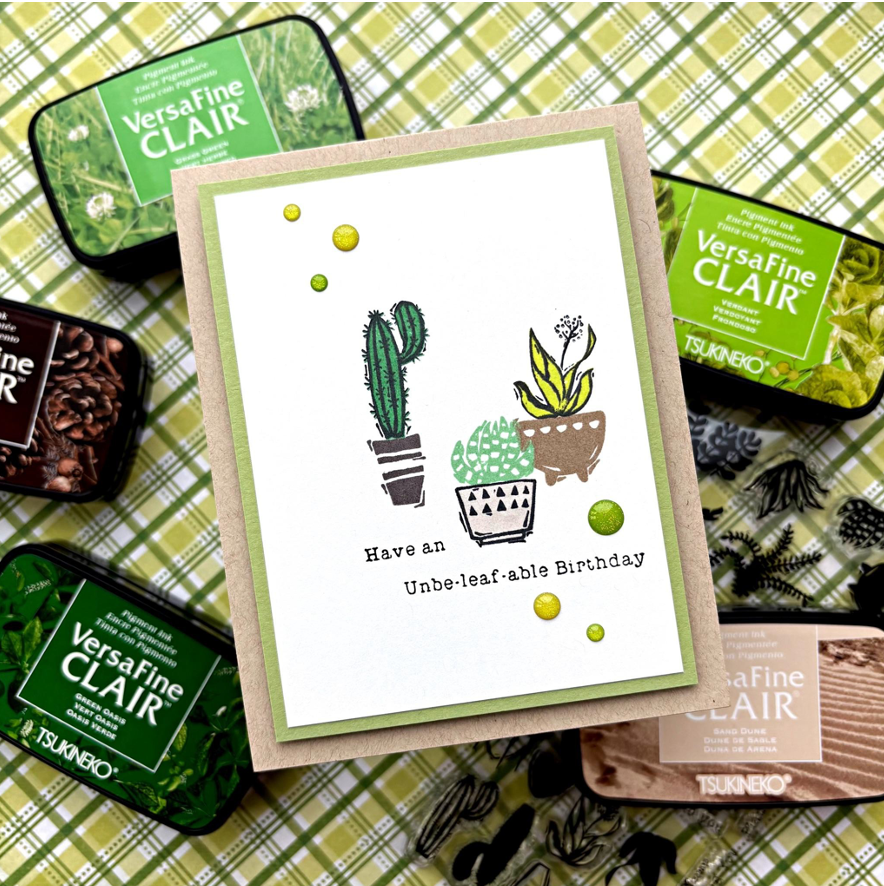
Hi everyone! It’s Jessica here. I am always looking for ways to create gender-neutral birthday cards, and I am so excited to share a beginner-friendly version today. This plant stamp set has some punny sentiments for Valentine’s Day, too. Some of the phrases are perfect for all-occasions, which makes this set so versatile to pair up with the potted plants images.

Step 1:
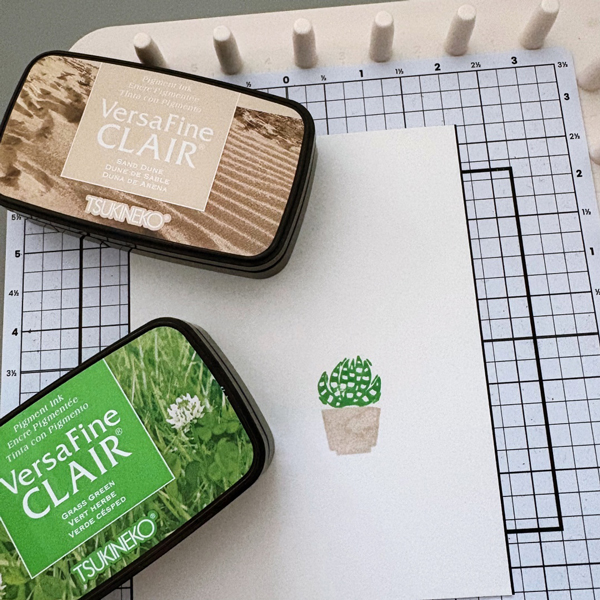
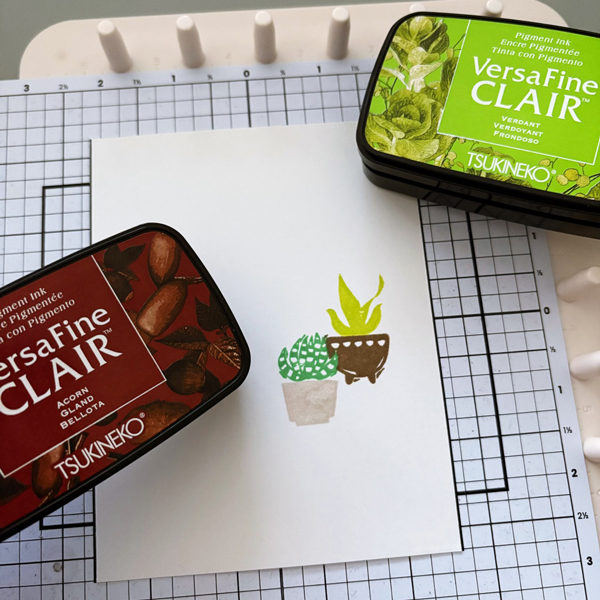
Stamp the succulent plant with VersaFine Clair Grass Green ink pad. For the pot, use VersaFine Clair Sand Dune. Stamp another succulent image on a post-it note and fussy cut the image for masking in step 2. Tip: Stamp on the sticky edge of the post-it note so that the fussy cut image will turn into a temporary sticker

Step 2:
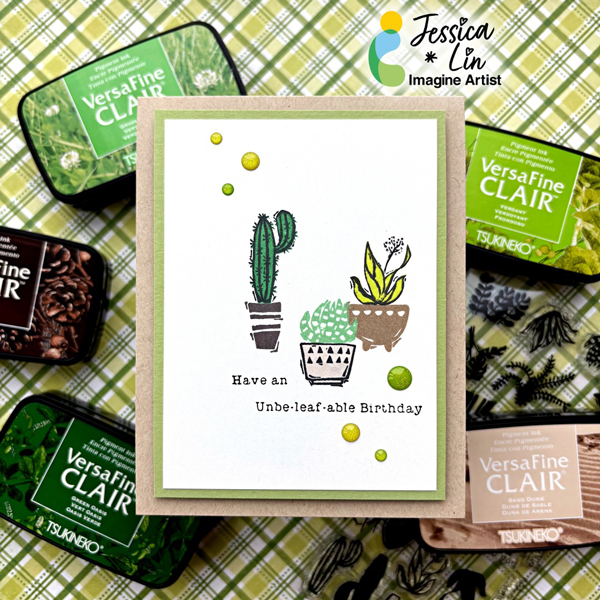
Mask the stamped succulent image with the fussy cut sticky note. Then stamp the second plant pot with VersaFine Clair Verdant and Acorn. Masking the succulent plant creates the illusion that it sits in front of the second plant pot. I did not overlap the two plants very much, but you could stamp the two closer together to emphasize the spatial arrangement.

Step 3:
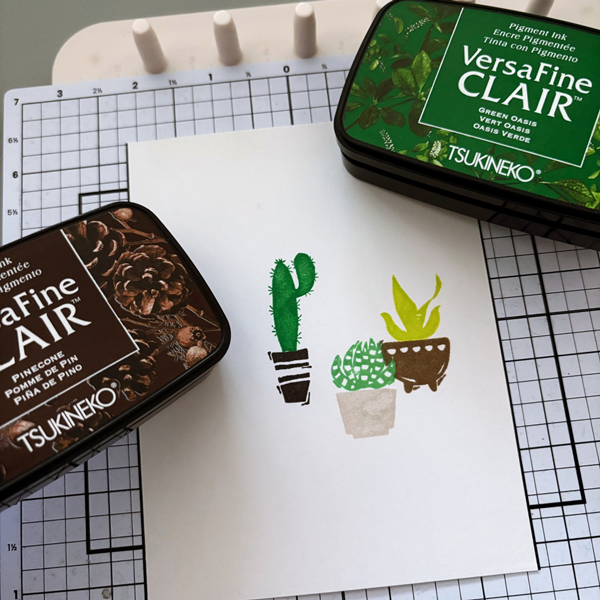
For the third cactus plant, stamp with VersaFine Clair Green Oasis and Pinecone. I love the different shades of greens and browns in the VersaFine Clair line; they complement each other so well.

Step 4:
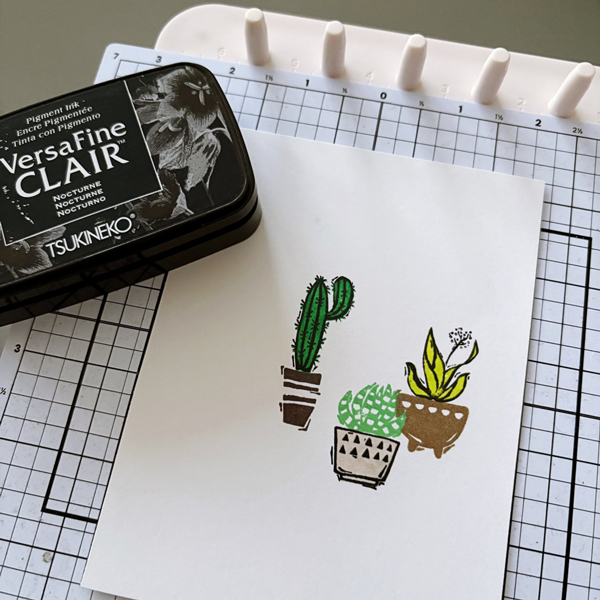
Lastly, stamp the outline images with VersaFine Clair Nocturne ink pad. The super cute pun sentiment was also stamped with the same ink.

Step 5:
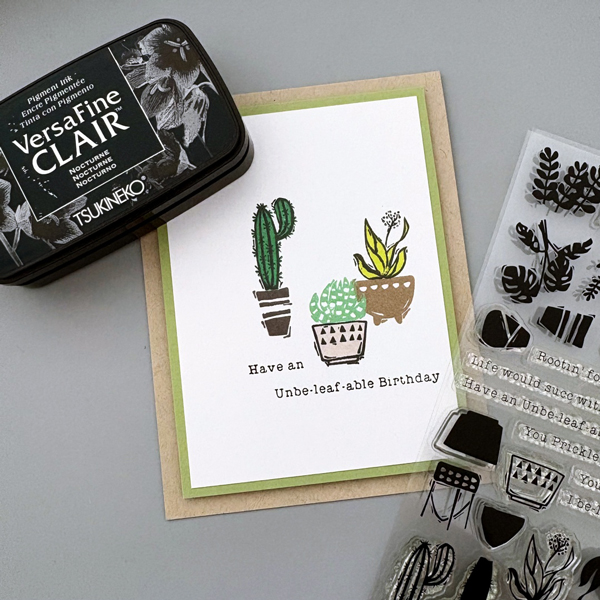
Trim the stamped card panel to 3 ½’’ x 4 ¾’’. Adhere it to a 3 ¾’’ x 5’’ piece of green cardstock, then adhere both layers to a cardbase with foam tape.

Step 6:
For the final finishing touch, add a few enamel drops from Doodlebug Sprinkles Limeade.

Products Used:

Imagine Supplies:

Other Supplies:

  • iCrafter – Stamps – Positively Plants
  • Stampin’ Up! – Cardstock – Pear Pizzazz
  • Neenah – Cardstock – Desert Storm
  • Foam Tape
  • Doodlebug – Enamel Dots – Sprinkles Limeade

Watercolored Daffodils Thank You Card

By Anna Escalada York

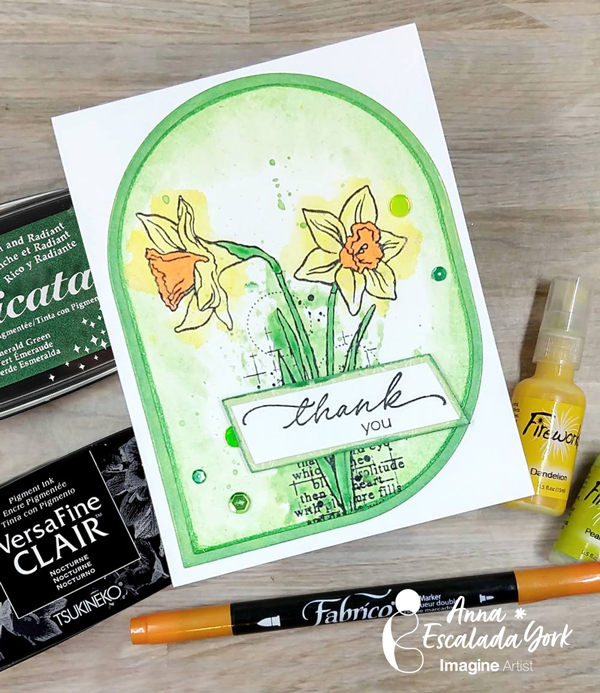
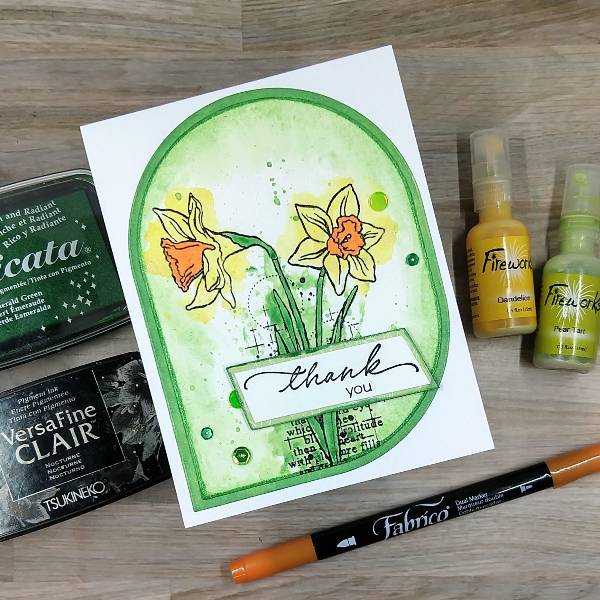
After winter holidays, my family always needs thank you notes. I really love this wonderful daffodils stamp set and wanted to use it to make one of those cards.

Skill: Intermediate
Time: 1.5 hours

Directions:

Step 1:
Stamp the main floral stamp on a piece of watercolor paper with Nocturne VersaFine Clair ink. Heat emboss with clear embossing powder. Then die cut the image with a mid-sized background panel die

Step 2:
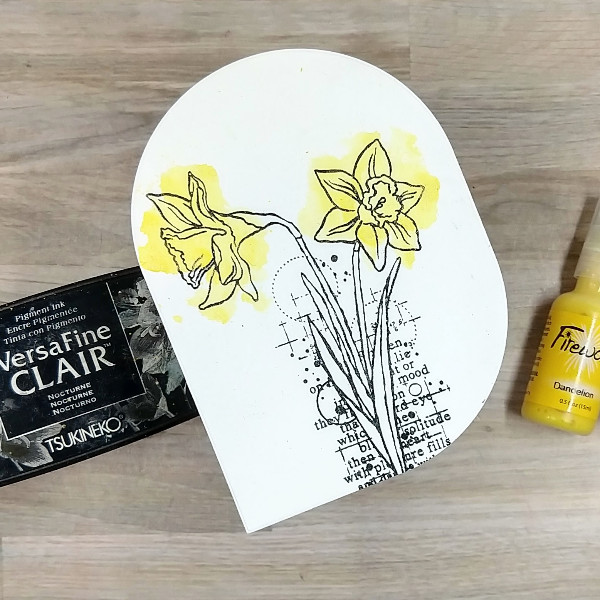
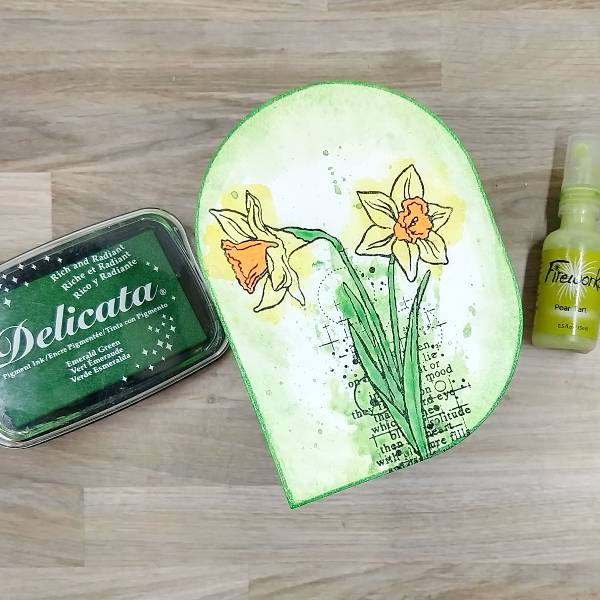
Spray Dandelion Fireworks! Craft Spray onto acetate packaging and watercolor smoosh the two flowers.

Step 3:
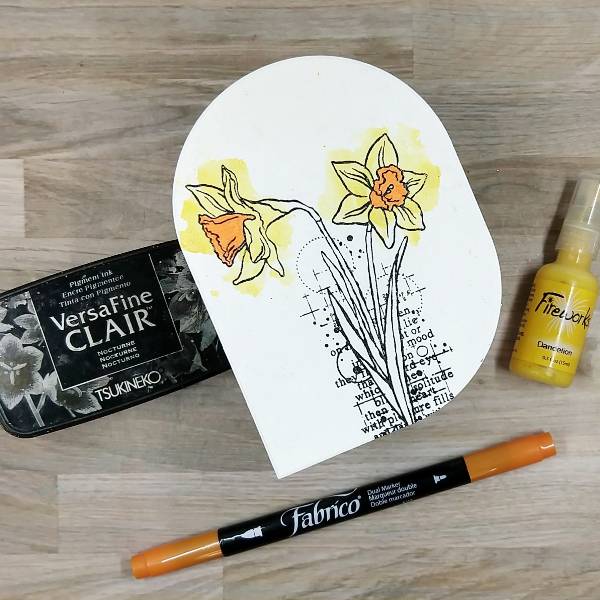
Color the corona (the central part of the flower) with the Tangerine Fabrico Dual Marker.

Step 4:
Press the Emerald Green Delicata ink pad onto acetate. Then spray Pear Tart Fireworks! Craft Spray onto the same acetate. Mix the ink and spray together. Press the acetate onto the daffodil’s stem and leaf. Then paint the leaf and stem with the remaining green mix. After the image has dried, spray the mix with water to dilute the green. Paint the sides with this lighter color green watercolor. (I ended up using my finger to spread the watercolor the way I wanted, but I don’t mind getting messy!) After this layer dried, press the Emerald Green Delicata ink pad onto the edge of the die cut. Heat emboss the inked edge with more clear embossing powder.

Step 5:
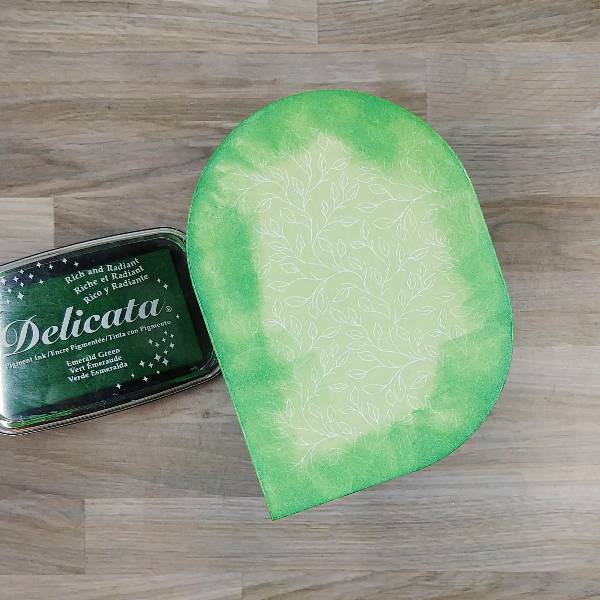
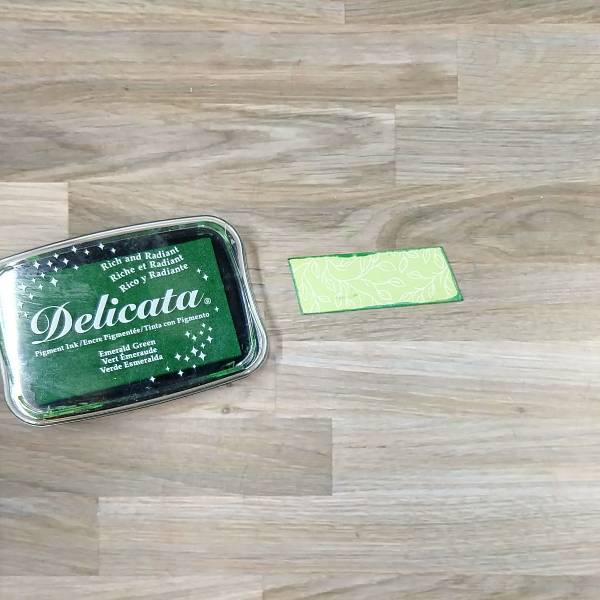
Die cut light green patterned paper with the next-largest die from the background panel die cut set. Brush the Emerald Green Delicata ink around the edges of the panel to mask the pattern and make the green more intense.

Step 6:
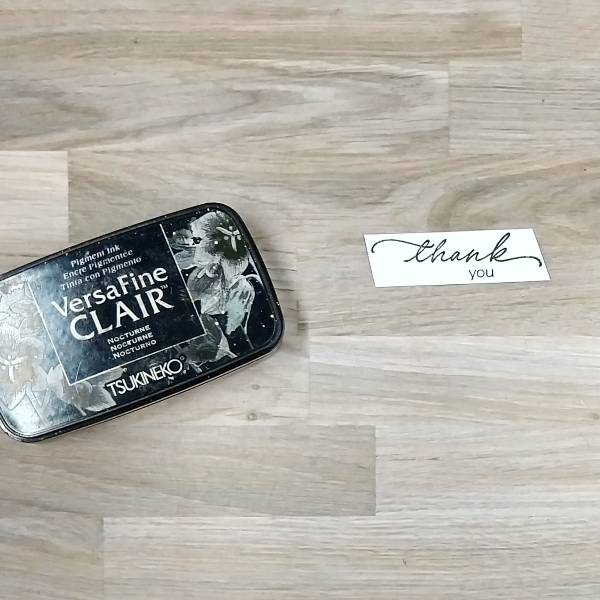
Stamp the sentiment with Nocturne VersaFine CLair ink and heat emboss with clear embossing powder. Then trim the sentiment with a paper trimmer.

Step 7:
Trim a piece of the same light green patterned paper a little bit bigger than the sentiment strip with the paper trimmer. Press the edges into the Emerald Green Delicata ink pad and heat emboss with clear embossing powder.

Step 8:
Assemble the card. Glue the two panels together. Glue the sentiment strip onto the light green, slightly bigger strip. Then attach the sentiment strip to the card panel with foam tape. Glue green and yellow sequins around the sentiment and daffodils. To finish the card, glue the whole thing onto an A2-sized white card base.

Art Supplies

Imagine
• Delicata Ink – Emerald Green
• Fireworks! Craft Spray – Dandelion and Pear Tart
• Fabrico Dual Marker Tangerine
• VersaFine Clair ink – Nocturne

Other
• Altenew – foam tape – Instant Dimension Foam Tape
• Catherine Pooler – sequin mix – North Pole
• Simon Says Stamp – die set – Squovals
• Visible Images – stamp set – Golden Daffodils
• Clear Embossing Powder
• Glue
• Green patterned paper
• Watercolor paper
• A2-sized white card base