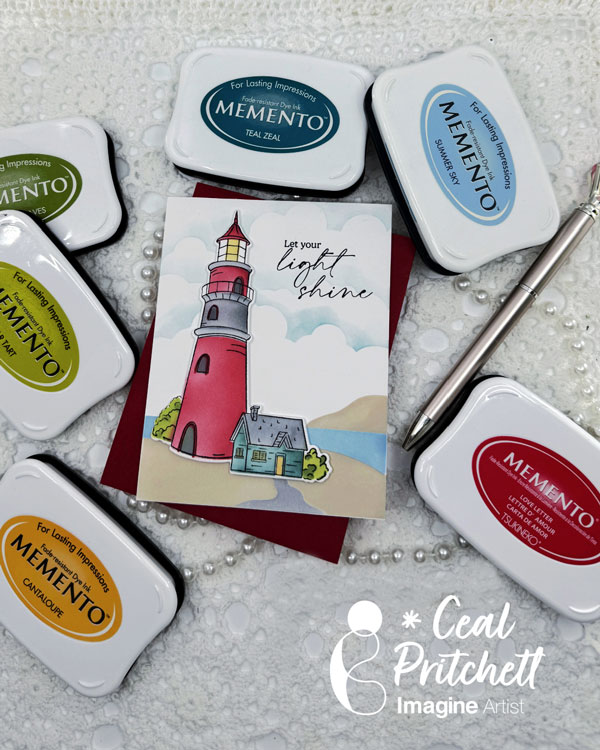
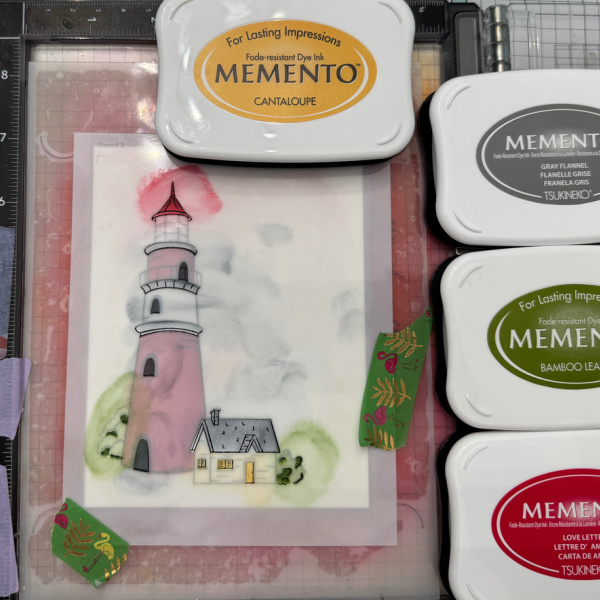
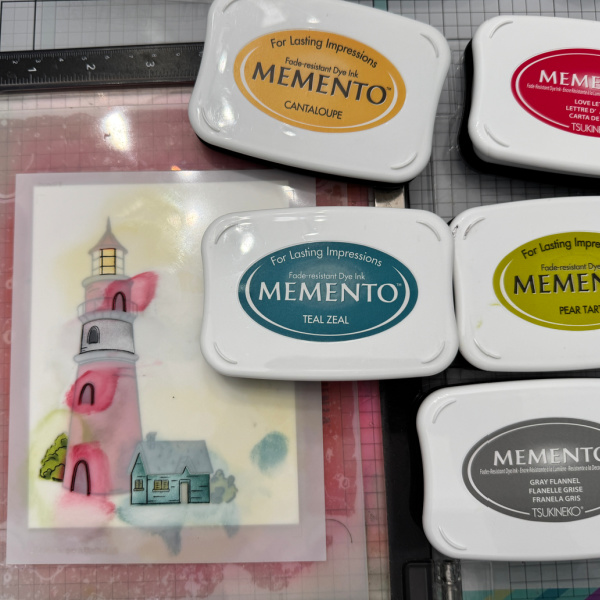
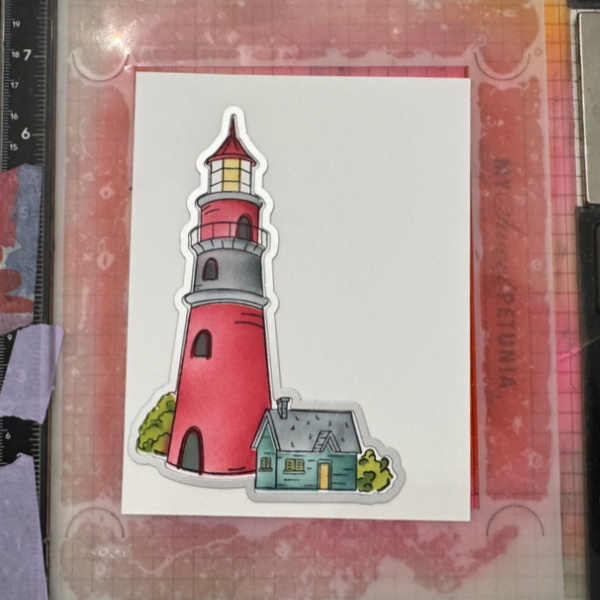
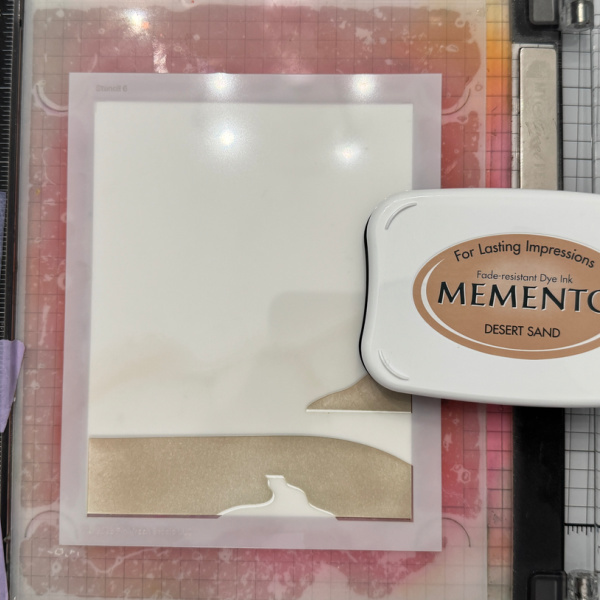
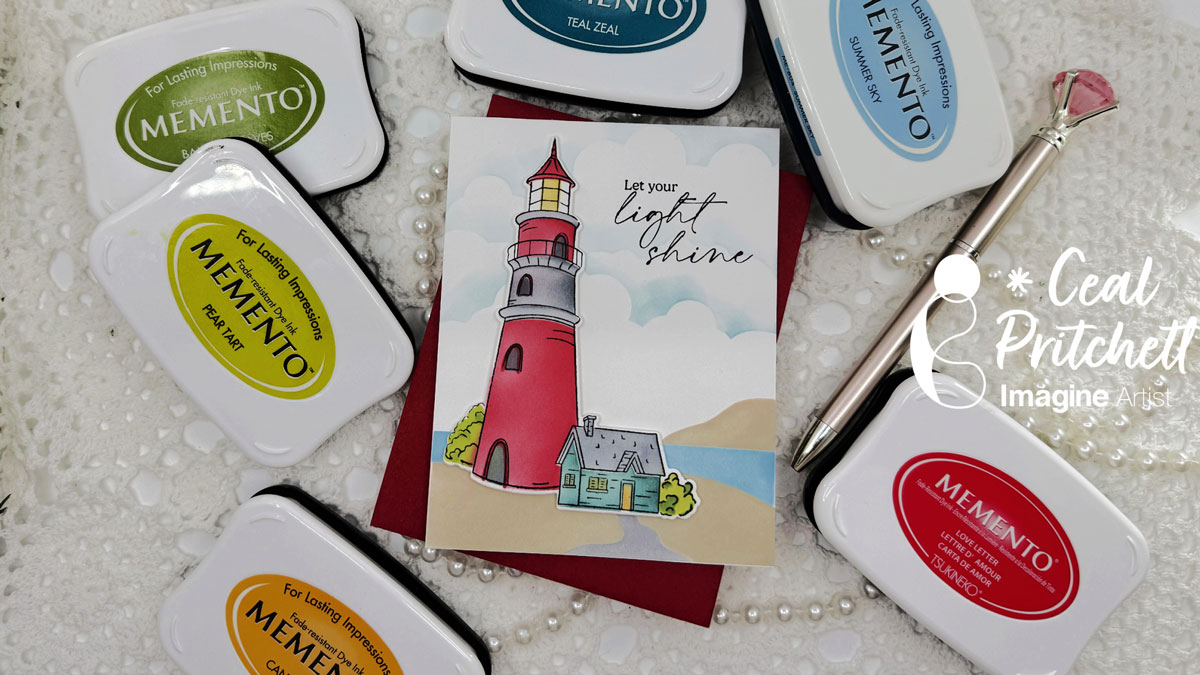
It’s Ceal, here. Today I am sharing how to make this beautiful light house card using supplies by Pinkfresh studio and Memento Inks.
Skill: Intermediate to Advanced Time: one hour
Directions:
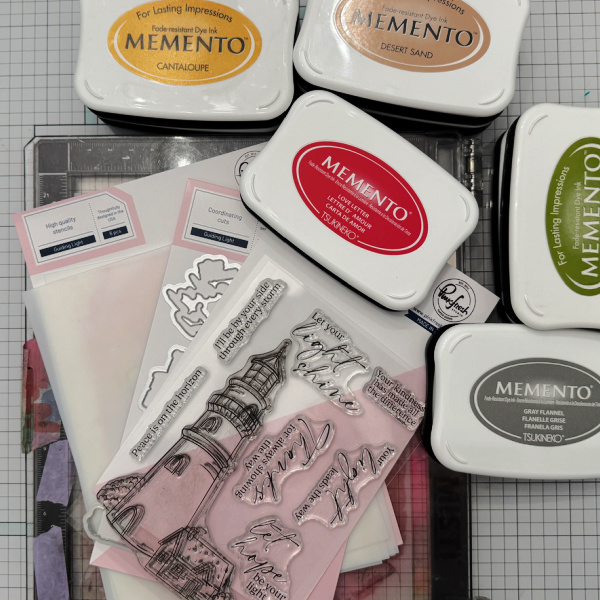
Gather your supplies. You will need a lighthouse or similar stamp set with coordinating stencils and dies. To make this card I started with a white top folding A2 card base and a white panel.
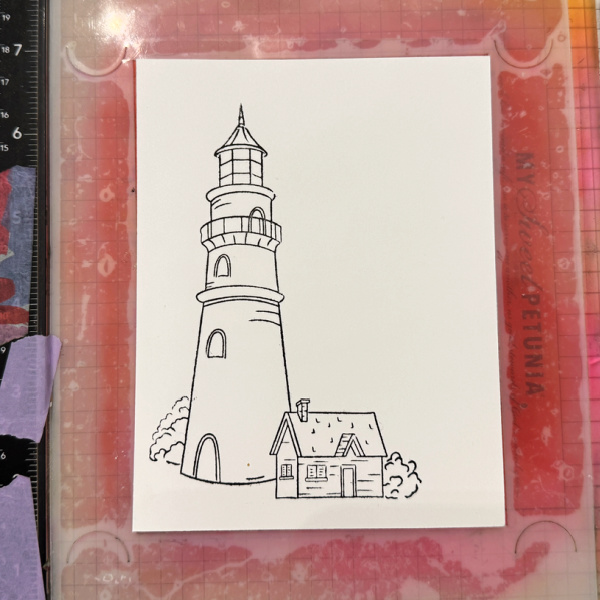
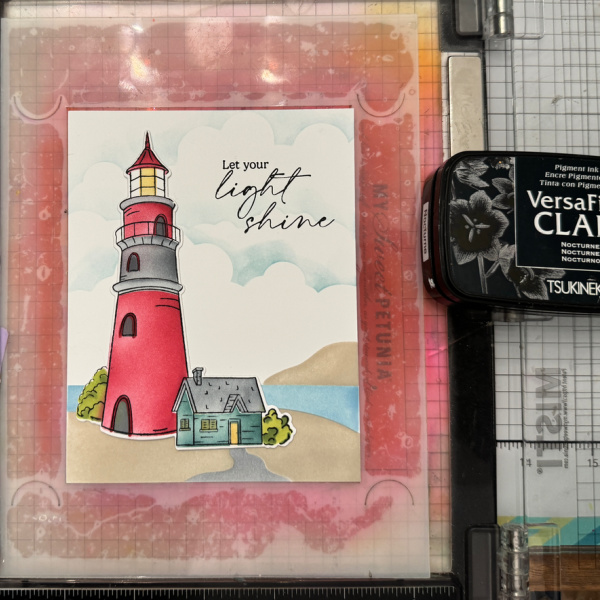
Step 1: Stamp the image with VersaFine Clair Nocturne ink on a white panel.
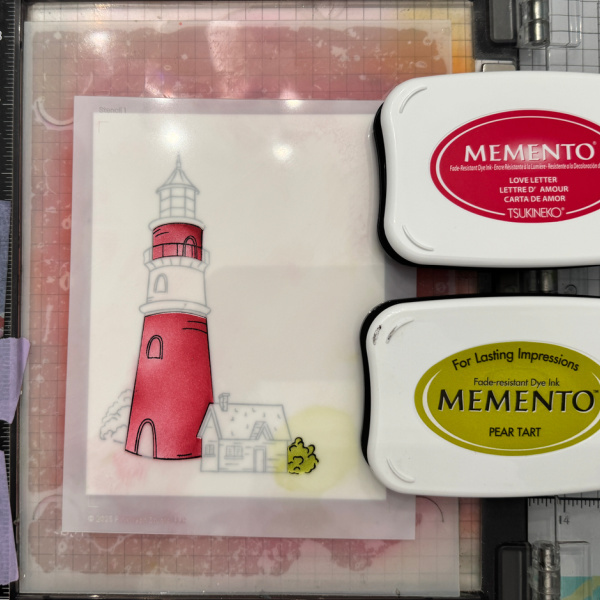
Step 2: Using the first stencil color the portion of the lighthouse and bush. I used Love Letter and Pear tart Memento ink.
Step 3: Color the open portions of the second stencil. I used Gray Flannel, Love Letter, Cantaloupe, and Bamboo Leaves
Step 4: Color the open portions of the third stencil. I used Cantaloupe, Love Letter, Teal Zeal, Pear Tart and Gray Flannel. This will complete the coloring of the image.
Step 5: Cut the image out with the cording die using a die cutting machine.
Step 6: Color the open portion of the fourth stencil creating the sand. I used Desert Sand. For the walkway/path I used Gray Flannel.
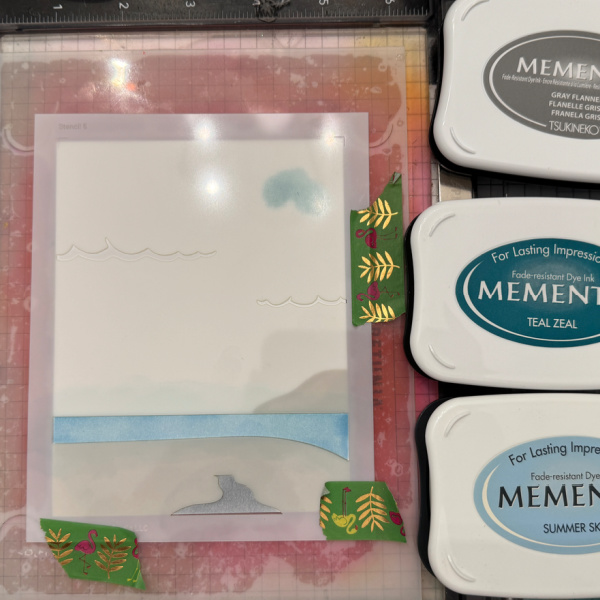
Step 7: Color the open portion of the stencil creating the water. I used a mixture of Summer Sky and Teal Zeal.
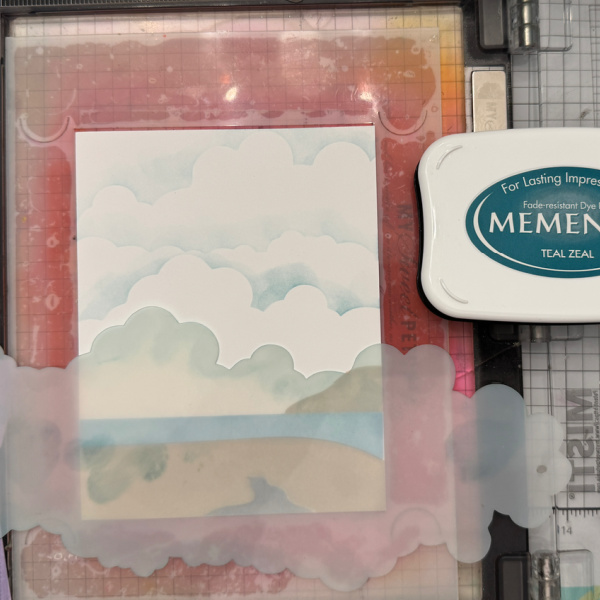
Step 8: Create clouds in the background by using a cloud stencil. The ink I used is Teal Zeal.
Step 9: Add a sentiment to the panel and adhere the finished panel to the card base popping up the lighthouse.
Products Used:
Imagine Products: Memento Inks in the following colors Teal Zeal Summer Sky Pear tart Bamboo Leaves Love Letter Cantaloupe Desert Sand Gray Flannel
Other Supplies:
Guiding Light by Pinkfresh Studio Stamp set Coordinating Coloring Stencils Coordinating Dies
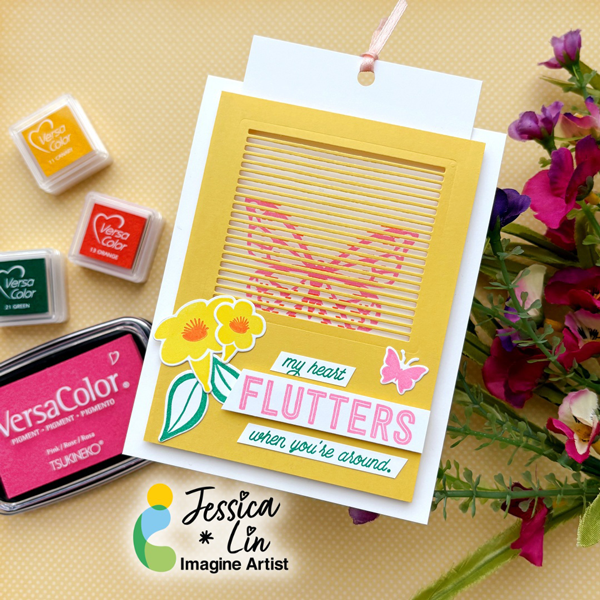
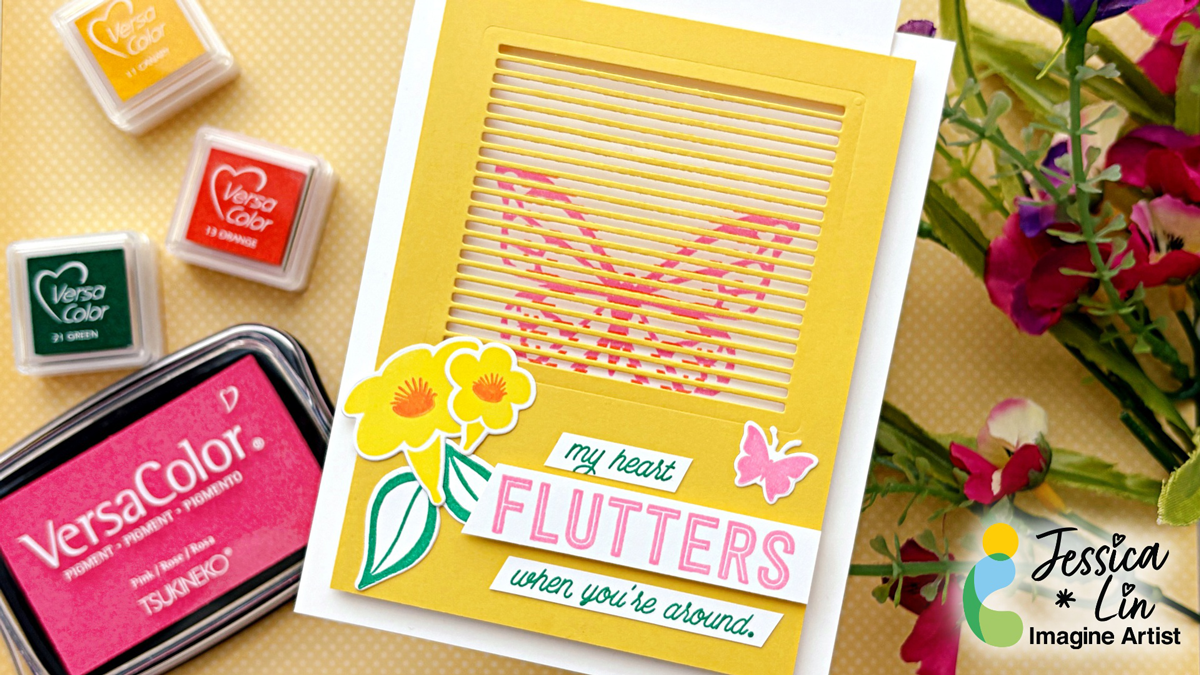
Hi everyone! It’s Jessica here. Interactive cards are so fun to make! Today, I am trying out a new kind of interactive mechanism that resembles stop-motion animation. I haven’t seen this type of papercraft before, and was surprised by the result. If you like interactive cards, be sure to check this out!
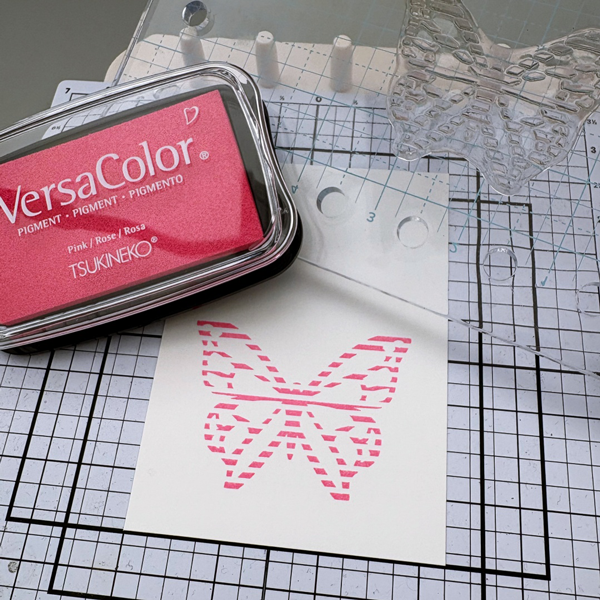
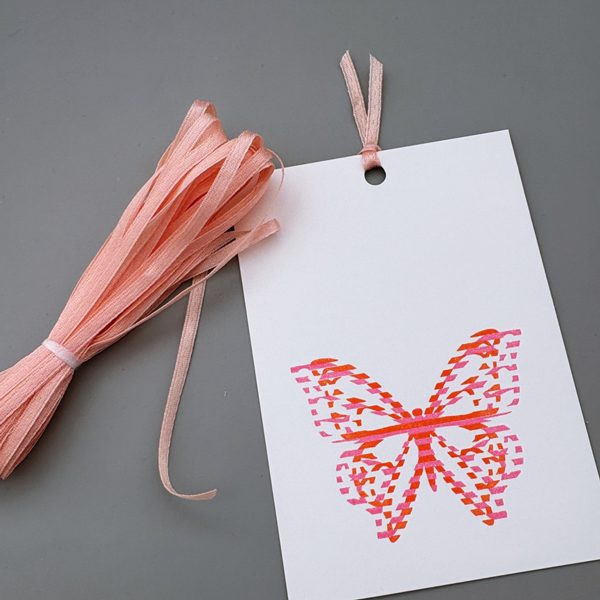
Step 1: On a piece of 3 ¼’’ x 4 ⅝’’ white cardstock, stamp the larger butterfly image with VersaColor Pink ink pad. Try to stamp it straight with the help of a stamp positioning tool or a T-ruler.
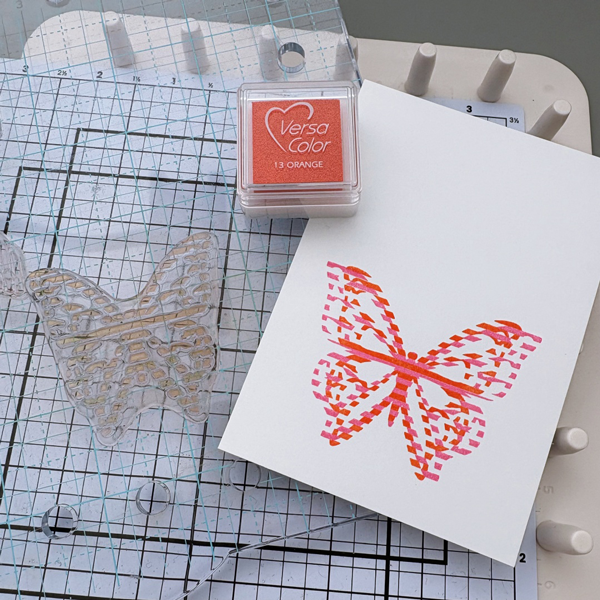
Step 2: Then, lining up the head and tail of the butterfly, stamp the smaller butterfly image with VersaColor Orange ink pad. The stamped image looks a little odd right now, but don’t fret, this was how the You Move Me stamp set from Stampin’ Up was designed.
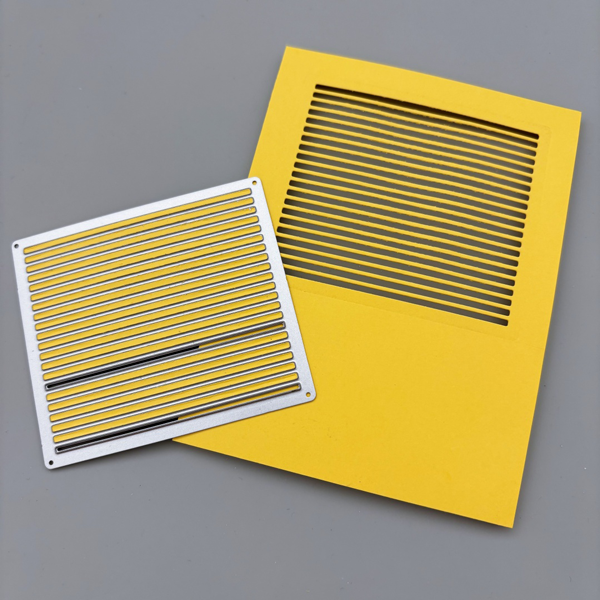
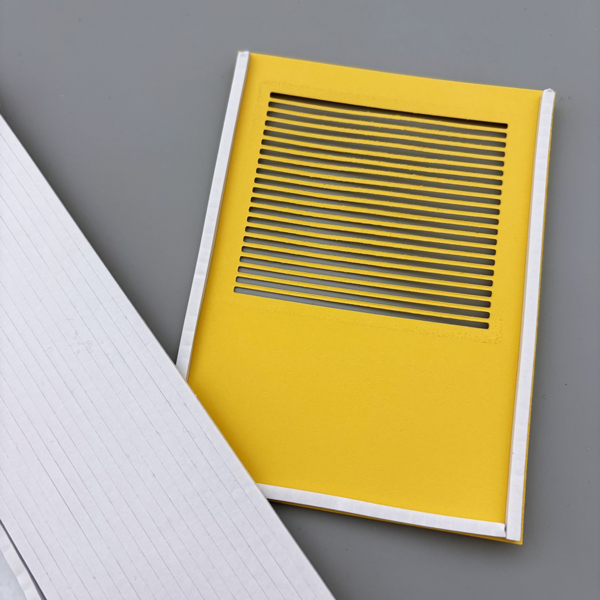
Step 3: On a piece of 3 ¾’’ x 5’’ yellow cardstock, die cut the window die from the coordinating die set. This window is going to be the key of the interactive mechanism. I die cut it towards the top of the card panel since I will be adding sentiment strips on the bottom.
Step 4: Adhere thin foam strips around the sides and bottom of the die cut panel. Don’t forget to leave the top open! TIP: lay the stamped panel on top of the die cut panel, and adhere the foam strips as close to the die cut panel as possible. This would leave less wiggle room for the stamped panel to move around, creating a smoother fluttering effect. After that, adhere the die cut panel to an A2 white cardbase.
Step 5: Punch a hole on the top of the stamped panel and add a small piece of ribbon on top.
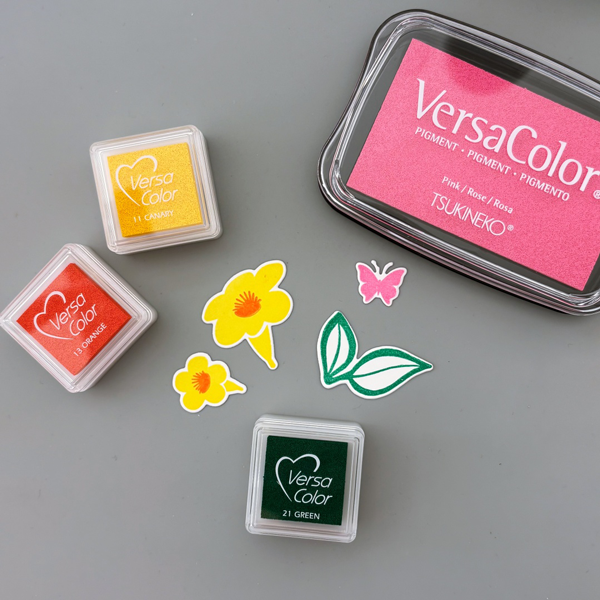
Step 6: Stamp additional floral elements with VersaColor Pink, Orange, Canary, and Green ink pads. Die cut each image with coordinating dies.
Step 7: Stamp the sentiment with VersaColor Pink and Green ink pads. Adhere them to the front of the die cut panel, and this fun, interactive card is complete!
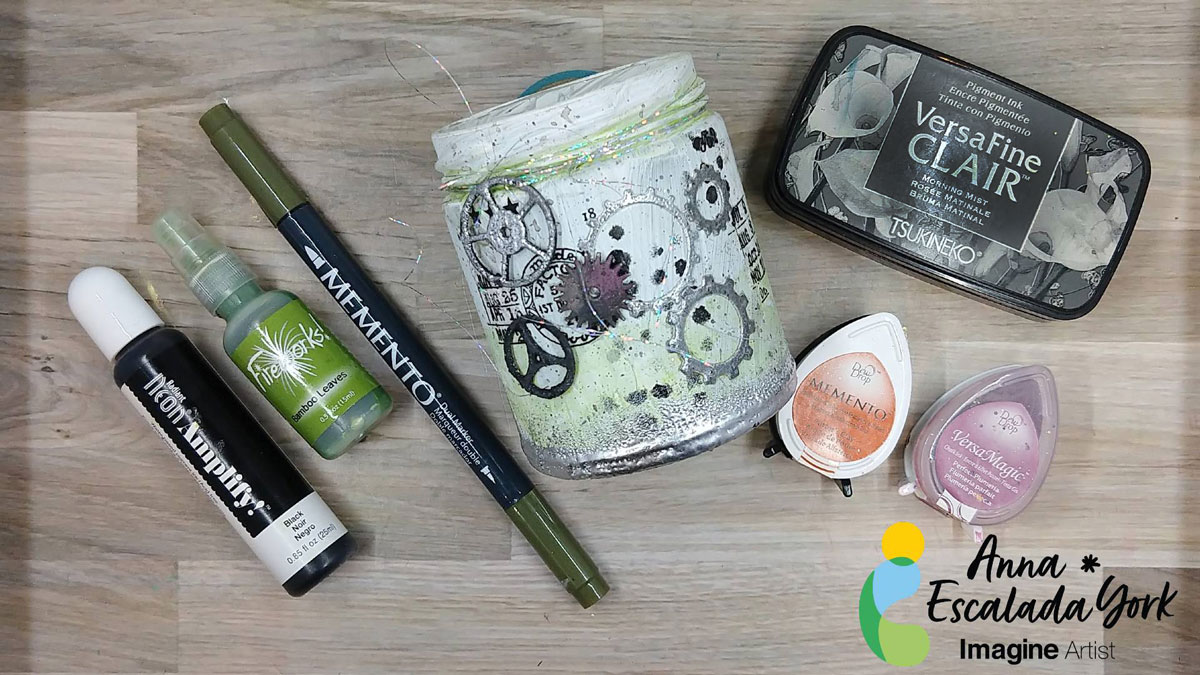
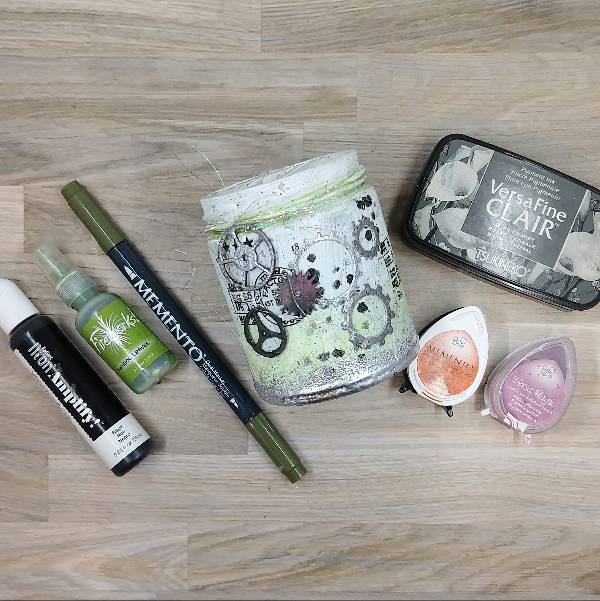
My teen is hard to please, but recently they expressed interest in having a small jar to use for candles. They really like a grungy steampunk vibe and their favorite color is green and so tried to personalize this for them.
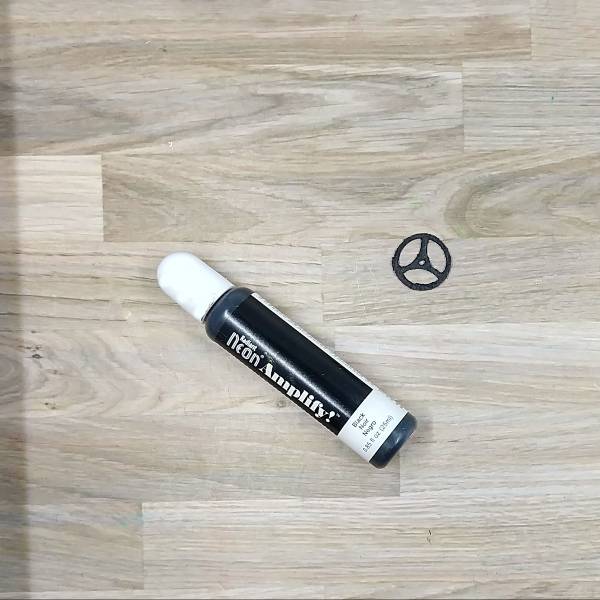
Add a dab of black Amplify! onto a brass metal gear and heat with a tool. Because I heated the Amplify!, it puffed out and made Amplify! gritty and puffy, which worked well for the jar’s gritty look.
Step 2:
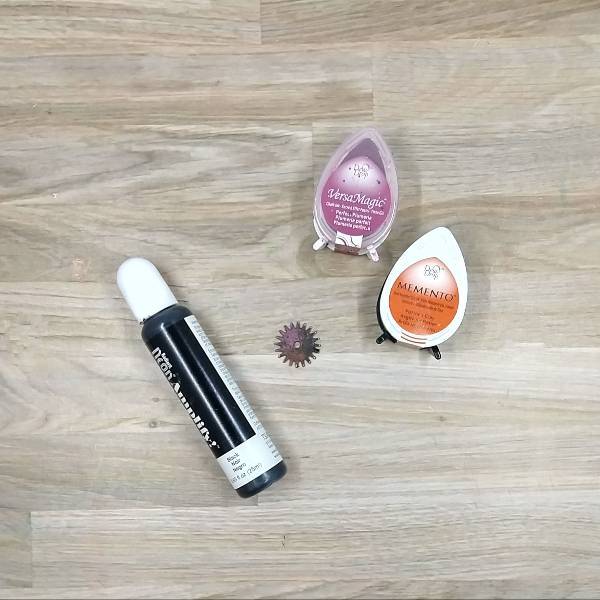
Repeat step one with a second gear. Then press another gear into both a Potter’s Clay Memento ink pad as well as Perfect Plumeria VersaMagic ink pad to make the gear look like it had rusted over.
Step 3:
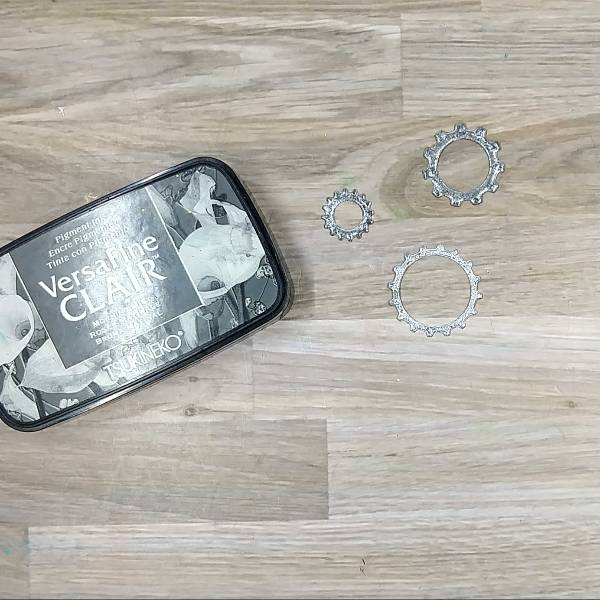
Die cut watercolor paper with gear dies. Then press each of the gears into Morning Mist VersaFine Clair ink. Heat emboss all three of them with silver embossing powder.
For the two top gears in the picture, press the gears back into the Morning Mist VersaFine Clair ink and then heat embossed them with clear embossing powder to create a darker or tarnished silver color on those two gears.
Step 4:
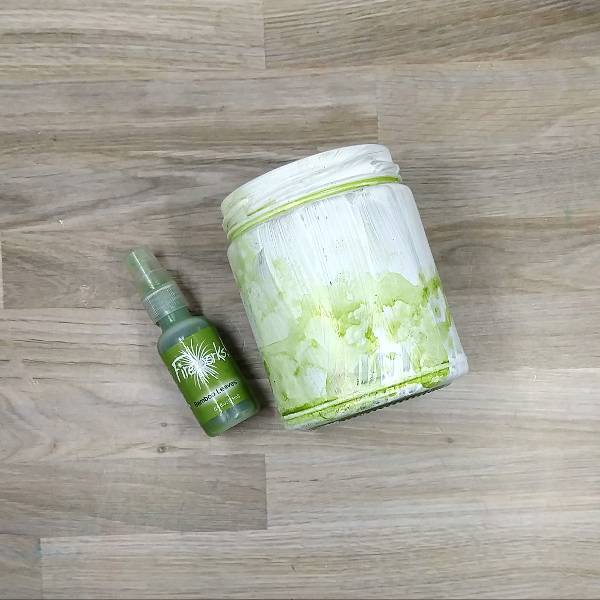
Paint a cleaned jar with gesso. Let it dry overnight. Then spray the jar with Bamboo Leaves Fireworks! Craft Spray and spin the jar to help move the spray around the jar. Repeat to color the whole bottom part of the jar and allow to dry.
Step 5:
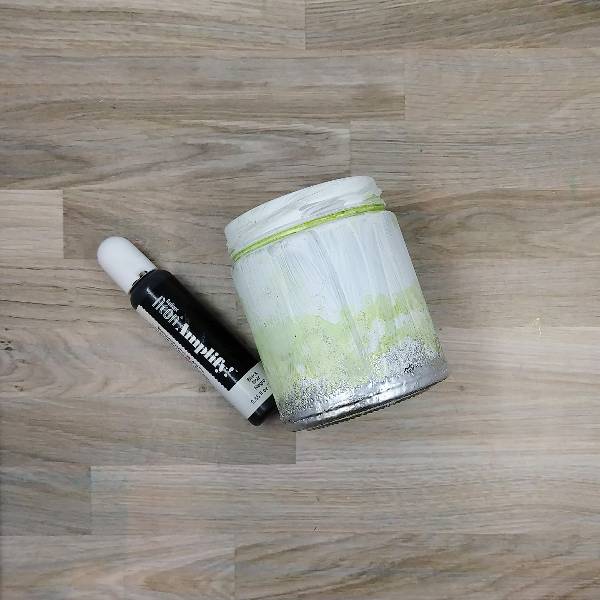
Using a sponge dauber, add a thin layer of black Amplify! To the bottom part of the jar and then used the wet Amplify! to adhere silver embossing powder and then heated the powder to create a silver bottom to the jar.
Step 6:
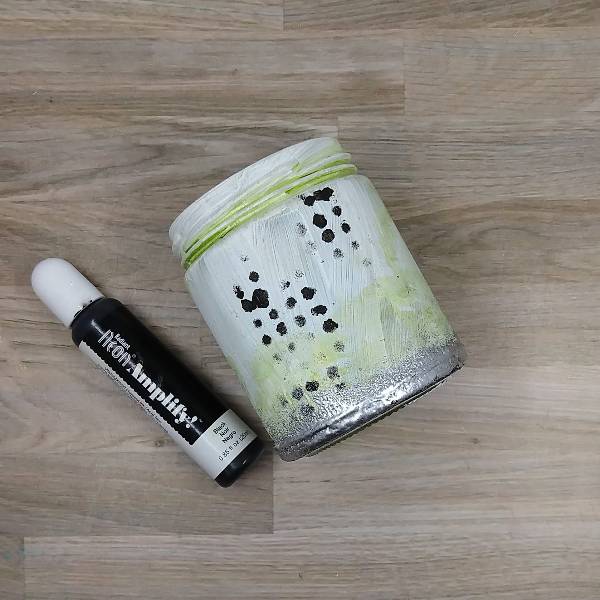
Use a circular stencil and the same sponge dauber to add more black Amplify! to the center of the jar (on one side) and use a heat tool to dry.
Step 7:
Add rub on stickers next to the black circles. Glue the watercolor die cut gears over the stenciled black circles and then glue the two smaller metal gears over the top of them. Attach the largest gear by tying it onto the neck of the jar with silver thread. Splatter the jar with Northern Pine Memento Dual Tip Marker to finish the project.
Other Products • Golden – Gesso Semi-Opaque Acrylic Primer • Tim Holtz and Idea-ology – Remnant Rubs • Tim Holtz and Idea-ology – Sprocket Gears • Sizzix – die set – Vault Industrial • Circle stencil in my stash • Clear Embossing Powder • Silver Embossing Powder • Silver thread • Glue • Watercolor paper
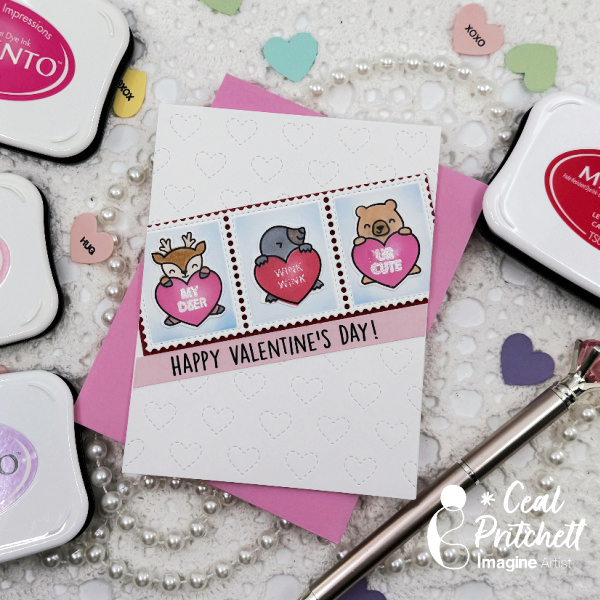
Hello everyone! Today I am sharing how I made this filmstrip valentines card using some Memento inks.
Skill: Intermediate Time: 1 hour
Directions:
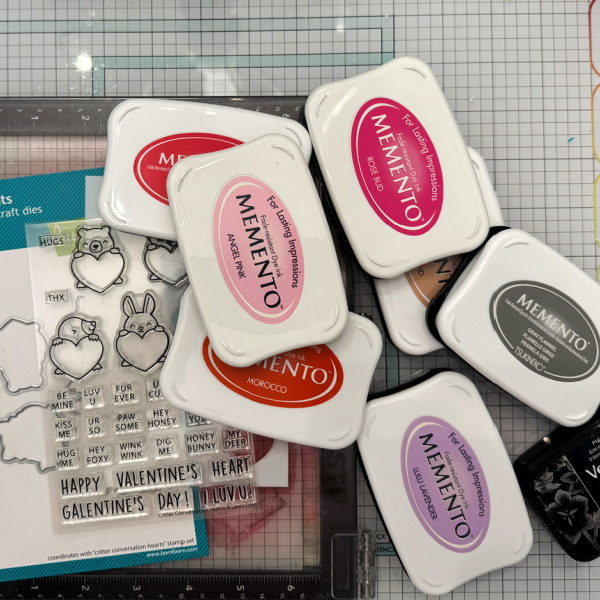
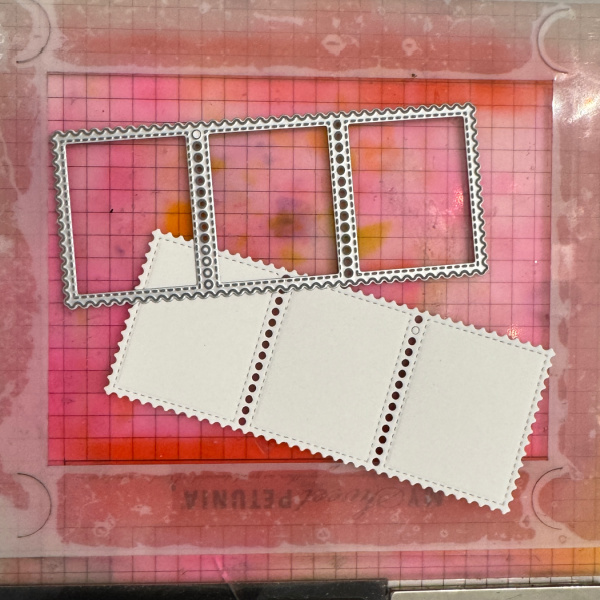
Gather your supplies. To make this card, you will need a valentines set (preferably with small images to fit in the film strip), a film/postage strip die, and sereral colors of ink.
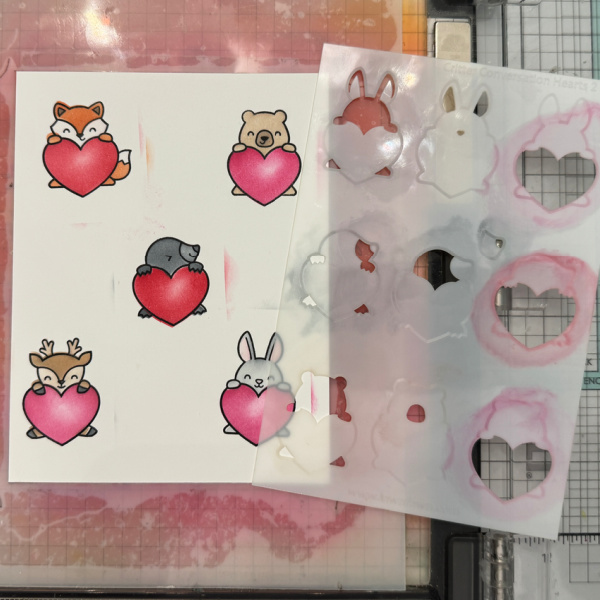
I started with a white top folding A2 card base and a white panel for the images. I used a set from Lawn Fawn that has coordinating stamp, coloring stencils and dies. I used Memento inks in several colors to color the images and a stamp/film strip die.
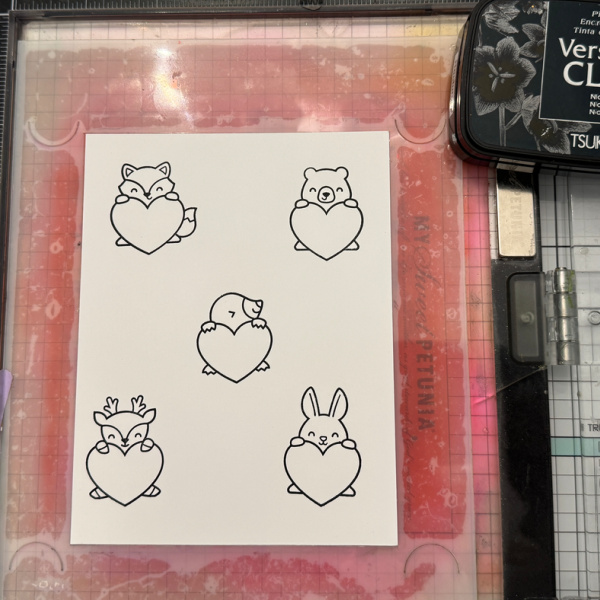
Step 1: Stamp the images in VersaFine Nocturne ink on a panel of white cardstock.
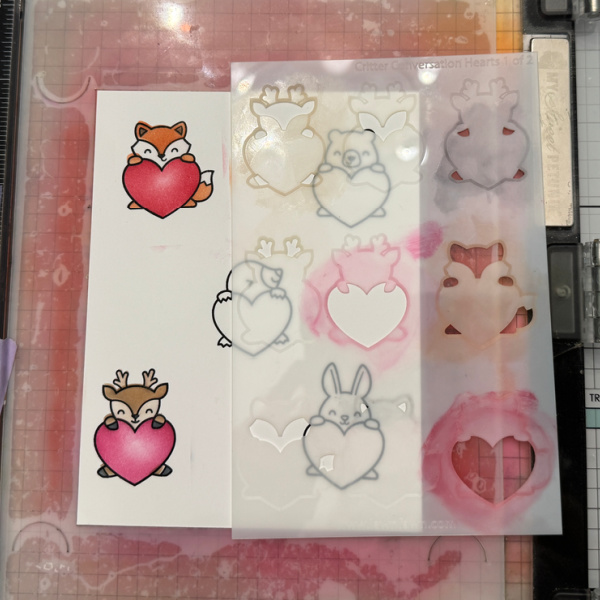
Step 2: Using stencil No. 1, color the images in the desired colors. I used Morocco for the fox and Desert Sand for the deer.
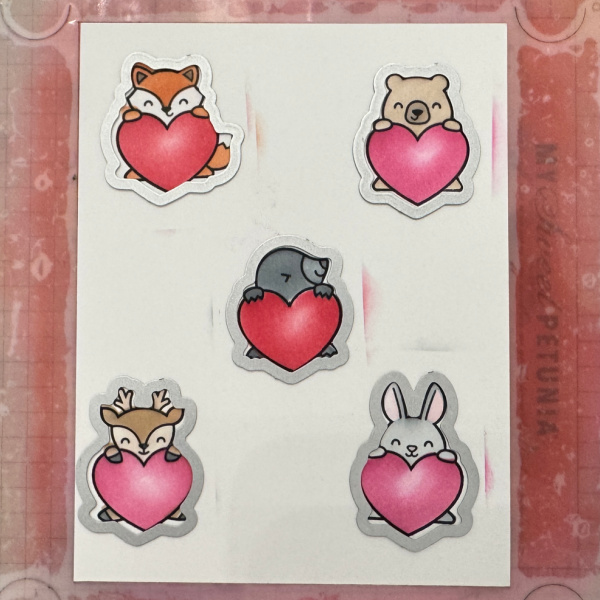
Step 3: Using stencil No. 2, color the remaining images in the desired color. I used Desert Sand for the bear and Gray Flannel for the seal and Bunny just heavier handed on the seal. I used Angel Pink for the ears.
Step 4: Using the coordinating dies and a die cutting machine, cut out the images.
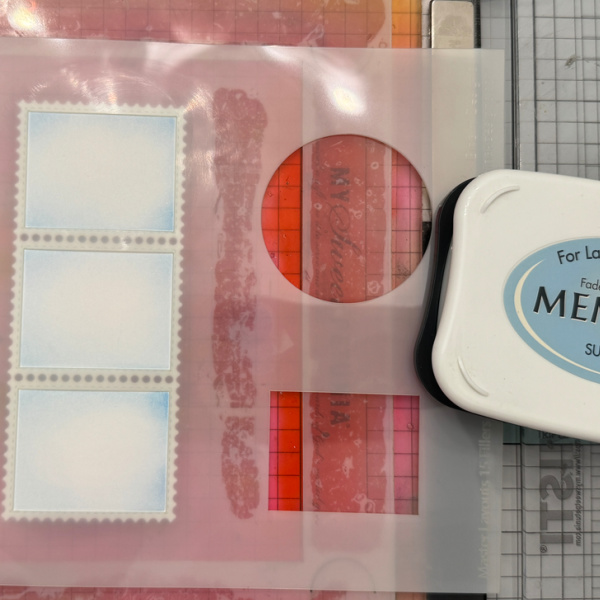
Step 5: Cut out the postage/film strip and then color with coordinating stencil. I used Summer Sky.
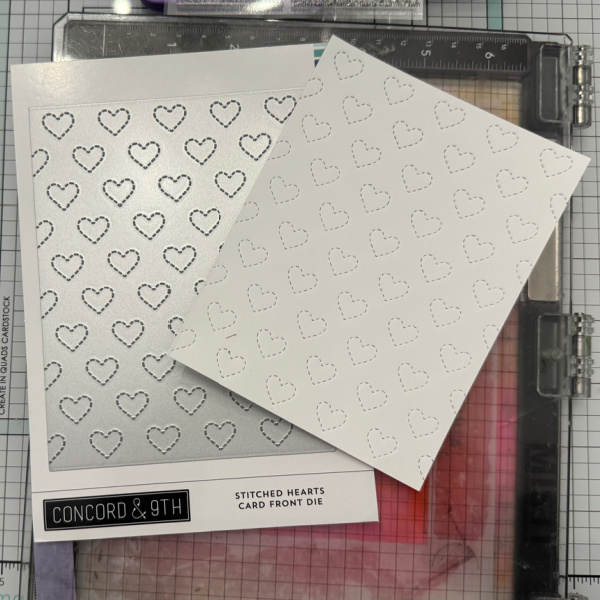
Step 6: Cut out a background using a heart cover plate.
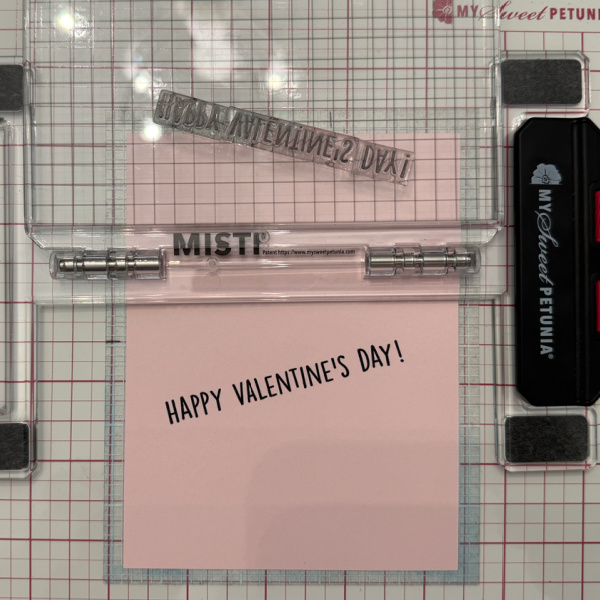
Step 7: Stamp the greeting and then cut down at an angle. Put all the elements together on the card base.
The postage/film strip will hang over a little and will need to be trimmed. You can prevent this by madding a horizontal card rather than a vertical one.
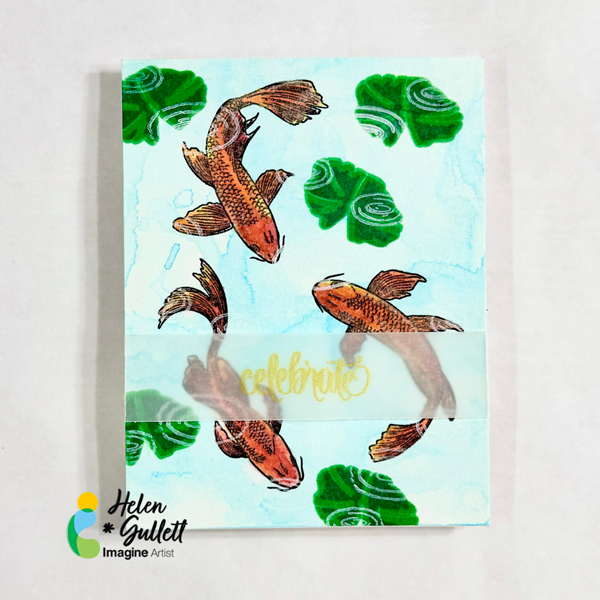
Hello crafty friends… Helen is here today. Today, I would like to share an idea to make a Lunar New Year card. Lunar New Year marks the new month for the new year in oriental calendar and it is also the beginning of Spring. Today we are going to do some watercoloring with Fireworks! Shimmery Craft Sprays and layer stamping technique.
Skill: Beginner Time: 15 minutes
Direction:
Step 1
First, cut out a piece of watercolor paper (I used 140 lb watercolor paper) into 4.25 inch x 5.5 inch.
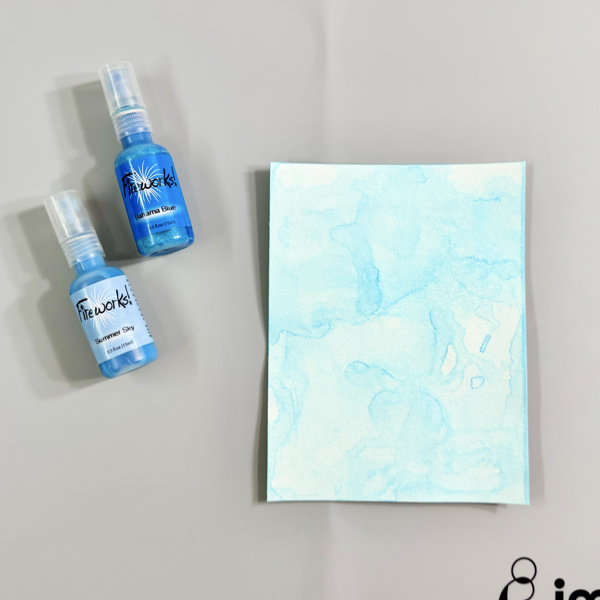
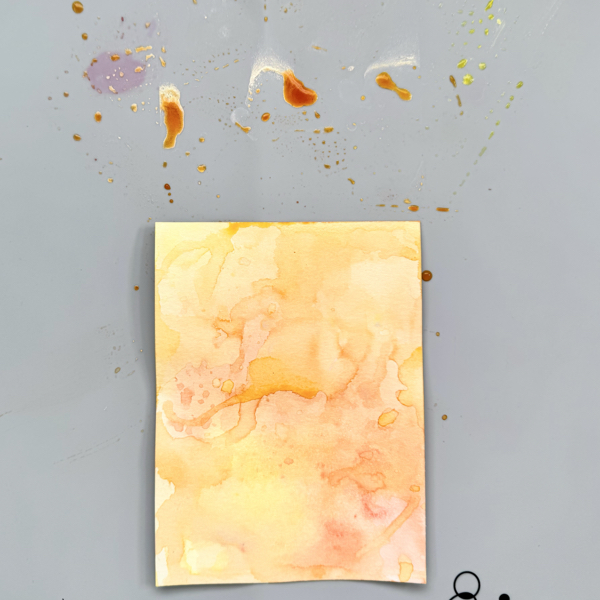
Spray the Fireworks! Summer Sky and Bahama Blue on the craft mat, and lightly spray with water to create the watercolor ink blends on the craft mat.
Smoosh the watercolor paper to the ink and repeat it until the watercolor inks cover the paper. You can dry the ink in between smooshing for extra texture and more layers of colors. Dry the whole panel with a craft heat gun.
Step 2
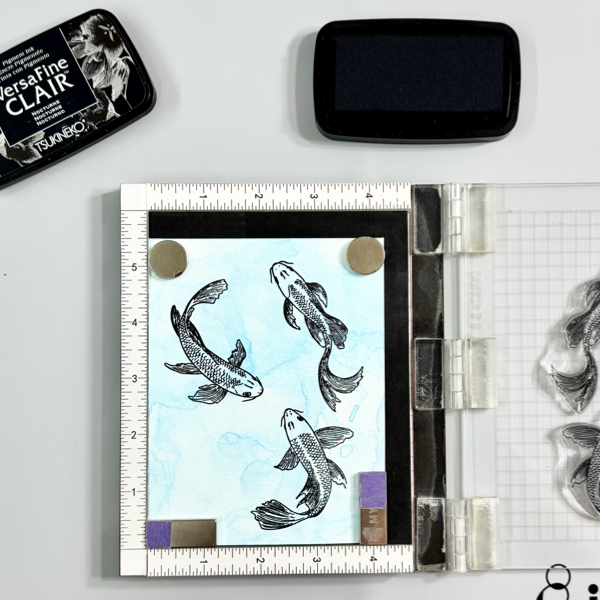
Put the watercolored background panel on the stamping tool.
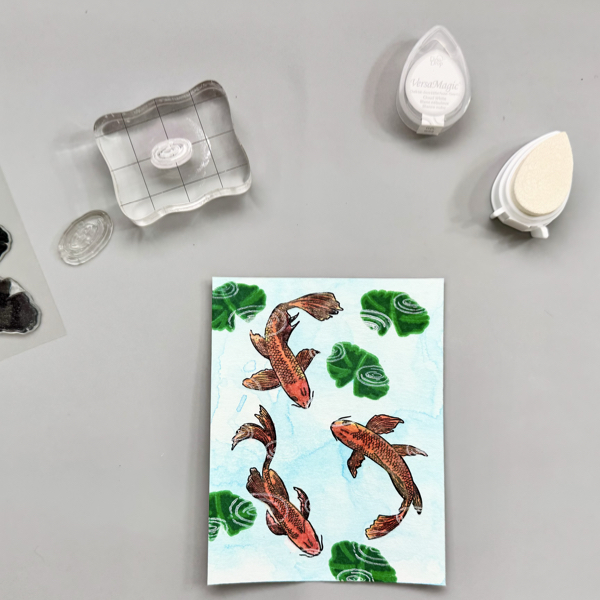
Stamp the fish images on it with the VersaFine Clair Nocturne ink pad. Repeat it if needed.
Dry the stamped images well with a craft heat gun and put it back on the stamping tool.
Step 3
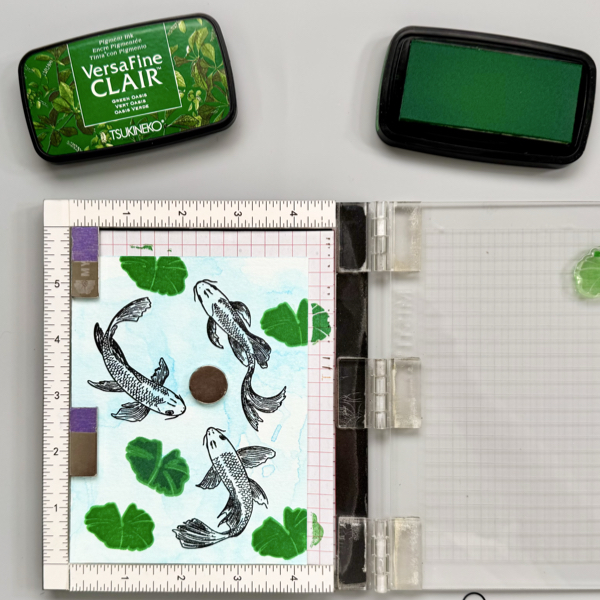
Stamp the bottom layer of the lily pad leaf with the VersaFine Clair Grass Green ink pad.
Move the position of the stamp to a different spot and stamp again.
Repeat it until you like the pond scene on the card.
Dry the stamped images well with a craft heat gun and put it back on the stamping tool.
Step 4
Next is to stamp the second layer of the lily pad leaf. Position the stamp on top of the first stamped image and then stamp it with the VersaFine Clair Green Oasis ink pad.
Repeat it until you stamp on all the first layer stamped images.
Dry the stamped images well with a craft heat gun and put it back on the stamping tool.
Step 5
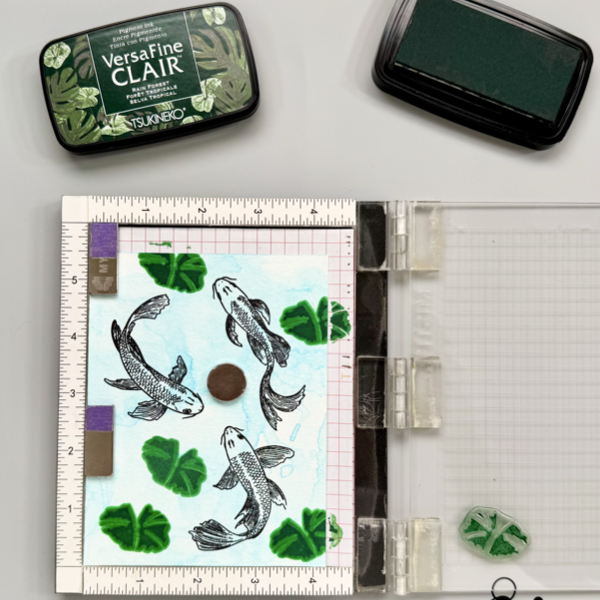
Next is to stamp the third layer of the lily pad leaf which means it is the top layer of the layer stamps. Usually it would be the darkest color of the color combo.
Position the stamp on top of the previous stamped image and then stamp it with the VersaFine Clair Rain Forest ink pad.
Repeat it until you stamp on all the stamped images.
Dry the stamped images well with a craft heat gun.
Step 6
This is the fun part: watercoloring with the Fireworks! Shimmer Craft Spray.
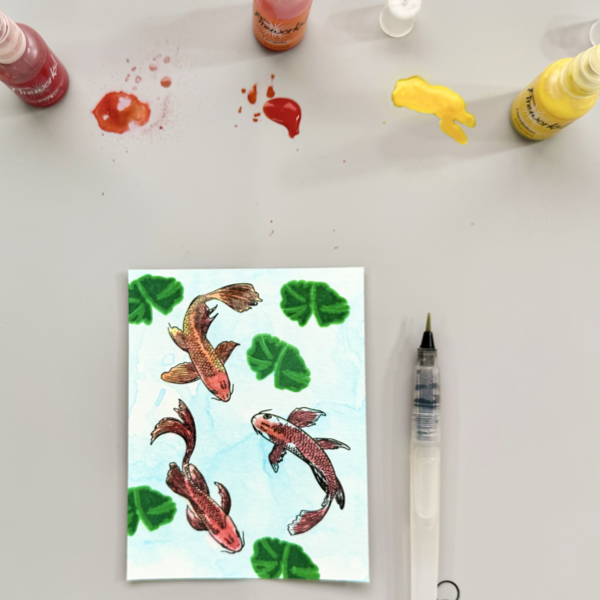
Spray a little bit of each color of the Lady Bug, Dandelion, and Tangelo directly on the craft mat. I only sprayed it once and no water was added.
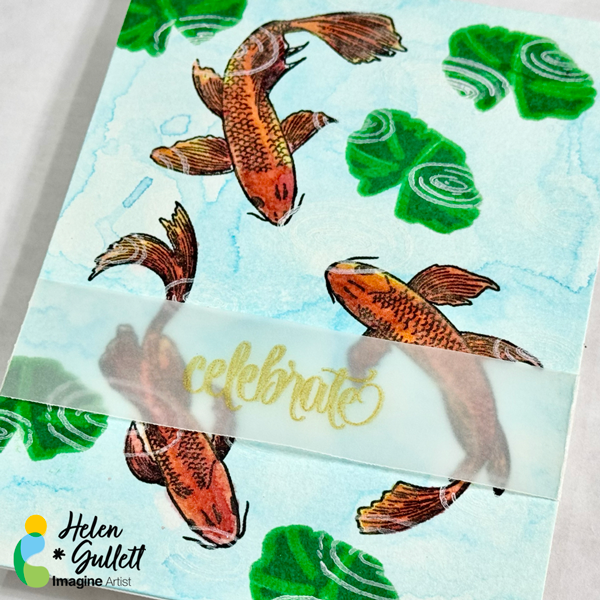
Pick up the ink color and start watercoloring the koi fishes. Each color will blend well.
For a lighter pigment color, you spray a little bit of water and mix it together.
Step 7
DO NOT WIPE OFF the left over of the Fireworks! Shimmer Craft Sprays on the mat.
Spray more water on it and smoosh a piece of watercolor paper on it to get another watercolored background panel.
Dry it well with a craft heat gun and set side so you can use for your next project.
Step 8
Stamp the water ripple stamps all over the panel with a stamping block using the VersaMagic Cloud White Dew Drop ink.
This will give the water ripple effect that those koi fishes swimming under the water.
One more time dry the whole panel with a craft heat gun to make sure all the inks are set well on the watercolor paper.
Step 9
Cut a piece of heavyweight heat-resistant vellum paper into 1 inch x 4.75 inch.
Put it on the stamping tool and secure it with the magnets.
Stamp the sentiment in the middle of the vellum paper with Brilliance Galaxy Gold Dew Drop ink.
Carefully remove it from the stamping tool and dry the ink with a craft heat gun.
Step 10
Add the sentiment vellum strip on the background panel and fold the extra flap to the behind of the panel and secure it with some of the On Point Glue.
Add the whole finished panel to the card base with On Point Glue. Hold it down for a couple minutes until the glue dries well.
The card is done.
This watercolored Lunar New Year card is flat enough to send it in regular mail for sure. I hope you will give this tutorial a try to create your own flat card yet has some layers effect on it.
Thank you so much for stopping by our blog today. Have a wonderful day!
Craft Supplies
Imagine Crafts:
VersaFine Clair – Grass Green, Green Oasis, Rain Forest, Nocturne
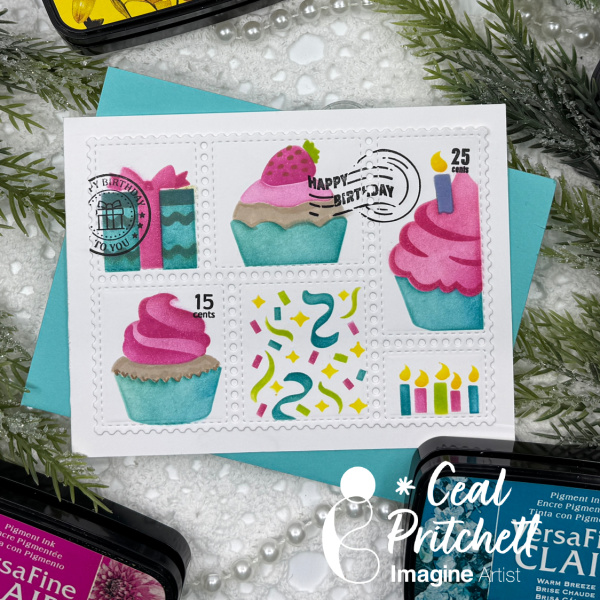
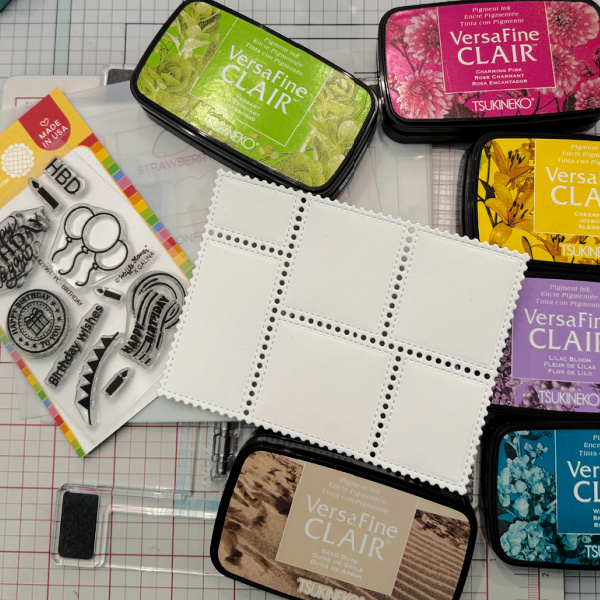
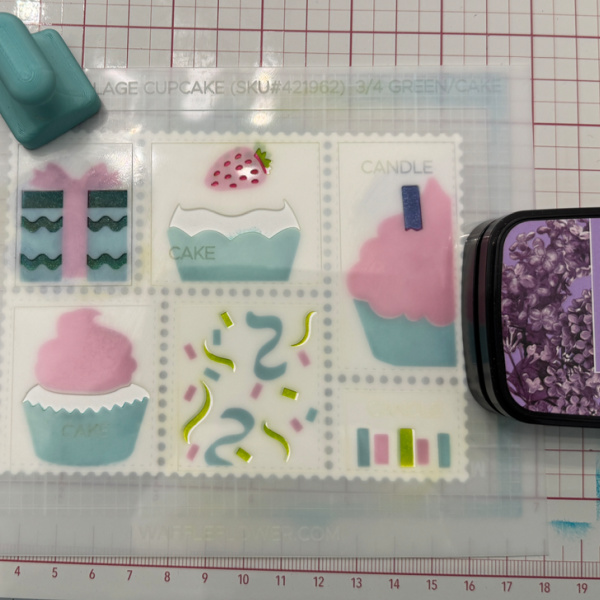
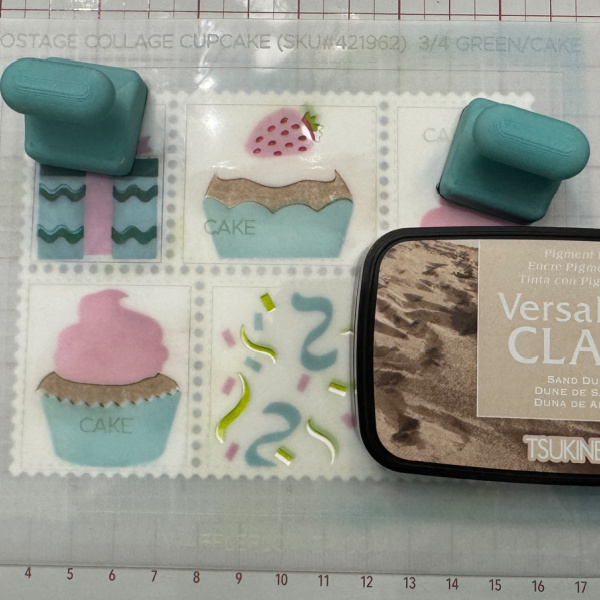
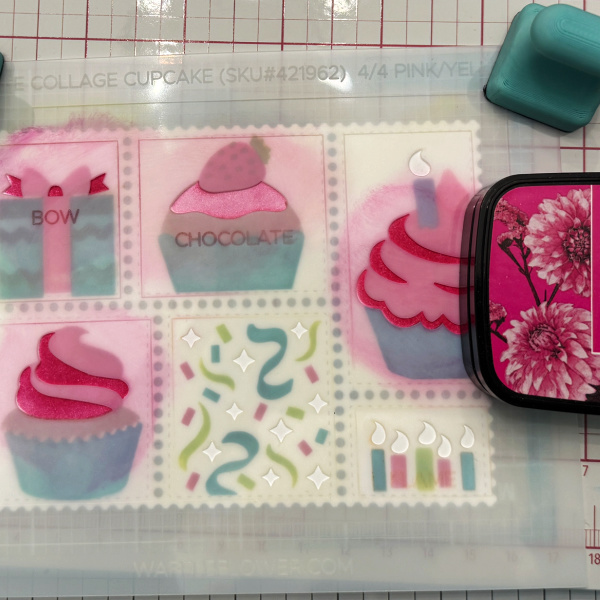
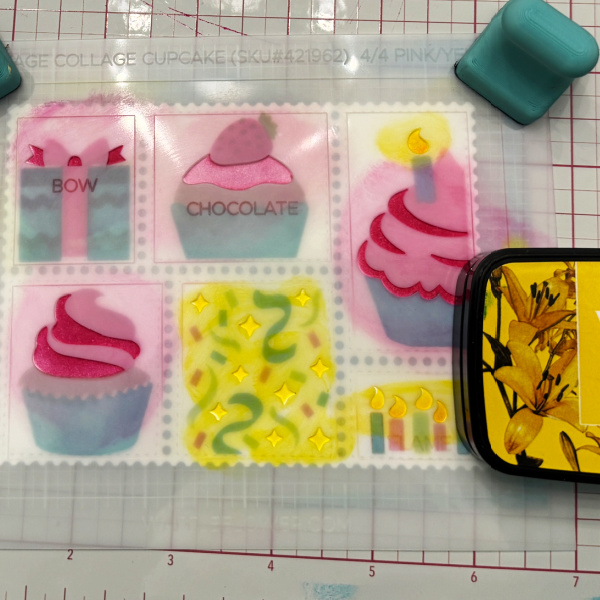
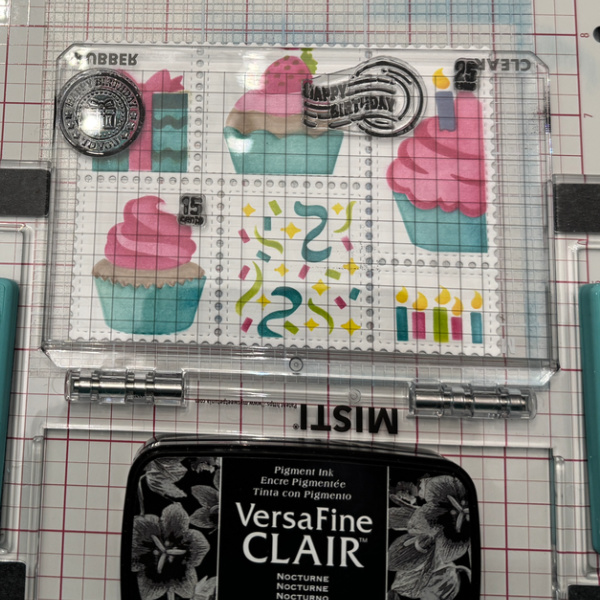
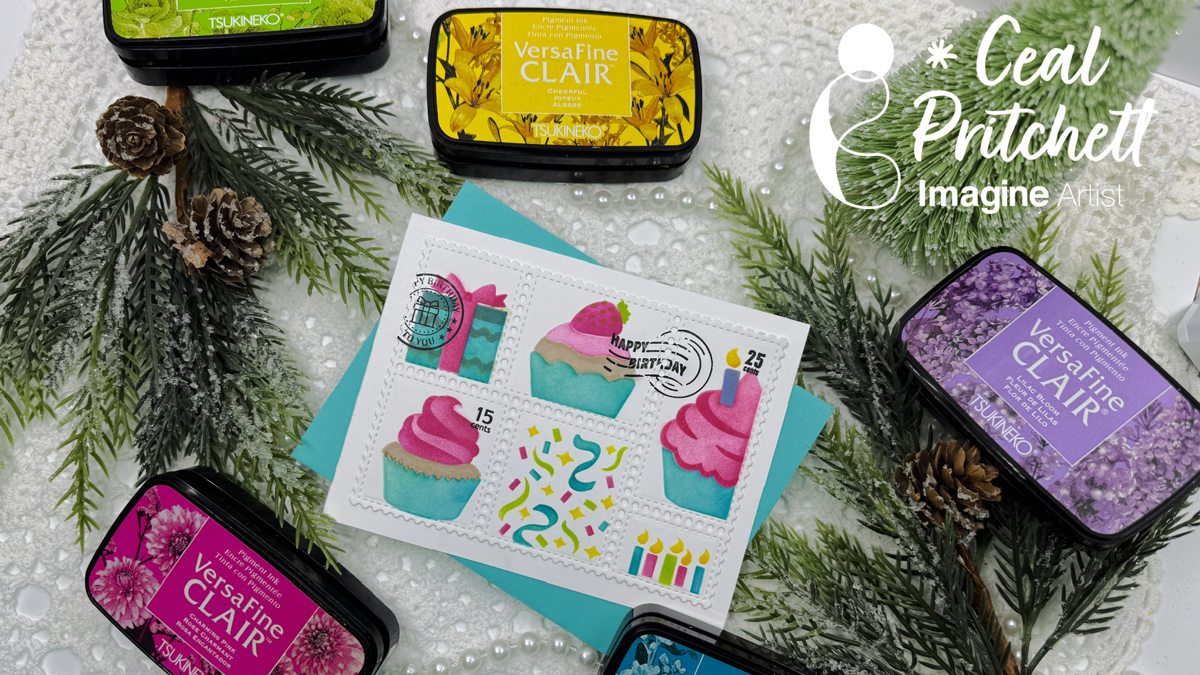
It’s Ceal, back to share with you. Today I am sharing a birthday card using some postage stencils which are all the rage lately.
Skill: Beginner Time: 30 minutes
Directions:
Gather your supplies. For this project you will need several colors of inks, postage stencils and a postage die.
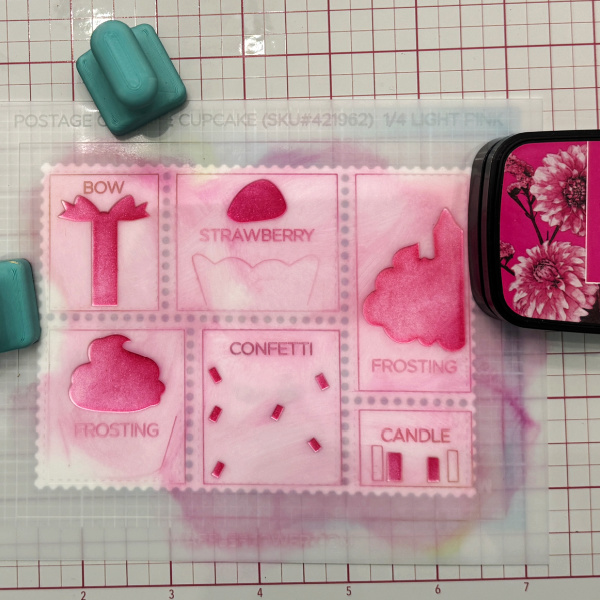
Step 1: Using VersaFine Clair Charming Pink, ink the first layering stencil.
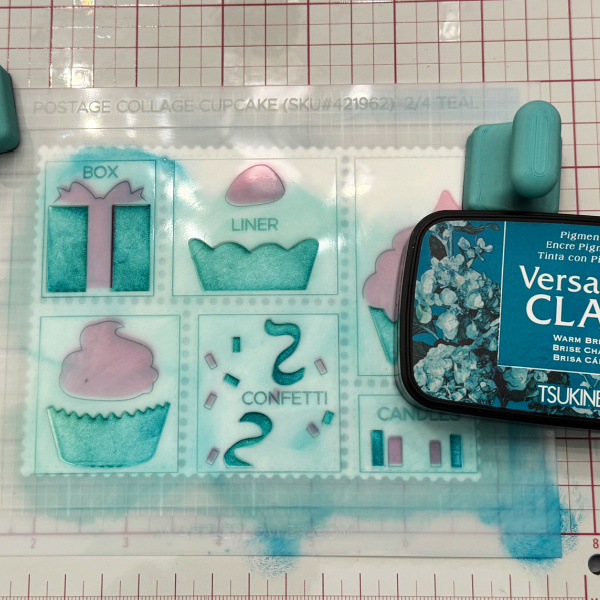
Step 2: Using VersaFine Clair Warm Breeze, ink up the second layering stencil.
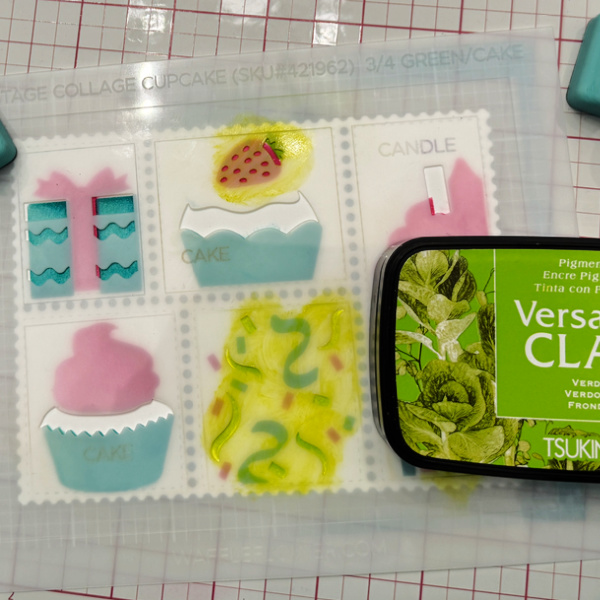
Step 3: Using VersaFine Clair Verdant, ink the strawberry, the candles and the streamers.
Step 4: Using VersaFine Clair Lilac, ink the candle and over the present.
Step 5: Using VersaFine Clair Sand Dune, ink the cake portion.
Step 6: Using VersaFine Clair Charming Pink, ink over the cake frosting again with a heavy hand, the cupcake up top I inked with what ink was left on the brush.
Step 7: Using VersaFine Clair Cheerful, ink over the candle flames and streamers.
Step 8: Stamp sentiment and postage with VersaFine Clair Nocturne.