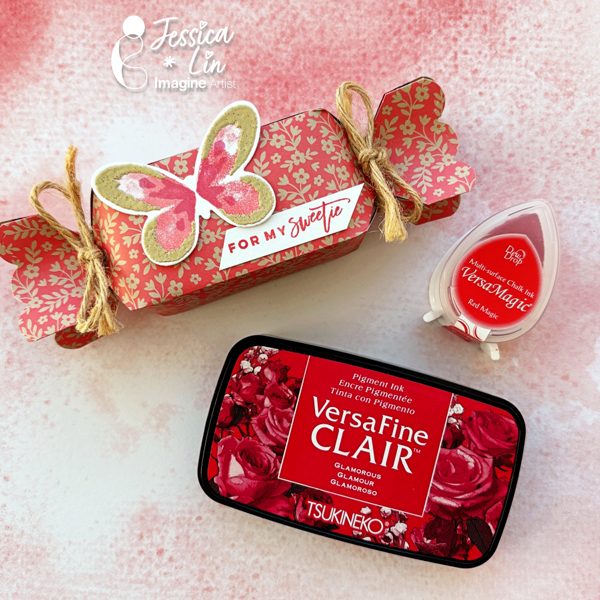
Hi everyone! It’s Jessica here. Today I am sharing a candy box idea that is fitting for all occasions. However, the candy box die I am using today is versatile and you could dress up the box for Halloween treats, too!
Directions:
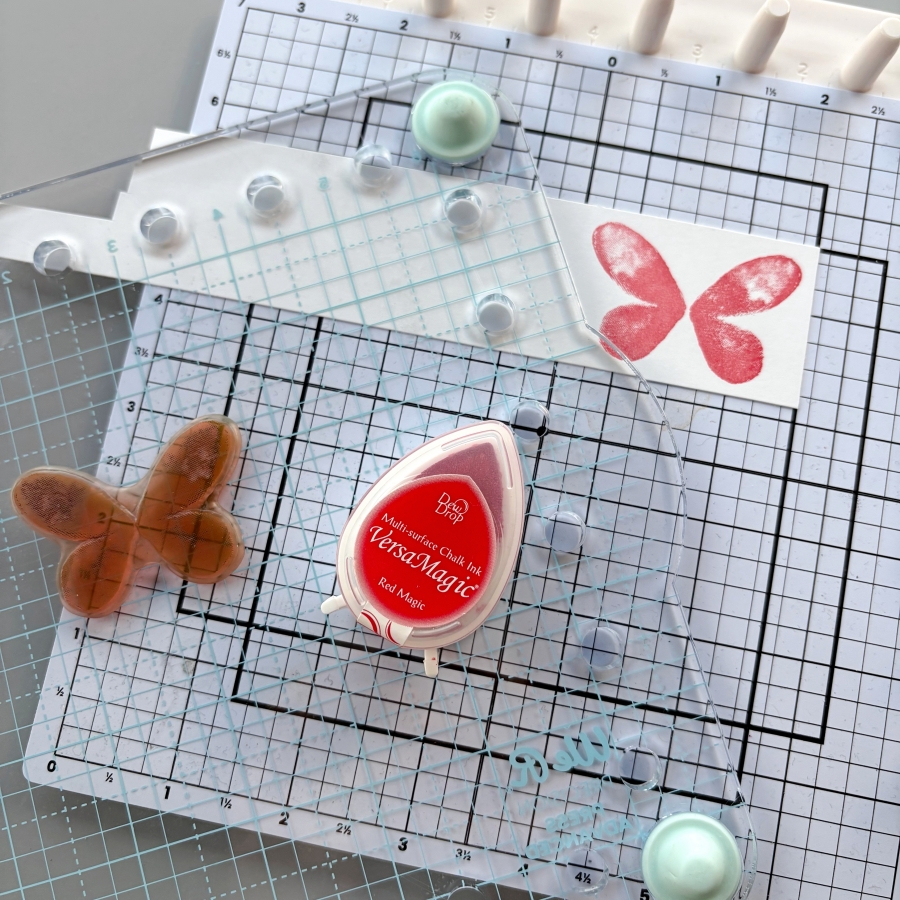
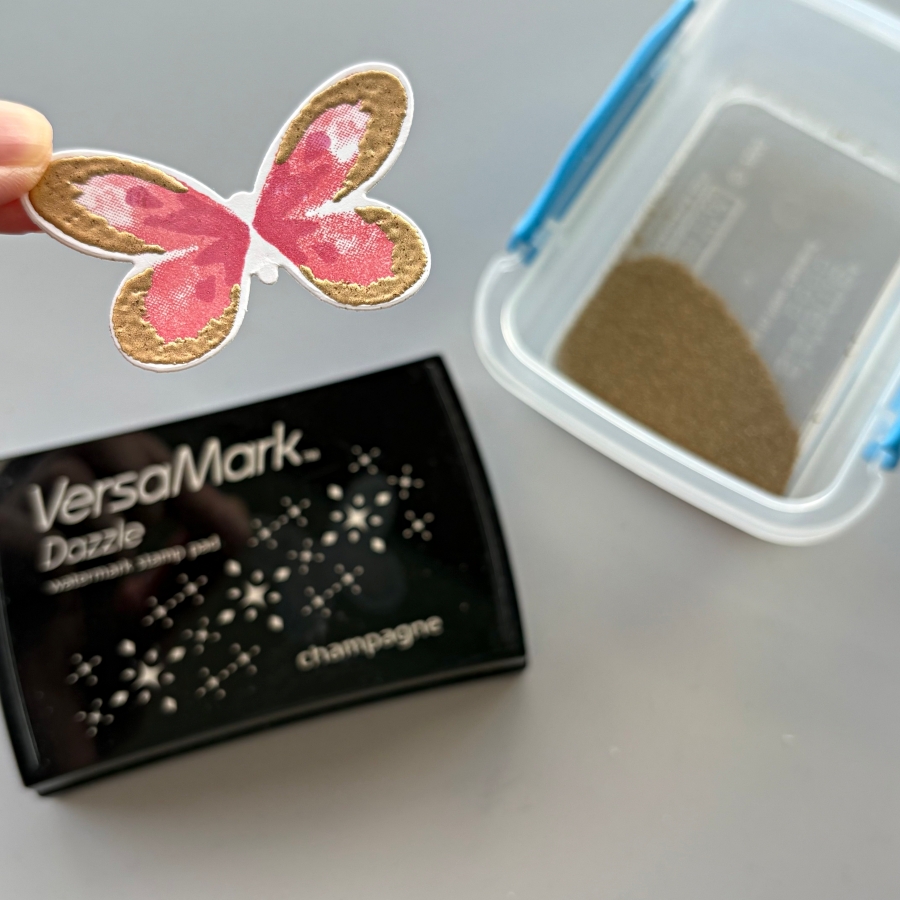
Step 1: Stamp the small butterfly base image from Stampin’ Up’s Watercolor Wings set with VersaMagic Red Magic ink pad.
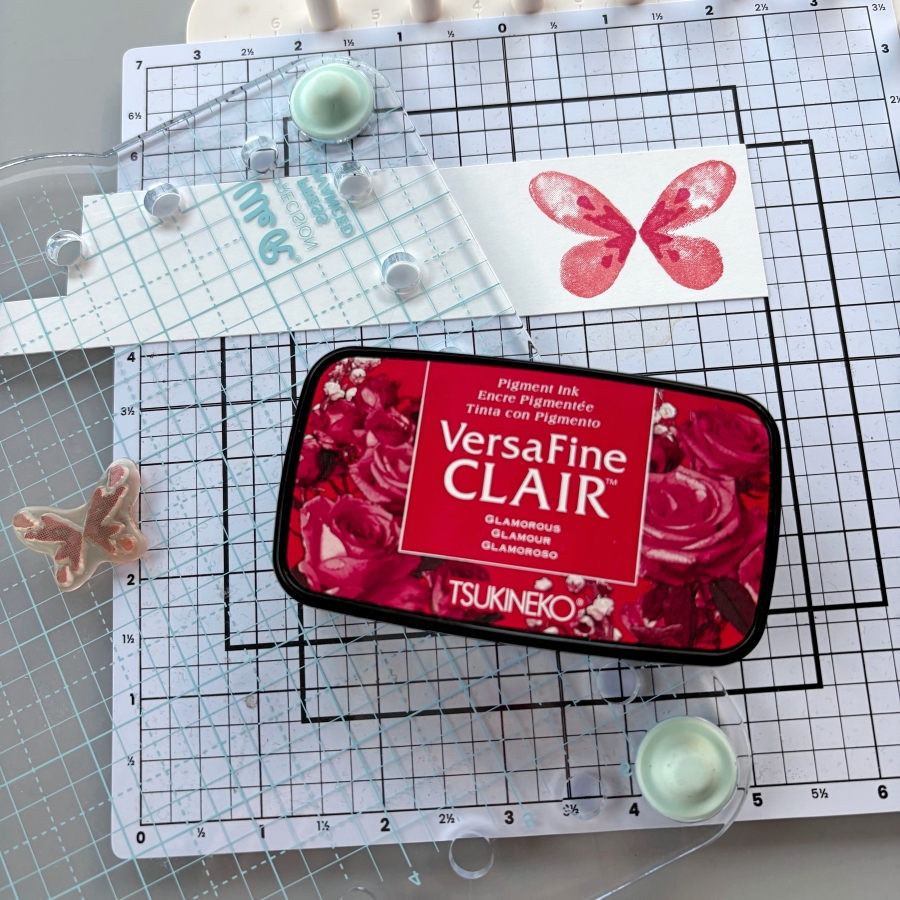
Step 2: For the second layer of the butterfly stamp, I used VersaFine Clair Glamorous ink pad. I think these two shades of red complement each other very well.
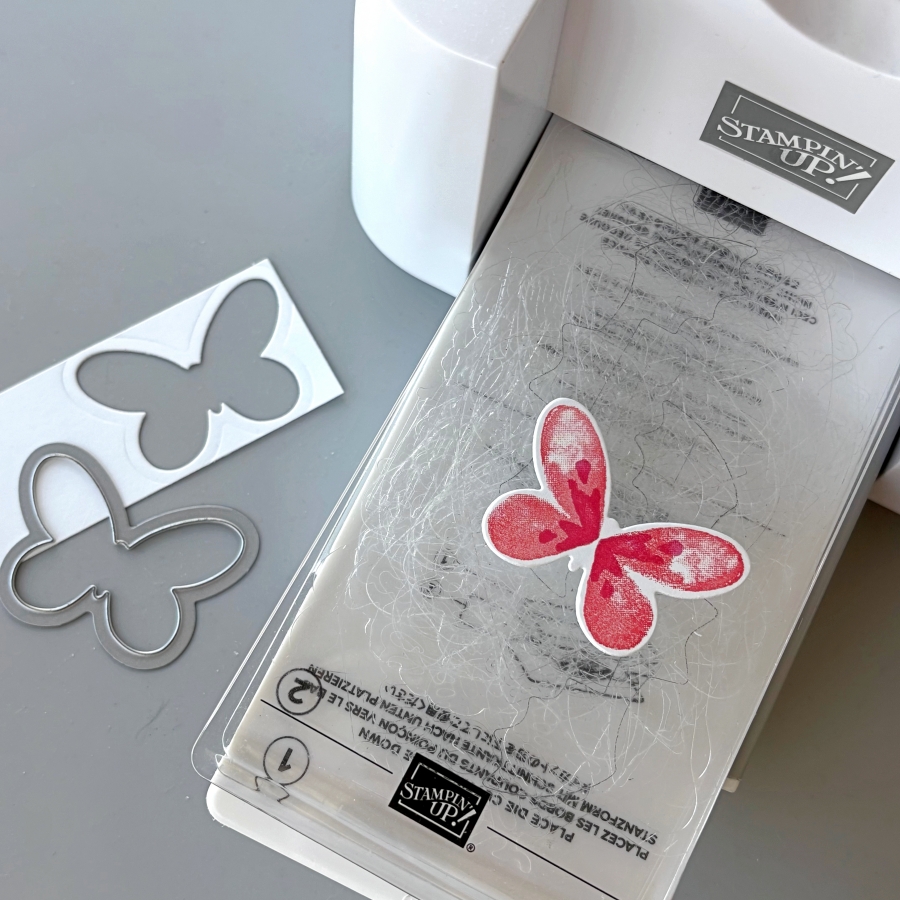
Step 3: Die cut the butterfly with the coordinating Butterflies Thinlits dies.
Step 4: Stamp the third layer with VersaMark ink pad and heat emboss with gold embossing powder.
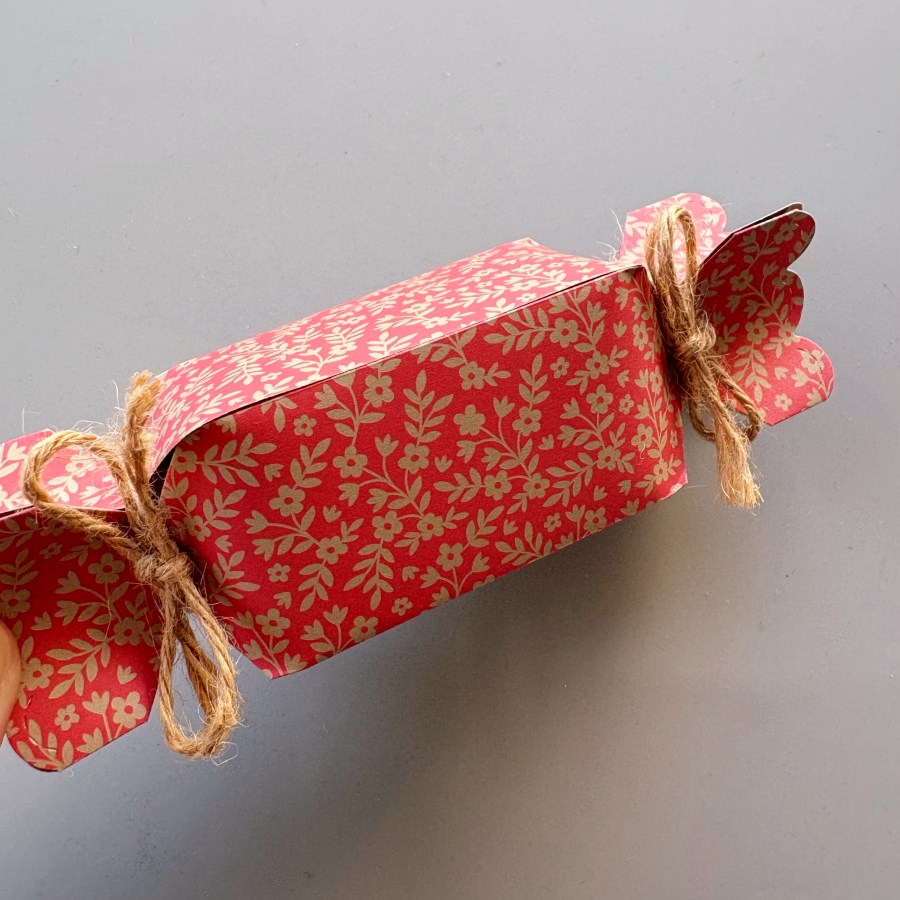
Step 5: Die cut two pieces of patterned paper using Lawn Fawn’s Candy Box die. Then adhere the sides of the boxes together with Tear-It Tape, while leaving the ends open. After filling the box with treats (chocolates like Ferrero Rocher and Lindt are perfect!), tie the ends of the candy box with pieces of twine.
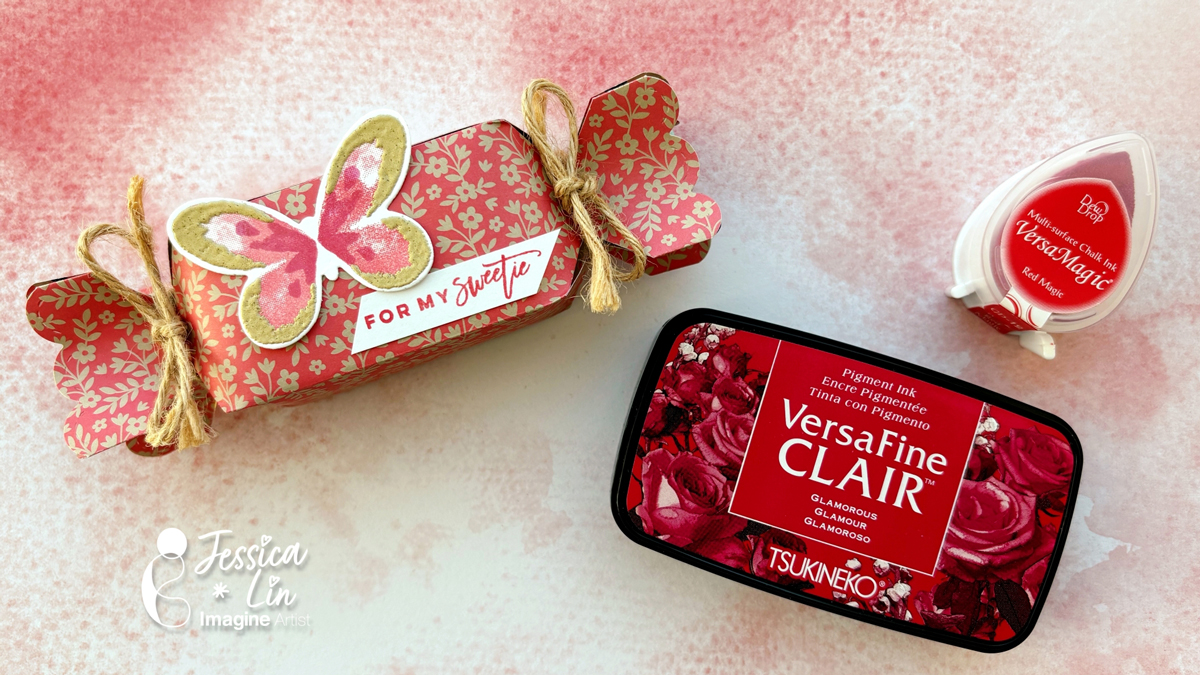
Step 6: Stamp a sentiment with VersaMagic Red Magic ink and this simple treat box is complete! Imagine
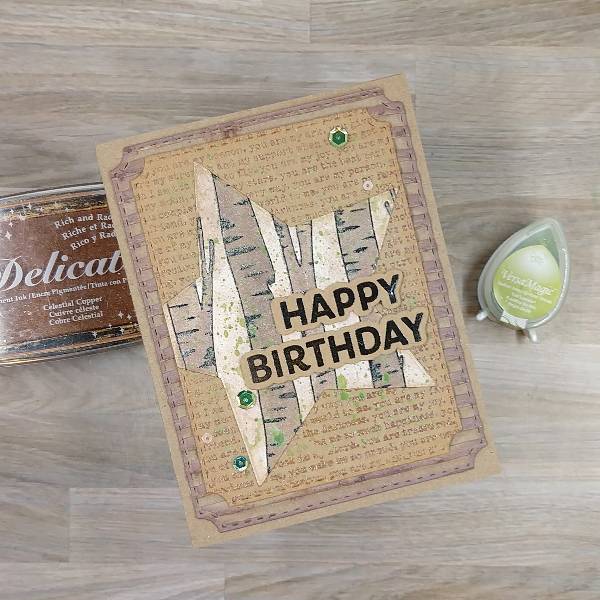
I wanted to use my husband’s birthday to make him a personalized birthday card. He loves to be in nature and loves it when I use recycled materials (mostly because then we don’t have to buy new things). I also added a background that expresses how I feel about him.
Skill Level: Intermediate Time: 2 hours
Directions:
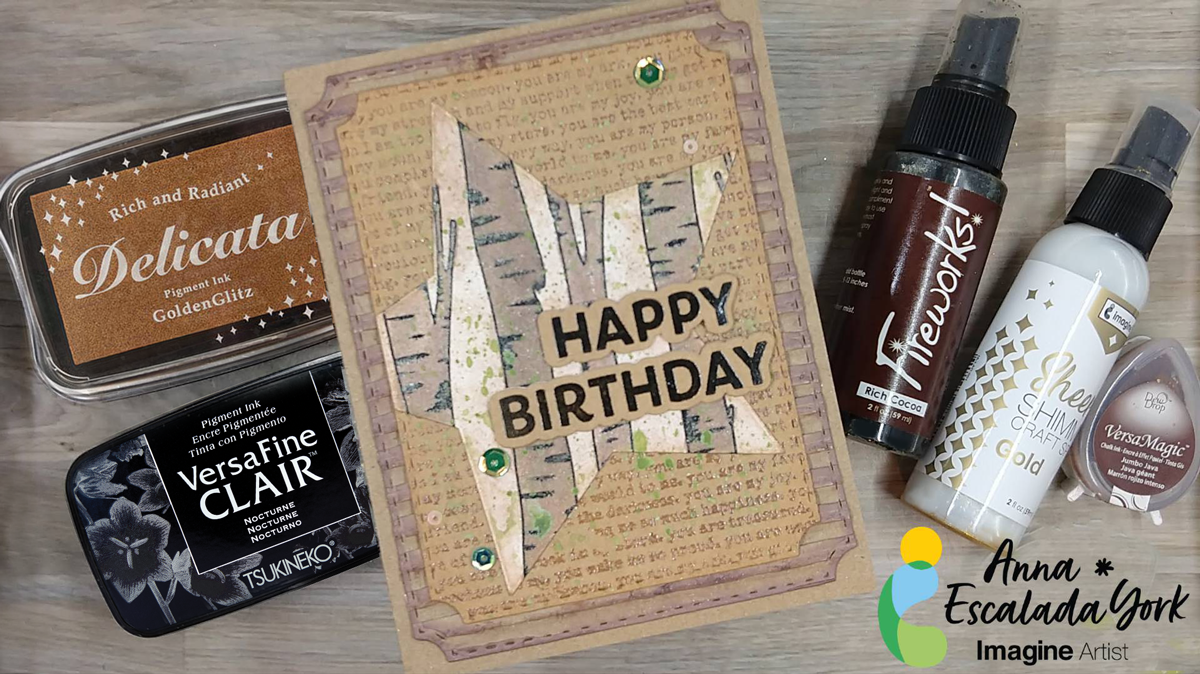
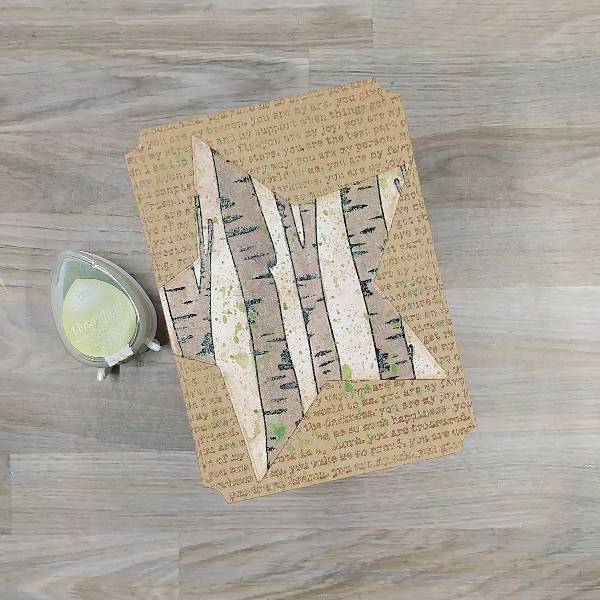
Step 1: Stamp a piece of kraft cardstock with a text-based background stamp with Jumbo Java VersaMagic Chalk Ink. Heat emboss with clear embossing powder. Die cut the panel with the second-largest die from a nested A2-sized nested die set.
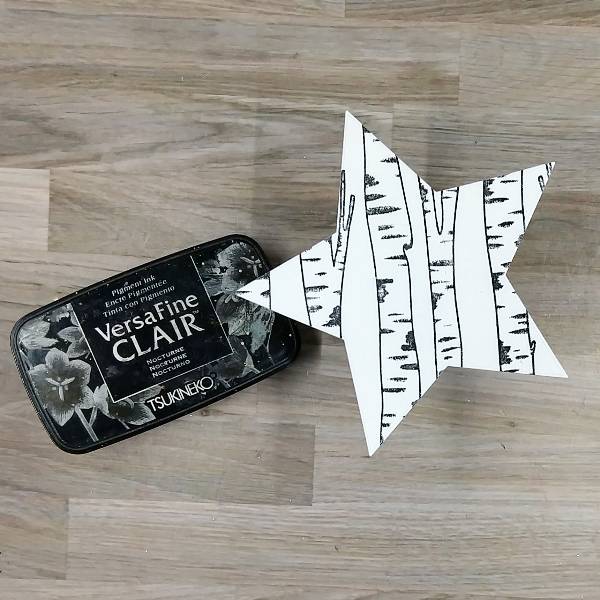
Step 2: Stamp a large tree stamp set on a piece of watercolor paper with Nocturne VersaFine Clair ink. Heat emboss with clear embossing powder. Die cut with a mid-sized star die from a nested star die set.
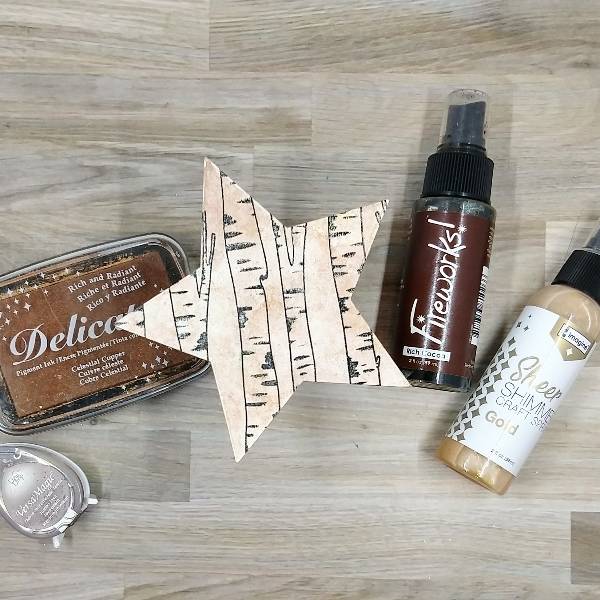
Step 3: Lightly spray Rich Cocoa Fireworks! Craft Spray and Gold Sheer Shimmer Craft Spray onto the watercolor stamped star. Blot a little of the spray off with a paper towel and allow to dry. Then Then press Celestial Copper Delicata ink onto a piece of acetate packaging and spray with water. Watercolor smoosh the star by pressing the liquid copper onto the panel. Then repeat the watercolor smooshing with Jumbo Java VersaMagic Chalk Ink mixed with water on the acetate. Let the panel dry again.
Step 4: Mix some of the remaining Jumbo Java VersaMagic Chalk Ink and water with more of the Rich Cocoa Fireworks! Craft Spray to make a darker brown watercolor. Paint the trees with the watercolor. Allow to dry. Apply a second coat of watercolor to a few trees to add interest and darker trees. Allow to dry a second time.
Step 5: Stamp a sentiment on kraft cardstock with Nocturne VersaFine Clair ink. Then heat emboss with more clear embossing powder. Then die cut with the corresponding dies.
Optional: Die cut 2 more die cut layers for each of the sentiment (3 layers total for each of the dies–1 that is the stamped kraft layer, and two scrap layers). Glue the layers together and set aside to dry.
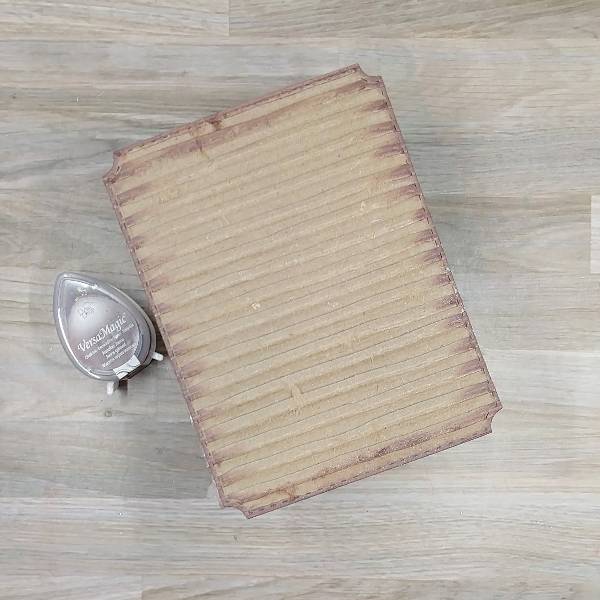
Step 6: Die cut a piece of corrugated cardboard with the largest die from an A2-sized nesting panel die set. Then brush the edges of the panel with Jumbo Java VersaMagic Chalk Ink.
Step 7: Use a sponge dauber to ink blend the edges of the star with Celestial Copper Delicata ink. Glue the die cut star onto the smaller, stamped panel. Trim the overhanging left part of the star. Then press Tea Leaves VersaMagic Chalk Ink onto acetate packaging and spray with water.
Splatter the Tea Leaves-colored watercolor onto the panel. Add a couple of watercolor smooshed areas to add interest (or to cover areas where you want splatters but the splatters are not doing what you want). Allow to dry.
Step 8: Brush the edges of the smaller, stamped panel with the Celestial Copper Delicata ink pad.
Step 9: Assemble the card. Glue the two panels together. Glue the sentiment strips onto the panel. Then add sequins on the lower left and upper right parts of the card. Then glue the whole thing onto an A2-sized kraft card base.
Other • Altenew – die set – Wings & Petals (for the sentiment) • Altenew – stamp set – Wings & Petals (for the sentiment) • Catherine Pooler – sequin mix – Wintergreen • Pink and Main – die set – Notched Corners • Simon Hurley create – background stamp – Timber! • Simon Says Stamp – die set – Nested Stars Wafer Dies • Simon Says Stamp – background stamp – You Are • Kraft cardstock • Watercolor paper • Corrugated cardboard • Clear Embossing Powder
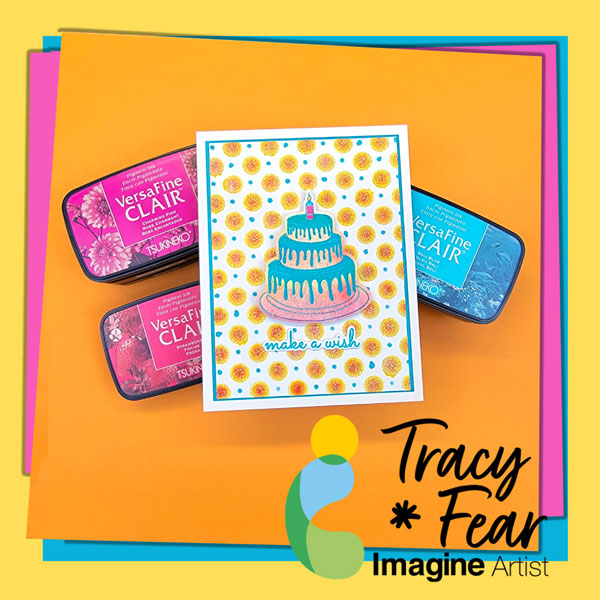
Art Supplies • Die cutting machine • 100lb white paper • A2 Card Base • Foam Strips • Dies • Orange-tone iridescent sparkle paste • Stencils • Glue
Other Products Used • Simon Hurley Astro Paste in Phoenix Feather • Clear Embossing Powder • Simon Hurley Polka Dot Assortment Layering Stencil • Simon Hurley Birthday Party Stamps and coordinating dies • PVA Adhesive • Foam Tape
ALTERNATIVE PRODUCTS THAT CAN BE USED TO RECREATE SOMETHING SIMILAR
Any Inks, any combination of dies!
To learn how to create your own Birthday card, click here!
• Brutus Monroe Embossing powders in Gilded Metallic and Fairy Dust •Embossing Powder •Multiple Sizzix dies from several sets • PVA Adhesive • Foam Tape
ALTERNATIVE PRODUCTS THAT CAN BE USED TO RECREATE SOMETHING SIMILAR
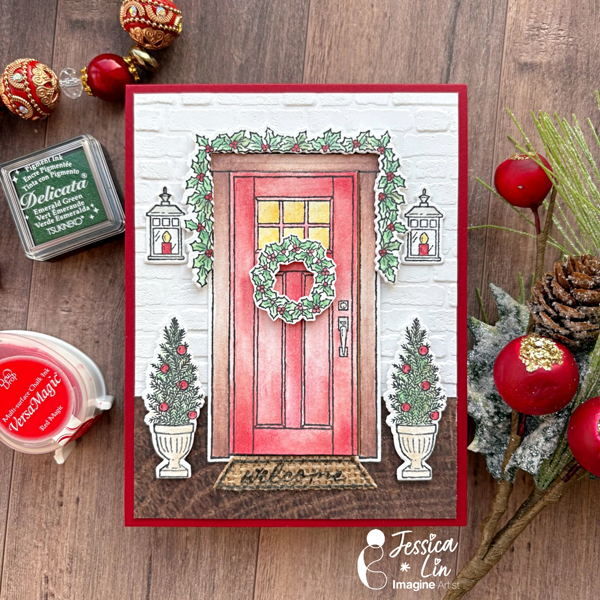
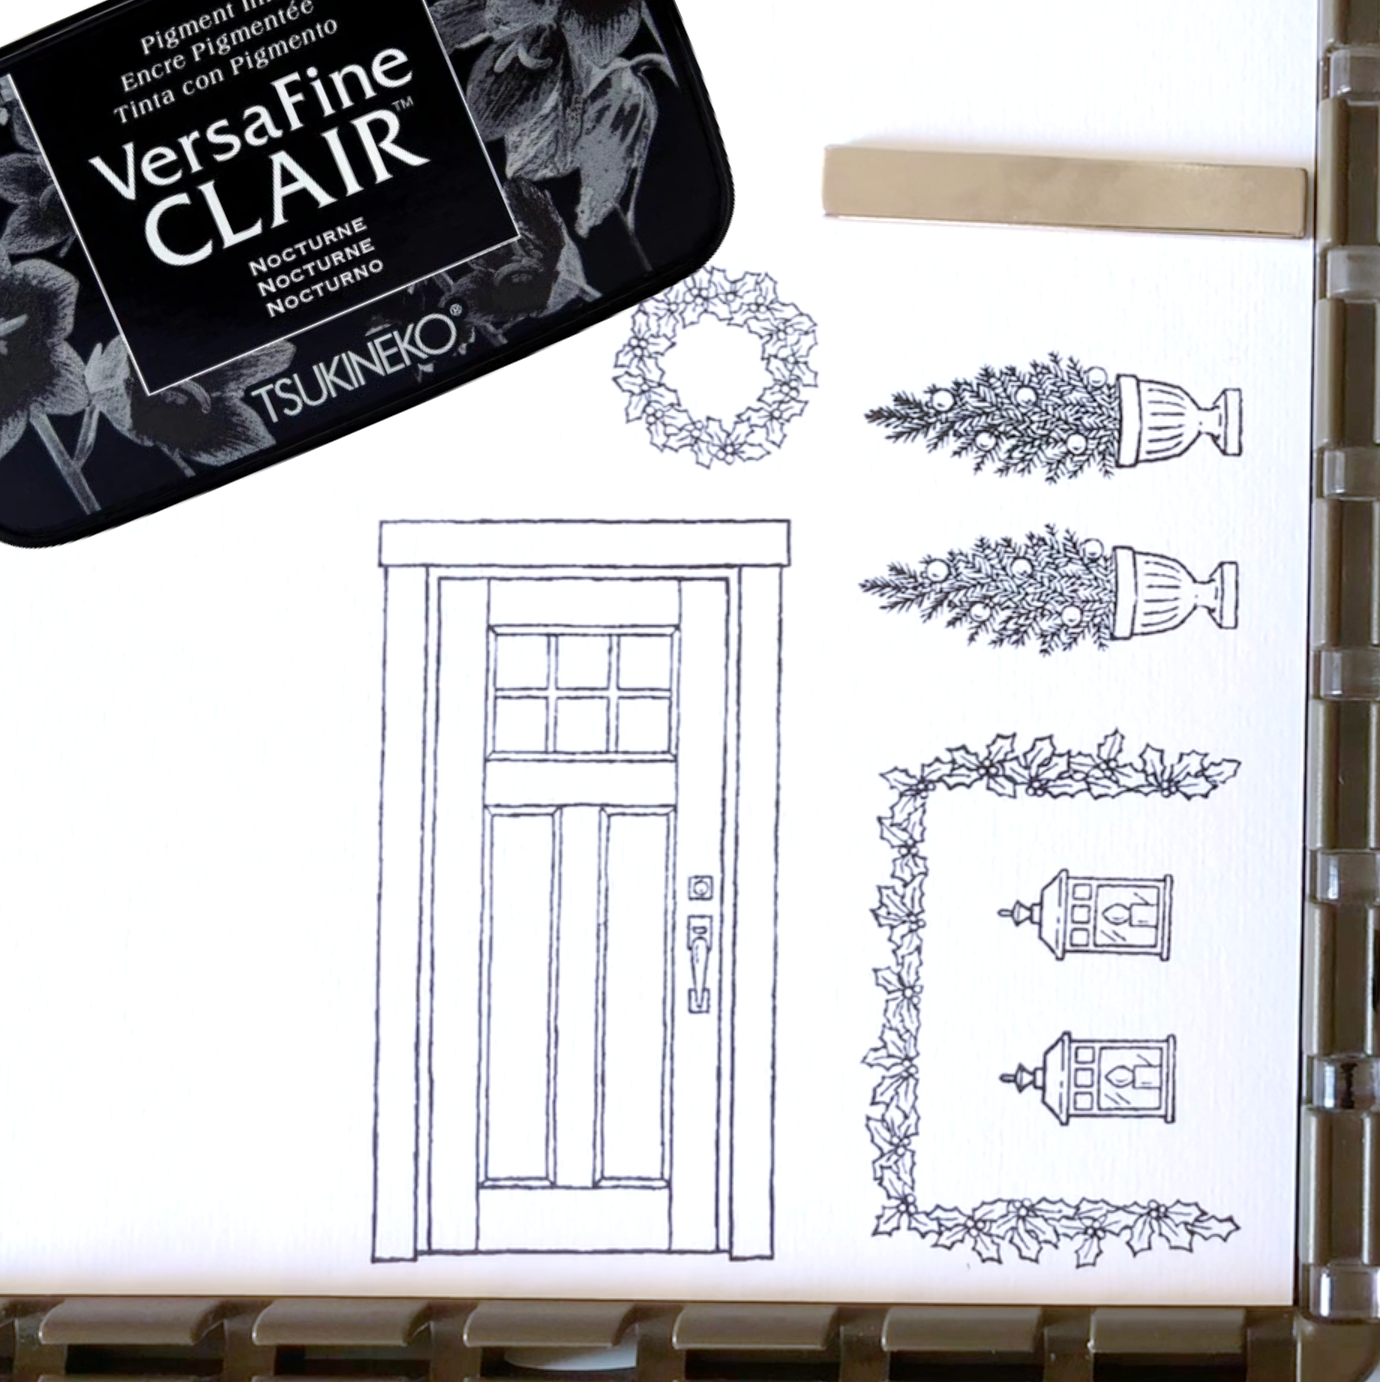
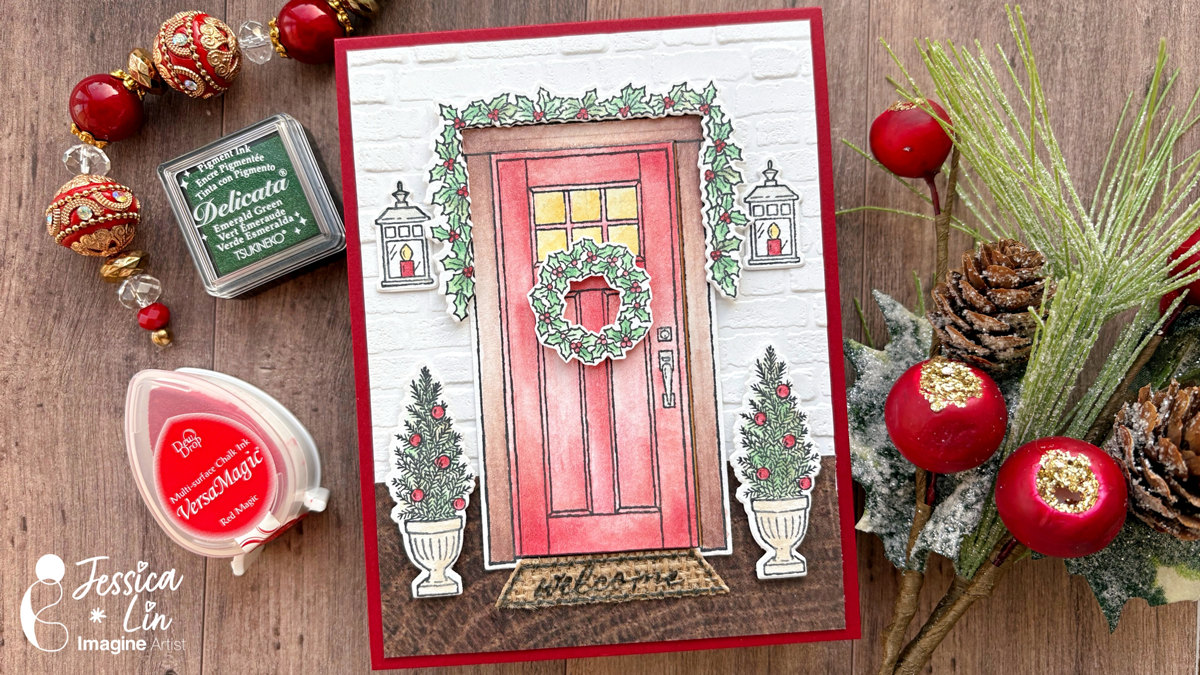
Hi everyone! It’s Jessica here and I am so excited to share today’s project with you. Christmas is my favorite holiday of the year and I love making Christmas cards. I decided to build a doorway scene today using Stampin’ Up’s At Home with You stamps and dies. After die cutting, the door actually opens, making this a special and interactive Christmas card.
Step 1: The stamp set I am using today is At Home with You from Stampin’ Up. It features a door and various elements that are great for building specific scenes for different occasions such as Christamas, Thanksgiving, or birthdays. I stamped several images with VersaFine Clair Nocturne ink. It’s a pigment-based ink that is waterproof and great for being the outlines of watercolored images.
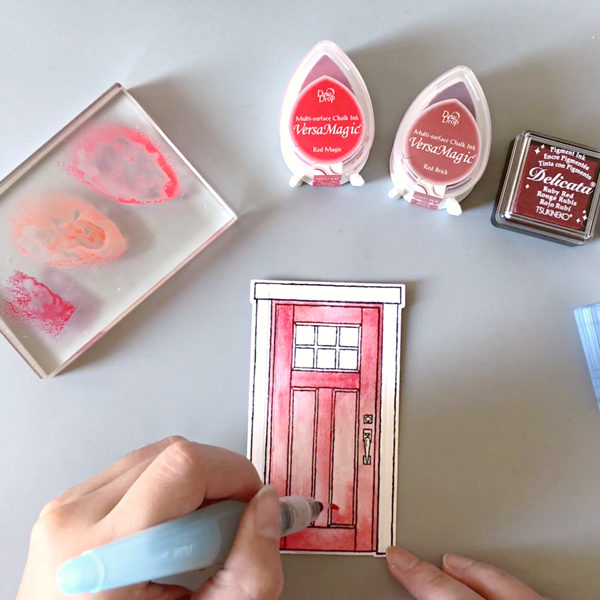
Step 2: After die cutting the stamped images with coordinating dies, it’s time to watercolor. I decided to use VersaMagic Red Magic, Red Brick, and Delicata Ruby Red for the door. I pressed some ink onto an acrylic block and watercolored with a waterbrush.
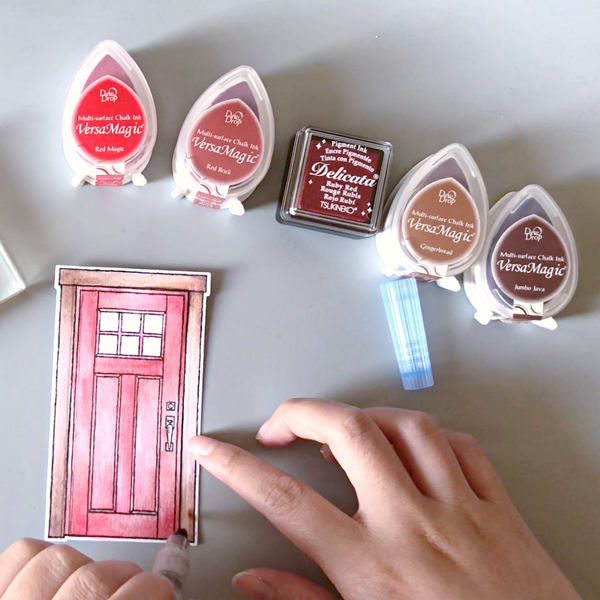
Step 3: For the door frame, I watercolored with VersaMagic Gingerbread and Jumbo Java.
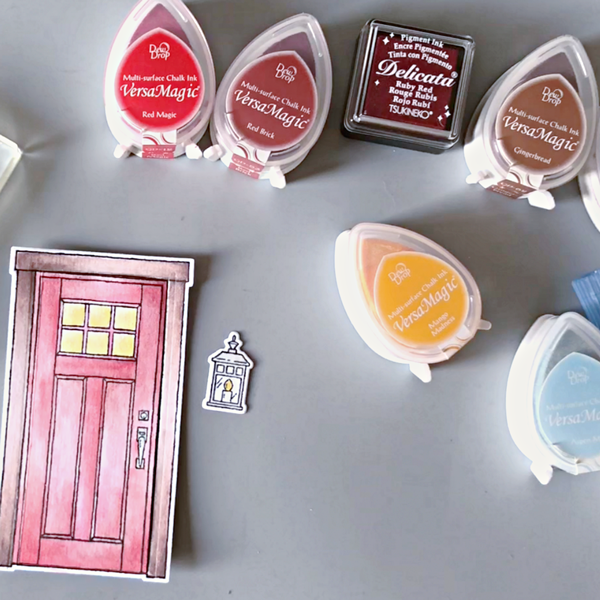
Step 4: Then I added VersaMagic Mango Madness to the window and the candle. Don’t forget to color the door knob, too! I used VersaMagic Niagara Mist with a hint of Aspen Mist. The candle shade is colored with the same colors as the door knob.
Step 5: Finally, for the plants and wreaths, I watercolored with VersaMagic Hint of Pesto, Delicata Emerald Green and Ruby Red. Delicata ink pads are shimmery and add the perfect touch of Christmas spirit to these images. I wish you could see the shimmer in person!
Lastly, I colored the planter with VersaMagic Wheat ink pad.
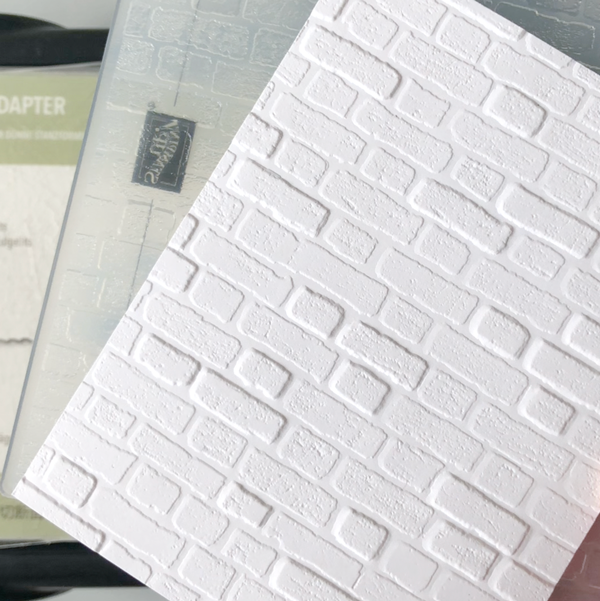
Step 6: Since we are building a front door scene, I embossed the background cardstock with Stampin’ Up’s Brick & Mortar embossing folder. I love the realistic brick textures of this embossing folder; it’s one of my all-time favorites.
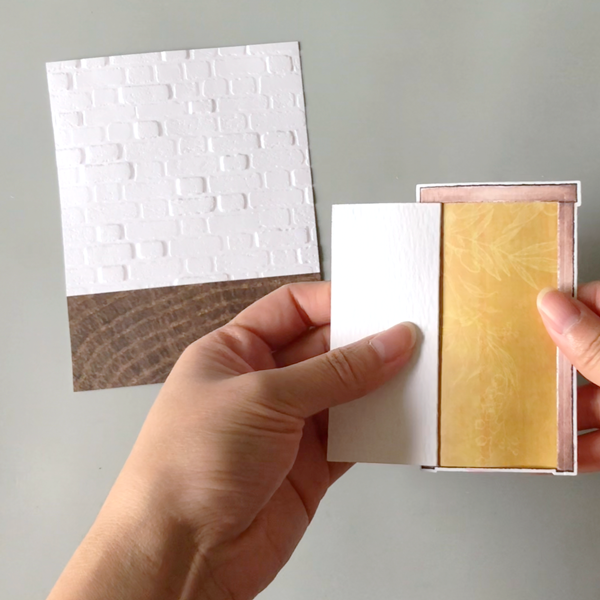
Step 7: Then I added a piece of 4’’ x 1 ½’’ wood patterned paper as the foreground. I also added yellow patterned paper to the inside of the door; this door die actually cuts around the door frame so that the door can open! Isn’t it a fun, little mechanism?
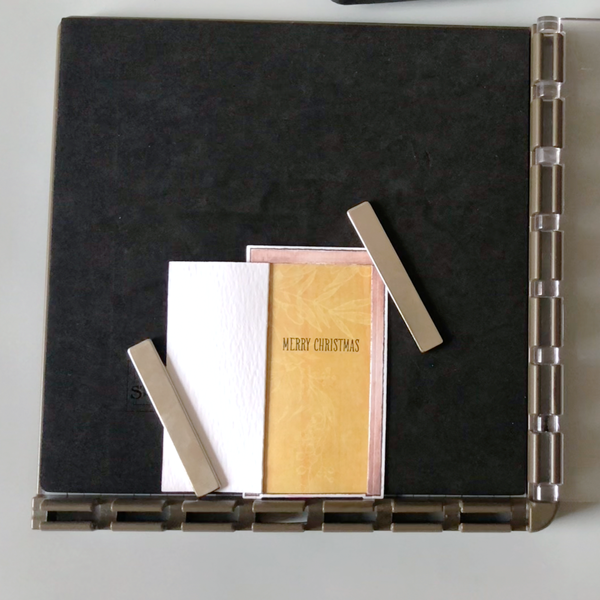
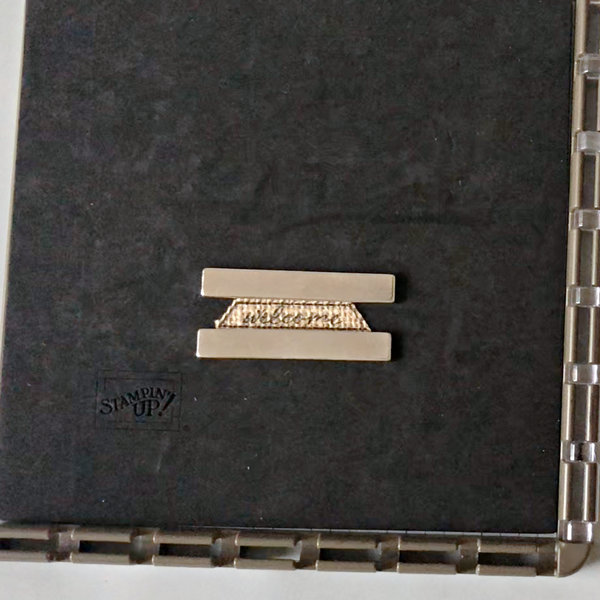
Step 8: You can then add a Christmas greeting that will be revealed when you open the door. I decided to keep it simple and stamped a “Merry Christmas” sentiment with VersaMagic Nocturne ink pad.
Step 9: The At Home with You stamp set also comes with a door mat image. I stamped it several times on burlap paper with VersaMagic Nocturne ink pad.
Hello Friends! Happy Holidays! How lucky would one be to come upon a peaceful scene like this, 2 deer hunting for grass on a snowy landscape? For this card I stayed focused on only two colors and some glitter paper to create this wintry scene.
Tracy
Skill: Intermediate Time: 60 Minutes
Art Supplies
• Die cutting machine • 100lb white paper • A2 Card Base • Water and a brush • Dies • Glitter cardstock • Vellum • Foam Tape • White Paint
Other Products Used • Clear Embossing Powder WOW • Snowflake Stencil-no label, but I think it is Tonic Studio • Simon Says Stamp and Die Set “Joy to You and Yours” • PVA Adhesive • Foam Tape
ALTERNATIVE PRODUCTS THAT CAN BE USED TO RECREATE SOMETHING SIMILAR
Any Inks any combination of background stamps, dies, and feature stamps and stencil
To learn how to create your own vintage Christmas card, click here!