In today’s simple DIY, I show you how to create simple, elegant wedding Thank You notes. It’s always important to thank your guests and making your own beautiful thank you notes adds an extra special touch. You don’t need a lot of expensive products, and this tutorial takes no time! You can also customize these notes based on your own taste and style.
Hello! Today, I have a very simple and easy do-it-yourself Wedding Invitation. I will teach you, how with very few products, you can get a professional wedding invitation that can be customized for your own taste. No matter the theme, or wedding colors you choose, you can design your own wedding invitations.
Graduation season is upon us. As much as it a joyous time in anyone’s life, you feel the pressure of the final exams, think about that next phase of your life and probably make a big move. Don’t forget the grad in your life, and make him/her a fun, grungy card. I will show you how you can create a simple, yet layered background with fun ruler embellishments and matching sentiment.
Skill: Beginner Time: 30 minutes
Directions
Step 1
Smoosh the Turquoise Gem VersaMagic ink onto the Imagine Craft Mat.
Step 2
Spray water over the ink. Smoosh the watercolor paper and create a random background. Dry the paper.
Step 3
Stencil the gears with the Vintage Sepia VersaFine ink and Inkblusher.
Step 4
Using the palette knife and modeling paste, stencil another image.
Step 5
Spray some Walnut Ink, then brush the ink with a wet brush. Dry paper.
Step 6
Stamp the ruler stamps with the Piano Black StazOn Pigment ink.
Step 7
Cut out the rulers and ink the edges with the Piano Black StazOn Pigment ink.
Step 8
Assemble card. Glue on the rulers and add a sentiment.
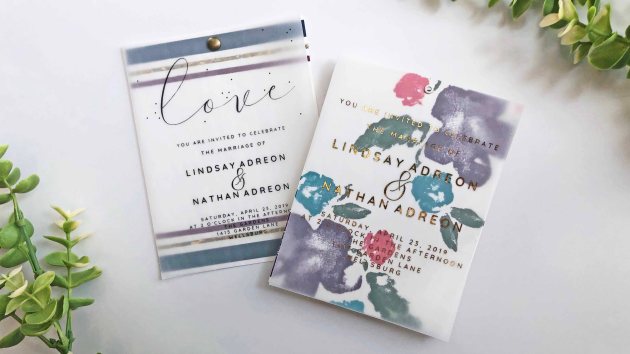
Happy spring, everyone! This month we are focusing on wedding themes and I thought I would share some ideas using large floral stamps. When you are mass producing cards or invitations, you want to minimize the number of steps when creating. So using large images will save you a lot of time. Creating with a mess-free ink, like StazOn Pigment, is also key because it dries instantly and won’t smear. Lastly, for quick embellishing, use the Sheer Shimmer Stix to add the final wow factor. And your simple wedding project is done!
Did you know that, according to Wikipedia, there are 2.5 million weddings in the United States each year? Wow, who knew?! That means that there are a lot of individuals out there planning for their big day! It’s a good thing that this project is designed to inspire those planning for their special day to create quick, simple and elegant handmade wedding invitations.
Time: 30 minute Skill: Beginner/Intermediate
Directions
Step 1
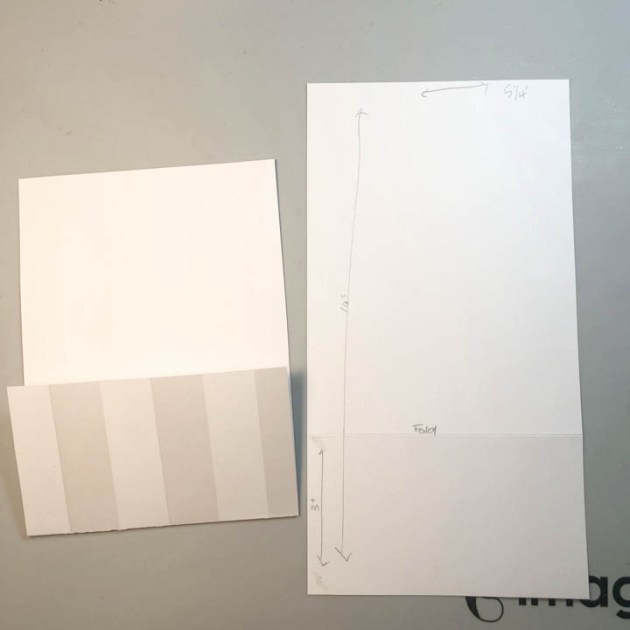
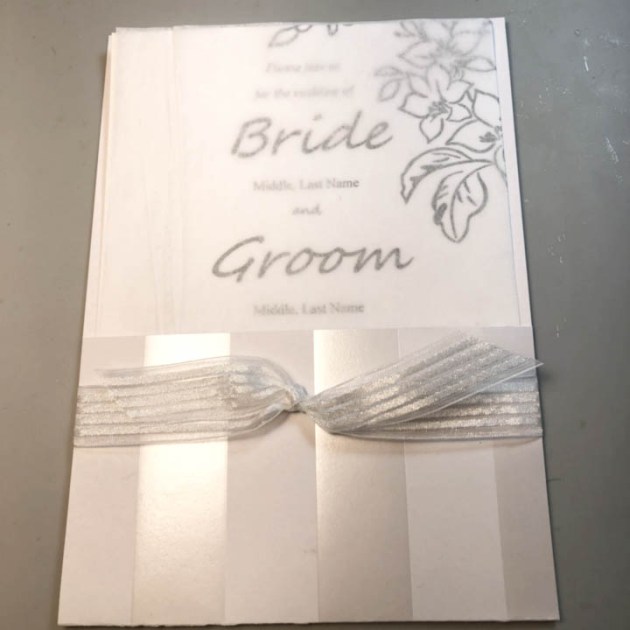
Cut a piece of decorative cardstock to size, 5 ¼” x 10”. Fold up at 3” from the bottom.
Step 2
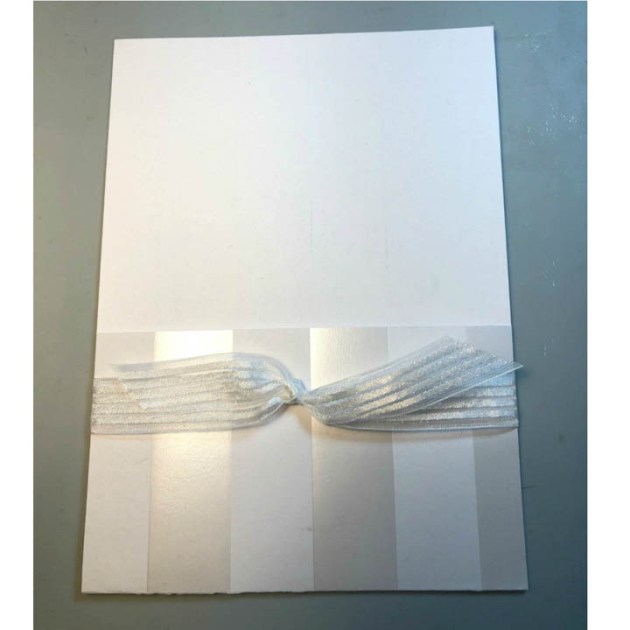
Tie sheer ribbon around the bottom portion of the folder.
Step 3
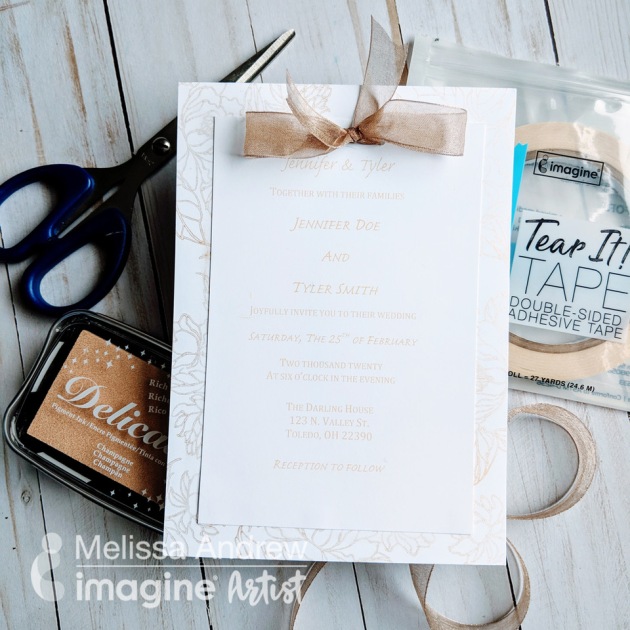
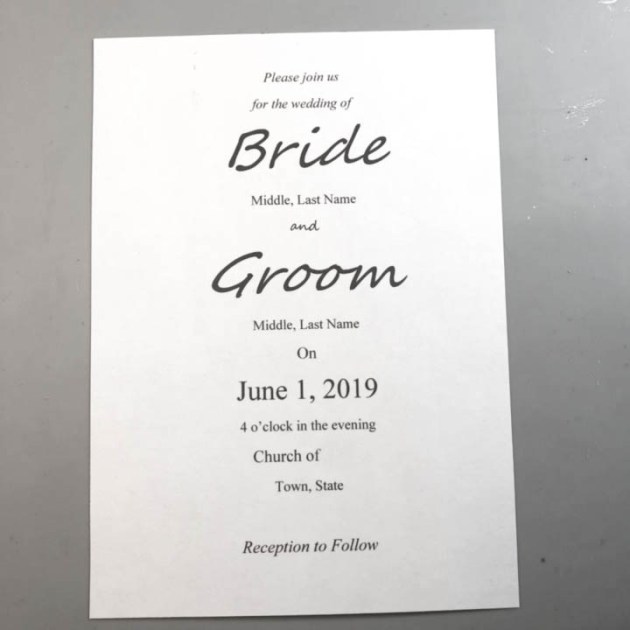
Print wedding announcement on a 5”x 7” piece of cardstock.
Step 4
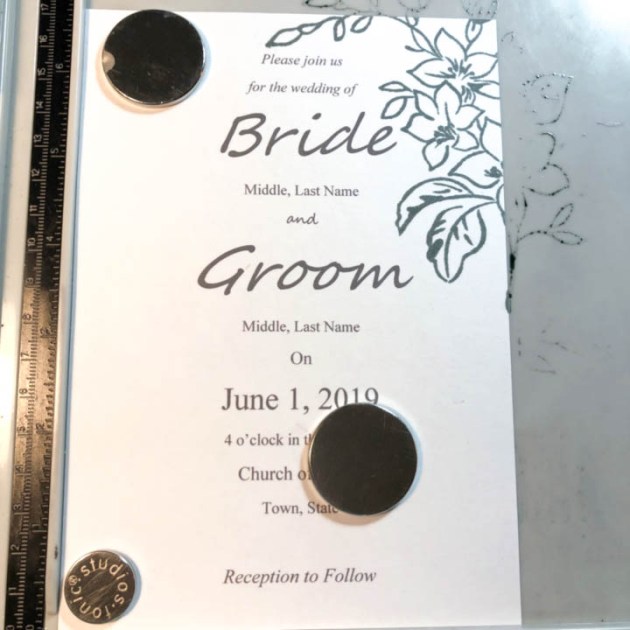
Stamp floral image with Memento London Fog at top right and bottom left of invitation.
Step 5
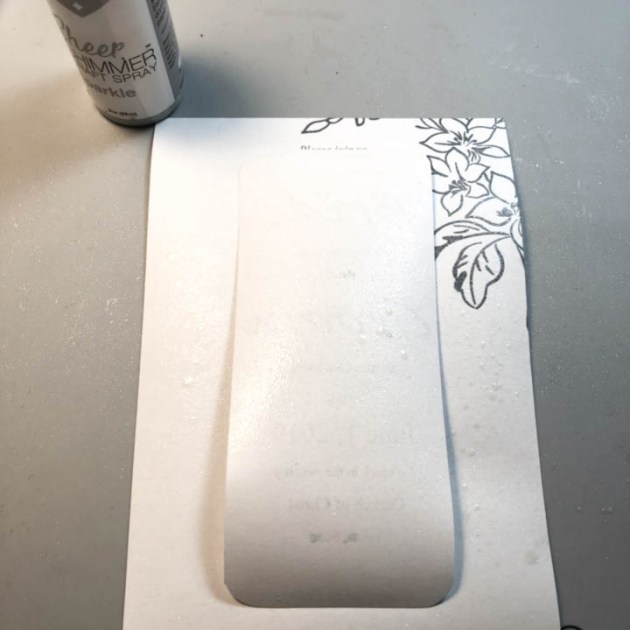
Create a template to cover printed words and spray with Sheer Shimmer Craft Spray.
Step 6
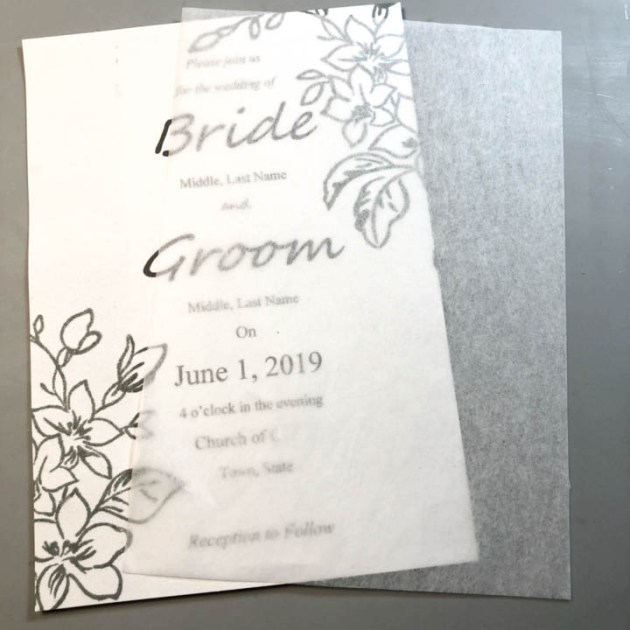
Cut tissue paper to cover invitation.
Step 7
Slide invitation, with tissue cover, into the previously made folder.
Step 8
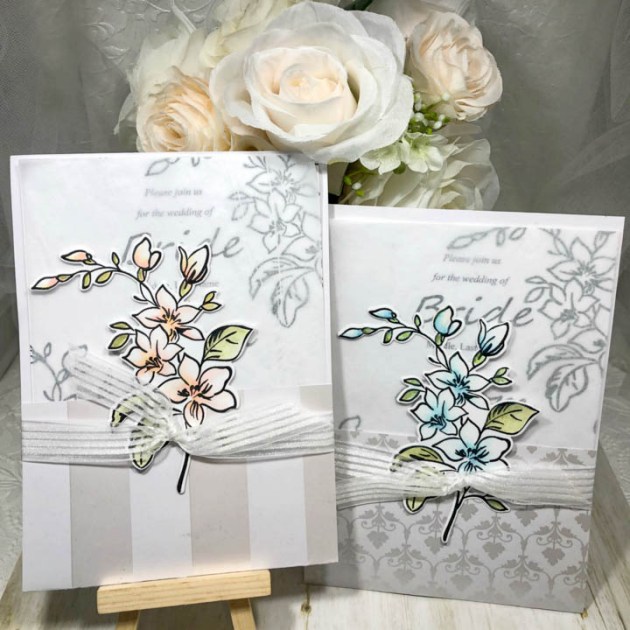
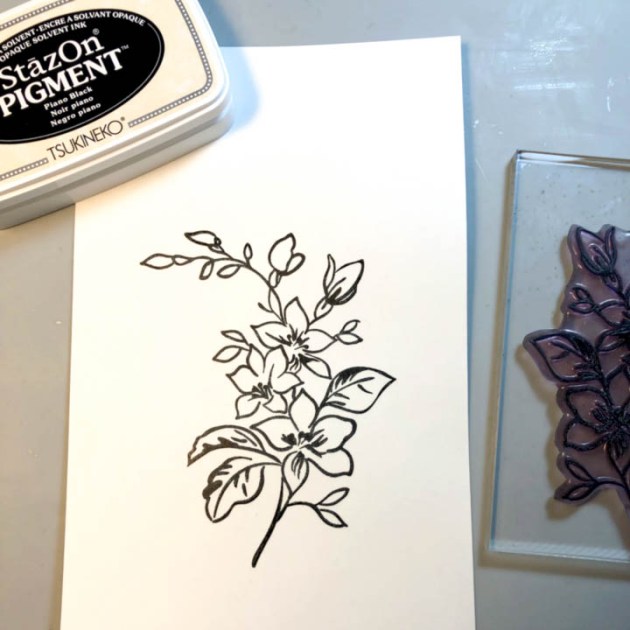
Stamp floral design on cardstock with StazOn Pigment ink in Piano Black.
Step 9
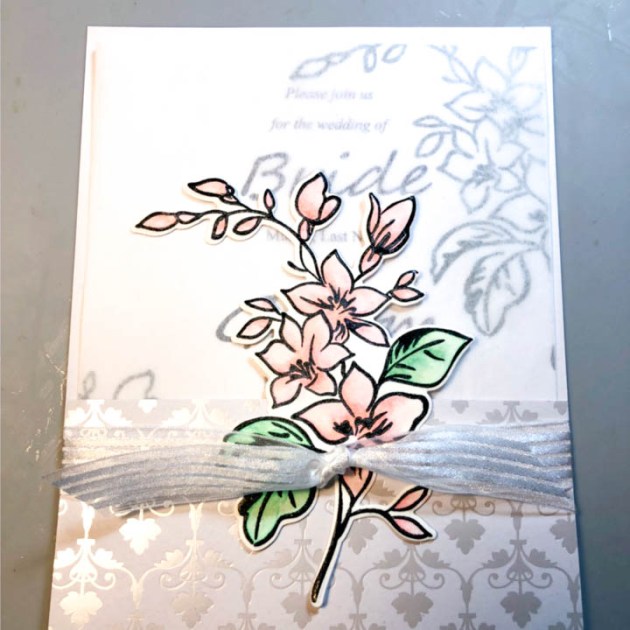
Using watercolor pen and VersaMagic ink, water-color floral image.
Step 10
With matching die, cut out floral image.
Step 11
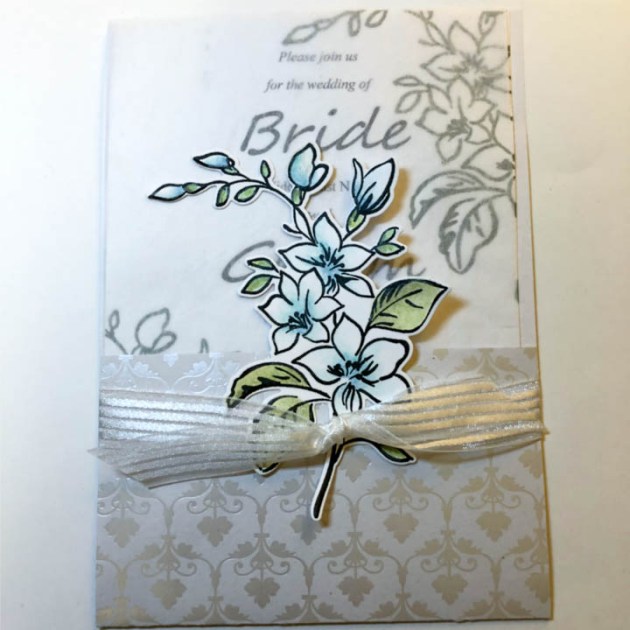
Adhere to the bottom portion of folder front, see the example for placement. Try the same design in different color schemes.
Supplies
Imagine
VersaMagic Chalk Ink – Pink Grapefruit, Mango Madness, Tea Leaves, Hint of Pesto, Turquoise Gem, Ocean Depth, Cloud White
I have always loved the look of vellum overlays on wedding invitations and making them yourself is super simple! In today’s video, I’m sharing a few different designs along with different ways to attach the vellum overlays! I hope you all enjoy it!
Skill: Beginner/Intermediate Time: 20 minutes per invitation