By Ceal Pritchett
Hello Crafty Friends,
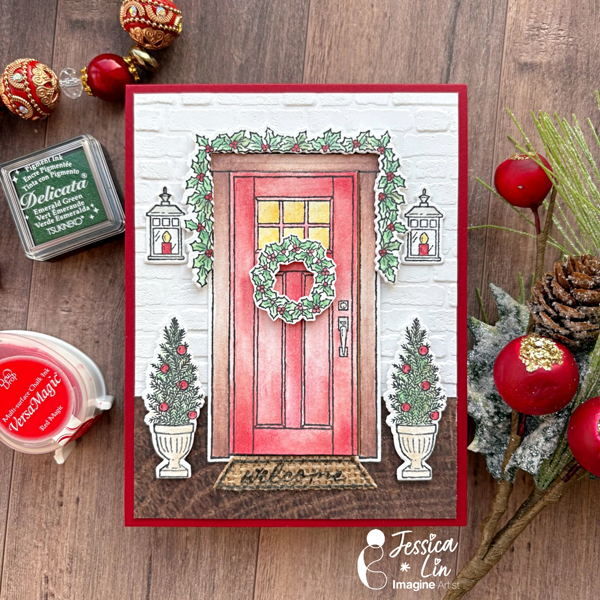
It’s Ceal, here. Today I am sharing how to make this Gift Tag with a Shaker Ornament attached. The recipient can also use the Shaker Ornament for a gift tag if they want.
Skill: Intermediate
Time: 1 hour
Directions:
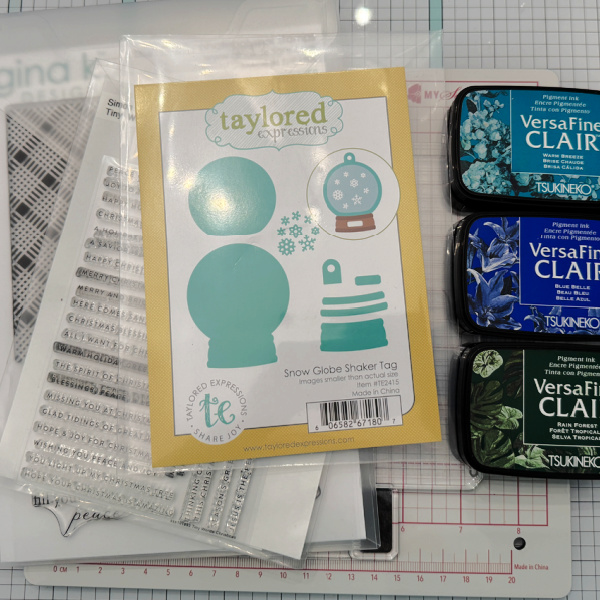
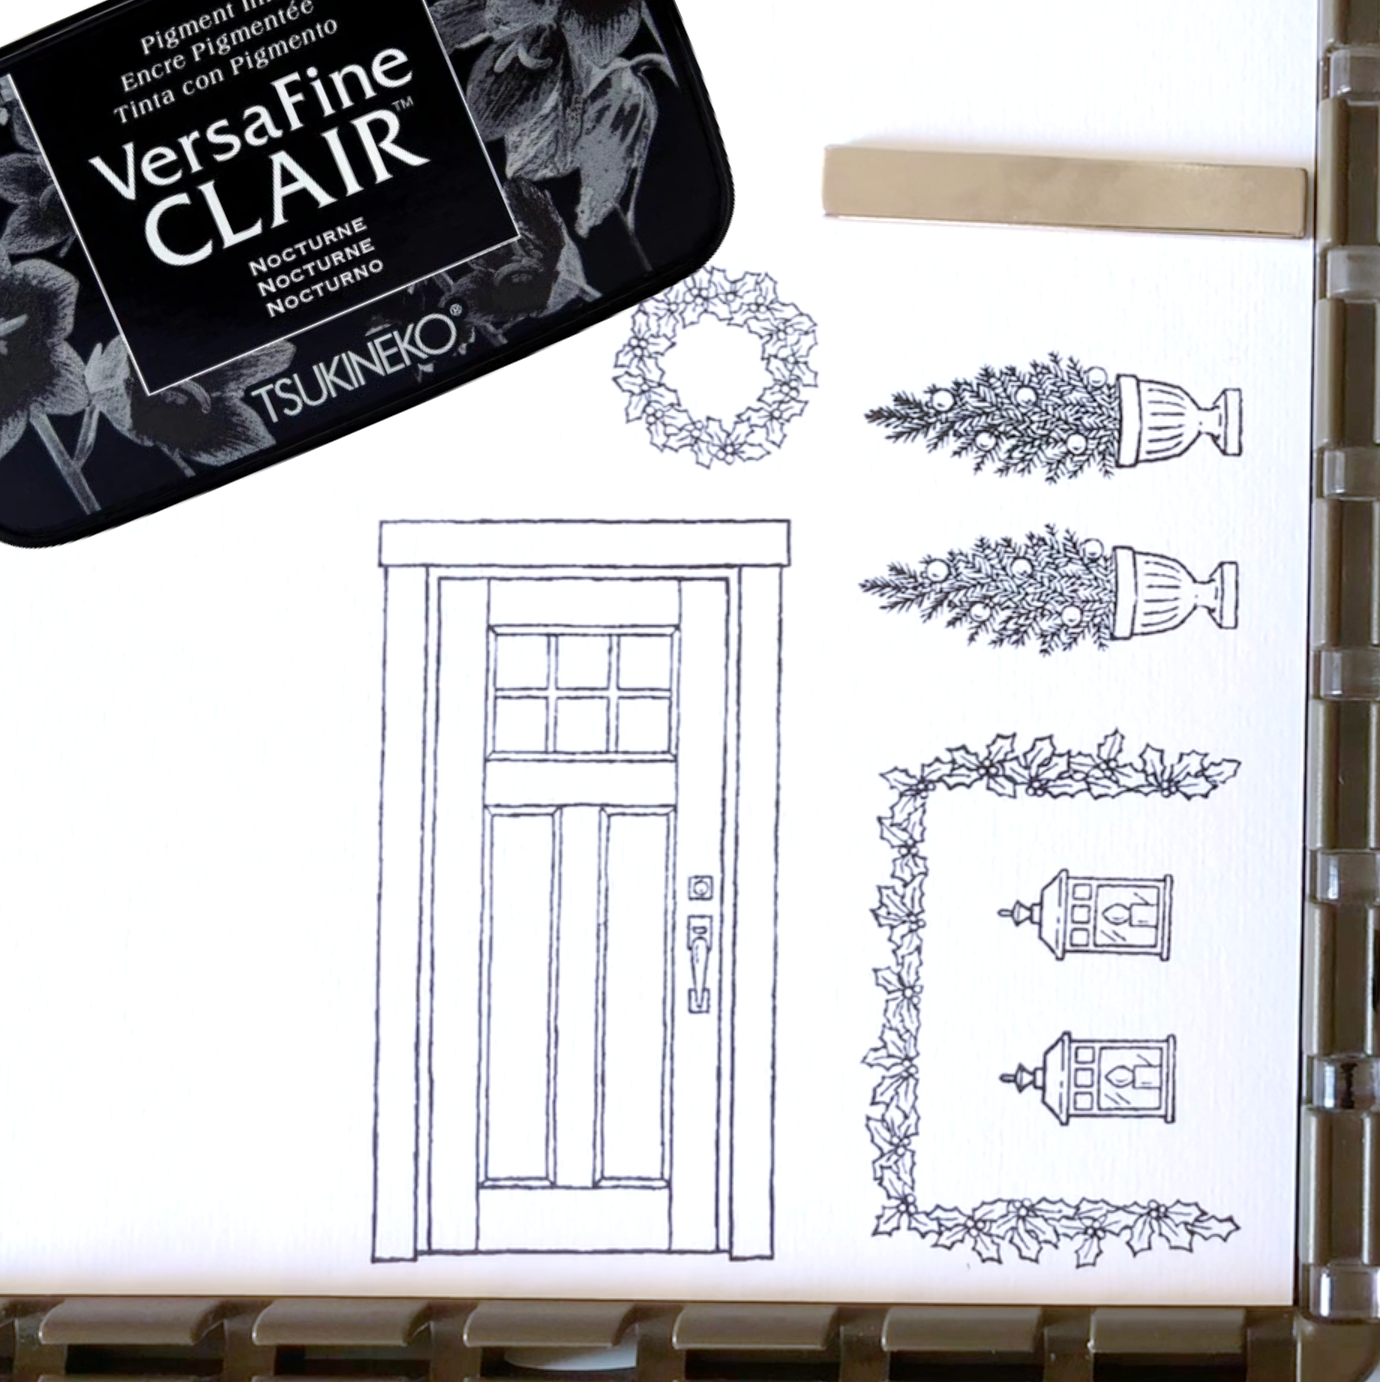
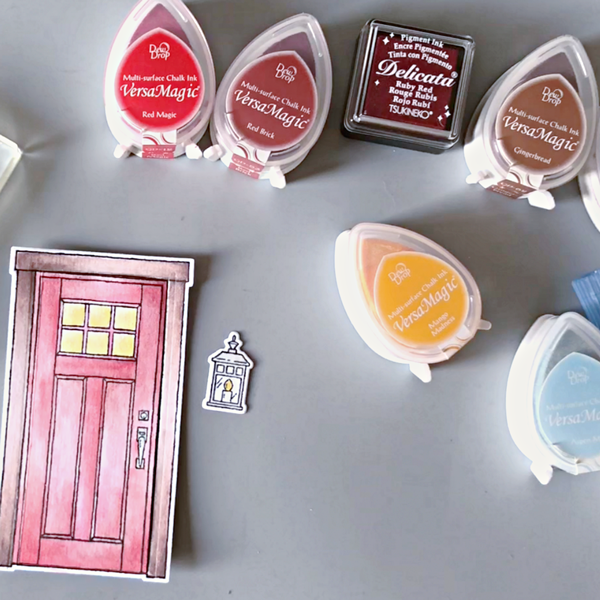
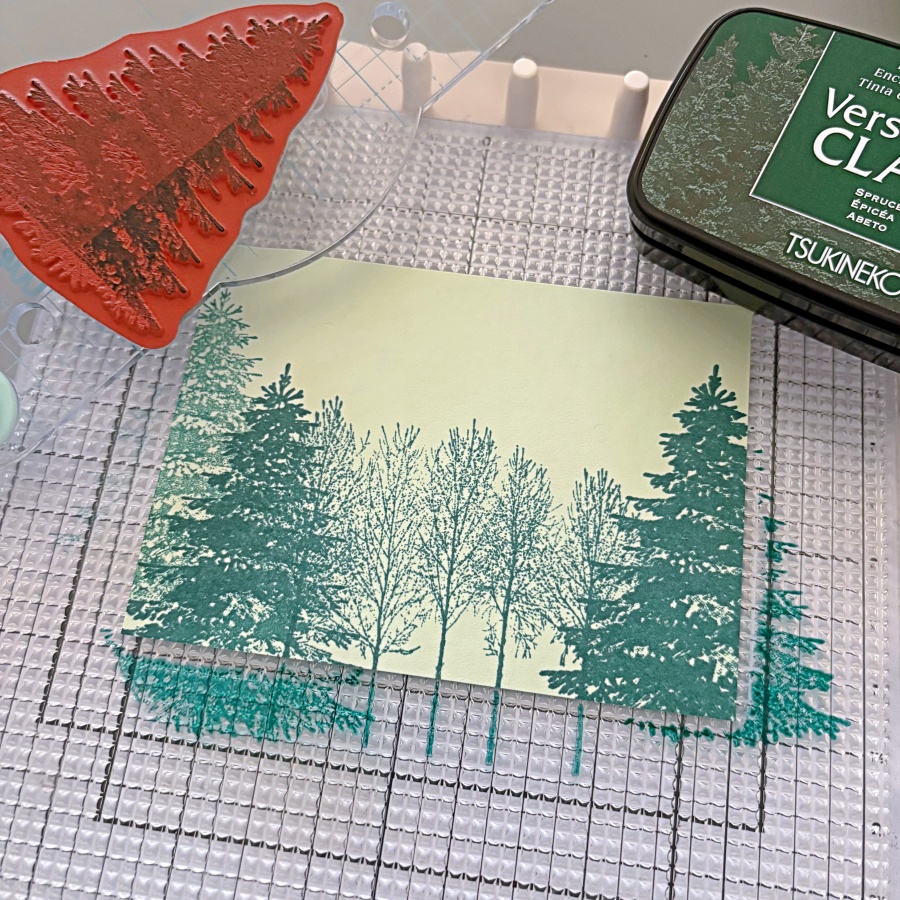
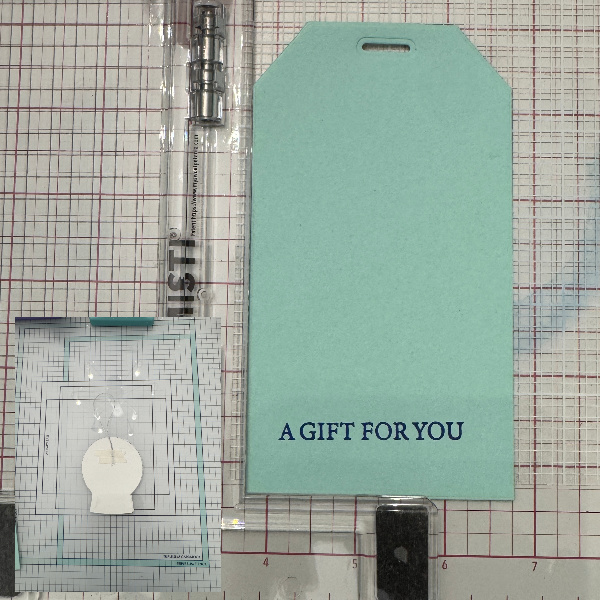
Gather your supplies. For this project you will need a MISTI Lite or other stamping platform, a Grip or Sticky Mat, a shaker element die set (I used a snow globe) a tag die set, and a die cutting machine. I used several colors of VersaFine Clair ink in Rain Forest, Blue Belle and Warm Breeze
Step 1:
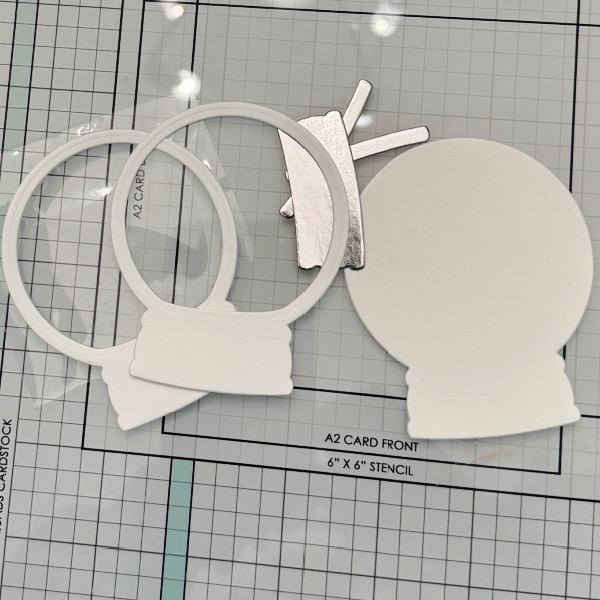
Cut out all your die cut pieces. I ended up also using some trees and a snowman from an old Hero Arts set. You will need 2 frames and two bases of the snow globe
Step 2:
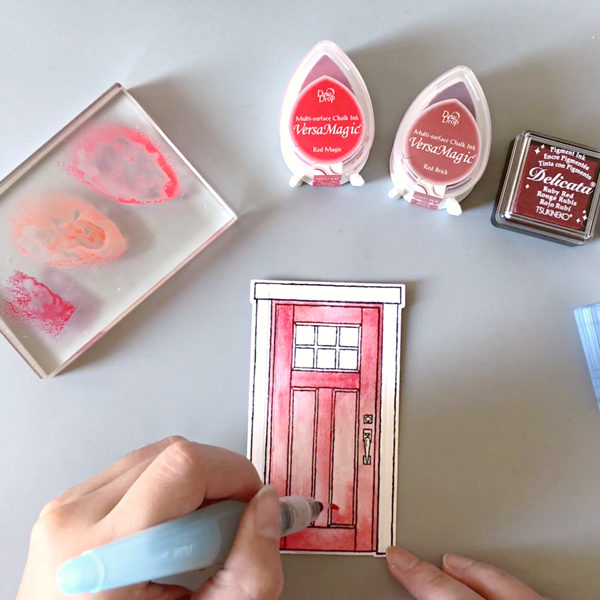
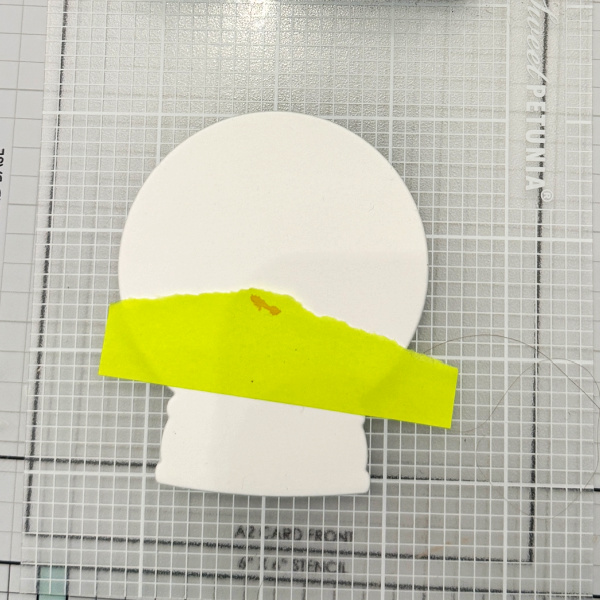
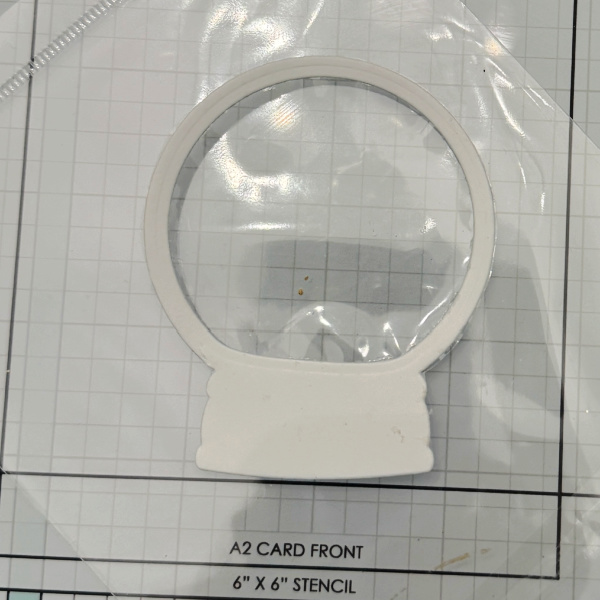
Mask off the bottom portion of the snow globe for the snow.
Step 3:
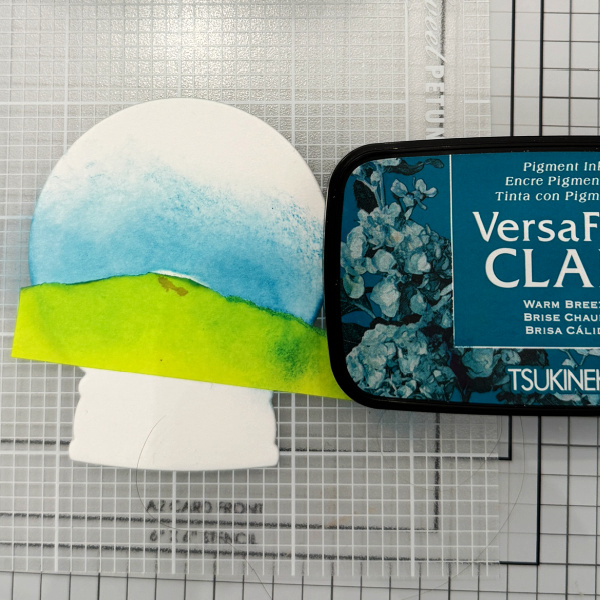
Using Warm Breeze, ink the bottom portion above the mask.
Step 4:
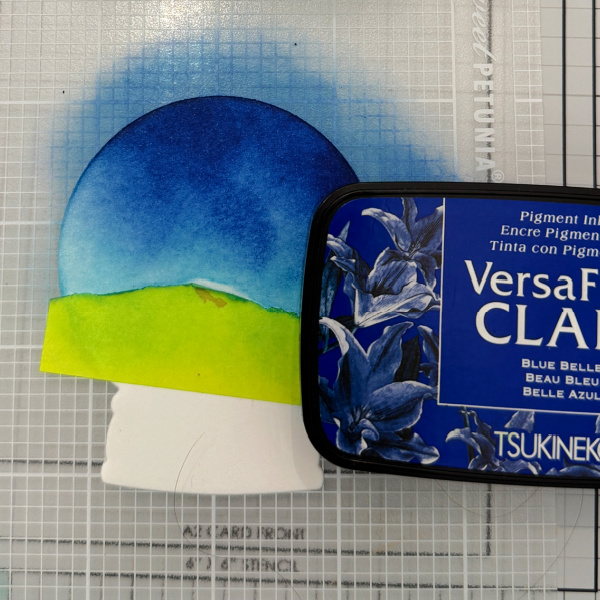
Using Blue Belle, ink the top portion of the snow globe.
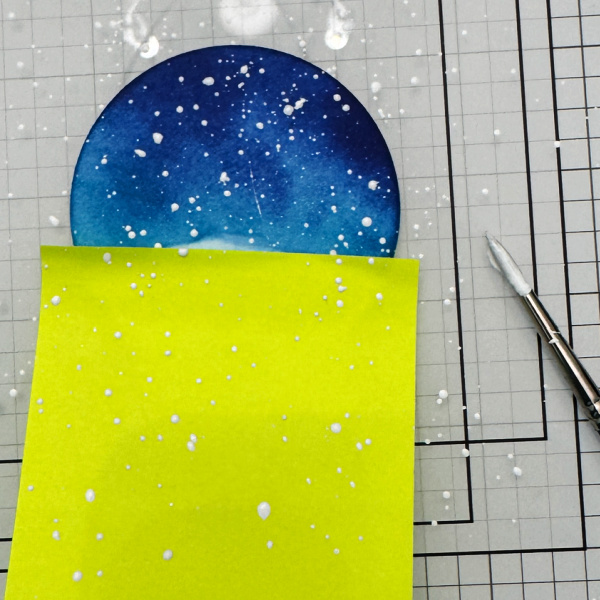
Step 5:
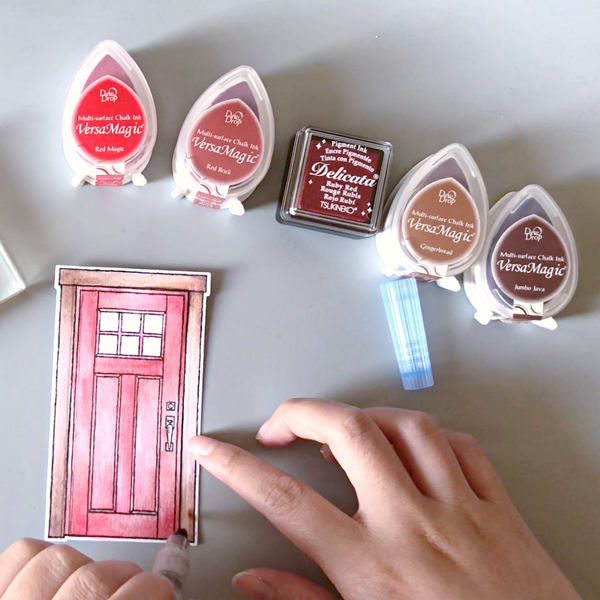
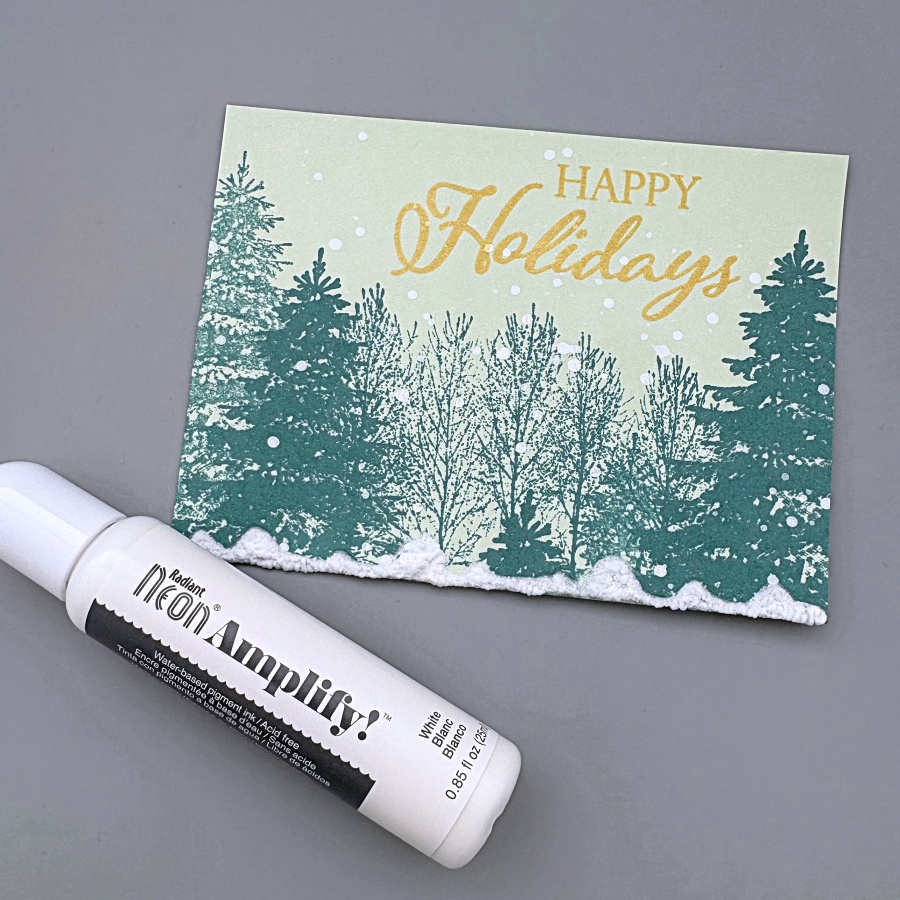
Cover the bottom portion of the snow globe and splatter the top portion with watered down white acrylic paint for the snow.

Step 6:
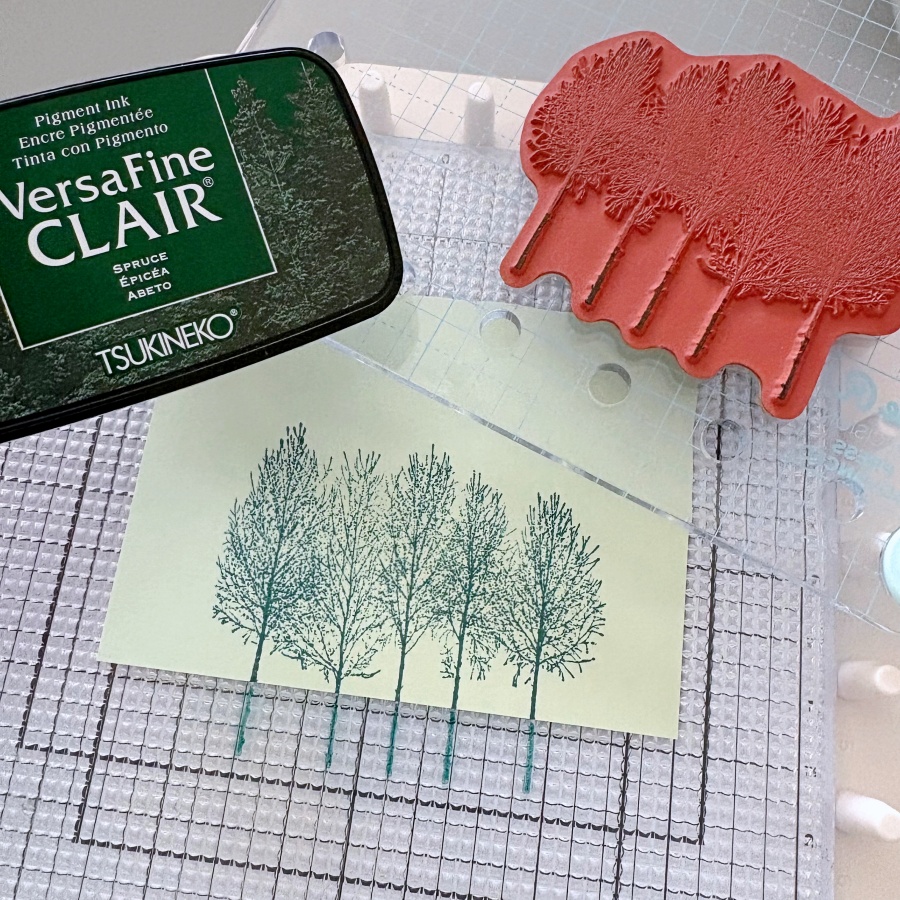
Ink the trees using Rain Forest ink and color the hat, arms, face, and button of the snowman with a marker.
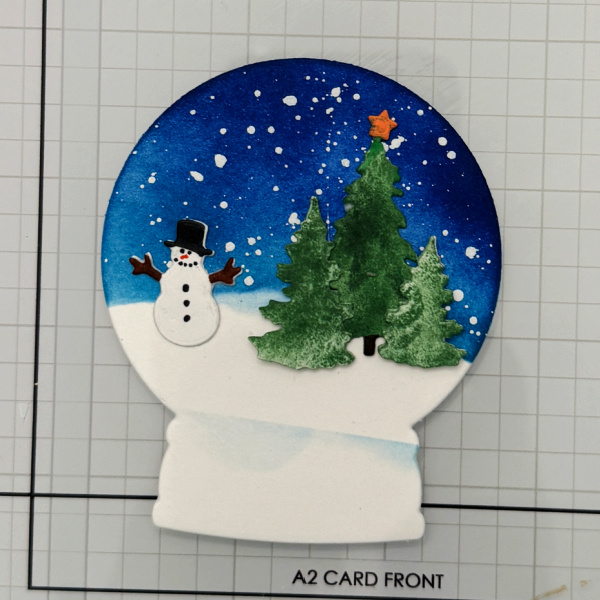
Step 7:
Add all the elements, trees and snowman to the base.
Step 8:
Recycle and add some packaging to one of the globes to create the shaker.
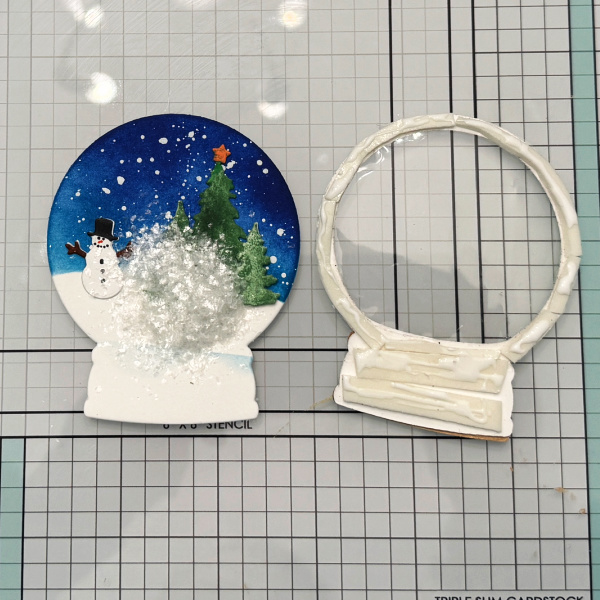
Step 9:
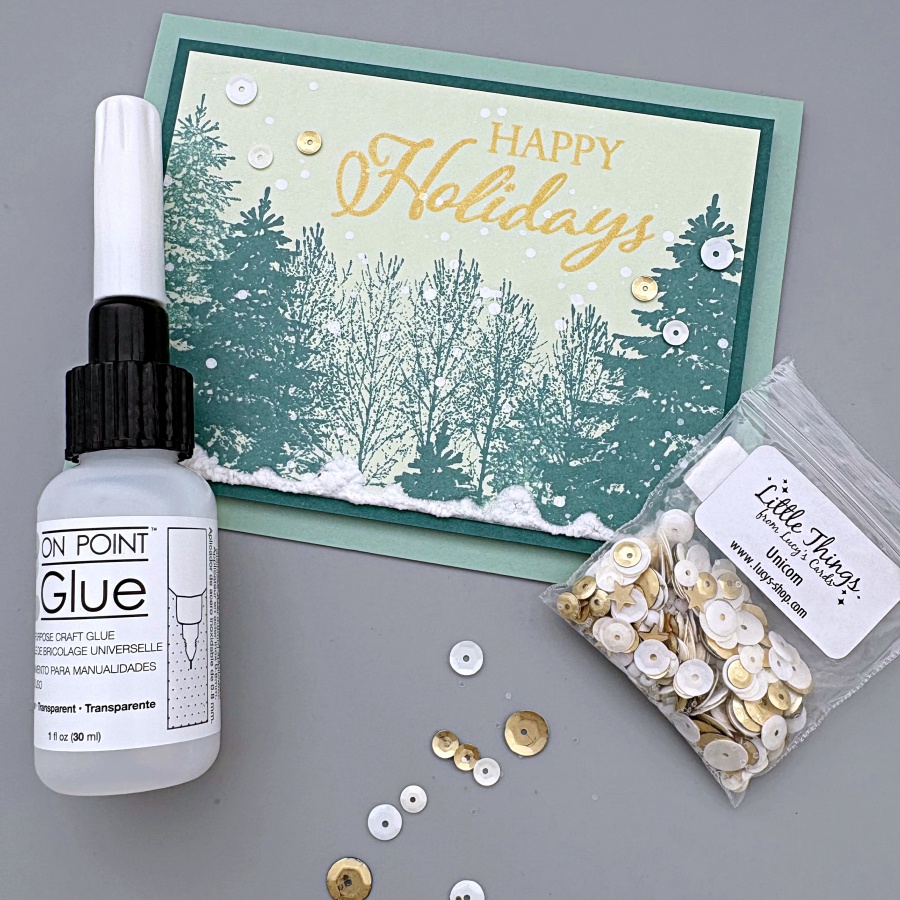
Add some glitter or sequins to the front of the snow globe and add foam tape to the back of the snow globe frame.
Tip- always add liquid glue on the foam tape so it gives a minute to move it if needed. Glue the two together.
Step 10:
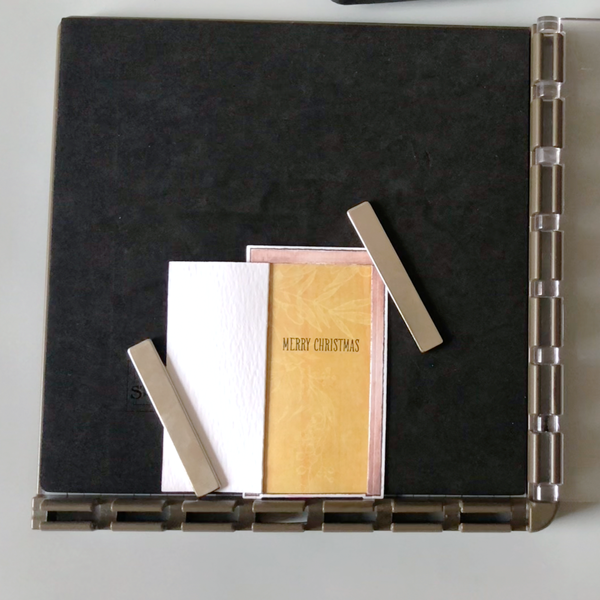
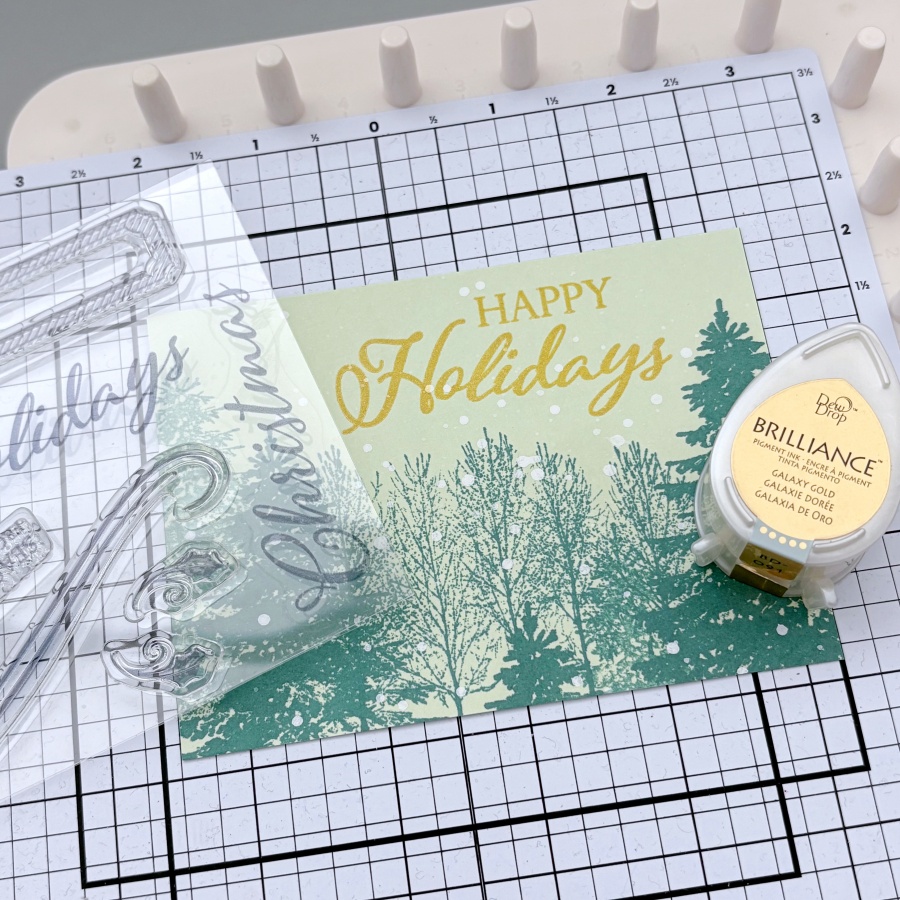
Cut out a tag and stamp a greeting on it. Add a string to the snow globe and then place another backer over it for a clean look.
Add the shaker snow globe to the gift tag.

Craft Supplies:
Imagine products:
• VersaFine Clair – Warm Breeze, Blue Belle and Rain Forest
Other Products:
• Tag Dies- Hero Arts
• Trees and snowman dies – Hero Arts
• Snow Globe Dies – Taylored Expressions