by Lisa Mensing

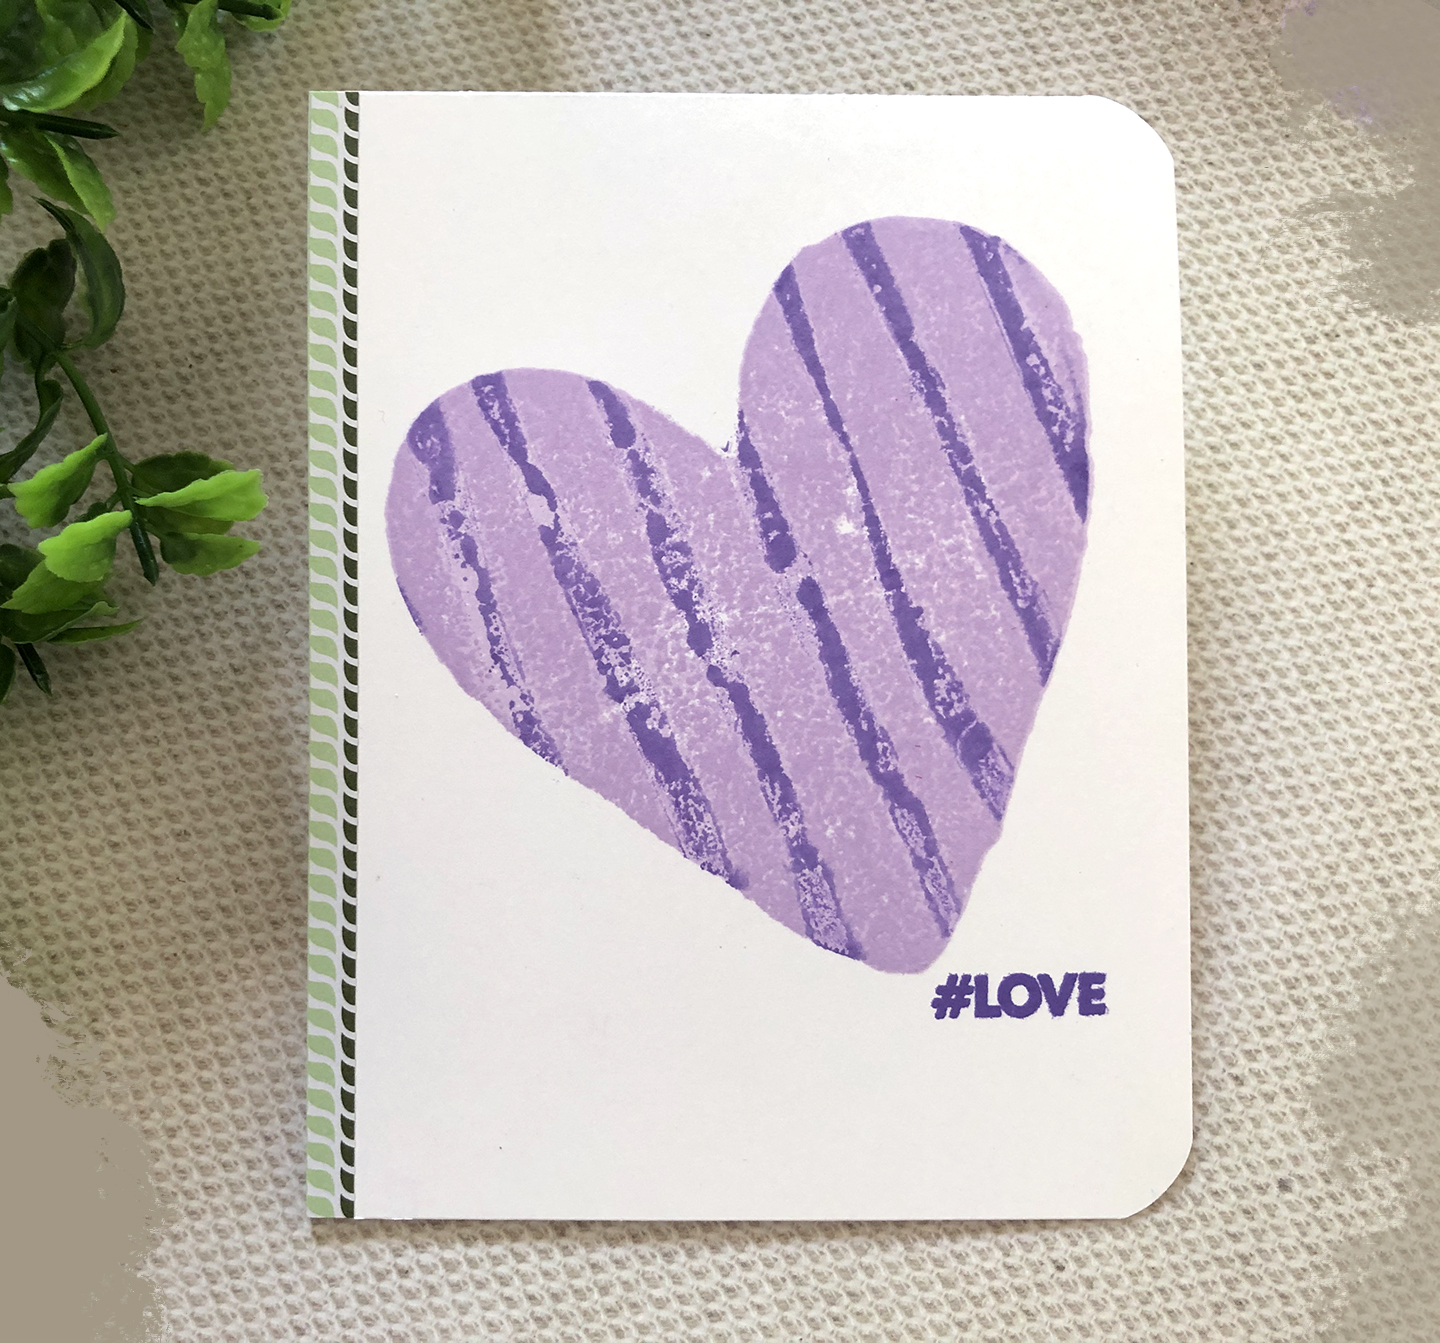
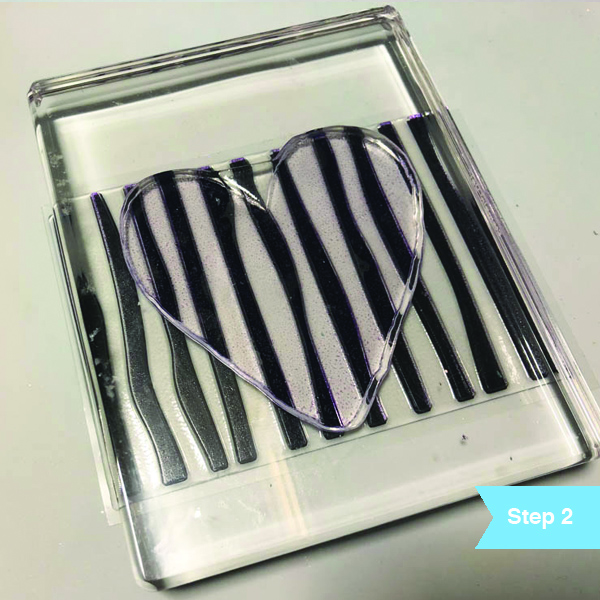
In this video, I share how to watercolor, heat emboss, and ink blend with dye inks. Follow along as I show you how to get the most out of your Memento Dye Inks and create this clean and simple card.
Skill: Intermediate
Time: 25 minutes
Directions
Supplies
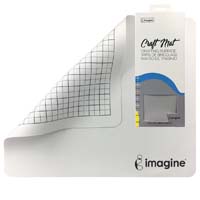
Imagine
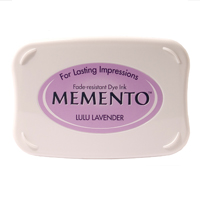
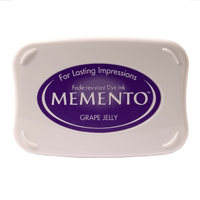
- Memento – Teal Zeal, Pistachio, Summer Sky
- Mboss Embossing – Clear
- VersaFine – Onyx Black