by Martha Lucia Gomez

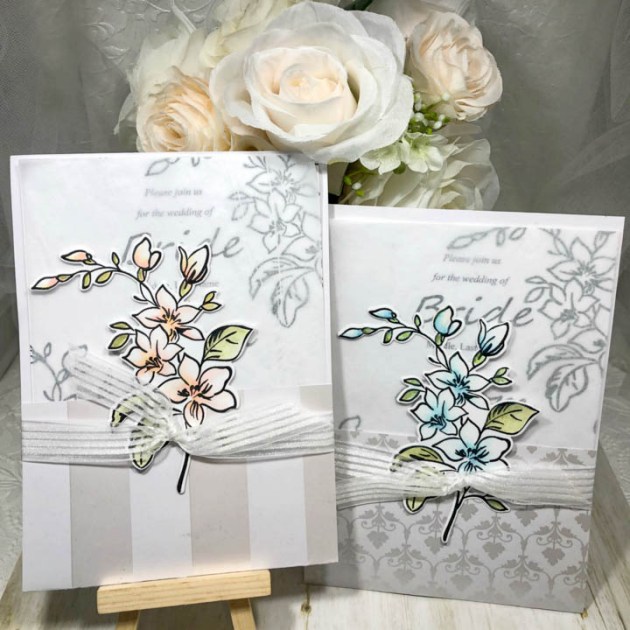
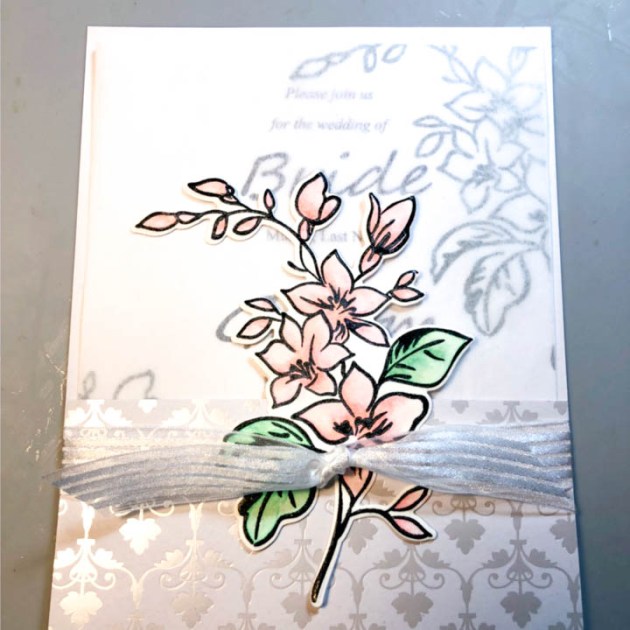
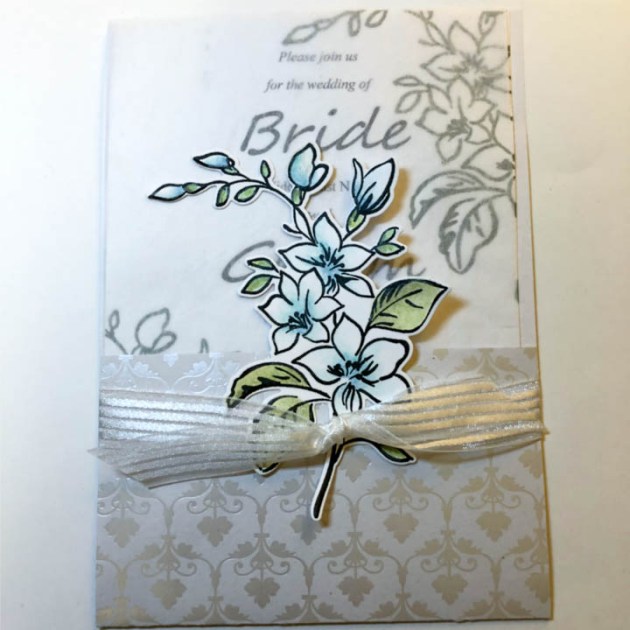
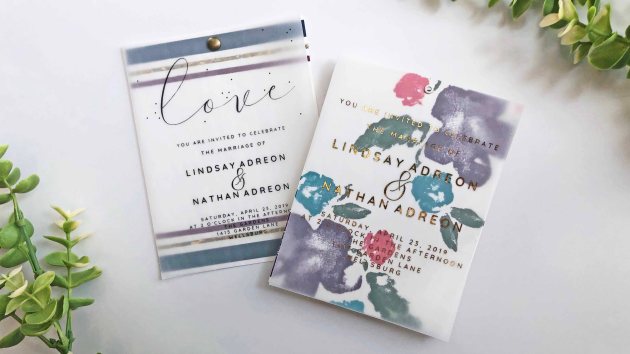
Hello everyone, today I have a quick and elegant card. This technique would be perfect for a wedding invitation. I create the shimmer and texture using the new Sheer Shimmer Stix in Frost and an embossing folder. The base of my card is Whisper White cardstock and I cut a second layer using the same color of cardstock, but apply the shimmer-texture technique for a very cool tone on tone look.
Skill: Beginner
Time: 30 minutes
Directions

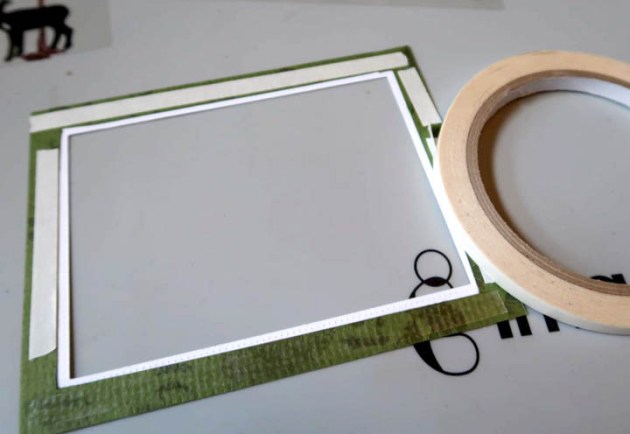
Step 1
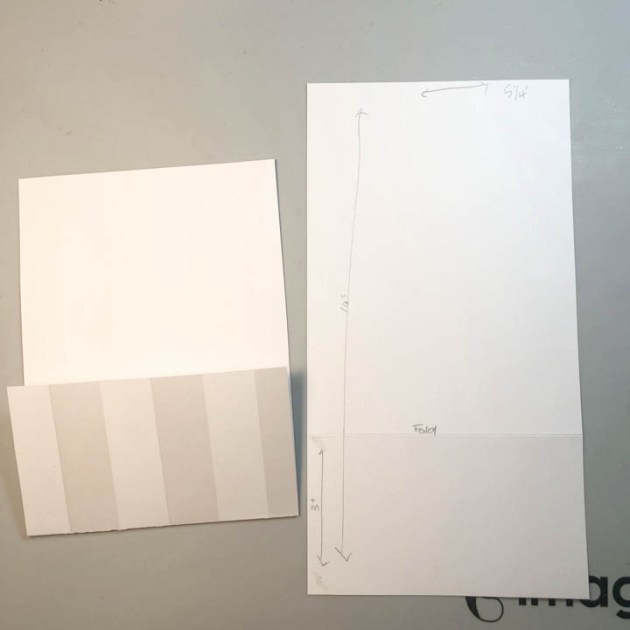
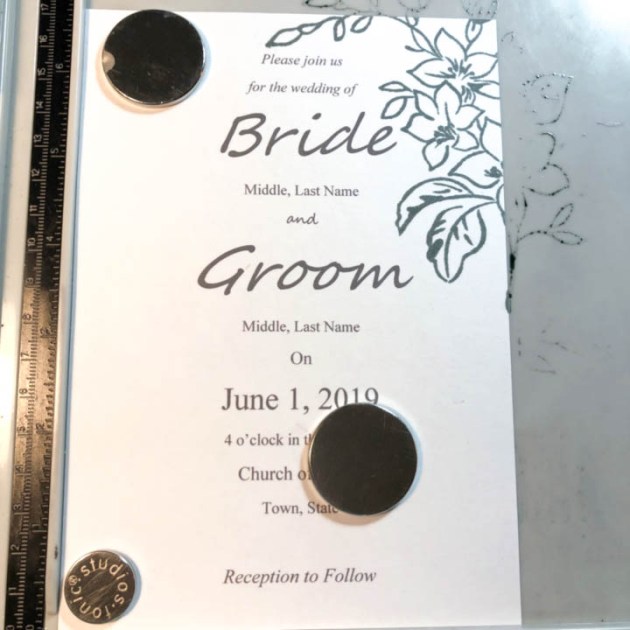
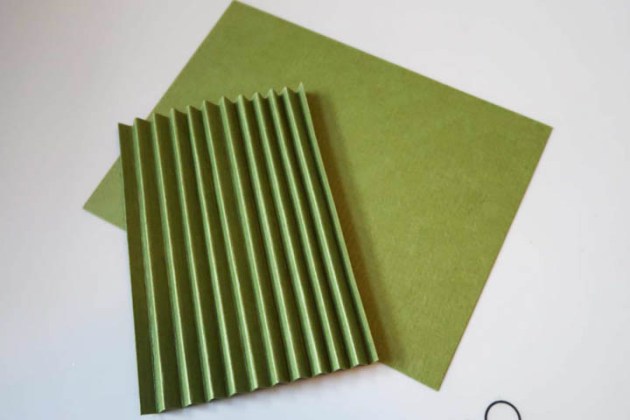
Determine the area that you want to paint and add texture. I used post it tape to obtain a straight line.

Step 2
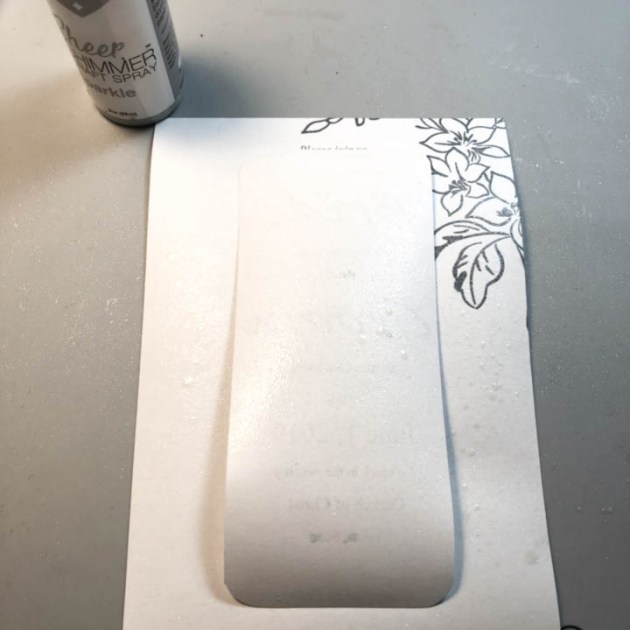
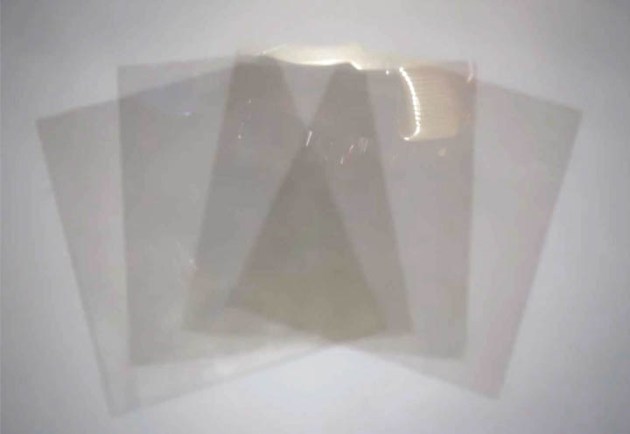
Evenly apply the Sheer Shimmer Frost with the Stix Dauber. Let the paper dry naturally, it takes a few seconds only.

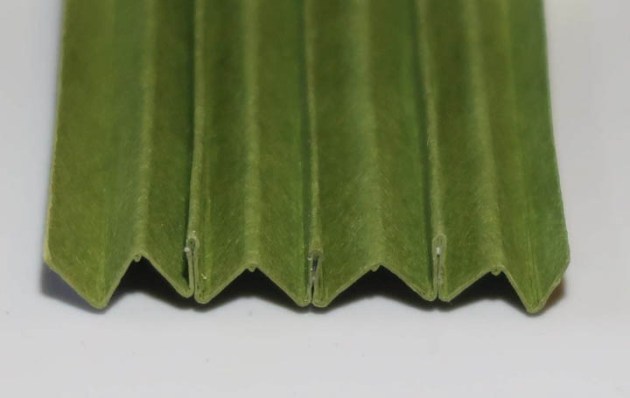
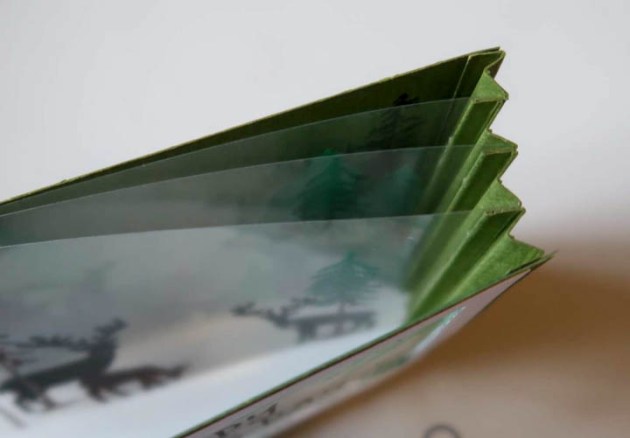
Step 3
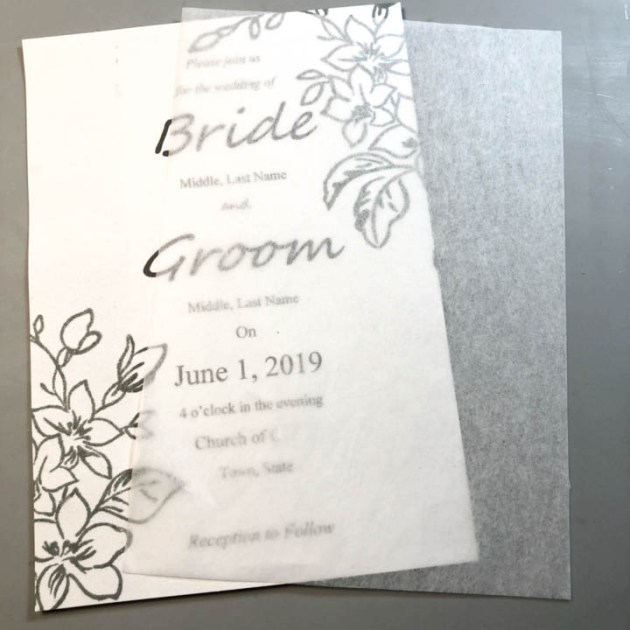
Without removing the post it tape, take an embossing folder of your preference and align the borders to only emboss the painted area. Pass the sandwich through your cutting machine.

Step 4
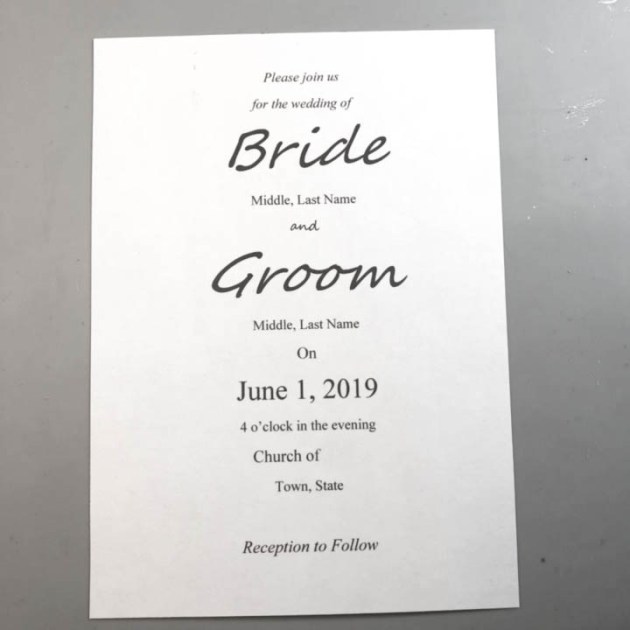
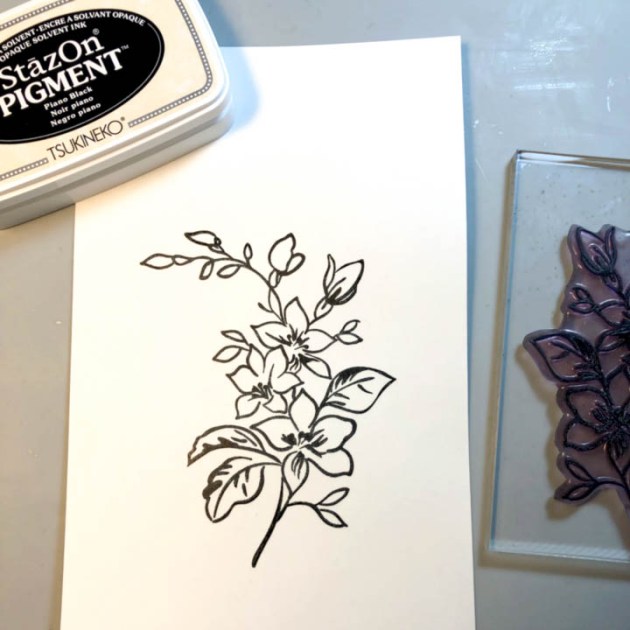
Remove the post it tape and stamp your message on the upper area. I used VersaMark and embossing powder in Gold to stamp my message. It is an image included on the stamp set Happily Ever After from The Rabbit Hole Designs.

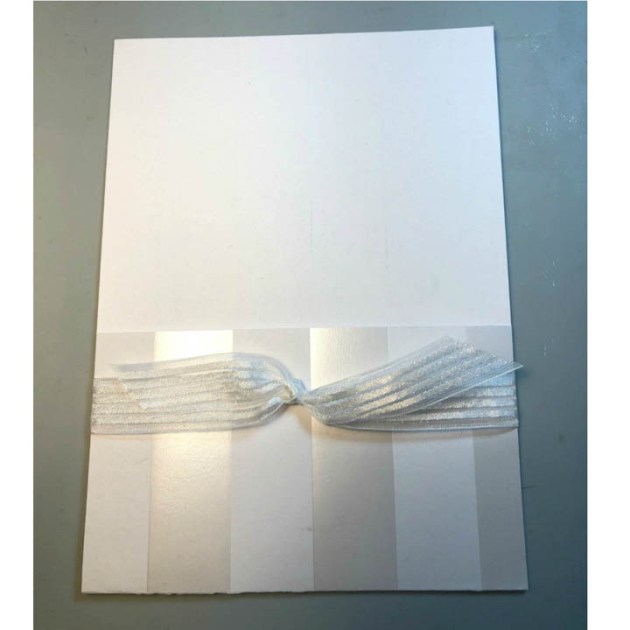
Step 5
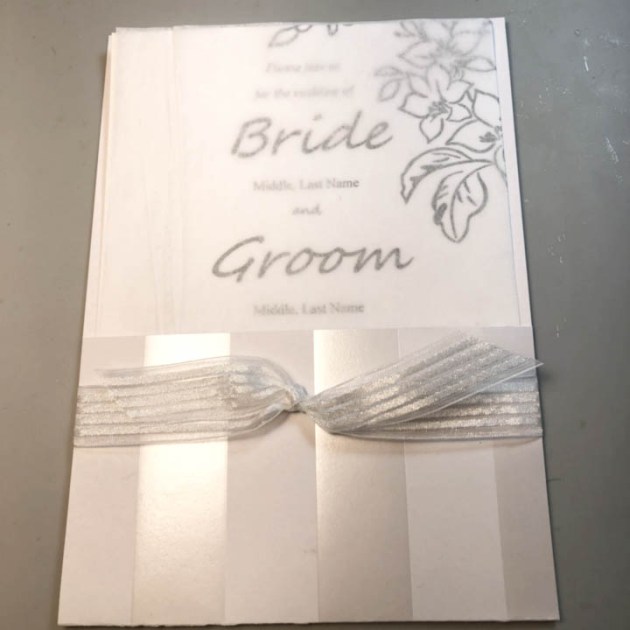
Resize your layer and paste it directly over the card base. If you want to add more decorations or details you can do it before to paste the decorated layer on to the card base.
Supplies
Imagine
- Sheer Shimmer Stix – Frost
- VersaMark
- Embossing Powder – Gold
- Tear It! Tape
- Craft Mat
Other
- Card Stock – Whisper White
- Embossing Folder
- Die Cutting Machine
- Post it Tape
- The Rabbit Hole Designs – Happily Ever After Stamp Set