By Jessica Lin
Skill: Beginner
Time: 20 minutes
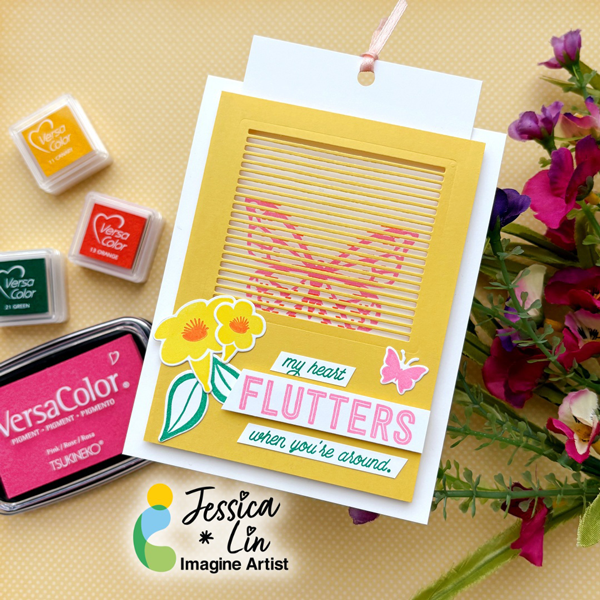
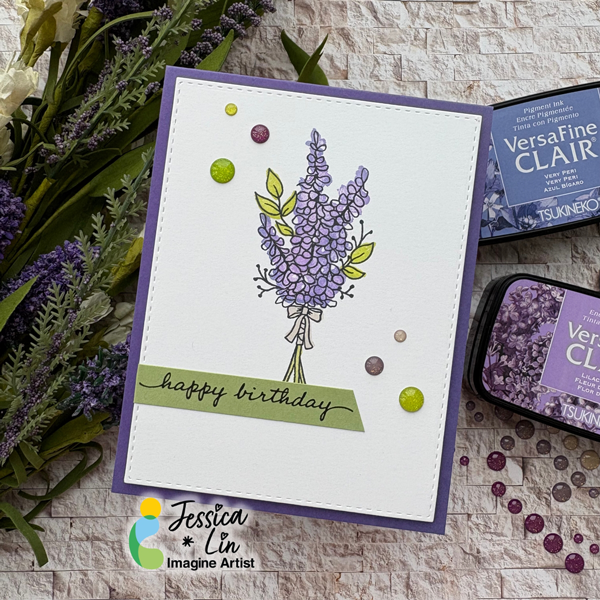
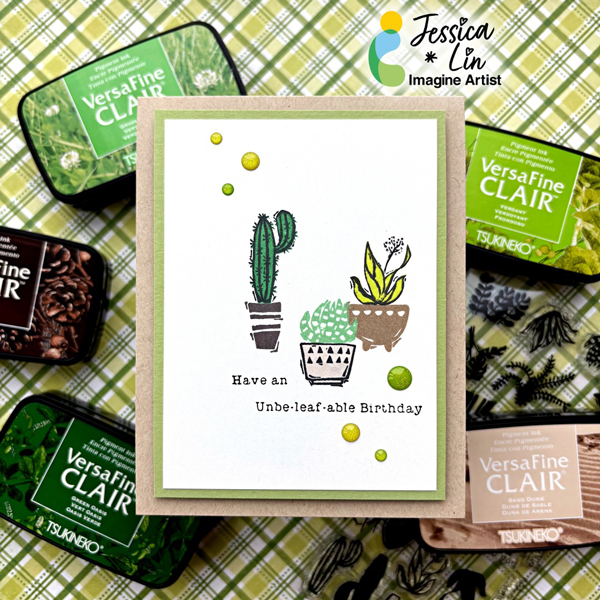
Hi everyone! It’s Jessica here. I am always looking for ways to create gender-neutral birthday cards, and I am so excited to share a beginner-friendly version today. This plant stamp set has some punny sentiments for Valentine’s Day, too. Some of the phrases are perfect for all-occasions, which makes this set so versatile to pair up with the potted plants images.
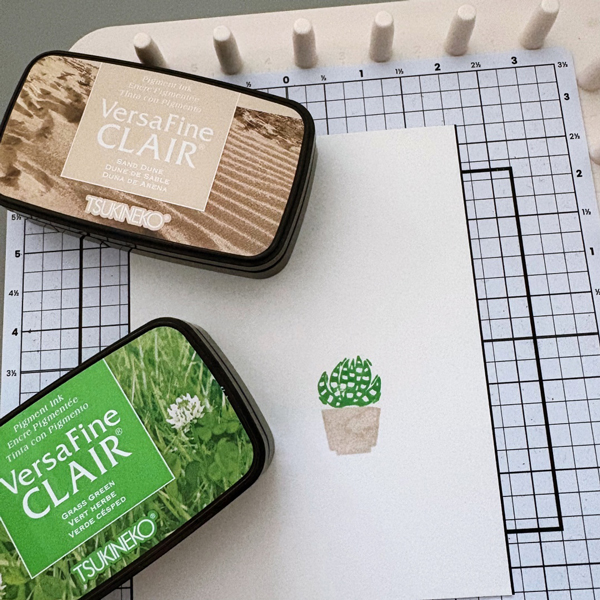
Step 1:
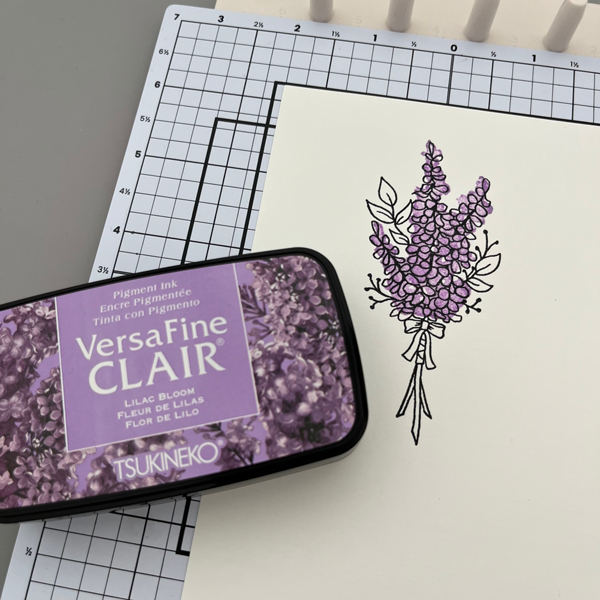
Stamp the succulent plant with VersaFine Clair Grass Green ink pad. For the pot, use VersaFine Clair Sand Dune. Stamp another succulent image on a post-it note and fussy cut the image for masking in step 2. Tip: Stamp on the sticky edge of the post-it note so that the fussy cut image will turn into a temporary sticker
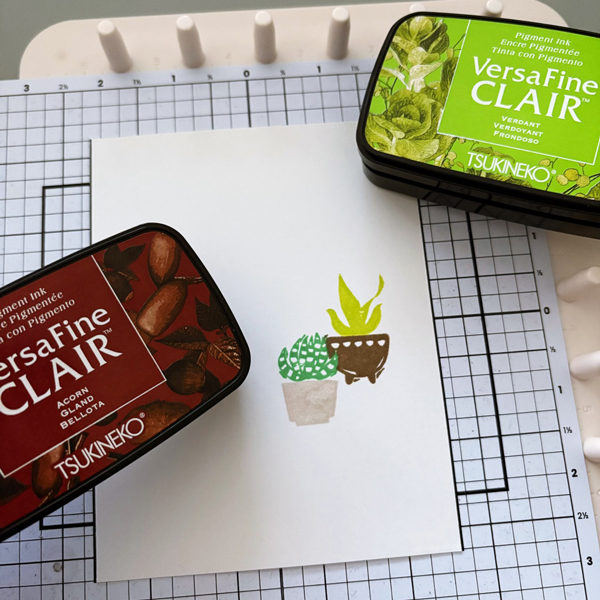
Step 2:
Mask the stamped succulent image with the fussy cut sticky note. Then stamp the second plant pot with VersaFine Clair Verdant and Acorn. Masking the succulent plant creates the illusion that it sits in front of the second plant pot. I did not overlap the two plants very much, but you could stamp the two closer together to emphasize the spatial arrangement.
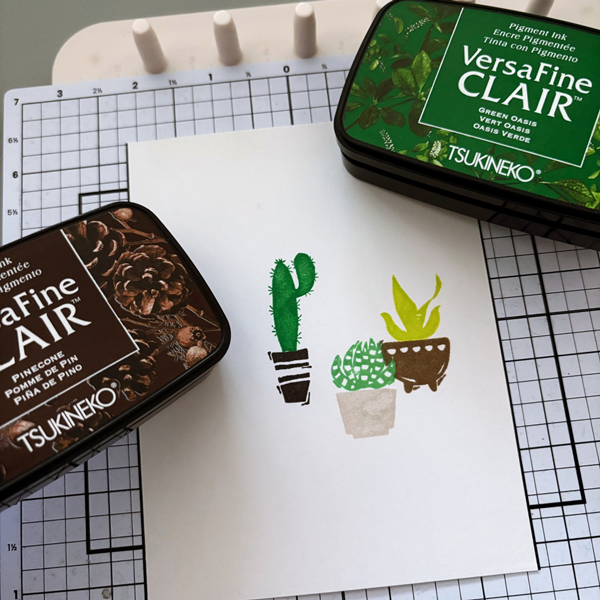
Step 3:
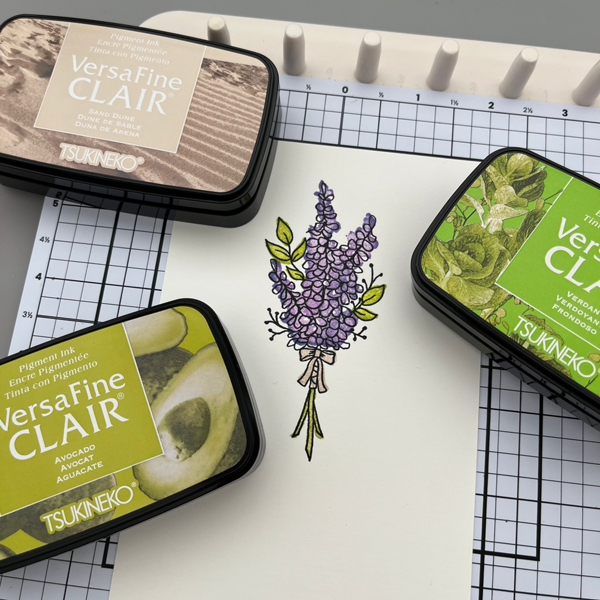
For the third cactus plant, stamp with VersaFine Clair Green Oasis and Pinecone. I love the different shades of greens and browns in the VersaFine Clair line; they complement each other so well.
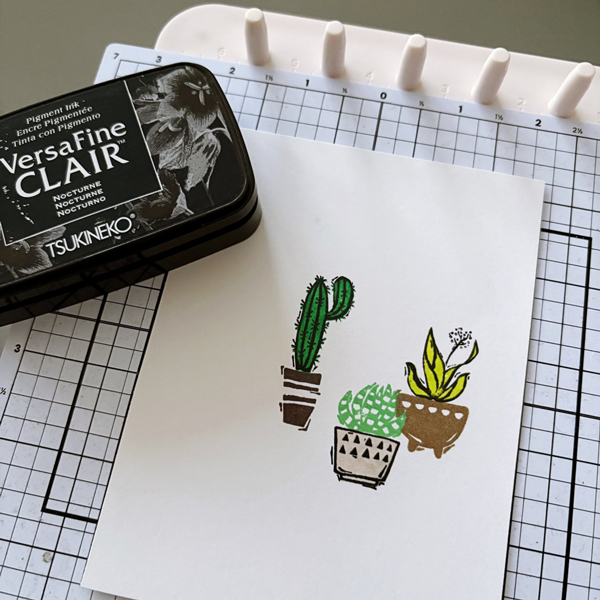
Step 4:
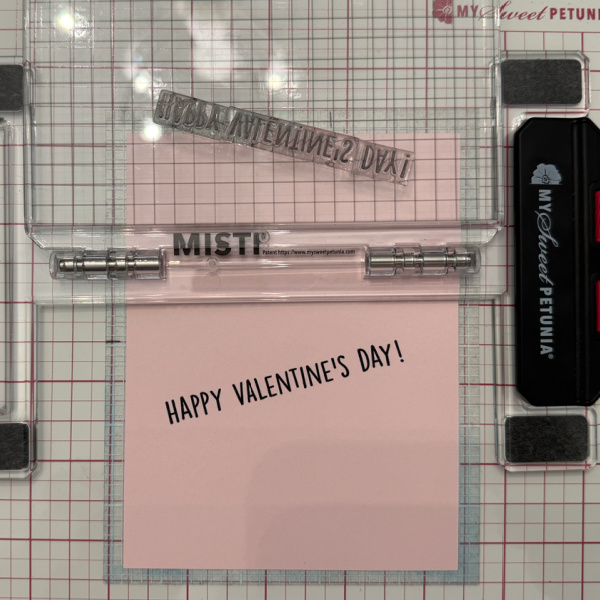
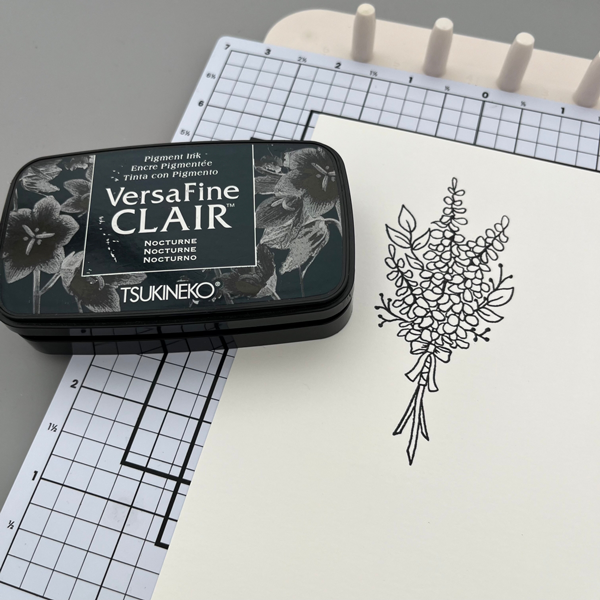
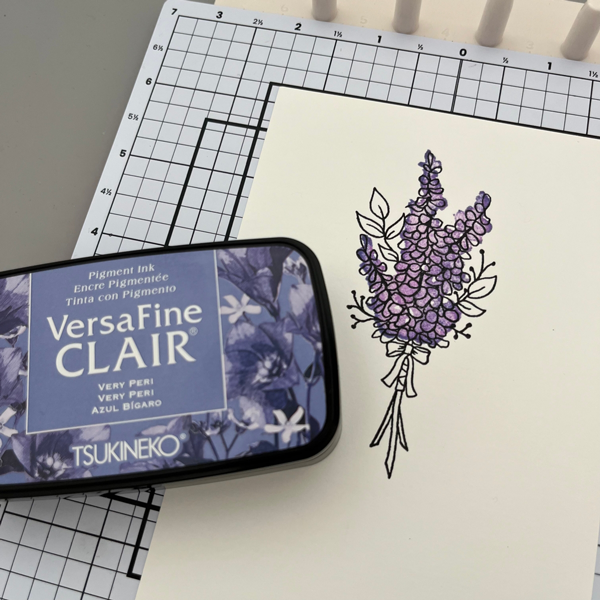
Lastly, stamp the outline images with VersaFine Clair Nocturne ink pad. The super cute pun sentiment was also stamped with the same ink.

Step 5:
Trim the stamped card panel to 3 ½’’ x 4 ¾’’. Adhere it to a 3 ¾’’ x 5’’ piece of green cardstock, then adhere both layers to a cardbase with foam tape.
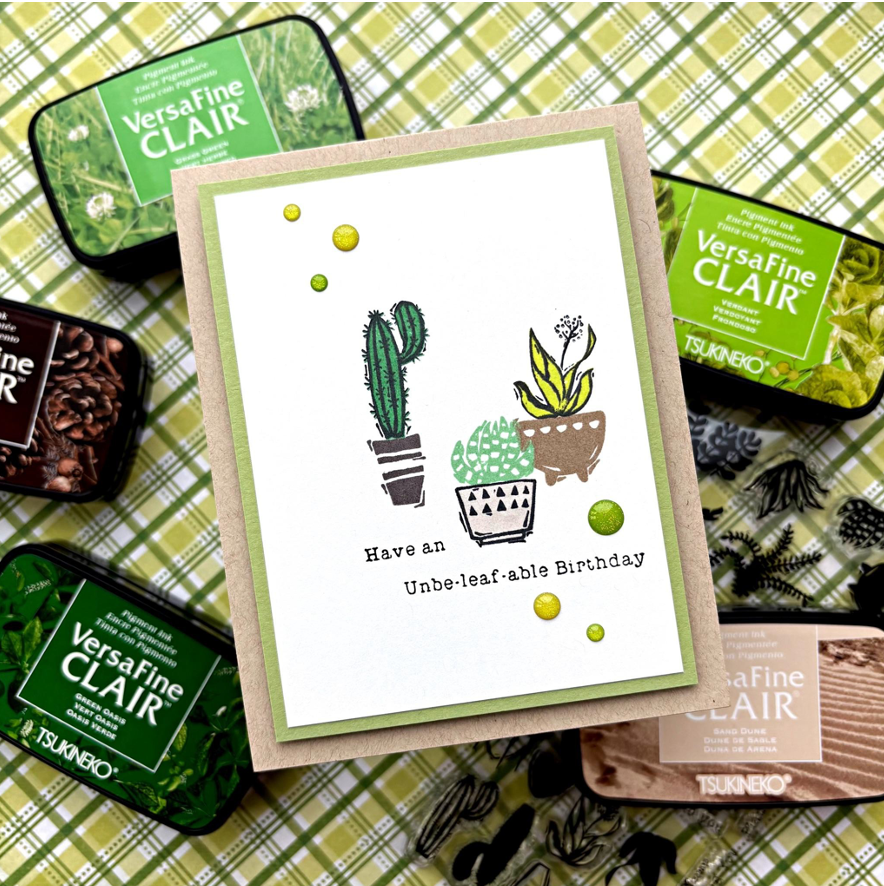
Step 6:
For the final finishing touch, add a few enamel drops from Doodlebug Sprinkles Limeade.
Products Used:
Imagine Supplies:
- VersaFine Clair – Grass Green, Sand Dune, Verdant, Acorn, Green Oasis, Pinecone, Nocturne
- StazOn Cleaner
- Tear-It! Tape
- Craft Mat
Other Supplies:
- iCrafter – Stamps – Positively Plants
- Stampin’ Up! – Cardstock – Pear Pizzazz
- Neenah – Cardstock – Desert Storm
- Foam Tape
- Doodlebug – Enamel Dots – Sprinkles Limeade