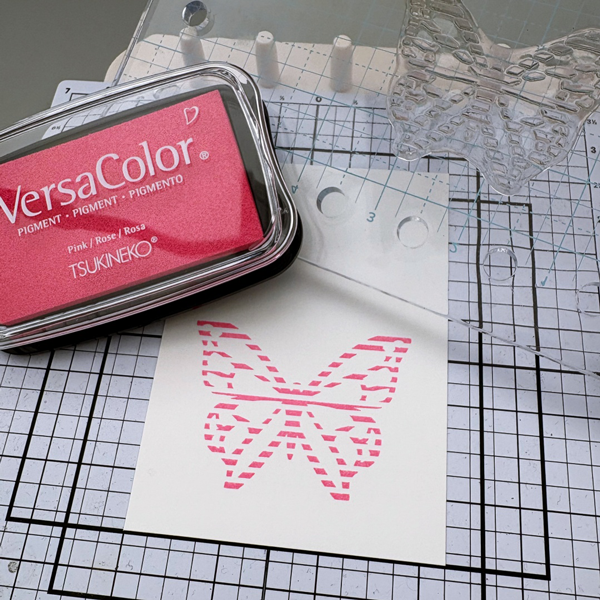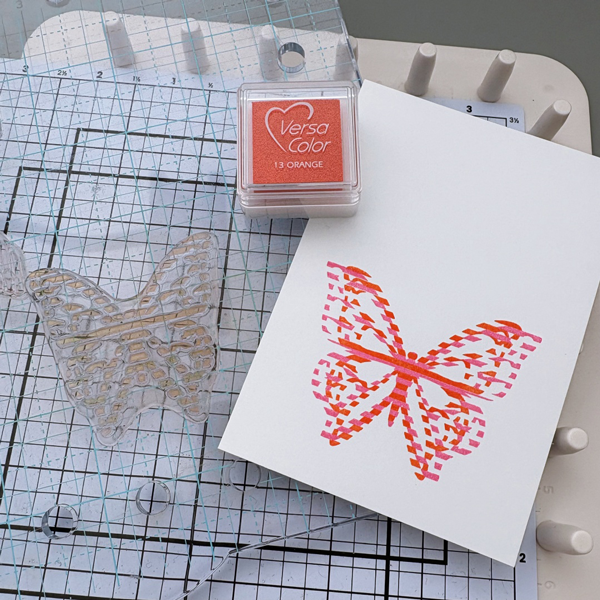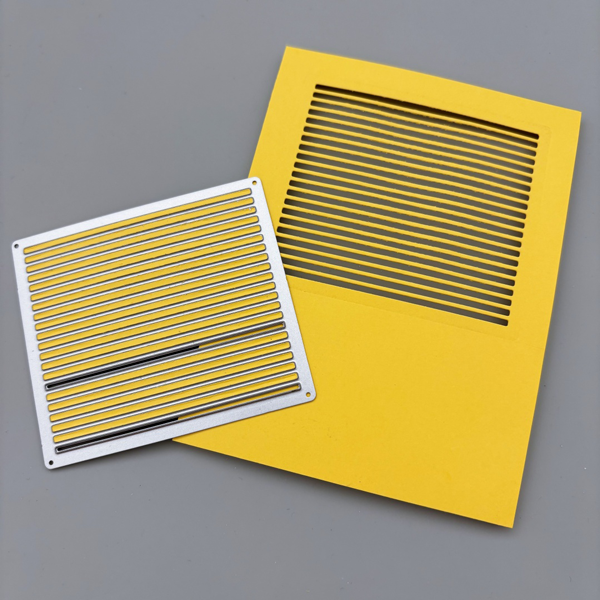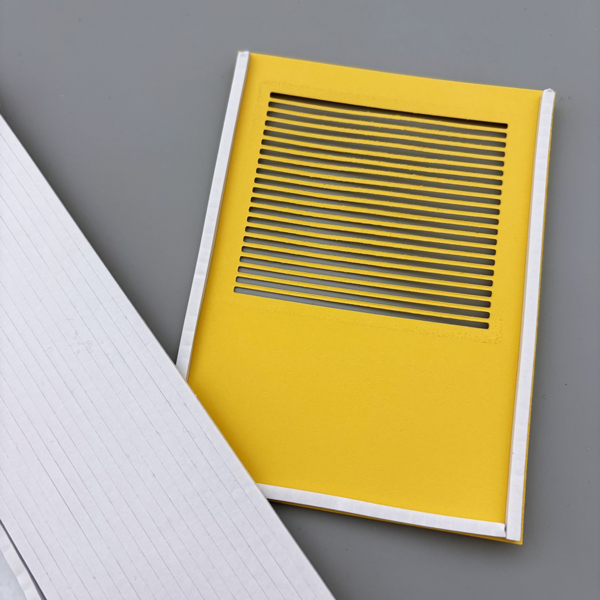
Other Products Used Simon Hurley Very Berry Stencil Set Berry Best Stamp and Coordinating Dies Stellar paste in Black Widow Lunar Paste in Later Gator PVA Adhesive Ink blending brushes
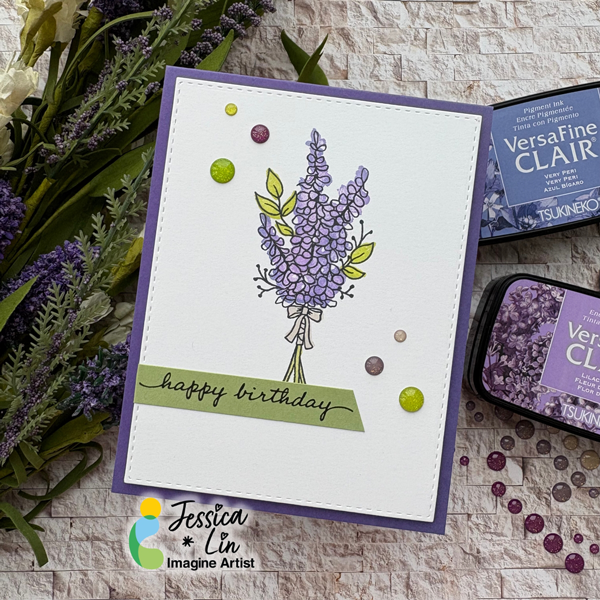
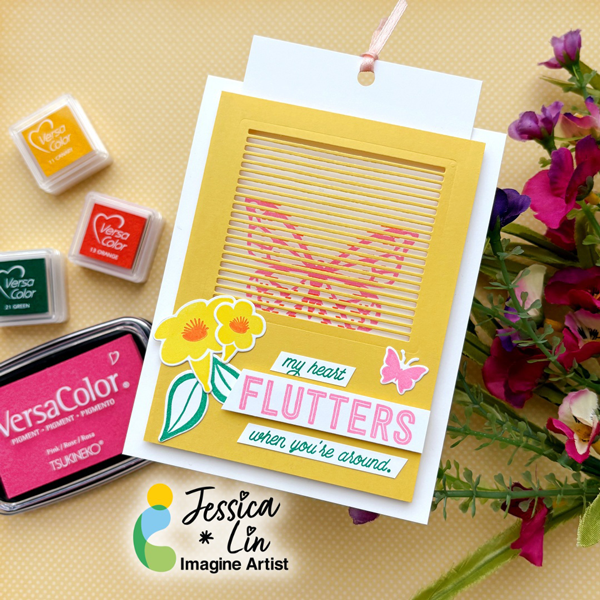
Hi everyone! It’s Jessica here. Today I have a beginner friendly birthday card to share with you. Most of my creations involve die cutting or dry embossing using a die cutting machine. So today, I decided to go back to the basics and create a card that focuses on stamping.
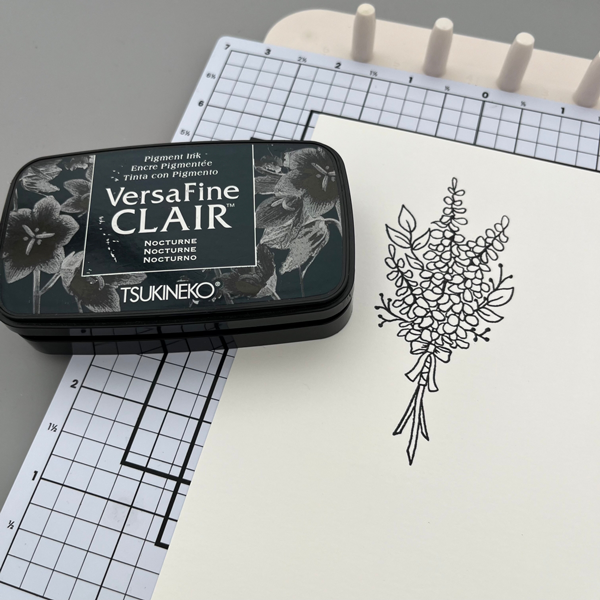
Step 1: I will be using VersaFine Clair ink pads to stamp all of the images today. For the outline, I used Nocturne. This is my favorite black ink pad because the stamped images are always crisp and dark.
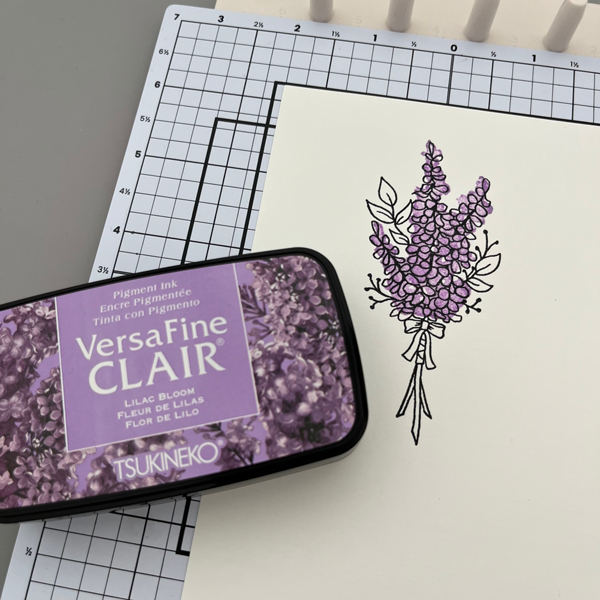
Step 2: Then I stamped the lavender overlay image with VersaFine Clair Lilac Bloom. The stamp set I am using today is called Lots of Lavender from Stampin’ Up. It’s a simple layering stamp set that is very forgiving for beginners; the overlay stamps have loose, watercolor-like shapes so you don’t have to line up to the outline image exactly.
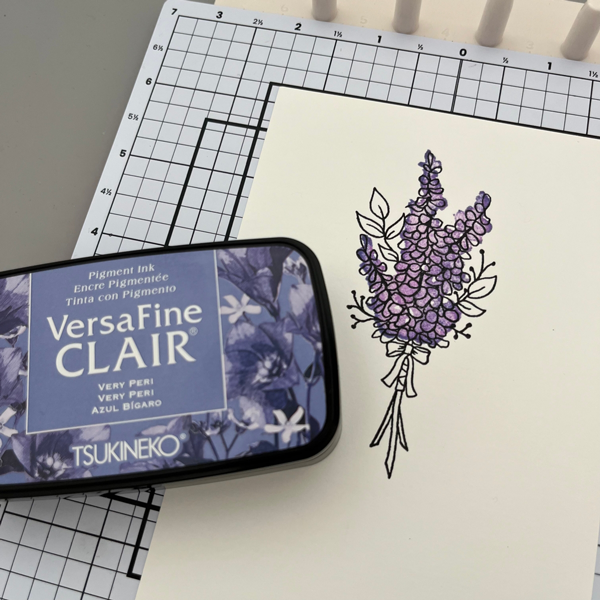
Step 3: I decided to add a different purple tone to the lavender layer. I inked up the same stamp using VersaFine Clair Very Peri, only this time, I inked up only the edges of the stamp. This way, you can create an image that has duo-tone effects. I think these two purple shades complement each other so perfectly.
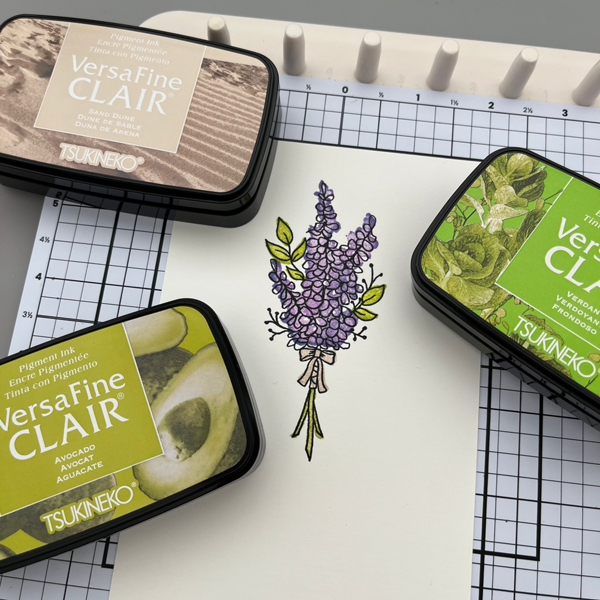
Step 4: I used the same duo-tone technique and stamped the leaves and stems with VersaFine Clair Verdant first, then with VersaFine Clair Avocado. For the bow, I stamped with VersaFine Clair Sand Dune.
Step 5: Finally, I stamped the “happy birthday” sentiment with VersaFine Clair Nocturne, added a few enamel dots, and the card is complete!
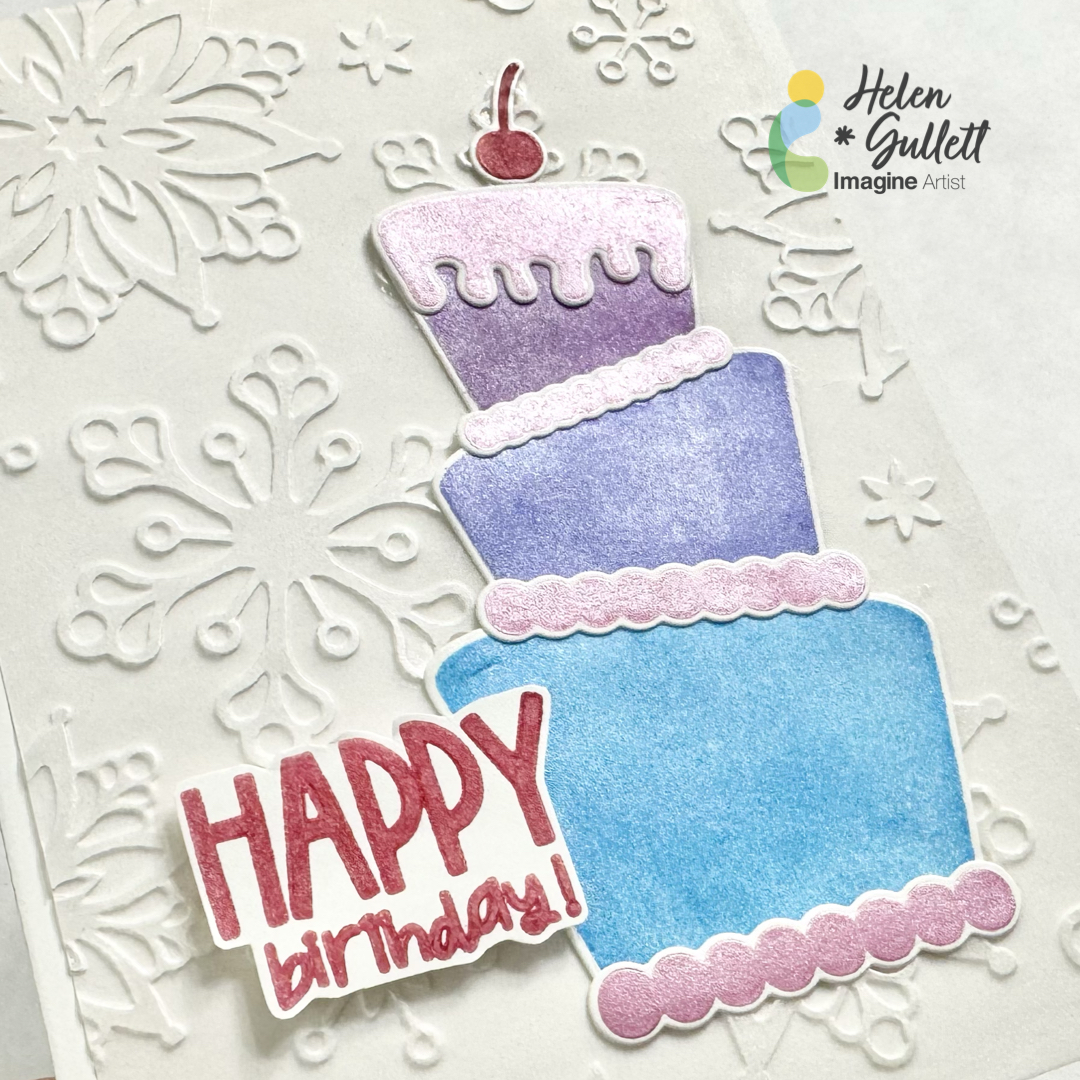
Hello crafty friends… If you are like me, I always need birthday cards at any season. Since it is Winter now, today we are going to make a Winter themed birthday card. Let’s gather your supplies and make it together.
Skill: Intermediate Time: 15-20 minutes
Directions:
Step 1
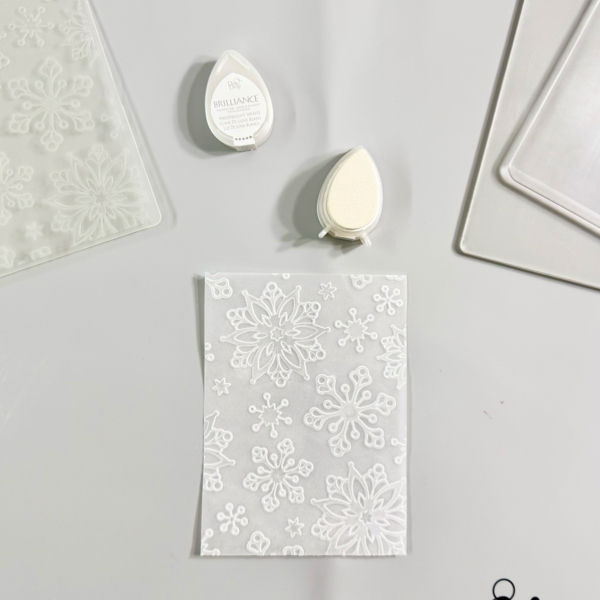
First, cut out a piece of vellum paper into 4.25 inch x 5.5 inch (or any size that will fit inside your embossing folder).
Add some of the Brilliance Moonlight ink to the embossing folder on the raised side, carefully add the vellum paper to the embossing folder, and then run it through the die cutting machine (make sure to follow your die machine sandwich instructions for embossing folder).
It’s optional, you add more of the white ink to the embossed vellum if you want to.
Use a craft heat gun to dry the ink on the embossed vellum.
Step 2
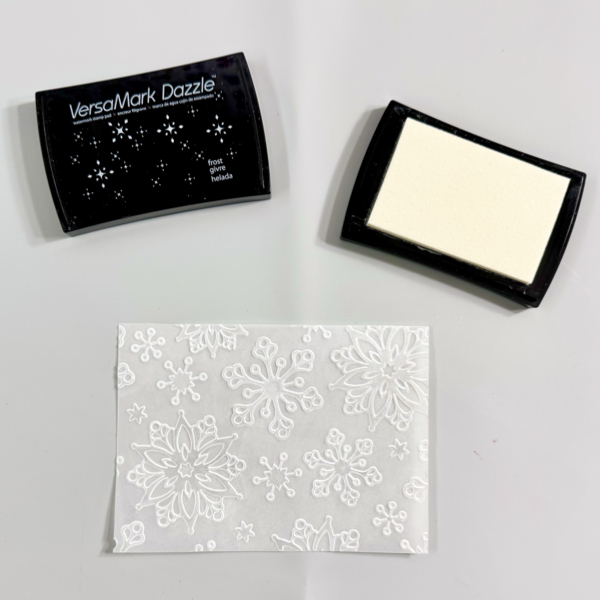
To add more shine and sparkle to the white snowflake embossed vellum, gently rub some of the VersaMark Dazzle Frost ink pad on the embossed side (raised image).
Dry the ink on the embossed vellum with a craft heat gun.
Trim it into 4 inch x 5.5 inch. I suggest using scissors instead of papertrimmer.
Step 3
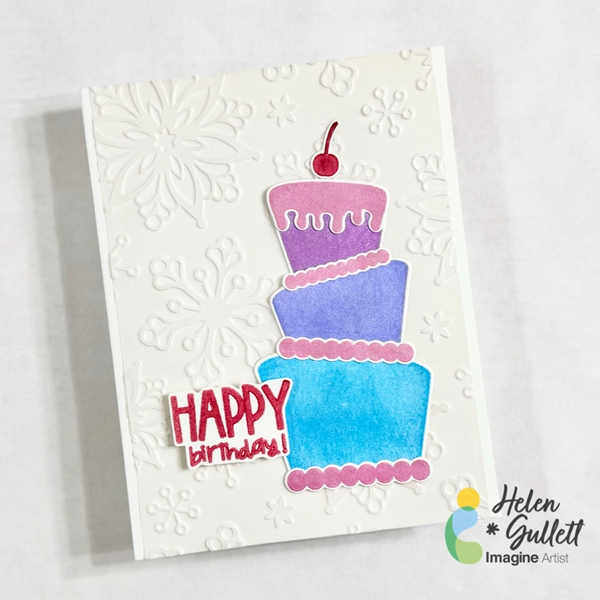
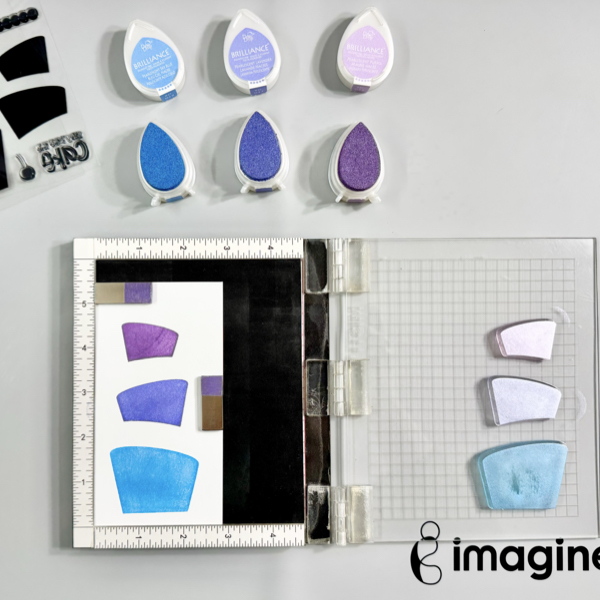
Add the 3 cake image stamps on the stamping tool, and then add the Brilliance inks (Pearlescent Purple, Pearlescent Lavender, and Pearlescent Sky Blue) to each cake stamp. Stamp them on a piece of white cardstock.
Repeat this step if needed to get good solid stamped images.
Dry the ink well with a craft heat gun and set it aside.
Step 4
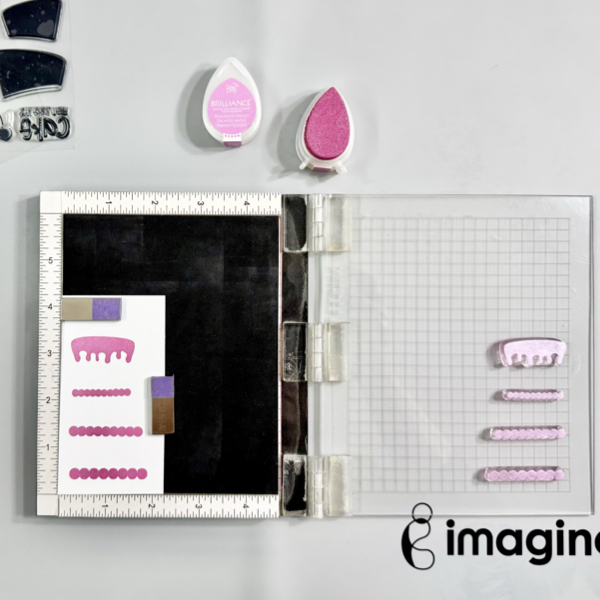
Add the icing image stamps on the stamping tool, and then add the Brilliance Pearlescent Orchid to each cake stamp. Stamp them on a piece of white cardstock.
Repeat this step if needed to get good solid stamped images.
Dry the ink well with a craft heat gun and set it aside.
Step 5
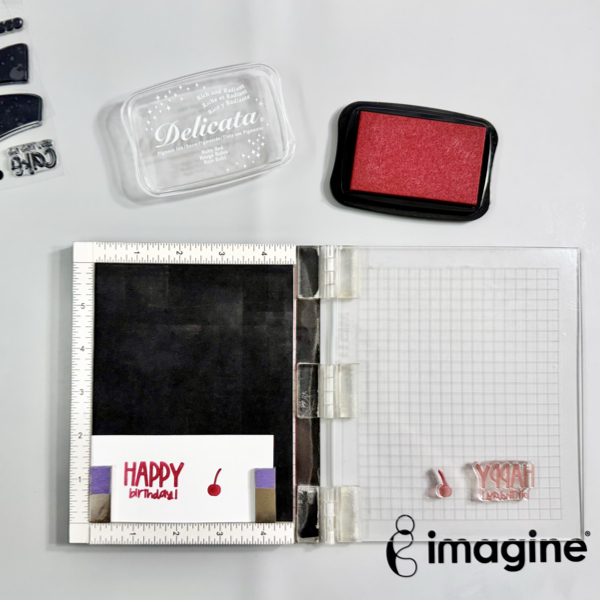
Next, stamp the cherry and sentiment using the stamping tool with Delicata Ruby Red ink on a piece of white cardstock.
Repeat this step if needed to get a good solid stamped image.
Dry the ink well with a craft heat gun and set it aside.
Step 6
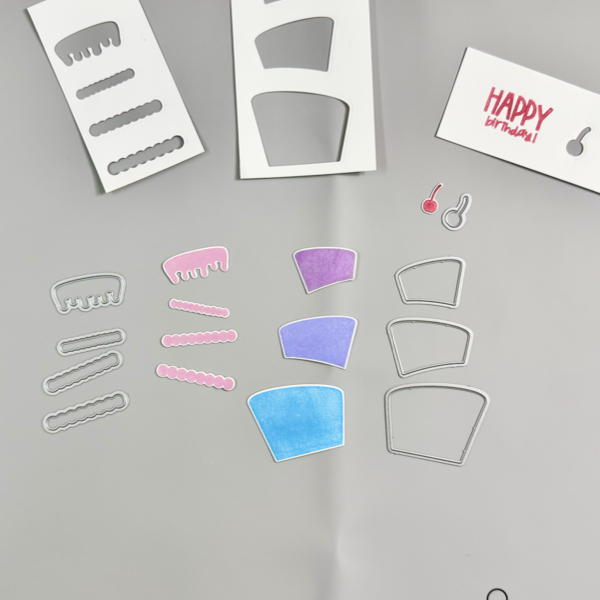
Cut each image with the matching die using a die cutting machine.
If you do not have the matching die set for your stamp set, you can fussy the stamped images with micro-tip scissors.
Step 7
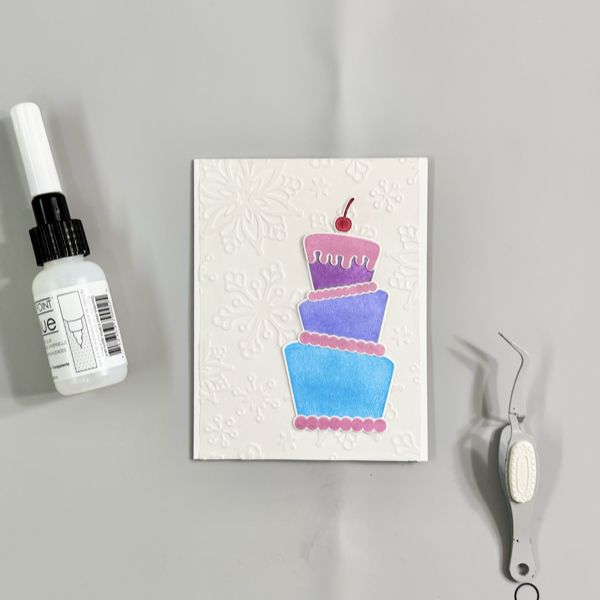
Add the embossed vellum paper to the card using On Point Glue, press gently to make sure the vellum adhered well to the card background.
Add the birthday cake pieces to the card using On Point Glue, press gently to make sure they adhered well to the vellum background.
Step 8
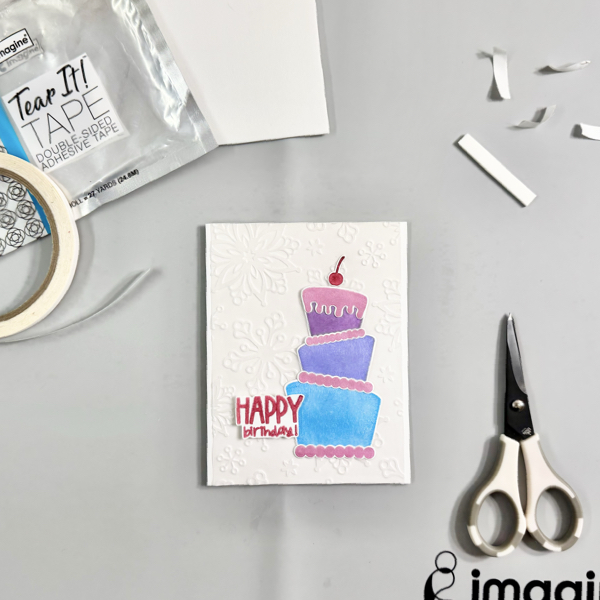
Fussy cut the sentiment using the micro-tip scissors.
Add some of the white fun foam to the back of the sentiment using some of the Tear It! Tape, then add the sentiment to the card.
This card is easy and fun to make, especially the Brilliance Pearlescent inks give extra sparkle to the cake!
Thank you for stopping by our blog today. Have a wonderful day!
• Brutus Monroe Embossing powders in Gilded Metallic and Fairy Dust •Embossing Powder •Multiple Sizzix dies from several sets • PVA Adhesive • Foam Tape
ALTERNATIVE PRODUCTS THAT CAN BE USED TO RECREATE SOMETHING SIMILAR
Hello Friends! Katy here with another holiday video using VersaFine Clair inks to create a beautiful mixed media looking snowflake card. Video has all the details. Thanks for watching.
Hello Friends! Happy Holidays! How lucky would one be to come upon a peaceful scene like this, 2 deer hunting for grass on a snowy landscape? For this card I stayed focused on only two colors and some glitter paper to create this wintry scene.
Tracy
Skill: Intermediate Time: 60 Minutes
Art Supplies
• Die cutting machine • 100lb white paper • A2 Card Base • Water and a brush • Dies • Glitter cardstock • Vellum • Foam Tape • White Paint
Other Products Used • Clear Embossing Powder WOW • Snowflake Stencil-no label, but I think it is Tonic Studio • Simon Says Stamp and Die Set “Joy to You and Yours” • PVA Adhesive • Foam Tape
ALTERNATIVE PRODUCTS THAT CAN BE USED TO RECREATE SOMETHING SIMILAR
Any Inks any combination of background stamps, dies, and feature stamps and stencil
To learn how to create your own vintage Christmas card, click here!