Dewlet Poinsettia Card Plus A Giveaway

by Nadine Carlier

Have you seen the new Dewlet Etched Metal Dies yet? The possibilities are endless as to what you can create with these fun little dies. For example, the Poinsettias on these cards were created using the Dewlet dies and Memento Dew Drops and embellished with some irRESISTible Pico Embellishers. Watch my video below to find out how you can win all the Imagine products I used, including the Dewlet dies!

Head over to our YouTube Channel! Comment and subscribe on this video by the end November 20th, 2018 (midnight) for a chance to win craft products by Imagine.

Skill: Intermediate
Time: 15 minutes

Directions


Supplies

Imagine
Other

Visit our YouTube Channel for more inspirational videos and subscribe to get updates when we post new videos.
Learn How To Stamp On Rinea Foil Paper With Stazon

by Martha Lucia Gomez

Learn How To Stamp On Rinea Foil Paper With Stazon

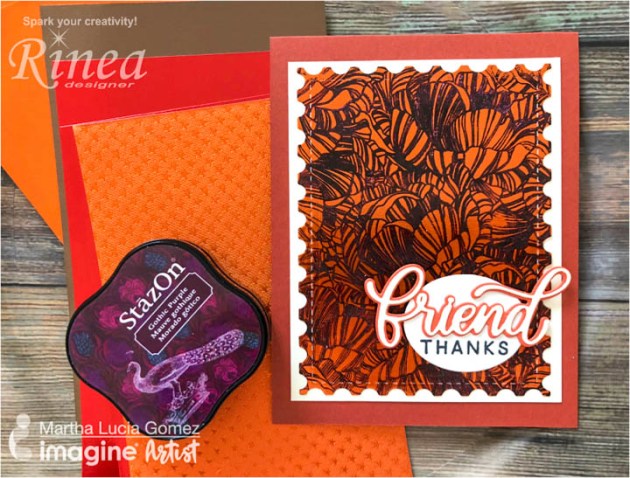
Hello crafty friends, today I have a quick and easy way to create special effects on your cards with a stamped foil background. During this month we have two challenges, to use Rinea Foiled Paper and to use the gingerbread color. To be honest, it as a little difficult for me to define the gingerbread color because in Imagine we have many options of colors of inks, so I used StazOn Gothic Purple, which is not a gingerbread tone, with papers on the line of gingerbread.

Skill: Intermediate
Time: 30 minutes


Step 1

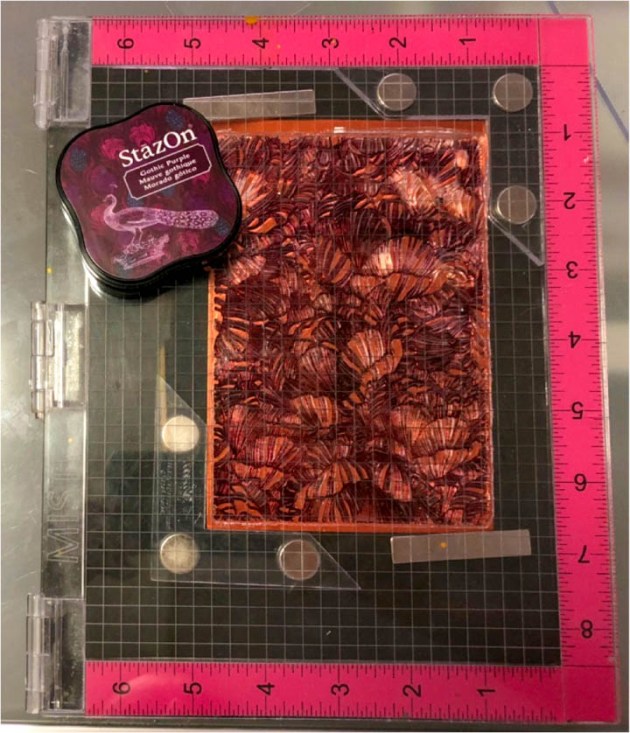
I stamped several times the Lineal Floral Background from Pinkfresh Studios over a piece of Glossy Marigold/Gold Rinea Foil Paper using the StazOn Gothic Purple and let the ink dry for a few minutes. Misti or Stamparatus are fantastic tools in this process because you don’t need to move or re-position your paper or stamp to re-stamp your image in the same place.


Step 2

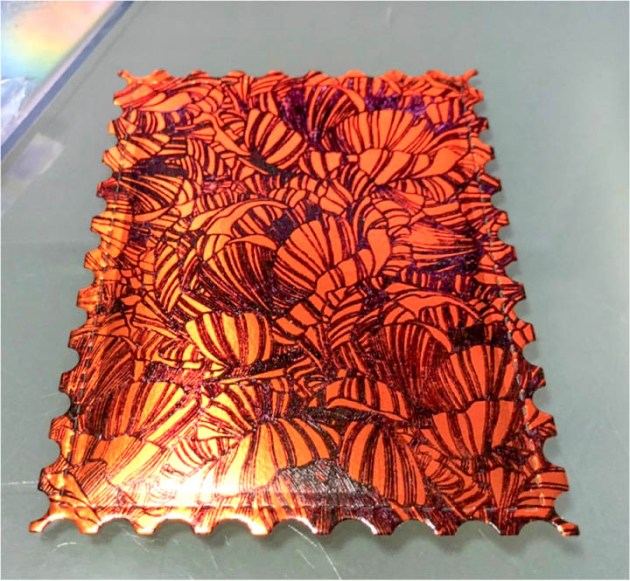
I cut the background with a postage die cut to resize the layer and make it more attractive.


Step 3

On the above photo, you can notice the fabulous texture created over the Rinea Foil Paper with this ink.


Step 4

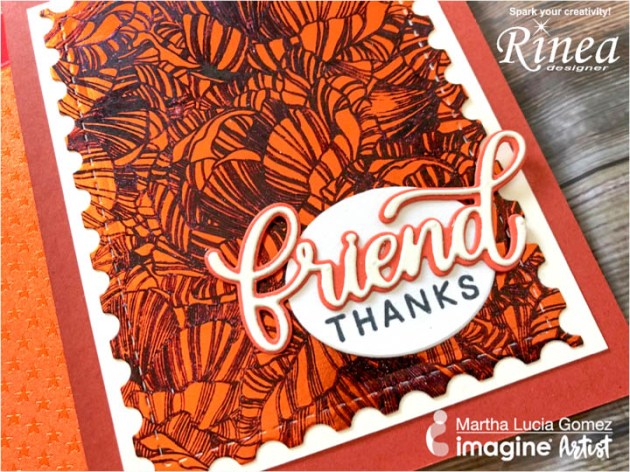
To finalize my card, I created a Cajun Craze card base and the second layer in Very Vanilla cardstock that I used as the mat for the Stamped Foil Background. I pasted the stamped piece directly over the cardstock using Tear Tape It! Then, using a Simon Say Stamp Wafer Dies Good Vibes, I cut the word friend using the same colors of cardstock and complemented with the “thanks” word that I stamped over an oval die cut with Memento Tuxedo Black Ink.

Supplies

Imagine 

Other 

  • Pinkfresh Studio – Lineal Floral Background
  • Simon Say Stamp – Wafer Dies Good Vibes
  • Hero Arts – Oval Nesting Die Cuts, Postage Die Cuts
  • Cardstock – Cajun Craze, Very Vanilla
  • Rinea Foiled Paper – Glossy Marigold, Gold
  • Stamparatus or Misti Stamping Tool
  • Big Shot Die Machine

See How to Create a Beautiful Autumn Nature ATC Card Set

by Elina Stromberg

See How to Create a Beautiful Autumn Nature ATC Card Set

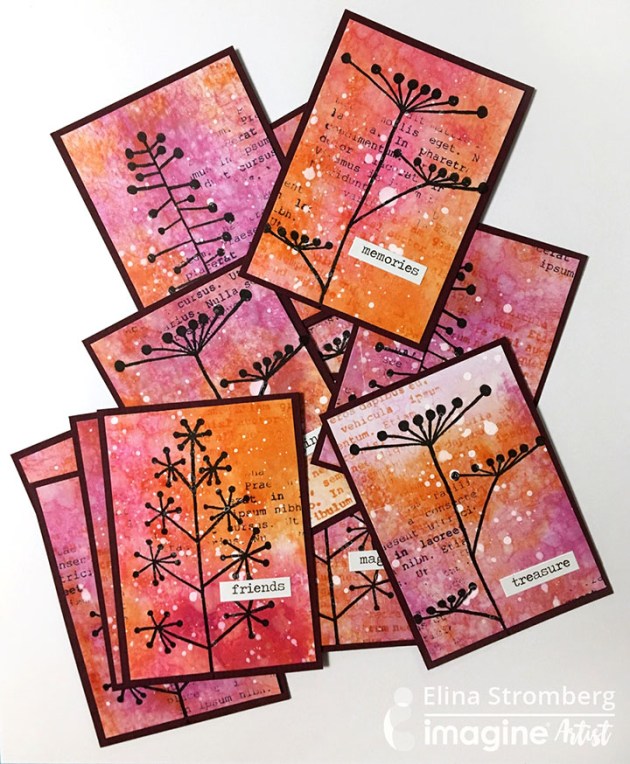
Artist Trading Cards aka ATC’s are wonderful little pieces of art. Their small 3.5” x 2.5” size doesn’t require too many materials nor too much time. Using just one single sheet of mixed media or watercolor paper you can create a pile of cards on one go. This set of ATC’s was inspired by the beautiful autumn nature. Bright, bold colors, and wilted garden flowers getting ready for winter. Simple but elegant, and so fun to create!

Skill: Beginner
Time: 1 hour

Directions


Step 1

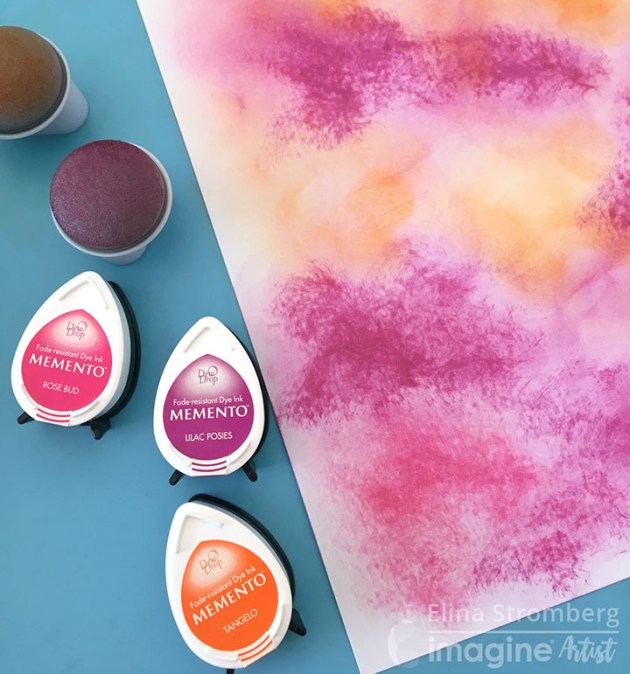
Apply purple, pink, and orange Memento DewDrops on a white mixed media paper with Jumbo Daubers. Sprinkle water on the inked paper, letting the colors to mix. Let dry or dry with a heat gun.


Step 2

Decorate paper by stamping random text patterns on the paper. Use only one pattern stamp, but two ink colors (orange Memento Tangelo and dark purple VersaFine Clair Fantasia). Cut several cards from the inked and stamped sheet. The standard size of ATC is 2.3” x 3.5”. If you want to mat the cards on a solid color cardstock, trim these foreground cards slightly smaller than ATC. Mix white acrylic paint with water, and sprinkle paint drops on the cards. Let dry.


Step 3

Cut ATC backgrounds from dark red cardstock. Attach card fronts on the backgrounds with two-sided tape. Stamp flower shapes on the cards using black VersaFine Clair. Decorate ATC’s with word stickers that express sentiments such as “friends,” “treasure,” and “inspiration.”

Supplies

Imagine
Other
  • White mixed media paper
  • Cardstock – Dark Red
  • Acrylic paint
  • Stamps – Text stamp (‘Tekst’ by Wycinanka); Flower stem stamps (Artemio)
  • Word stickers
  • Double-sided tape

Learn How to Make Shiny 3D flowers using Rinea Foils

by Arjita Sepaha Singh

Learn How to Make Shiny 3D flowers using Rinea Foils

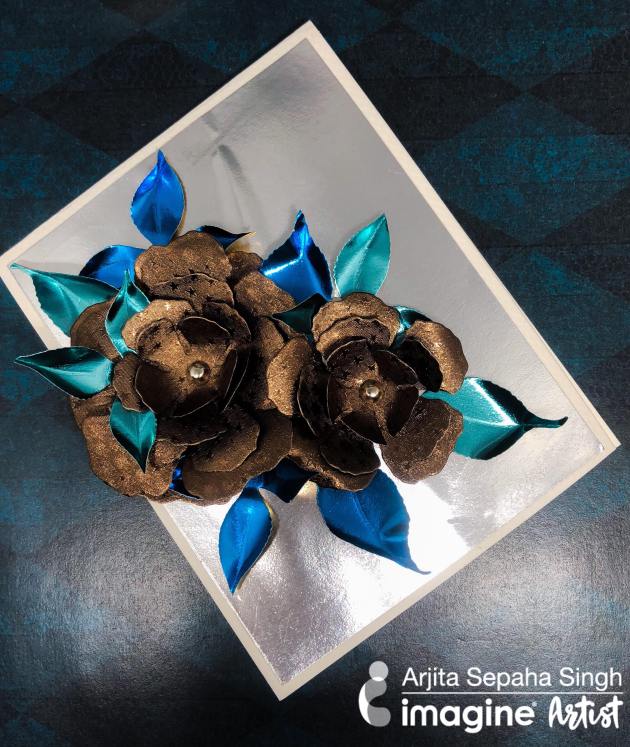
For today’s Wedding Day card, I used the Rinea Foil Papers which can be embossed, die cut and shaped. I used a floral die set to cut the flower petals and with the help of a metal brad fixed them together. Once the flowers were punched, I shaped the flowers and leaves with my hands which was so much fun. I added the 3D elements on a silver Foil paper and finished the card with a sentiment in black. I love the way these gorgeous flowers pop forward and create this beautiful effect.

Skill: Advanced
Time: 30 minutes

Directions

Supplies

Imagine

• StazOn – Jet Black
• Tear It! Tape

Other

• Rinea Foil – Mocha, Blue
• Metal brad
• Flower Die
• Glue Dots
• Acrylic Blocks
• Scoring tool

Create Beautiful Designs with Gold Rinea Foil and StazOn Ink

by Iris Rodriguez

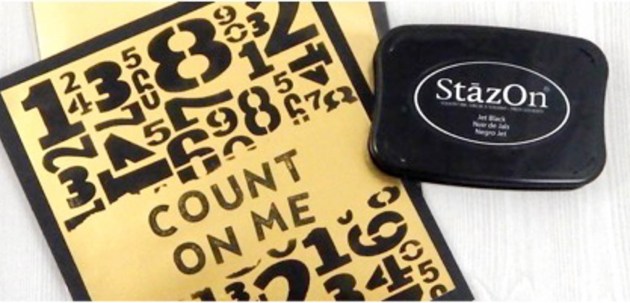
This month we have the fun challenge to make projects using Rinea foils. There are so many fun things you can do with these foils; you can stamp on it, paint, use with mediums or create 3D decorative projects. I like how the gold foil and black look together. For my card, I used Imagine’s GlazOn to seal the foil; it protects the foil and acts as a primer, which allows the ink to better adhere. I stenciled in my design with StazOn ink.

Skill: Beginner
Time: 30 minutes

Directions


Step 1

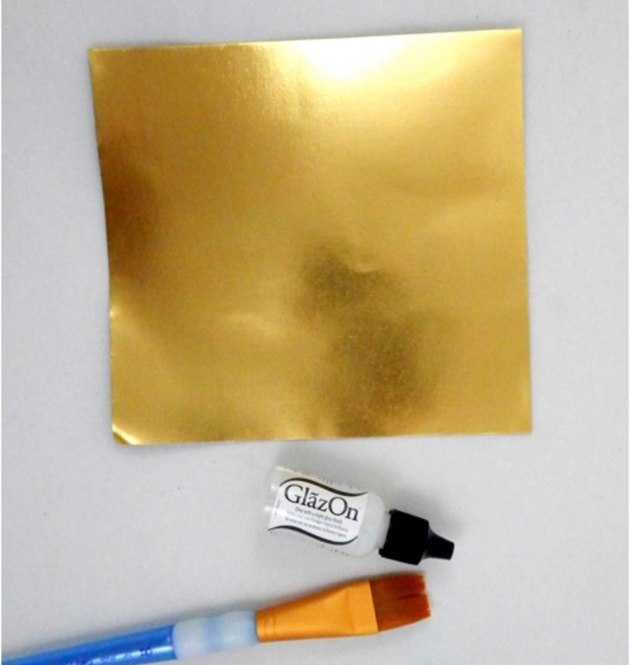
Seal the Gold Rinea foil with Light Gloss or Glossy GlazOn. It protects the foil and acts as a primer, which allows the ink to better adhere. Allow the GlazOn to dry, it dries very fast.


Step 2

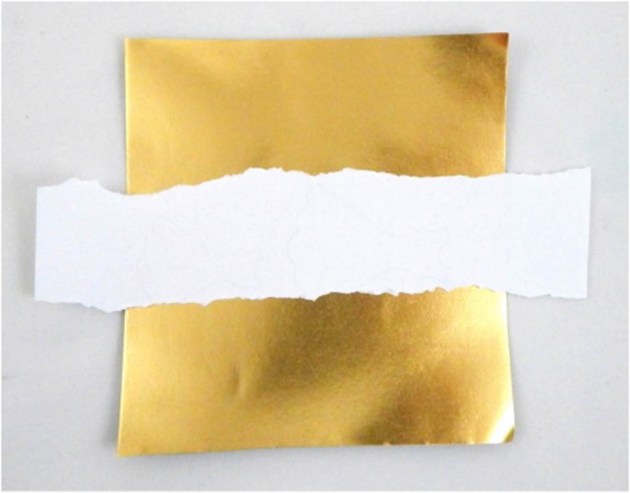
Determine the size of your sentiment. I stamped the sentiment with individual alphabet stamps. If you’re doing the same, stamp the whole on a scratch piece of paper to determine the size. Rip apart a scratch piece of paper to a size that will fit the height of the sentiment, plus a little space above and below it. Place the paper about 2/3 down from the top of the foil. The paper will protect the area where the sentiment will be stamped.


Step 3

Using an InkBlusher and Jet Black StazOn ink, stencil the design onto the foil.


Step 4

Stamp the sentiment. Assemble the card. I hope you enjoyed this project and will give it a try. You can count on us to keep bringing you card making and mixed media project ideas, keep visiting the Imagine blog.

Supplies

Imagine
Other
  • Rinea Foils – Glossy Ebony and Gold Pack
  • Cardstock paper-Black
  • Crafter’s Workshop stencils- Numbers – (6×6 inches)
  • Alphabet stamps

Make a “Sending You Autumn Blessings” Greeting Card

by Roni Johnson

Make a "Sending You Autumn Blessings" Greeting Card

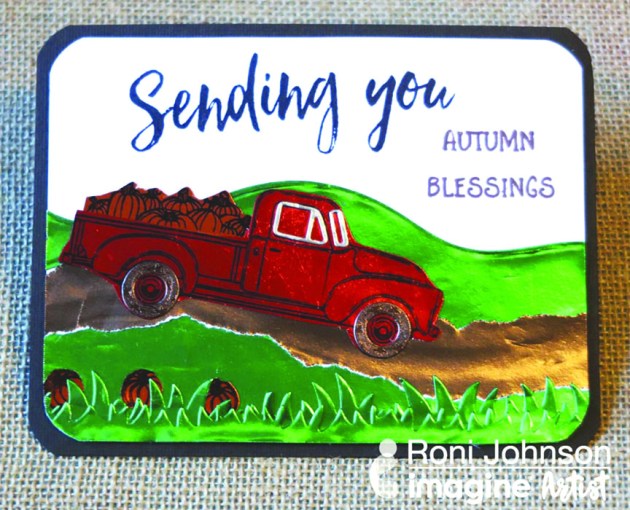
Autumn is my favorite time of the year so when I saw these fun stamps from Honey Bee I knew I had to have them. The pick-up is perfect for all sorts of fun scene cards. Rinea foiled papers make it that much more special. The foiled paper is so easy to stamp on using StazOn inks and can be torn, die-cut or trimmed with scissors as you see here. It’s just so much fun to add a bit of zing to your projects with Rinea Foiled Paper.

Skill: Beginner
Time: 30 minutes

Directions


Step 1

Stamp the truck onto Ruby/Gold Glossy Foiled Paper using Jet Black StazOn Ink. Fussy cut the truck; die-cut the tires from Mocha/Mocha Starstruck Foiled Paper and window detailing from Silver/Gold Glossy Foiled Paper. Adhere these accents to the pickup truck.


Step 2

Stamp pumpkin pile and individual pumpkins on Marigold/Gold Glossy Foiled Paper; fussy cut. Adhere the pumpkin pile to the truck and set the pumpkins aside. Tear a “dirt road” from Mocha/Gold Glossy Foiled Paper. Die-cut grass and hills from Emerald/Gold Glossy Foiled Paper. Adhere hills, grass and road pieces to a white card panel; affix the truck and pumpkins.


Step 3

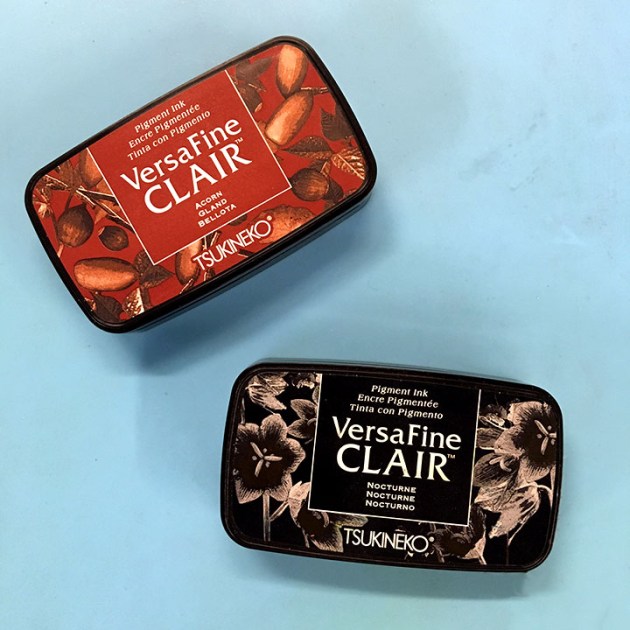
Stamp “Sending you” with VersaFine Clair Nocturne and “Autumn Blessings” with VersaFine Clair Acorn inks on the card panel. Affix the card panel to a dark brown card blank.

Supplies

Imagine
Other
  • Rinea Foiled Paper – Autumn Variety Pack; Emerald/Gold Glossy Foiled Paper; Silver/Gold Glossy Foiled Paper
  • Honey Bee Stamps – Sending You Sentiments; Little Pick Up Stamps; Little Pick Up Dies
  • White Cardstock
  • Dark Brown
  • Card Blank
  • Adhesive