April Color of the Month is White Wedding

April Color of the Month is White Wedding

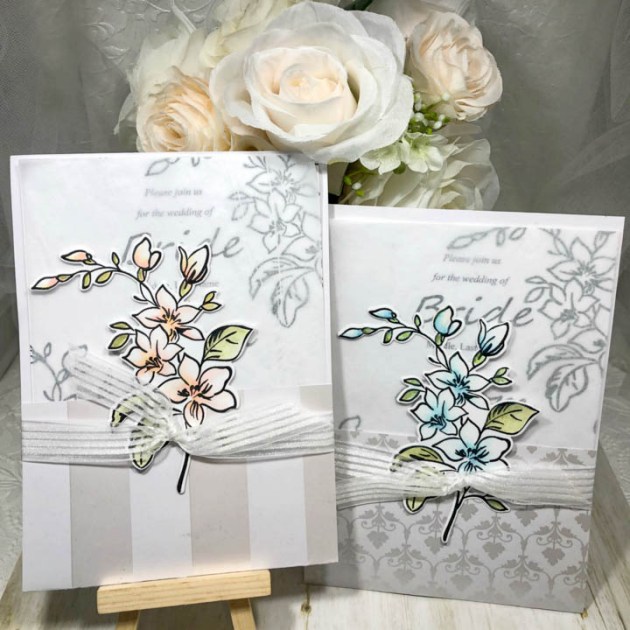
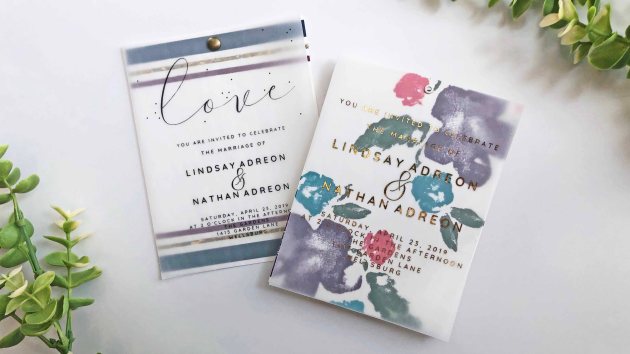
“Hey, little sister what have you done? Hey, little sister who is the only one?”…*continues Billy Idol song until the chorus* “It’s a nice day for a White Wedding”! We are happy to announce the Color of the Month for April is White Wedding. With wedding season just around the bend, we hope you are stocking up on the right inks for your special day.

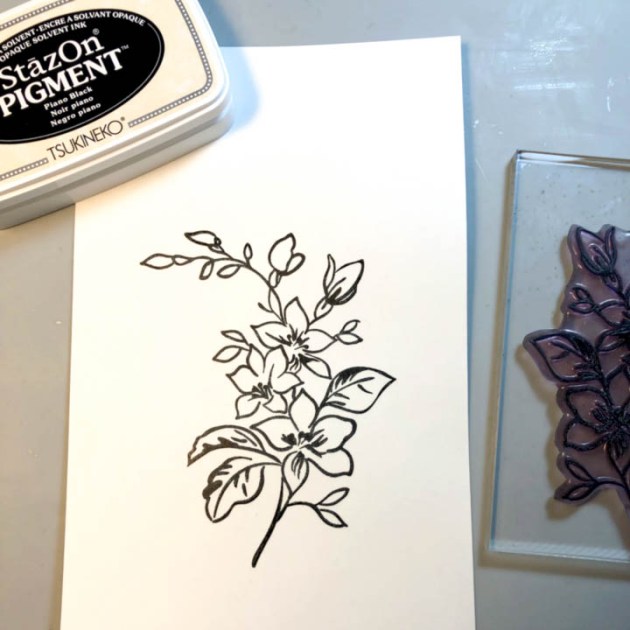
We have been very pleased with our latest release of StazOn Pigment Ink in Snowflake. This ink will be great for multiple surfaces and especially great on dark or kraft cardstock. Another set of fantastic inks for wedding crafts is Delicata in White Shimmer (the name speaks for itself), Brilliance in Moonlight White (a bit of a heavier pigment ink), and VersaMagic in Cloud White (matte finish ink).

As always we challenge our artist with the color of the month and a technique or theme. This month expect to see white inks and wedding crafts!

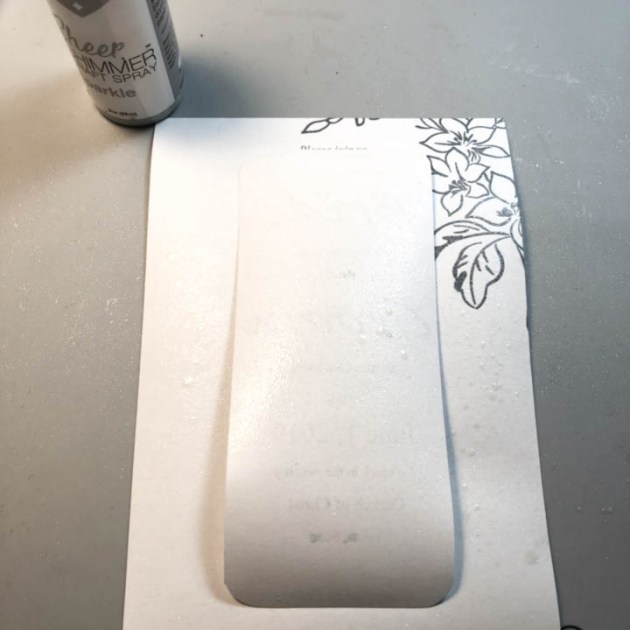
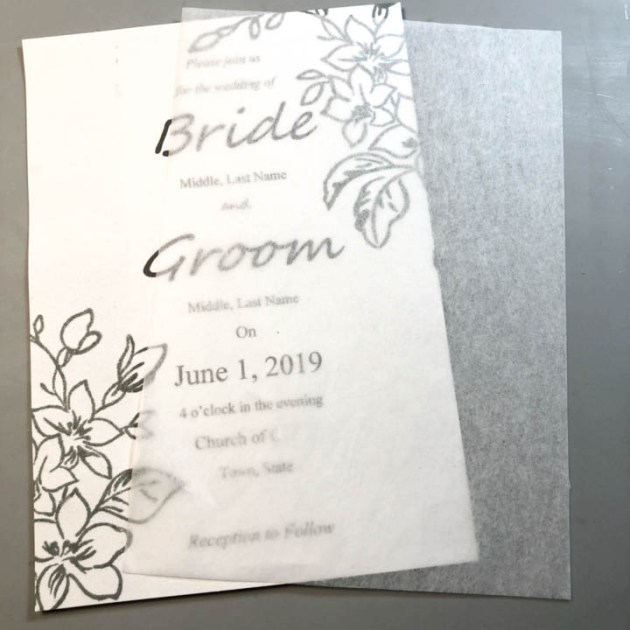
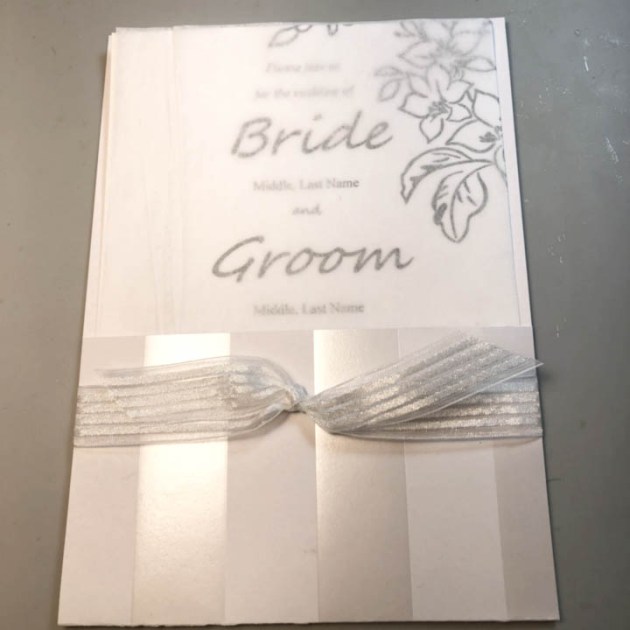
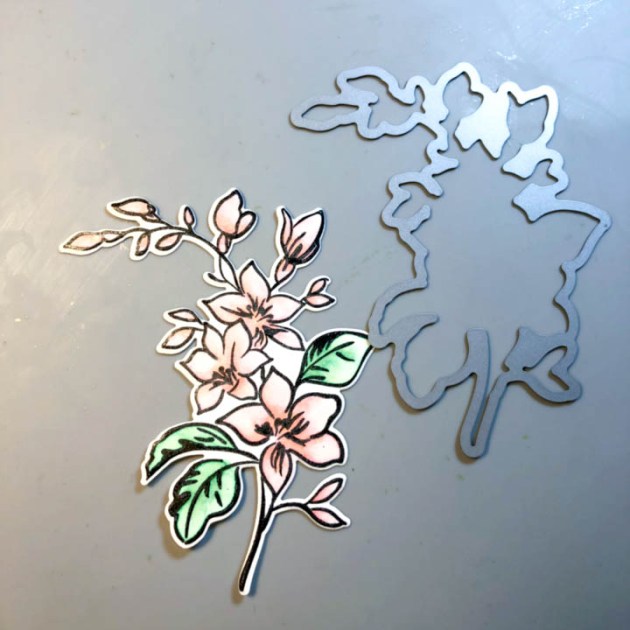
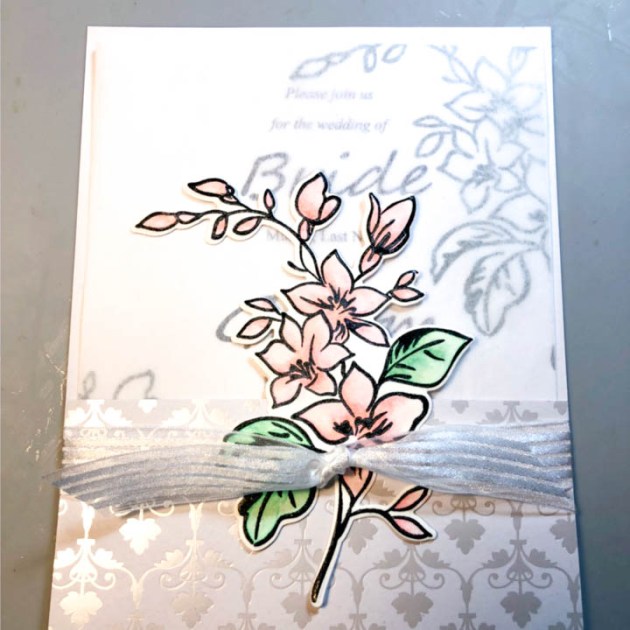
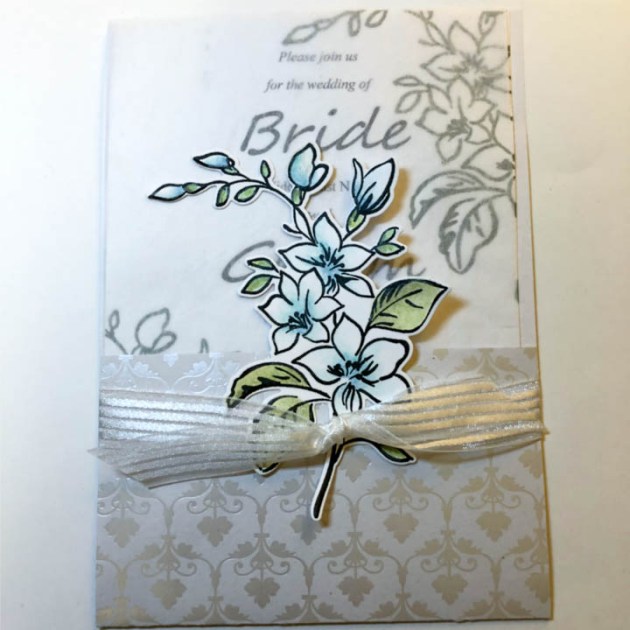
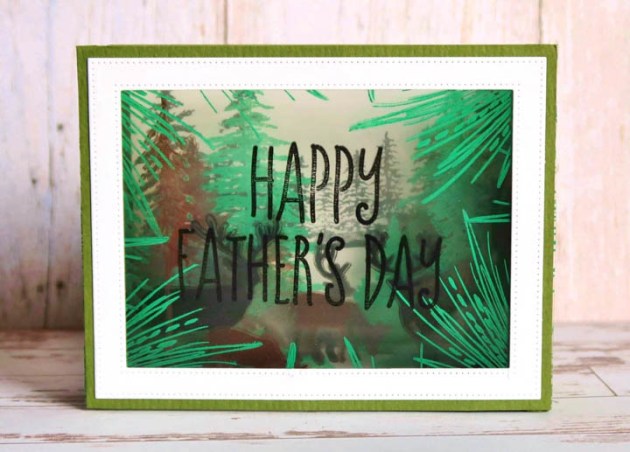
Here is a Sneak Peak!

Project by Lindsay Adreon

Project by Martha Lucia Gomez

Project by Kassy Tousignant

Introducing OMG Ink!

Omg ink!

We have a new ink line—It’s the OMG Inkpad!

We are introducing a new ink line that is in-trend for 2019 with its very unusual color names! This incredible edible inkpad is resistant to heat, cats, food stains, cheesy sentiment stamps and to actual cheese. This ink stamps well on cards, metal, acetate, walls, shoe soles, souls, cars, and the couch—but not on cheese!

See the range of colors offered in this very #hashtagable ink!

BBQ Sauce is a fantastic ink choice for blending with inks like Pepper or Chicken Flavoring.


This Purple People Eater is long haired and long-eared, and is great for stamping on creatures with only one horn.

This Used Car ink also has a slightly mildewy fragrance for an added effect (which occurred naturally when we mixed the color)!

With the Dirty Windshield ink, you are sure to fog up any of your shaker windows with a very nice inconsistency.


Learn How To Craft A Beautiful Card With Feathers

by Elina Stromberg

Learn How To Craft A Beautiful Card With Feathers

I hope you will soon get the chance to try the new StazOn Pigment inks. They are amazing! Like the standard StazOn inks, StazOn Pigment inks work well on various surfaces, they dry quickly and are super easy to use. Beautiful and bright colors are opaque and ‘juicier’ than the standard StazOns, giving you a crisp image every time.

I was curious to test the new inks on a bit glossy, non-paper surface, but instead of going for an acetate sheet or a glass jar I remembered a pack of feathers I had purchased several years back. What if I decorated the feathers with stamped patterns to give them a fun and interesting look?

Skill: Beginner
Time: 1 hour

Directions


Step 1

Gently bend the feathers and separate the barbs by pulling them towards the quill until you have reached the look you want.


Step 2

Place the feather on a folded paper towel. This soft surface will ease the stamping over the hard shaft in the middle of the feather. Stamp patterns on the feather, using pattern stamps and ink colors of your choice.


Step 3

Add a hint of white with a gel pen. Let dry. StazOn Pigment ink will dry very quickly, but the gel pen color may need a few minutes for drying.


Step 4

Cut a diamond shape from black cardstock. Cutting lines drawn on the back of the cardstock will help in cutting a symmetrical shape.


Step 5

Tape the black diamond shape on a piece of grey/monotonous patterned paper. Glue the feathers on top. Using Tear It double sided tape mat the card front on a piece of matching color cardstock and adhere on a folded card base.


Step 6

Stamp the sentiment text “Congrats” on a paper strip and glue on the card. I used another stamped feather on a different card layout, and even if that design is even simpler, I think the card looks quite nice!

Supplies

Imagine
Other
  • Craft feathers
  • Pattern stamp of your choice (I used a stamp from ‘Mini Textures’ set by Carabelle Studio)
  • Letter stamps by Studio Calico
  • White gel pen
  • Tacky glue
  • Cardstock – Black, white, red, patterned grey
  • White/green folded card base
  • Pencil
  • Ruler
  • Scissors
  • Paper Towels

Use the New StazOn Pigment Ink on Vellum

by Melissa Andrew

Use the New StazOn Pigment Ink on Vellum

Today, I introduce to you the fabulous new StazOn Pigment ink in Snowflake! This ink is AMAZING! It stamps crisp and dries fast on multiple surfaces. I make a fun everyday coffee card by stamping and coloring on vellum, and show you how to create a simple and fun card using StazOn Pigment Snowflake.

Skill: Intermediate
Time: 15 minutes

Directions

Supplies

Imagine
Other

See How To Use Dura-Lar Matte Film To Make A Card

by Iris Rodriguez

See How To Use Dura Lar Matte Film To Make A Card

For this month, it’s was such a pleasure to make projects with Tsunkineko’s new StazOn Pigment Inks. These ink behave like pigment inks, however, they are permanent like the original StazOn ink. As if it does not get any better; this ink also takes details incredibly well. For this card, I used Dura-Lar film (it’s like vellum paper) to create a dimensional effect by stenciling bird images with the Peacock Feathers color of StazOn Pigment. I overlaid the stenciled film on a moonlit night background; also created with StazOn Pigment inks. It made for a great backdrop for the Peacock colored birds.

Skill: Beginner
Time: 30 minutes

Directions

Step 1

Stencil the birds onto the Dura-Lar matte film. This film looks like vellum, except that it’s archival. It’s very strong, you can remove your images with rubbing alcohol or water as many times as you want and it does not warp. Permanent inks, like StazOn Pigment inks, do not rub off. I like using it because you can create layered dimensional effects.

Step 2

Cut out a circle for the moon. This will be used as a mask when inking the background.

Step 3

Place the circle over the cardstock paper and ink the background using the Piano Black StazOn Pigment ink.

Step 4

Ink the background with the Snowflake and Koala Gray StazOn Pigment inks.

Step 5

Add a little color to the background with the Peacock Feathers StazOn Pigment ink. Ink lightly and in random areas, do not ink the entire background.

Step 6

Spray the tacky spray to the background and adhere the Dura-Lar sheet.


Step 7

Lightly ink sections of the Dura-Lar background with the Koala Gray and Peacock Feathers StazOn inks. Do not ink over the birds. Stamp the sentiment.

Supplies

Imagine
Other
  • Crafter’s Workshop – Birds 6 x 6 stencil
  • Joy Clair Stamps – Butterfly Kisses
  • Dur-lar Archival Film – Matte
  • Aleene’s All-Purpose Tacky Adhesive Spray

Learn How to Create a Beautiful Thank You Card with Ink Blending

by Arjita Sepaha Singh

Learn How to Create a Beautiful Thank You Card with Ink Blending

For my card today, I have created a peacock inspired color blended background. I have used Versafine Clair Inks and Jumbo daubers which make blending super easy and seamless. Once the background was ready I used a beautiful lacy rubber stamp and the brand new Stazon Pigment Ink in white to stamp the image. This delicate image was crisp and beautiful. To finish the card I used a die cut and a sentiment. I also added gorgeous sparkle using the new Sheer Shimmer Stix.

Skill: Beginner
Time: 30 minutes

Directions

Supplies

Imagine
Other
  • Rubber background Stamp
  • Doily die
  • Cardstock – White
  • Double sided tape
  • Scissors