by Melissa Andrew

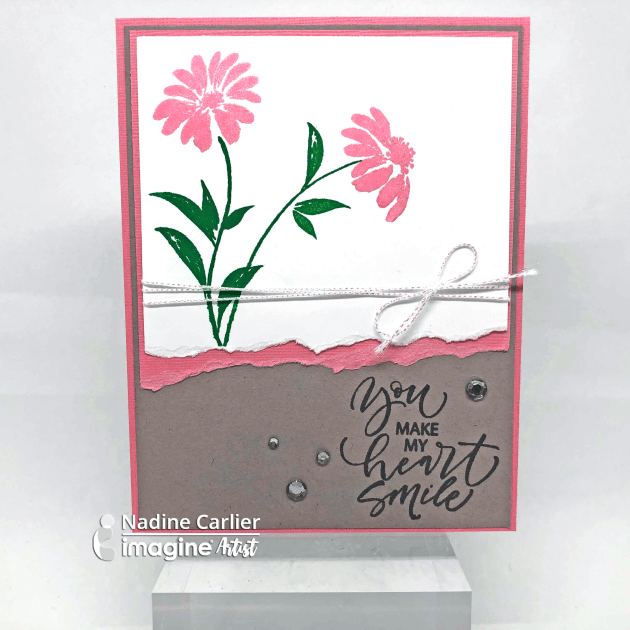
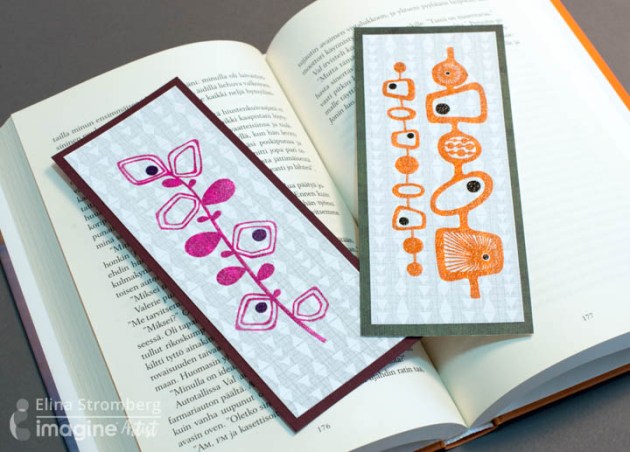
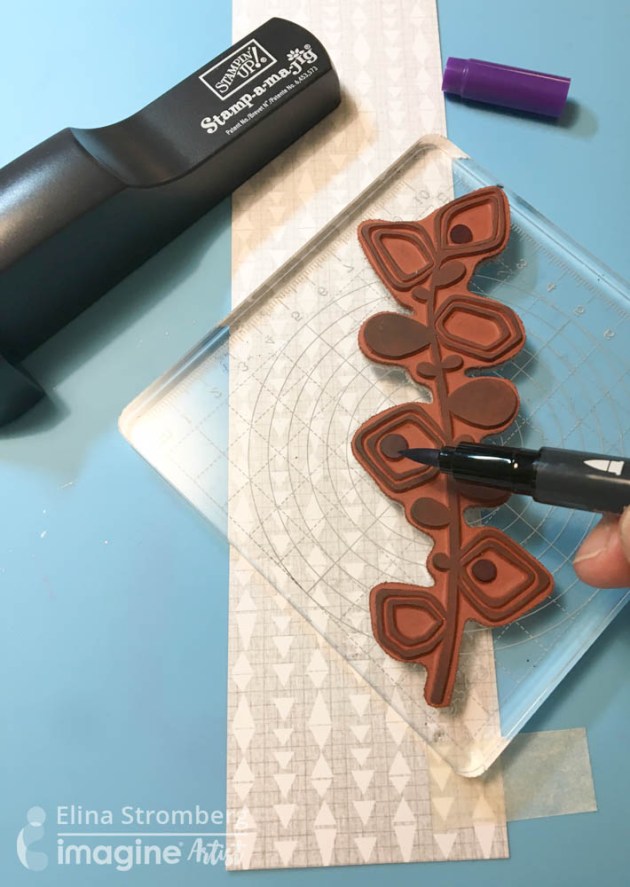
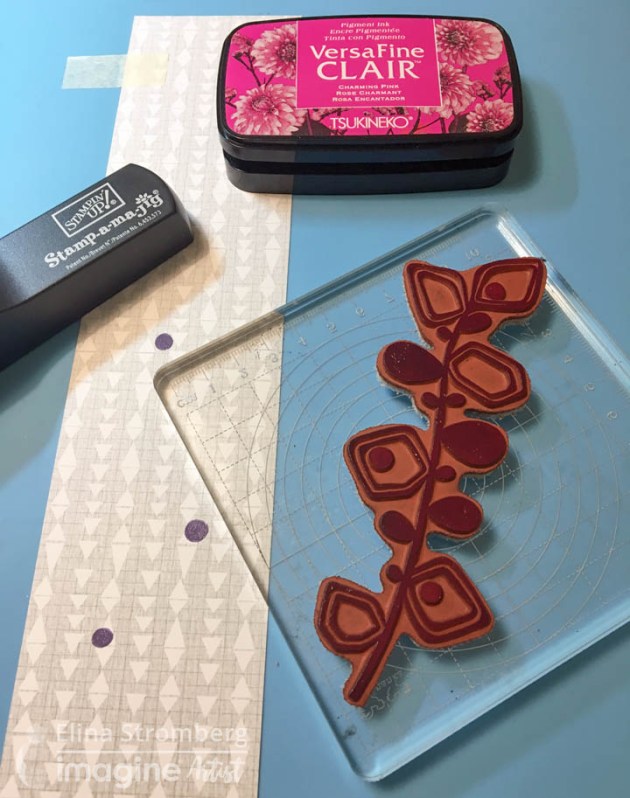
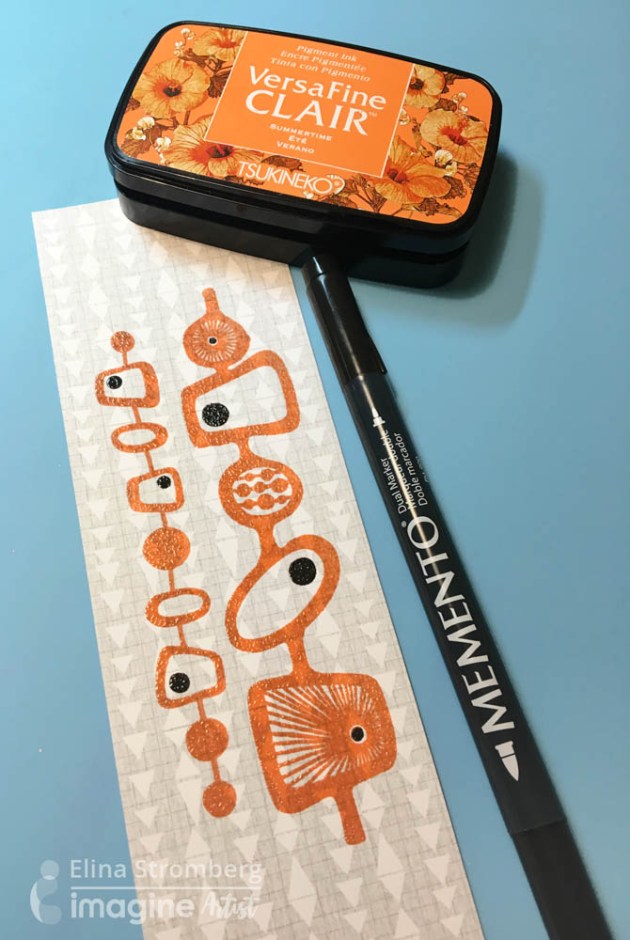
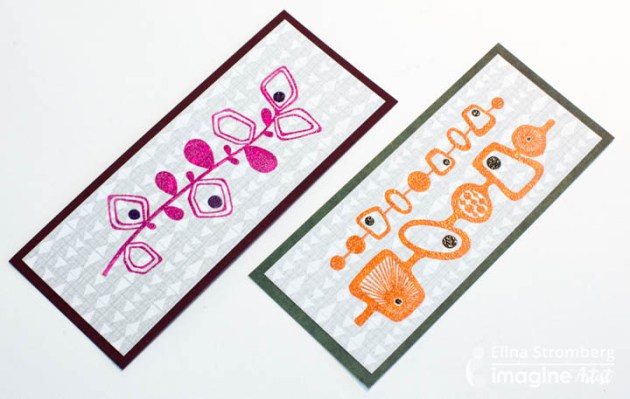
Today, I share how to use VersaFine Clair in multiple ways! This fabulous pigment ink allows for crisp clean stamping, stenciling, and layering. It works wonderfully for embossing sentiments “I am So Sorry” on vellum for sympathy cards and can be used under mediums such as Creative Medium. I stamped a teddy bear image with Memento ink and used Copic Markers for coloring, however, VersaFine can layer on top of the Copic coloring. See how I use VersaFine carefully with Alcohol Markers.
Skill: Intermediate
Time: 30 minutes
Directions
Supplies
Imagine
- VersaFine Clair – Nocturne, Paradise
- Creative Medium – Shimmer
- On Point Glue
- Tear It! Tape
- Fireworks! Shimmery Craft Spray – Tangelo, Dandelion, Angel Pink, Lulu Lavender
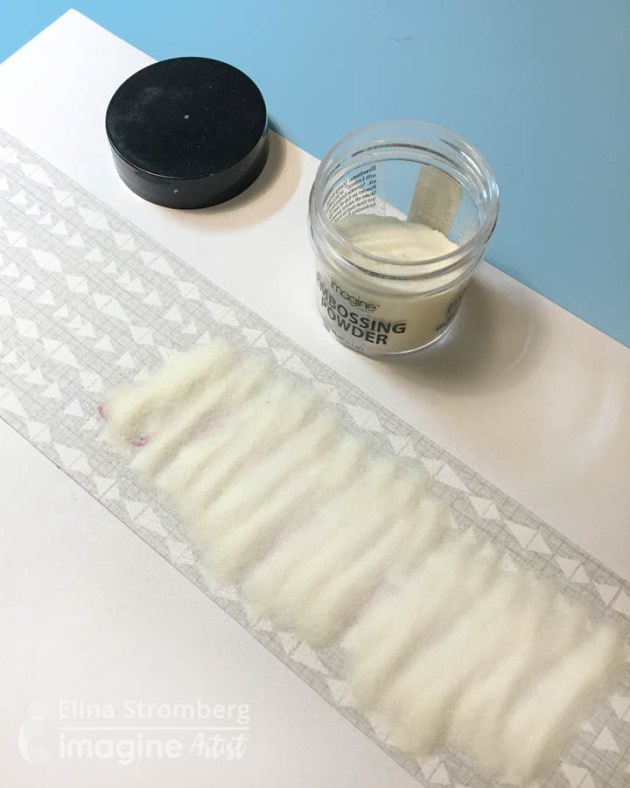
- Embossing Powder – Clear
- Memento Inkpad – Tuxedo Black
- Craft Mat
- Sponge Dauber
- Palette Knife
Other
- Whimsy Stamps – Hugs Bunny Clear stamp set
- Copic markers
- Cardstock – white, blue
- Bristol Smooth cardstock
- Vellum
- Paper Trimmer
- Heat Tool
- Stencil