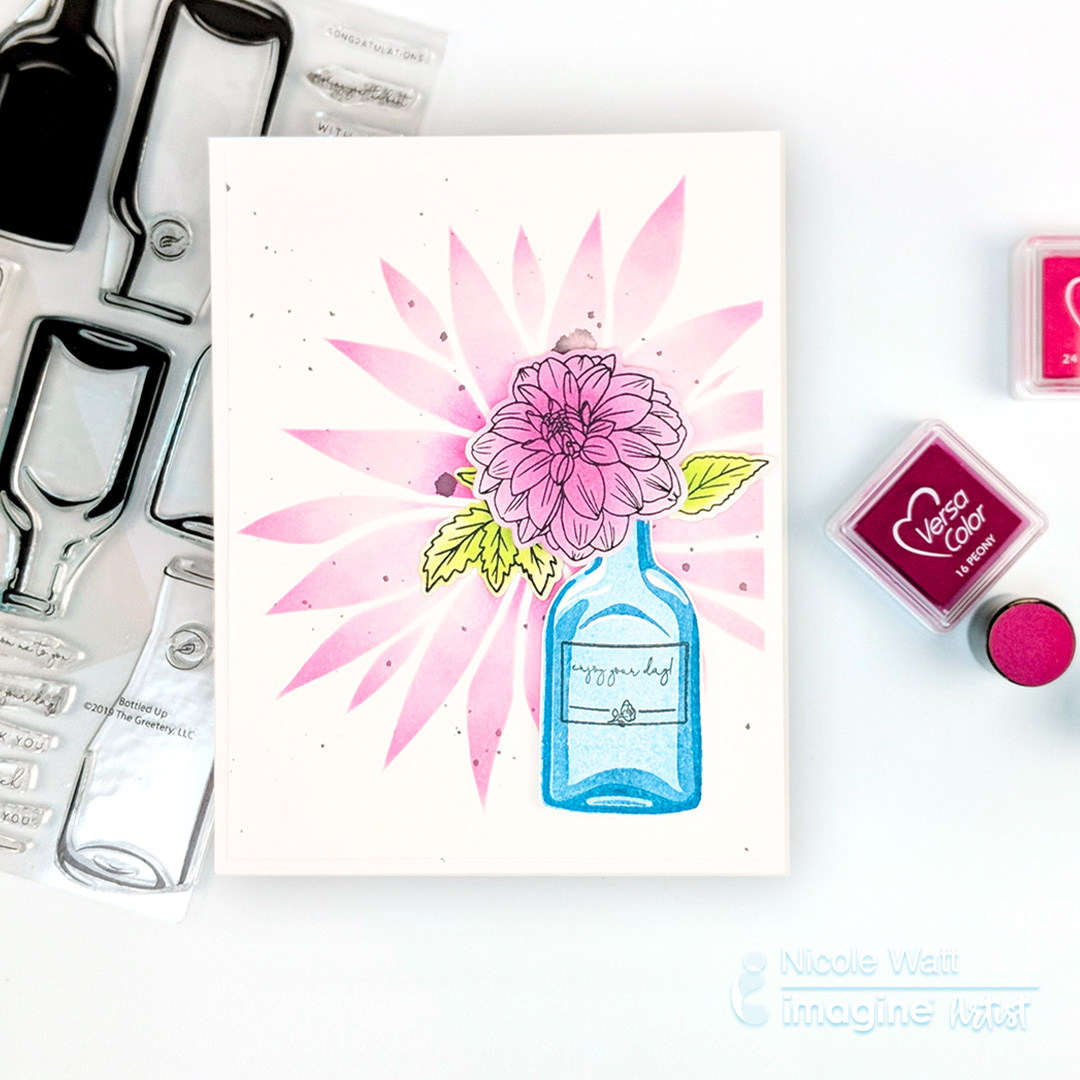
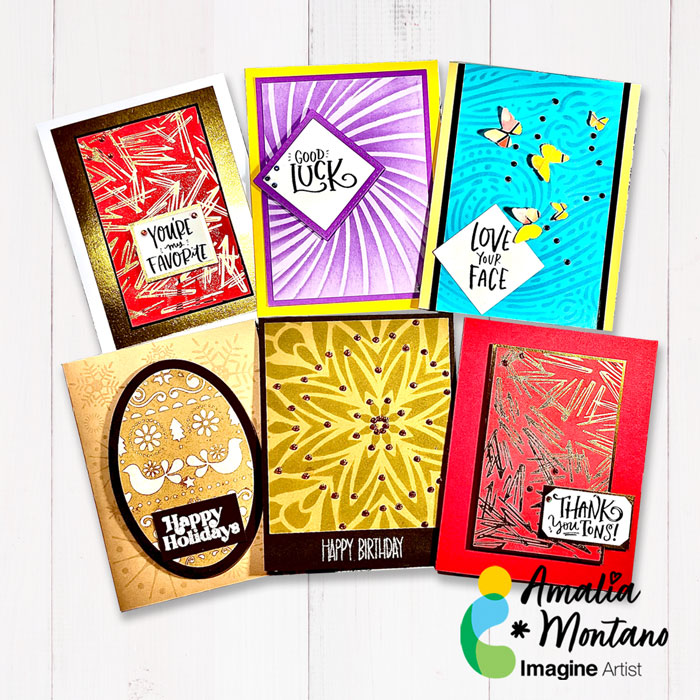
How to Create a Purple Be My Valentine Hearts Card

by Annie Collins

Hello Crafty Friends! Annie here with a fun textured Be My Valentine greeting card. This fun pink and purple card is perfect for your special someone.

Skill: Intermediate
Time: 30 minutes

Directions

Art Supplies

Imagine
Other
  • Cheery Lane Designs Die: Be My Valentine B531
  • Rinea: Oma’s Postcard Stamp
  • Stampin Up: Falling Heart Stencil
  • I used the stencil above – here’s one that is available
  • MFT: Lots of Heart Stencil
  • Lawn Fawn Stitched Rectangle Die
  • Strathmore Cold Press Watercolor Cardstock
  • Recollections Brand 110# Cardstock: White
  • Recollections Brand 65# Cardstock: Lavender
  • Recollections Brand Foam Dots

Create a Unique Art Mask in a Mixed Media Style

by Lori Warren

Create a unique mask by stamping an original design on fabric. It’s a great way for you to express your unique style while showcasing your artistic talent! 

Skill: Intermediate – Advanced
Time: Varies

Directions

Supplies

Imagine
Other
  • Fabric
  • Elastic
  • Face mask pattern
  • Club Scrap Inc. stamp set
  • Acrylic Block

Retro Floral Card Using Various VersaColor Ink Techniques

by Nicole Watt

Versacolor ink to make a card

Join Nicole as she creates a retro-looking floral card using VersaColor inks. She’ll show you a few different ways you can use this versatile water-based pigment ink to create different effects.

Skill: Intermediate
Time: 20 minutes

Directions

Supplies

Imagine
  • VersaColor – Peony, Opera Pink, Pink, Lime, Cyan, Lapis Lazuli, Mountain Lake, Black

Other

  • Bottle Up Stamp Set (The Greetery)
  • New Beginnings Stamp Set (Altenew)
  • Bursting Dahlia Stencil (Altenew)

Art Journaling with Inks & Creative Medium

by Lori Warren

There is something so relaxing about spending time creating and experimenting in an art journal. Art Journaling is about creating something just for you and is a great way to try out new products and techniques.

Skill: Intermediate
Time: 30 minutes

Directions

Supplies

Imagine

Creative Medium – Clear
irRESISTible Pico Embellisher – Gold, Bamboo Leaves
StazOn Pigment – Snowflake, Piano Black
Fireworks! Shimmery Craft Spray – Angel Pink
Sheer Shimmer Stix – Rose Gold
IrRESISTible Texture Spray – Gold, Wedding Gown
Sheer SHIMMER Craft Spray – Gold
Fabrico Dual Markers – Lemon Yellow, Lipstick Pink, Spring Green
Neon Amplify! – White
On Point Glue

Other

• TCW Stencil – Spring Medallion
• Faber Castell PITT artist pens – Warm Grey, Cold Grey I, Cold Grey VI
• DecoArt DuraClear Varnish – Matte
• Tim Holtz Idea-ology – Small Talk stickers
• Tissue paper
• Decorative Napkin

Learn How to Emboss Drawings with All-Purpose Ink

by Kyriakos Pachadiroglou

Learn How to Emboss Drawings with All-Purpose Ink

We were challenged with the color Fern Green this month so I decided to create a mixed media canvas with a green eye focal point. Using Memento Luxe ink pads, All-Purpose Ink and Fabrico markers, I added color to a canvas. To practice a new technique, I covered my wet All-Purpose Ink with Mboss Embossing Powder to enhance parts of the drawing. I also used Creative Medium to add texture to the canvas. Using Fabrico markers can help achieve details on your drawings easily and more accurate than a brush.

Skill: Intermediate
Time: 2 hours


Step 1

Draw an eye on the canvas with the All-Purpose Ink in Real Black color.


Step 2

Cover with Mboss Clear embossing powder and heat set. All-Purpose Ink is a dense ink that will stay tacky enough on a canvas for embossing, which is a great alternative to get the awesome shine and texture from embossing powder with the densely pigmented ink and no stamping.


Step 3

Use the flower stencil and sponge daubers with the VersaColor Orchid and Memento Angel Pink ink pads to decorate under and top of the eye on the canvas.


Step 4

Blend Memento Luxe Pistachio and Pear Tart inks with a Brushstix to color the iris and VersaColor Cement ink pad to color around the iris.


Step 5

Add details to the iris using Memento London Fog and Fabrico Pine markers.


Step 6

Cover the iris with the VersaMarker pen and the with the Mboss Clear embossing powder and heat set. This will give the eye a glossy look.


Step 7

Use a palette knife to spread Creative Medium, paste over the tropical leaf stencil at the bottom of the canvas.


Step 8

With the help of a Sponge dauber cover parts and among previously stenciled designs with the Memento Luxe – Pistachio ink. Stencil more leaves with VersaColor Turquoise ink.


Step 9

Enhance the leaves and add detail with markers.


Step 10

Cut a piece of paper at the shape of eye, place it on top and sprinkle or flick All-Purpose Ink Real black on the canvas.

Supplies

Imagine
Other
  • 10 x 12 inch blank canvas
  • Sanna Lippert Designs – Dream Flower stencil
  • DecoArt – Tropical leaf stencil
  • Heat tool


See How VersaFine Ink Can Be Used with Copic Markers and Stenciling

by Melissa Andrew

Today, I share how to use VersaFine Clair in multiple ways! This fabulous pigment ink allows for crisp clean stamping, stenciling, and layering. It works wonderfully for embossing sentiments “I am So Sorry” on vellum for sympathy cards and can be used under mediums such as Creative Medium. I stamped a teddy bear image with Memento ink and used Copic Markers for coloring, however, VersaFine can layer on top of the Copic coloring. See how I use VersaFine carefully with Alcohol Markers.

Skill: Intermediate
Time: 30 minutes

Directions

Supplies

Imagine
Other
  • Whimsy Stamps – Hugs Bunny Clear stamp set
  • Copic markers
  • Cardstock – white, blue
  • Bristol Smooth cardstock
  • Vellum
  • Paper Trimmer
  • Heat Tool
  • Stencil