By Ceal Pritchett
Hello Friends,
It’s Ceal, here. Today I am sharing a fun background technique with you that even a child can create. This is a Mixed Media project. Does the word mixed media have you thinking I can’t make a mixed meda card? It used to for me but honestly mixed media is simply a card made with two different mediums, so this one is shaving cream and ink. Don’t let the word mixed media scare you.
Skill: Beginner
Time: 45 Minutes
Directions:
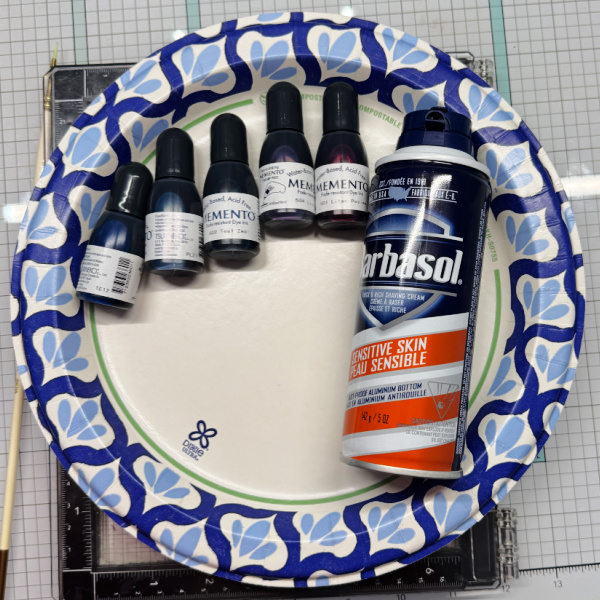
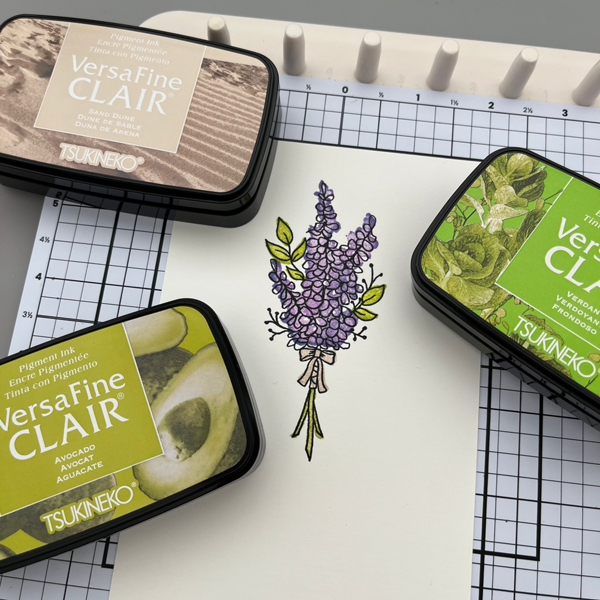
Gather your supplies. You will need a sentiment die cut of your choosing, some foaming shaving cream (gel will not work, some re inkers in different colors, a paper plate, a toothpick and some water friendly paper.
Step 1:
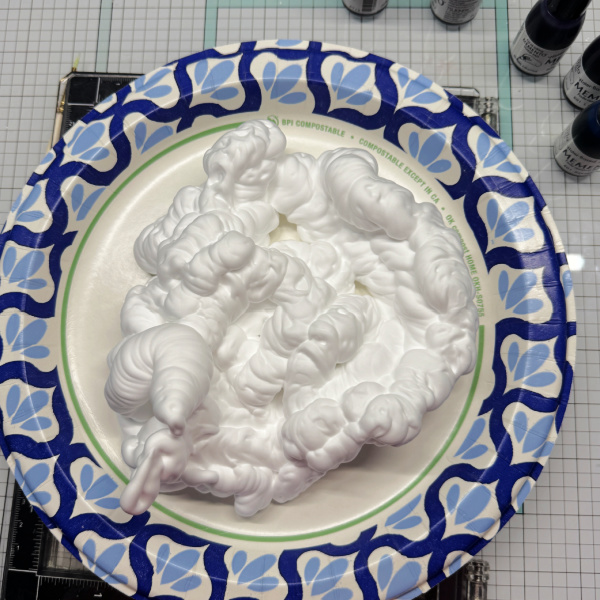
Add shaving cream to the paper plate.
Step 2:
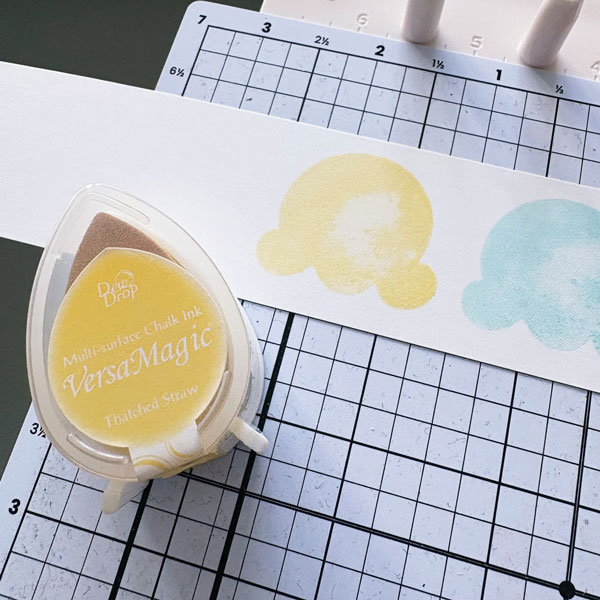
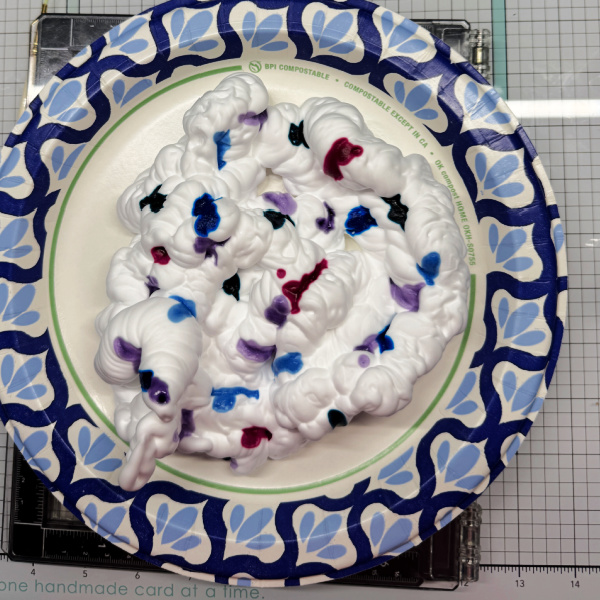
Add drops of re inkers to the shaving cream. I used 5 different colors.
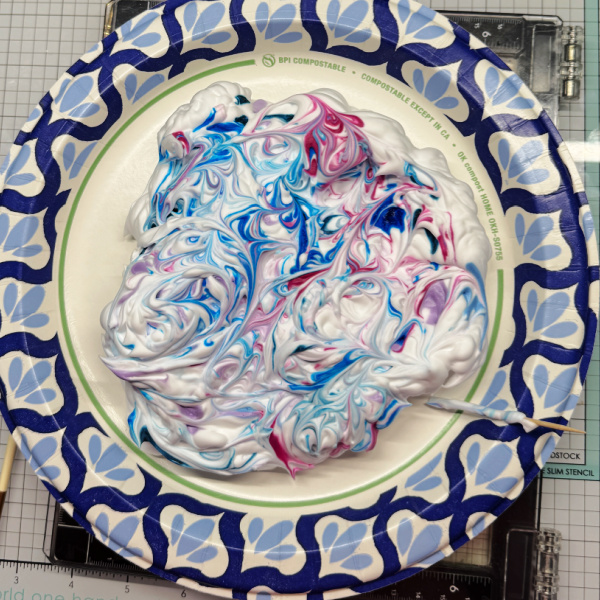
Step 3:
Using a tooth pick, swirl the colors around.
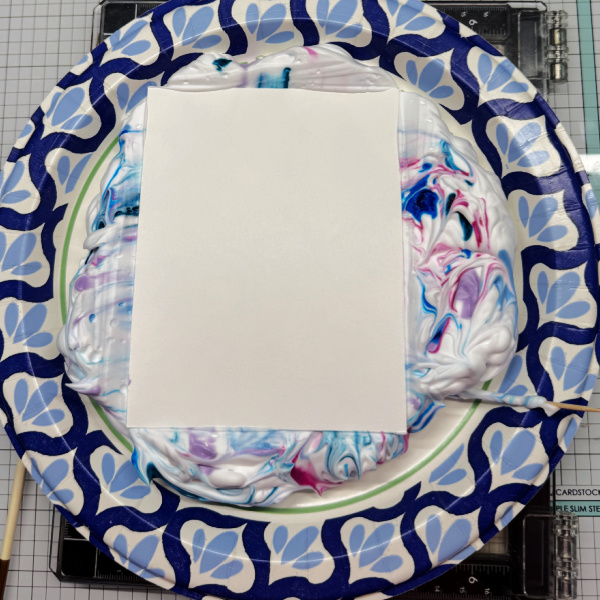
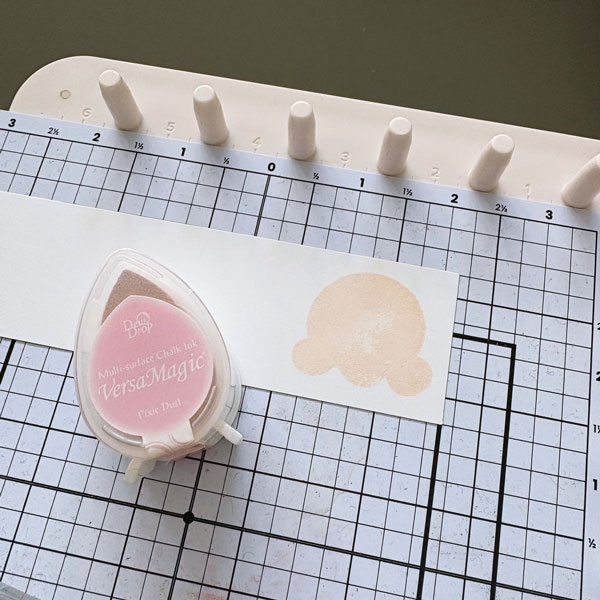
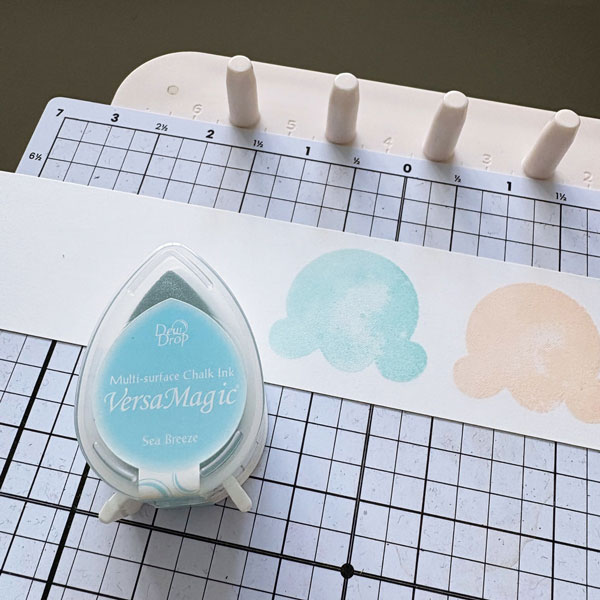
Step 4:
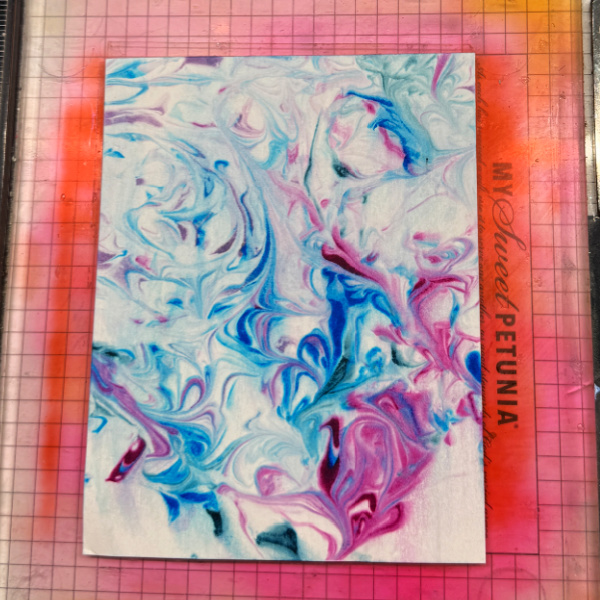
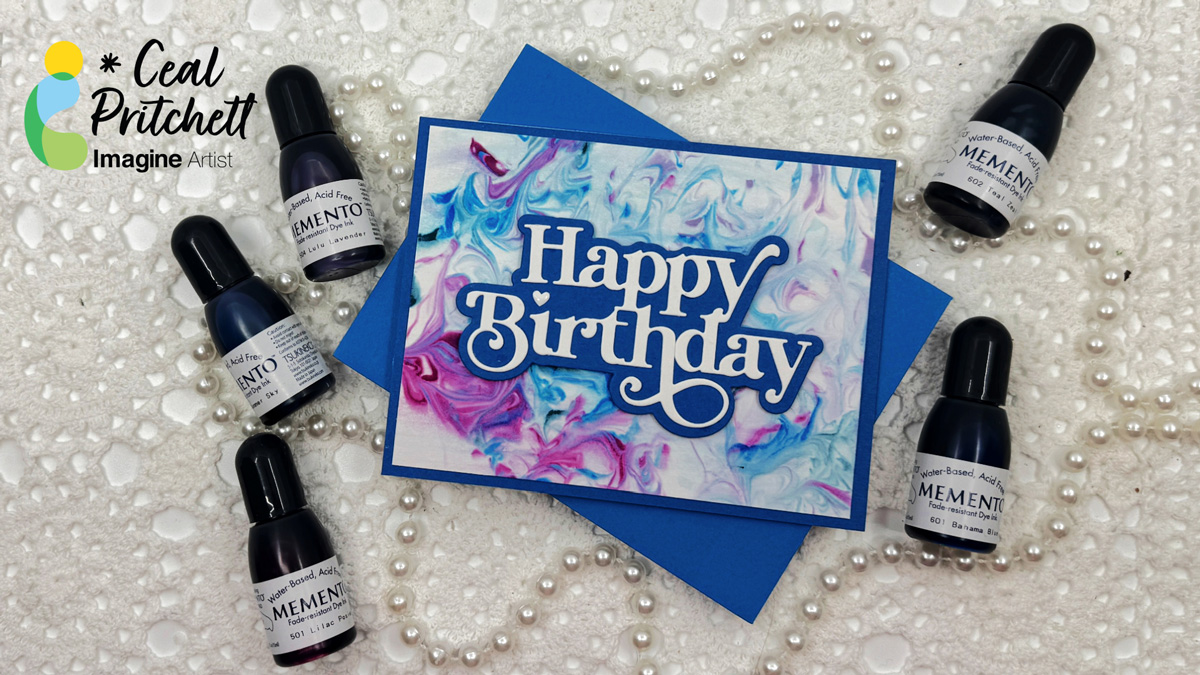
Place water friendly paper (I used Bristol Vellum) face down into the shaving cream. Wipe off with paper towel. The results will look like the next photo and as a added bonus, it will smell so good.
Step 5:
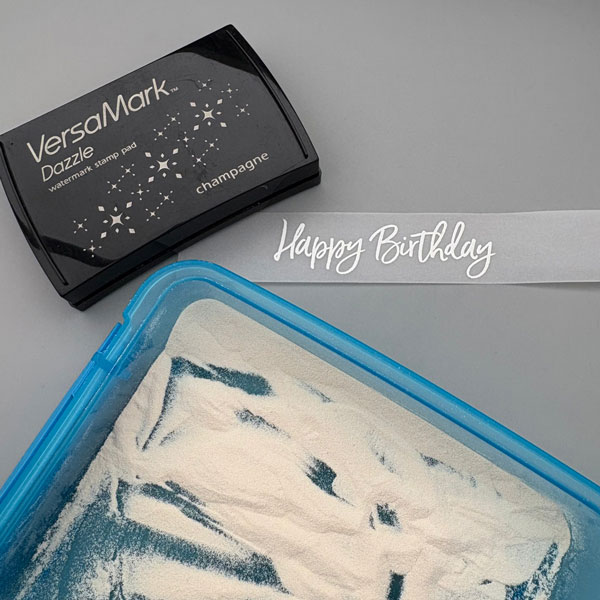
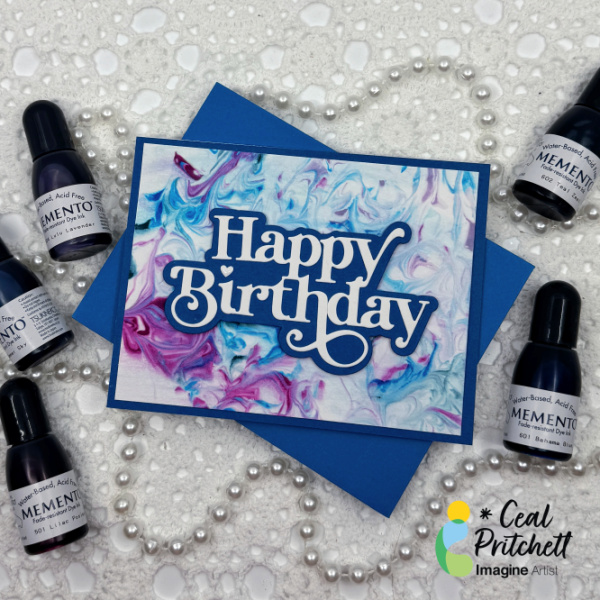
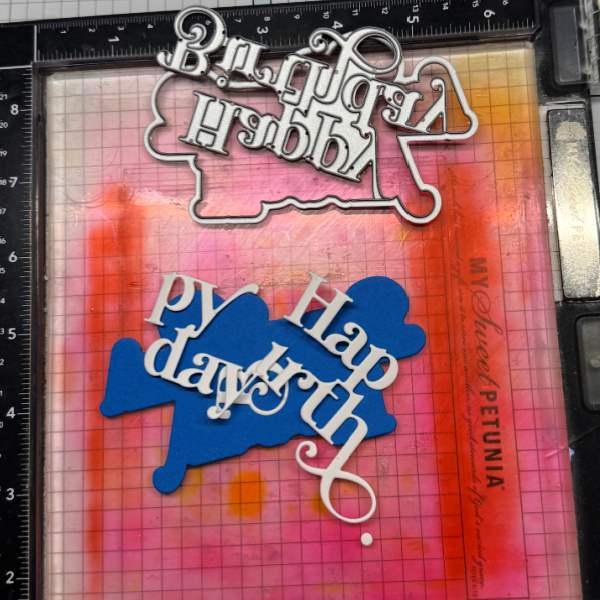
Cut the sentiment out of White cardstock and the backer out of a coordinating color of cardstock. Adhere them together and add to the front of the card.
Craft Supplies:
Imagine Products
Memento Re-Inkers:
– Bahama Blue
– Summer Sky
– Teal Zeal
– Lulu Lavender
– Lilac Posies
Tear-It!Tape
Other Products
Paper Plate
Toothpick
Shaving Cream
Happy Birthday Word die- Simon Says Stamp
Misti stamping tool