See How to Create Fun Snowy Texture for a Christmas Card

by Roni Johnson

See How to Create Fun Snowy Texture for a Christmas Card with Radiant Neon Amplify in white

Winter is quickly approaching…at times it feels as if you’re looking at the world through the shroud of dingy grey gauze. The real beauty of winter can also be seen in the grey twilight when the pines have been darkened by an evening snowfall cutting you off from the worries of the outside world. This is what I look forward to in the coming months. I tried to capture that feeling in this Christmas card I’ve made for you today.

Skill: Beginner
Time: 30 minutes

Directions


Step 1

Pounce Grey Flannel and London Fog Memento Ink onto the craft mat. Pounce a bit of Niagara Mist VersaMagic ink as well.


Step 2

Spritz a bit of Ink Potion No.9 over the inks. Tap the mixture a bit to mix it up and eliminate some of the harsh lines.


Step 3

Press a white cardstock panel into the ink mixture several times until you are satisfied with the results.


Step 4

Stamp pine trees onto the inked panel using VersaFine Clair Morning Mist ink.


Step 5

Randomly dot Radiant Neon Amplify in White over the panel.


Step 6

Heat the Amplify medium to activate and puff it up.


Step 7

Trim and mat on black cardstock then adhere the panel to a grey card base. Stamp off the excess ink on the pine tree stamp on the inside of the card to create a ghostly grey pine forest. Add a bit of line work around the edge of the card to finish it off.


Step 8

Stamp sentiment on a scrap of white cardstock. Trim and adhere to the card front.

Supplies

Imagine
Other
  • Just For Fun Stamps – Pine Trees
  • Cardstock – White, Grey, Black
  • Heat Tool

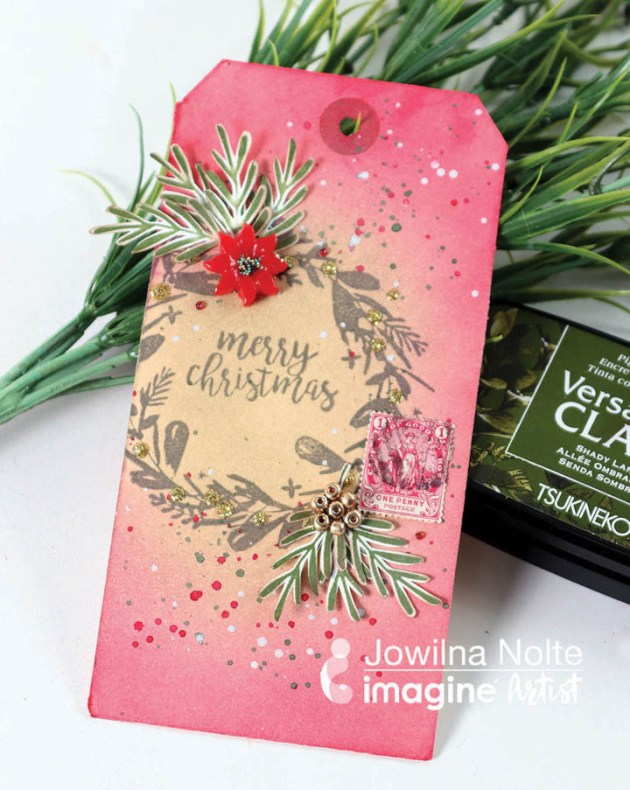
Create an Elegant Christmas Tag with Grey Ink

by Jowilna Nolte

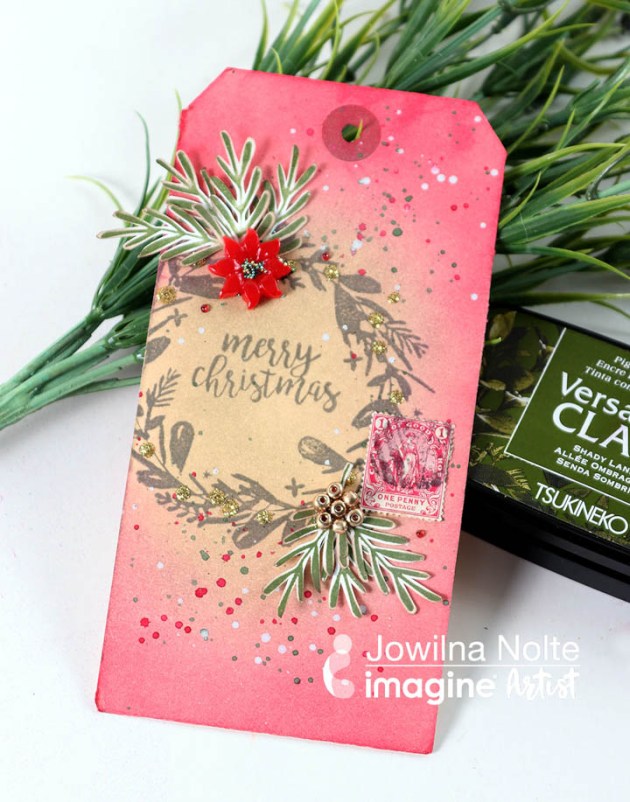
It is that time of the year again when I try and get a head start in making my Christmas cards and tags. This holiday tag is an easy one that I could replicate quickly without making too much of a mess and yet it looks gorgeous. I love the layered look of grey stamping and colorful ink blend for a simple and elegant statement. The grey color from VersaFine Morning Mist is gorgeous and it’s not too harsh making this my perfect go-to ink color for stamping.

Skill: Intermediate
Time: 1 hour

Directions


Step 1

Stamp a wreath and sentiment onto a manilla tag in VersaFine Clair Morning Mist.


Step 2

Use Memento Luxe and a jumbo dauber and blend Love Letter ink around the edges outside of the stamped wreath.


Step 3

Use Memento Luxe Pistachio and blend inside the stamped wreath area.


Step 4

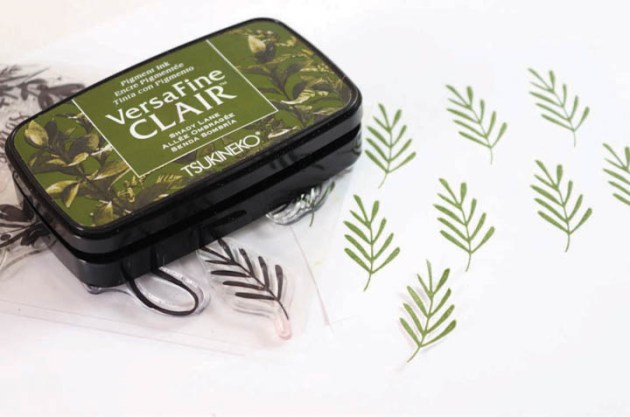
Use VersaFine Clair Shady Lane and stamp several leaves onto smooth white cardstock. Cut out the leaves.


Step 5

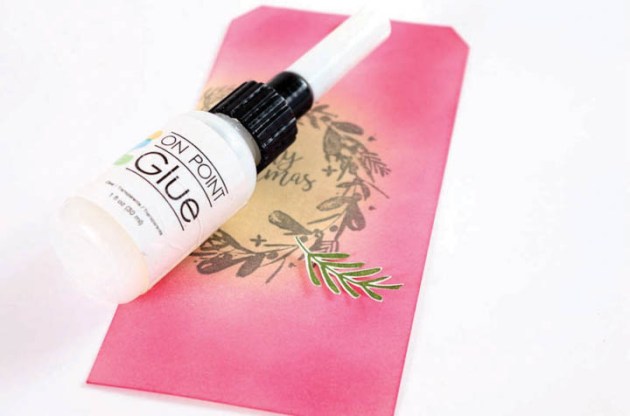
Use On Point Glue and adhere the leaves in clusters in two sections on the stamped wreath.


Step 6

Use On Point Glue and make small drops of glue on the berries and then lightly sprinkle with gold glitter and leave to dry. Shake off the excess glitter and brush clean the tag of stray glitter pieces.


Step 7

Adhere the leaves, add embellishments as desired and then add some colored ink or paint splats to finish off your tag with some added details.

Supplies

Imagine
Other
  • White cardstock
  • Kaisercraft – Christmas stamps
  • Embellishments
  • Tag
  • Glitter – Gold
  • Microbeads
  • Old Postage stamp
  • Watercolor paint

Learn How to Create Christmas Magic

by Kyriakos Pachadiroglou

Learn How to Create Christmas Magic

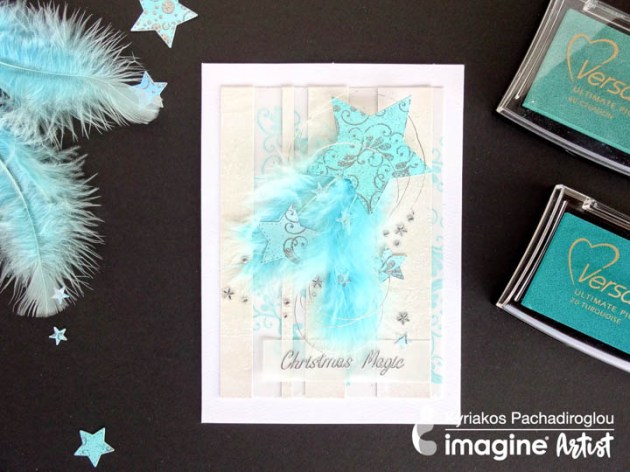
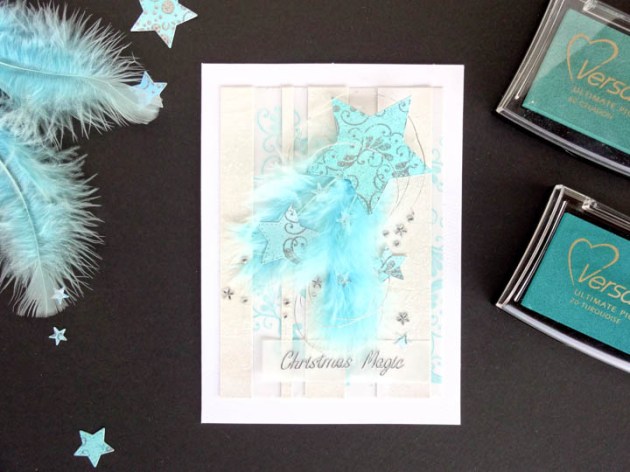
Share the magic of Christmas with silver embossed stars and feathers in a turquoise color. The interchange of stripes covered with Creative Medium and the stamped tracing paper with VersaColor add depth to the background and give a sense of a screen. The multiple layers of the Creative Medium used and then heated, create a rough texture on the paper.

Skill: Intermediate
Time: 1 hour

Directions


Step 1

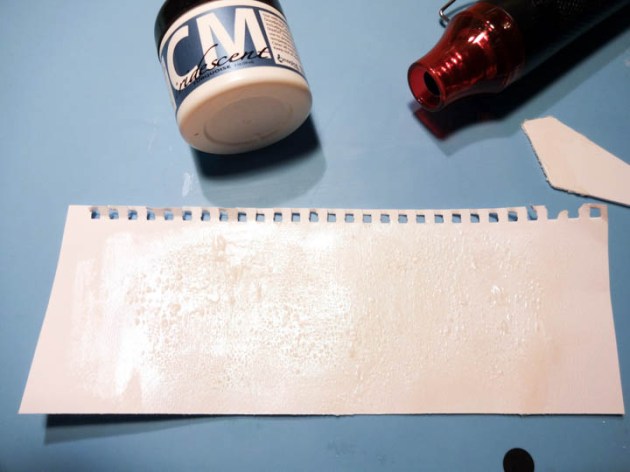
Cover a piece of watercolor paper at least the size of the card will be used with Creative Medium Iridescent Turquoise. Use a heat tool to dry and overheat the paper. The Creative Medium will start making baubles. Repeat the process at least 3 times to give the surface a rough look.


Step 2

Cut stripes of the watercolor paper in various widths and in 6 inch long (one inch less than the card used here).


Step 3

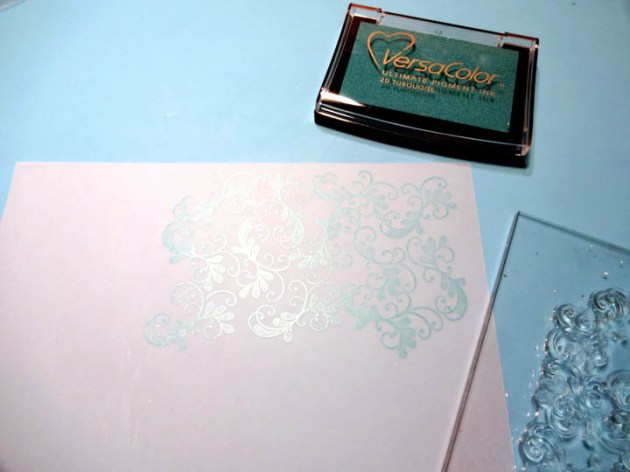
Stamp the tracing paper with the swirls design of the stamp set and the VersaColor Turquoise ink.


Step 4

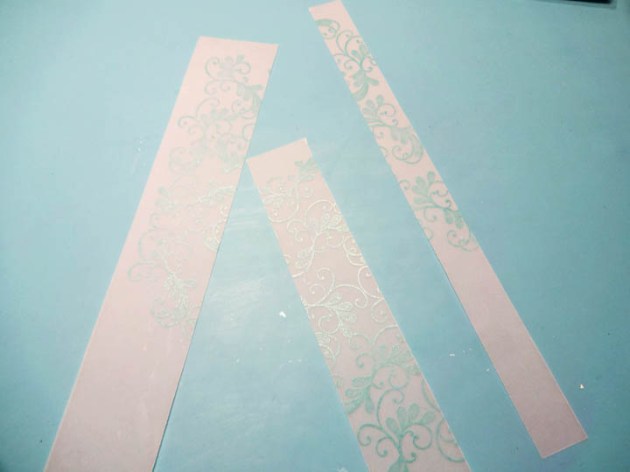
Cut strips of the stamped image in various widths and in 6 inch length.


Step 5

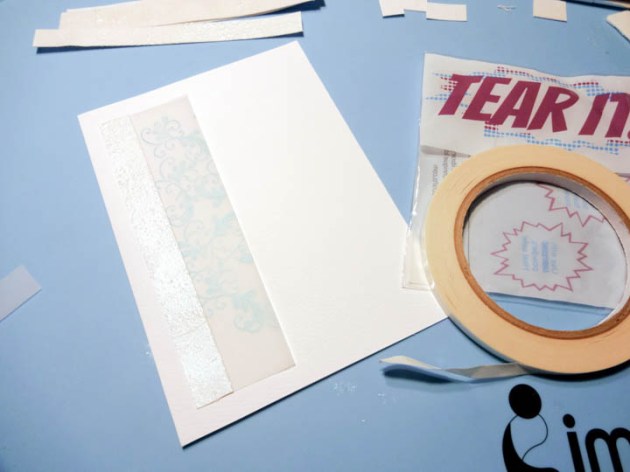
Use Tear It! Tape to set the watercolor and tracing paper stripes on the front of a card base.


Step 6

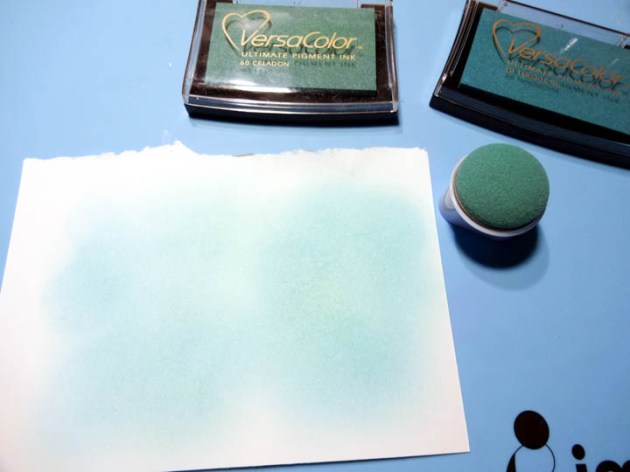
On a piece of watercolor paper, on the smooth side, color with the VersaColor Turquoise and Celadon ink pads.


Step 7

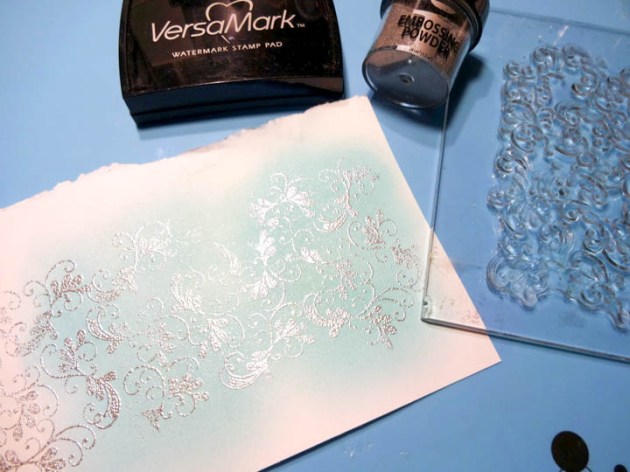
Stamp with VersaMark the same stamp design as above. Cover with Imagine silver embossing powder and heat set.


Step 8

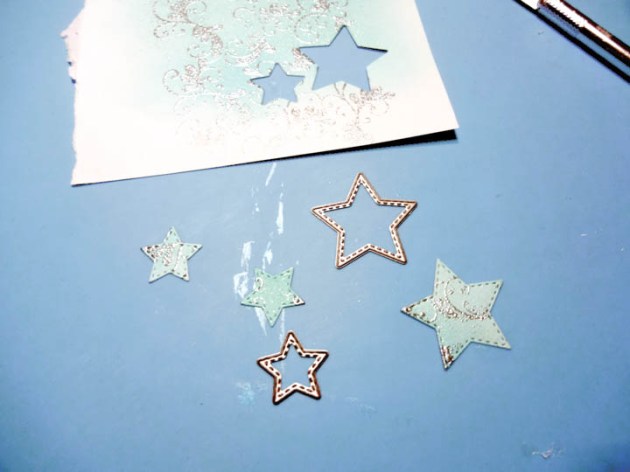
Die cut stars in different sizes from the embossed paper.


Step 9

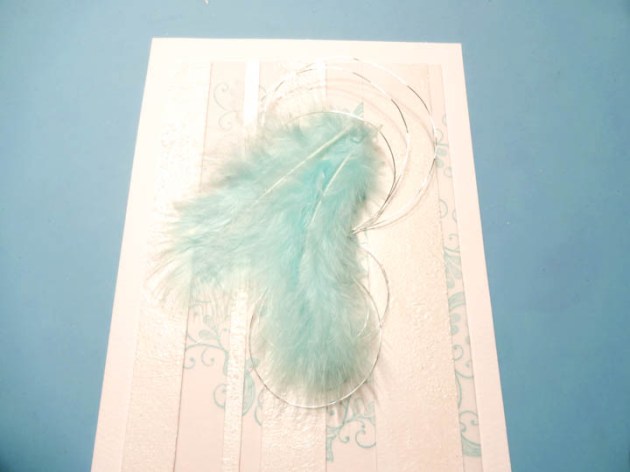
Make a circle of the craft wire, glue with hot glue and continue with the feathers.


Step 10

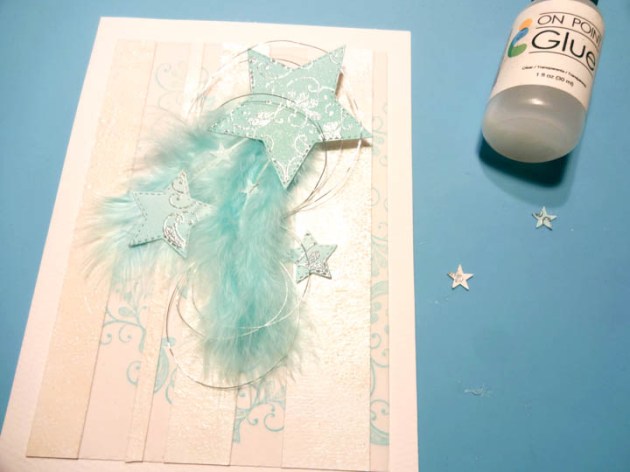
Use the On Point Glue to place the paper stars, while the main star, set it with some foam tape to raise from the front. Add rhinestones with the On Point Glue.


Step 11

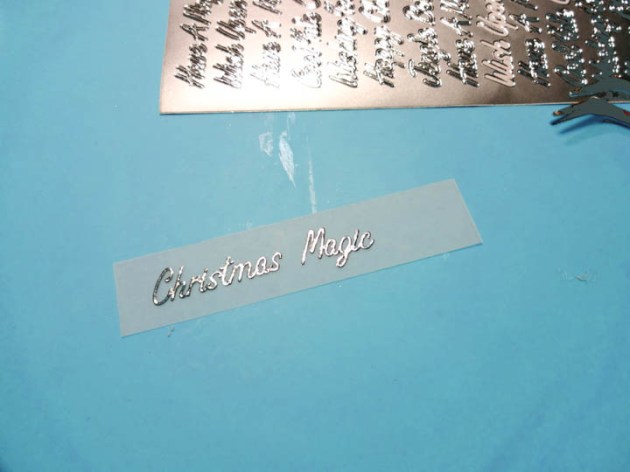
Remove the words from the sticker and set them on a piece of tracing paper and then glue on the card.

Supplies

Imagine
Other
  • Tracing paper
  • Viva Decor – Peacock feathers stamp set
  • Star dies
  • Die cutting machine
  • Heat tool
  • Feathers
  • Jewelry wire
  • Rhinestones
  • Canson watercolor paper
  • Craft creations – Peel off stickers, Christmas words
  • Hot glue gun
  • Foam tape

Create a Mixed Media Holiday Card with Memento

by Melissa Andrew

It’s time to get ready for the holidays! Today Melissa creates a gorgeous watercolor background with Memento and VersaColor Ink. She finishes her holiday card with gorgeous gold embossing powder. This is a quick and easy holiday card that can be mass produced for sending to loved ones this season!

Skill: Advanced
Time: 1 hour

Directions

Supplies

Imagine
Other

Create a Beautiful Marbled Effect with Waffle Flower Stamps

by Roni Johnson

Create a Beautiful Marbled Effect with Waffle Flower Stamps

Red Sangria…brings to mind a deep rich red with swirls of light and dark from the various fruits floating in its depths. When I found out that’s what the color of the month was for August I instantly knew I wanted to try to re-create that luscious color kaleidoscope. I think that this faux marble technique is just the ticket. In this project, I have created Artist Trading Coins and a holiday or Christmas card. This inky marbled paper background can be used in multiple papercraft projects.

Skill: Intermediate
Time: 30-60 minutes + Dry Time

Directions


Step 1

For this technique to work you must use bristol cardstock. Regular cardstock will soak up the ink too fast and won’t create the depth and texture needed for this technique to be a success. Add a few drops of Rose Pink All Purpose Ink into a mini squeeze bottle with a microtip. Add one drop of Ink Potion No.9 solution to the bottle. Give it a quick shake to mix it up.


Step 2

Apply several drops of the mixture onto a piece of bristol cardstock; smoosh the ink around with an acrylic stamping block and let dry.


Step 3

Add one or two drops of Thistle All-Purpose Ink to the existing mix and give it a shake to integrate the new color.


Step 4

Sprinkle several dots of the current mixture over the cardstock and smoosh it with the block; allow inks to dry.


Step 5

Next, add 2 drops of Red Delicious All-Purpose Ink to the mix and shake.


Step 6

Sprinkle dots of the mix over the cardstock; smoosh and let dry.


Step 7

Continue to add 2 drops of Poppy Red All-Purpose Ink; mix, sprinkle & smoosh. Then add 2 drops of Wisteria All-Purpose Ink, mix, sprinkle & smoosh. Each layer of ink you add will create more and more depth of color and “texture”. Finally, add one drop of Real Black All-Purpose Ink to the remaining ink mixture and sprinkle just a few drops over the piece; smoosh with the acrylic block and let dry.


Step 8

Arrange marble stamps on a stamping press and ink with Golden Glitz Delicata Ink. Close the press and stamp the inked panel. Repeat as necessary to get a good image.


Step 9

Reposition the inked panel and stamp until the entire panel has been stamped with the marble texture stamps. You will be left with a beautiful deep rich red sangria marbled cardstock ready to spice up any project.

Once you have created this beautiful inky backdrop then get creative on collage themes like this in the photo above. I cut out the image of a woman and the word “queen” to make this piece.

For this holiday card, I have used the inky paper to create two panels that open in a double door style card.

Supplies

Imagine
Other
  • Bristol Cardstock
  • Acrylic Block
  • Waffle Flower – Layering Marble Stamp Set
  • Joy Clair – Rustic Christmas, Rustic Sentiments
  • Cardstock – Black, White
  • Southern Blackberry Design – collage images
  • Queen’s Dresser Drawers – Collage images
  • Dymo Label Maker
  • Mica
  • Vintage Ephemera
  • Misti Stamping Tool