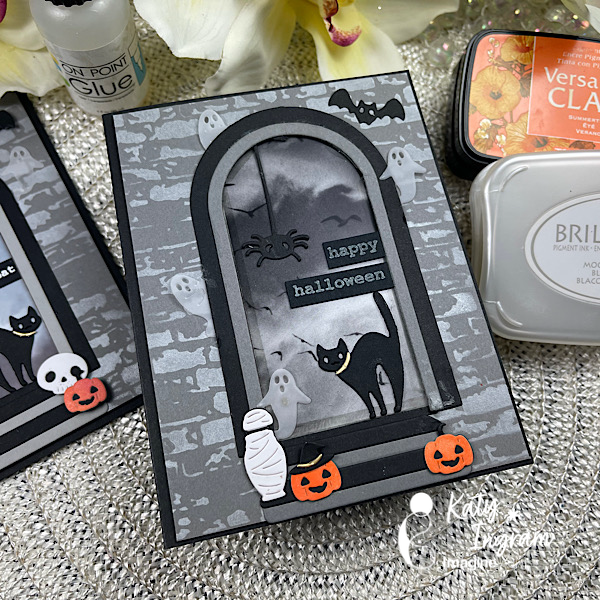
Hello Friends! Katy here with another quick project. In today’s video I create a simple Halloween card. I had some printed spooky printed acetate in my stash and paired it with a brick stencil and some Brilliance Moonlight White ink. I just love this white ink more than any others and so I like to showcase it any time I can.
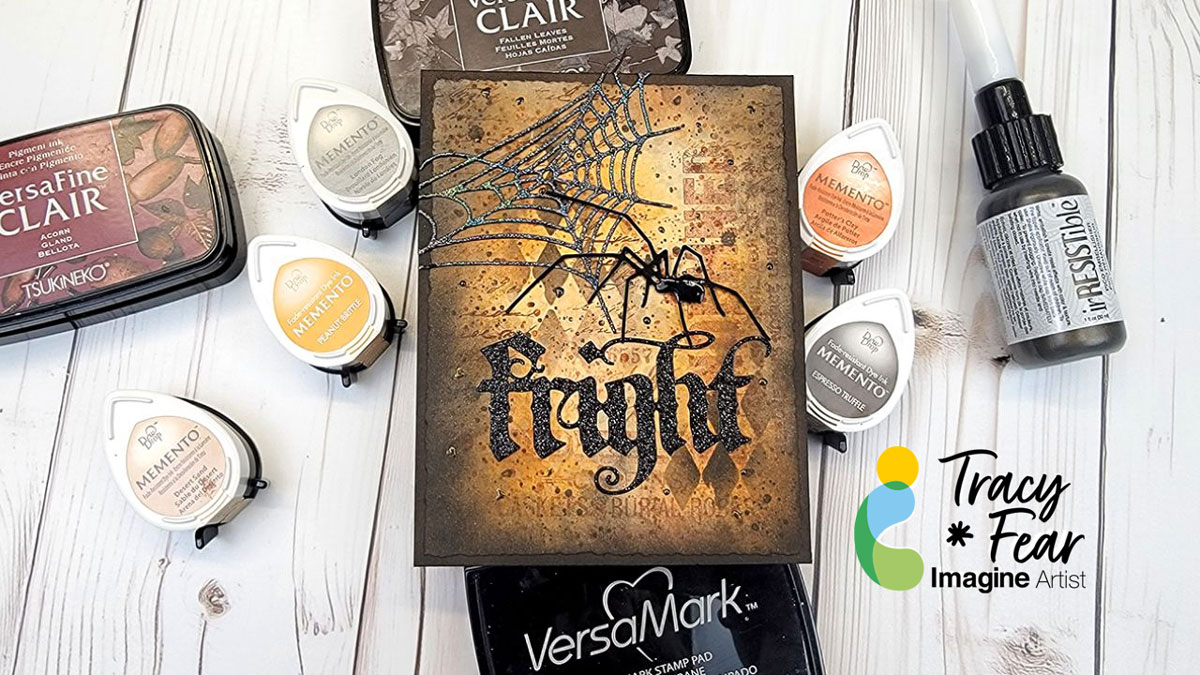
Hello Friends! Tracy here and today I am thrilled to share with you how to get this grungy background perfect for a Halloween card or even just the everyday grunge lover!
Tracy
Skill: Intermediate Time: 60 Minutes
Video Tutorial
Art Supplies • Acrylic stamping block • Stencil of your choice • Scrap paper for stamping off • Mixed media paper • Black Paper • Embossing powder • A2 Card base • Stamps of your choice • Blending brushes • Glue • Die cuts of your choice
Other Products Used • Embossing Powder • Spider and Web Die Set-Whimsy Stamps • Word Die Set – Tim Holtz • Various Halloween stamps from Tim Holtz and Simon Hurley • Mixed Media Paper – Ranger • Distress Black Heavy Stock – Ranger • PVA Adhesive
ALTERNATIVE PRODUCTS THAT CAN BE USED TO RECREATE SOMETHING SIMILAR
Any Inks any combination of background stamps, dies, and feature stamps
To learn how to get your Halloween Grunge on, click here!
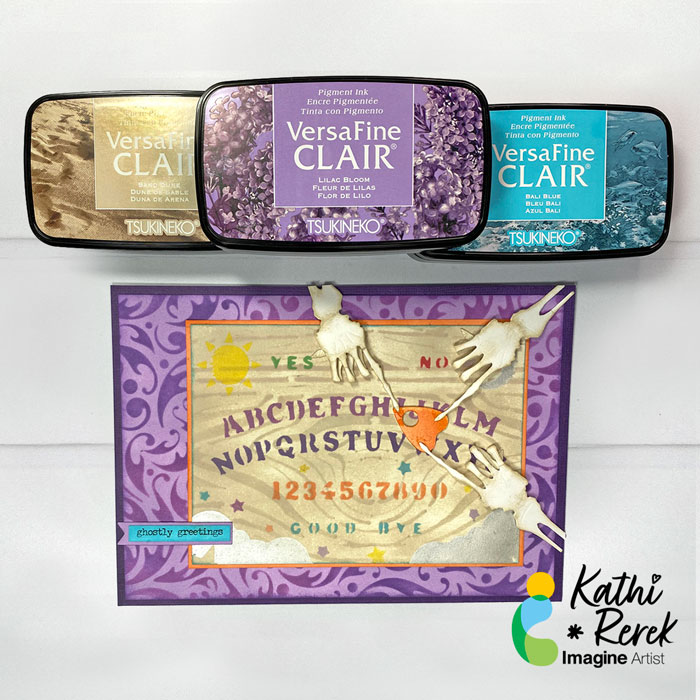
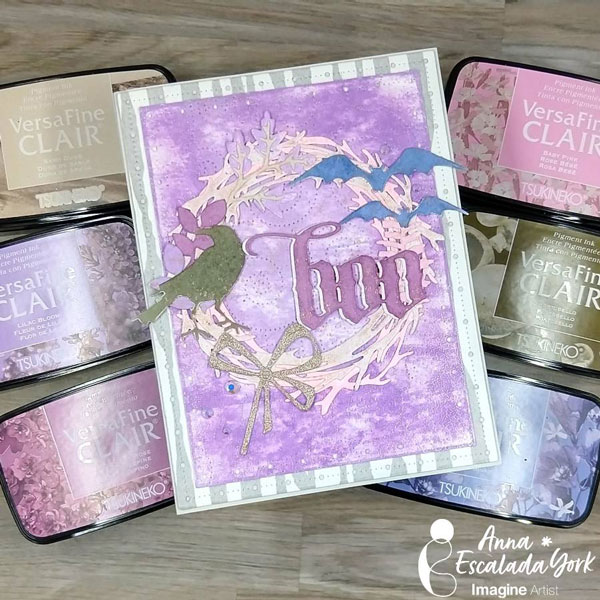
Halloween is the time of the year when the veil is the thinnest and people seek out spooky experiences. Here’s a card with NO stamping that uses both the old and new VersaFine Clair Inks with stencils and die-cuts!
Skill Level: Intermediate Time: 1.5 hours
Instructions:
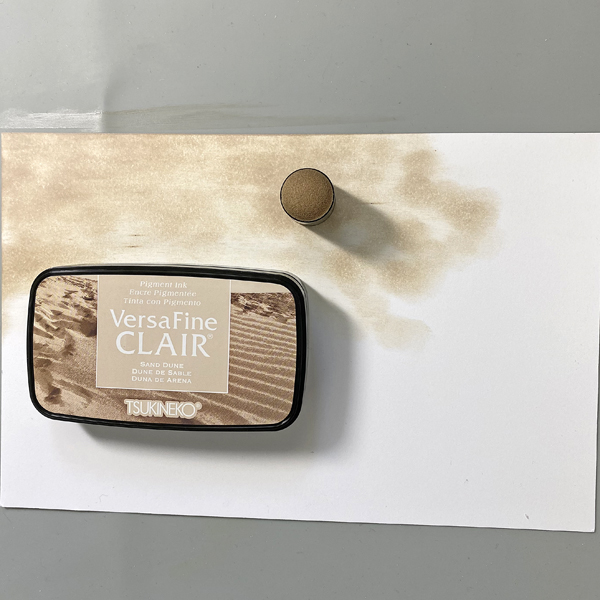
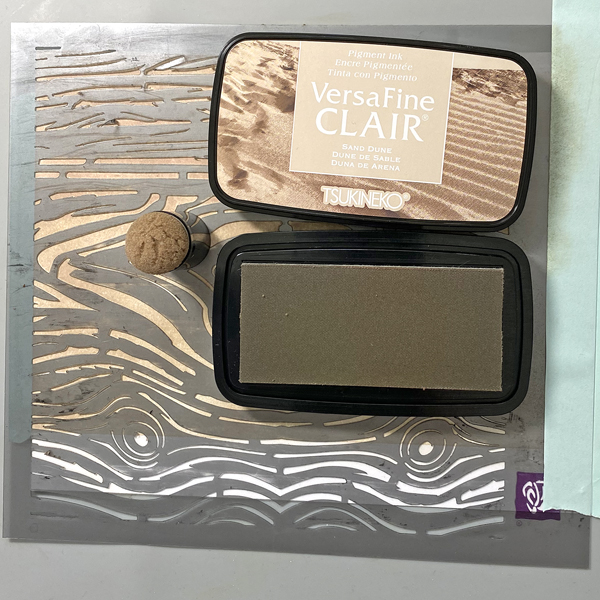
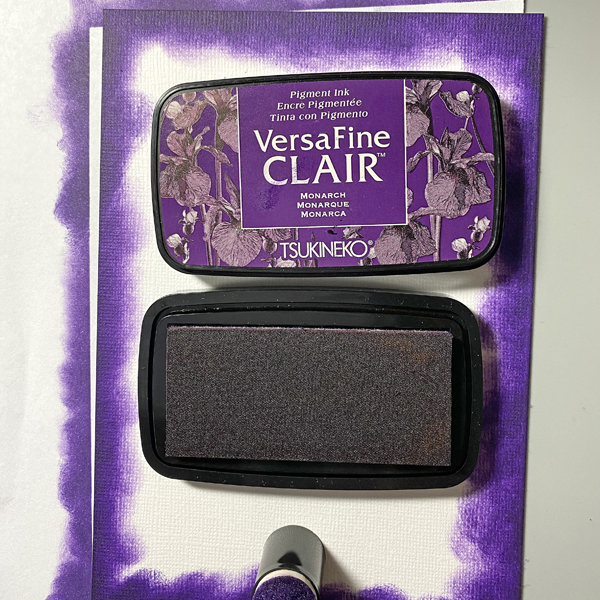
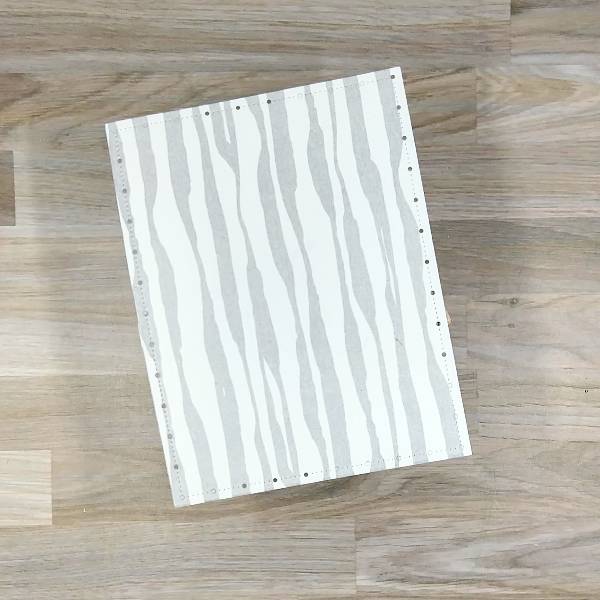
Step 1: Use a Sponge Dauber to apply Sand Dune VersaFine Clair ink to a piece of white cardstock.
Step 2: Use low-tack tape to secure the inked cardstock to the back of a wood-grain stencil. Use a sponge dauber to apply Sand Dune VersaFine Clair over the stencil onto the cardstock to create a subtle wood grained look. Remove the stencil and heat set the cardstock.
Steps 3A through 3E: Use low-tack tape to secure the image panel to the back of the Ouija Board Stencil. Different colors of VersaFine Clair Inks and Moonlight White Brilliance ink will be applied to various areas of the stencil. I ended up adding Starlite Silver over the Moonlight White to add more contrast. Sorry there’s no photo.
Place Post-It Notes to protect areas of the stencil and keep a paper towel at hand to wipe excess ink off of the stencil to avoid unwanted ink transfer.
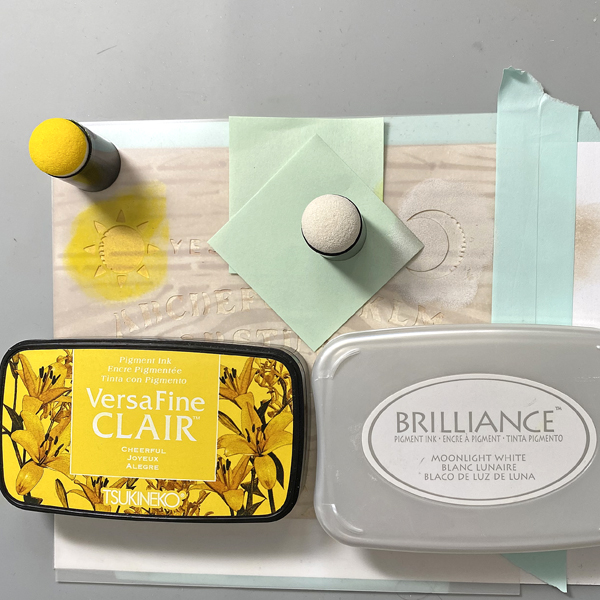
Use a Sponge Dauber to apply Cheerful VersaFine Clair to the sun area of the stencil. Use a Sponge Dauber to apply Moonlight White Brilliance Ink to the moon and the clouds area of the stencil (3A).
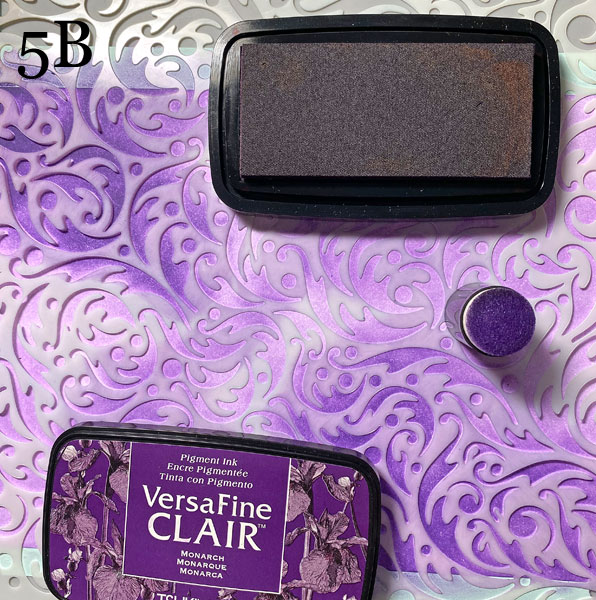
Use Sponge Daubers to apply Grass Green and Strawberry VersaFine Clair Inks to the “Yes” and “No” words on the stencil (3B)
Use Sponge Daubers to apply Purple Delight and Monarch VersaFine Clair Inks to the the alphabet on the stencil (3C). Remember to use a paper towel to wipe away excess ink.
Use a Sponge Dauber to apply Summertime VersaFine Clair Ink to the numbers on the stencil (3D).
Use Fantastix to apply Lilac Bloom, Bali Blue, Summertime, and Cheerful VersaFine Inks to the stars on the stencil (3E)
Remove the stencil and thoroughly heat set the image panel.
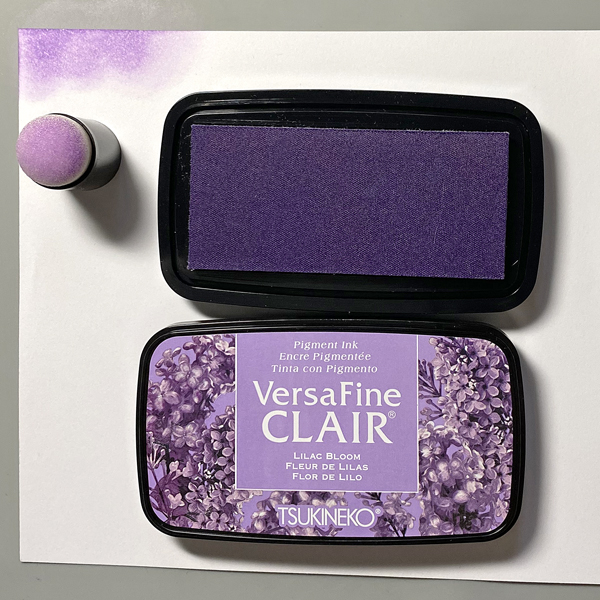
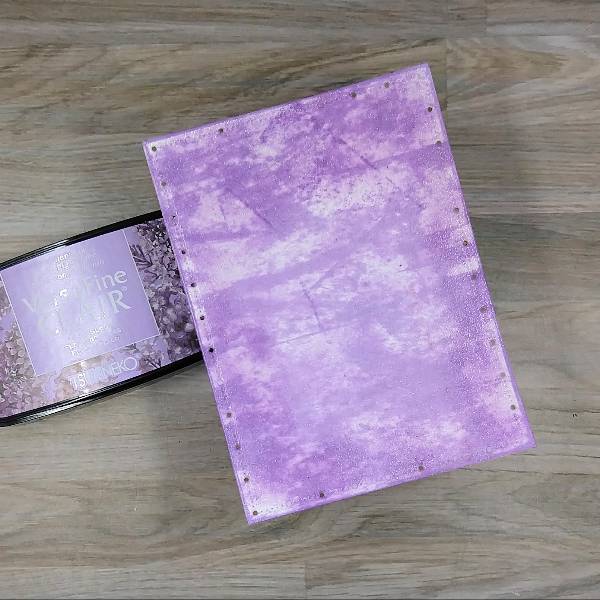
Step 4: Use a Sponge Dauber to apply Lilac Bloom VersaFine Clair Ink to a piece of Mixed Media paper to create the background panel. Heat set.
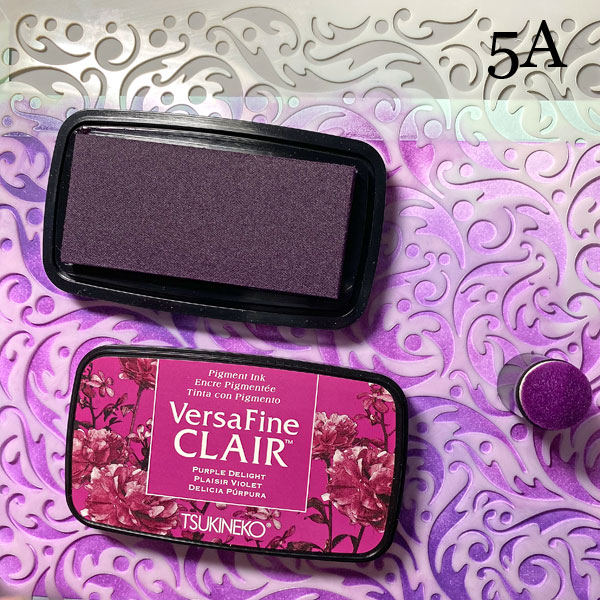
Steps 5A and 5B: Use low-tack tape to secure the Lilac Bloom inked paper to the back of the Dynamic Stencil.
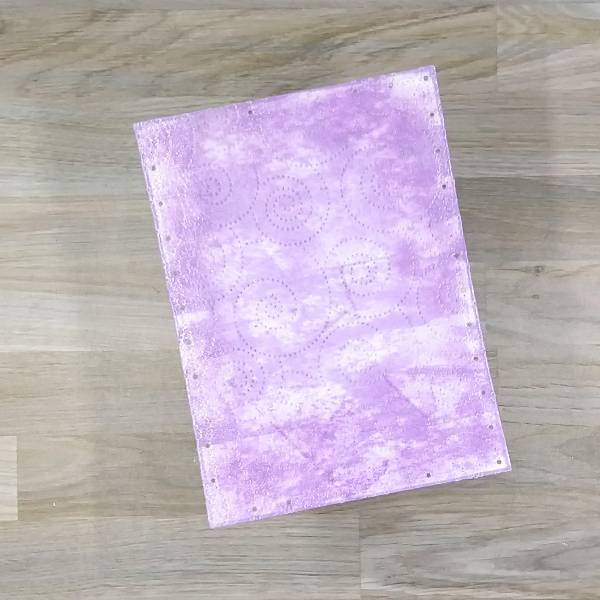
Use a Sponge Dauber to apply Purple Delight VersaFine Clair Ink randomly over the stencil (5A) onto the background panel. Use a separate Sponge Dauber to apply Monarch VersaFine Clair Ink over the the rest of the stencil (5B) onto the background panel. Remove the stencil and heat set the panel.
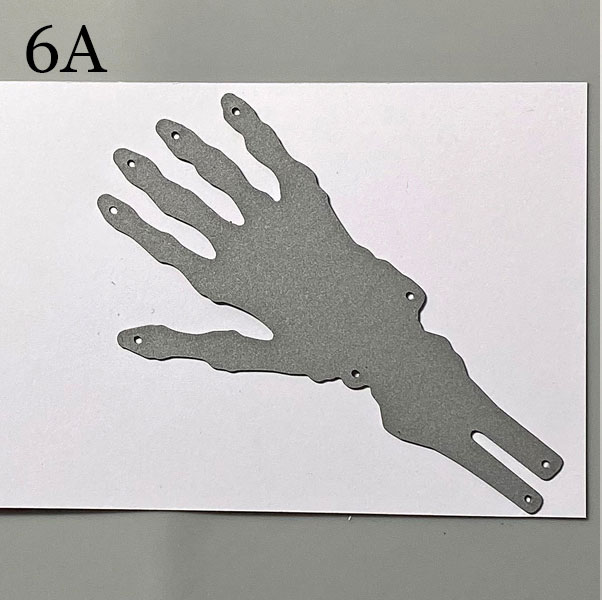
Step 6: Use the skeletal hand cutting die to cut three hands from white cardstock.
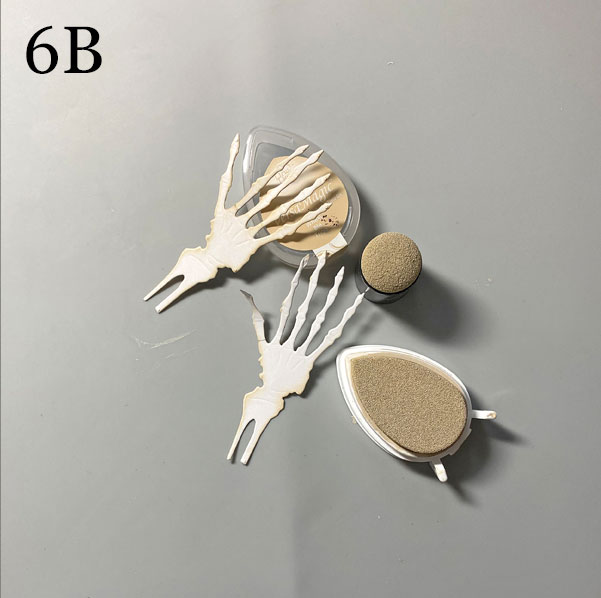
Use a Sponge Dauber to apply Wheat VersaMagic Ink to the edges of the hands, fingers, and wrist bones. You can use the pointed edge of the DewDrop Inkpad to reach between the fingers! When the bones are aged to your liking, heat set all three hands then set them aside.
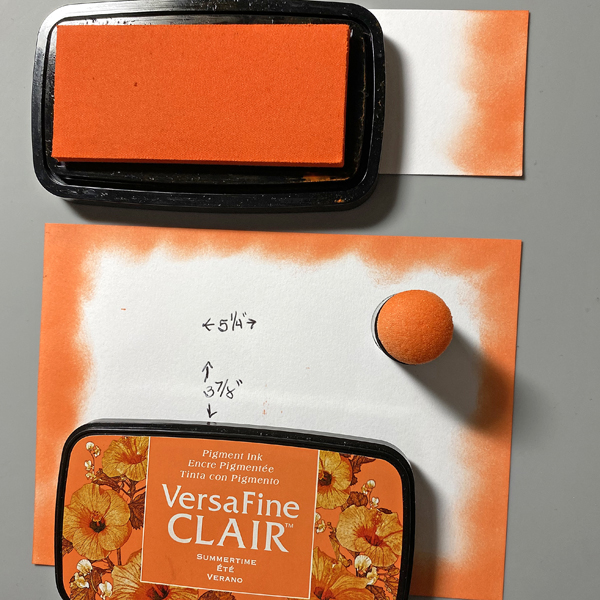
Step 7: Cut a piece of white cardstock to 5.25” x 3.875”. Use a Sponge Dauber to apply Summertime VersaFine Clair Ink to the outer .5” of the panel. Heat set. Use this panel to mat the Ouija Board Panel, then adhere the matted Ouija Board panel to the stenciled background panel. Sorry that there’s no photo.
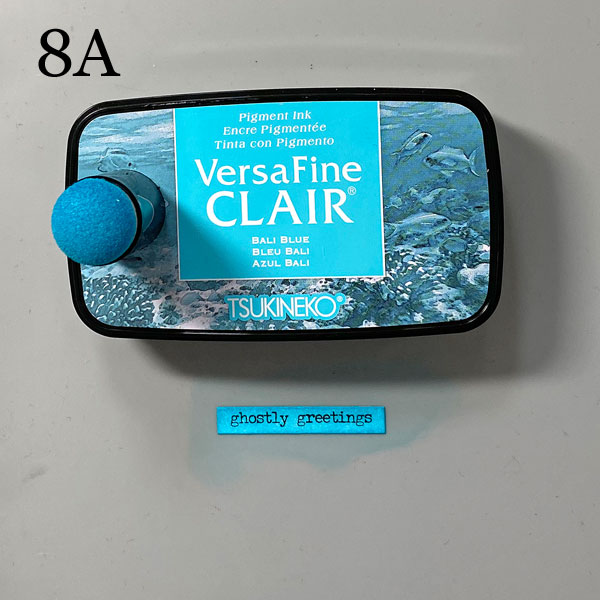
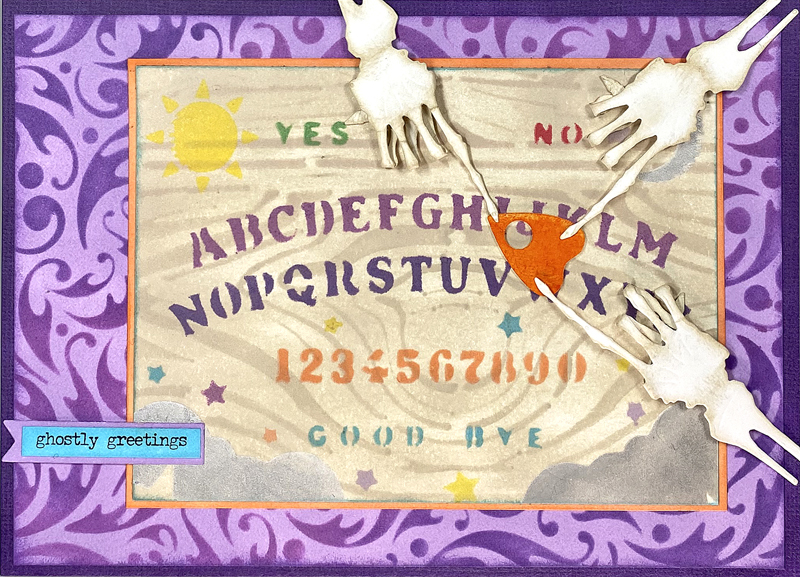
Steps 8A and B: Use a Sponge Dauber to apply Bali Blue VersaFine Clair Ink to a sentiment sticker (8A). Heat set.
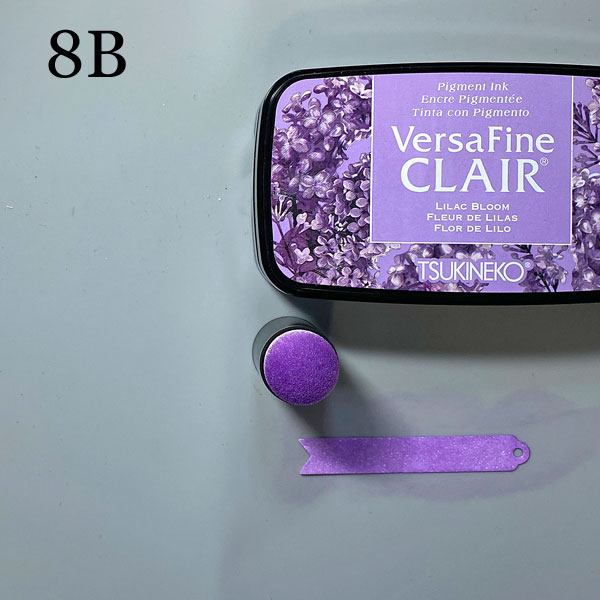
Use a Flag Die to cut white cardstock. Use a Sponge Dauber to apply Lilac Bloom VersaFine Clair Ink to the die-cut. Heat set.
Adhere the sticker onto the die-cut flag. Set aside.
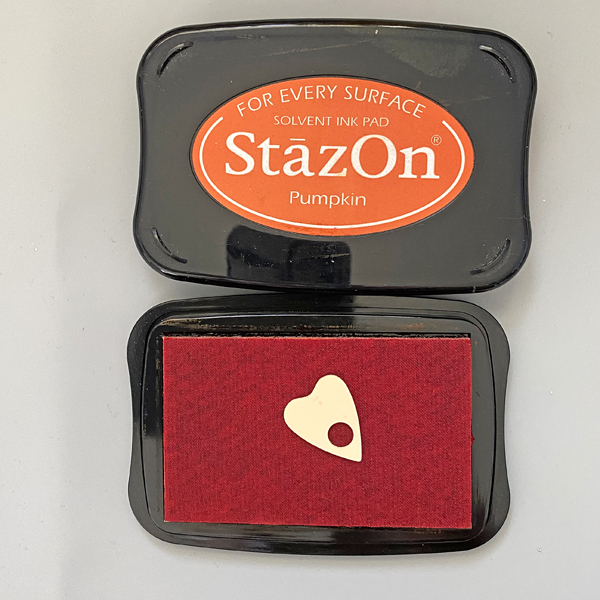
Step 9: Press the plastic planchette facedown onto the Pumpkin StazOn Inkpad. Smoosh it around.Carefully remove and allow to dry.
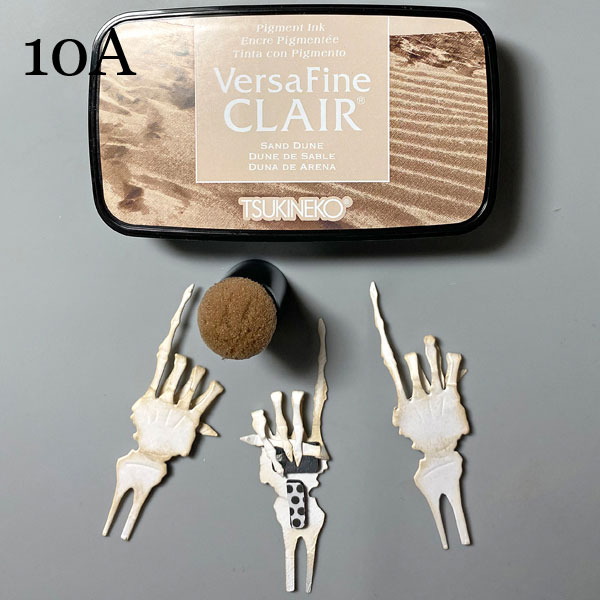
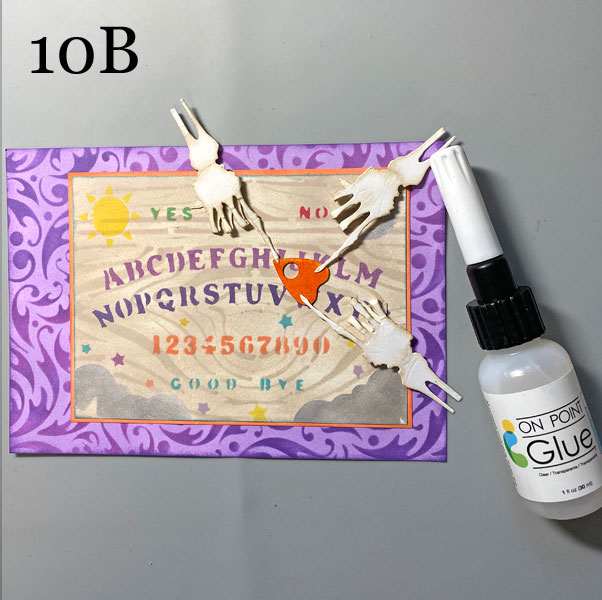
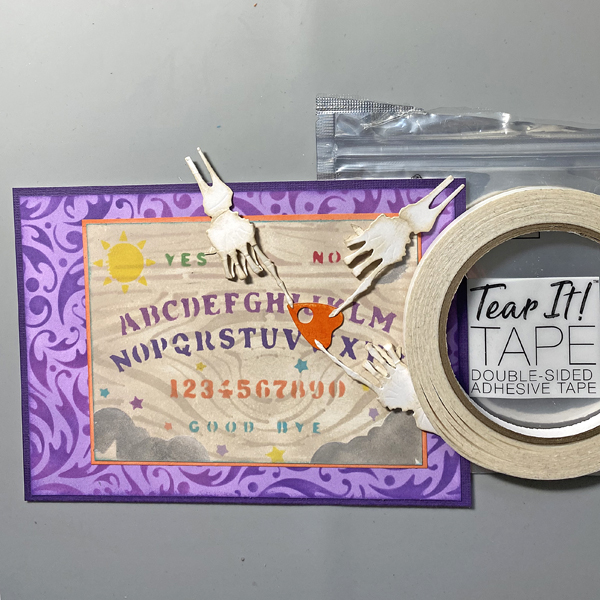
Steps 10A and 10B: Place dimensional foam adhesive to the back of all three skeletal hands. Fold all the fingers, except the index fingers, backwards at the second joint, and press them onto the adhesive foam. You can add a piece of Tear It! Tape over them to keep them in place. Use a Sponge Dauber to apply Sand Dune VersaFine Clair Ink to the backs of the fingers and the joints to further “age” them (10A).
Use On Point Glue to attach the Planchette so that it’s pointing at the “H” for Halloween. Apply On Point Glue to the back of index fingertips, remove the tape backing, and adhere the skeletal hands as shown (10B).
Step 11: Create a 5” x 7” card from white textured cardstock. Use a Sponge Dauber to apply Monarch VersaFine Clair Ink to the outer .5” of the card. Heat set.
Step 12: Use Tear It! Tape to adhere the layers of the card.
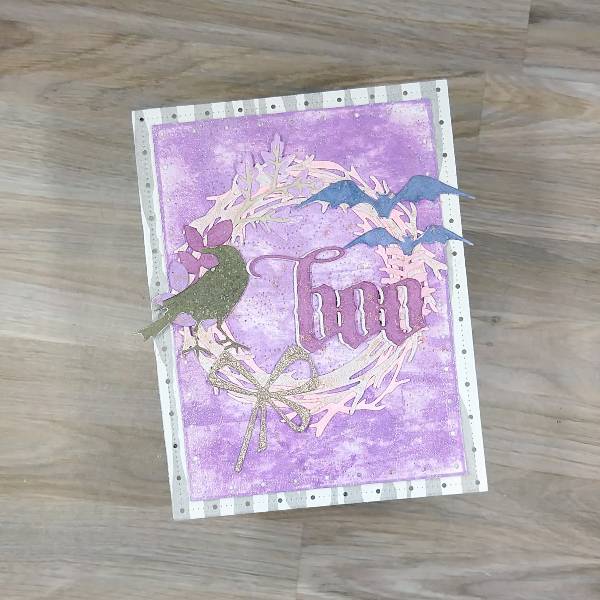
In today’s card, I used many of the new VersaFine Clair Ink colors to make another Halloween card.
Skill: Intermediate Time: 1.5 hours
Directions:
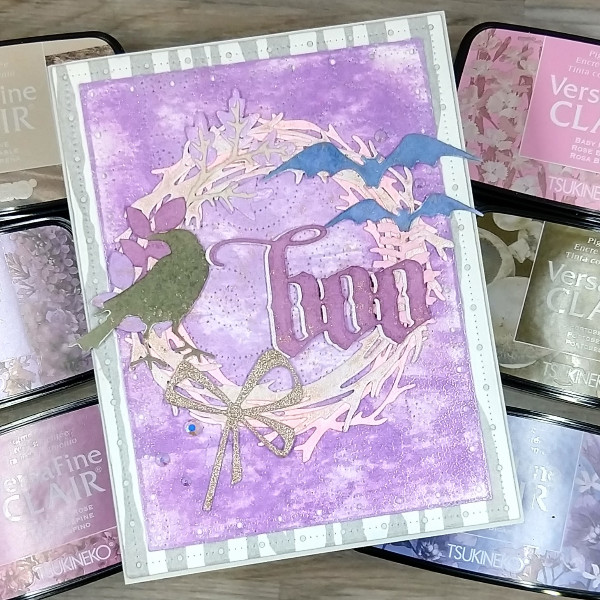
Step 1: Die cut leaves and stems out of watercolor paper. Ink blend the fern-y shaped leaf with Baby Pink VersaFine Clair ink and the individual leaves with Lilac Bloom VersaFine Clair ink. I pressed the stem die cut into the Sand Dune VersaFine Clair ink pad and the leaf cluster die cut into the Lilac Bloom VersaFine Clair ink pad. These were all set aside.
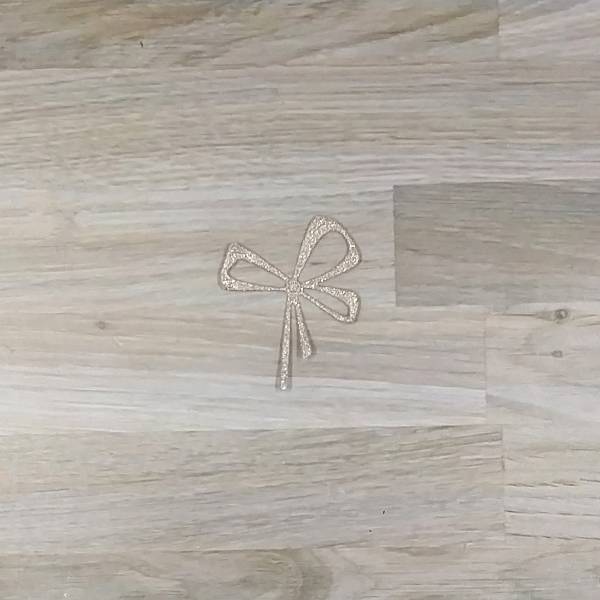
Step 2: A sparkly piece of rose colored cardstock was die cut with a bow die cut.
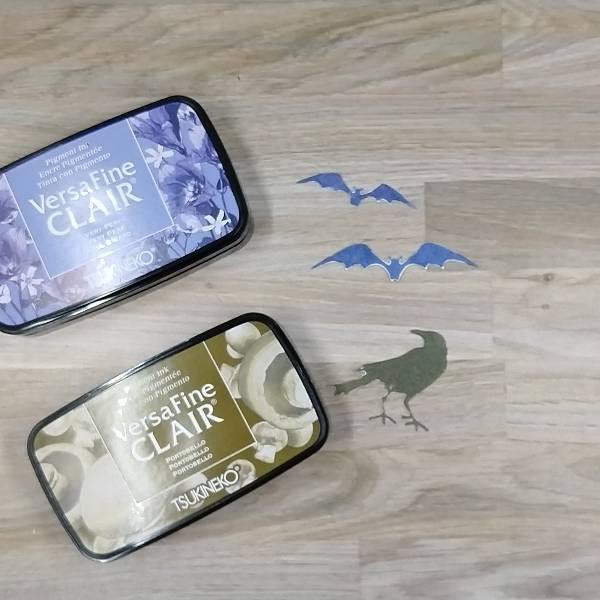
Step 3: Two bats and a crow were die cut out of watercolor paper. The crow die cut was pressed into the Portobello VersaFine Clair ink pad and the two bats were pressed into the Very Peri VersaFine Clair ink pad.
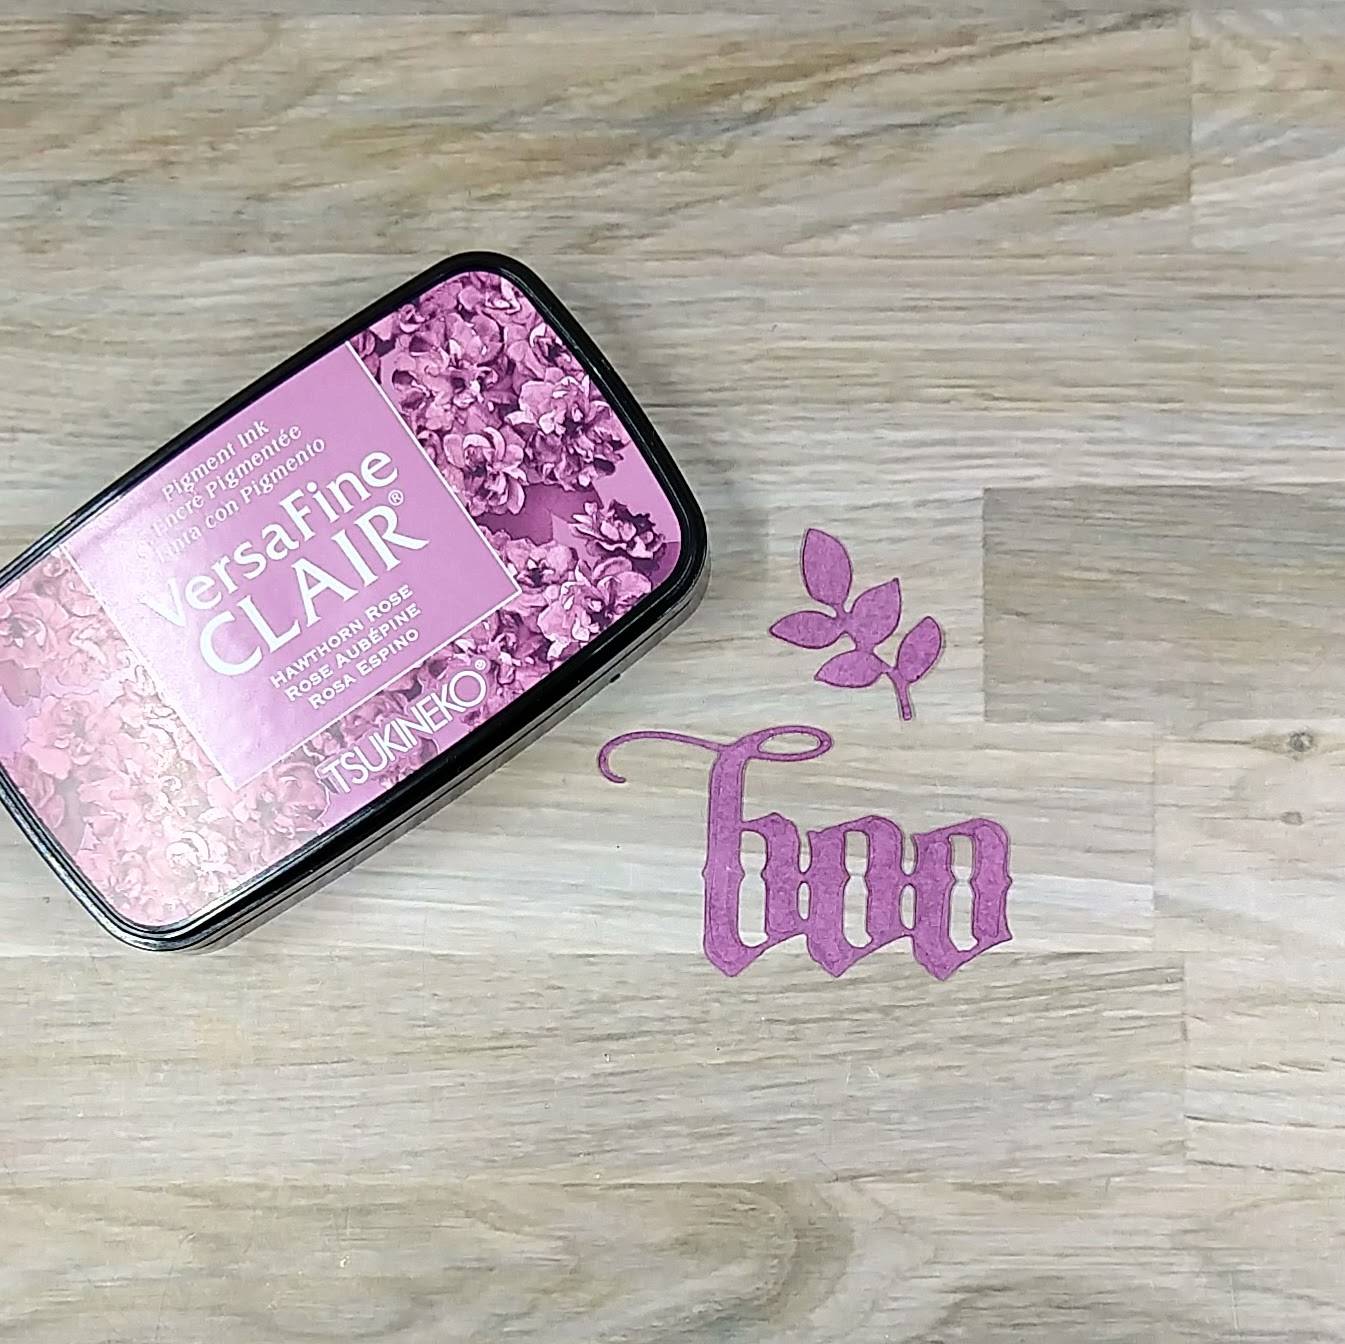
Step 4: Press a die cut leaf cluster and boo sentiment die cuts into the Hawthorn Rose VersaFine Clair ink pad.
Not pictured: die cut a piece of sparkly white cardstock with the same boo sentiment. If desired, also die cut scrap cardstock twice with the same sentiment. Glue the sparkly white cardstock behind the boo sentiment so that the white sparkly cardstock peeks out on the side (like a shadow).
If adding the two layers of scrap cardstock layers behind the sentiment, trim the second o (the one on the right side) off both layers so that when it gets glued onto the wreath, it lays flat.
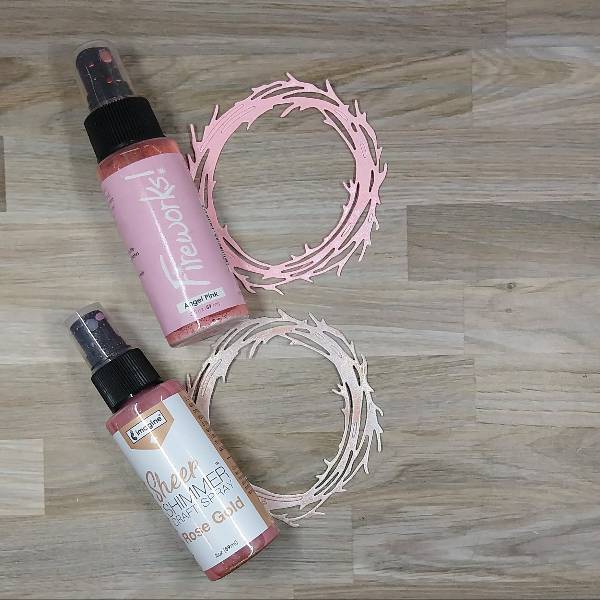
Step 5: Die cut the wreath twice–once out of watercolor paper and once with more of the white sparkly cardstock. Spray the watercolor paper wreath with Angel Pink Fireworks! Shimmery Craft Spray and the white sparkly cardstock wreath with Rose Gold Sheer Shimmer Craft Spray. Set aside to dry.
Step 6: Die cut another piece of watercolor paper with a smaller panel die cut. Roughly ink blend the panel with more of the Lilac Bloom VersaFine Clair ink. Then swipe the panel with the ink pad in a variety of directions and the edges of the panel. Add Clear Mboss embossing powder to the edges fo the panel and heat emboss.
Step 7: Add a piece of patterned washi tape to a piece of scrap cardstock and die cut with a larger panel die cut. (If you don’t have washi tape, use patterned paper or a colored piece of cardstock.)
Step 8: Run the smaller card panel through the die cutting machine with the plate die to add some additional texture.
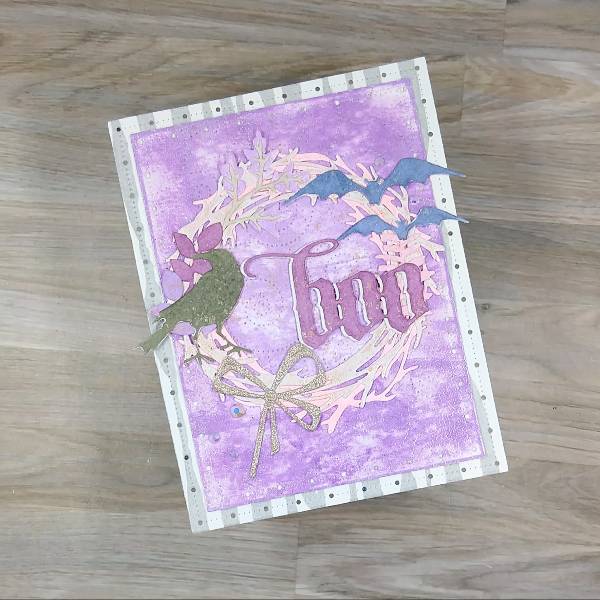
Step 9: Glue all of the die cut elements together. Start with the two wreaths, with the pink layer underneath the rose gold sparkly wreath on the top, making sure they are off set. Then glue the leaves, the crow and the bats along the wreath. The bow is glued down on the lower left part of the wreath. Glue the wreath onto the purple panel. The sentiment was glued down next. Gle the whole panel onto the larger, washi tape panel. Then splatter the whole thing with more of the Rose Gold Sheer Shimmer Craft Spray. Let dry.
Step 10: Glue the frame gems on the lower left and upper right parts of the panel.
Step 11: Glue the whole thing onto an A2-sized gray cardbase.
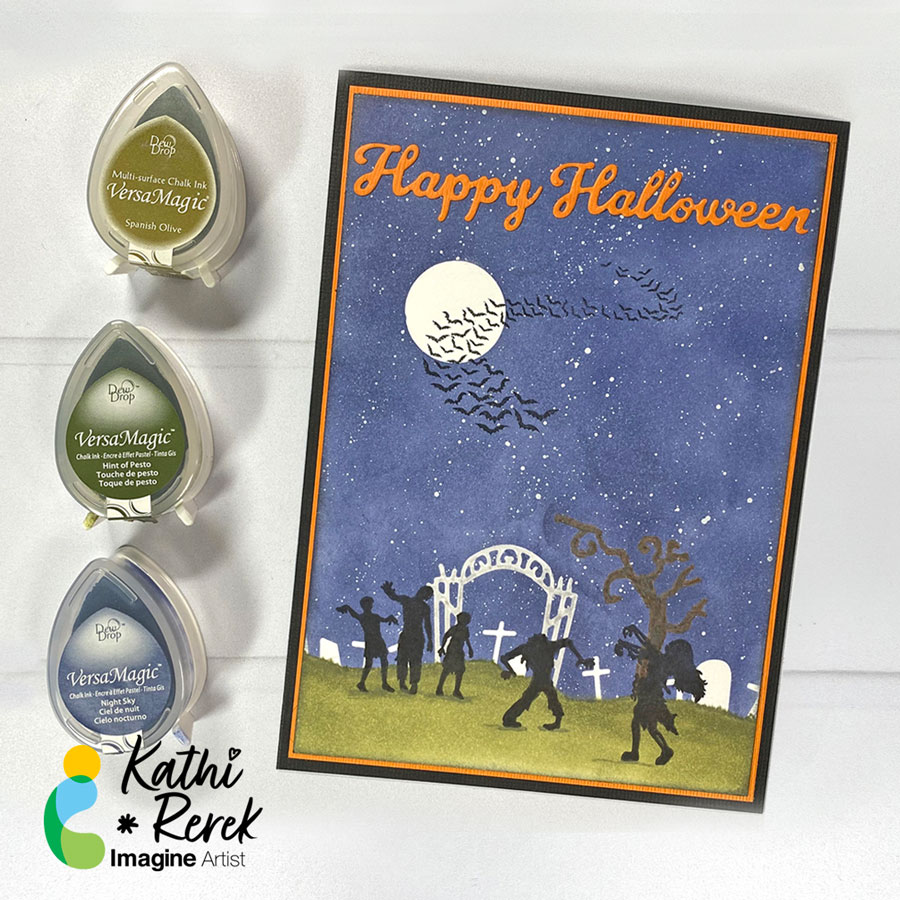
I might be an introvert, but I do love to make scenes — in card form. Here’s a Halloween card created with VersaMagic and VersaFine Clair inks, stamping, and some die-cuts.
Skill Level: Intermediate Time: 1.5 hours
Instructions:
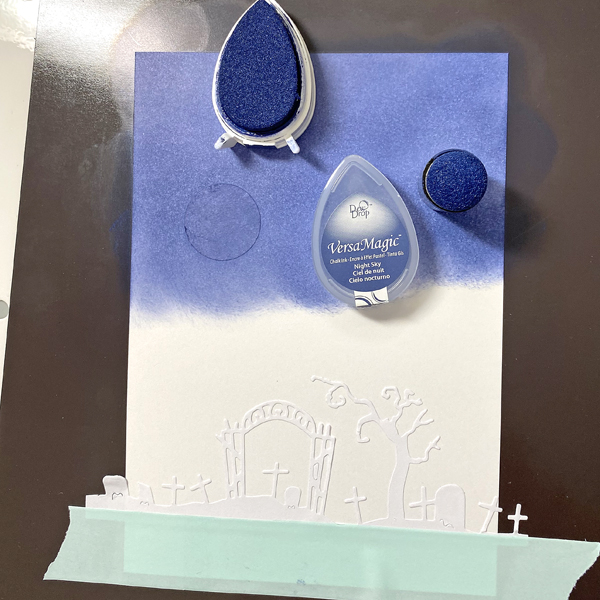
Step 1: Cut a piece of Bristol paper to 4.75” x 6.75”. Use the Boneyard Edgers die to cut removable sticker paper and place along the bottom of the image panel. Place low tack tape below it.
Use the 1” circle punch to punch the sticker paper and adhere it to the upper left hand side as shown.
Step 2: Use a Sponge Dauber to apply Night Sky VersaMagic Ink over the masked images onto the background. Heat set.
Step 3: Spray a little water into a small container. Squeeze a few drops of Moonlight White VersaMagic Re-inker into the pot. Use a paint brush to mix the water and the ink. Tap the inky paintbrush over the night sky background to add splatter to look like stars.
Step 4: Remove the sticker masks from the moon and from the cemetery.Smoosh the Jumbo Java VersaMagic Dewdrop Inkpad onto a piece of acetate. Lightly mist with water. Use a paintbrush to paint the tree in the graveyard. Heat set. Clean and dry the acetate.
Steps 5A and 5B: Smoosh the Hint of Pesto VersaMagic Dewdrop Inkpad onto the cleaned piece of acetate. Lightly mist with water. Use a clean paintbrush to apply green ink at the top of the hill below the tombstones, crosses, gate, and tree (5A). Use a Fantastix to apply Spanish Olive VersaMagic Ink to blend this lighter ink below the ink applied in Step 5A. Continue apply the Spanish Olive Versa Magic Ink horizontally to fill in the base of the card and create the cemetery lawn. Heat set the image panel.
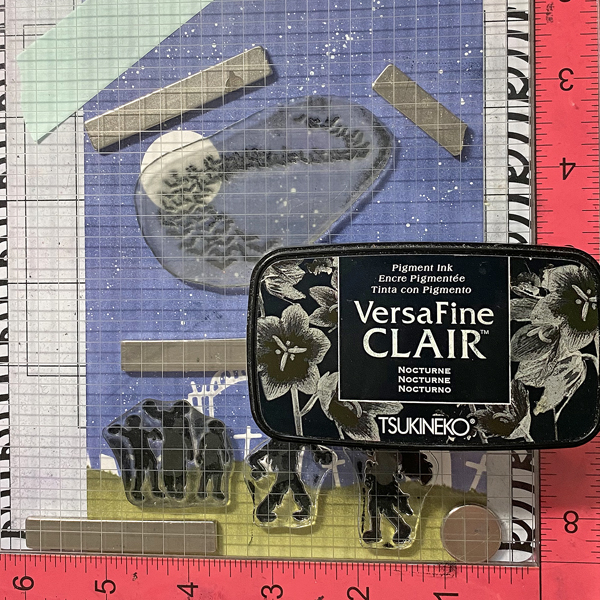
Step 6: Place the image panel onto the base of a stamping platform secured with magnets and low-tack tape.
Position the clear Zombie stamps from the Zombie Party Clear Stamp Set facedown as desired on the cemetery lawn. Position the Bat Colony Clear Stamp facedown over the moon and sky.
Press the platform’s base onto the back of the stamps. Lift. Ink the stamps with Nocturne VersaFine Clair Ink and stamp. Re-ink and stamp if necessary to attain solid black images. Heat set the panel.
Step 7: Trim the image panel to 4.625” x 6.625”. Use Nocturne VersaFine Clair Ink to edge the image panel. Cut a piece of orange cardstock to 4.75” x 6.75”. Sorry that there’s no photo.
Step 8: Apply Tear It! Tape to cover the reverse of a piece of orange cardstock. Use the “Happy Halloween” sentiment dies to cut orange cardstock. Remove the tape’s backing and adhere the sentiment as shown.
Step 9: Use Tear It! Tape to adhere the layers of the card.
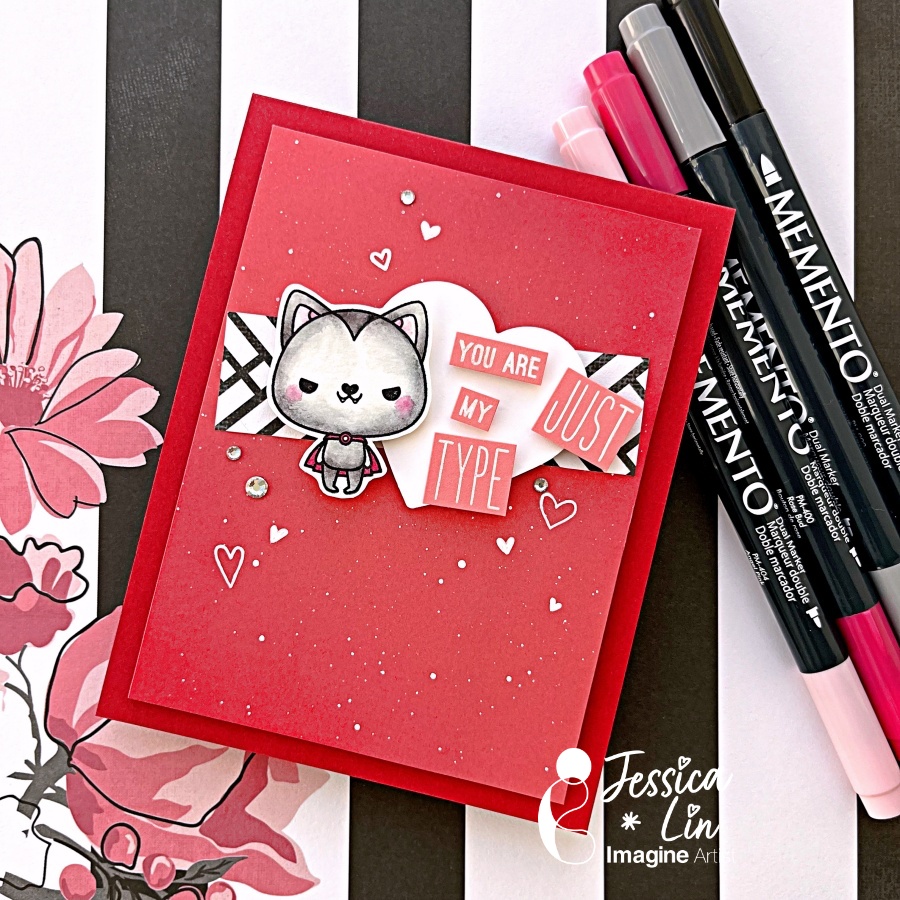
Hi everyone! It’s Jessica here and welcome back to another card tutorial. Have you sent Halloween cards to others before? Even though I have created some in the past, I found that I don’t usually send or hand deliver them. So this year, I decided to add a different twist and create a Halloween themed Valentine’s card!
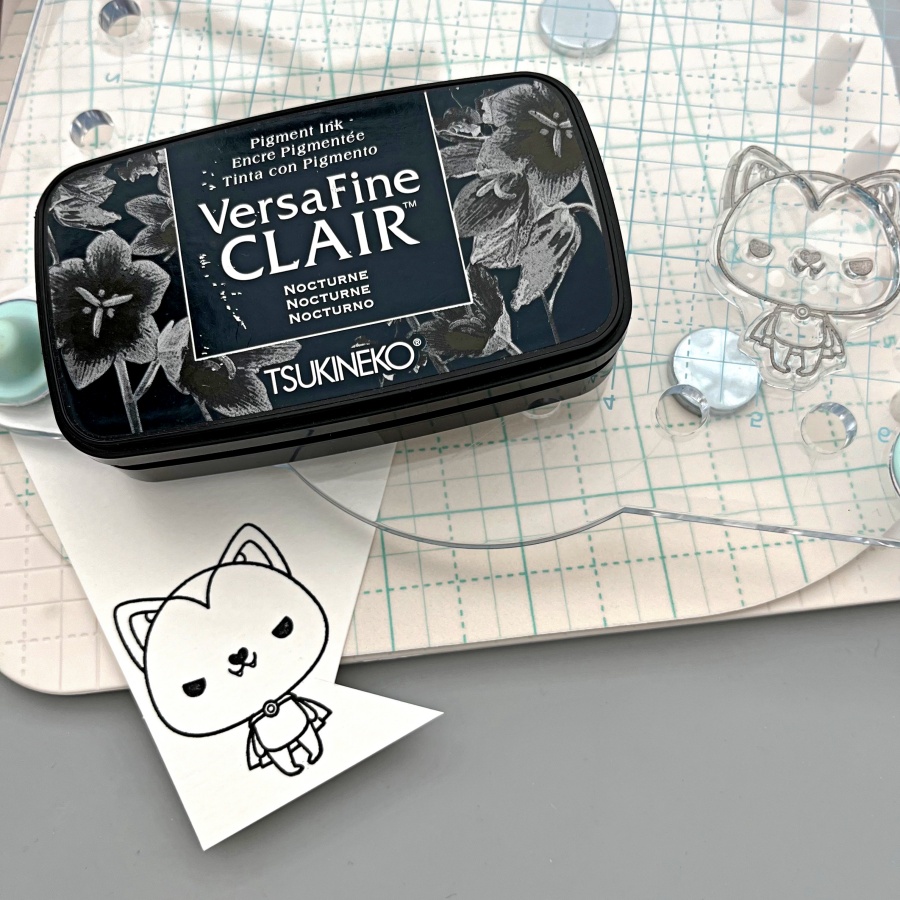
Step 1: Stamp the cute Vampire image from Mama Elephant’s Meowlloween stamp set. I want to watercolor the image today so I used VersaFine Clair ink with watercolor cardstock.
Step 2: Color the image with Memento markers and a water brush. I scribbled the ink on an acrylic block and picked up colors with my water brush, but you could totally use the craft mat as the paint palette. The colors I used today are Angel Pink, Rose Bud, London Fog and Tuxedo Black. These four colors are actually sold in a set as well called Girls’ Night Out. For full color saturation, you can draw directly onto the paper. I used the fine tip end of the Rose Bud Memento marker to color in the cape. (You can see the fine lines beside the image when I was testing out the color). After coloring, I fussy cut the image with my scissors.
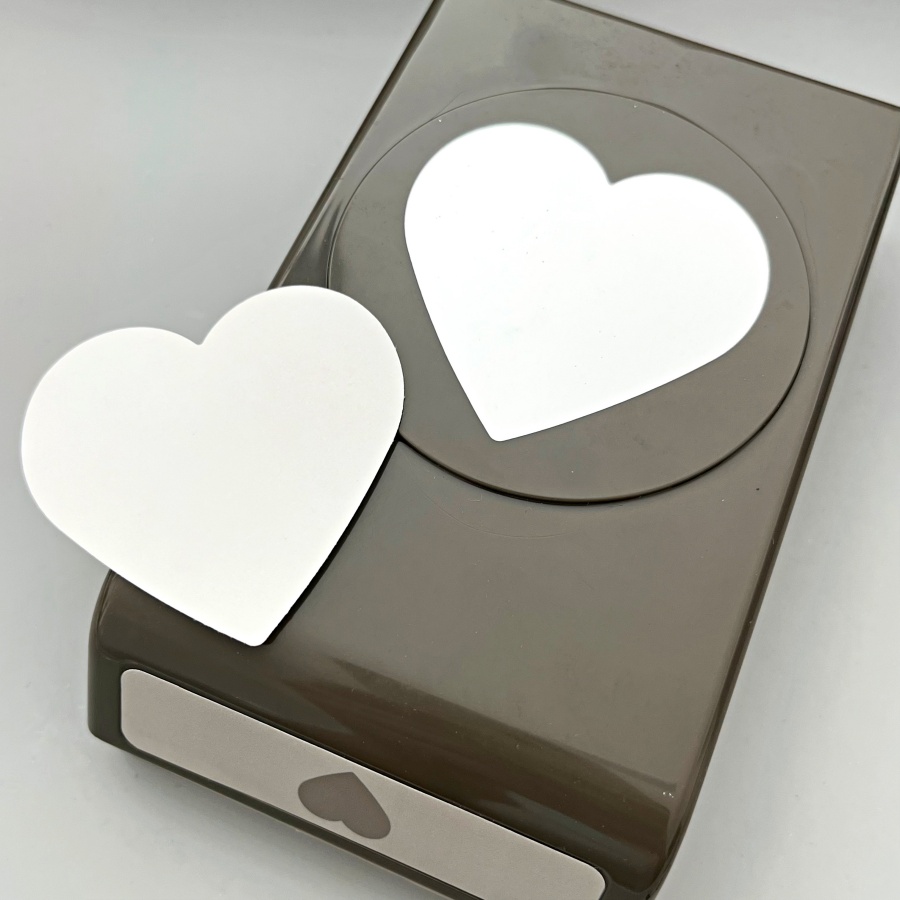
Step 3: For a beginner’s project, I opted out using a die-cutting machine and used a heart punch instead. This punch from Stampin’ Up! is a decently large size and super versatile.
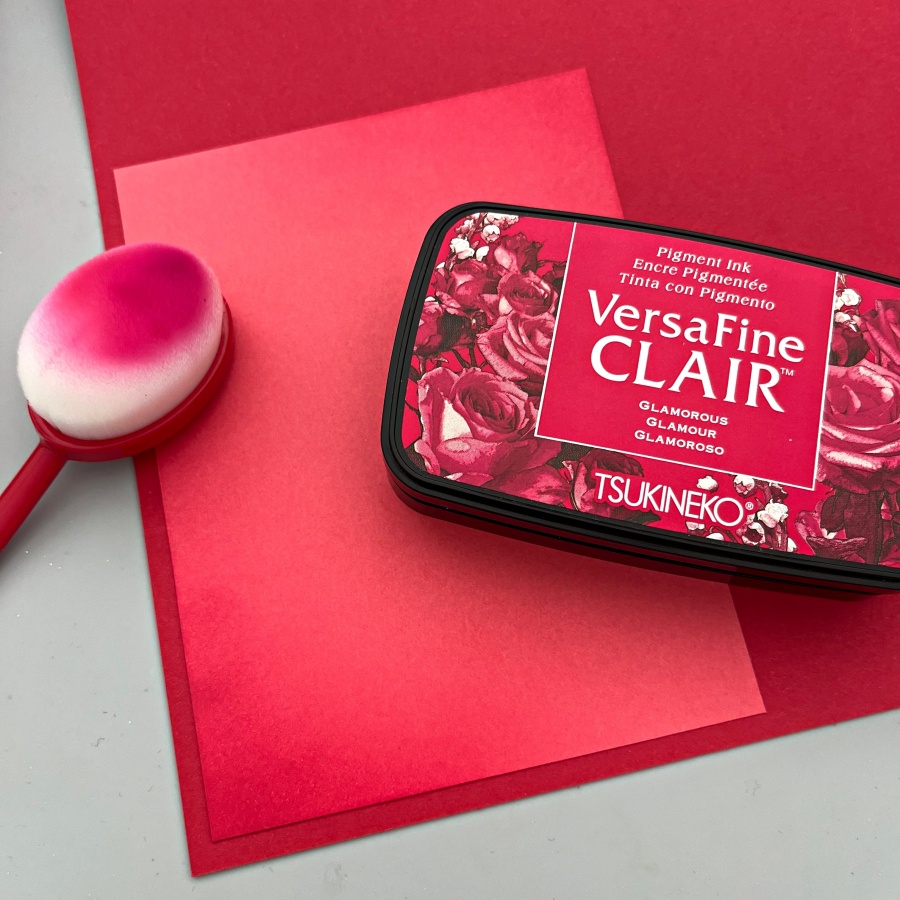
Step 4: Since the background is plain and simple, I decided to ink blend the top right and bottom left corners of the card front. Versafine Clair Glamorous is the perfect shade and you can see the difference between the ink-blended and non ink-blended corners.
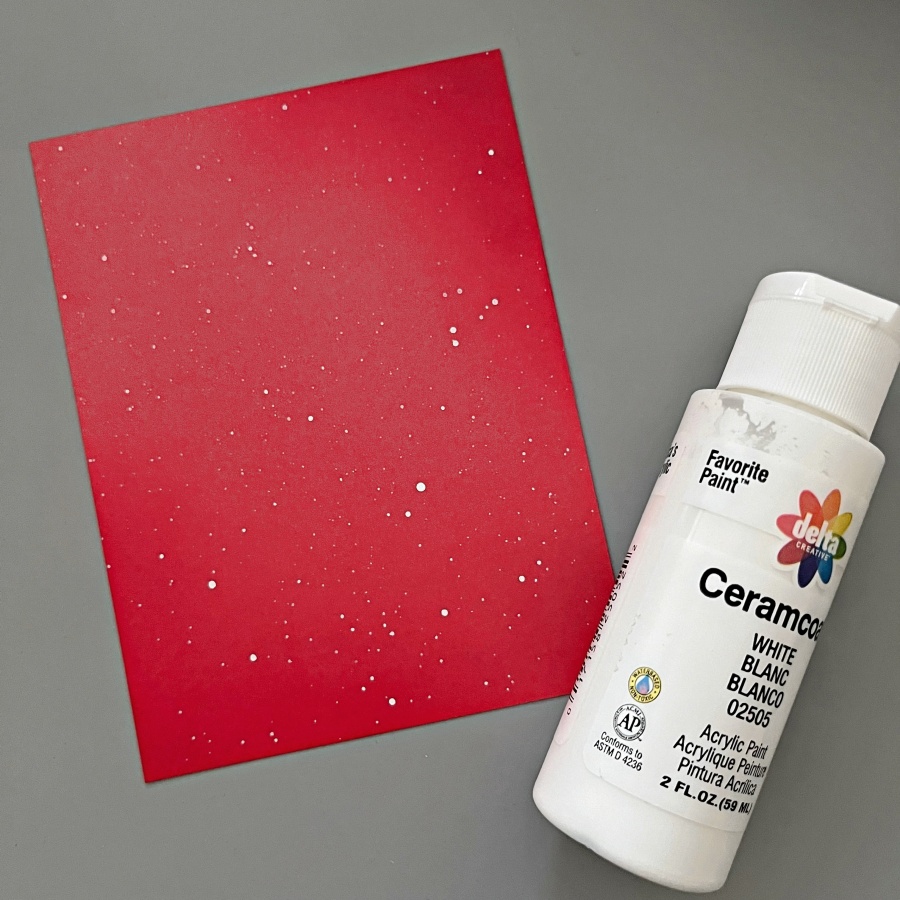
Step 5: Ink splatters is the secret to elevate a card quickly. I splattered white acrylic paint across the card front to add more interest to the background.
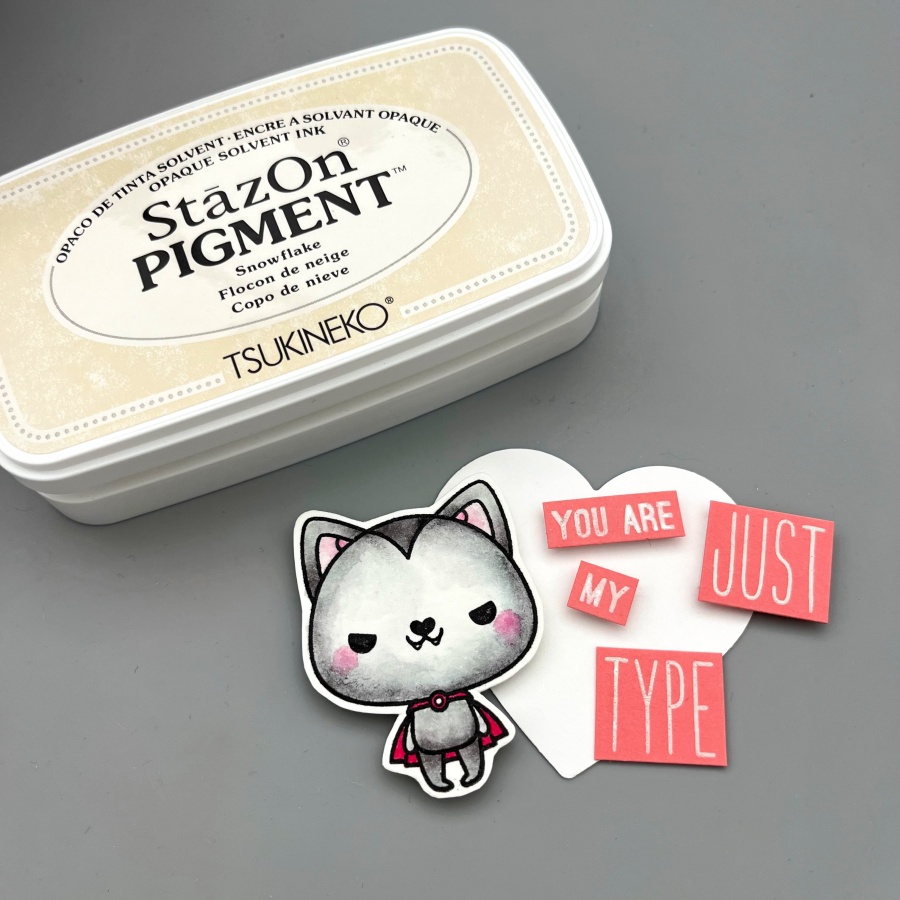
Step 6: Finally, I stamped the sentiment with StazOn Pigment Snowflake ink. I used words from several stamp sets and built my own using Lawn Fawn’s Milo’s ABCs as well.