Personalized Stamped Canvas Tote Bag

By Helen Gullett –

Hello crafty friends! I am a big fan of tote bags. I love it for its multi-purposes and is big enough for carrying stuff. I always wanted to personalize my own tote bag. I am so glad that Imagine carries these amazing VersaCraft Ink Pads and Fabrico Markers for fabric projects. So, today we are going to personalize a tote bag together. Let’s get crafting!

Skill: Beginner
Time: 15 minutes

Direction:
Step 1

You are gonna need a blank canvas tote bag that can be found easily in any craft stores and online stores. The tote bag I used today is about 13 inch x 15 inch.

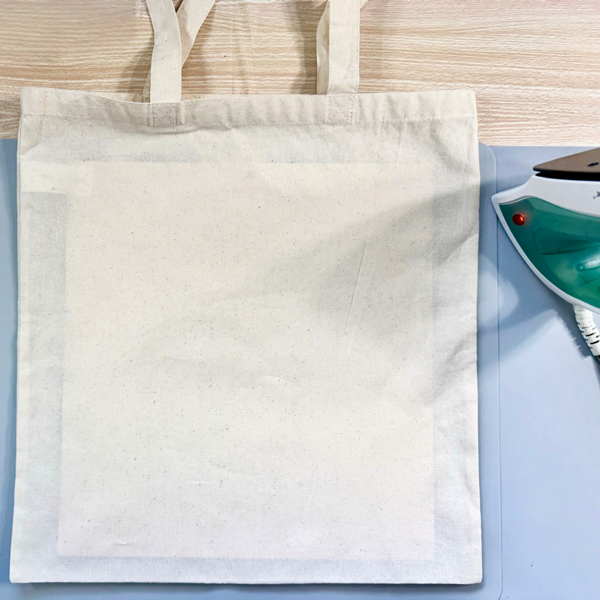
Lay it flat on the ironing mat and iron the tote bag to remove the wrinkles. I pre-washed the bag, but it is an optional step if you want to do it.

Put a piece of cardboard or cardstock inside the bag that is big enough to cover the area where you will stamp or paint or draw. Secure it with some  washi tapes or any low-tack tapes.
Step 2

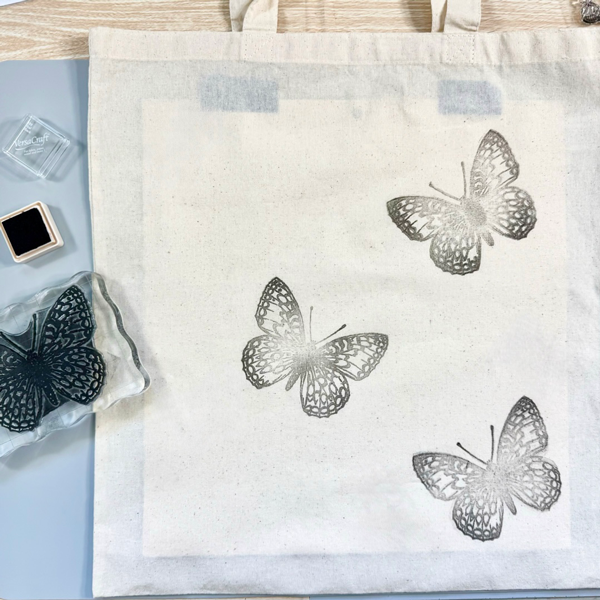
Start stamping the tote bag with the largest image.

Put the largest butterfly on a stamping blog and cover it with the VersaCraft Real Black ink. Stamp it on the tote bag and press it firmly for a few seconds.

I used the “rule of three” to position the butterflies, from here I can fill the empty spaces to build up the pattern.
Step 3

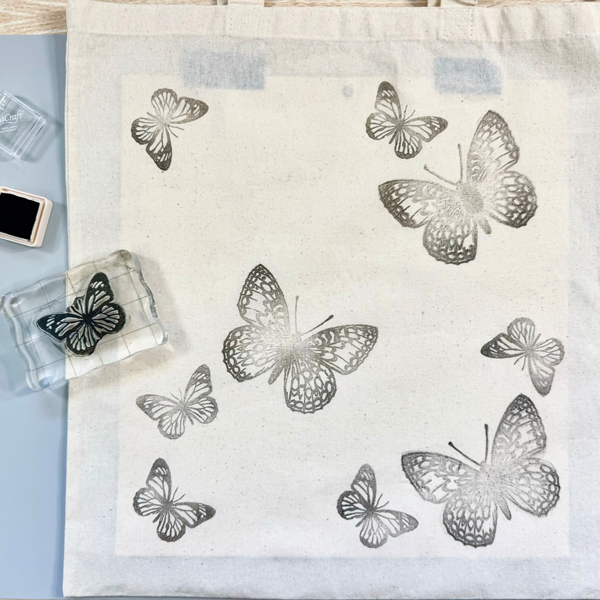
Next is stamping with the second largest image.

Put the stamp on a stamping blog and cover it with the VersaCraft Real Black ink around the big butterfly. Stamp it on the tote bag and press it firmly for a few seconds.
Step 4

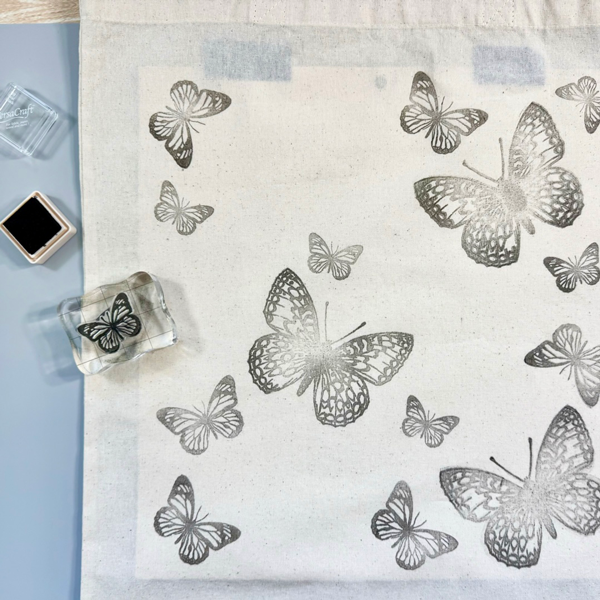
Next is the smallest size of the stamp to fill up the rest of the empty space. You will start to see the full pattern on the bag.

Put the butterfly stamp on a stamping blog and cover it with the VersaCraft Real Black ink. Stamp it on the tote bag and press it firmly for a few seconds.

If you plan to have some sentiment or words like I did, make sure you have space for it.
Step 5

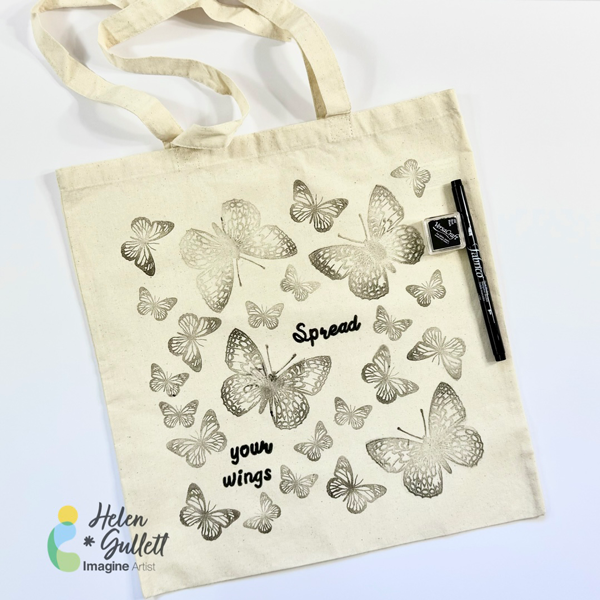
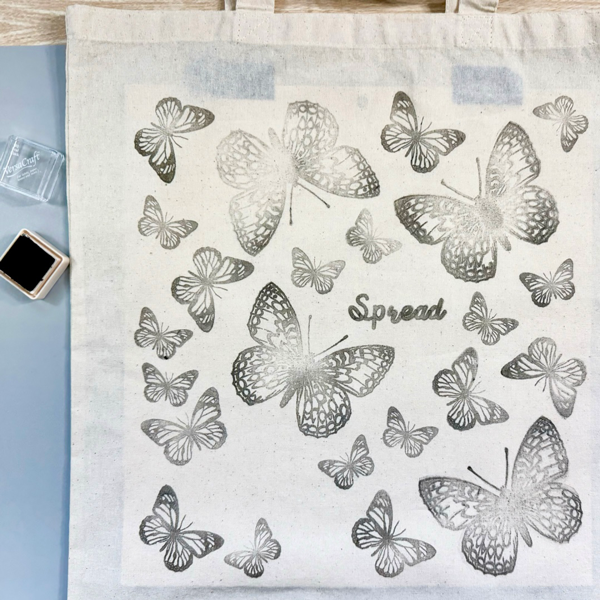
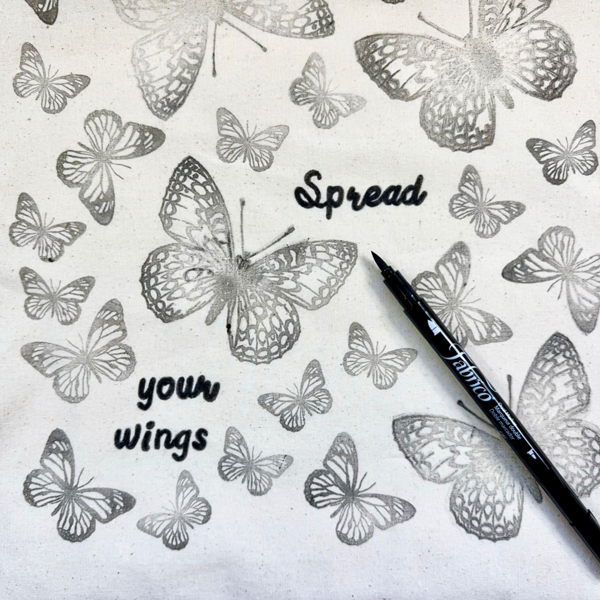
I picked the phrase “Spread your wings” to be on my canvas tote bag.

Stamp each letter from the alpha stamp set with VersaCraft Real Black ink pad.
Step 6

Trace the letters with Fabrico Real Black Marker for bolder print on the canvas tote bag.
Step 7

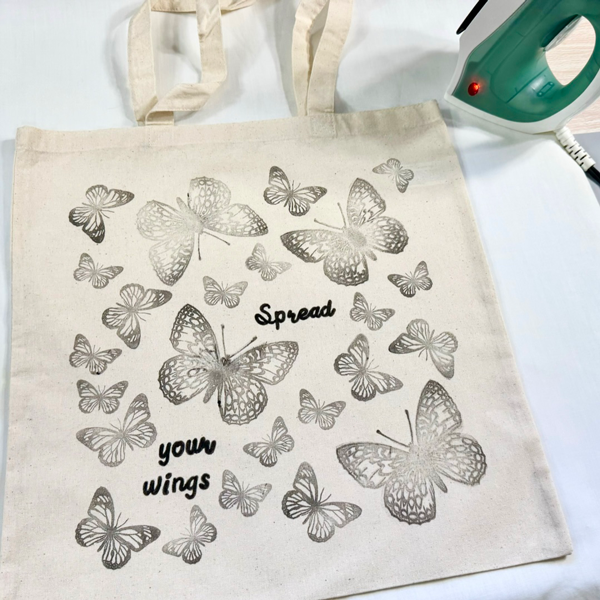
This final step is optional. You can use an iron to set the ink to the canvas tote bag. But without ironing, the ink will dry permanently in 24 hours (do not get it wet).

I would suggest spot-cleaning the bag, or hand-washing it if the bag gets dirty.
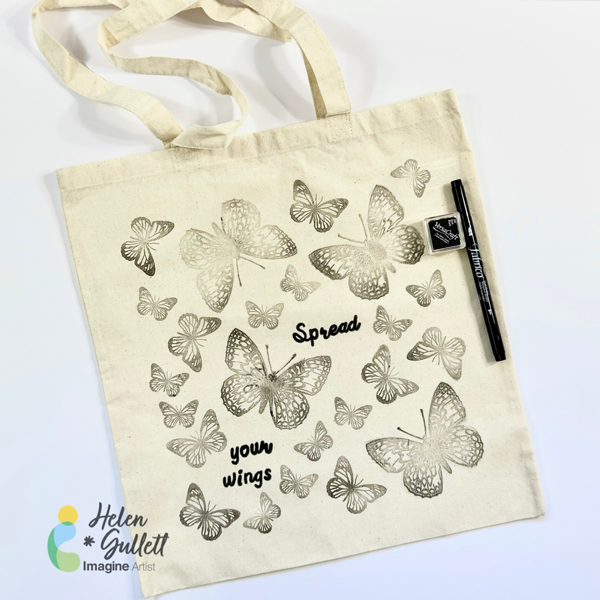
I hope you will give this technique a try and play around with different colors. This personalized tote bag can be made for your own use or as a gift for others.

Thanks so much for stopping by our blog today.

Craft Supplies

Imagine Crafts:

Others:

Let’s Make a Cool 4th of July Celebration Card

By Anna Escalada York

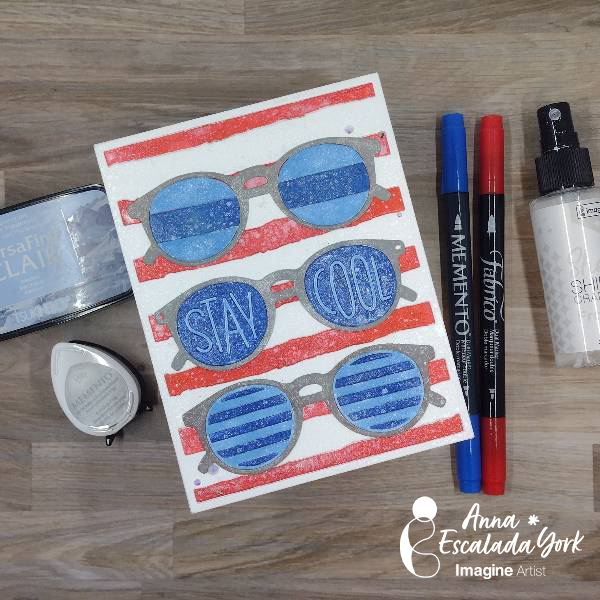
– Summertime means wearing sunglasses here in the Pacific Northwest and getting ready to spend time out of doors! I wanted to celebrate the return of the warm sun and the 4th of July with this red, white and blue card that could be used anytime during the summer. 

Skill: Intermediate 
Time: 1.5 hours 

Directions: 

Step 1: 
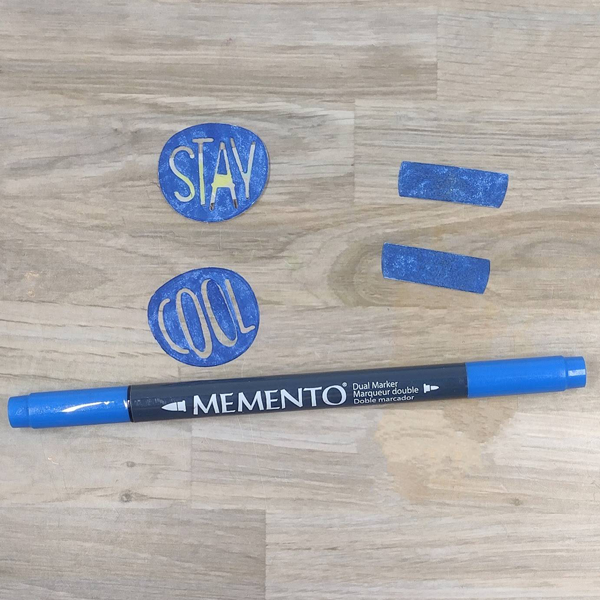
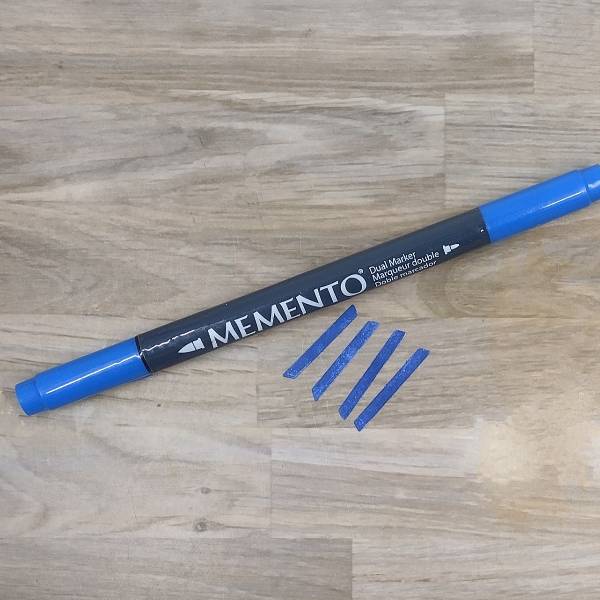
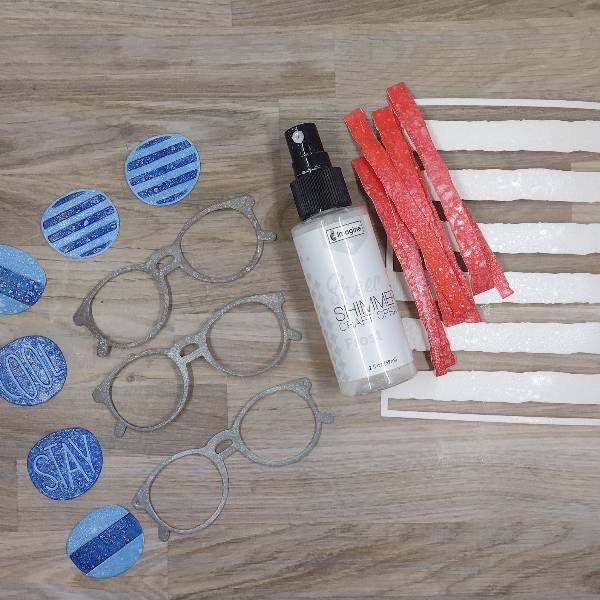
After die cutting the three pairs of sunglasses as well as their lenses (which are separate in the die set), color part of the lenses’ elements with Danube Blue Memento Dual Marker. 

Step 1.5: 
Remember that you need to color all of the parts of the lenses that you intended to color with the Danube Blue Memento Dual Marker. (Whoops!) 

Step 2: 
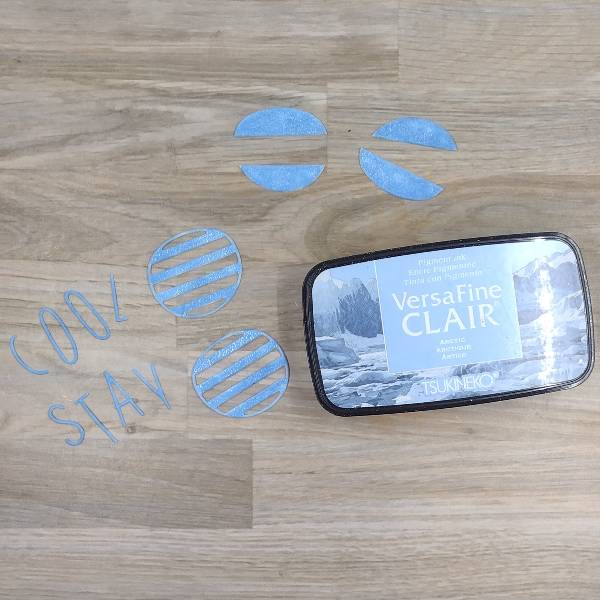
Press other parts of the die cut lenses into the Arctic VersaFine Clair ink pad. Heat emboss the larger die cuts with clear embossing powder if desired. (I chose not to heat emboss the letters since they were so small.) Then assemble all of the lenses using washi tape on the back of each lens to hold the pieces together. 

Step 3: 
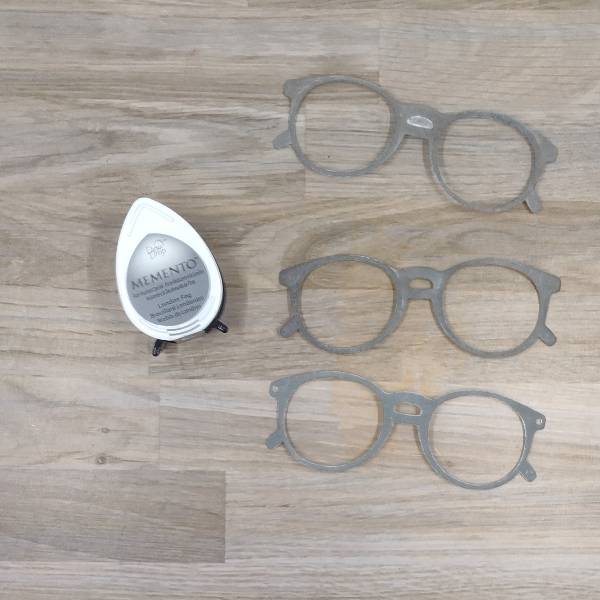
Press the three die cut sunglass frames into the London Fog Memento ink pad. 

Step 4: 
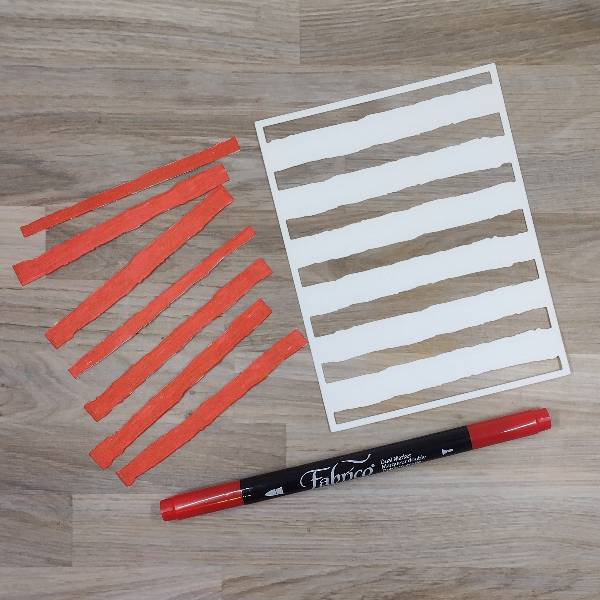
After die cutting the striped background panel, color the stripes with Poppy Red Fabrico Dual Marker 

Step 5: 
Spray all of the components of the card–the sunglass frames, the lenses and the striped background panel–with Frost Sheer Shimmer Craft Spray and allow to dry. 

Step 6: 
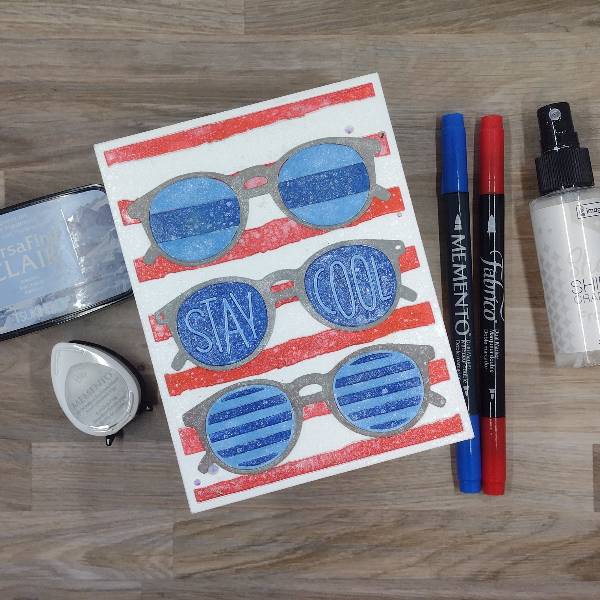
Assemble the card. Adhere the striped panel to an A2 white card base, then inlay the red die-cut stripes. Then glue the three frames onto the panel and inlay the frames into the frames. Glue clear rhinestones on the lower left and upper right part of the card to finish the card. 

Art Supplies 

Imagine 
Fabrico Dual Marker – Poppy Red 
Memento Dual Marker – Danube Blue 
Memento Ink – London Fog 
Sheer Shimmer Craft Spray – Frost 
VersaFine Clair Ink – Arctic 

Other 
Concord & 9th – die set – Spectacular Shades 
Crafty Meraki – rhinestones – Meraki Sparkle Magical Iris 
Honey Bee Stamps – die set – Watercolor Lines Coverplate 
Clear Embossing Powder 
Heat tool 
Glue 

Let Freedom Ring Invitation Tutorial

By Ceal Pritchett –

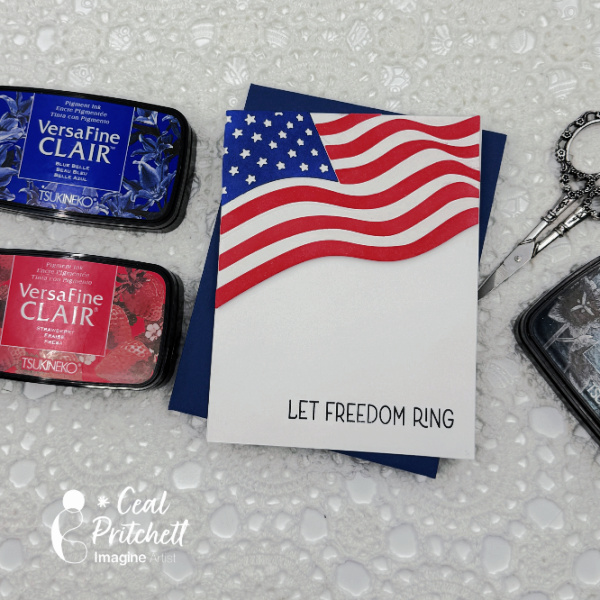
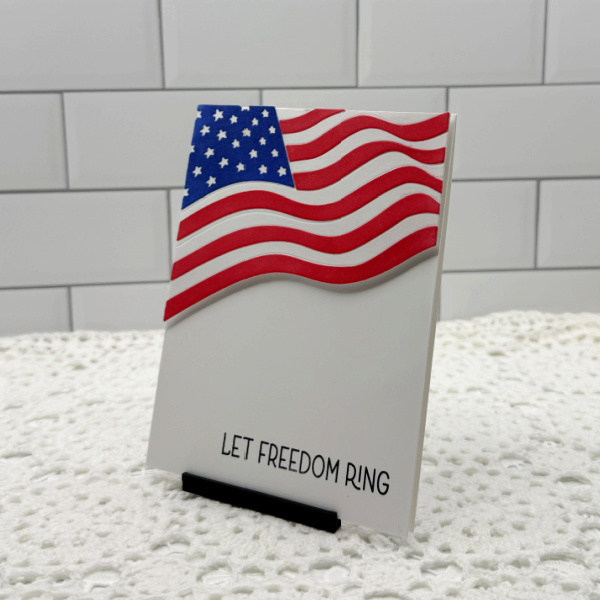
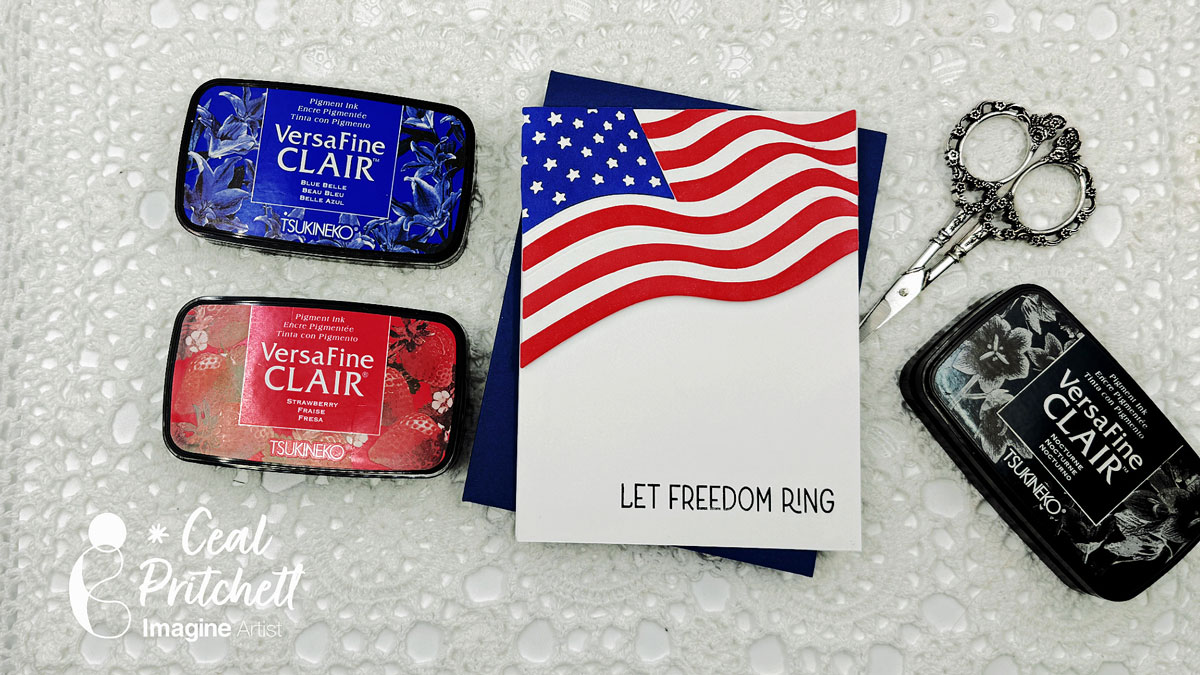
Hello crafty friends! It’s Ceal, here. – Today I am sharing this card for Independence Day. I throw an Independence Day celebration at my home each year and I send out invitations. This is my invitation for this year.

Skill: Beginner to Intermediate
Time: 30 minutes

Directions:

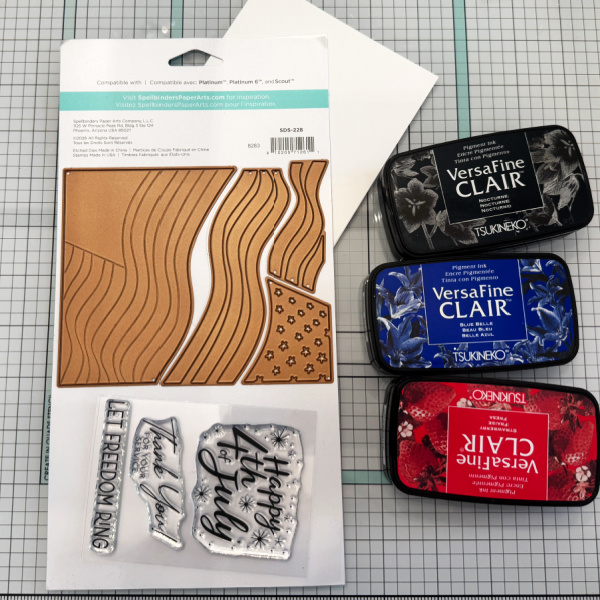
Gather your supplies, you will need a flag die cut set and red, blue and black inks, stamping platform, a grip mat and a ink blending tool.

Step 1:
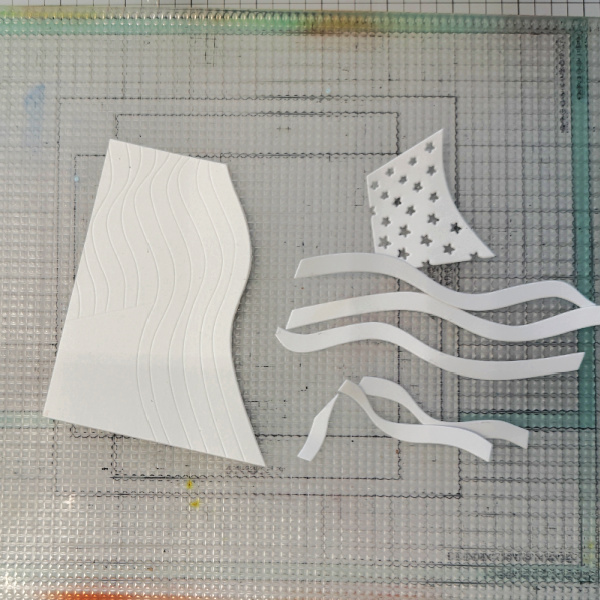
Cut out the die cut pieces.

Step 2:
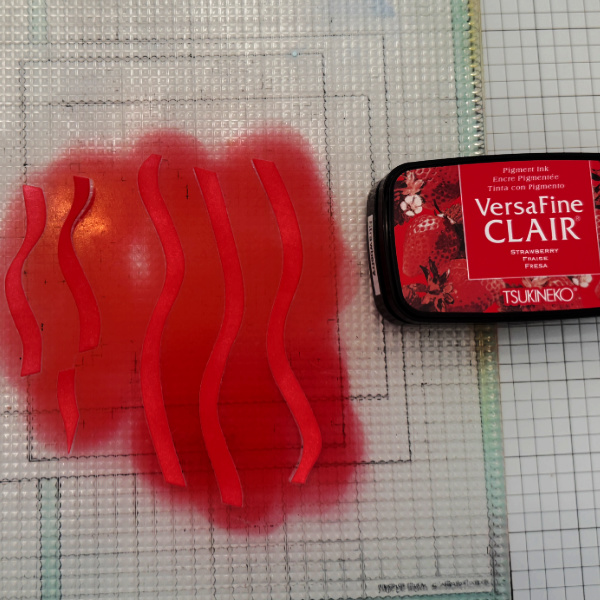
Using an ink blending tool, ink blend red ink on the strips. I used VersaFine Clair Strawberry.

Step 3:
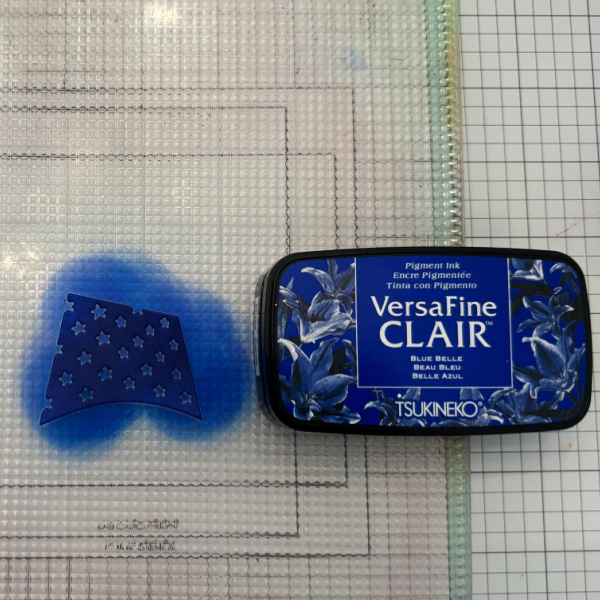
Using an ink blending tool, ink blend blue ink on the star piece, I used VersaFine Clair Blue Belle.

Step 4:
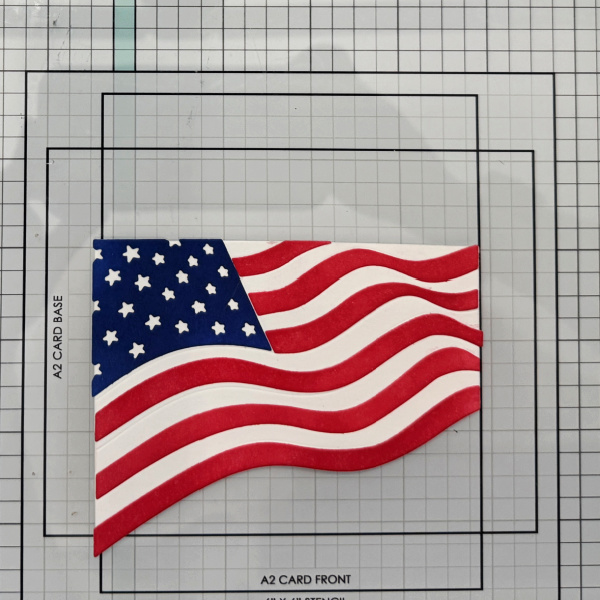
Adhere the blue star piece and the red strips to the flag panel. This panel has lines to show where to place them.

Step 5:
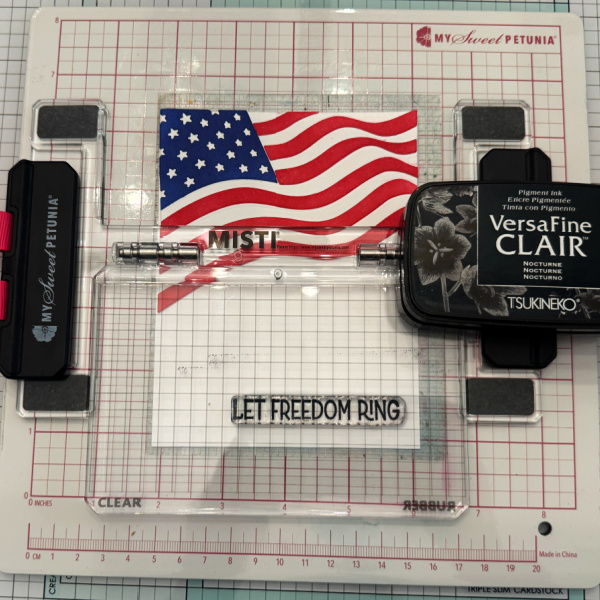
Place the white panel into the Misti Lite and stamp the sentiment at the bottom of the panel.

Step 6:
Adhere the flag to the panel that the sentiment is stamped on and adhere to card base.

Supplies:

Imagine Crafts
• VersaFine Clair
– Nocturne
– Strawberry
– Blue Belle

Other Products
• Flag Stamp & Die set – Spellbinders.
• Misti Lite – My Sweet Petunia

Create a Sweet Land of Liberty Patriotic Card

By Katy Ingram –

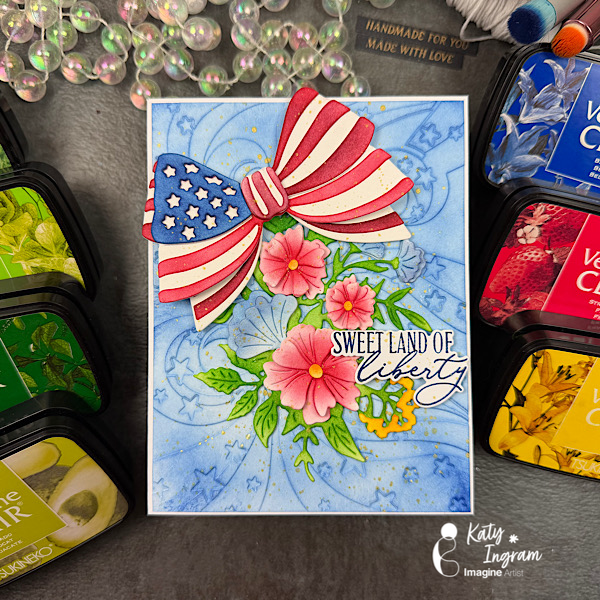
Hello Friends! Katy here with my latest video showcasing VersaFine Clair inks once again to create a floral and patriotic theme card. Video has all the details. Thanks for watching.

Skill: intermediate, advanced
Time: 15 minutes

https://youtu.be/6FPfo1V_gAM

Art Supplies

Imagine Products

VersaFine Clair inks https://www.imaginecrafts.com/versafine-clair

  • Blue Belle
  • Strawberry
  • Cheerful
  • Summertime
  • Grass Green
  • Green Oasis
  • Avocado
  • Verdant
  • Chianti

Other Products Used
100% Cotton or Watercolor Paper
The Greetery Stars & Stripes Bow Die
The Greetery Best Bouquet Details Die
The Greetery Star Stream 3D Embossing Folder
Papertrey Ink Land that I love stamp and die set
White Cardstock
Blending Brushes

Create A Festive Stenciled 4th of July Card

By Von Marie

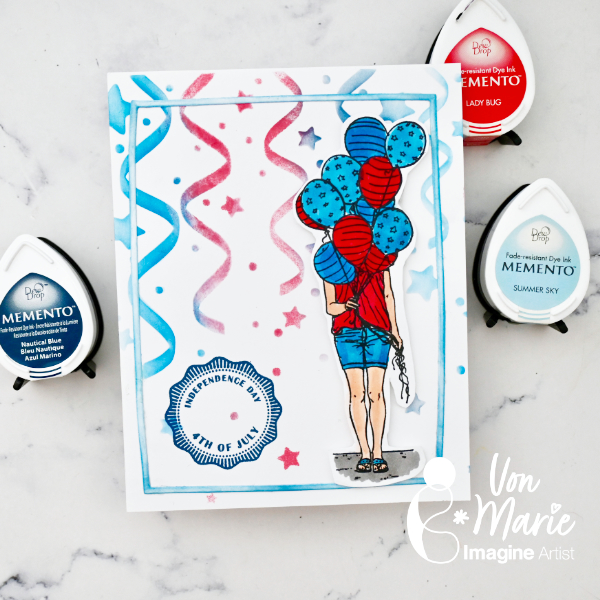
Hello everyone. Von Marie here with my latest Video.  Let’s make a festive 4th of July card.  I had a blast using Memento Dew Drop inks and stenciling. I hope you will enjoy. There will be more details in the video.

Skill: Beginner Intermediate
Time: 30 Mins

Craft Supplies

Imagine:
Memento Dew Drop (Summer Sky, Lady Bug, Nautical Blue, Tuxedo Black)
Sponge Daubers With Caps
Craft Mat

Other Supplies:
Cardstock
A2 Card base 4 ¼ x 5 ½
A Colorful Life Designs Star Streamers Stencil 
Colorado Craft Company Red, White, and Blue
Copic Markers R29, R46, B14, B06, T3, E01, E11
Scissors
Foam Tape
Rectangle die
Cardstock
Blending Brushes

You can also make any other celebratory card using some of the similar products used on this card. Use different colors and have fun.

Thank you so much for watching.

~Von Marie~

IG https://www.instagram.com/vonmariedesign/
YT  https://www.youtube.com/channel/UCZHdG46g2ORqLqdLjjlGzVA
FB https://www.facebook.com/von.marie.50?mibextid=wwXIfr&mibextid=wwXIfr
BLOG https://vonmariedesign.blogspot.com/

Create a Wedding Card with Gender-Neutral Color Palette 

By Jessica Lin –

Skill: Intermediate 
Time: 1 hour 

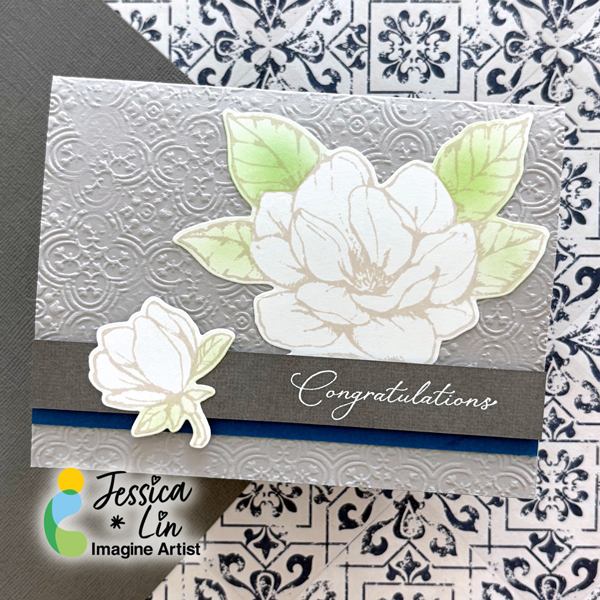
Hi everyone! It’s Jessica here. Wedding season is right around the corner, so I wanted to share a wedding card idea that features a gender-neutral palette. I often struggle with cards that are for male recipients, but this color combination I have in mind today is less-feminine and perfect for the groom. 

Step 1:
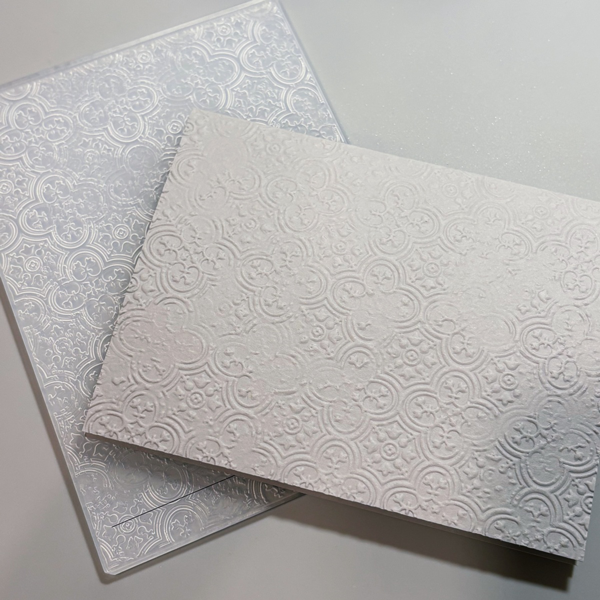
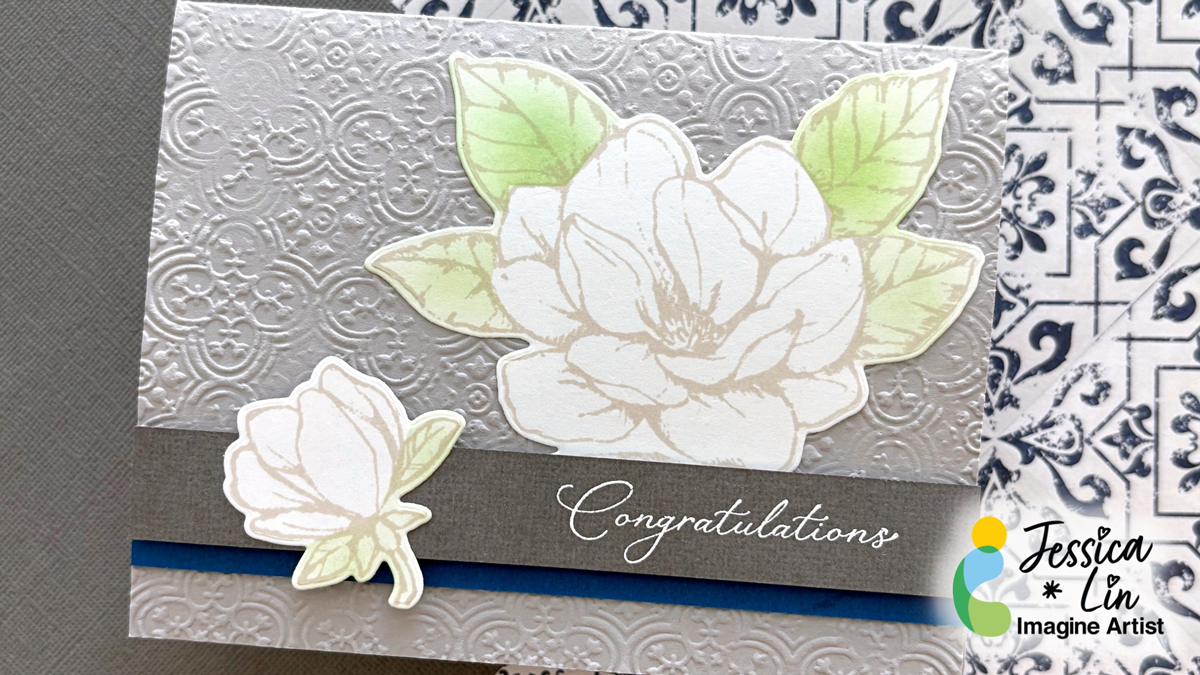
Trim a piece of DCS Dolphin Gray cardstock to 5 ½’’ x 8 ½’’ and score in the middle at 4 ¼’’ to create the card base. Cut CardStock offers many beautiful shades of gray cardstock; I chose DCS Dolphin Gray because it is a nice weight of cardstock that can still be easily embossed. The embossing folder I used here is called Distressed Tile by Stampin’ Up. 

Step 2:
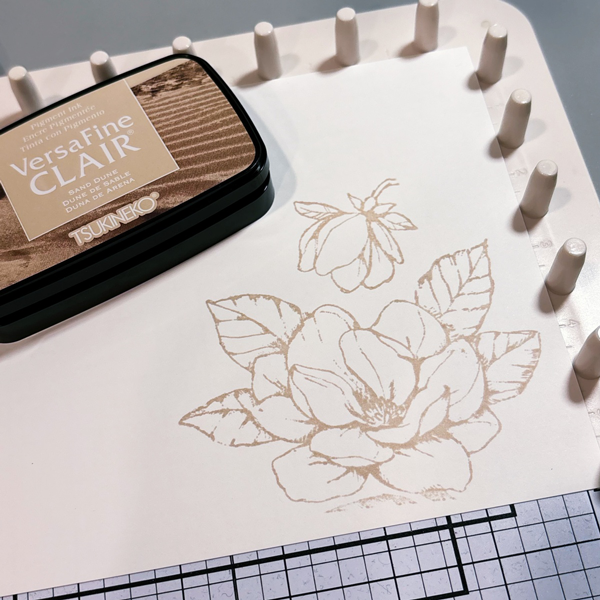
Next, stamp the focal image with VersaFine Clair Sand Dune ink on Classic Crest Solar White cardstock. VersaFine Clair Sand Dune has been a new favorite ink of mine for outline images; I used to only stamp the outlines with VersaFine Clair Nocturne ink, but this Sand Dune color is such a great neutral alternative. This large and elegant flower is from the Good Morning Magnolia stamp set. 

Step 3:
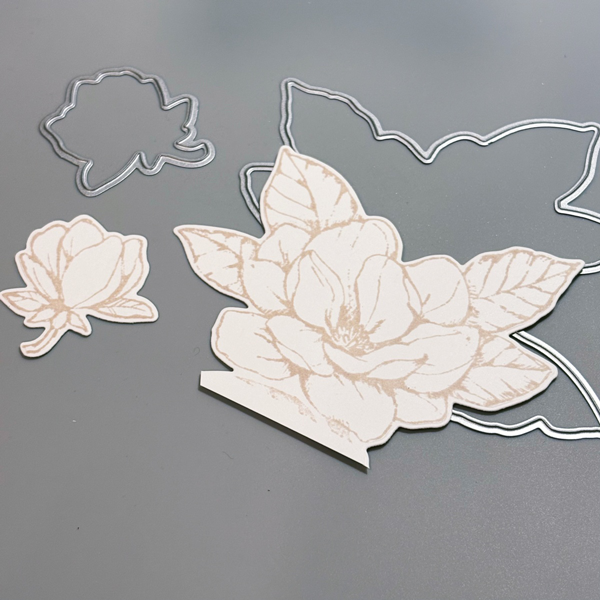
After stamping, die cut the images with the coordinating dies. 

Step 4:
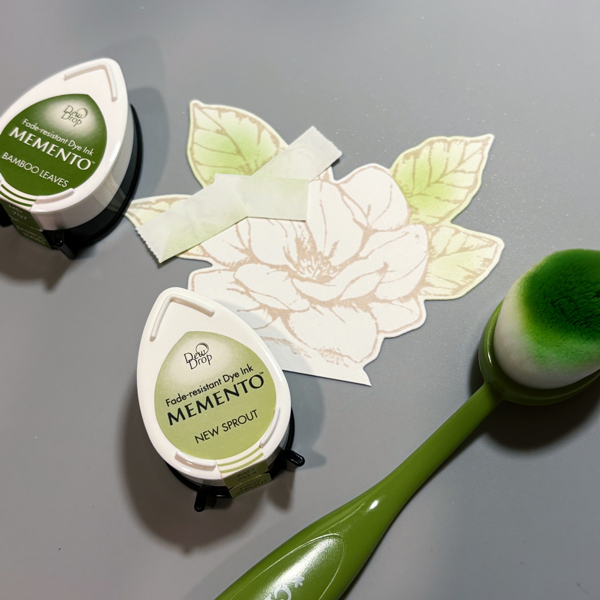
I decided to ink blend on the leaves to add some color. Since the flower petals are large, they were easy to mask off. Classic Crest Solar White cardstock is ultra smooth and ink blends beautifully with Memento New Sprout and Bamboo Leaves inks. 

Step 5:
Then, trim DCS Canvas Textured Lava Stone Gray cardstock to a ¾’’ x 5 ½’’ strip, and heat emboss on the smooth side. The darker shade of gray really makes the sentiment stand out. 

Step 6:
Finally, add a strip of DCS Indigo Blue for an additional pop of color. A dark green cardstock would actually look great, too. Adhere all of the layers to complete this gender-neutral wedding card. 

Imagine Supplies: 

● VersaFine Clair – Sand Dune 
● Memento – New Sprout, Bamboo Leaves 
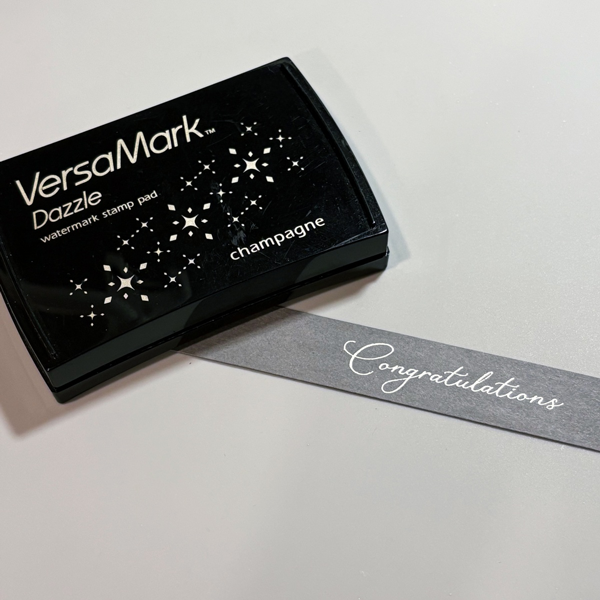
● VersaMark – Dazzle Champagne 
● Mboss – White  (retired)
● StazOn Cleaner 
● Tear-It! Tape 
● Craft Mat 

Other Supplies: 

● Stampin’ Up! – Stamps – Good Morning Magnolia 
● Stampin’ Up! – Dies – Magnolia Memory 
● Stampin’ Up! – Embossing Folder – Distressed Tile 
● CutCardStock – Cardstock – DCS Dolphin Gray 
● CutCardStock – Cardstock – Classic Crest Solar White 
● CutCardStock – Cardstock – DCS Canvas Textured Lava Stone Gray 
● CutCardStock – Cardstock – DCS Indigo Blue