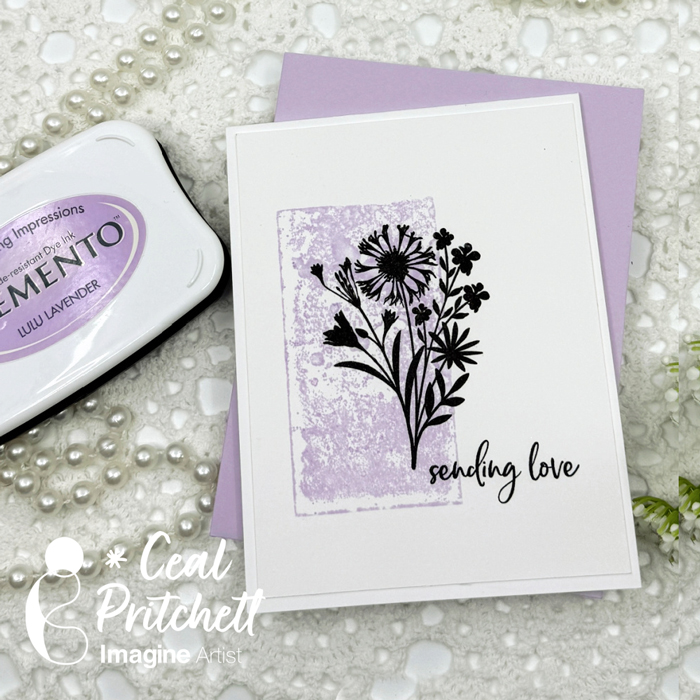
Hey there crafty friends! Hi, it’s Ceal! Today I’m sharing a simple ink technique to create a beautiful card.
Skill Level: Beginner Time: 30 minutes
Directions:
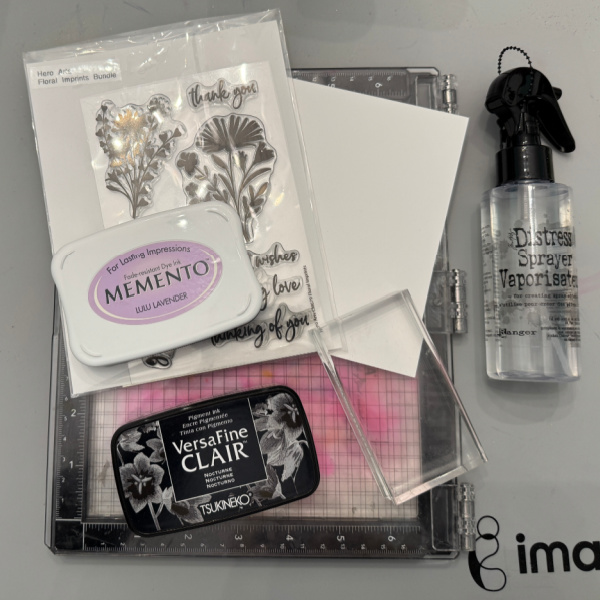
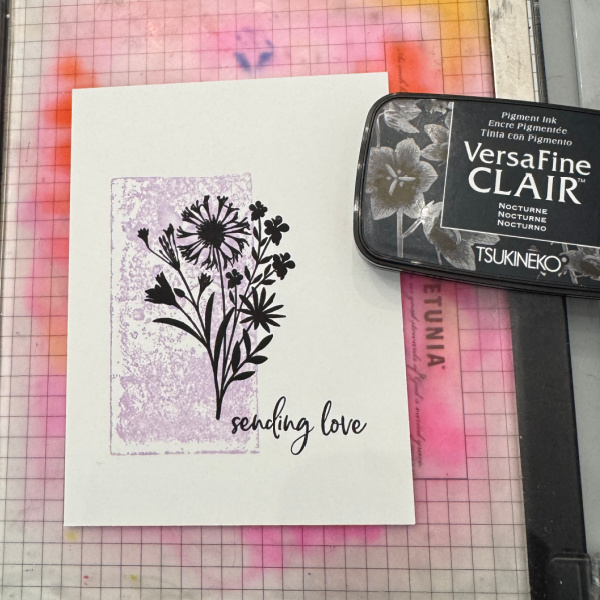
Gather your supplies. You will need an acrylic block of any size, silhouette stamp (could be any stamp but Silhouettes look best with the technique), any color of ink pad that is water based, VersaFine Nocturne ink pad and a water spritzer bottle.
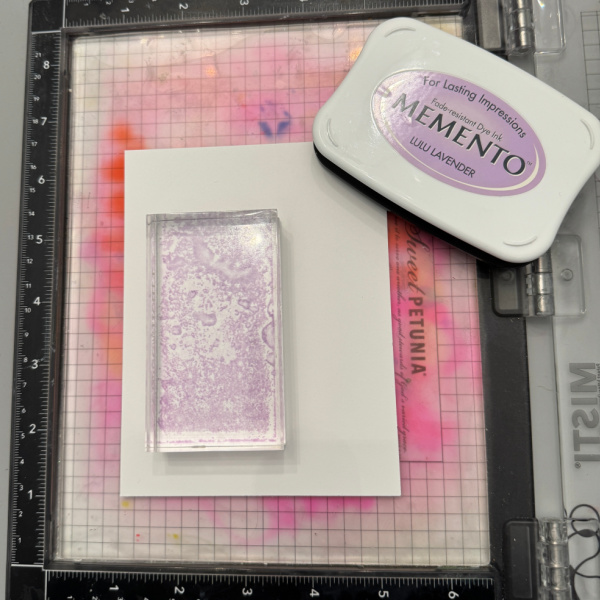
Step 1 : Ink up the block with water-based ink and spritz with water.
Step 2: Place inked block down on a water friendly panel of paper. The paper I used is Tim Holtz’ white Heavystock.
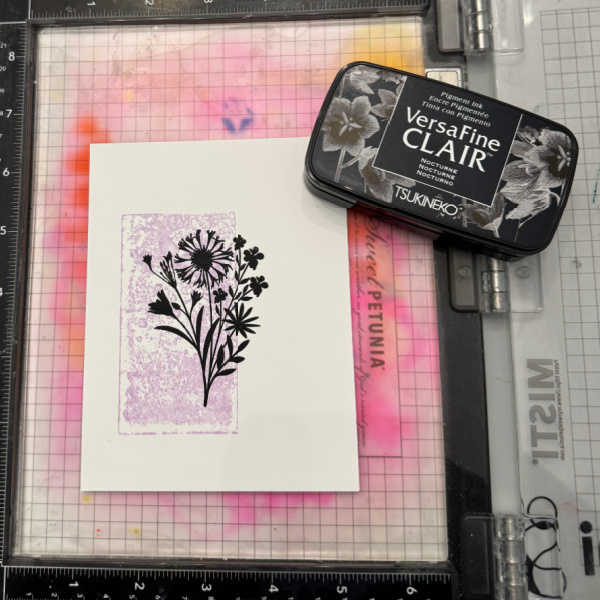
Step 3: Ink up the silhouette stamp with a black ink that gives good coverage like VersaFine Clair Nocturne and stamp image partially over the background.
Step 4: Ink up the sentiment with VersaFine Clair Nocturne and stamp to the left of the image underneath it.
Other Products Neenah Classic Crest Solar White – Simon Says Stamp White Heavystock – Tim Holtz/Ranger Floral Imprints Stamp set – Hero Arts Acrylic Block
Hello Everyone, it’s Ceal, here. Today I am sharing how to create a background using our Fireworks spray using a Gel Press plate.
Skill Level: Beginner to Advanced Time: 45 minutes to an hour
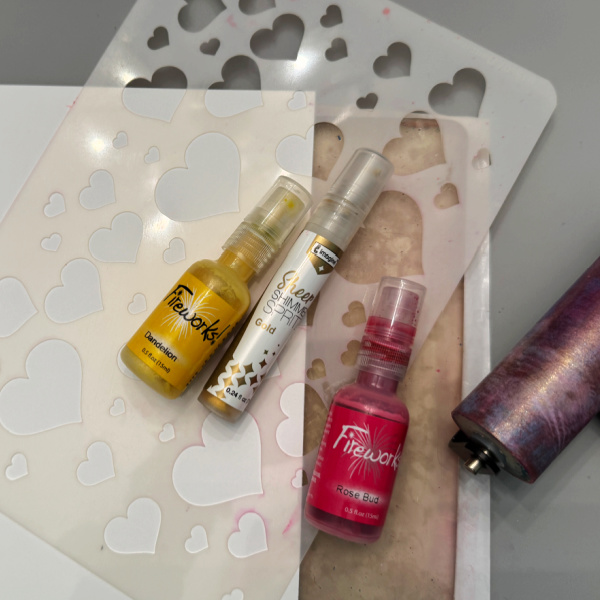
Directions: Gather your supplies. You will need some Fireworks! sprays, some shimmer spray (I used gold), a stencil, a Gel Press plate, a rubber brayer, some copy paper or cardstock (I used copy paper) A word die or any other die ad some VersaFine Clair Nocturne ink.
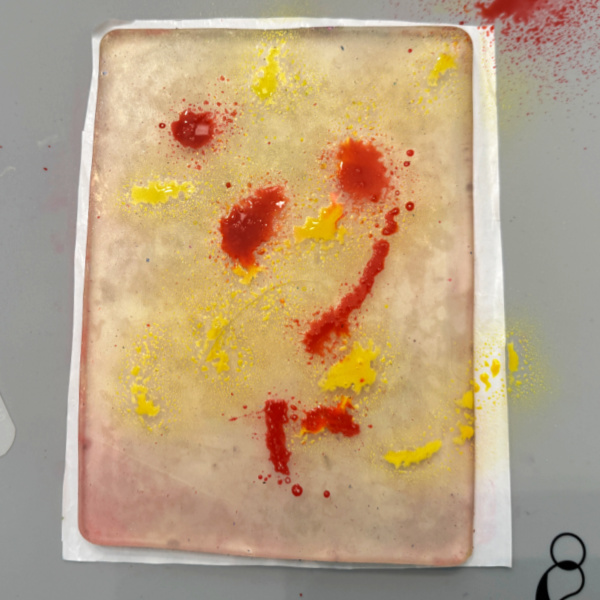
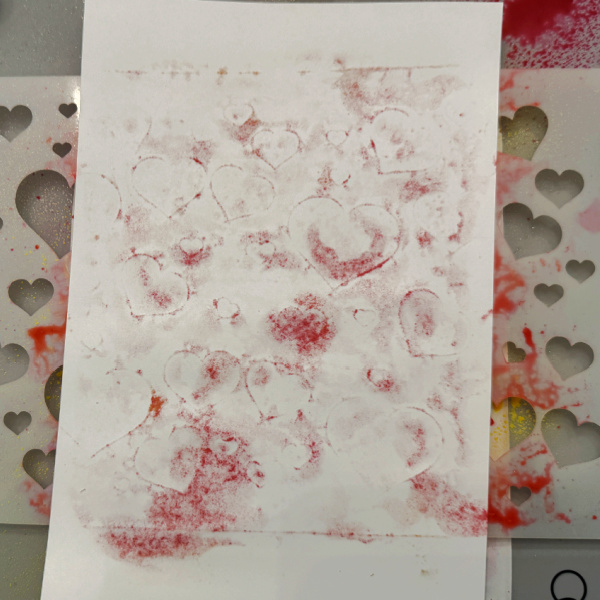
Step 1: Spray Fireworks! spray directly on the Gel Press plate.
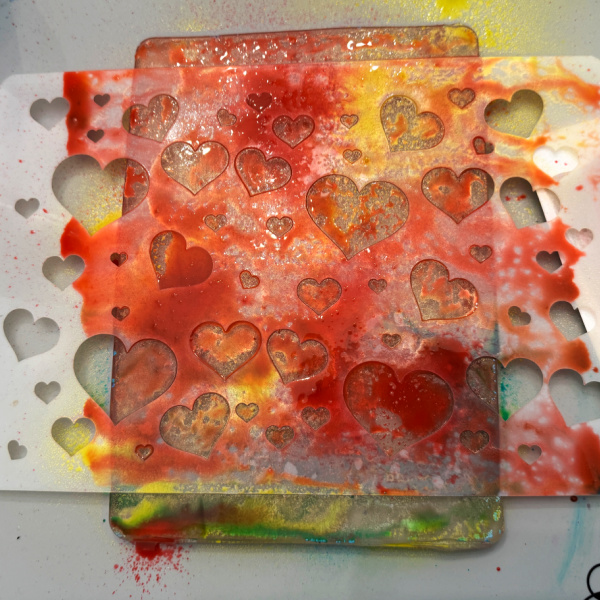
Step 2: Lay stencil over the Gel Press plate and roll the brayer over it to distribute and then spray again with Fireworks! spray.
Step 3: Lay the copy paper (I used Hammermil 60lb) on top and rub your hand over the entire piece several times until you see the medium come through the paper.
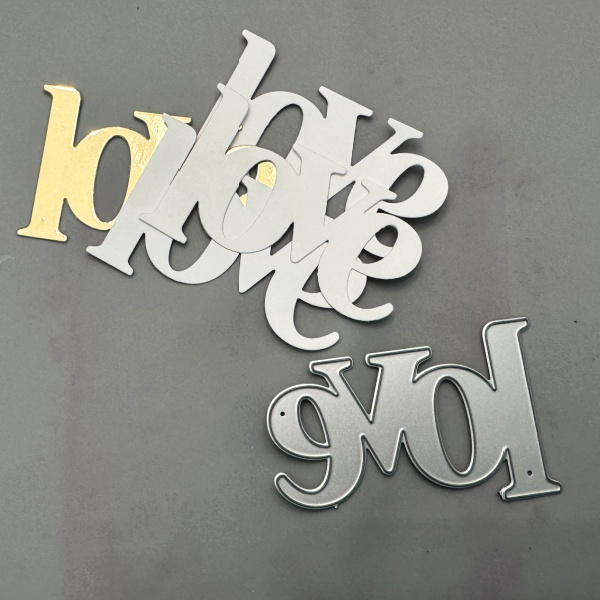
Step 4: Die cut several pieces of the word die. I cut three out of whit and one out of gold to tie in with the gold shimmer on the background. I glued the altogether offsetting the gold one on the bottom.
Step 5: Glue the background on a card base and add the word die to the front. Stamp the coordinating message directly on the background.
• Classic Crest Solar White card base -Neenah • Gold Foil cardstock – Simon Says Stamp • Gel plate – Gel Press • Heart Stencil – A Colorful Life Designs • Love die – Hero Arts • Stamped sentiment – hero Arts
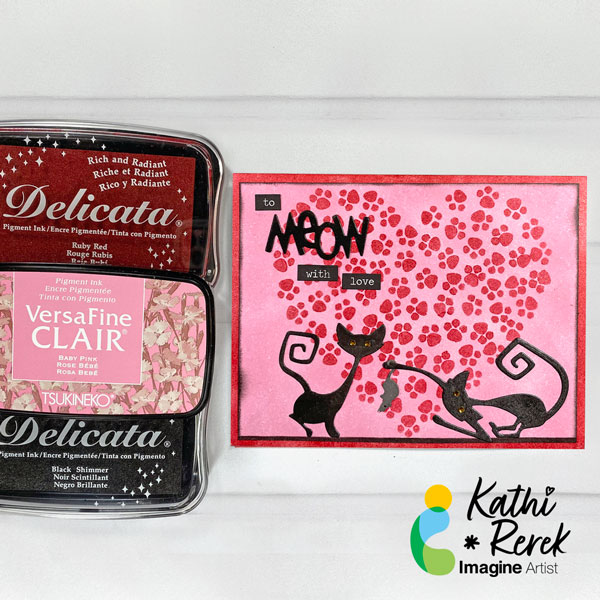
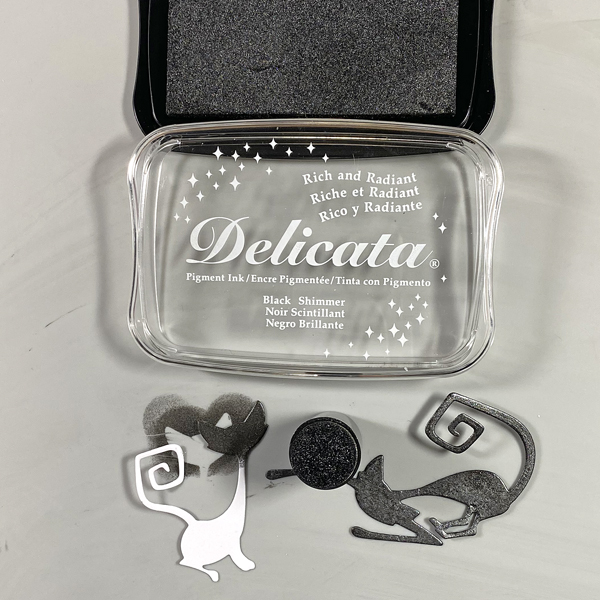
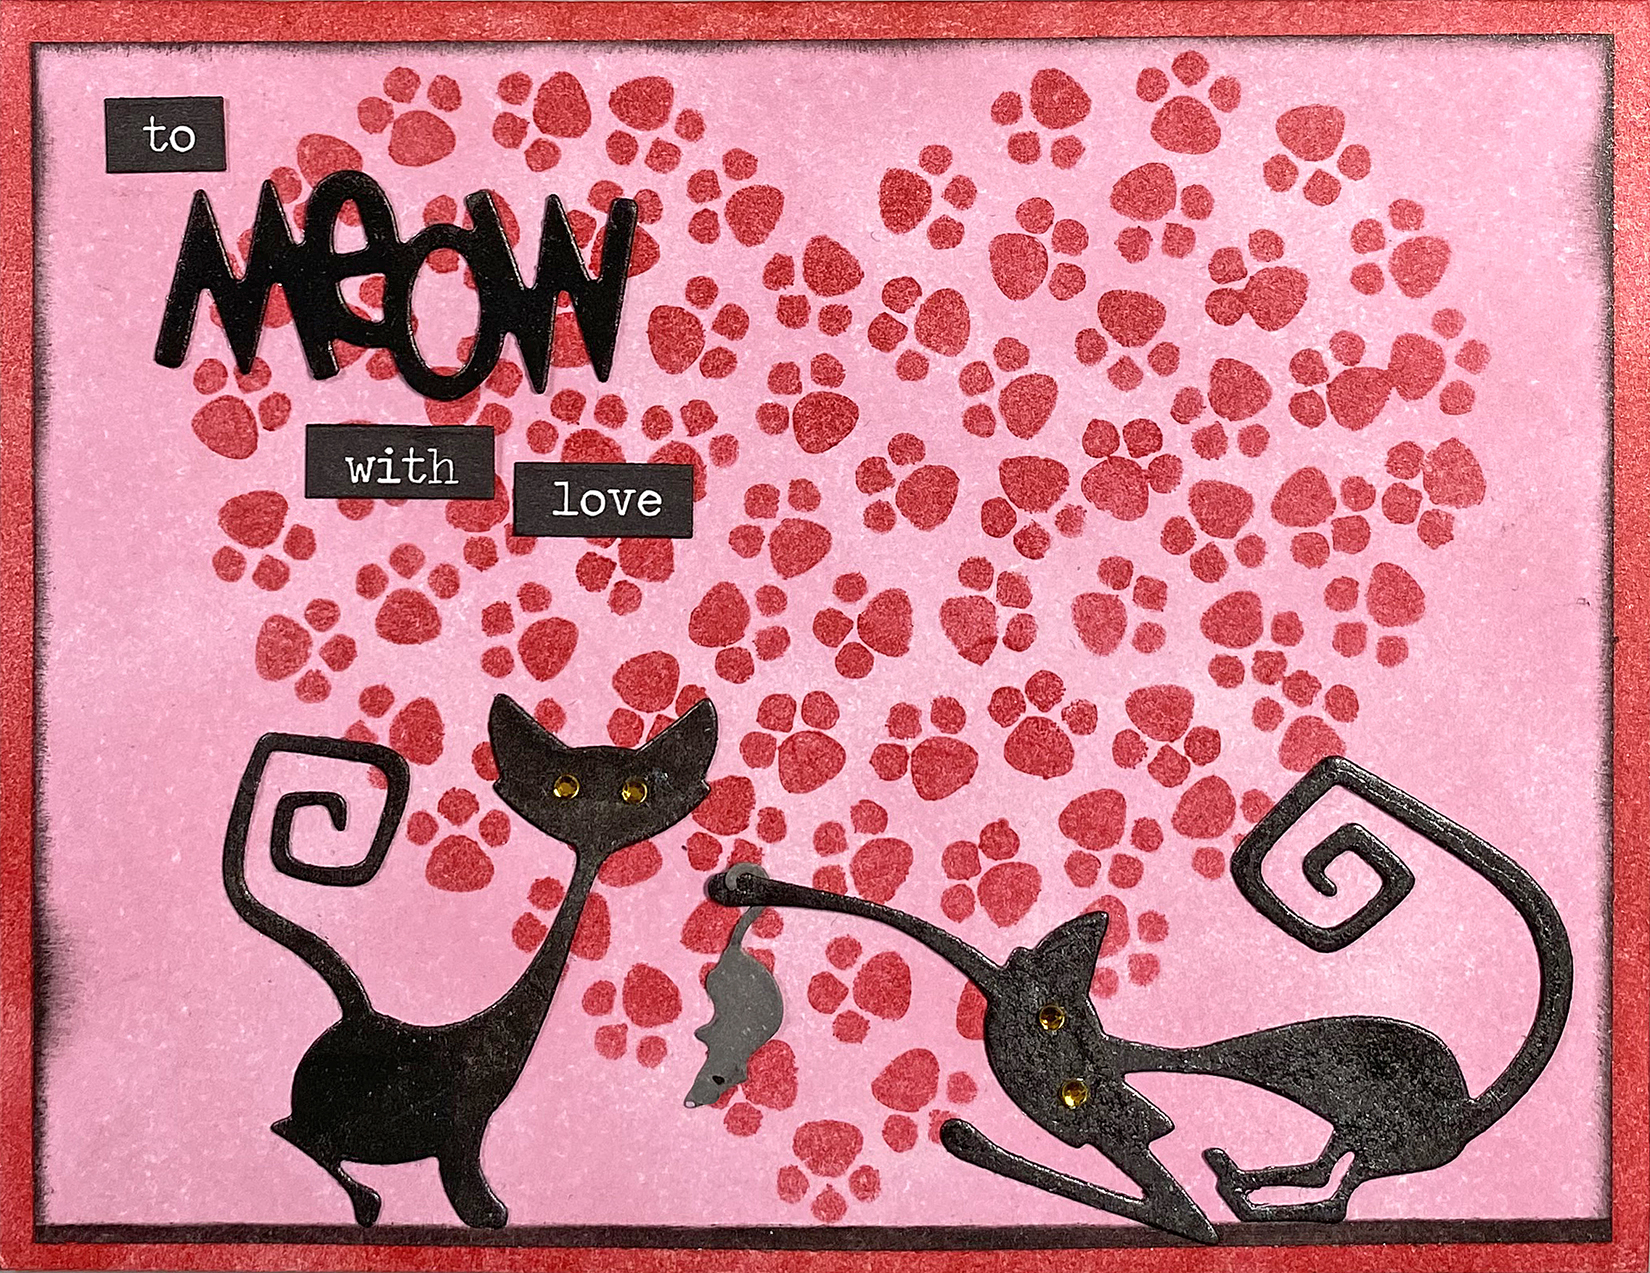
As a certified crazy cat lady, I had to make another another cat-themed Valentine’s Day Card! This one uses Baby Pink VersaFine Clair Ink with a shimmery Delicata die-cuts and a stenciled heart. It was quick, easy, and fun to create.
Skill Level: Beginner Time: 45 minutes
Instructions:
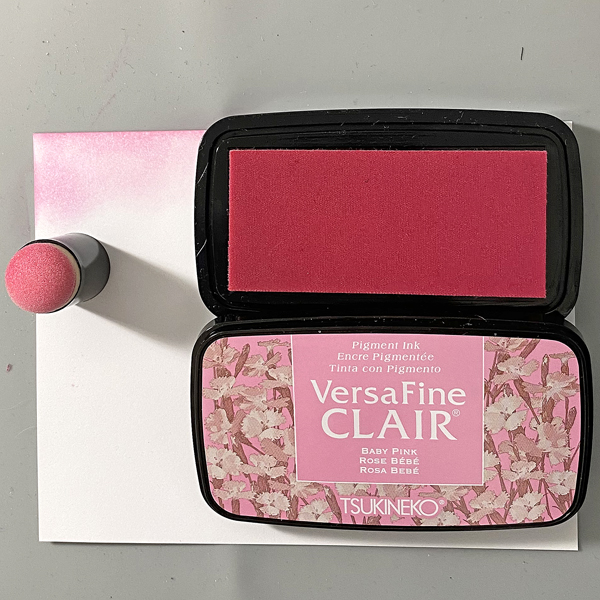
Step 1: Use a Sponge Dauber to apply Baby Pink VersaFine Clair Ink to a 4” x 5.25” piece of white cardstock. Heat set.
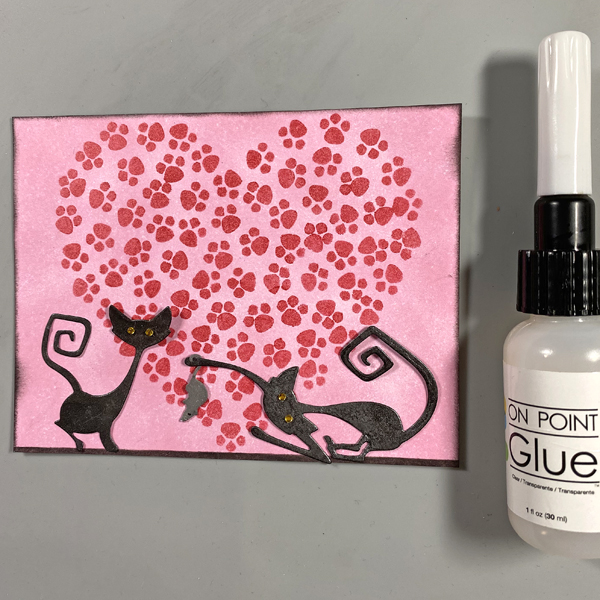
Step 2: Use low-tack tape to secure the inked image panel to the back of the Pawsome Heart Stencil. Use a Sponge Dauber to apply Ruby Red Delicata Ink over the stencil onto the image panel. When done, remove the stencil and heat set the stenciled heart.
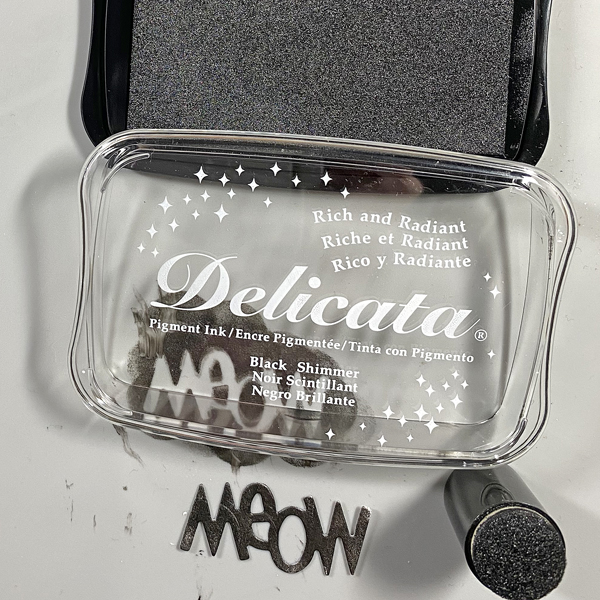
Use a Sponge Dauber and Black Shimmer Delicata Ink to edge the image panel. Sorry that there’s no photo.
Step 3: Use two of the cat dies from the Mischievous Thinlits Die Set to cut white cardstock. Use a Sponge Dauber to apply Black Shimmer Delicata Ink to both sides of each cat die-cut. Heat set.
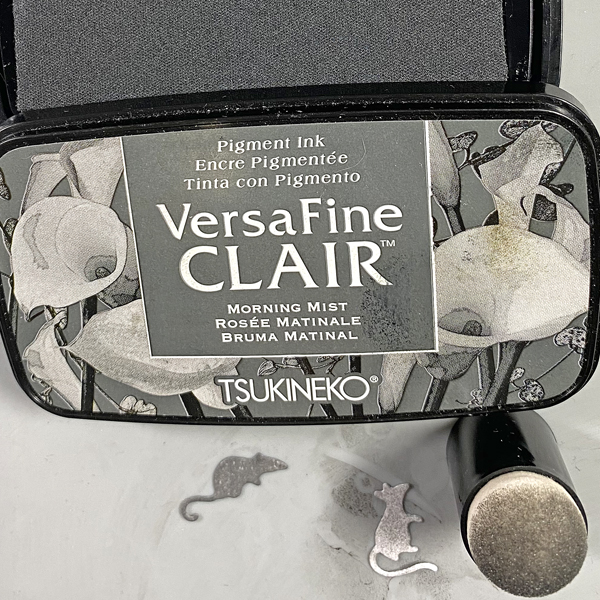
Step 4: Use the Little Mice Die to cut white cardstock. Use a Sponge Dauber to apply Morning Mist VersaFine Clair Ink to the mouse. Heat set. Use a black pen to add an eye to the mouse and a Pink Uni-Posca Paint Pen to color its nose.
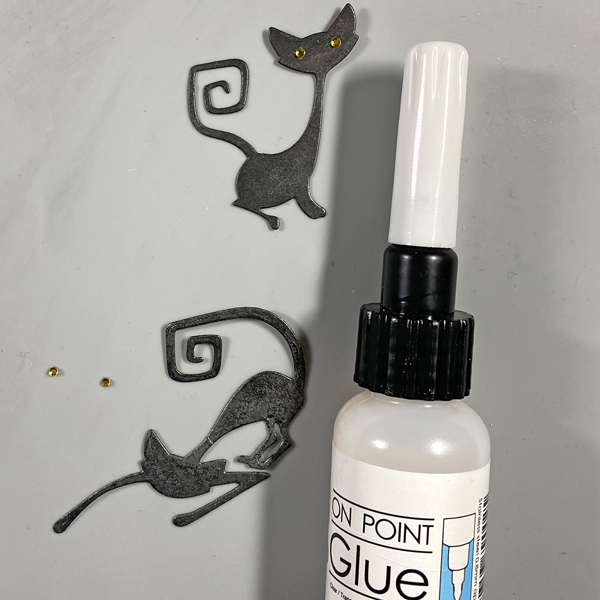
Step 5: Use On Point Glue to add tiny gemstone eyes to the cats.
Step 6: Use On-Point Glue to adhere the mouse to the outstretched paw of one of the cats. Use On Point Glue to adhere both cats to the image panel as shown.
Step 7: Use a Sponge Dauber to apply Ruby Red Delicata Ink to the outside .5” of a white A2 card. Heat set. Repeat application of the Ruby Red Delicata Ink to deepen the color and shimmer. Heat set.
Step 8: Use Tear It! Tape to mat the image panel with the Ruby Red Delicata inked card.
Step 9: Use the “Meow” die to cut white cardstock. Use a Sponge Dauber to apply Black Shimmer Delicata Ink to both sides of the die-cut. Heat set.
Use On-Point Glue to adhere the “Meow” die-cut to the card.
Adhere the “to”, “with”, and “love” Chit Chat Verbiage Stickers to finish the card.
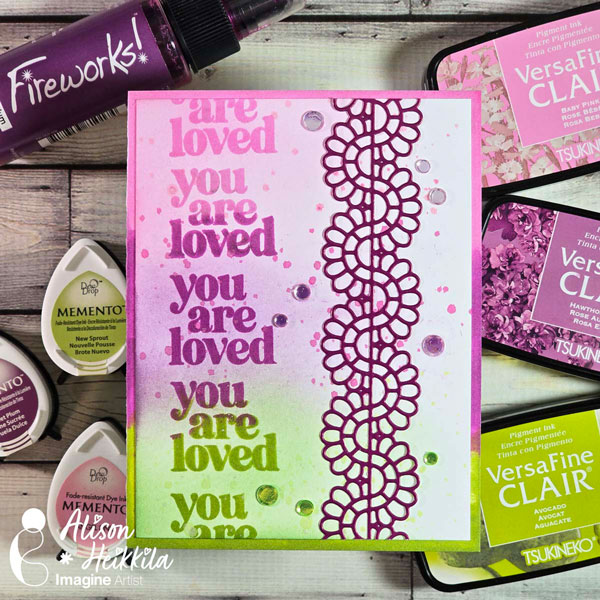
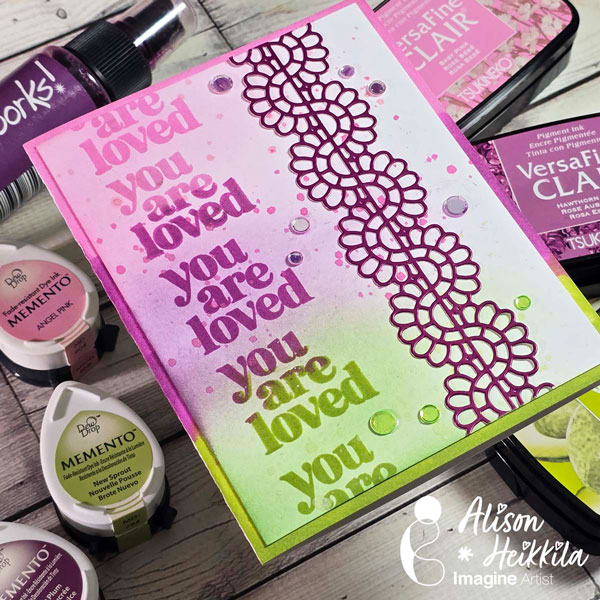
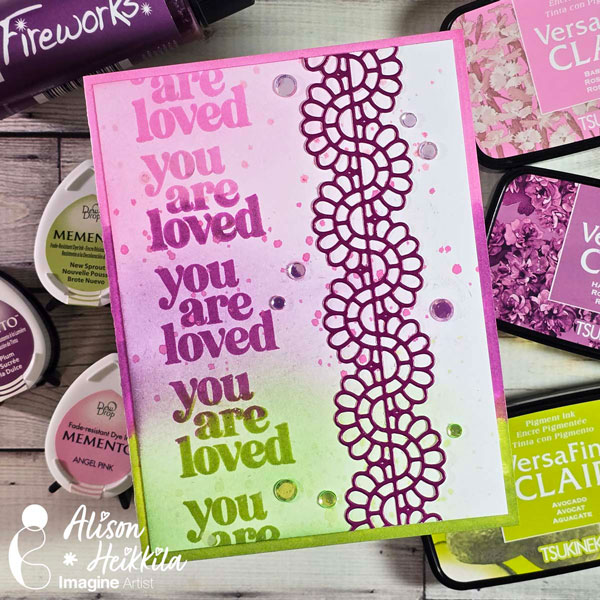
Hello! Alison Heikkila here. Grab a sentiment that’s worth repeating and let’s do some tone on tone stamping. You can do any color combo you want, just try not to overlap colors that are opposite on the color wheel. The techniques we’re doing today are great ways to mix various inks you may have in your stash.
Skill Level: Intermediate Time to Complete: 20-30 Minutes
*Some affiliate links are used in this post. That means that if you shop through these links, I may receive a small compensation, at no cost to you. For more information, please see my Affiliates page, where I also have some coupon codes.
This was so much fun to create. I’d love to make it again with different colors. What colors would you use? I might try teal, terra cotta, and cocoa next. Thanks so much for stopping by. Have an inspiring day!
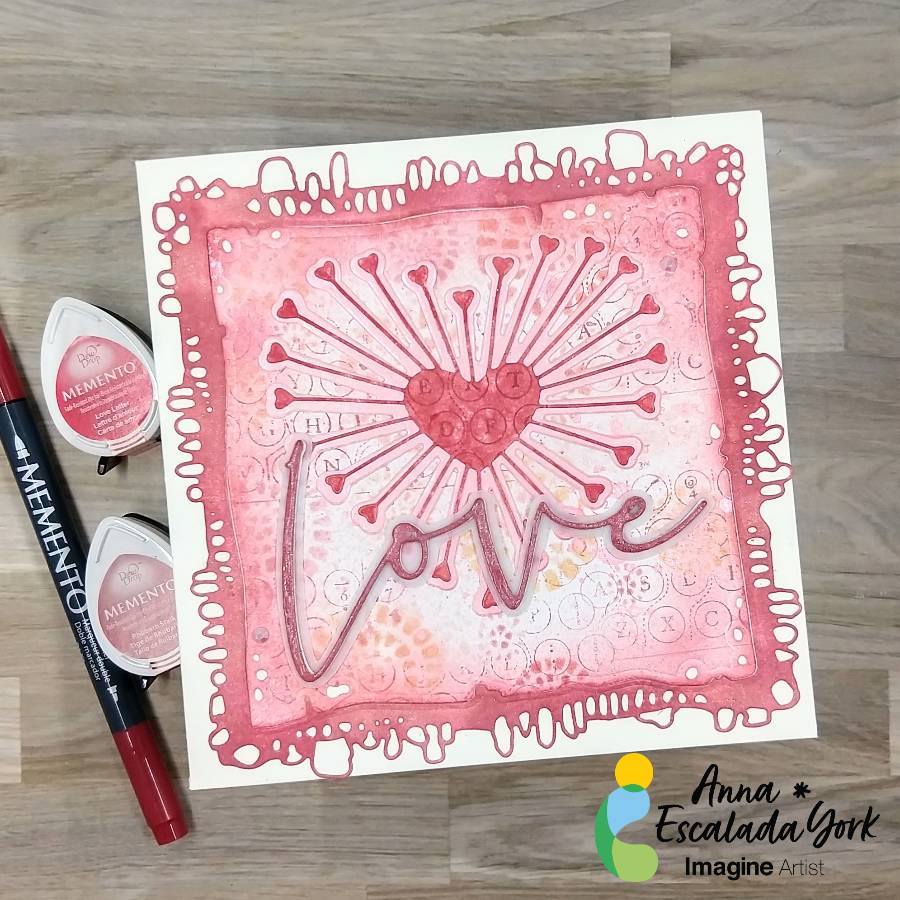
I wanted to use some dies in my stash plus some warm colored inks to make a Valentine’s Day card for my husband.
Skill: Intermediate Time: 1.5 hours
Directions:
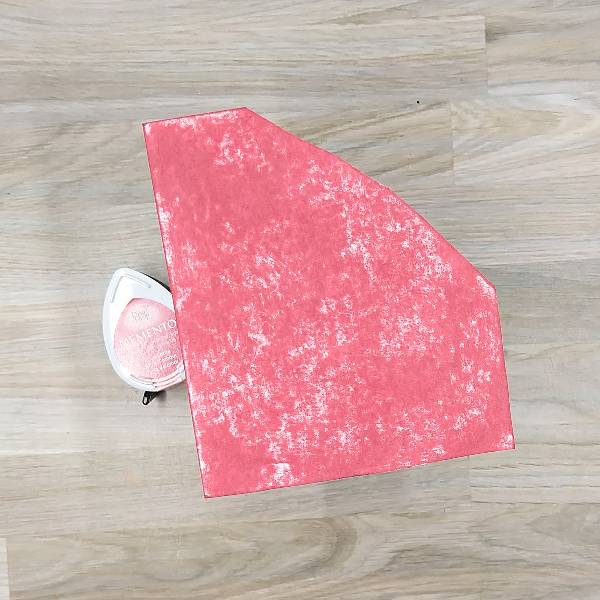
Step 1:
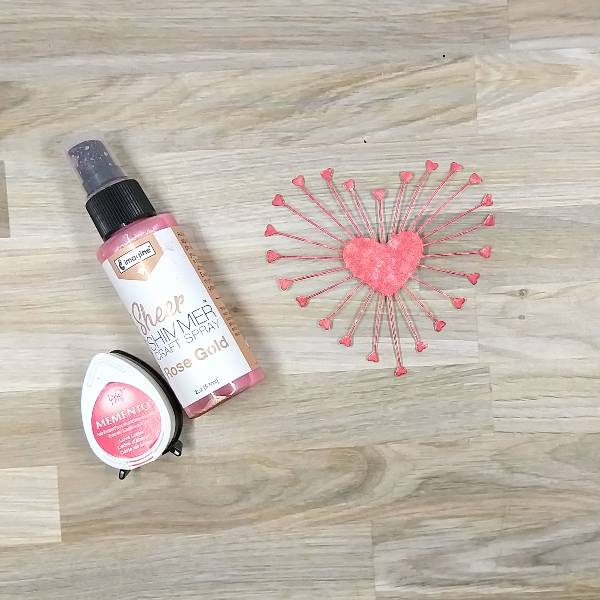
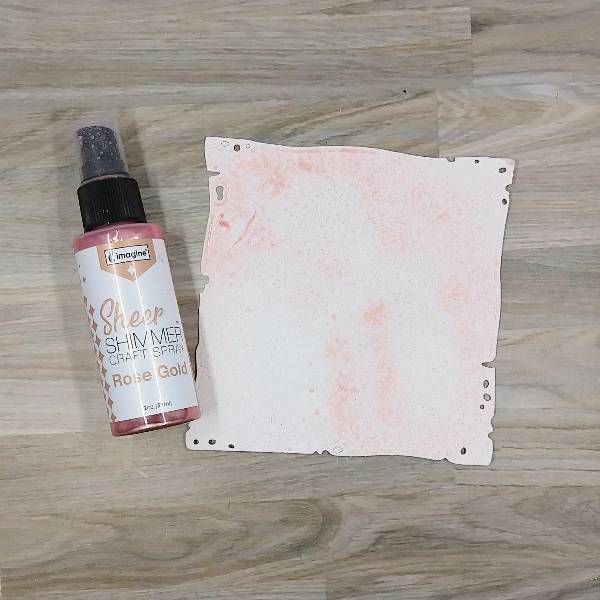
Rub a piece of watercolor paper with a Love Letter Memento ink pad. Don’t worry too much about the consistent color across the watercolor paper.
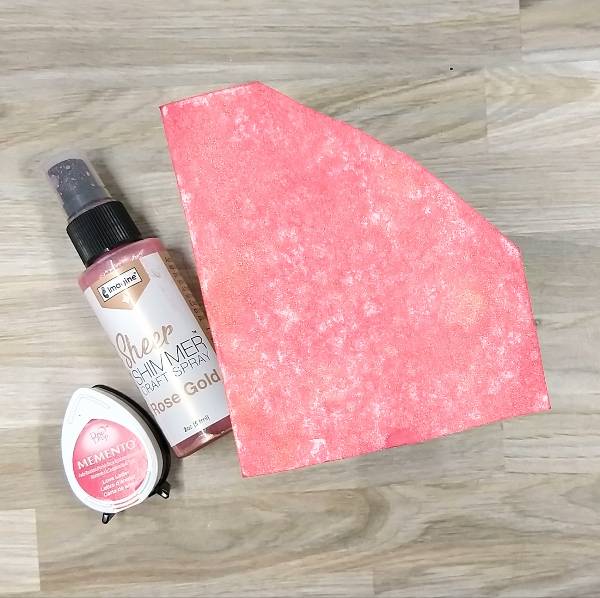
Step 2:
Spray the same watercolor paper with Rose Gold Sheer Shimmer Craft Spray and allow to dry.
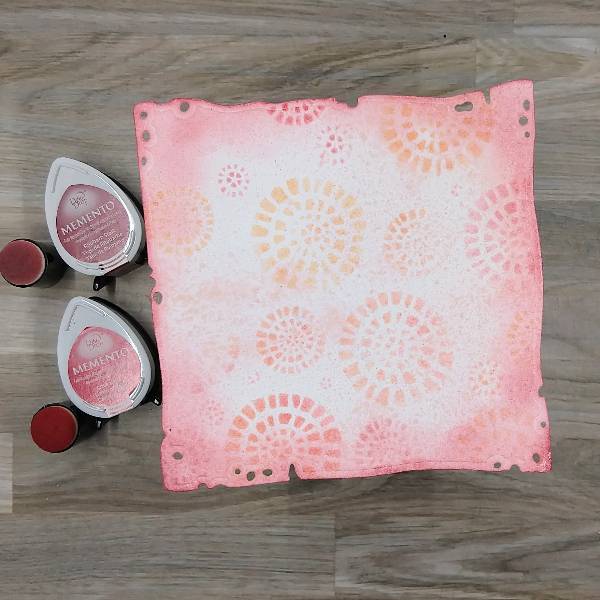
Step 3:
Die cut the colored and sprayed watercolor paper.
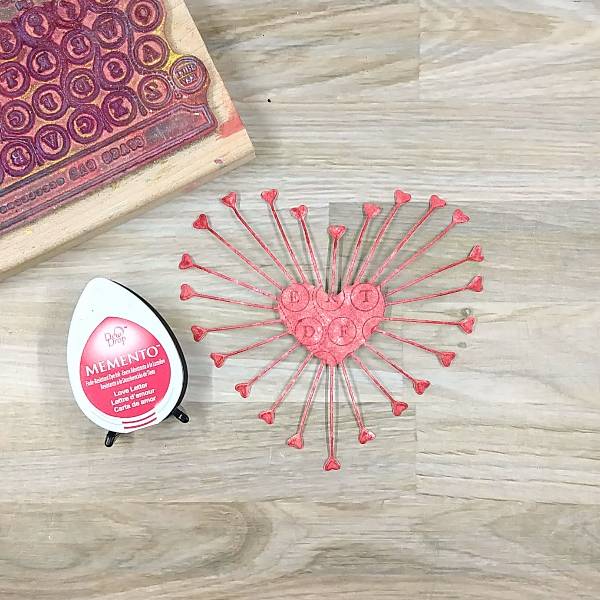
Step 4:
Use a background or texture stamp to to stamp the center of the die cut with ore Love Letter Memento ink. If desired, rub the small hearts around the edge with more Love Letter Memento ink as well.
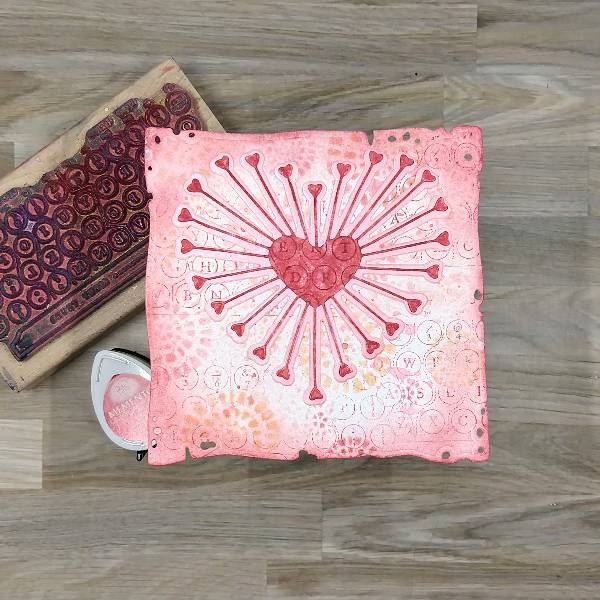
Step 5:
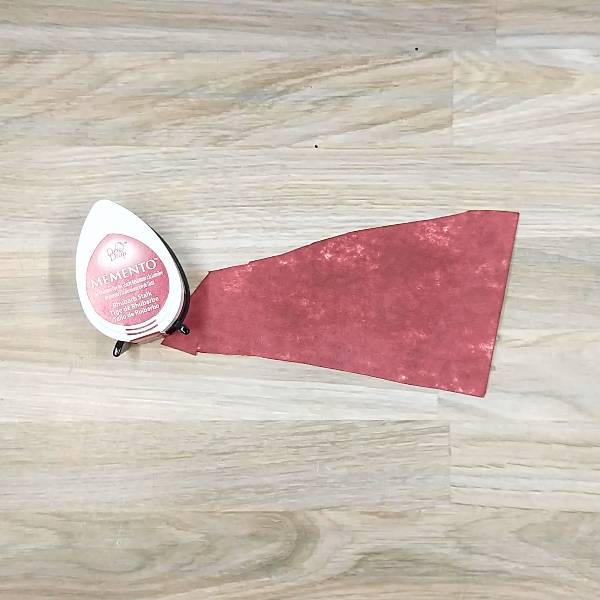
Rub a piece of watercolor paper with Rhubarb Stalk Memento ink pad. Again, don’t worry too much about the consistent color across the watercolor paper.
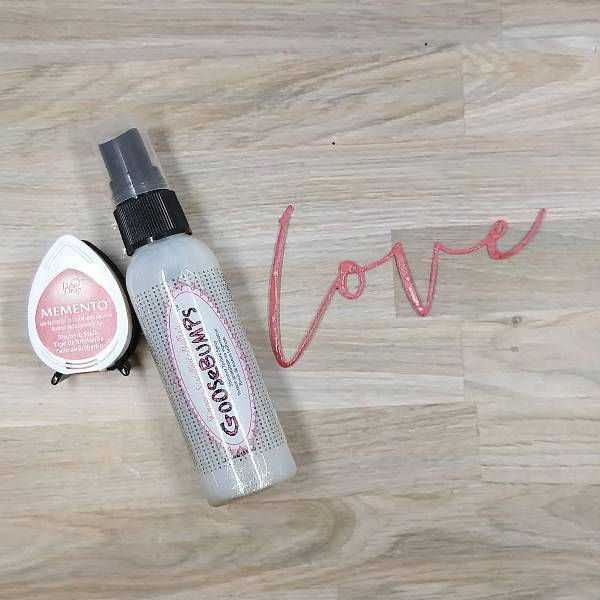
Steps 6 and 7:
Die cut the Rhubarb Stalk colored watercolor paper and use a paintbrush to paint GooseBumps Shimmer Texture Spray on the die cut. Allow the GooseBumps Shimmer Texture Spray to dry (or if you are impatient like me use your heat tool to dry it quickly).
(Not pictured: Die cut two more layers of the sentiment die with scraps of cardstock and glue the three layers together for dimension. Then die cut the shadow of the sentiment with vellum and glue the sentiment onto the shadow.)
Step 8:
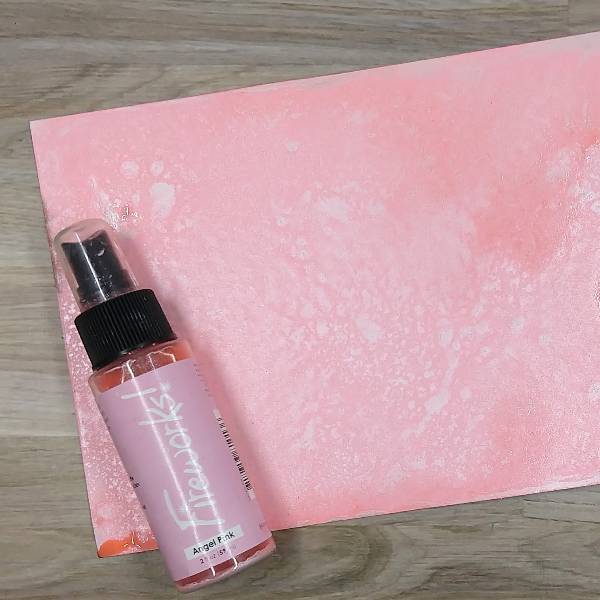
Spray enough Angel Pink Fireworks! Shimmery Craft Spray onto a piece of watercolor paper to totally color the paper and allow to dry.
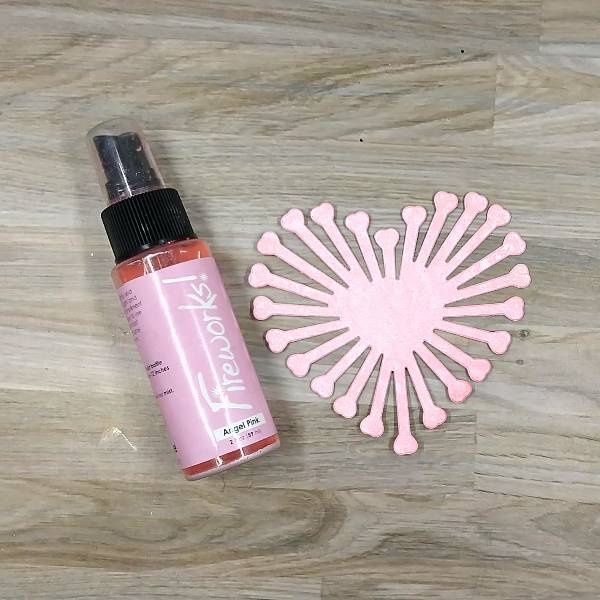
Step 9:
Die cut the sprayed watercolor paper. Glue the two layers of die cut hearts together.
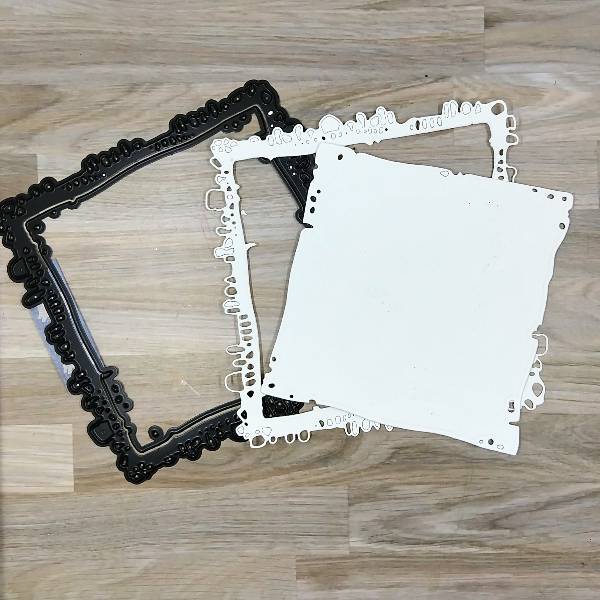
Step 10:
Tape an outer and inner frames together with tape and use them both together to die cut more watercolor paper.
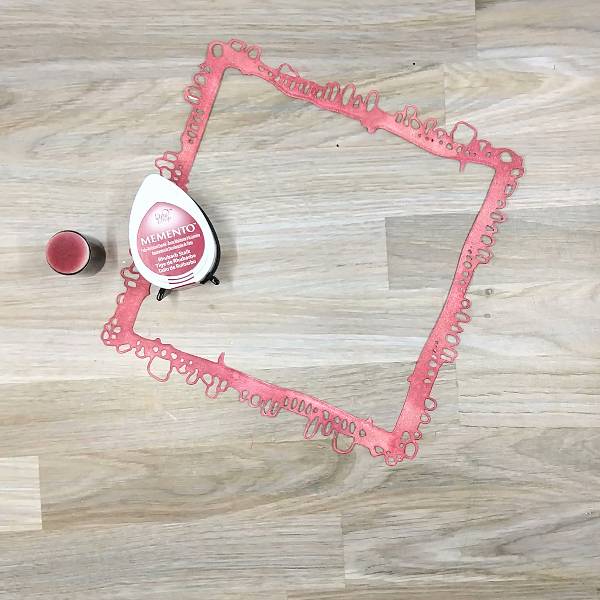
Step 11:
Ink blend the die cut frame with Rhubarb Stalk Memento Ink using a sponge dauber.
Step 12:
Spray the internal part of the die cut with Rose Gold Sheer Shimmer Craft Spray and allow to dry.
Step 13:
Use Love Letter and Rhubarb Stalk Memento Ink to ink blend through a stencil. Then ink blend around the edges of the die cut with more Rhubarb Stalk Memento Ink.
Step 14 and 15:
Use the same texture stamp used to stamp the red heart, stamp the background (internal part) of the card base with more of the Love Letter Memento Ink multiple times to add some more interest to the background.
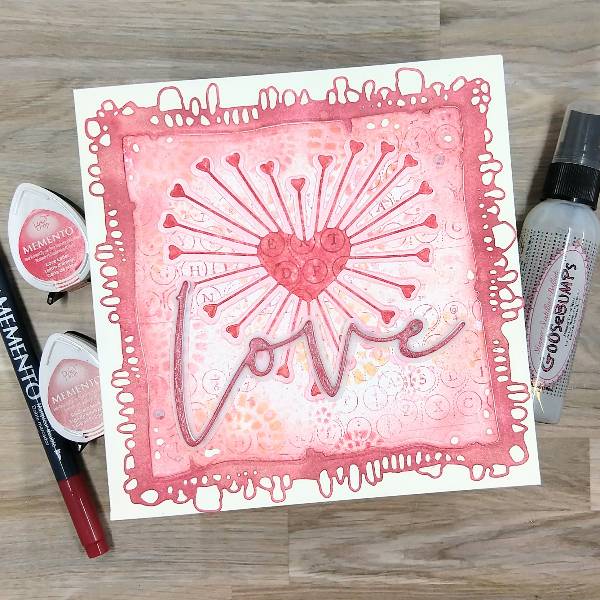
Step 16:
Arrange the card and glue it onto a 6” x 6” card base. Start out by gluing the sentiment onto the internal part of the cardpanel (over the die cut heart). Then glue the frame onto the card base and nestle the internal part of the card onto the card. Add sequins on the lower left and upper right parts of the card.
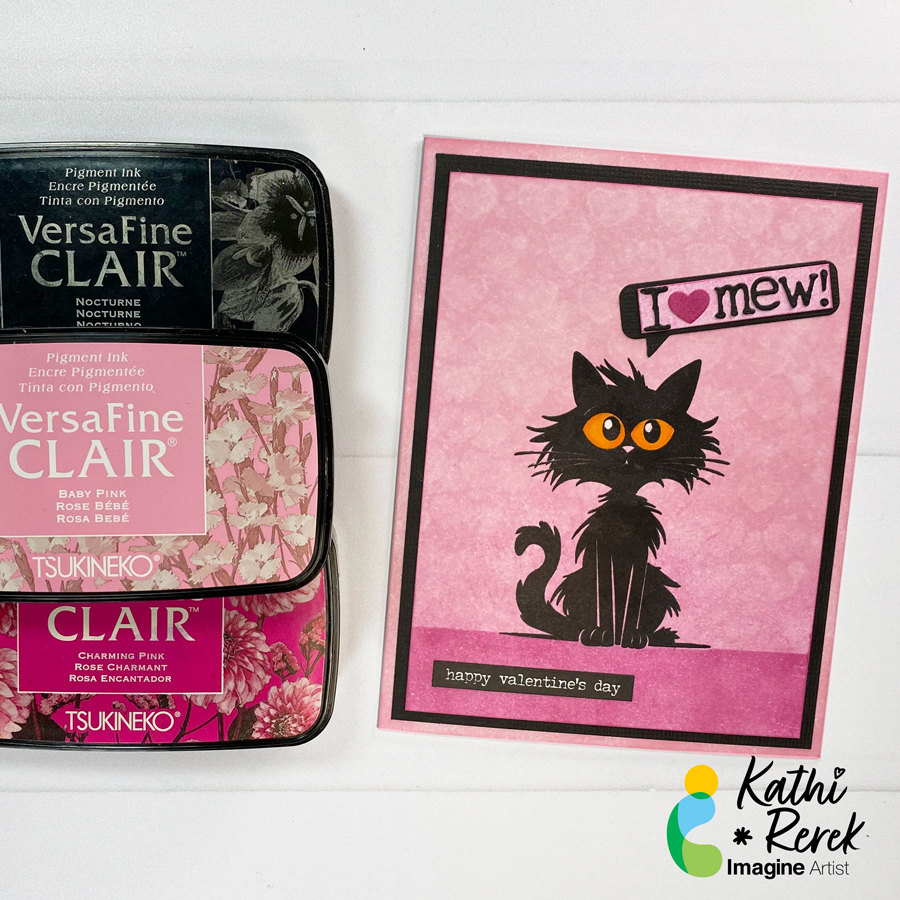
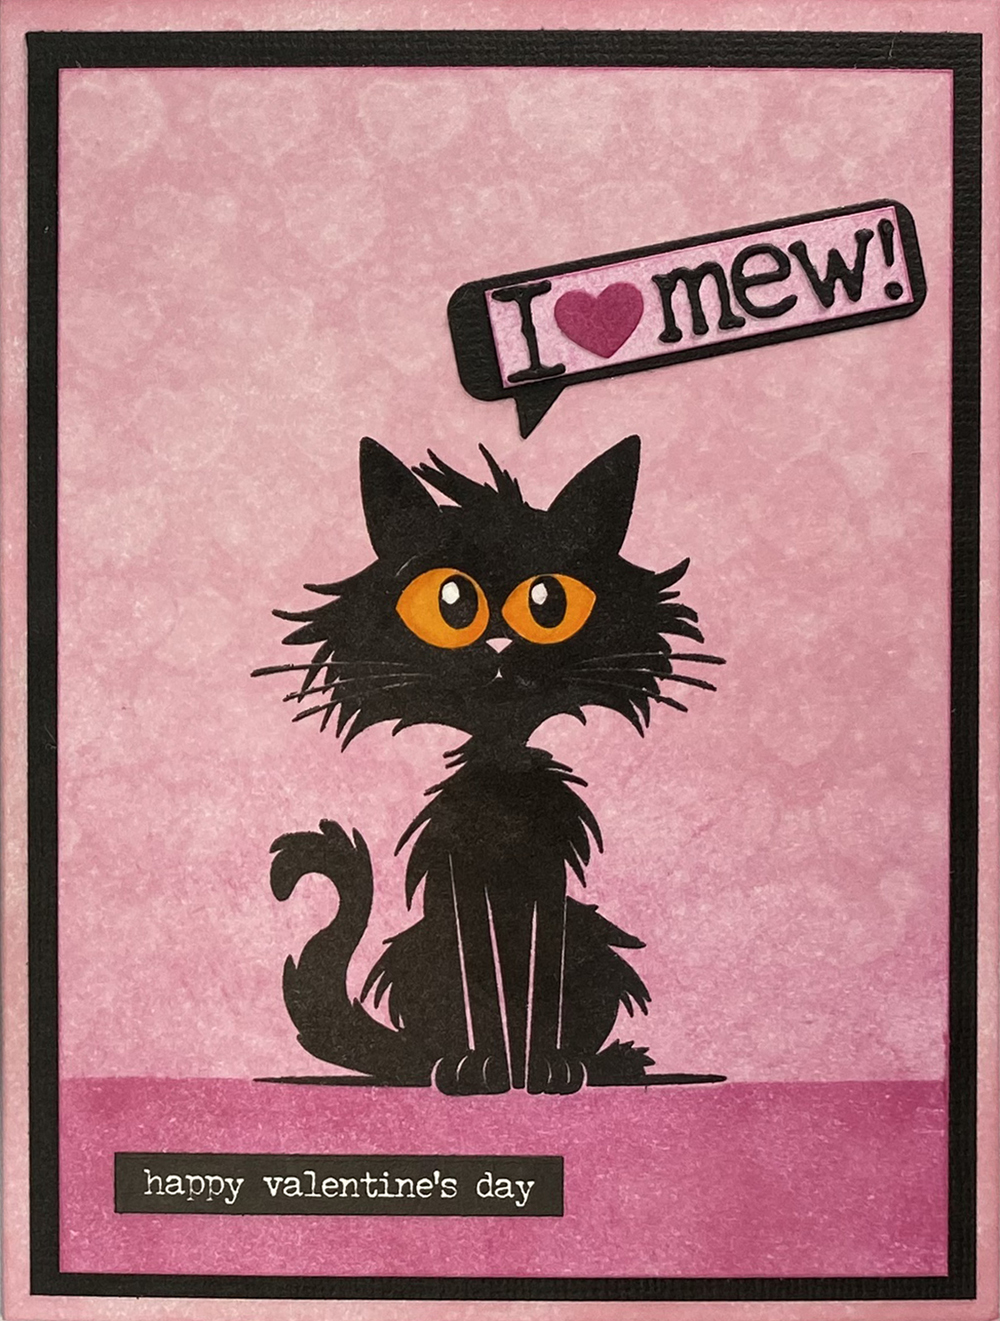
Here’s a punny Valentine’s Day card that showcases the blending of the new Baby Pink VersaFine Clair Ink with the Charming Pink VersaFine Clair Ink. I also used Purell to create a fun ghosting technique!
Skill Level: Beginner Time: 45 minutes
Instructions:
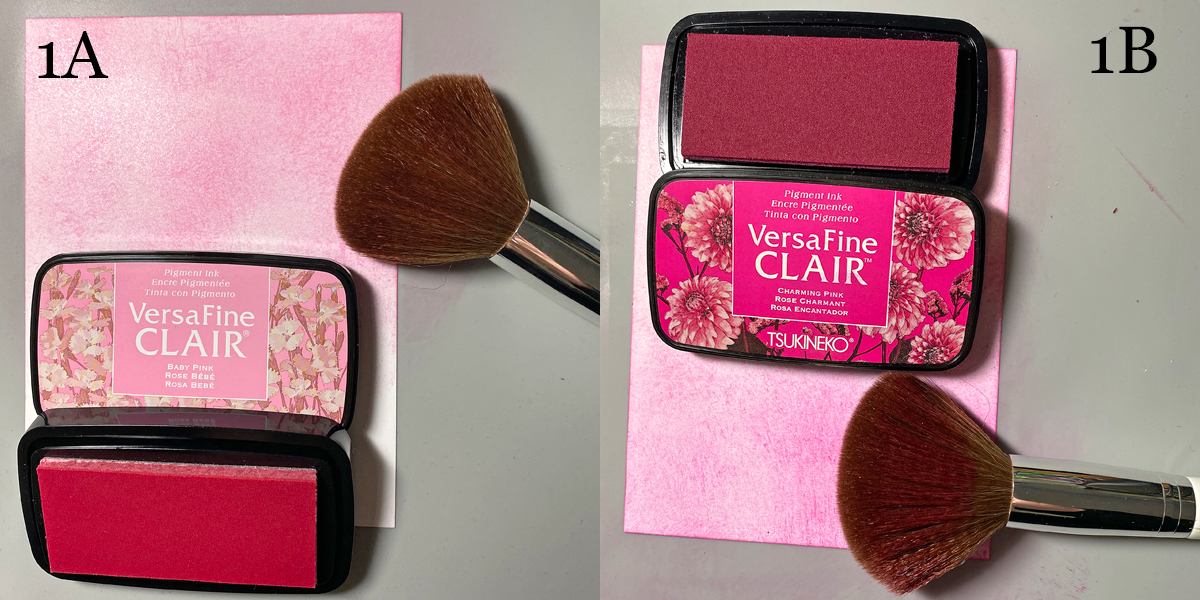
Steps 1A and B:
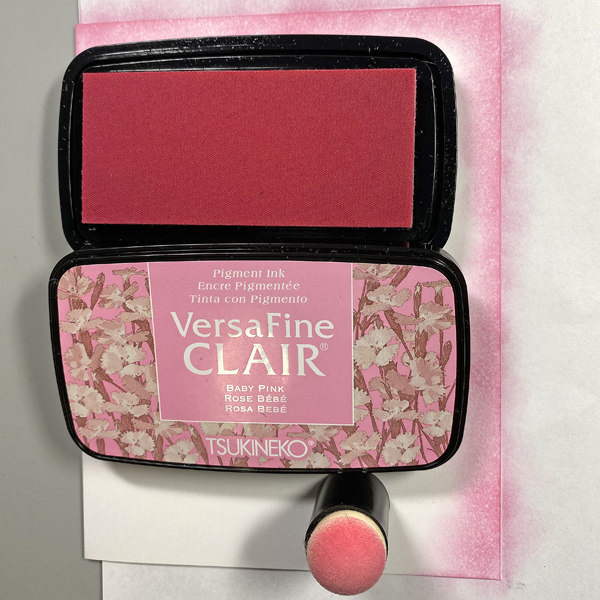
Use a make-up brush to apply Baby Pink VersaFine Clair Ink to a piece of white cardstock. Start at the top of the panel and work downwards. The make-up brush creates soft textured look on the cardstock. Continue to brush downwards until the brush doesn’t put ink onto the cardstock (1A)
Use the same make-up brush to apply Charming Pink VersaFine Clair Ink from the base of the cardstock panel, blending as you go. (1B)
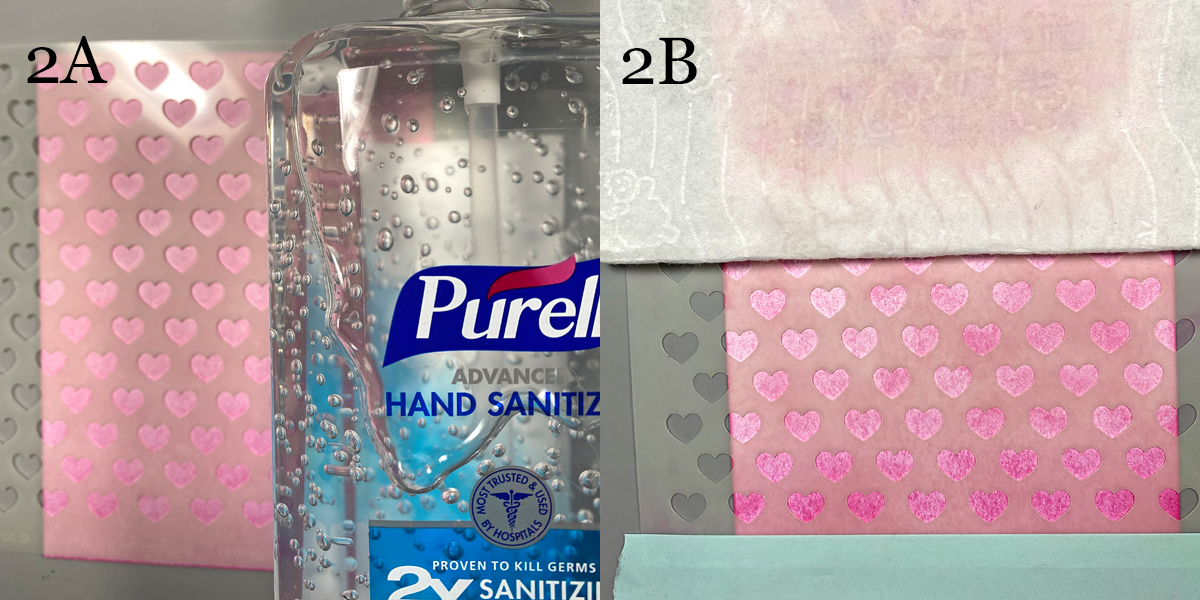
Steps 2A and B:
Place the Staggered Hearts stencil over the inked panel. (2A)
Add Purell to a dry baby wipe until it’s saturated then use the wipe to apply the Purell over the stencil onto the cardstock. The Purell will lift the VersaFine Clair Ink, creating ghosted hearts on the background. Heat setting will accentuate the ghosted effect while setting the ink. (2B)
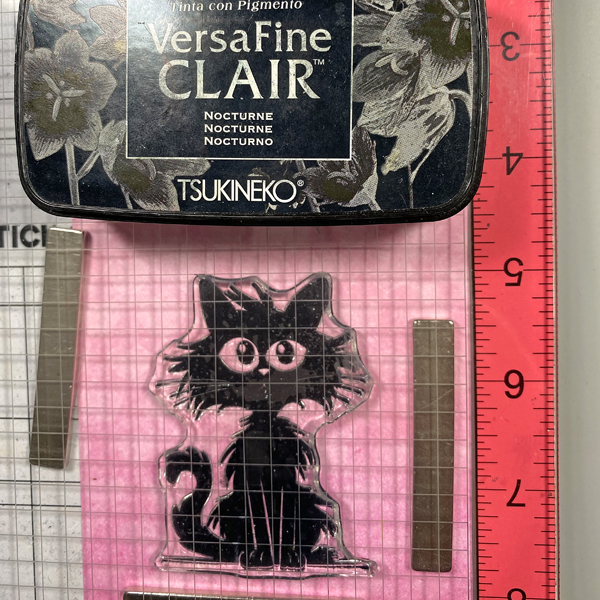
Step 3:
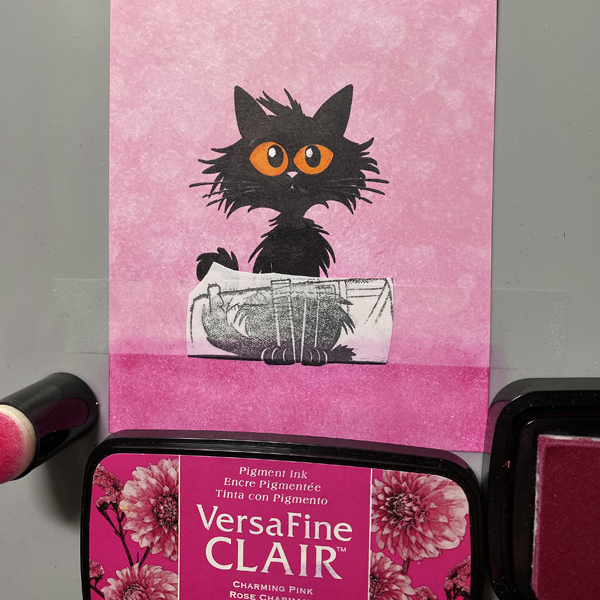
Place the inked cardstock panel onto a stamping platform. Use Nocturne VersaFine Clair Ink to stamp the cat. Re-ink and stamp again if necessary for a crisp image. Remove the image panel and use a paint brush dipped and the ink pad to do any necessary touch ups to the image. Heat set.
Step 4:
Use Prismacolor markers to color the cat’s eyes, taking care to avoid the black ink and contaminate your markers. Use a white gel pen to add highlights to the cat’s eyes. No photos. Sorry.
Step 5:
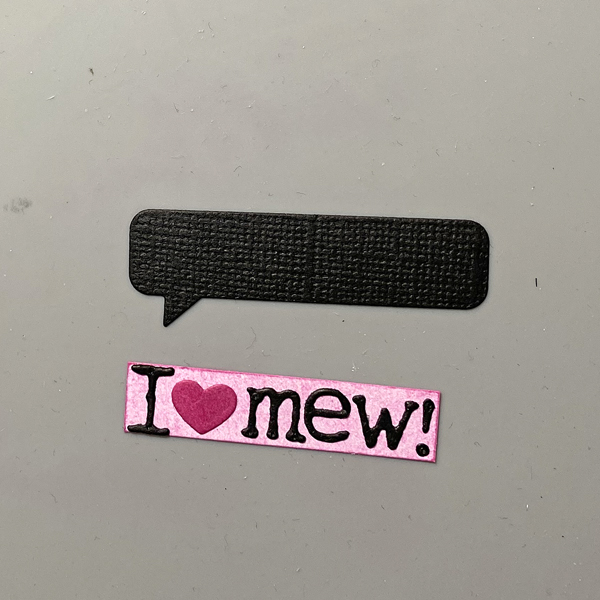
Use alphabet dies and a speech bubble die to cut black cardstock. Use a flag and a heart die to to cut to cut extra inked cardstock from Step 1. Smoosh the heart die-cut onto the Charming Pink VersaFine Clair inkpad. Trim the ends off of the flag die-cut and edge with Charming Pink VersaFine Clair Ink. Adhere the letter die-cuts and the heart to the pink strip, then adhere to the black speech bubble die-cut.
Step 6:
Use Nocturne VersaFine Clair Ink to stamp the cat onto the scrap of repositionable sticker paper. Fussy-cut the sticker paper along the bottom and place it over its counterpart as a mask. Place a strip of repositionable Scotch Tape across the image panel. Use a Sponge Dauber to apply Charming Pink VersaFine Clair Ink over the tape and the masked cat paws to the bottom of the image panel.
Remove the tape and the mask over the cat. Use Use a Sponge Dauber to edge the image panel with Charming Pink VersaFine Clair Ink.
Step 7:
Use a Sponge Dauber to apply Baby Pink VersaFine Clair Ink to the outside .5” perimeter of an A2 card. Heat set.
Step 8:
Cut a panel of black cardstock to 4” x 5.25”. Use Tear It! Tape to mat the image panel with the black cardstock, adhere the matted image panel to the card, and adhere the speech bubble die-cut as shown. Use the sentiment sticker to finish the card.