By Alison Heikkila
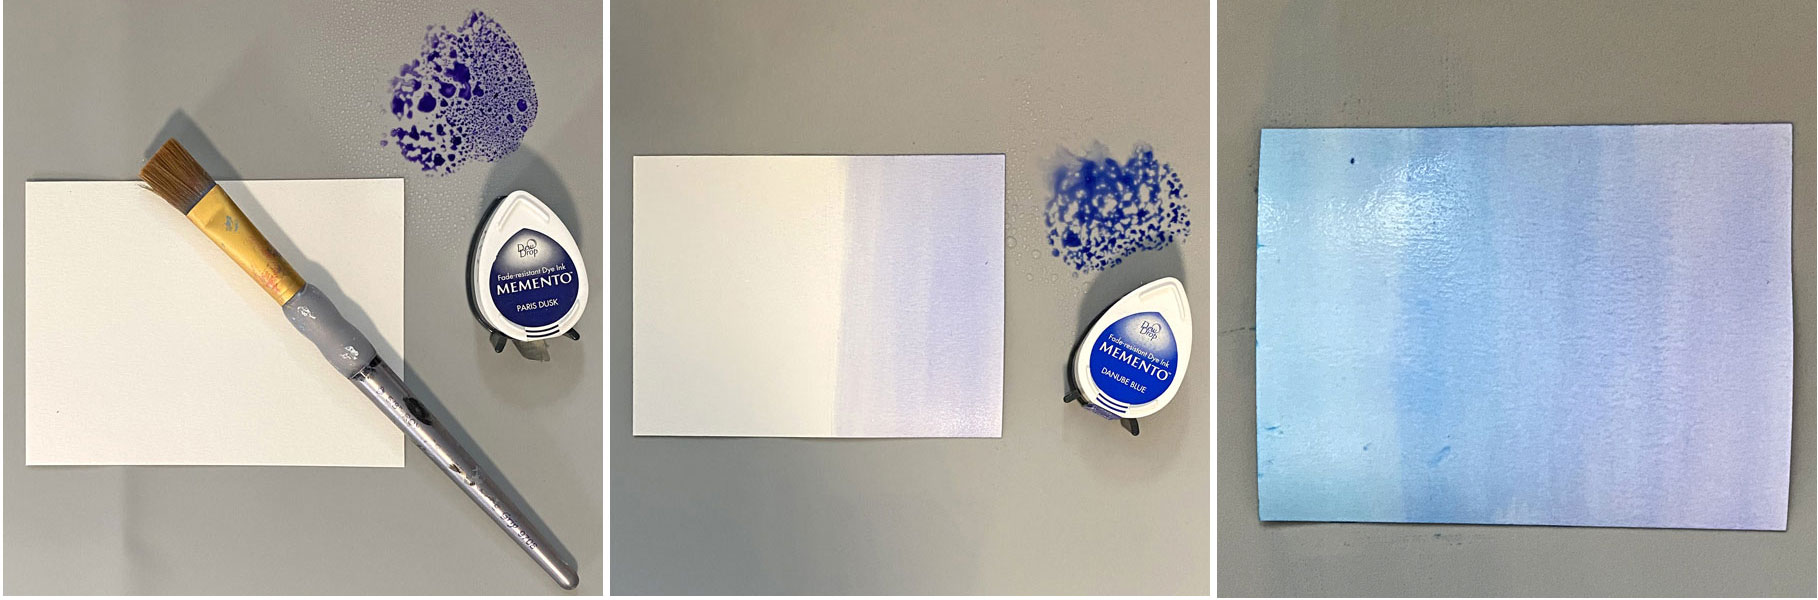
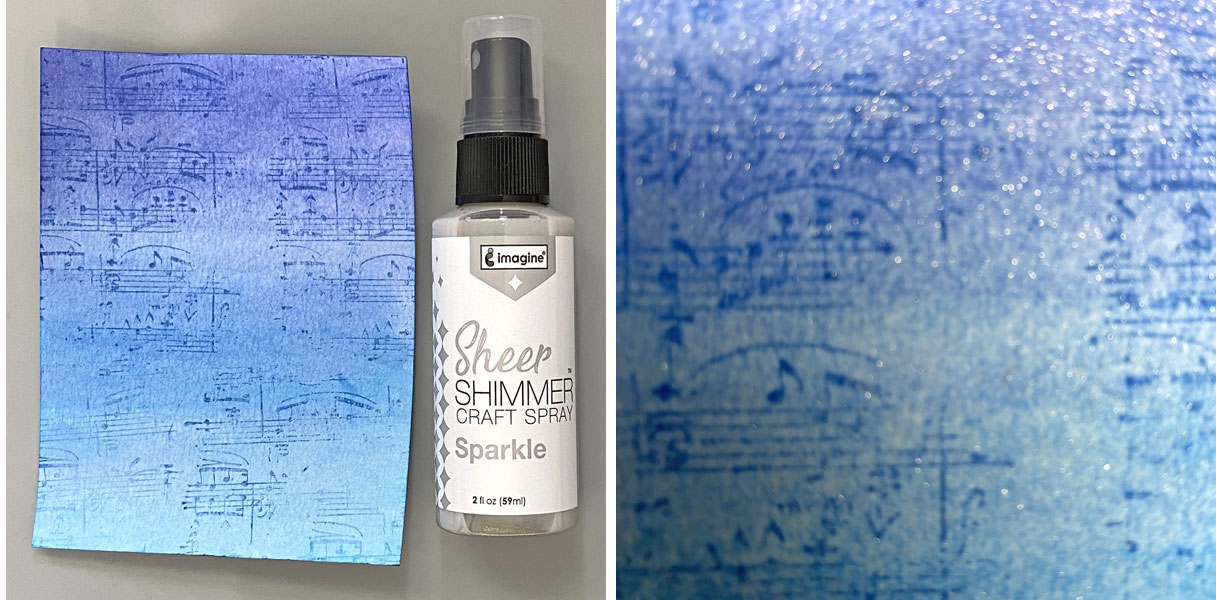
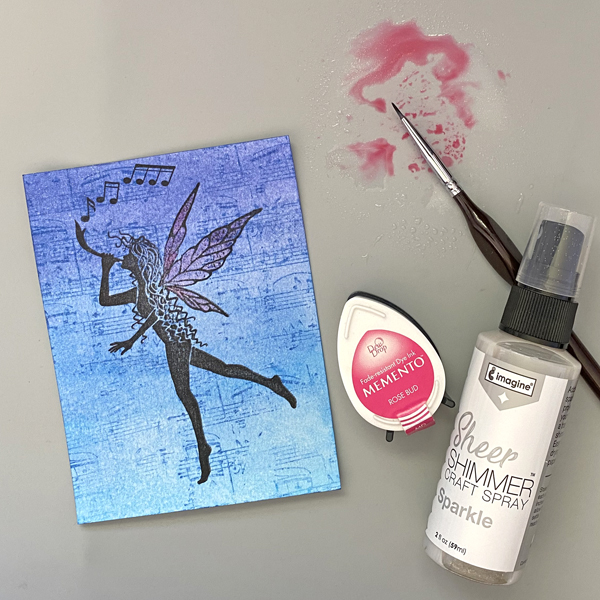
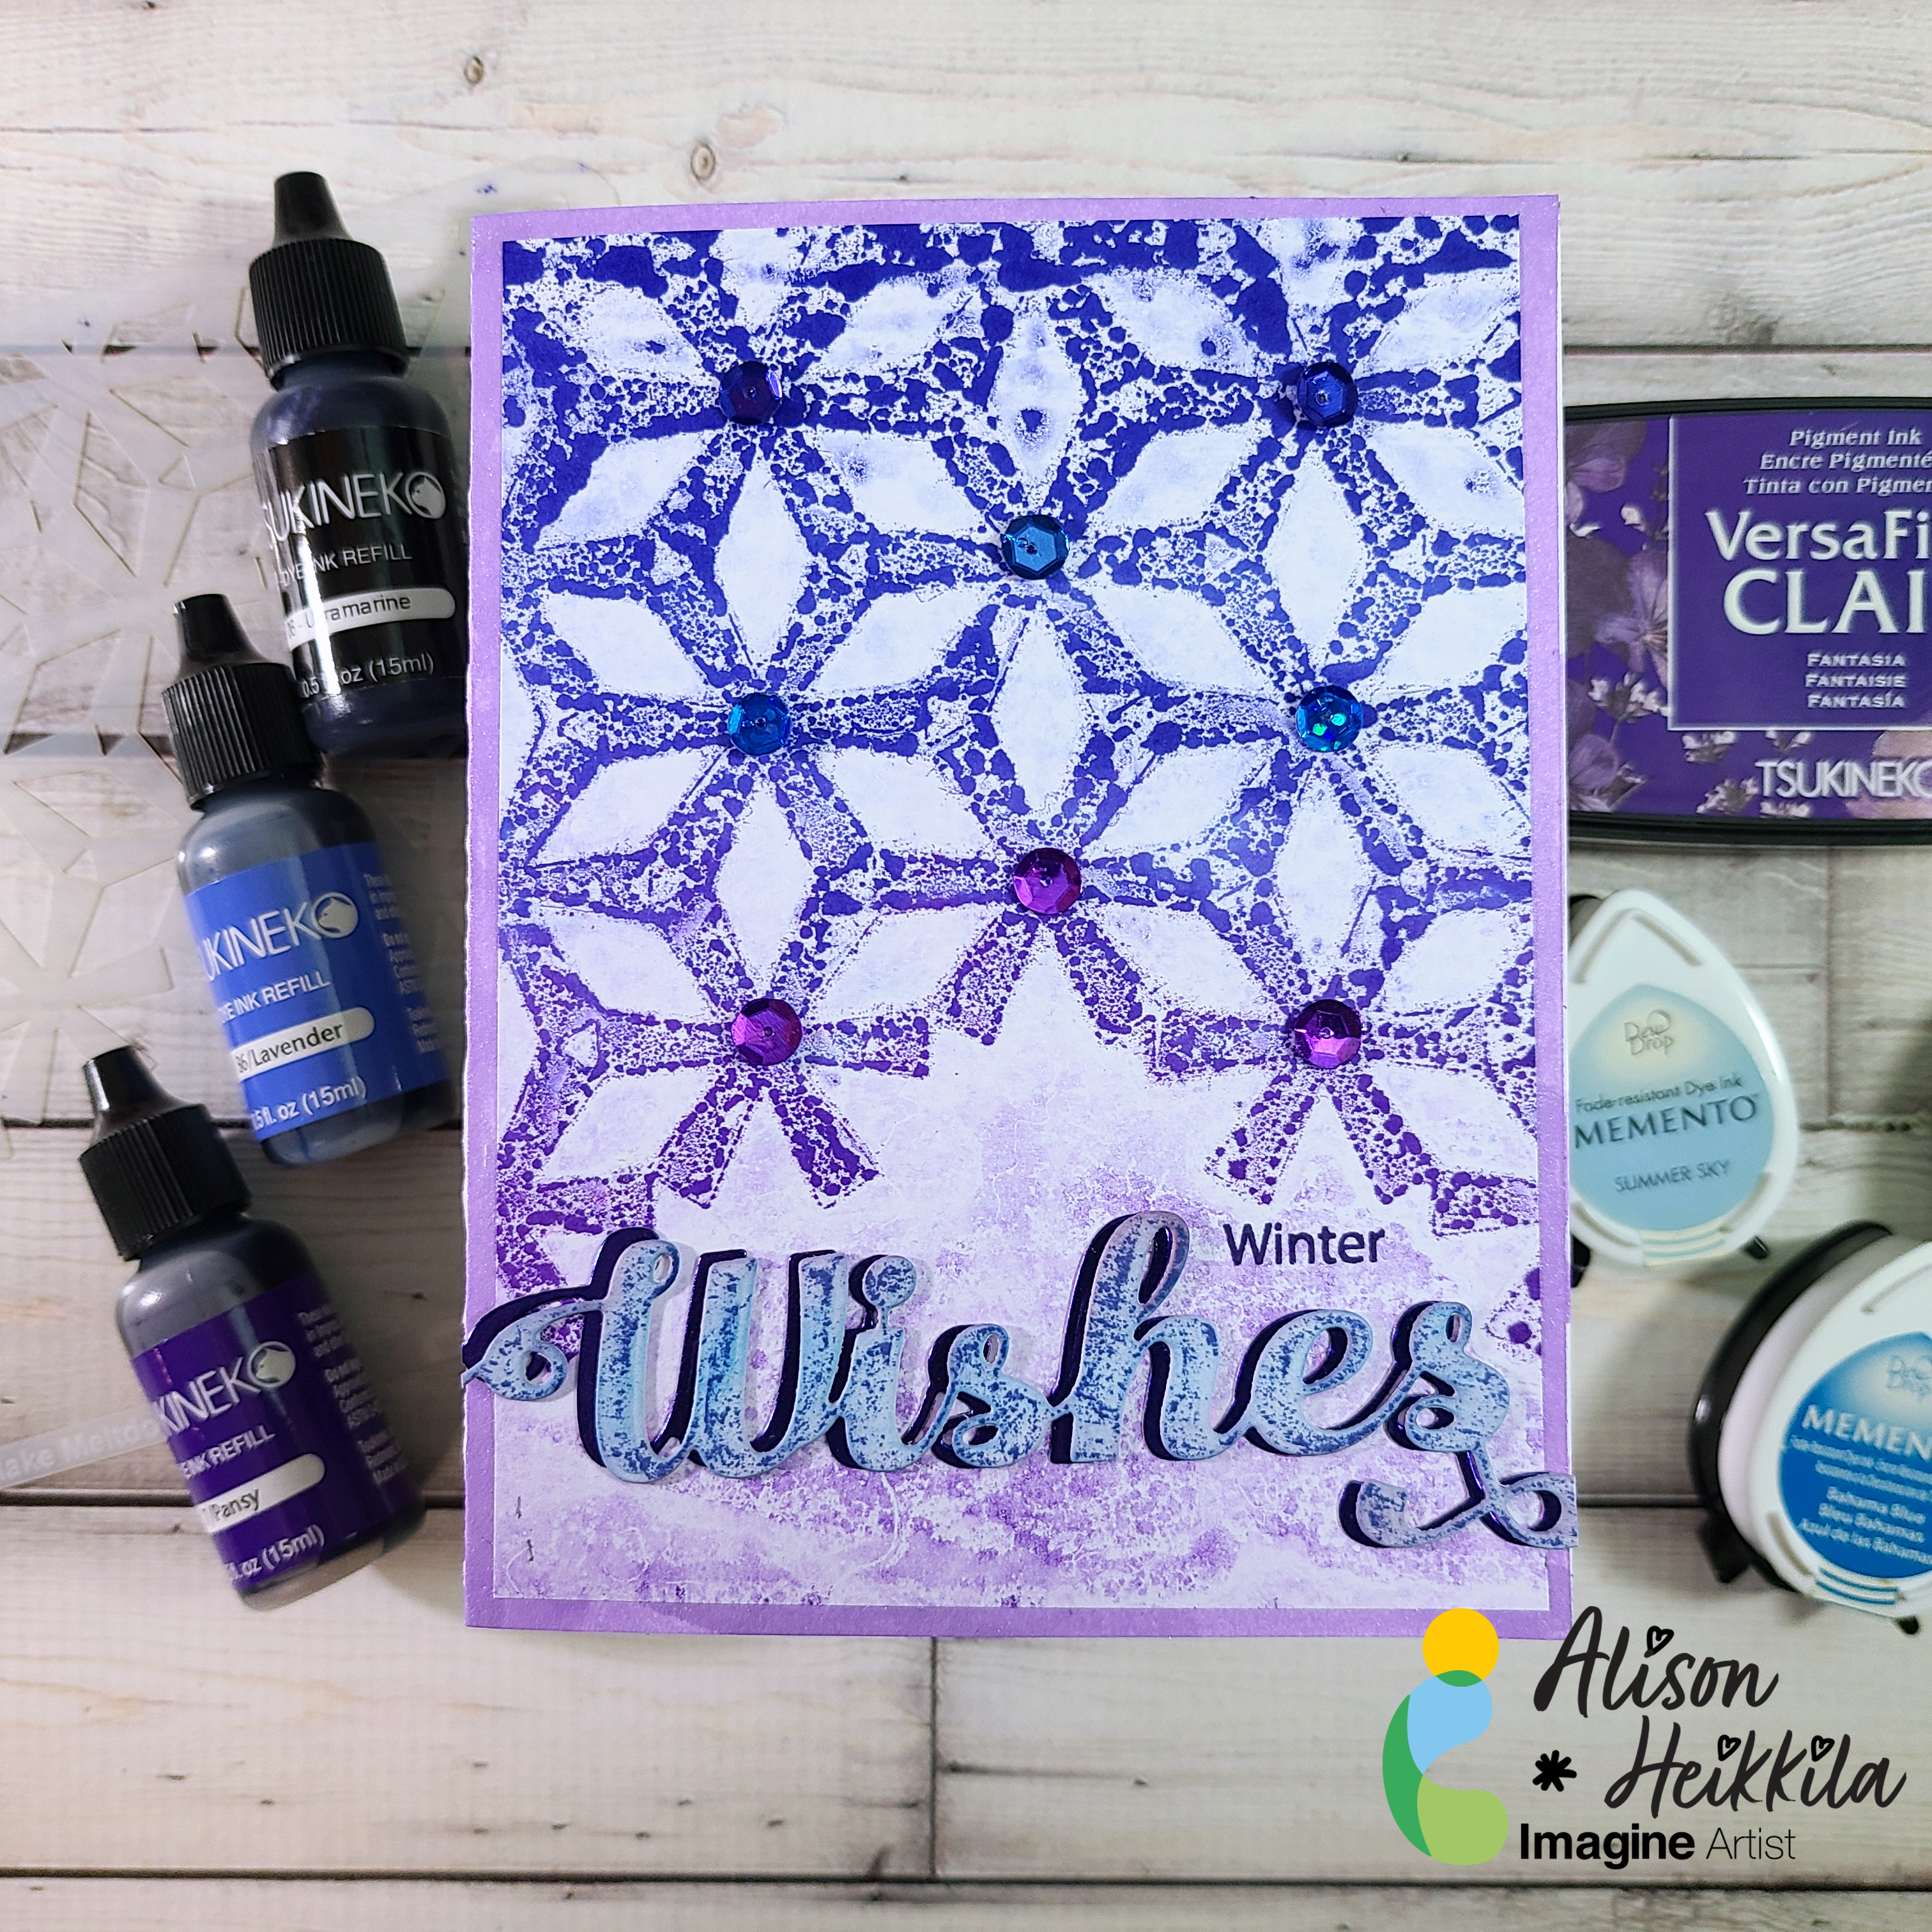
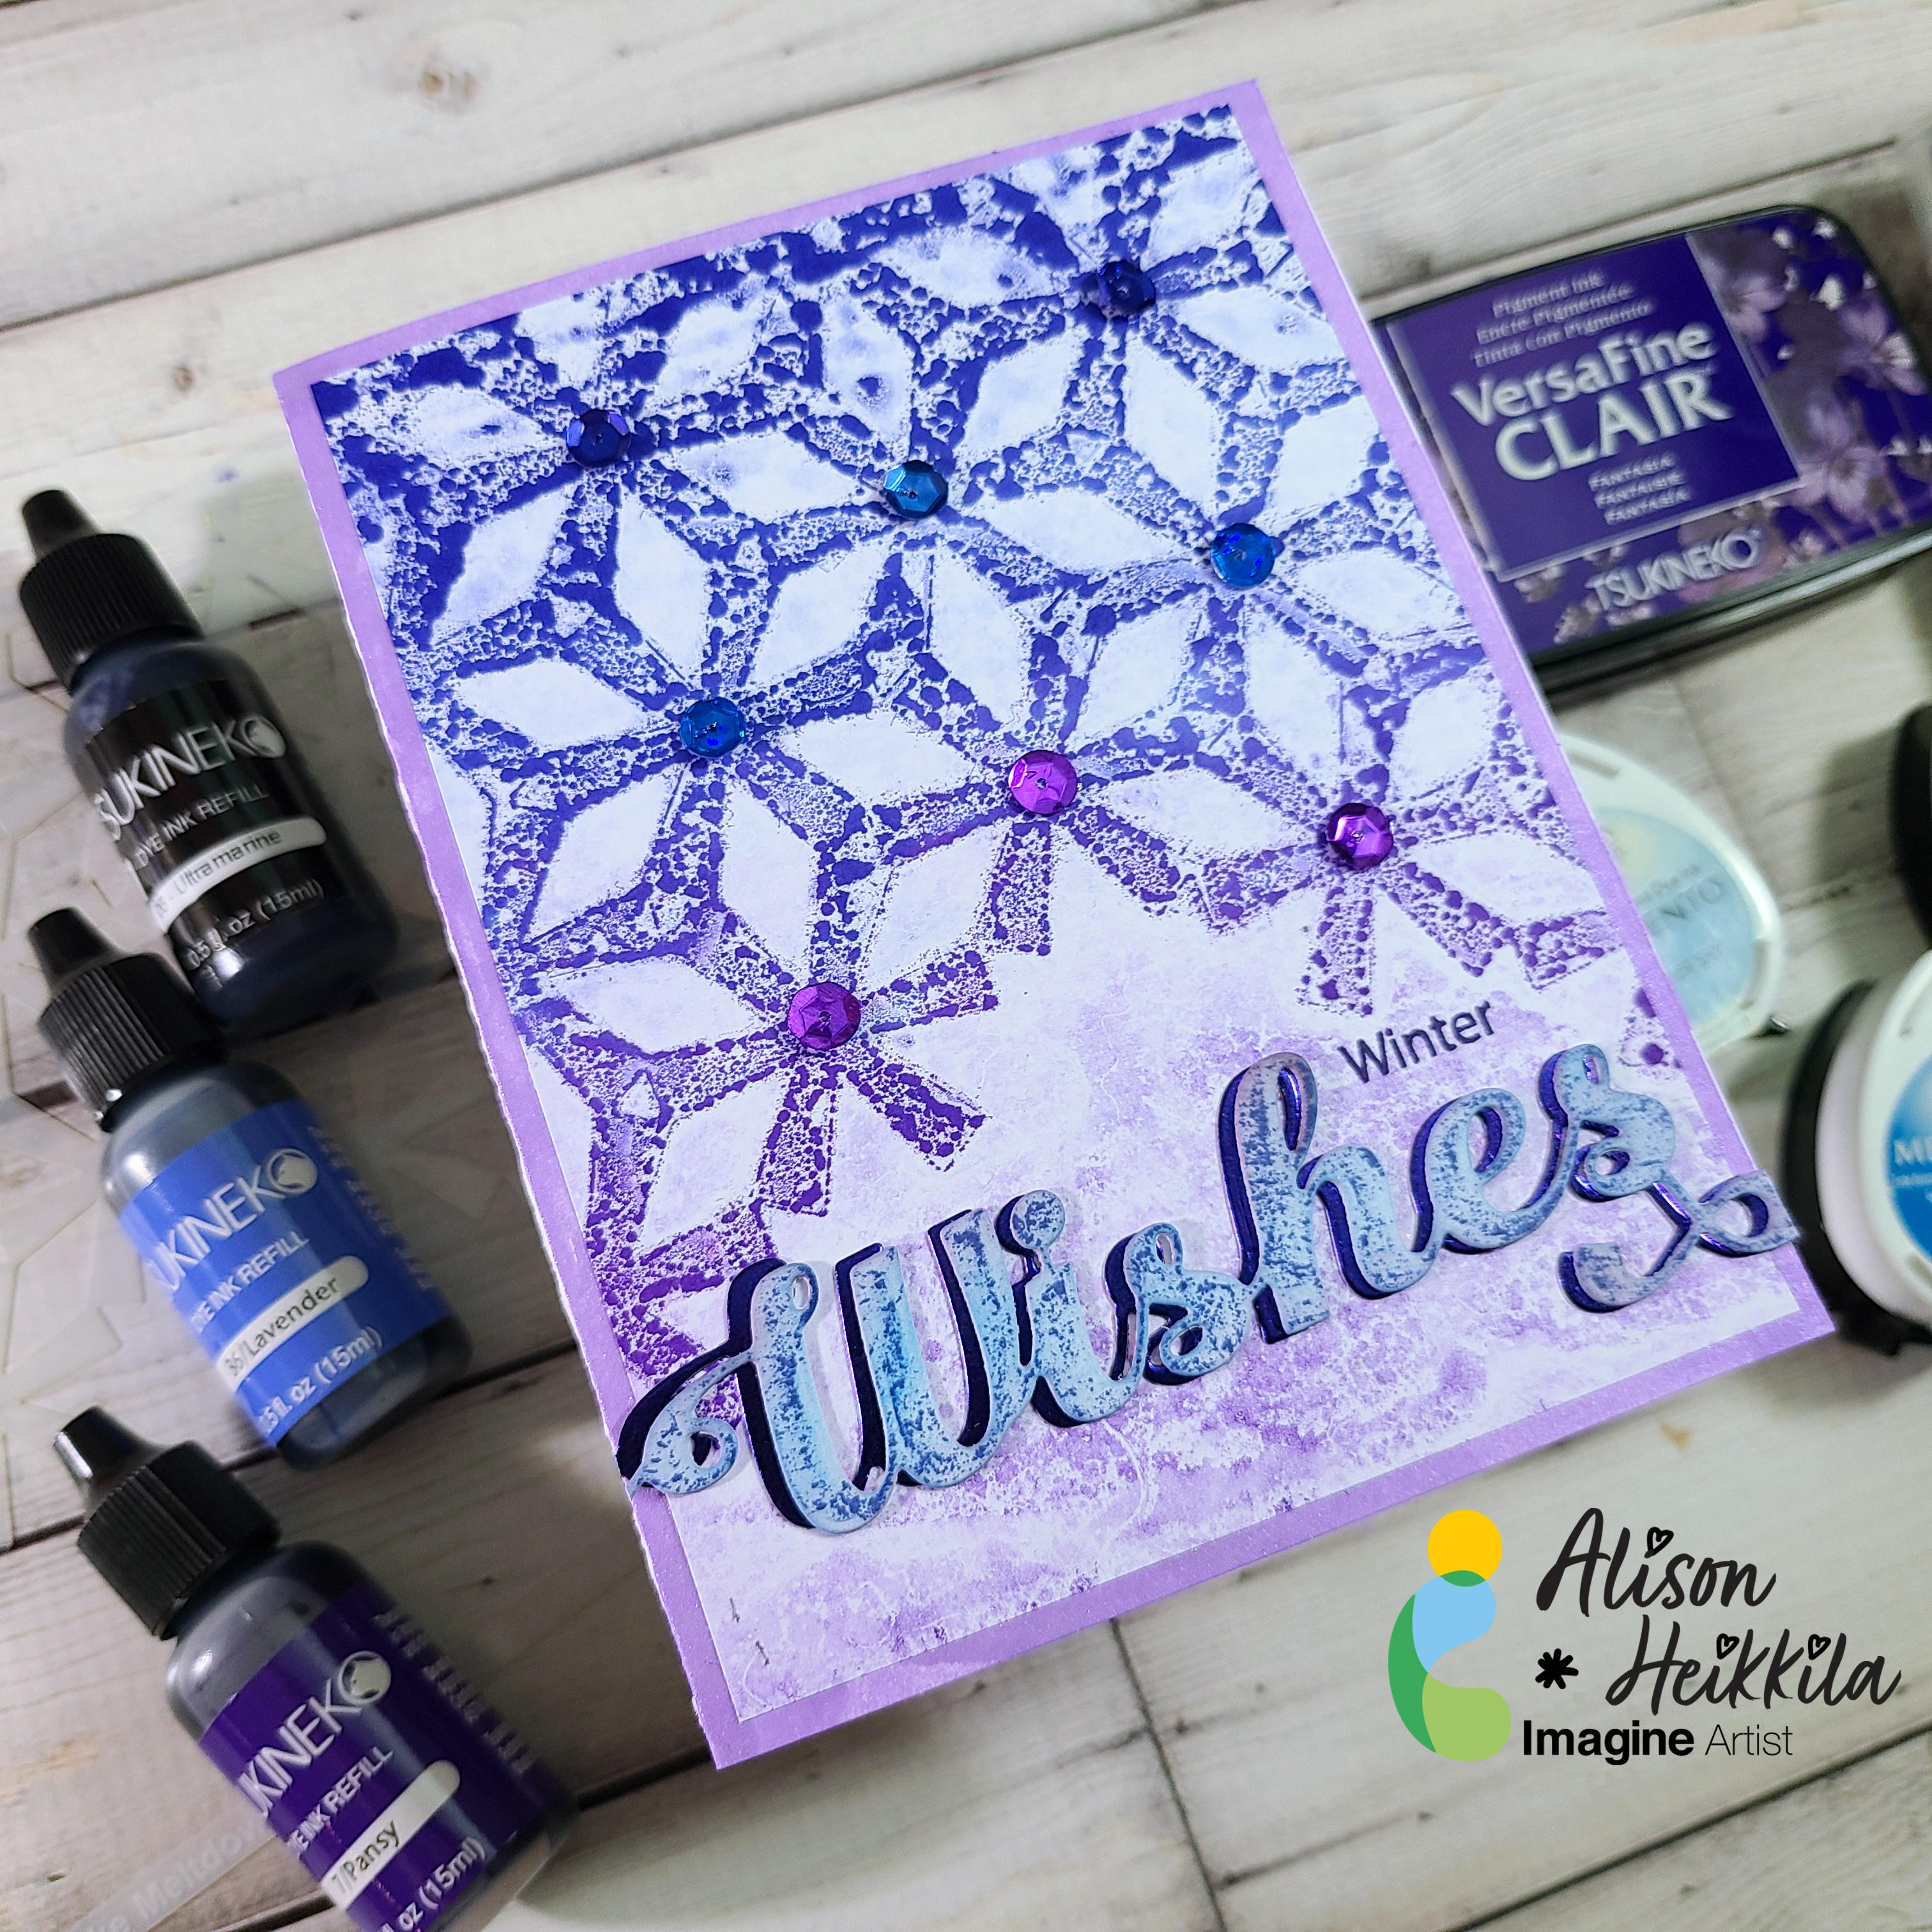
Hello! I’m Alison Heikkila and I’ve got my latest YouTube video for Imagine to share with you today. We’re going to use dye re-inkers on a Gel Press Plate with a pretty stencil to make some cool wintery monoprints. This is one of those instances where I wanted to just keep pulling prints, but I thought you’d want to see a finished card this time.
*Some affiliate links are used in this post. That means that if you shop through these links, I may receive a small compensation, at no cost to you. For more information, please see my Affiliates page, where I also have some coupon codes.
Skill Level: Basic to Intermediate
Time to Complete: 20+ minutes, depending on how many prints you pull.
Craft Supplies Used:
Imagine:
Dye Ink Reinkers in Pansy, Lavender, Ultramarine
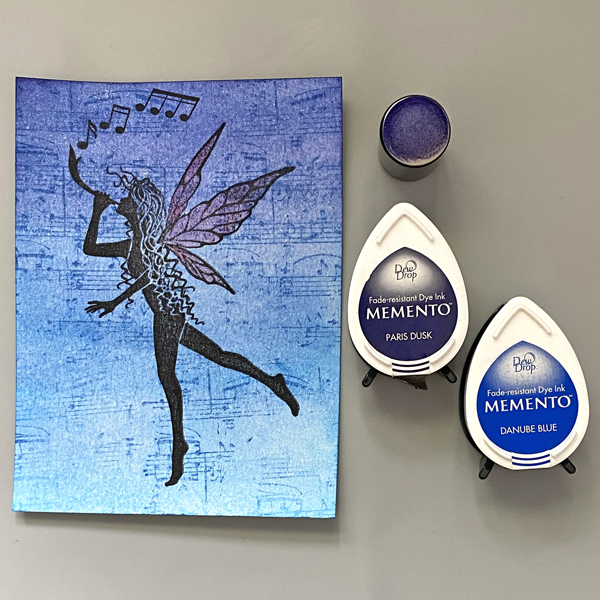
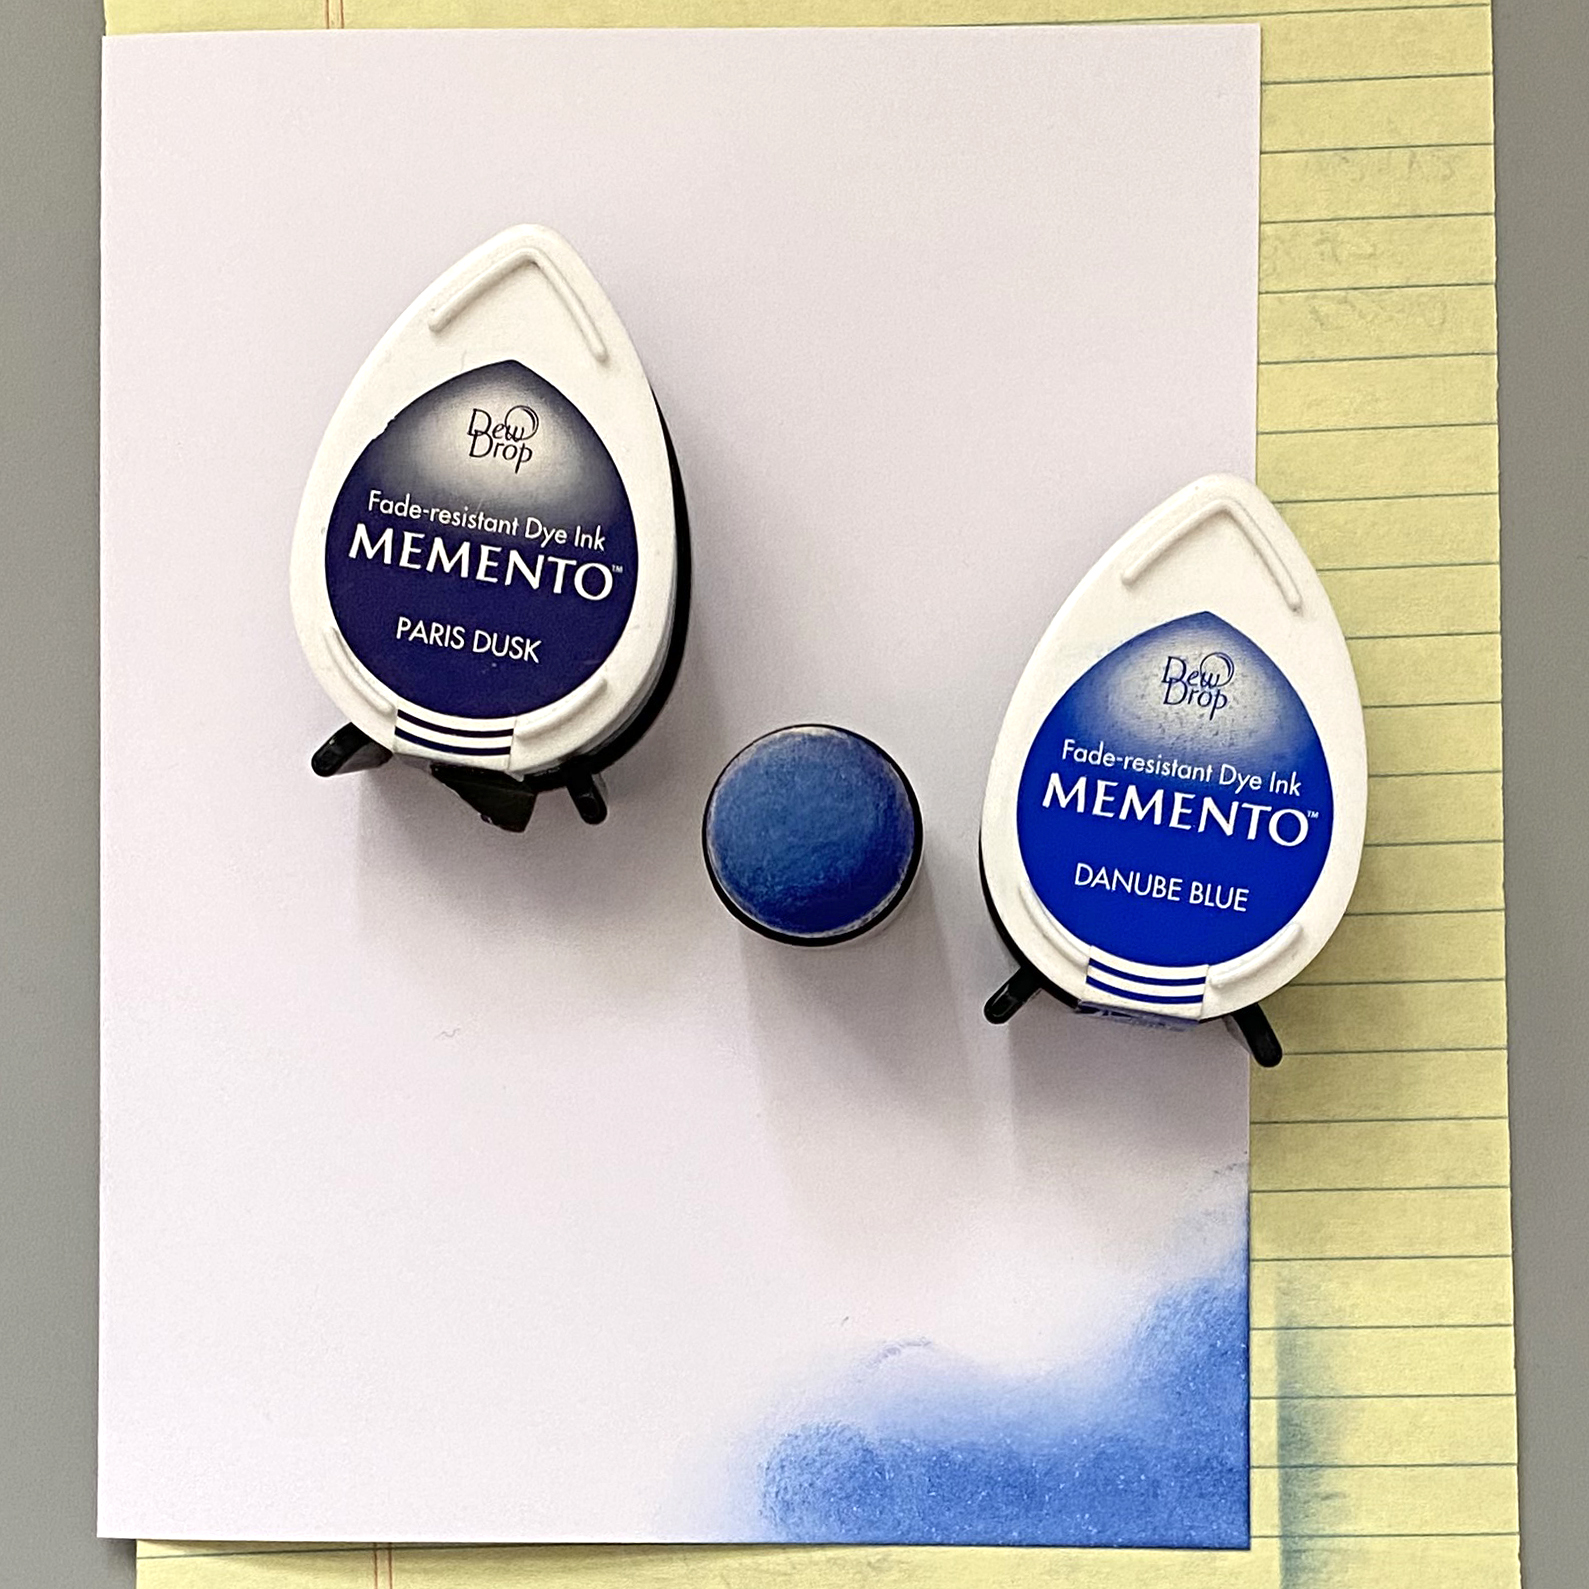
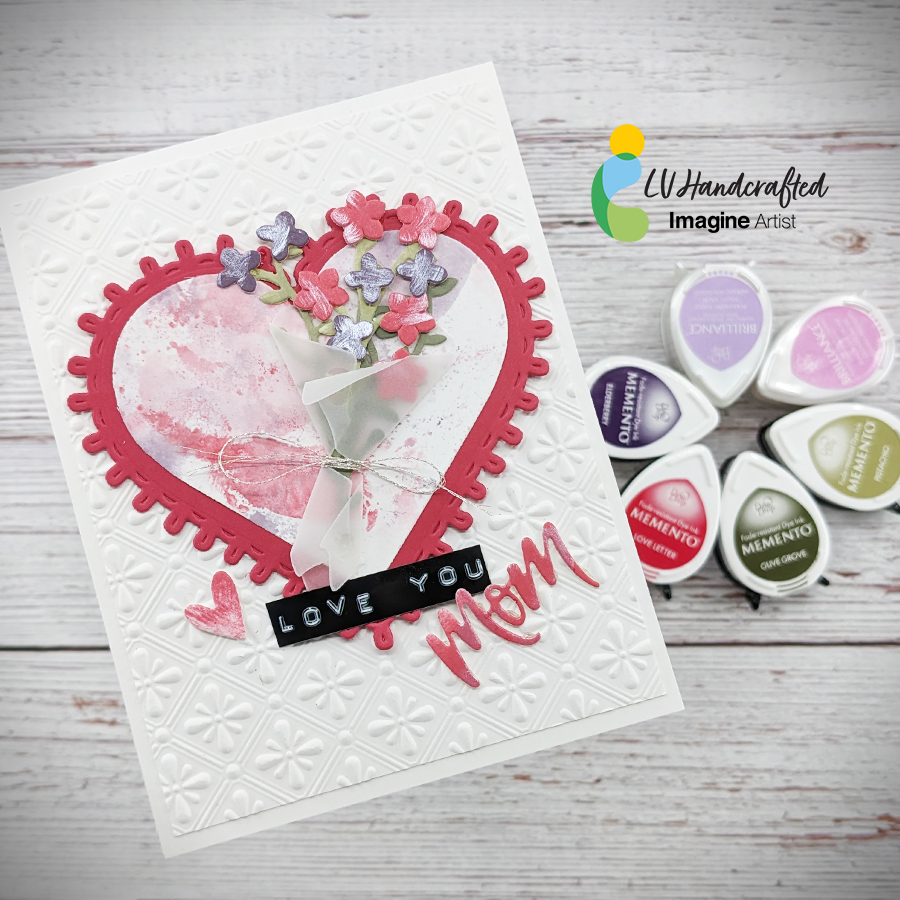
Memento Inks in Summer Sky, Bahama Blue, Paris Dusk, Elderberry
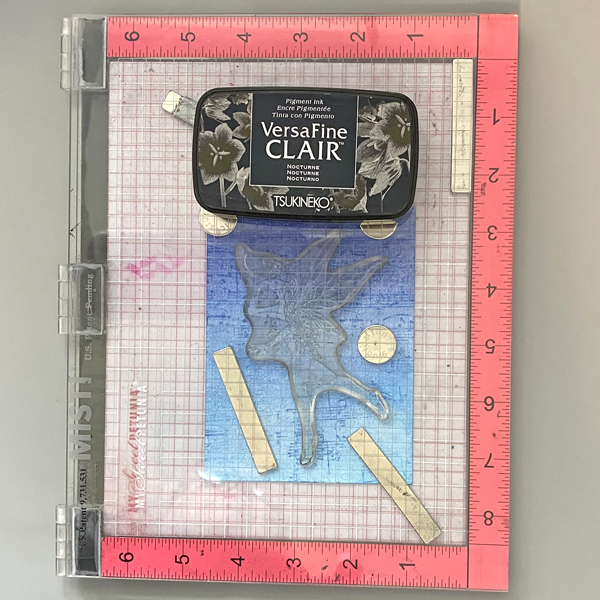
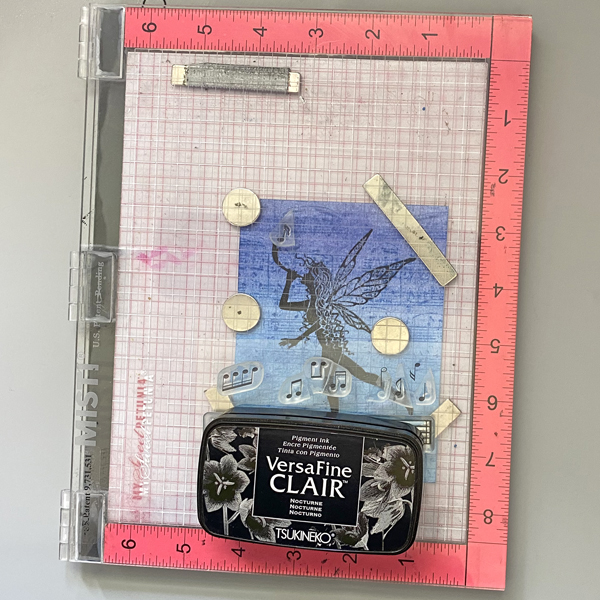
VersaFine Clair Ink in Fantasia
Fireworks! Spray in Grape Jelly
On Point Glue
Other:
Gel Press: 6×6 Plate
A Colorful Life Designs: Flake Meltdown Stencil
Creative Expressions: Festive Collection: Wishes
The Rabbit Hole Designs: Cotton Tail Blending Brushes
Bearly Arts Glue
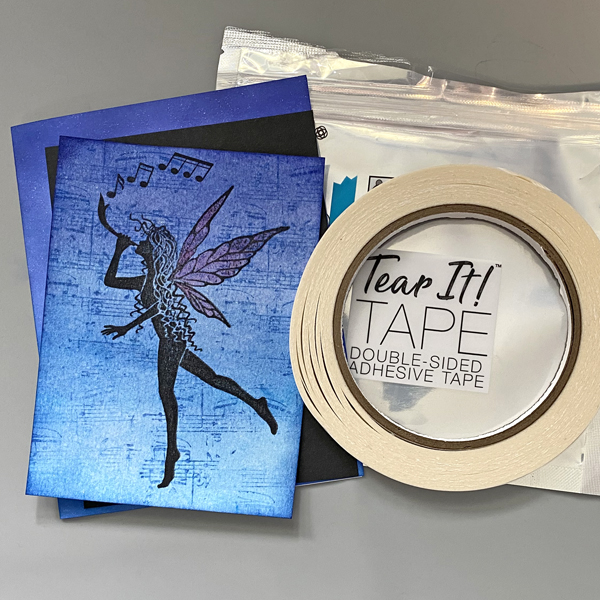
Michaels: Blue Foiled Cardstock
Blue and Purple Sequins
Copy Paper
White Cardstock
This is a great card for winter birthdays (like mine!), or perhaps you didn’t get around to sending all of your holiday cards. However, this would make a great holiday card too! I hope you pull out your re-inkers and give this a try with some of your stencils. Thanks so much for stopping by. Have an inspiring day!