by Lori Warren
Create a unique mask by stamping an original design on fabric. It’s a great way for you to express your unique style while showcasing your artistic talent!
Skill: Intermediate – Advanced
Time: Varies
Directions
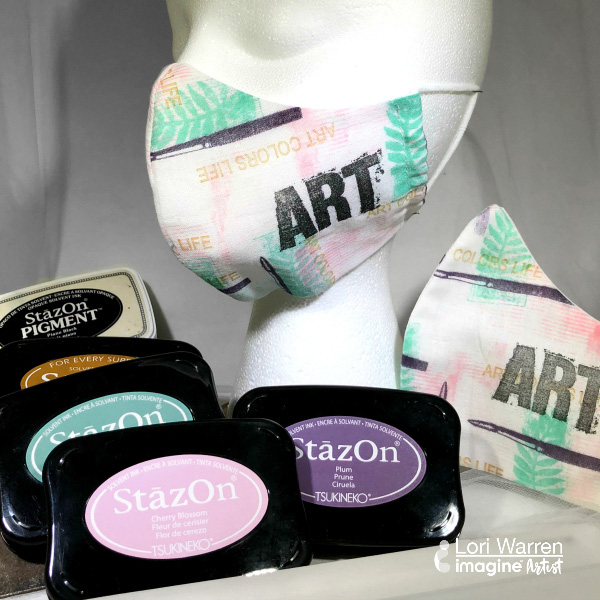
Supplies
Imagine
- StazOn Pigment Inkpad – Piano Black
- StazOn Inkpad – Cherry Blossom, Caribbean Green, Saddle Brown
- GlazOn Original
- Craft Mat
Other
- Fabric
- Elastic
- Face mask pattern
- Club Scrap Inc. stamp set
- Acrylic Block