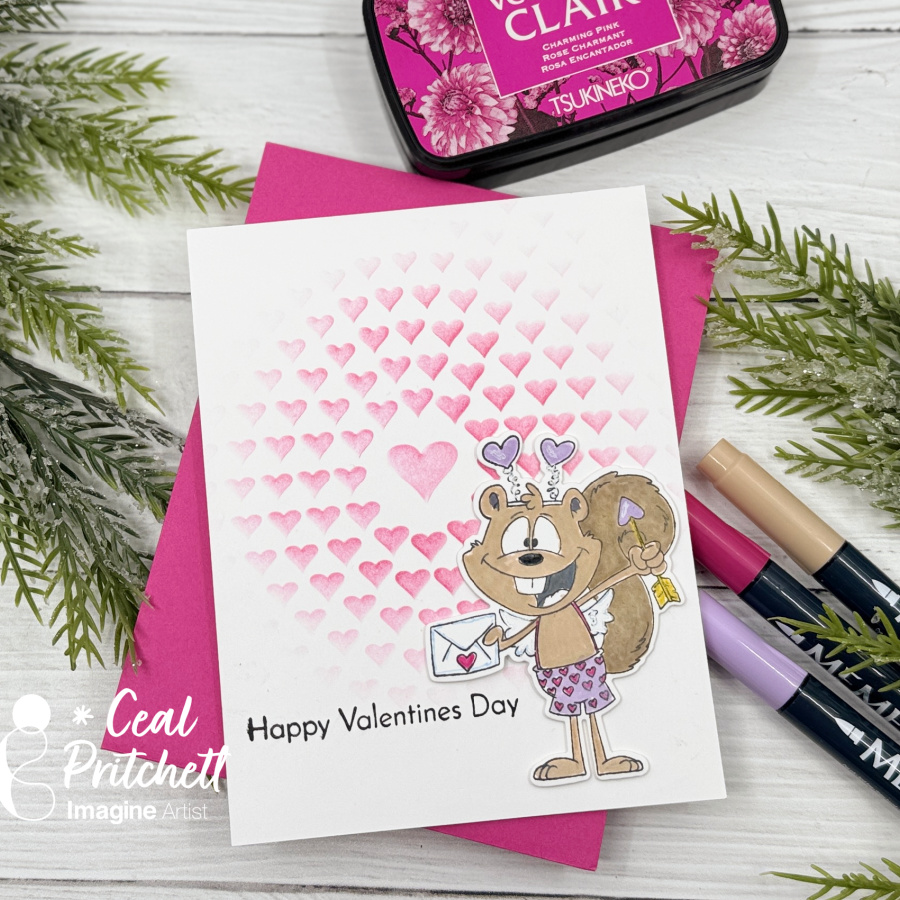
Hello crafty friends! It’s Ceal, here. Today I am sharing a Clean & Simple Valentines card.
Skill Level: Beginner to Intermediate Time: 30 to 45 Minutes
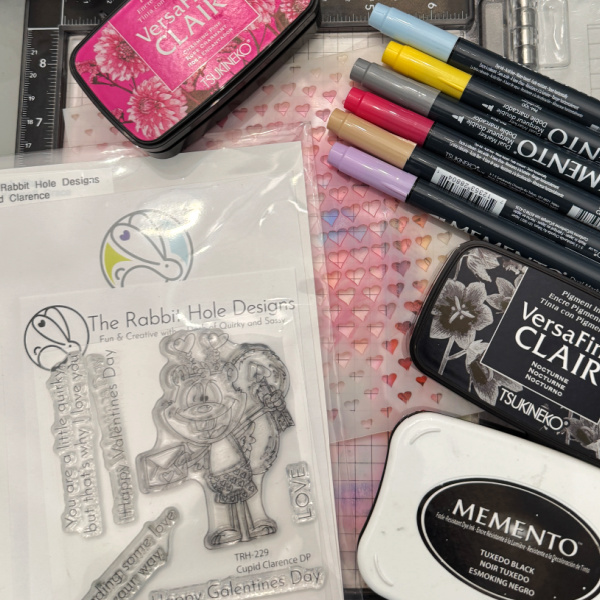
Directions: Gather you supplies. You will need a stencil, valentines stamp, pink or any color ink, markers and black ink.
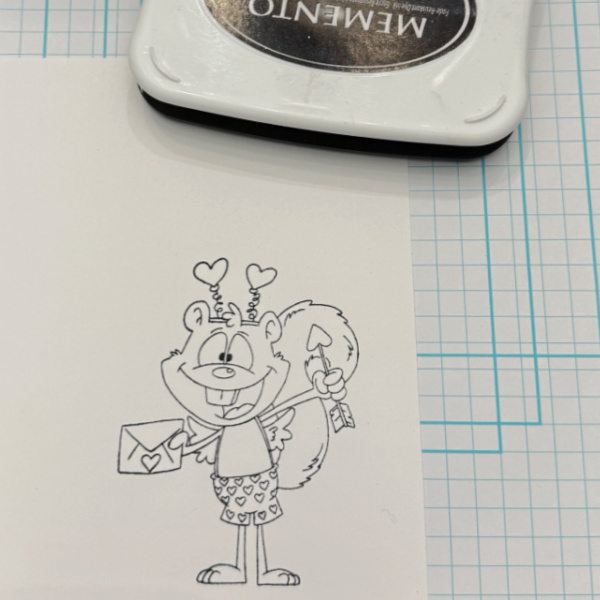
Step 1: Stamp your image with black ink ,I used Memento Tuxedo Black.
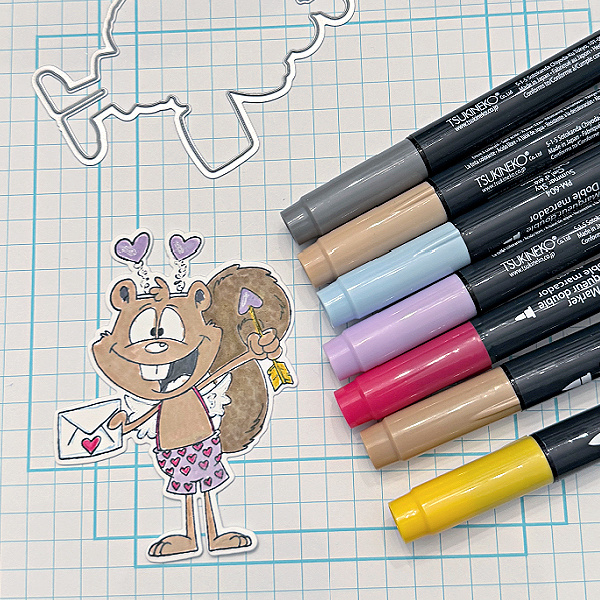
Step 2: Color the image with markers and then cut out with coordinating die.
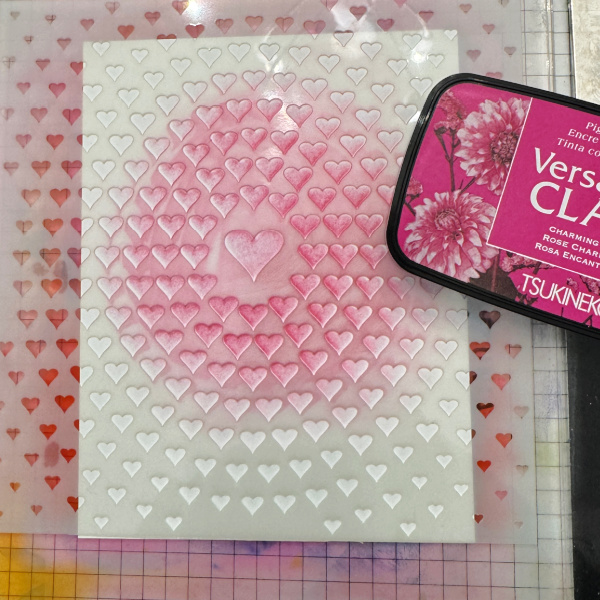
Step 3: Place a white panel cut to 4.25 x 5.5 down on a grip mat or other sticky surface. Lay stencil over it and add color with a sponge or blending brush starting in the center and gradually getting lighter toward the edge.
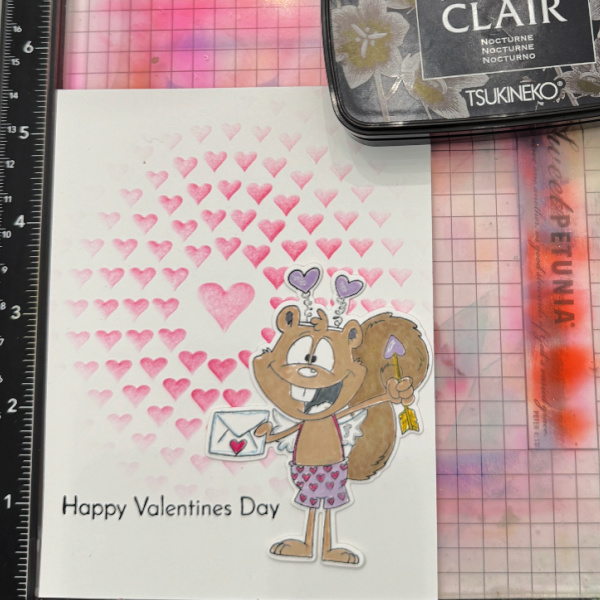
Step 4: Add the panel to a card base and stamp the sentiment using VersaFine Clair Nocturne. Add foam tape to op up the image.
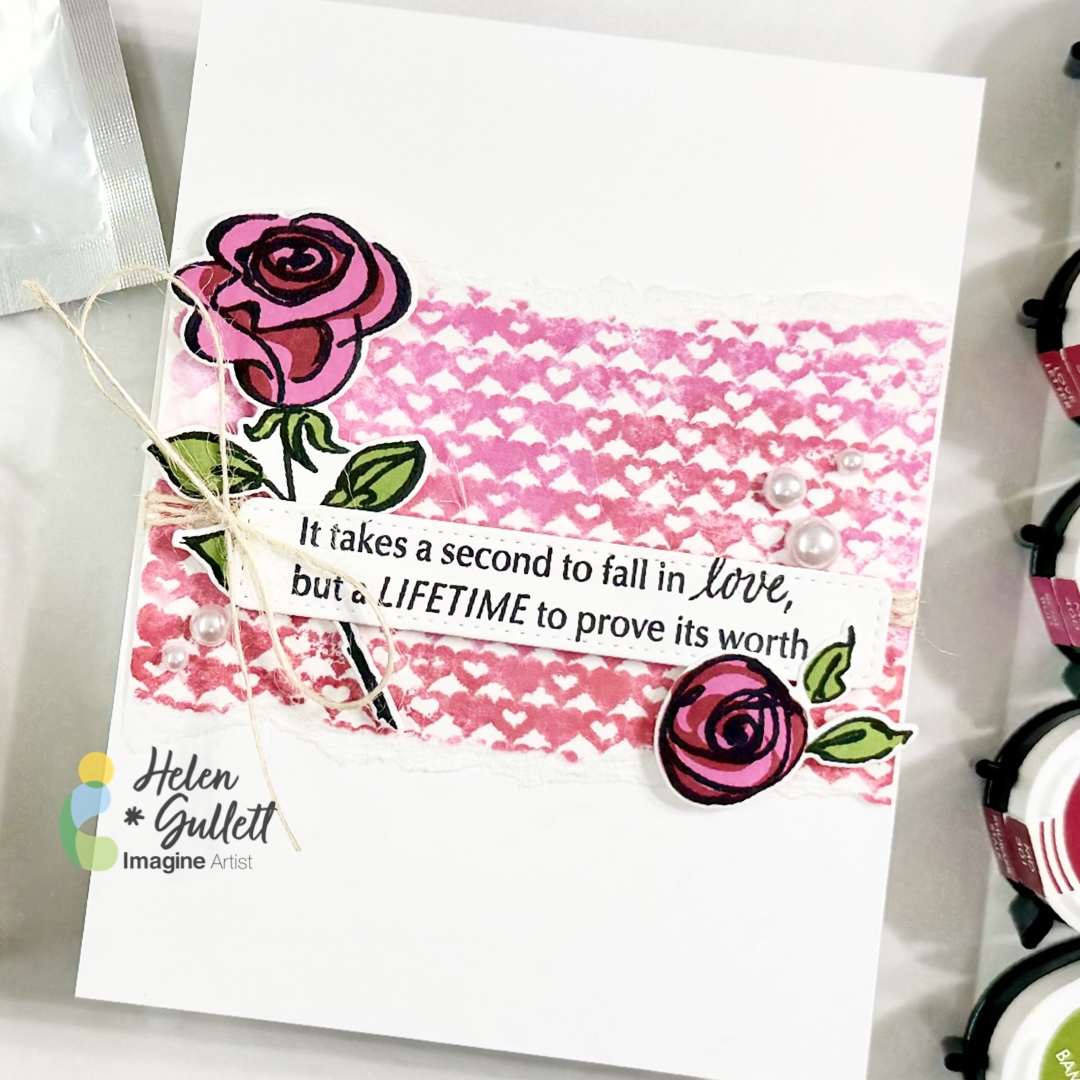
Hello crafty friends! Valentine’s Day is around the corner and today, I have a love themed CAS card idea to share with you all. It is a fun and quick card to make to spread love with others through handmade cards.
Let’s get crafting!
Skill: Intermediate Time: 15-20 minutes
Direction:
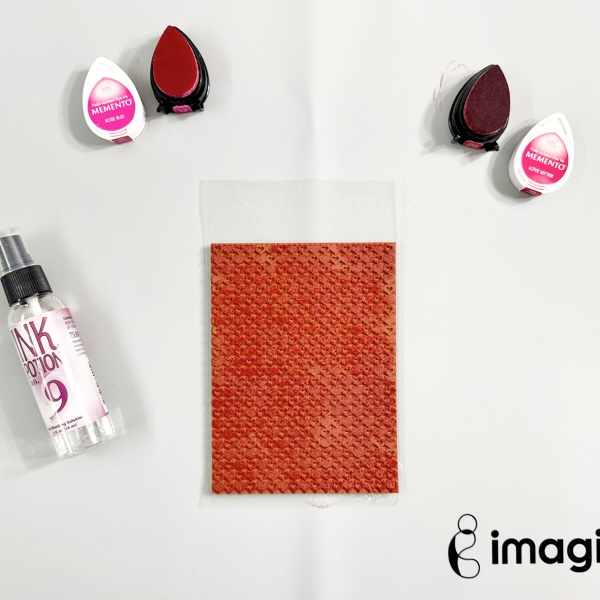
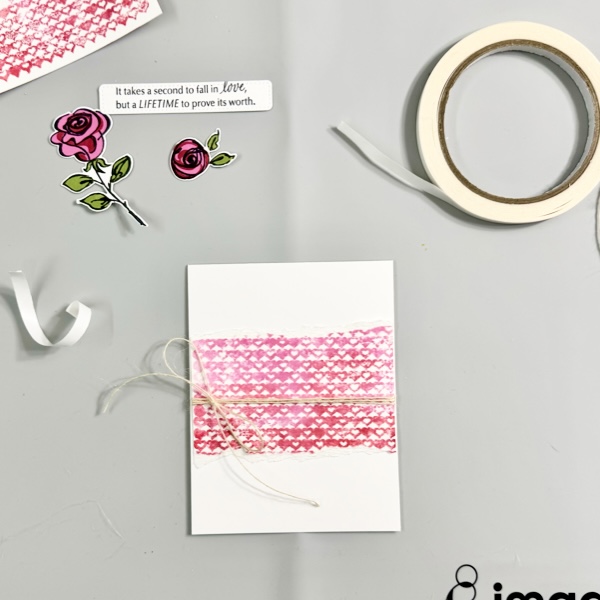
Step 1 Cut out a piece of Canson watercolor paper into 4.5 inch x 6 inch that you want to use as your background panel. I use 9×12 Canson watercolor paper and trim it into 2 panels.
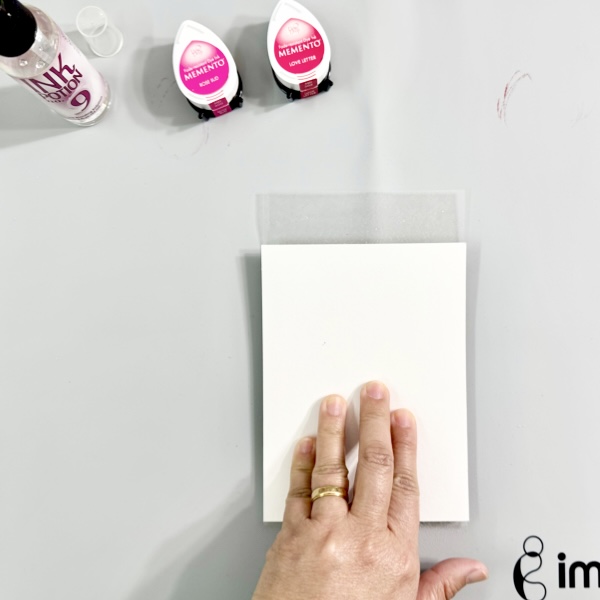
Dab randomly the Memento inks (Love Letter & Rose Bud) on the background stamp.
Spray lightly with the Ink Potion No. 9.
Step 2 Add the watercolor panel to the inked stamp and firmly press it down to the stamp. Try to center it to the stamp.
Carefully move around your finger all over the watercolor panel to get the ink transferred well.
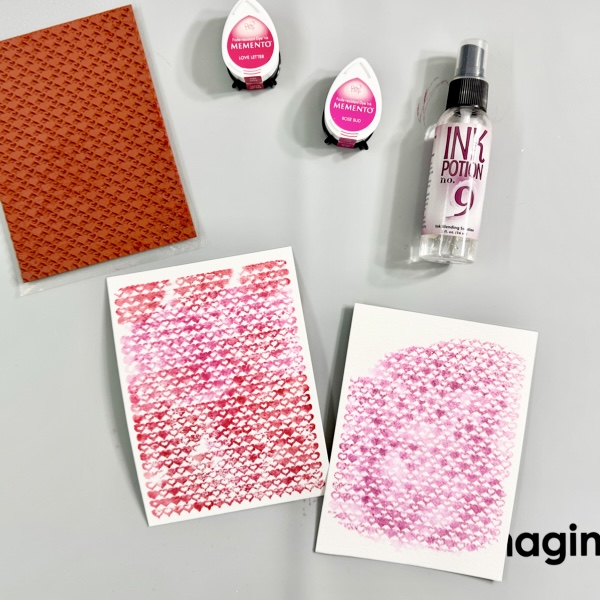
Lift up the paper off the stamp and you will get the first watercolor print background. There are still some inks left on the stamp, pray again with the Ink Potion No.9 to get the second print out of it.
Step 3 Repeat step 2 but instead of moving your hand all over the paper, you can try to just partially press the paper to get partially watercolor background print just like on the right panel in the picture.
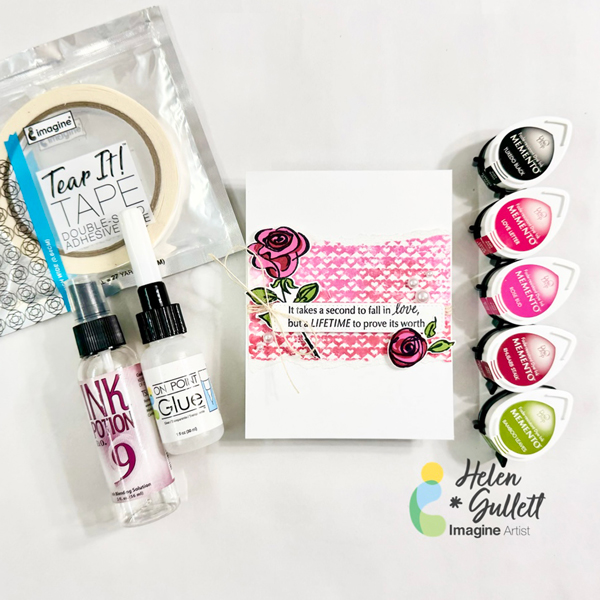
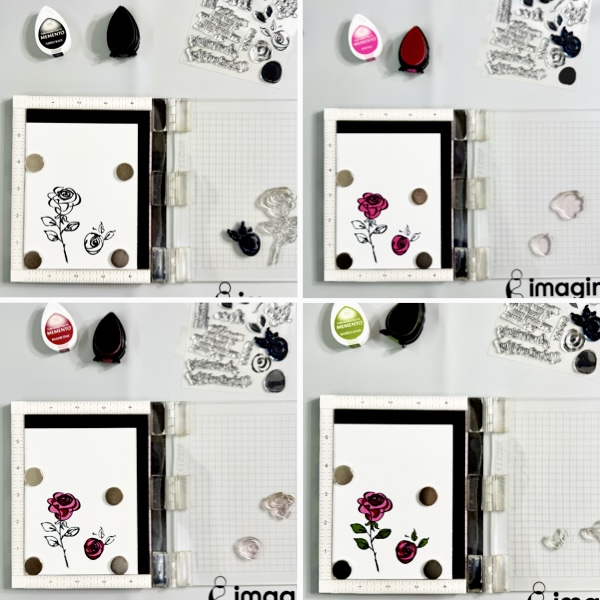
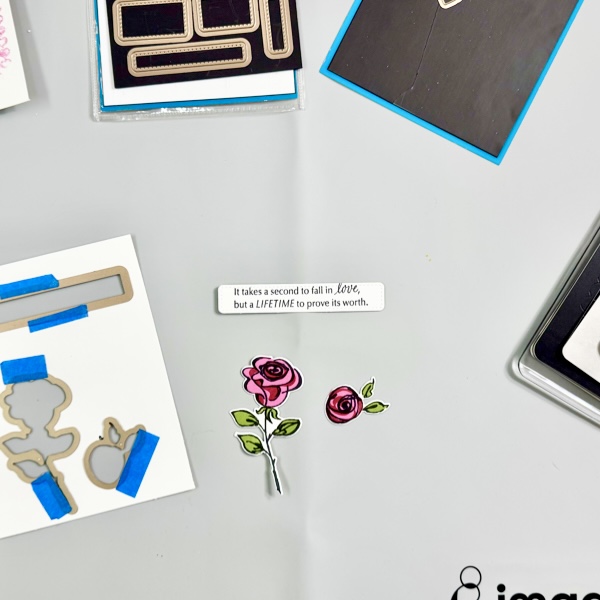
Step 4 This layered stamping technique is easier done with a position stamping tool if you have it. If you do not have it, clear acrylic stamping blocks work, too. Cut out a white cardstock into 4.25 inch x 5.5 inch.
Stamp the outline flower images with a Memento Tuxedo Black ink pad.
Stamp the solid background flower images with a Rose Bud ink pad, then stamp the shadow flower images with a Rhubarb Stalk ink pad.
Stamp the leaves images with a Bamboo Leaves ink pad.
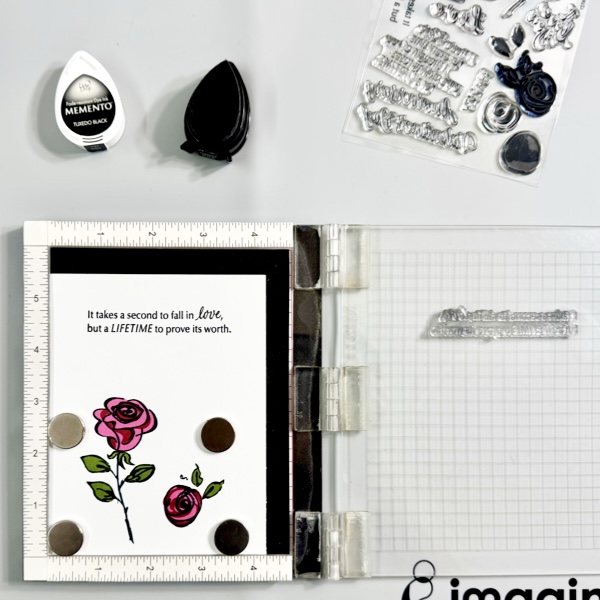
Step 5 Stamp the sentiment with a Memento Tuxedo Black ink pad at the extra space of the cardstock panel.
Step 6 Cut out all the flower pieces with the matching dies. Optional, if you don’t have the matching dies to your stamp set, you can fussy cut it with scissors.
Cut out the sentiment with one of the Label framelits dies.
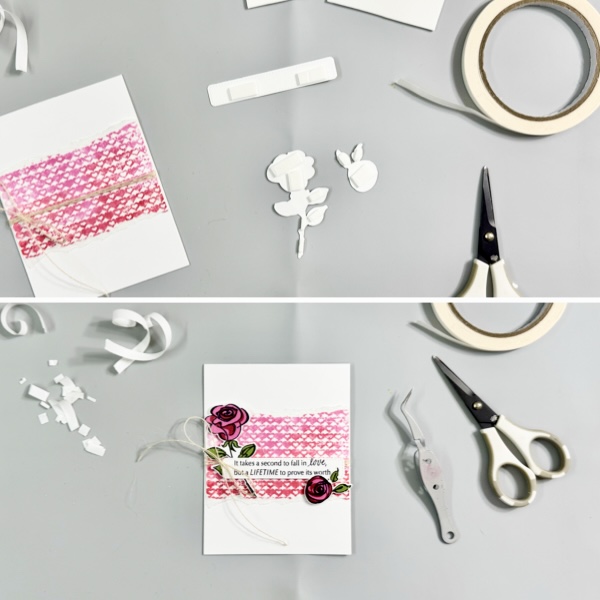
Step 7 Rip the top and bottom of the watercolor background panel to give some texture to the background panel.
Optional: You can use the whole watercolor background panel as your background.
Wrap around some of the Burlap twine around the background panel and tie up a bow.
Add it to the card base with some of the Tear It! Tape.
Step 8 Add some of the Tear It Tape! to both sides of the white fun foam and cut it into a 3D foam tape strip. Add some of them to the flowers and sentiment label.
Add each of the flowers and sentiment to the card.
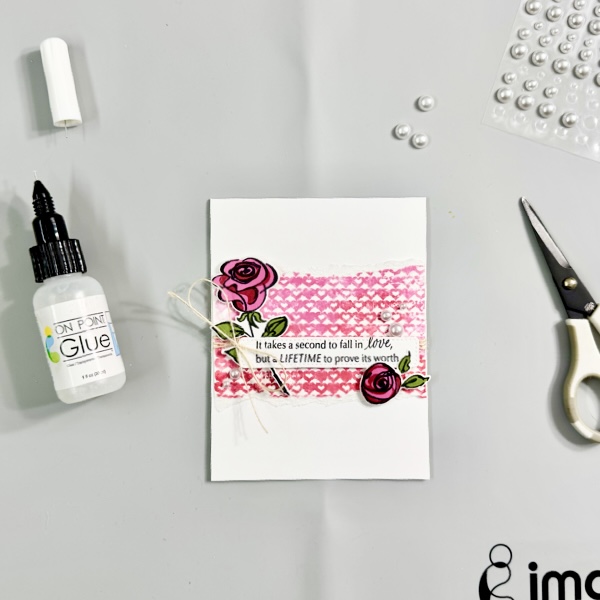
Step 9 Add some of the white pearl gems with some of the On Point Glue to embellish the card.
Hope this CAS card project gives you an idea to make some Valentine’s Day. Thank you for stopping by our blog today. Have a fabulous day!
Craft Supplies
Imagine Crafts:
Memento Dew Drop (Tuxedo Black, Love Letter, Rose Bud, Rhubarb Stalk, Bamboo Leaves)
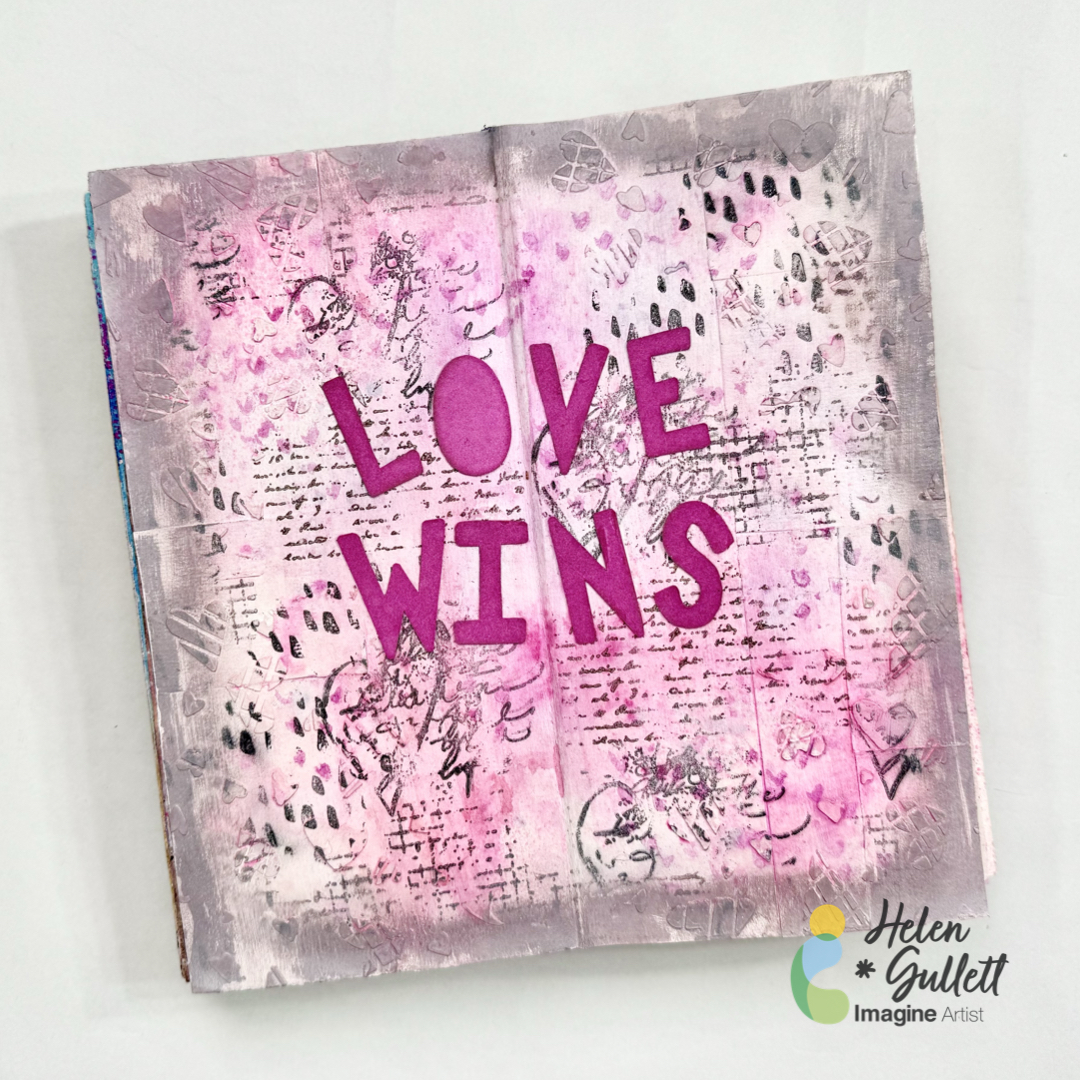
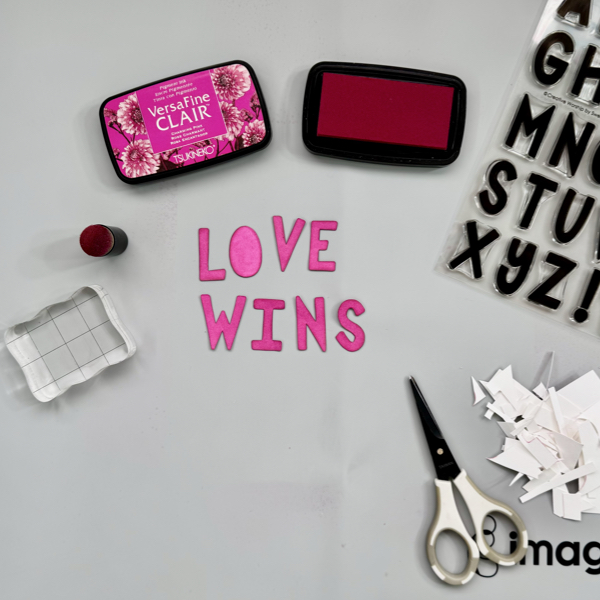
Hello crafty friends! Can you feel the love fill the air? With love in our hearts and minds today, we are going to have fun creating this Love Wins art journaling page together. Let’s get crafting!
Skill: Intermediate Time: 45-60 minutes
Direction:
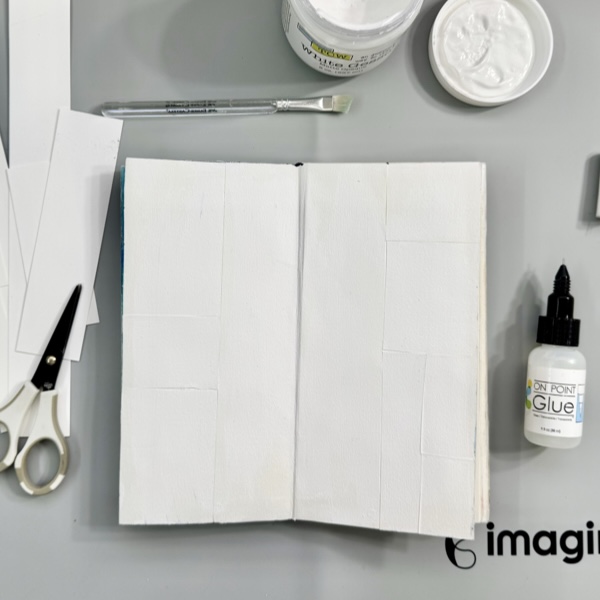
Step 1 Cut out the Canson watercolor leftover or strips into squares and rectangles. Add the pieces to the journal page with On Point Glue. Let them dry well for a few minutes. This will create the tile background to give extra texture to the journal page. (Optional: you can skip this if you want to have smoother background to your page)
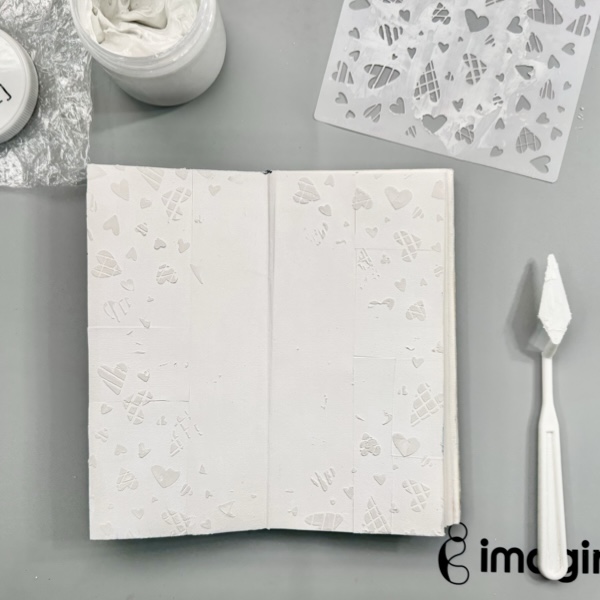
Step 2 Add some of the texture paste around the corners and edges of the journal page using a stencil and palette knife. Remove the stencil and wash it right away with warm water. Let the texture paste to dry. You can use a craft heater to speed up the drying time, but be very careful to not heat it up too much, move around your craft heat all over the page. Let the page cool down.
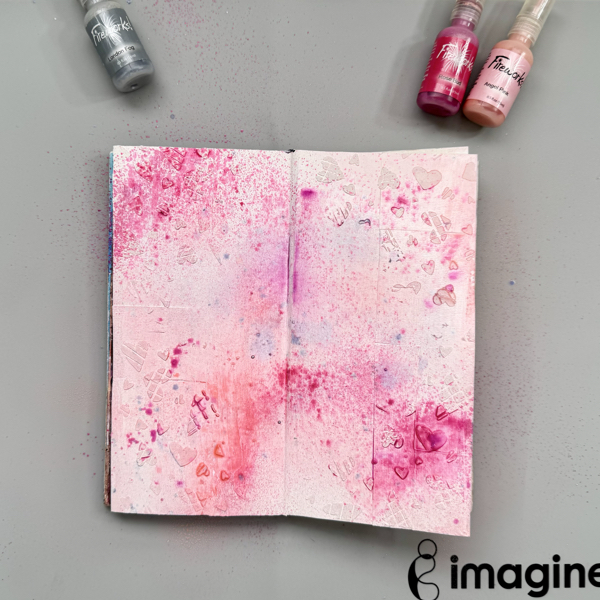
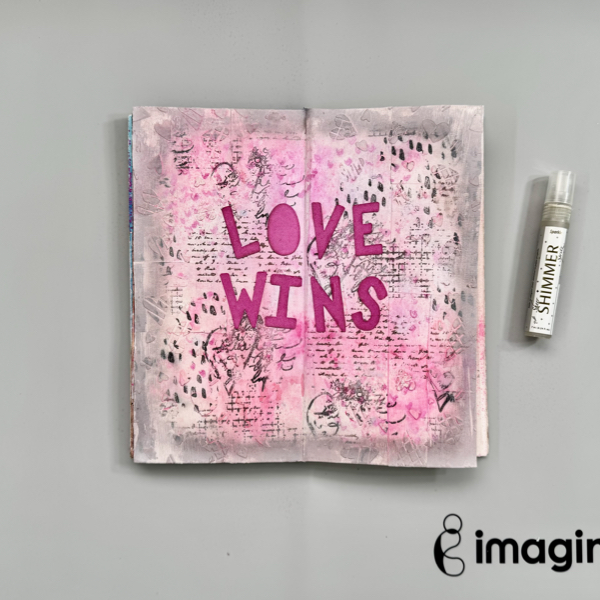
Step 3 This is a fun step! Start spraying your page with the Fireworks! Shimmery Craft Spray, one color at the time. You do not need to wait for each color to dry to spray the next one. It is fun to watch how each color blends together. Use a craft heater to dry the background. Optional: you can repeat spraying until you get the color blending you like to have.
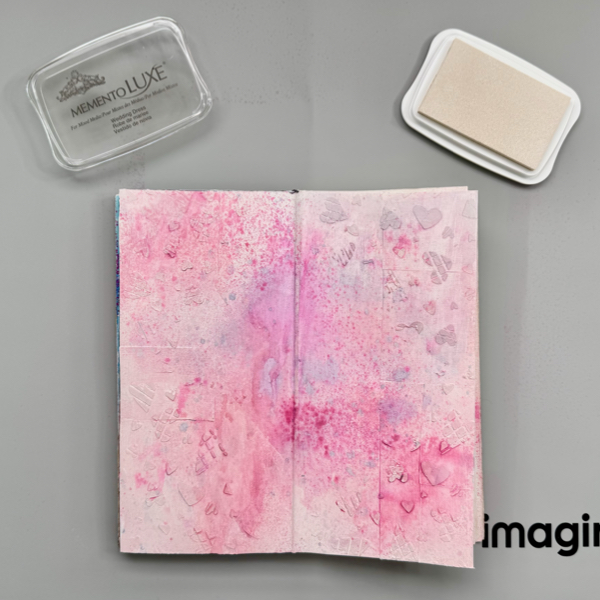
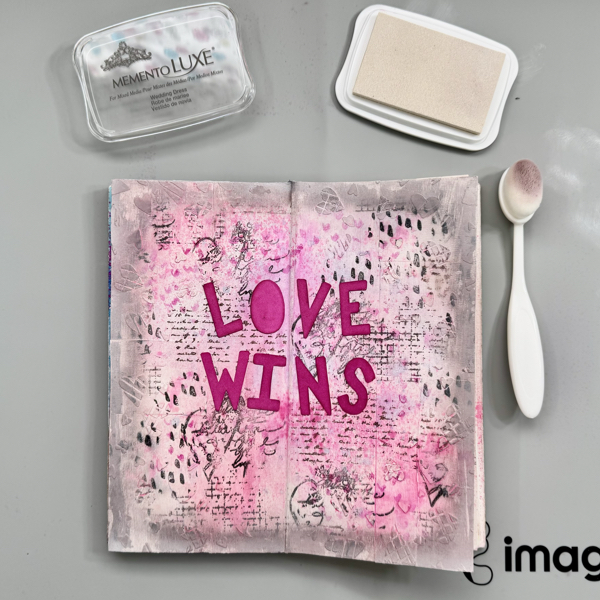
Step 4 Add some of the Wedding Dress Memento Luxe ink to the page using your finger on the texture paste heart on the background. This will bring out the hearts and muted the bright colors a little bit. Dry the background with a craft heat gun.
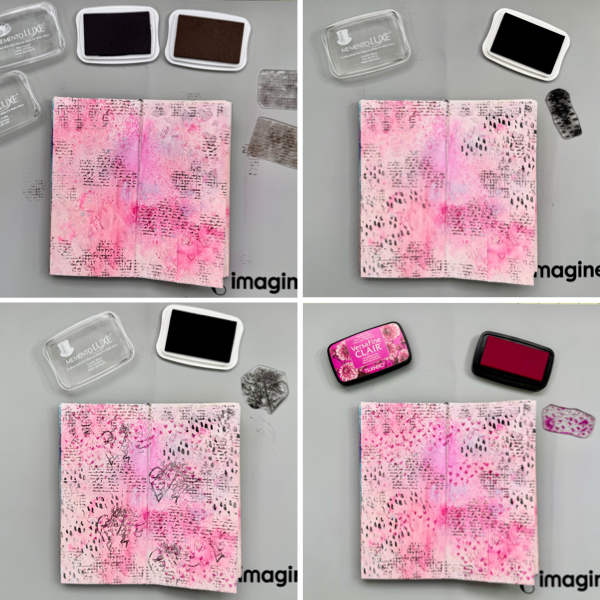
Step 5 Building up the background texture on the journal page by randomly stamping each texture stamp one by one using the Memento Luxe ink pads (Tuxedo Black, Rich Cocoa, Espresso Truffle) and VersaFine Clair Charming Pink ink pad. Dry the ink after stamping each image on the journal page.
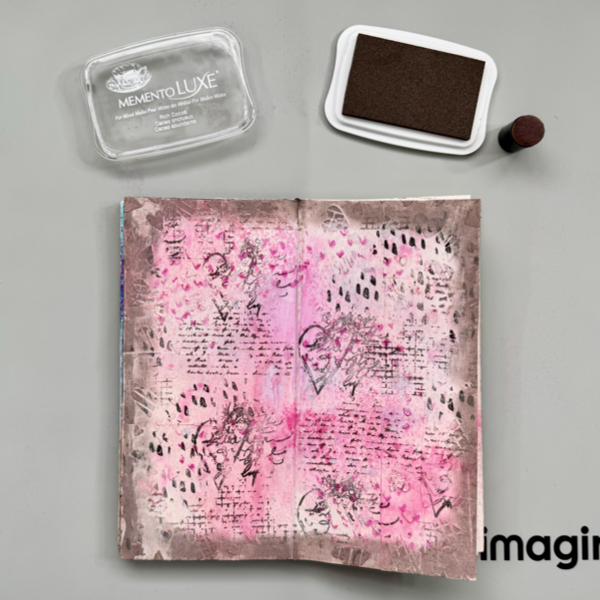
Step 6 Using sponge dauber, add some of the Memento Luxe Rick Cocoa ink around the corner of the page to create the shadow border. Dry the ink with a craft heat gun.
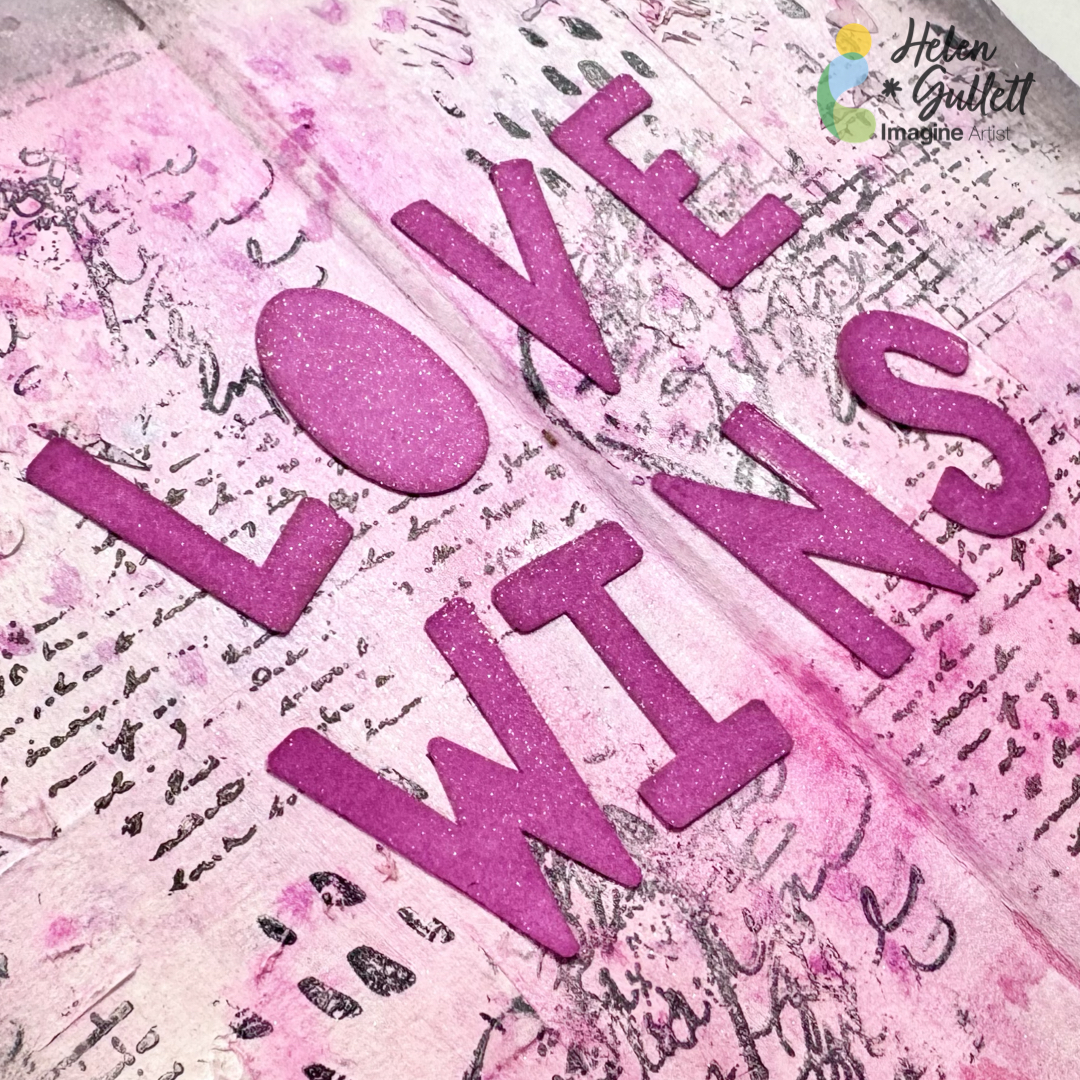
Step 7 On a piece of white cardstock, stamp the letters for the title or sentiment using VersaFine Clair Charming Pink inkpad. Dry the stamped letters with a craft heat gun. Cut out each letter with scissors. Add some of the VersaFine Clair Charming Pink ink around the edges of the letters using a sponge dauber to give some shadows effect to the letters.
Step 8 Add each letter to the journal page with On Point Glue.
Step 9 This is an optional step. I decided to muted down the Rick Cocoa border by adding some of the Memento Luxe Wedding Dress ink with a blending brush.
Step 10 Add some shimmer sparkle to the page by spraying some of the Sheer Shimmer Sparkle Spritzer. Dry the whole page once more time with a craft heat gun. It’s done.
Let unconditional love fill each of your hearts every day so we can show love to others. At the end… Love wins! Thank you for stopping by our blog today. Have a wonderful day.
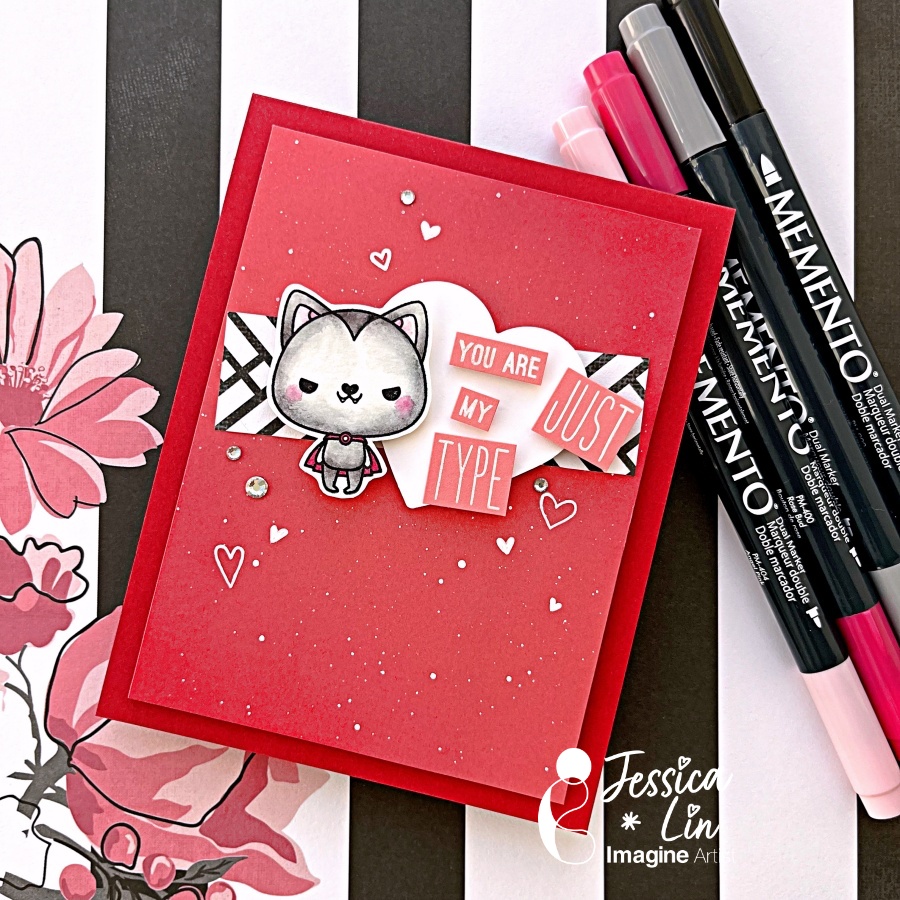
Hi everyone! It’s Jessica here and welcome back to another card tutorial. Have you sent Halloween cards to others before? Even though I have created some in the past, I found that I don’t usually send or hand deliver them. So this year, I decided to add a different twist and create a Halloween themed Valentine’s card!
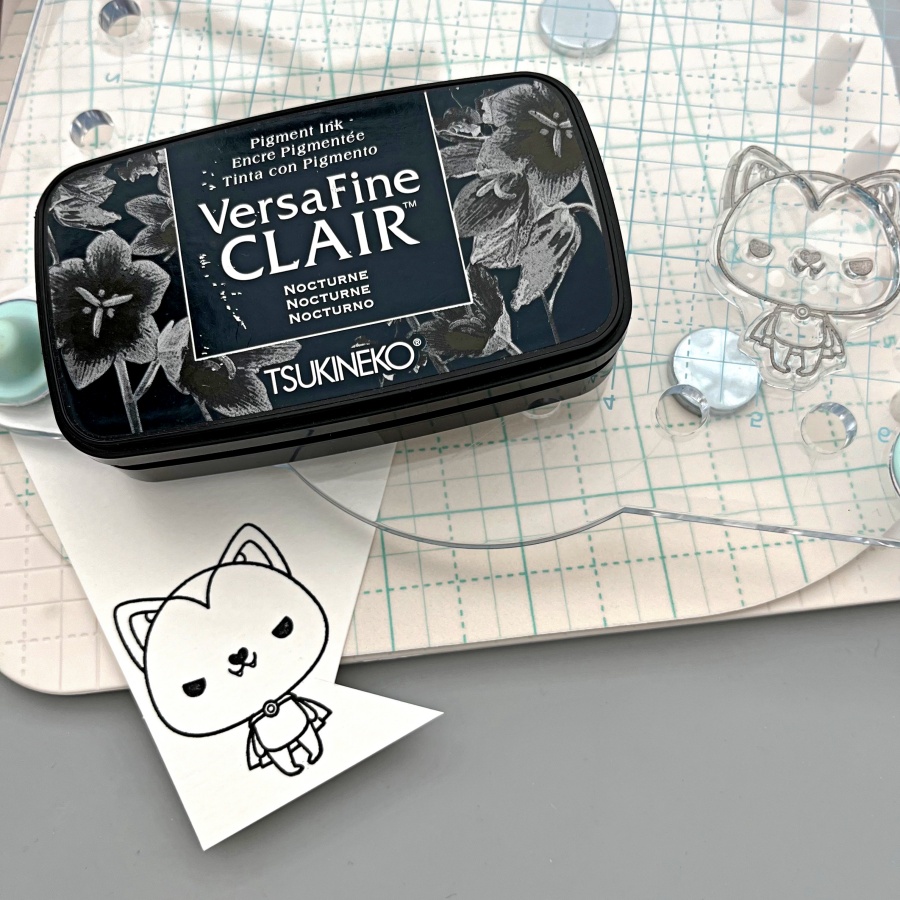
Step 1: Stamp the cute Vampire image from Mama Elephant’s Meowlloween stamp set. I want to watercolor the image today so I used VersaFine Clair ink with watercolor cardstock.
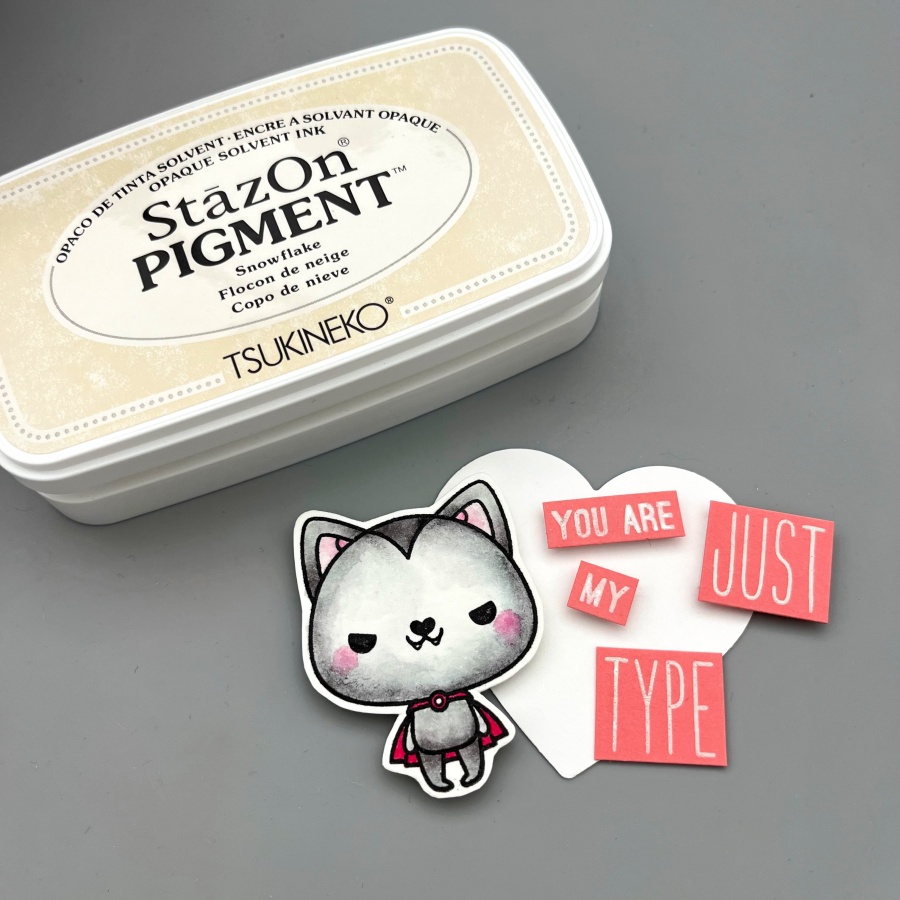
Step 2: Color the image with Memento markers and a water brush. I scribbled the ink on an acrylic block and picked up colors with my water brush, but you could totally use the craft mat as the paint palette. The colors I used today are Angel Pink, Rose Bud, London Fog and Tuxedo Black. These four colors are actually sold in a set as well called Girls’ Night Out. For full color saturation, you can draw directly onto the paper. I used the fine tip end of the Rose Bud Memento marker to color in the cape. (You can see the fine lines beside the image when I was testing out the color). After coloring, I fussy cut the image with my scissors.
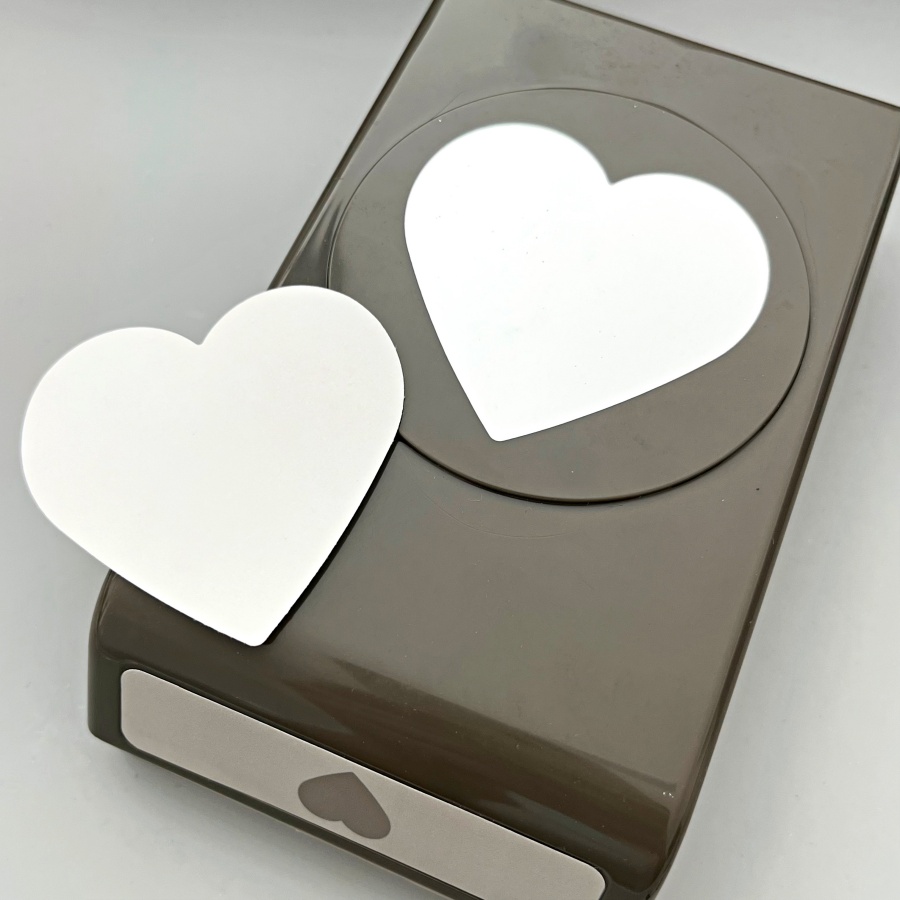
Step 3: For a beginner’s project, I opted out using a die-cutting machine and used a heart punch instead. This punch from Stampin’ Up! is a decently large size and super versatile.
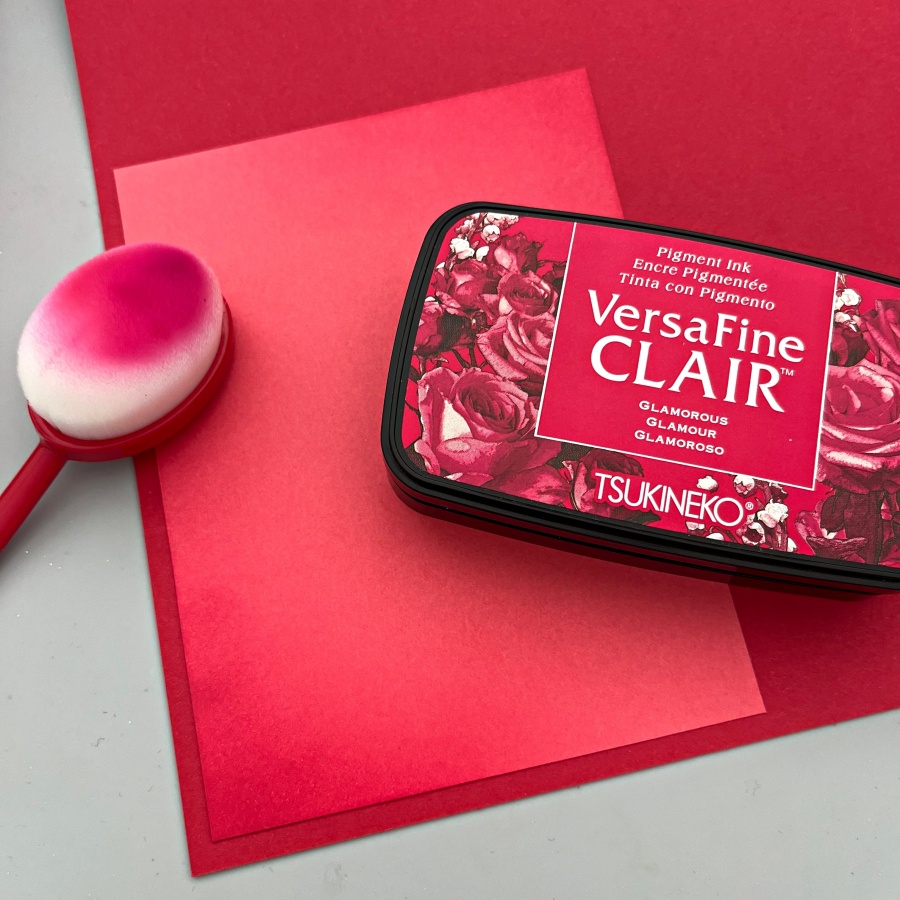
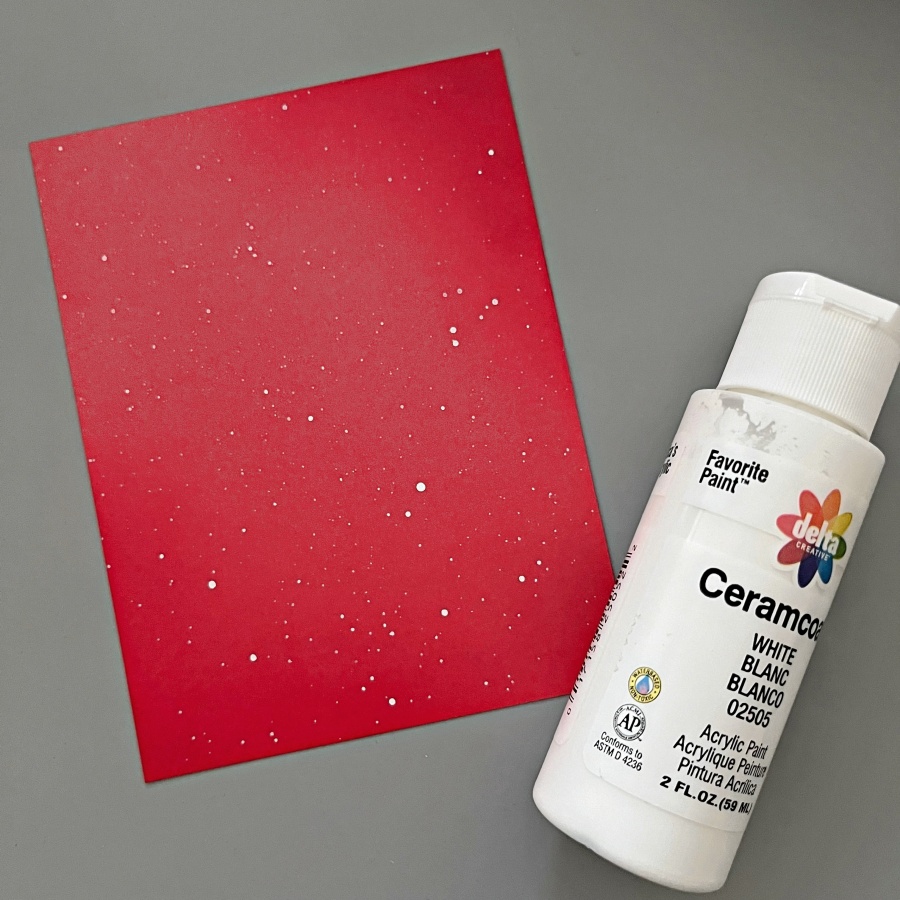
Step 4: Since the background is plain and simple, I decided to ink blend the top right and bottom left corners of the card front. Versafine Clair Glamorous is the perfect shade and you can see the difference between the ink-blended and non ink-blended corners.
Step 5: Ink splatters is the secret to elevate a card quickly. I splattered white acrylic paint across the card front to add more interest to the background.
Step 6: Finally, I stamped the sentiment with StazOn Pigment Snowflake ink. I used words from several stamp sets and built my own using Lawn Fawn’s Milo’s ABCs as well.
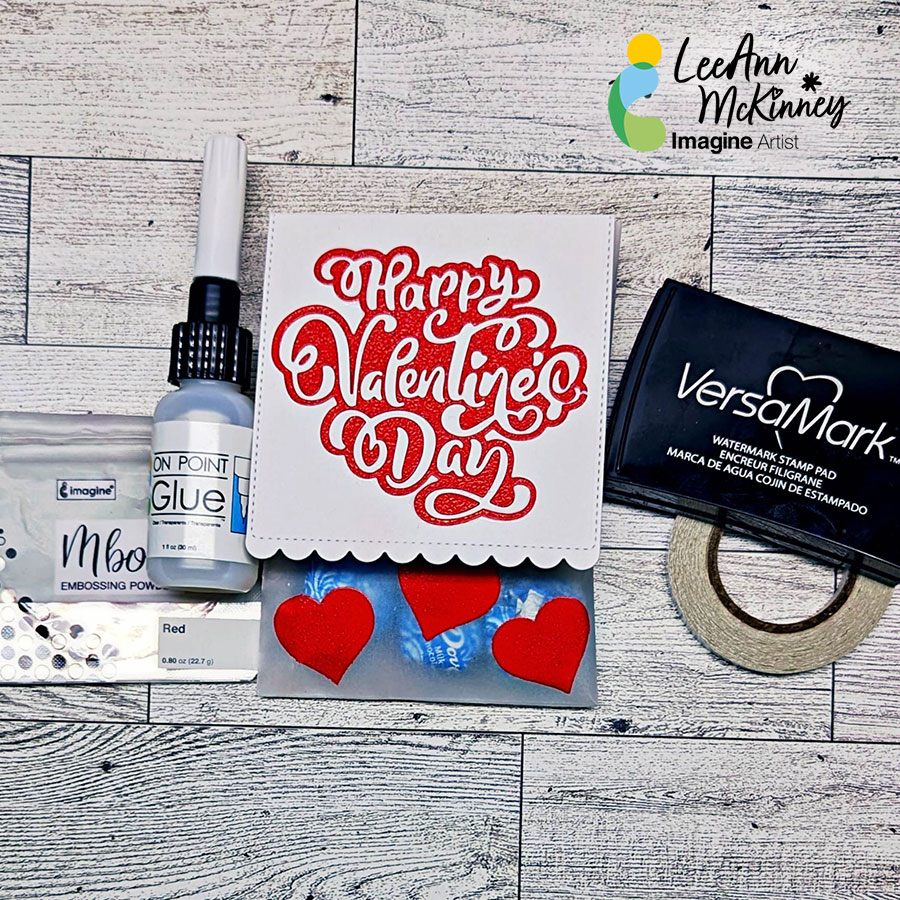
Hello friends and fellow crafters, LeeAnn here with a treat bag for Valentine’s Day that I created using vellum, cardstock, a stamp, a couple dies and some eat embossing.