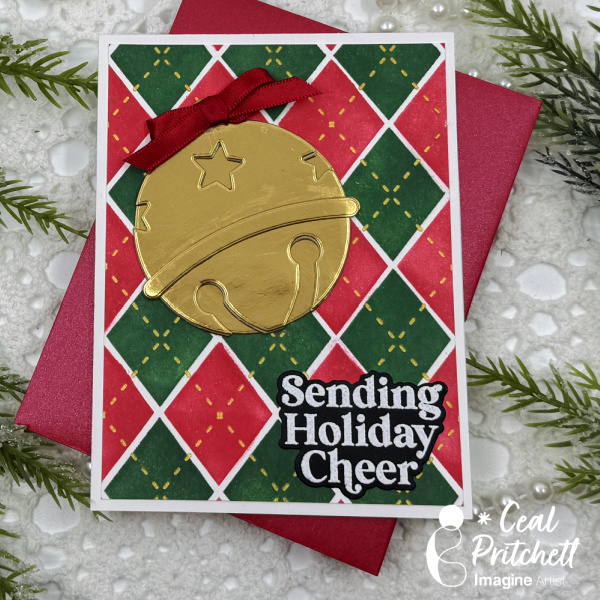
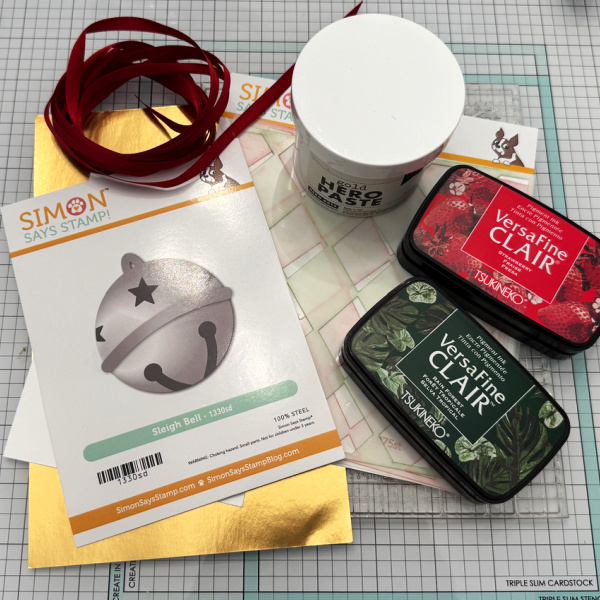
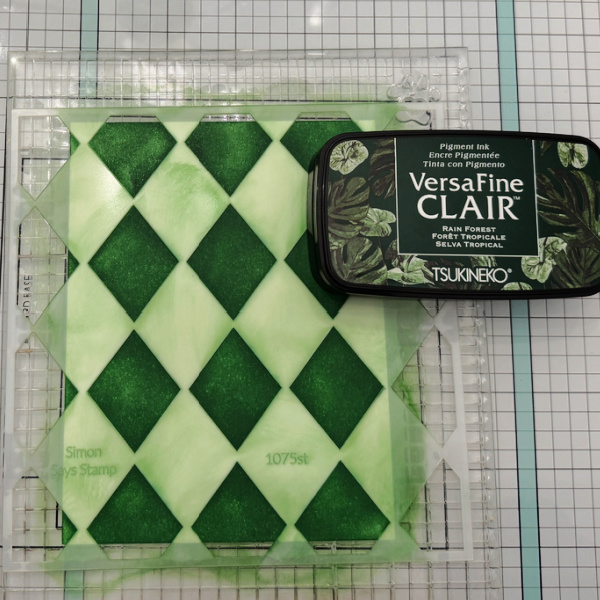
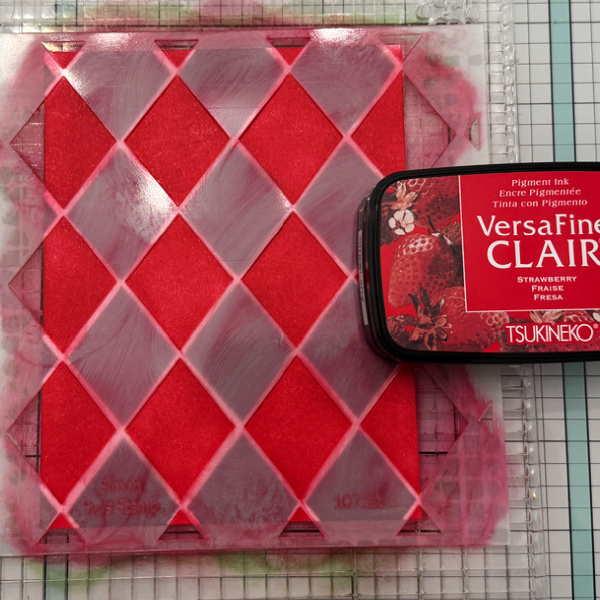
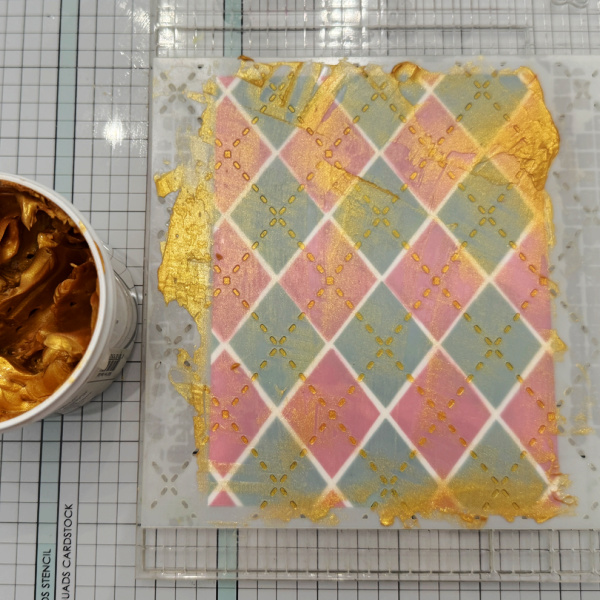
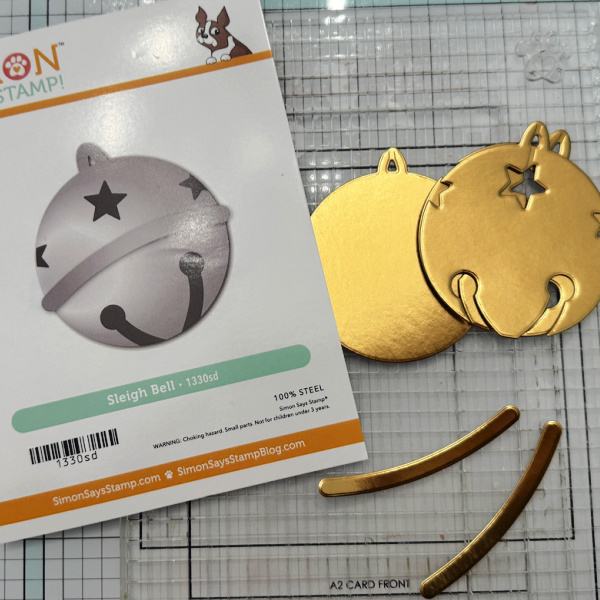
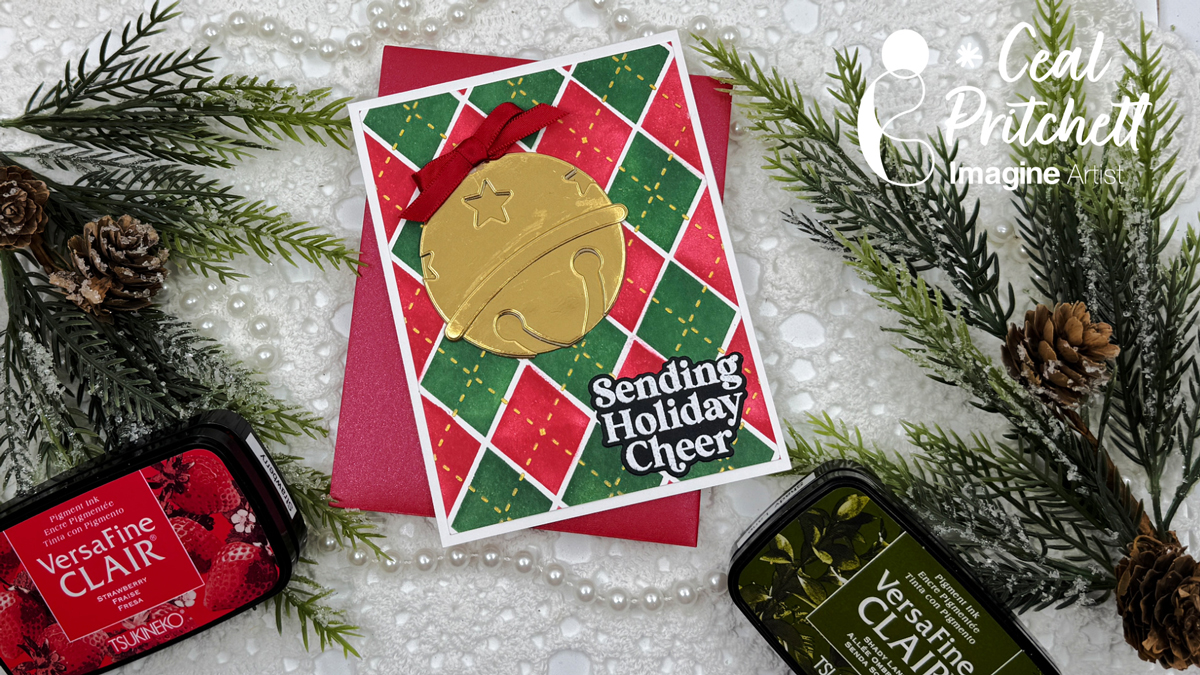
Other products: Argyle Layering Stencil – Simon Says Stamp Jingle Bell Die – Simon Says Stamp Gold Paste – Hero Arts Gold Foil – Spellbinders Sentiment – Waffle Flower
Hello Friends! Happy Holidays! There’s nothing I love more than a vintage Christmas card and that’s just what you will learn to create in the video! Follow along with me while we create this super easy Christmas Card!
• Acrylic stamping block or stamp platform • Snowflake Stencil • Stencil Brush • 100lb white paper • A2 Card Base • Clear embossing powder • Ribbon scrap • Embellishments • Water and a brush • Stamps of your choice • Antistatic Powder Tool • Embossing heat tool • Tim Holtz and Sizzix Dies Darling Deer, Arctic, and Festive Words • Glitter paper from my stash • White Gel Pen • Dr. PH Martin’s Bleedproof White Vellum from my stash
ALTERNATIVE PRODUCTS THAT CAN BE USED TO RECREATE SOMETHING SIMILAR Any Inks any combination of background stamps, dies, and feature stamps and stencil
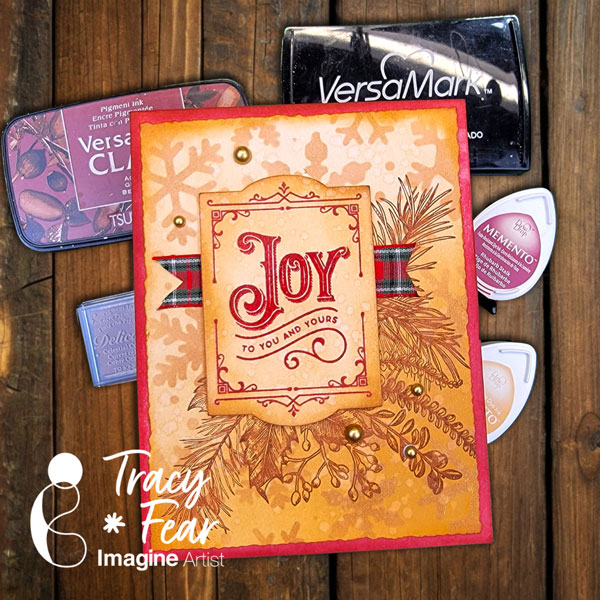
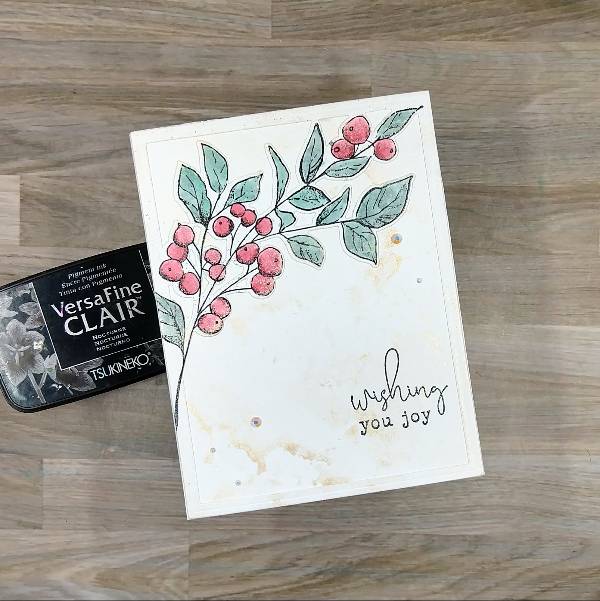
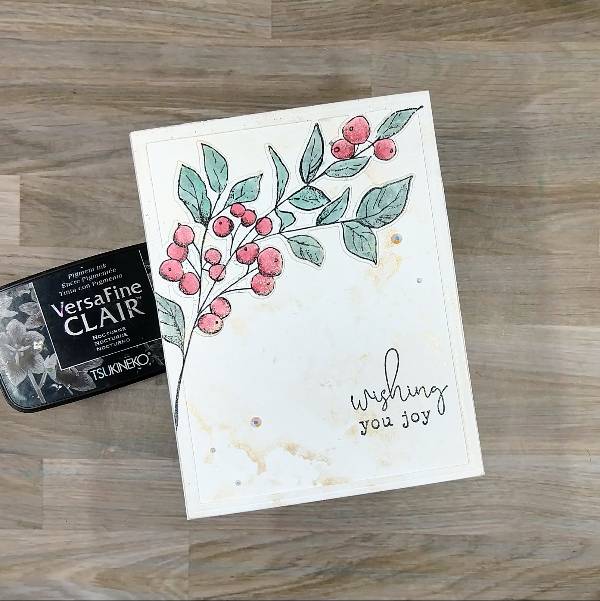
I was inspired to make a minimalist holiday card to allow the main botanical image to shine as the focal point. But I also knew that I wanted it to be shiny, so pulled out my current favorite Delicata color-Champagne- to add some subtitle shine.
Skill: Intermediate Time: 1 hour
Directions:
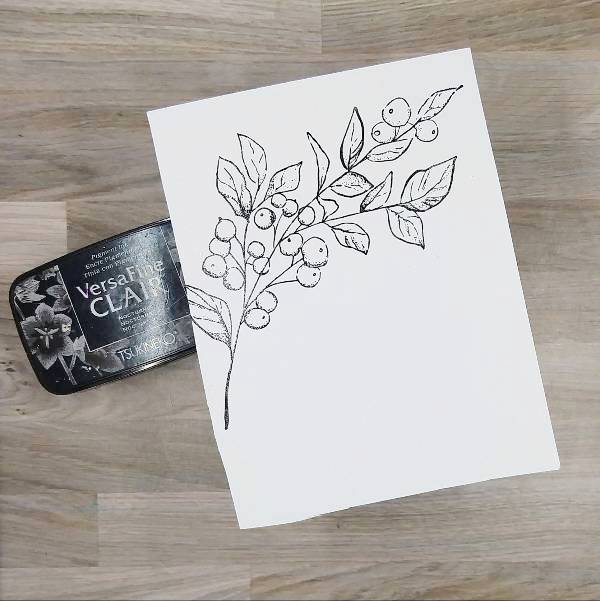
Step 1: Stamp the large botanical image on a piece of watercolor paper with Nocturne VersaFine Clair ink. Then heat emboss with clear embossing powder.
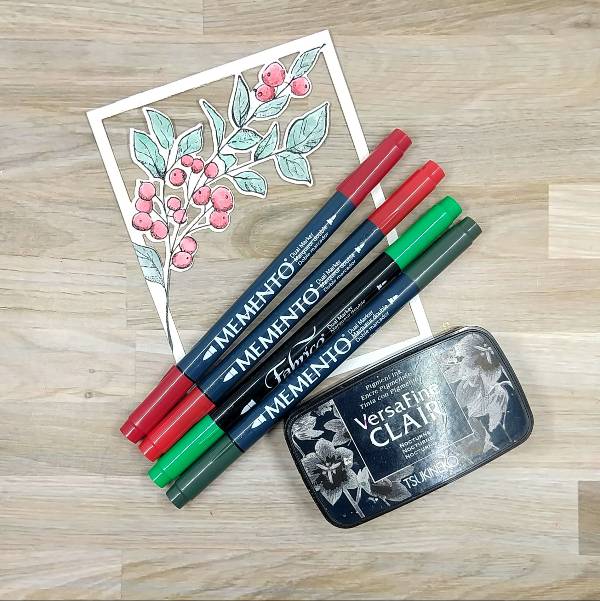
Step 2: Use markers to color in the berries and leaves. Use the Rhubarb Stalk Memento Dual Marker to color over the shaded areas of the berries. Then color a piece of acetate packaging with Lady Bug Memento Dual Marker and spray with water, use this to watercolor in the berries. While watercoloring, make sure to watercolor over all of the berries to blend in the watercolor with the darker red marker already colored in the berries. Then color another area of the acetate packaging with both the Emerald Fabrico Dual Marker and the Northern Pine Memento Dual Marker and spray with more water. Mix the two colors together to create a blend of the two colors and then watercolor the leaves. Allow to dry.
After all of the image dried, die cut the image with the corresponding die.
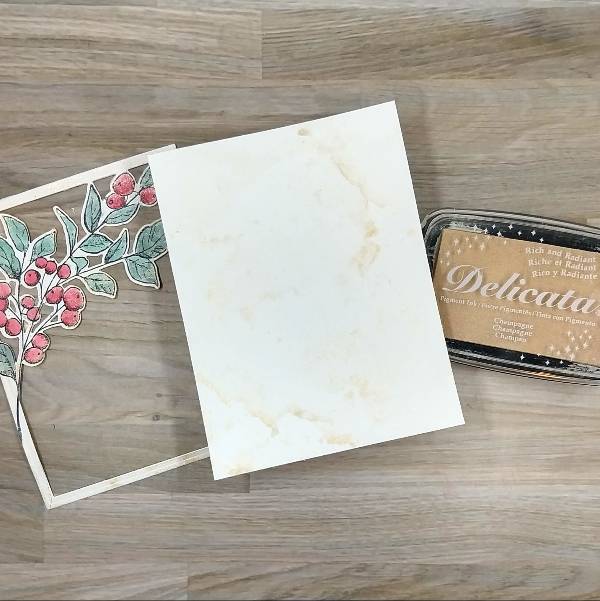
Step 3: Trim a second panel of watercolor paper in the papertrimmer the same size as the die cut frame created in step 2. Then press the Campagne Delicata Ink pad onto acetate packaging and spray with water to watercolor smoosh both the panel and the botanical image/frame to add sparkle to both.
Off camera, I got a small smudge on the frame with my finger. To fix this, I used some of the leftover green watercolor I made for step 2 to splatter green over the frame.
Step 4: Glue the frame onto the watercolor panel. Then stamp a sentiment on the lower right corner of the panel with more Nocturne VersaFine Clair ink and heat emboss with clear embossing powder. Glue the panel onto an A2-sized white cardbase. Glue white rhinestones on the lower left and upper right parts of the card panel to finish the card.
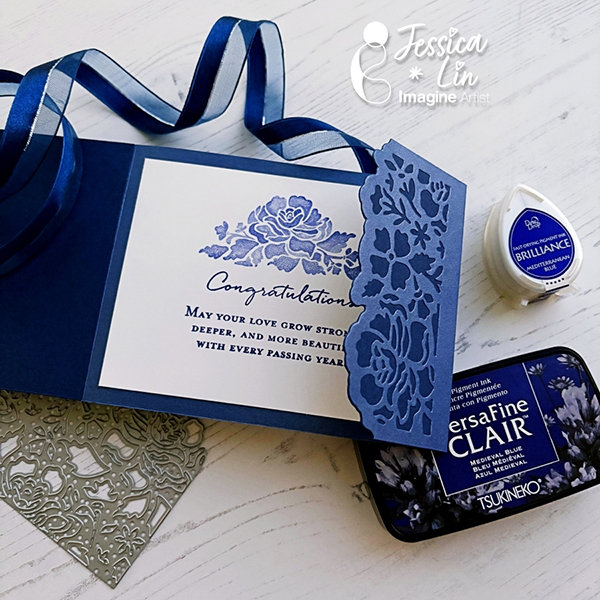
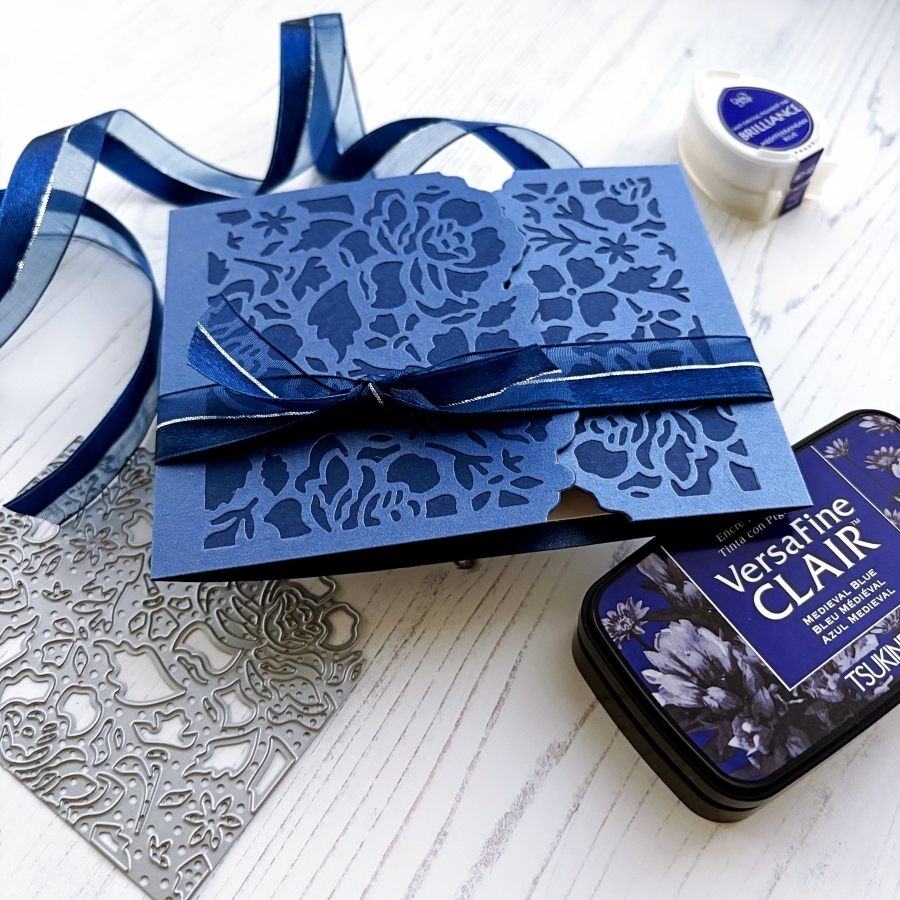
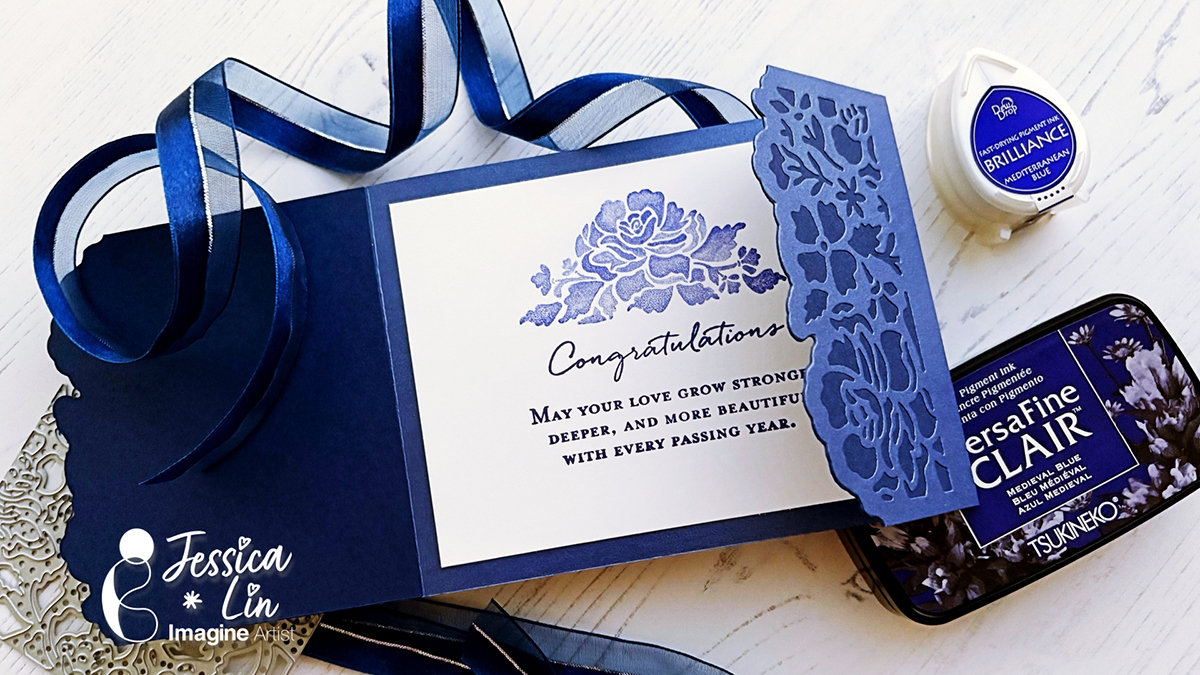
Hi everyone! It’s Jessica here. I am excited to share a wedding card idea today. This elegant layout is also perfect for wedding invitations. I love how this turned out and I’ll definitely be making more color variations in the future!
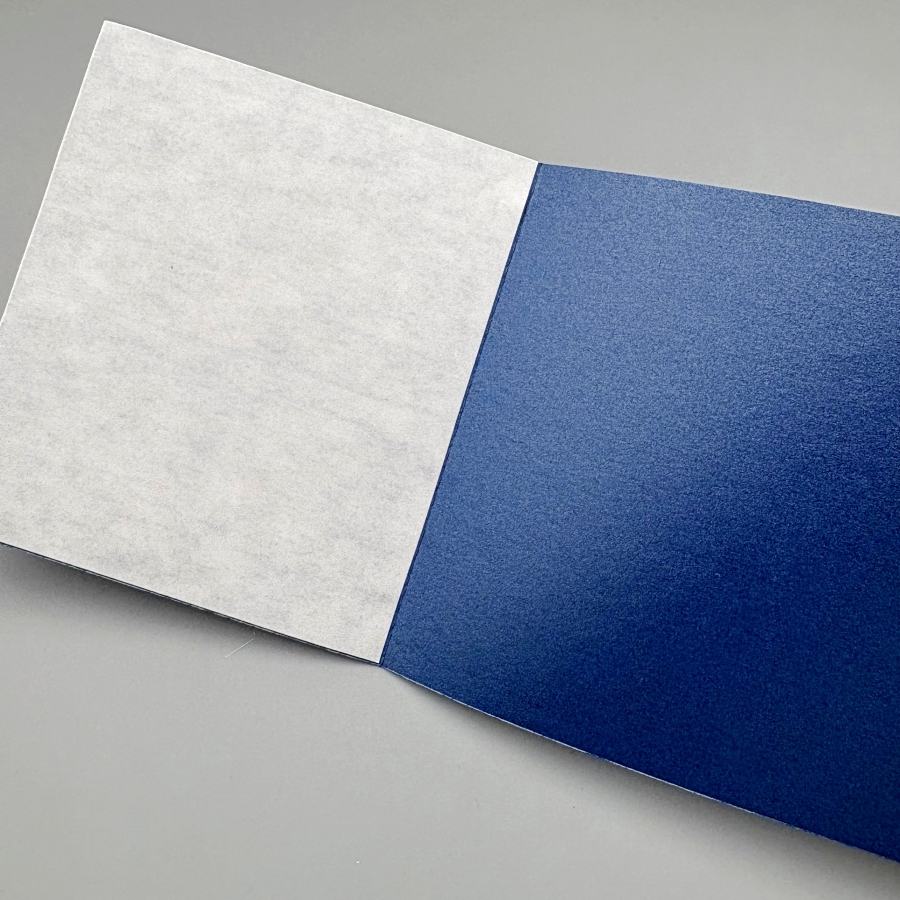
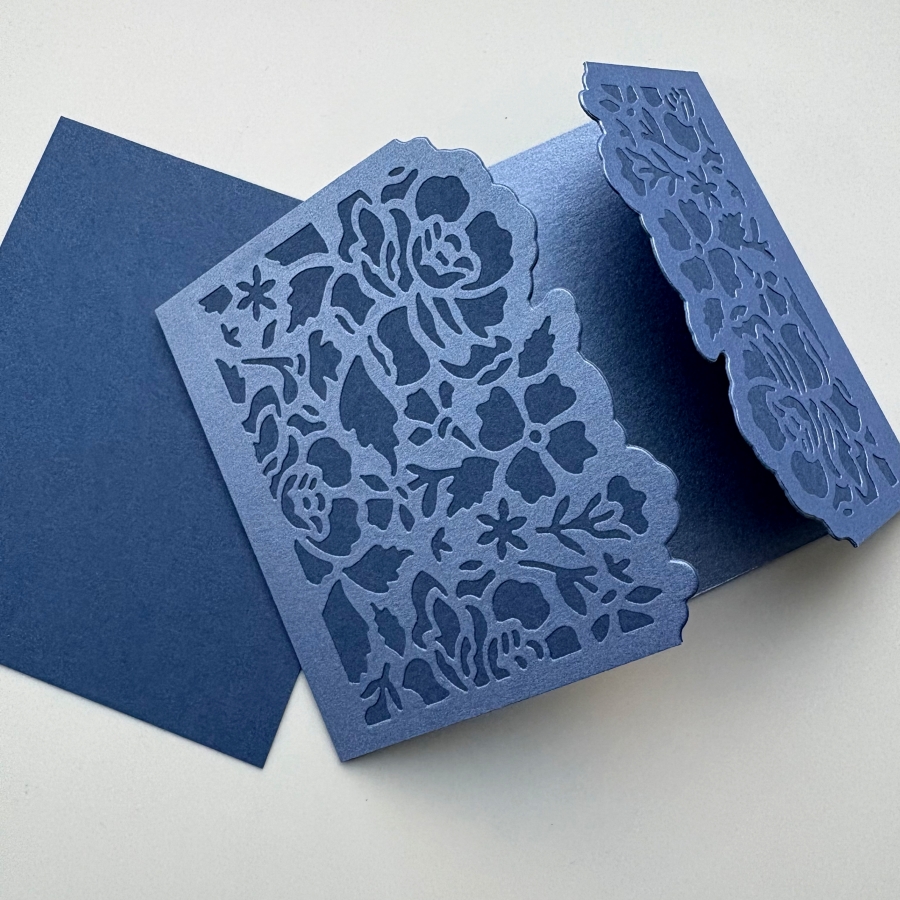
Step 1: On a piece of 4 ¼’’ x 5 ½’’ cardstock, score at 3 ⅜’’ and 8 ⅞’’. Then adhere Stick-It adhesive to the inner left and right flaps of the card. The Stick-It adhesive is great for sticking down large pieces of intricate die cut. If you don’t have the Stick-It adhesive, a great alternative would be liquid glue with fine-tip nozzles, such as the On-Point Glue.
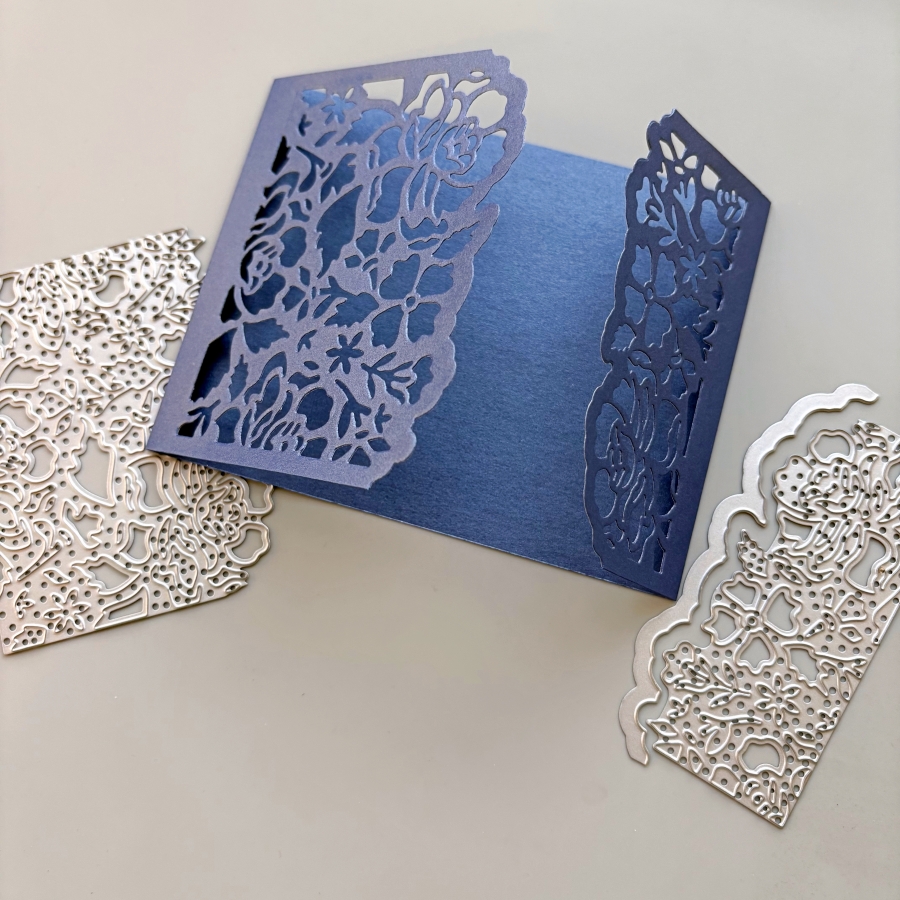
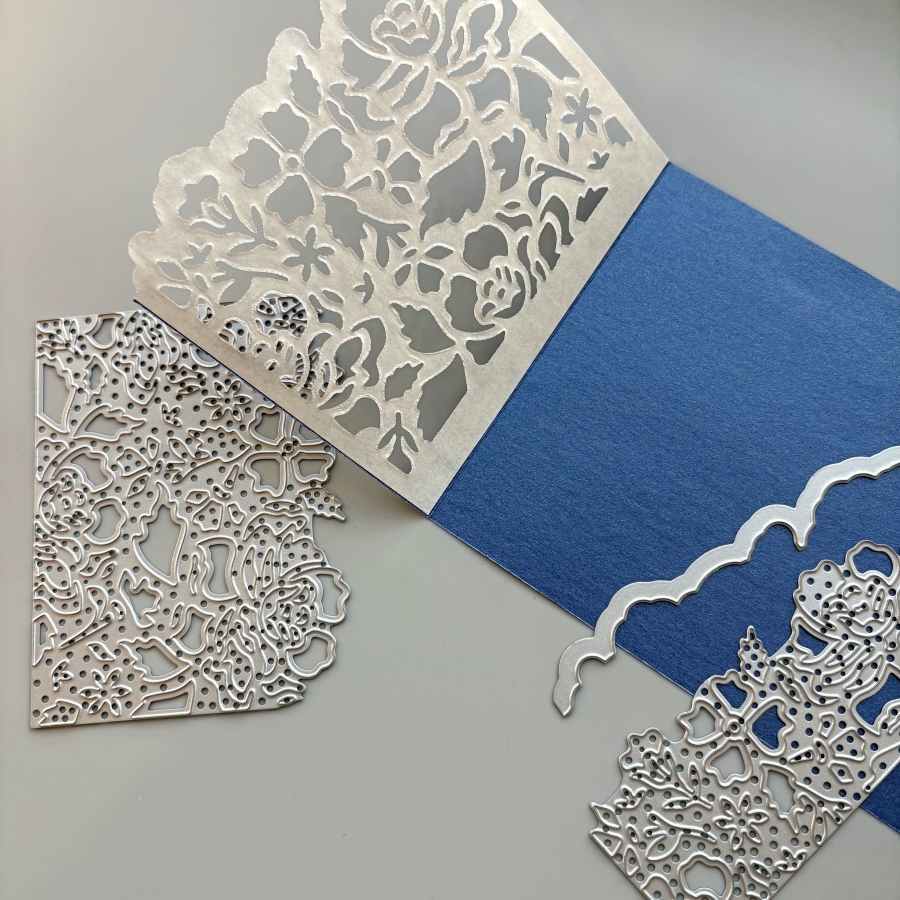
Step 2: Die cut the left and right flaps with Stampin’ Up’s Detailed Floral dies. This would create beautiful card openings with delicate floral designs.
Step 3: Peel off the Stick-It adhesive backing and adhere it to a piece of navy cardstock. Burnish the die cut area with a bone folder to ensure the two pieces of cardstock are fully stuck together.
Step 4: Trim the excess navy cardstock along the top and bottom edges with a pair of scissors. Then die cut the floral border again with the Detailed Floral die. I chose to die cut right up against the edge of the first die cut layer. Alternatively, you could leave a border along the die cut piece if you place the die further away from the edge.
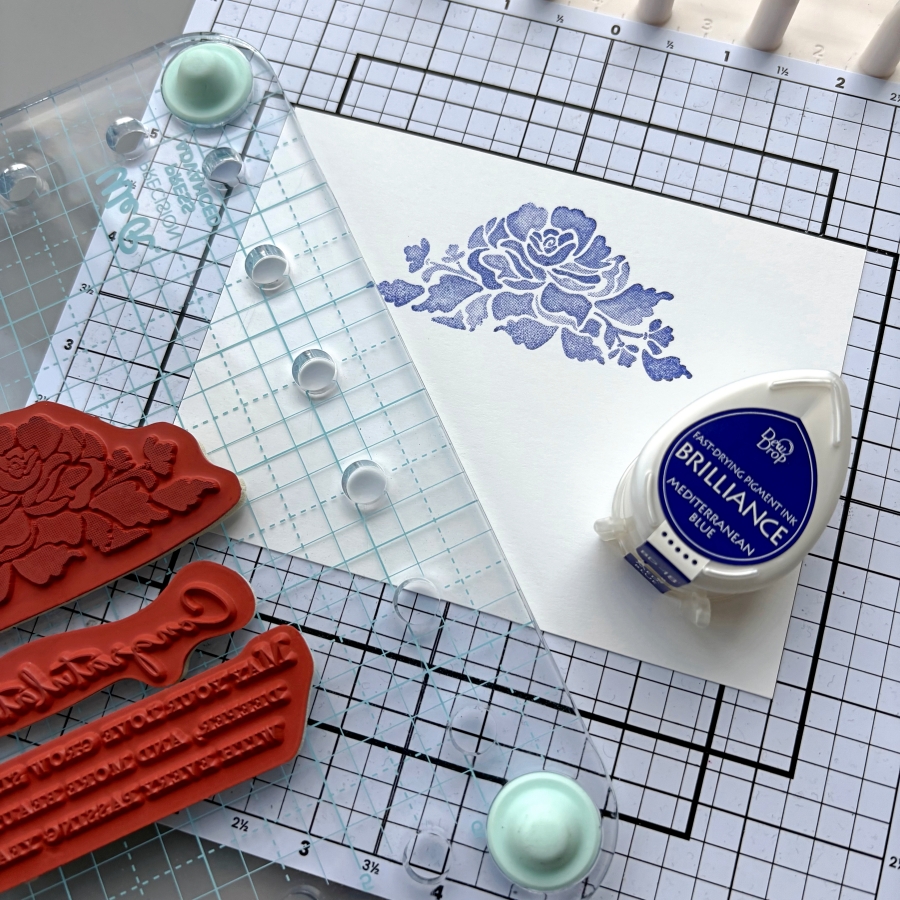
Step 5: I stamped the coordinating floral stamp from Stampin’ Up’s Floral Phrases stamp set. I inked the stamp lightly with Brilliance Mediterranean Blue ink pad so that the shading details of the stamp could be captured.
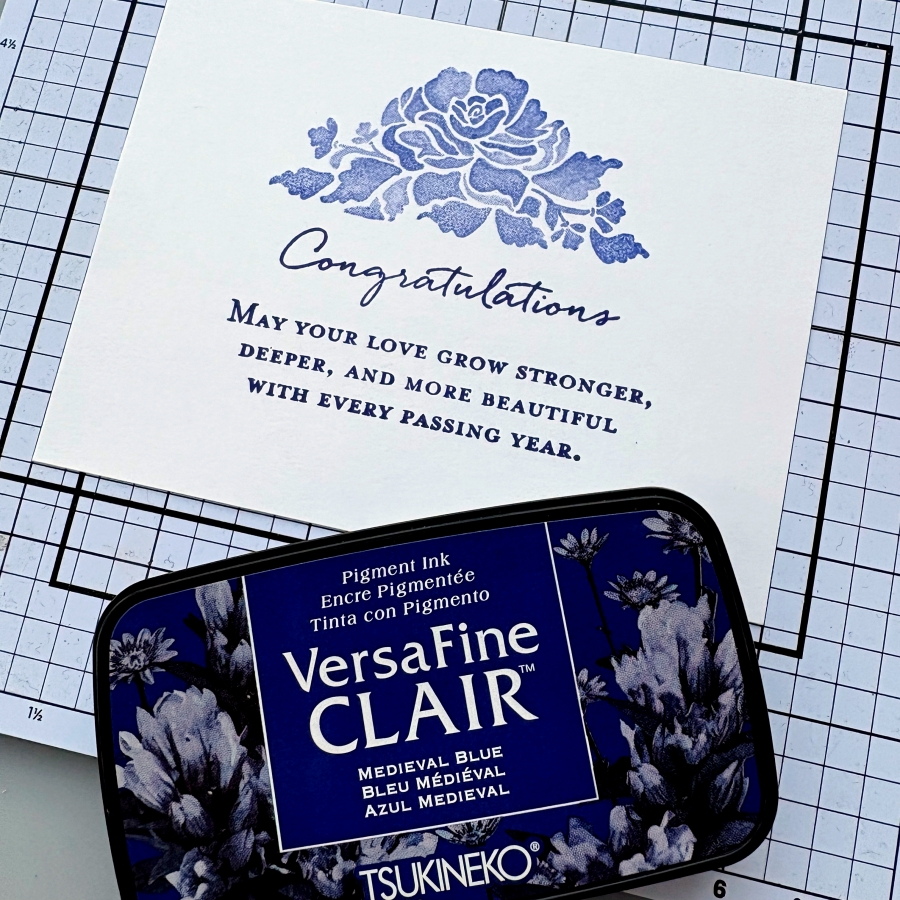
Step 6: This stamp set also includes some beautiful sentiment stamps that are perfect for wedding cards. I decided to use VersaFine Clair Medieval Blue ink pad to stamp the sentiment since this ink is known for giving crisp, clean lines. It is my favorite type of ink pad for sentiment stamping.
Step 7: Since this card has asymmetrical folds, I added a ribbon belly band so that the card flaps would be kept in place. Then I cut a short piece of ribbon and tied it around the belly bend to create the bow.
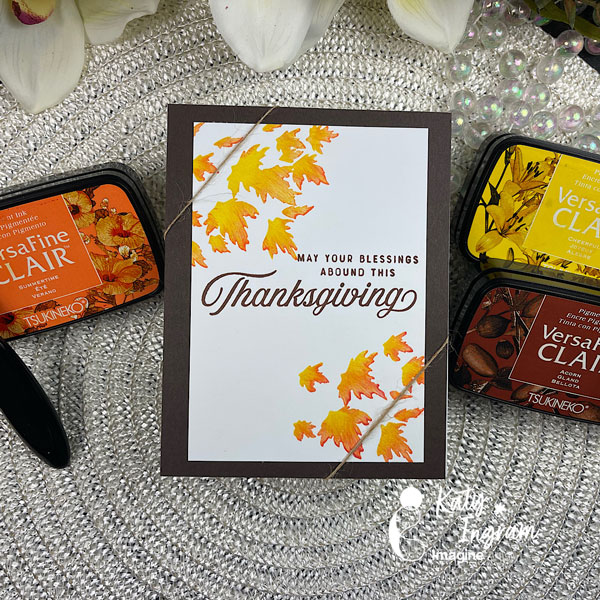
Hello Friends! Katy here with another quick project. In today’s video I create a simple Thanksgiving card and I share with you an easy way to ink blend directly on your stamp. This is a great technique to use on your silhouette stamps and a great way to change up the color from just basic black.
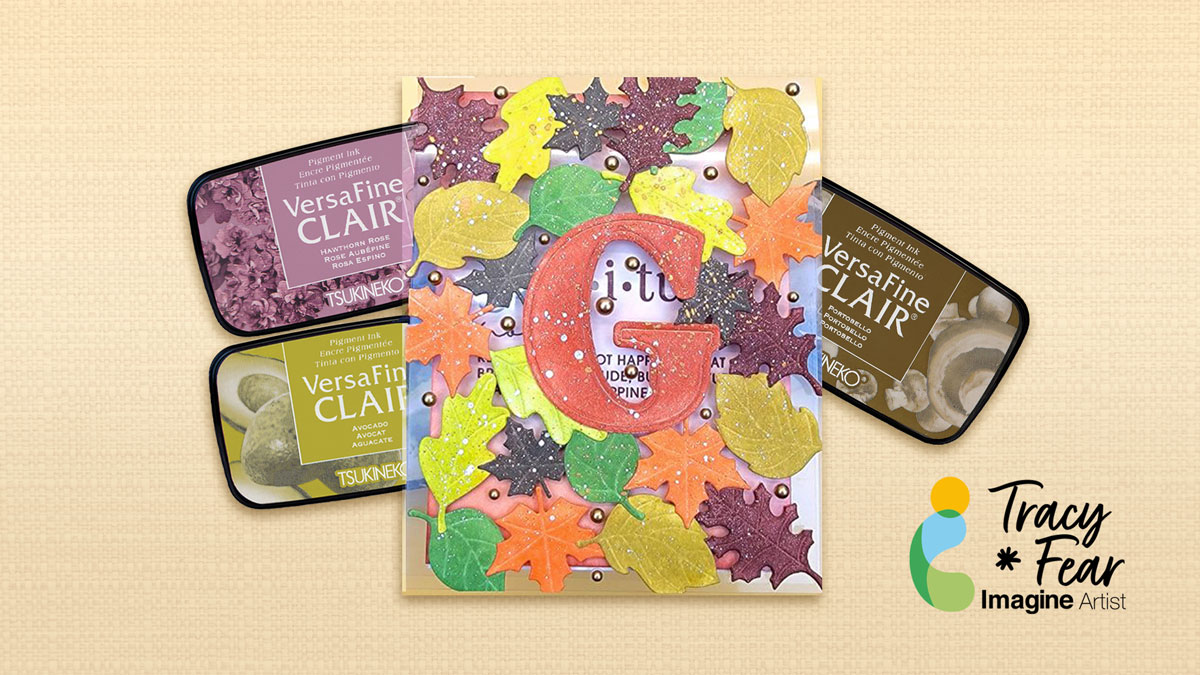
Hello Friends! Today we are going to have some fun and create a see-through Thanksgiving card with a sort of mosaic created from die cut leaves on a clear card base.
Other Products Used • Scrapbook.com Stamps and die set Gratitude and die set Autumn Leaves • Gold Flatback Pearls • PVA Adhesive • Leaf shaped die cuts • Sentiment Stamp • Die cut machine • 100lb white paper • Stencil Brushes or blending brushes • Flatback Pearl Embellishments • Adhesive • Paint for splattering
ALTERNATIVE PRODUCTS THAT CAN BE USED TO RECREATE SOMETHING SIMILAR Any Inks any combination of background stamps, dies, and feature stamps

 Imagine Blog