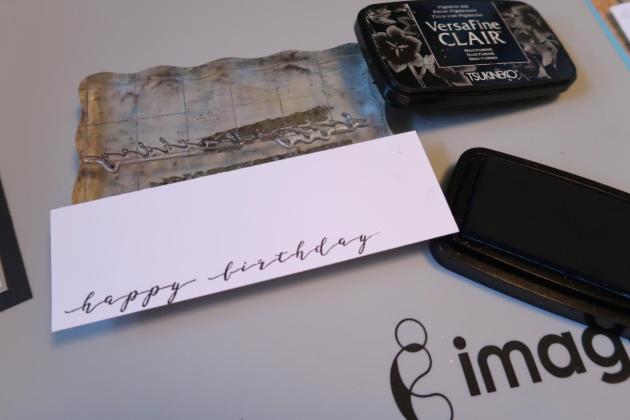
Create a Paint Brush Splatter Style Card with Waffle Flower Stamps

by Roni Johnson

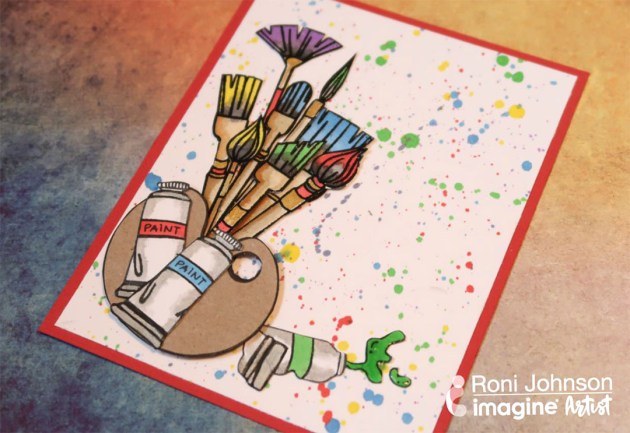
September brings a wonderful pairing of Waffle Flower stamp and all of the amazing products from Imagine. Today I wanted to share a card I made using Waffle Flower’s set Little Painter. I just love the variety of brushes and the cute little tubes of paint. They are so much fun to color and the uses are endless.

Skill: Intermediate
Time: 45 minutes

Directions

Step 1

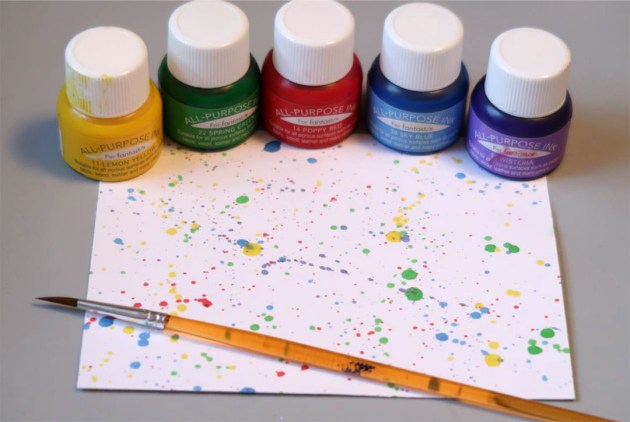
Cut a piece of white cardstock 4” x 5.25”. Flick a variety of colors of All-Purpose Ink onto the card panel using a paintbrush. Rotate the card panel with every application of ink so the splatters come from different directions for a more natural look. Set the panel aside to dry.

Step 2

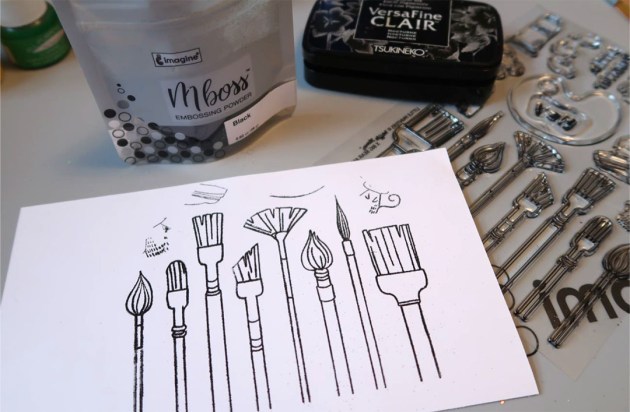
Stamp the paintbrushes onto a piece of white cardstock using VersaFine Clair Ink; stamp 3 tubes of paint onto a separate piece of white cardstock using the same ink. Sprinkle Black Mboss embossing powder over all of the images; shake off excess powder and return it to the pouch. Melt the embossing powder with a heat tool and let the embossed images cool.

Step 3

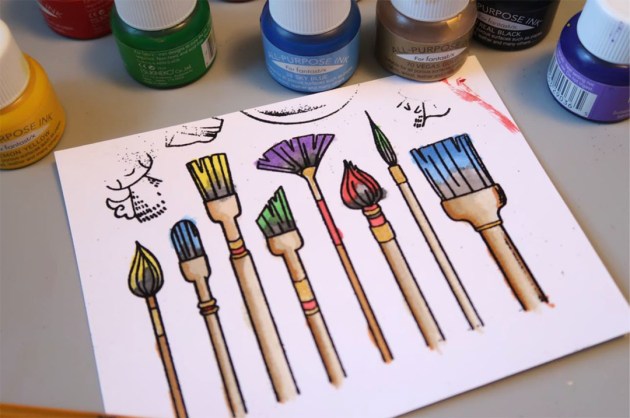
Watercolor each image using the same colors of All-Purpose Ink that was used to create the background. Fussy cut each image and set it aside. Stamp the easel image onto a scrap of brown cardstock and fussy cut.

Step 4

Mount the background splatter panel onto a red card blank; arrange and adhere the images as desired. Cover the paint blob with a layer of Sparkle irRESISTible Pico Embellisher to add shine and a touch of sparkle.

Supplies

Imagine
Other

See How White Embossing Powder Creates a Gorgeous Card Design

by Melissa Andrew

See How White Embossing Powder Creates a Gorgeous Card Design

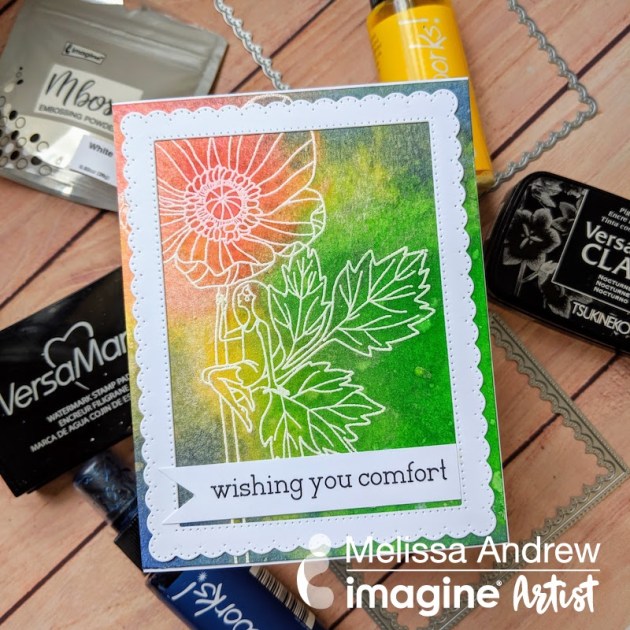
Today, I am sharing a very simple technique using white mBoss with Fireworks Sprays. Sometimes, simplicity is the key to creating a gorgeous card. The beautiful WaffleFlower stamp set “In Bloom” is the perfect stamp to use for this gorgeous white on bright shimmer color technique!

Skill: Intermediate
Time: 40 minutes

Directions

Supplies

Imagine
Other

Create Soft and Simple Backgrounds for Your Cards with Fireworks Shimmer Spray

by Melissa Andrew

Create Soft and Simple Backgrounds for Your Cards with Fireworks Shimmer Spray

Today I share a very simple technique using the soft Fireworks Shimmer Spray colors to create a gorgeous simple background. Using the softest of colors allows an image that’s colored on white to really pop. The additional shimmer really makes this simple card shine! I paired this technique with the adorable Waffle Flower Stamp set called Always for a gorgeous soft creation.

Skill: Intermediate
Time: 30 minutes

Directions

Supplies

Imagine
Other

Stamping and Watercoloring Techniques Using Waffle Flower Stamps

by Nadine Carlier

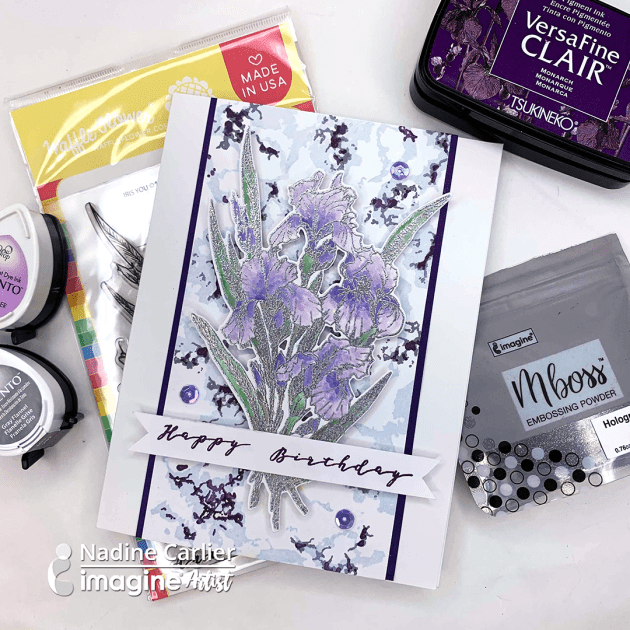
Are you enjoying all the inspiration so far this month with the Waffle Flower and Imagine collaboration? The Waffle Flower Iris You stamp set I thought went perfectly with this months color of the month, Amethyst.
Watch my video below to see how I created the amazing marbled background and colored the gorgeous iris’. Don’t forget to subscribe to the Waffle Flower and Imagine YouTube channels and comment (one comment per video per person) on all the videos on their channels this month using products from both companies for a chance to win a $50 gift certificate. There will be 2 winners picked, one from Imagine and one from Waffle Flower!
Video link below…. Enjoy!

Skill: Intermediate
Time: 30 minutes

Supplies

Imagine
Other

Visit our YouTube Channel for more inspirational videos and subscribe. Make sure to click the bell to get updates when we post new videos.

Add Watercoloring to Your Cards with Memento Inks

by Kassy Tousignant

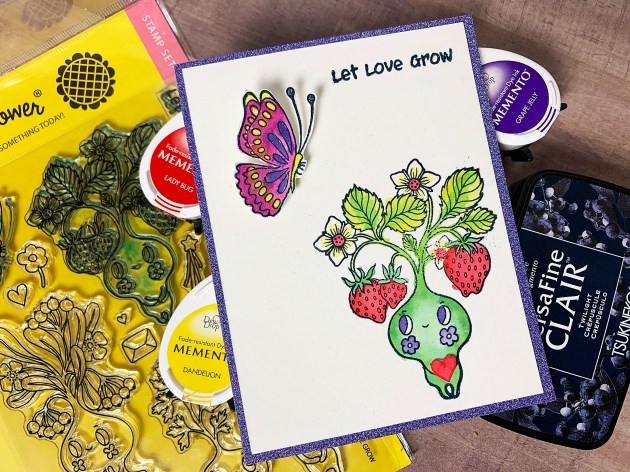
Handmade card featuring Waffle Flowers Let Love Grow stamps and Tsukneko's Memento inks.

The super adorable Waffle Flower stamps are perfect for coloring in with Memento ink! I love that I can create a simple, fun card with minimal supplies and have something adorable to give away. I used a little bit of Memento in Grape Jelly in both of my images and then found a matching piece of amethyst glitter cardstock to pull the whole thing together!

Skill: Intermediate
Time: 30 minutes

Directions

Supplies

Imagine
Other
  • Waffle Flower – Let Love Grow stamp set
  • Cardstock – white, glitter
  • Waterbrush
  • Foam adhesive

The most exciting part about the collaboration with Waffle Flower? You can WIN prizes! To enter all you need to do is subscribe to both Imagine and Waffle Flower’s YouTube channels and comment on the videos published this month using both of our products! (One comment per video per person.) Two lucky winners will win $50 gift certificates – one from each sponsor. Winners will be announced at the end of the month.

Add Dimension to a Single Stamp with Layers

by Roni Johnson

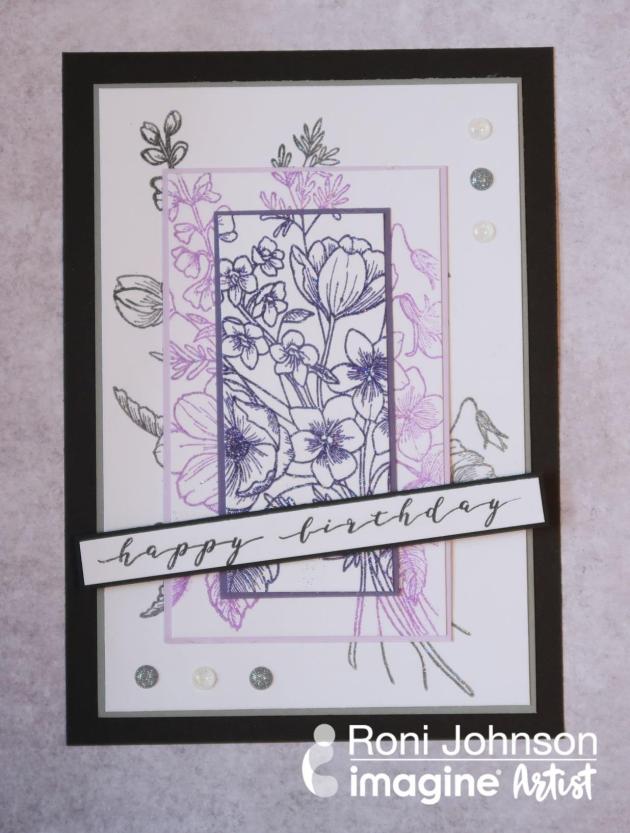
Amethyst is a lovely stone found in nature that’s color ranges from a deep rich purple to a smokey gray with all the sparkle and shimmer of diamonds. That is our color of the month and it is also the color scheme I used to create this triple layer card using Waffle Flower’s lovely Bouquet Builder 3 and a MISTI stamp positioner.


Skill: Intermediate
Time: 30 minutes


Directions


Step 1

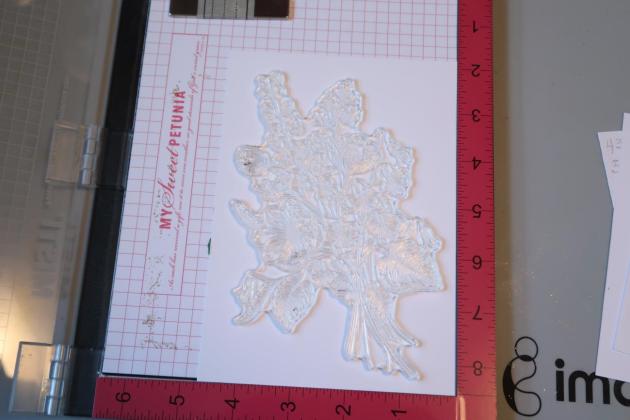
Cut 3 cardstock panels from white cardstock using the following dimensions: 4 ¾” X 6.25”, 2.5” x 4.5”, 1.5” x 3.5”. Place the largest panel in the stamp positioner and center the large flower bouquet stamp in the center of the paper. Close the lid to pick up the stamp. Ink the stamp with Morning Mist VersaFine Clair ink; press the image onto the cardstock. Remove this panel from the stamping tool, leaving the stamp in place.

Step 2

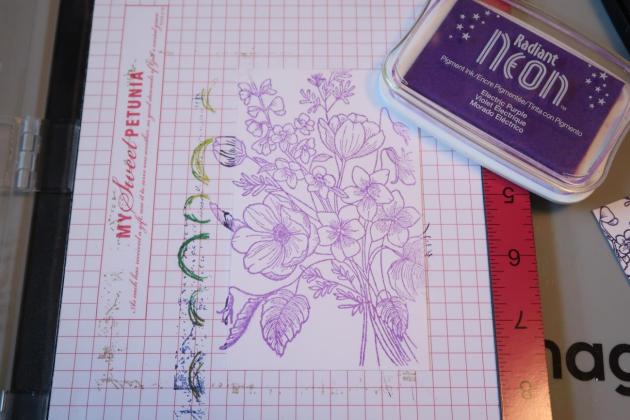
Insert the 2nd panel into the positioning tool using the grid as a guide for proper placement. Ink the stamp with Electric Purple Radiant Neon ink and close the lid to stamp the image onto the second panel. Remove this panel from the positioning tool.

Step 3

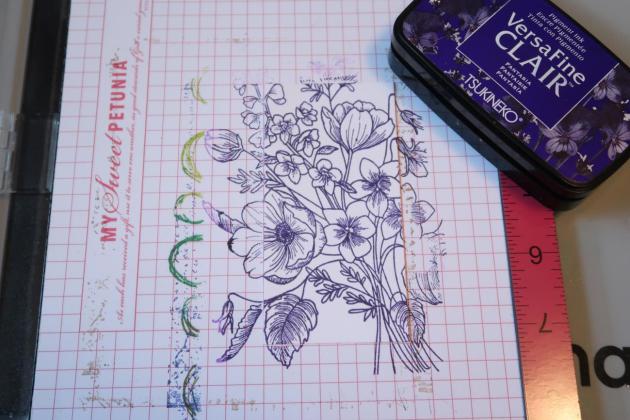
Position the smallest panel into the positioning tool again using the grid as a guide for placement. Ink the stamp with Fantasia VersaFine Clair ink and stamp the image onto the third and last panel.

Step 4


Sprinkle Sparkle Mboss embossing powder over all three images; shake off excess and return the excess to the pouch. Heat each panel to melt the embossing powder.

Step 5


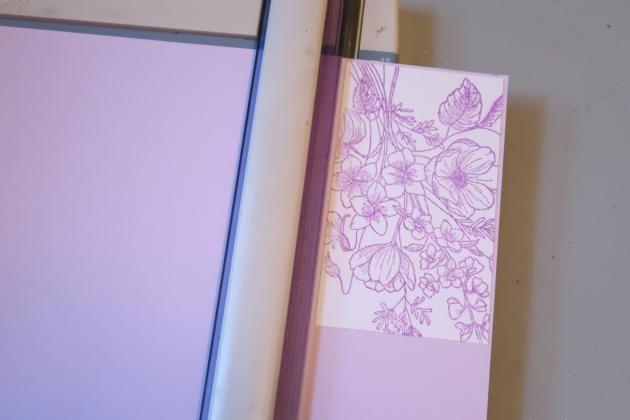
Mat each panel on a piece of coordinating cardstock with an 1/8” margin on each side.

Step 6


Stamp the sentiment onto a piece of scrap cardstock using VersaFine Clair Nocturne ink. Trim the excess cardstock and mat on a piece of black cardstock.

Step 7


Mount the largest panel onto a black card base. Adhere the other two panels over the first panel, aligning the image properly each time. Add a few Waffle Flower Stardust Enamel Dots to the card.

Step 8


Affix the sentiment to the card using double stick foam tape.

Just look at that sparkle and shine created by the Sparkle Mboss embossing powder. Simply lovely and it captures the essence of a real amethyst.

We hope you enjoyed our kick-off project in our collaboration with Waffle Flower. The most exciting part? You can WIN prizes! To enter all you need to do is subscribe to both Imagine and Waffle Flower’s YouTube channels and comment on the videos published this month using both of our products! (One comment per video per person.) Two lucky winners will win $50 gift certificates – one from each sponsor.


Supplies


Imagine
Other
  • Waffle Flower – Bouquet Builder 3, Stardust Enamel Dots
  • Cardstock – white, 2 shades of purple, black
  • My Sweet Petunia – MISTI Stamp Positioning Tool
  • Double Stick Foam Tape