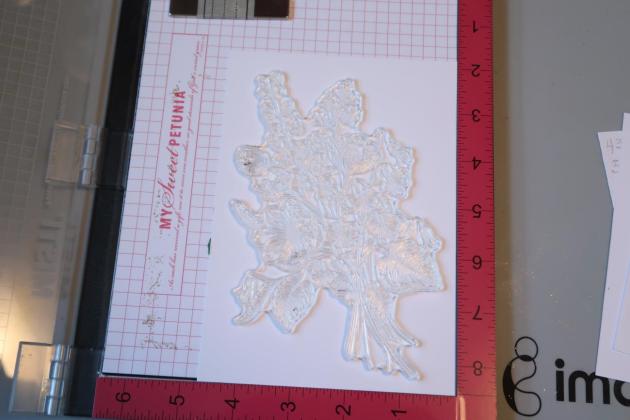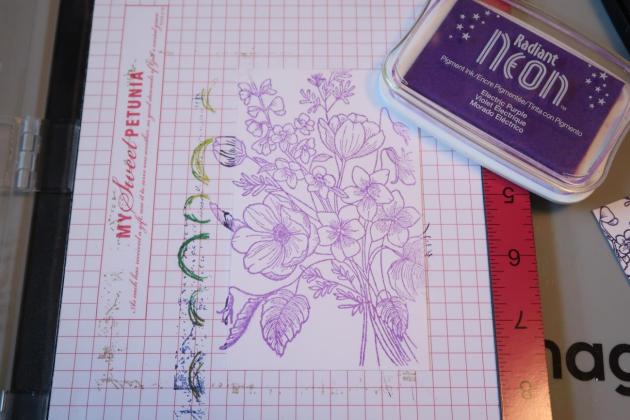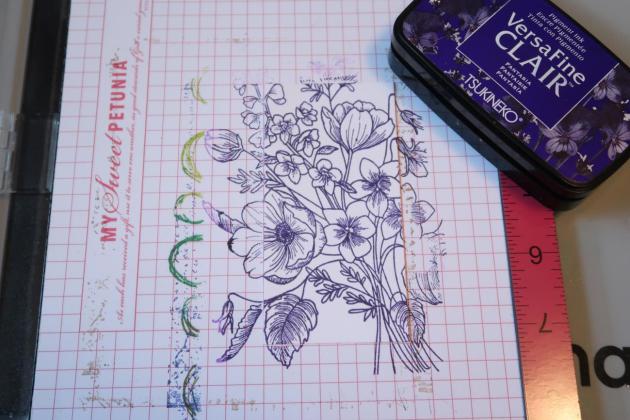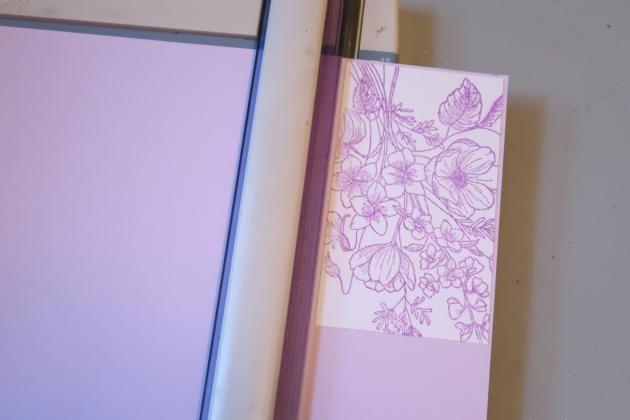
Color of the Month for September is Amethyst

Imagine Crafts's color of the month for September 2019 is the deep purple color Amethyst.

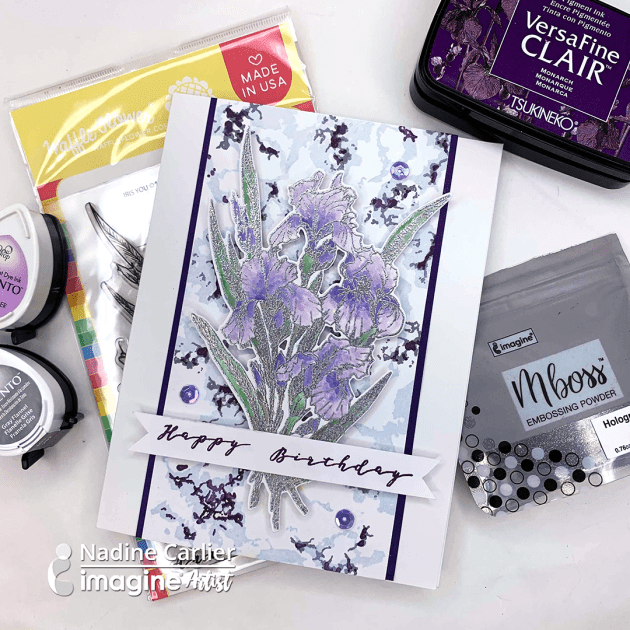
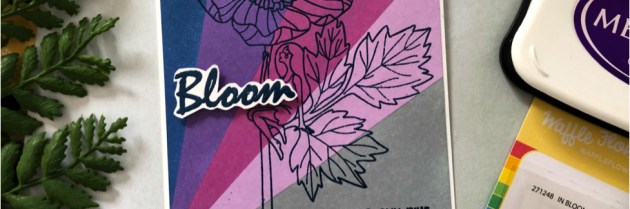
Imagine’s Color of the Month for September is Amethyst. This deep, luscious purple is perfect for fall inspiration. Not only is this color great for Halloween crafting, but is a great hue for all your fall time cards including back-to-school projects. Some of our favorite Amethyst hued ink finds include the aptly named Amethyst VersaColor inkpad, VersaFine Clair in Monarch and Memento’s Grape Jelly in the marker, full-size and DewDrop inkpads.

September also brings an exciting collaboration with Waffle Flower! Keep a watch on both our and Waffle Flower’s blogs and YouTube channels all month long to see some inspiring projects using both of our products! We used their Pretty Wings stamp set in our Color of the Month image. Isn’t it a beauty? The most exciting part about the collaboration with Waffle Flower? You can WIN prizes! To enter all you need to do is subscribe to both Imagine and Waffle Flower’s YouTube channels and comment on the videos published this month using both of our products! (One comment per video per person.) Two lucky winners will win $50 gift certificates – one from each sponsor.

Here’s a sneak peek on what fun stuff we have coming your way this month.

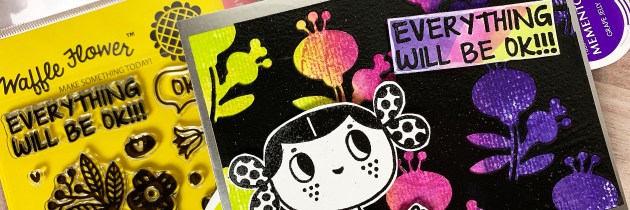
An amethyst inspired rainbow of purple by Martha Lucia Gomez.

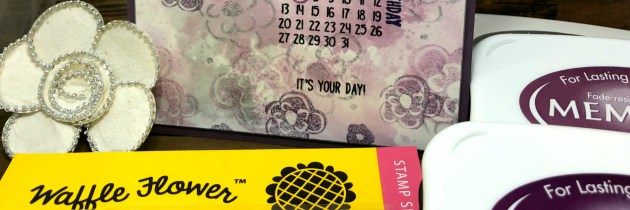
A timely card from Lori Warren.

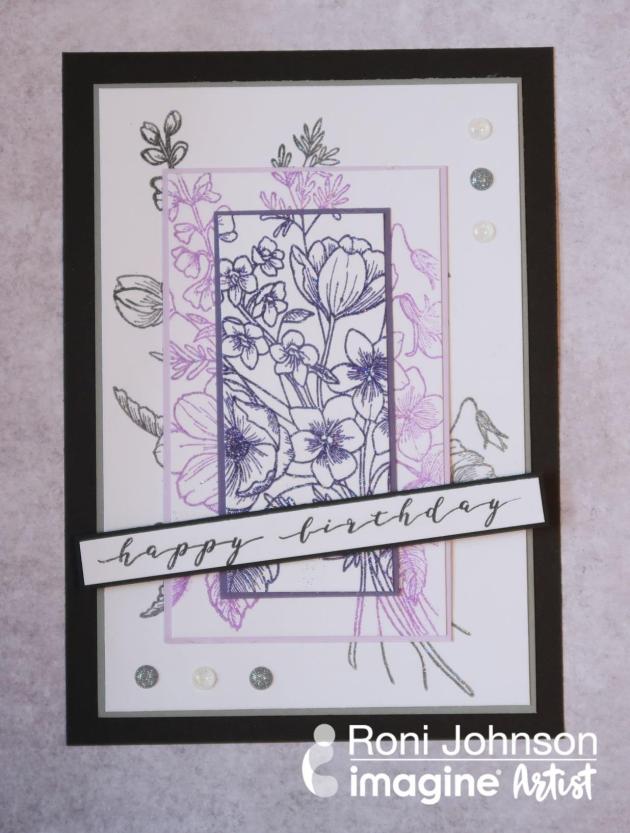
And a beautiful reminder from Kassy Tousignant!


Learn No Marker Coloring Techniques

by Melissa Andrew

Adorable handmade birthday card featuring a piglet image with rainbows balloons and silver lined clouds.

Today we are sharing how to create a fun birthday card with a cute piglet image using Memento inks and Fireworks Shimmery Craft Sprays. Did you know you don’t have to have a rainbow of expensive markers or watercolors to create a gorgeous colored scene? Using common craft supplies, I color this entire card without the help of a marker. I do use some beautiful silver Rinea paper along with my favorite Imagine and Tsukineko products to make this adorable birthday card that has a lot of dimension and shine!

Skill: Intermediate
Time: 30-45 minutes

Directions

Supplies

Imagine
Other
  • Rinea Foil Paper – Metallics
  • Hello BlueBird – Pig Day stamp set, After the Rain die
  • Die-cutting machine
  • Paper Trimmer
  • Heat tool
  • Spray Bottle
  • Paper towels
  • Watercolor brush

Learn to Decorate an Art Journal & Follow Your Dreams

by Elina Stromberg

Learn to Decorate an Art Journal & Follow Your Dreams

I love using stamped, colored and fussy cut images on my card projects, but they also make great collage elements for art journal pages. This page was inspired by a new stamp set I purchased a short while back. I liked the oval background illustration on the stamp package and decided to replicate it on my journal page. Instead of using the original pink and purple color scheme I decided to create a blue night scenery and to put the lovely girl and the moon on a sparkling and shimmering blue night sky background. I think that the versatile Rinea foil was a perfect choice for this project as was the white StazOn Pigment ink: It’s a creamy pigment ink suitable for all surfaces. I was happy to see how beautifully the white ink worked on the blue Rinea foil!

Skill: Intermediate
Time: 2 hours

Directions


Step 1

Stamp the main image on white cardstock. When coloring with alcohol markers, use water-soluble Memento ink for stamping. When using watercolors or watercolor pencils, use VersaFine Clair in Nocturne. Cut out the colored image with scissors. Draw an oval on white paper. Cut out and trim a slice from the left side. This straight line will be placed on the edge of the journal page. Use the white paper as a template to trace the same shape on blue Rinea foil. Cut with scissors. Then cut the foil oval slightly smaller than the paper template; remove approx. ¼ inch from the round edge.


Step 2

Decorate the round edge of the paper oval with heat embossing: Dab VersaMark on the edge and cover with Mboss embossing powder in Silver. Heat set with a heat tool.


Step 3

Mat the foil oval onto the white/silver paper. Stamp the sentiment on foil using StazOn Pigment inkpad in Snowflake.


Step 4

Paint the journal page background with blue acrylic paint. The oval main image area can be left unpainted. Add a hint of light blue and pink on the dark blue paint.


Step 5

While the paint is still wet sprinkle sparkling ‘Shimmery Night Sky’ Mboss embossing powder on the page. Let dry. Once dry heat set the embossing powder with a heat tool. Glue the ovals and “girl sitting on the moon” image on the page. Paint stars on the page background using white StazOn Pigment ink and a cotton swab. You can stop there or continue to craft until you are happy.


Supplies

Imagine


Other

  • Rinea Foil Paper – Glossy Sapphire/Gold
  • Carabelle Studio – ‘Follow Your Dreams’ Stamp set
  • Promarker Alcohol Markers
  • Piece of white paper
  • Pencil
  • Scissors
  • Acrylic paint – Blue, Light blue, light pink
  • Paintbrush
  • Cotton swab
  • Heat tool
  • Glue
  • Art journal book

See How to Make a Happy Birthday Panda Card with Rinea Foil

by Elina Stromberg

See How to Make a Happy Birthday Panda Card with Rinea Foil

This panda stamp set is one of my favorites, and I’ve used it on many card projects. Embossed Rinea foil took these cute images on a completely new level; the shimmering patterned background is truly eye-catching and made the adorable party pandas pop! This card design is simple to make, and the Rinea foil is easy to emboss. If you don’t have a die-cutting machine and embossing folders you can easily emboss and pattern the foil with a stylus.

Skill: Intermediate
Time: 1.5 hours

Directions


Step 1

Stamp the pandas on white cardstock using clear VersaMark ink. Heat emboss the images using black Mboss embossing powder.


Step 2

Using the craft mat as palette color the embossed pandas with black, grey and red Memento inks. Wipe the ink pads on the craft mat and pick up the colors with a water brush. Once dry add highlights with a white color pencil. Cut out the images.


Step 4

Place a sheet of red Rinea foil in an embossing folder. Run through the die-cutting machine to create an embossed pattern. Doesn’t the embossed sheet look amazing! Trim the foil to a size slightly smaller than your card front.


Step 5

Trim a white panel to a size that is ¼” smaller than your card base on all edges. Die-cut two circles on the card front. Layer the card front panel on the embossed foil and mat onto a piece of dark red cardstock. Attach the layered card front to the card base using double-sided tape. Stamp the sentiment on the card front. Glue pandas on the die-cut circles.

Supplies

Imagine
Other
  • Rinea Foil Paper – Autumn
  • Cardstock – Red, White
  • Cardbase
  • Stampin’Up – ‘Party Pandas’ Stamp set
  • Water brush
  • White color pencil
  • Scissors
  • Glue
  • Double-sided tape

Create a Fun Mermaid Scale Friendship Card

by Roni Johnson

Create a Fun Mermaid Scale Friendship Card

This month Imagine and Rinea Foil are teaming up to bring you some amazing projects for the month of August and today I have a fun mermaid scales card for your most Mer-Mazing friend!

Skill: Intermediate
Time: 1 hour

Directions


Step 1

Place a piece of white cardstock in a stamping aid and place the stamp over the cardstock in the desired position. Close the lid of the stamping aid to affix the stamp to the lid. Pounce VersaFine Nocturne ink over the stamp; close the lid to stamp the image onto the cardstock. Repeat this step if necessary to get a good impression. Leave the stamp affixed to the stamping aid.


Step 2

Use an Exacto knife to cut away several scales from the image.


Step 3

Use sponge daubers to apply Verdant, Paradise and Fantasia inks to the cardstock. Blend the inks where they meet.


Step 4

Use a white gel pen to color in the dots on the scales.


Step 5

Swipe the piece of cardstock with a Stamping Buddy or other anti-static tool. Place the piece of cardstock back into the stamping aid; apply VersaMark ink to the rubber stamp and close the lid to stamp the image over the first.


Step 6

Sprinkle the image with Mboss Sparkle Embossing Powder, shake off excess and return to the pouch. Use a heat tool to melt the embossing powder.


Step 7

Trim several colors of Rinea Foiled Paper to fit the openings in the scale pattern.


Step 8

Affix these pieces to the backside of the card panel. Stamp sentiment onto a piece of vellum using Piano Black StazOn Pigment Ink. Tear away excess paper and affix this to the card using On Point Glue. Affix the card panel to a blue card base using Tear It! Tape.

Supplies

Imagine
Other
  • Joy Clair – Mermaid Tail
  • Unity – Mer-mazing (sentiment)
  • White & Blue Cardstock
  • Exacto Knife
  • Rinea Foiled Paper – Jade/Gold Glossy, Emerald/Gold Glossy, Turquoise/Gold Glossy, Sapphire/Gold Glossy, Lavender/Gold Glossy, Violet/Gold Glossy
  • Uni-Ball Signo White Gel Pen

See How to Create a Mixed Media Master Board with Mboss

by Roni Johnson

See How to Create a Mixed Media Master Board with Mboss

Master Boards are a quick and easy way to create a large supply of beautiful backgrounds in a single session. There are no rules, no limits and they are so much fun to make! Today, I’ll show you how to create a mixed media master board using inks, embossing powders and more.

Skill: Intermediate
Time: 2+ hour

Directions


Step 1

Select a piece of paper for the foundation of the master board. It could be mixed media paper, watercolor, cardstock or something else. I have chosen a sheet from a vintage atlas for this project.


Step 2

Scrape the smooth side of the Squeegee across the Cheerful VersaFine Clair inkpad. Drag the inked Squeegee across the paper. Repeat 2-3 more times.


Step 3

Continue to pick up ink on the Squeegee using Golden Meadow and Morning Mist VersaFine Clair inks.


Step 4

Apply Verdant VersaFine Clair ink through a harlequin stencil and Green Oasis VersaFine Clair ink over a square stencil using a stipple brush.


Step 5

Pounce VersaMark ink over a leaf stencil in several places over the page.


Step 6

Sprinkle Mboss Lucky Stars embossing powder over the ink; shake off the excess and return it to the handy space-saving pouch. Heat the embossing powder to melt.


Step 7

Stamp flower several times over the paper using VersaMark ink; cover with Yellow embossing powder, shake off excess and return it to the pouch. Heat the embossing powder to melt.


Step 8

Stamp various collage images over the paper using VersaFine Clair inks.


Step 9

Spritz Dandelion irRESISTible Texture Spray over the entire sheet and let dry. You now have a lovely master board ready to use for all sorts of projects. Below are just a few examples made using this single master board.

Card #1 When Life Gives You Lemons – Squeeze the Day!

Card #2 Have a Bee-utiful Day!

Card #3 Perfection is Overrated

Card #4 Mason Jar

Card #5 How’s It Hanging?

Supplies

Imagine
Other
  • Vintage Atlas Page
  • Deco Art – Harlequin Stencil
  • Dylusions – Squares Stencil (retired)
  • Stamplorations – Leaf Stencil
  • Unity Stamp Co – Flower, Collage Images
  • Heat Tool
  • Craft Consortium – Fresh Cut Stamp
  • Sunny Studio – Slice of Summer Stamp, Silly Sloths Stamp
  • Rubber Stamp Tapestry – Sentiment; Vintage Milk Bottle/Lemonade Cap, Bee-utiful Day stamp
  • Finnabair – Sentiment Sticker, Sentiment & Vintage Photobooth Stickers