By Helen Gullett
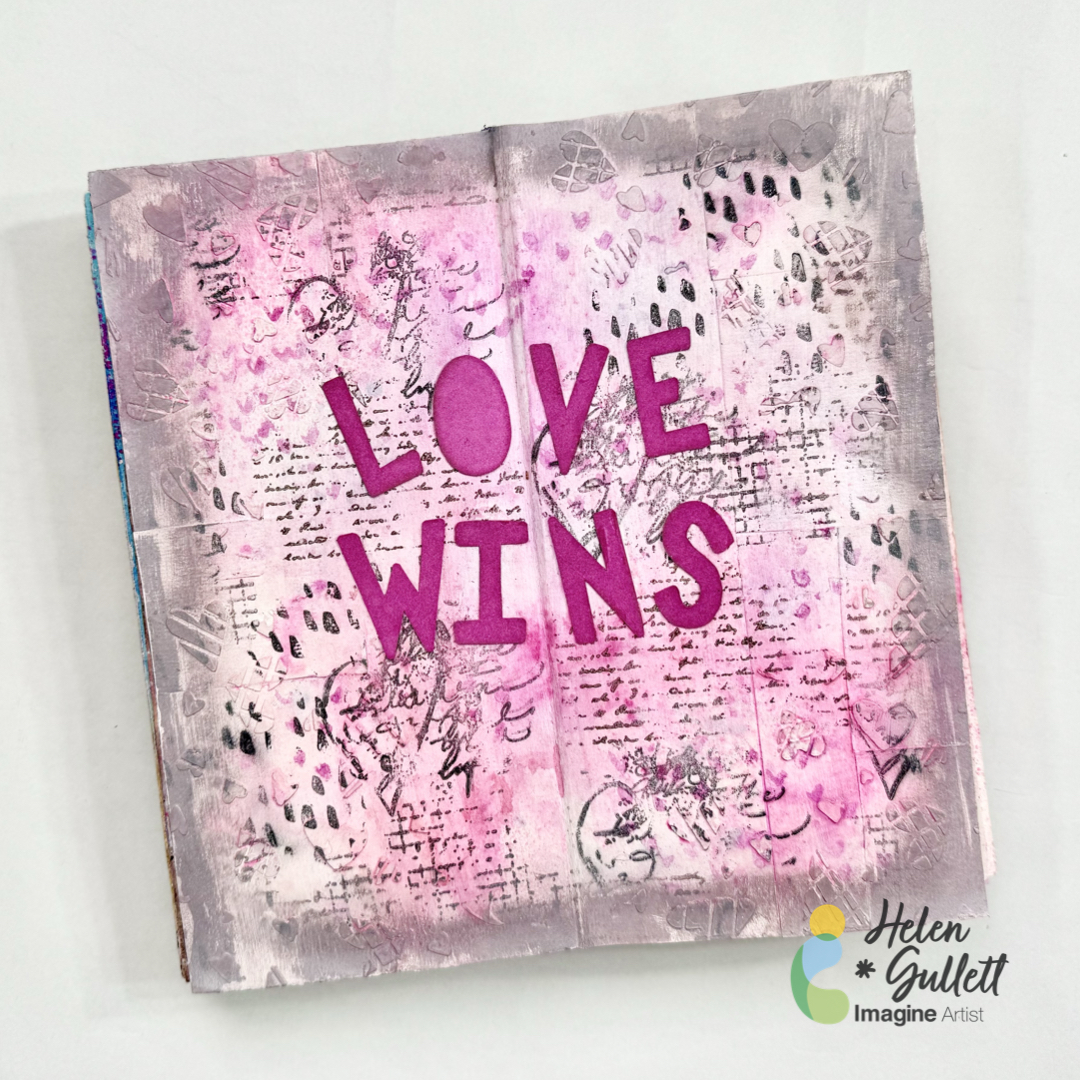
Hello crafty friends! Can you feel the love fill the air? With love in our hearts and minds today, we are going to have fun creating this Love Wins art journaling page together.
Let’s get crafting!
Skill: Intermediate
Time: 45-60 minutes
Direction:
Step 1
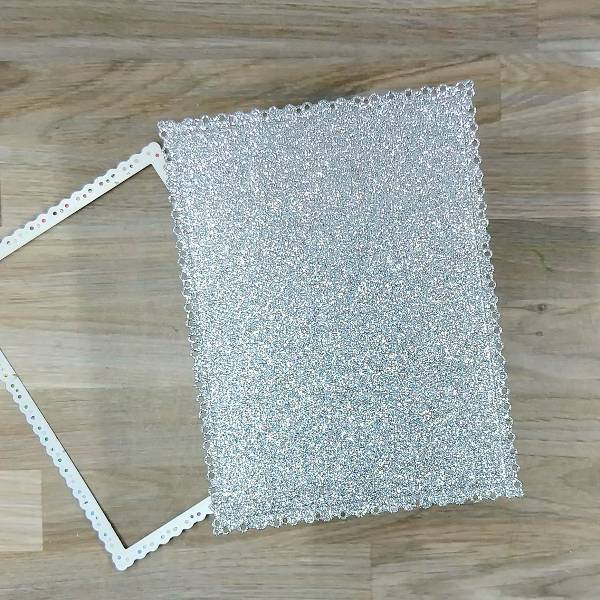
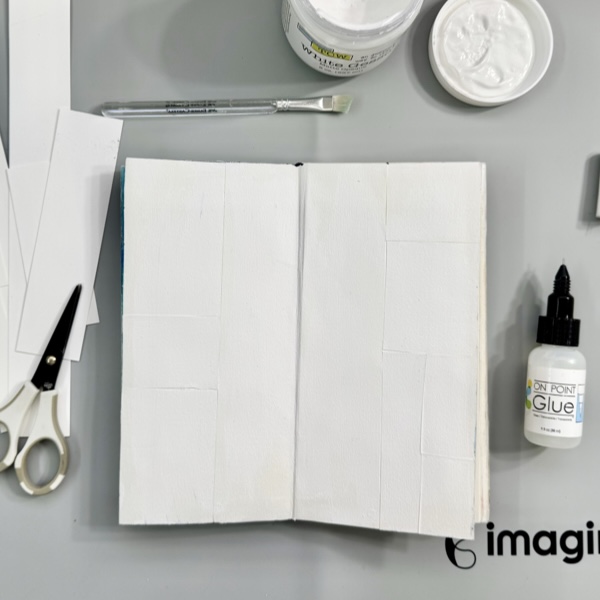
Cut out the Canson watercolor leftover or strips into squares and rectangles.
Add the pieces to the journal page with On Point Glue. Let them dry well for a few minutes.
This will create the tile background to give extra texture to the journal page.
(Optional: you can skip this if you want to have smoother background to your page)
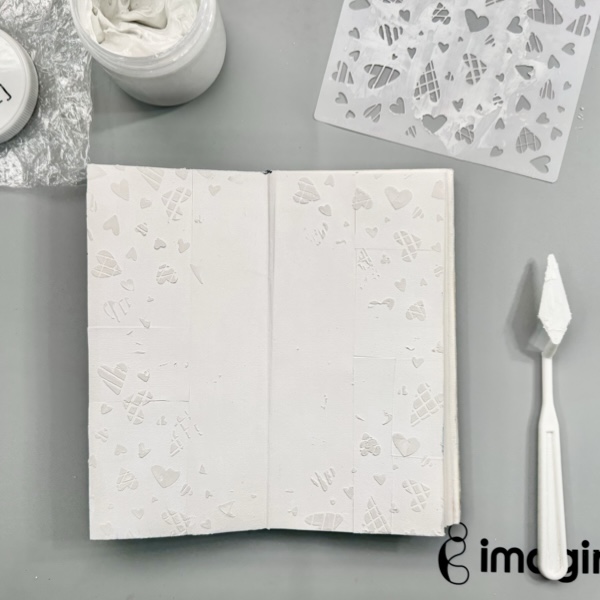
Step 2
Add some of the texture paste around the corners and edges of the journal page using a stencil and palette knife.
Remove the stencil and wash it right away with warm water.
Let the texture paste to dry. You can use a craft heater to speed up the drying time, but be very careful to not heat it up too much, move around your craft heat all over the page. Let the page cool down.
Step 3
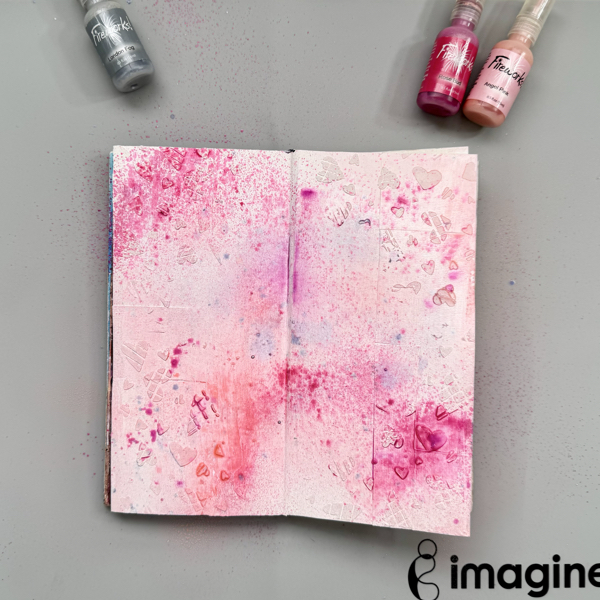
This is a fun step!
Start spraying your page with the Fireworks! Shimmery Craft Spray, one color at the time. You do not need to wait for each color to dry to spray the next one. It is fun to watch how each color blends together.
Use a craft heater to dry the background.
Optional: you can repeat spraying until you get the color blending you like to have.
Step 4
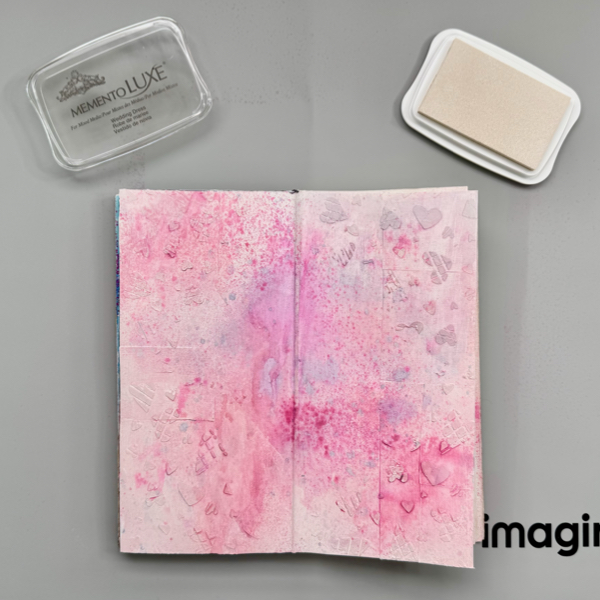
Add some of the Wedding Dress Memento Luxe ink to the page using your finger on the texture paste heart on the background. This will bring out the hearts and muted the bright colors a little bit.
Dry the background with a craft heat gun.
Step 5
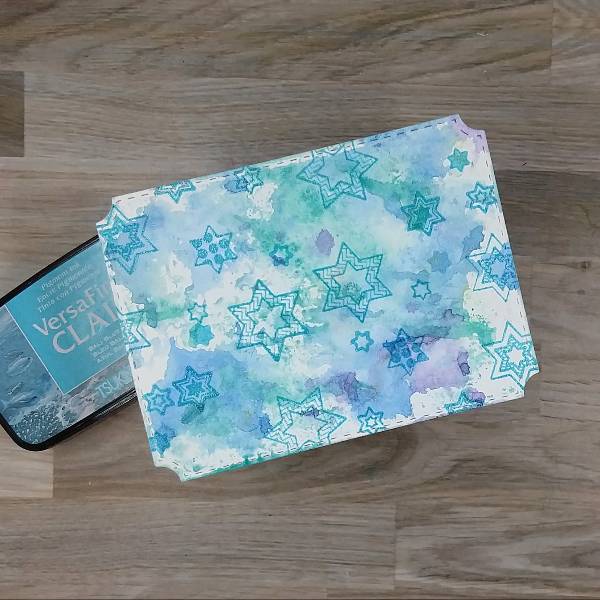
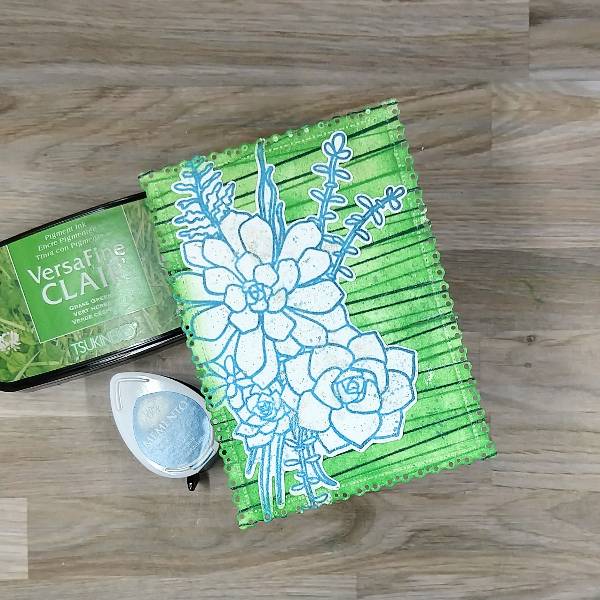
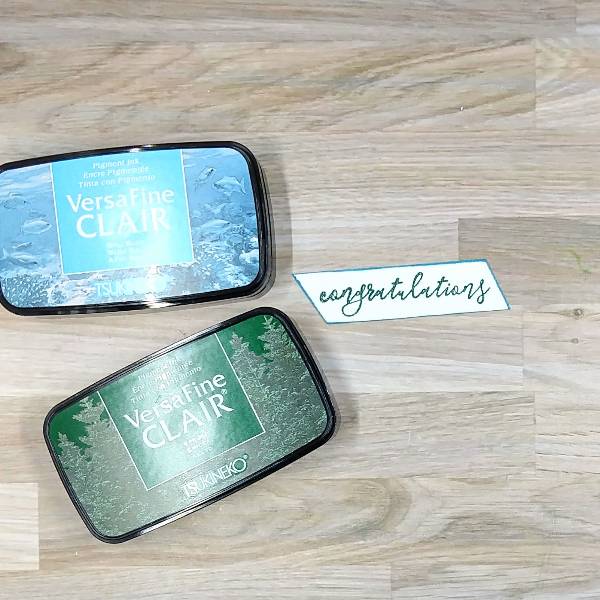
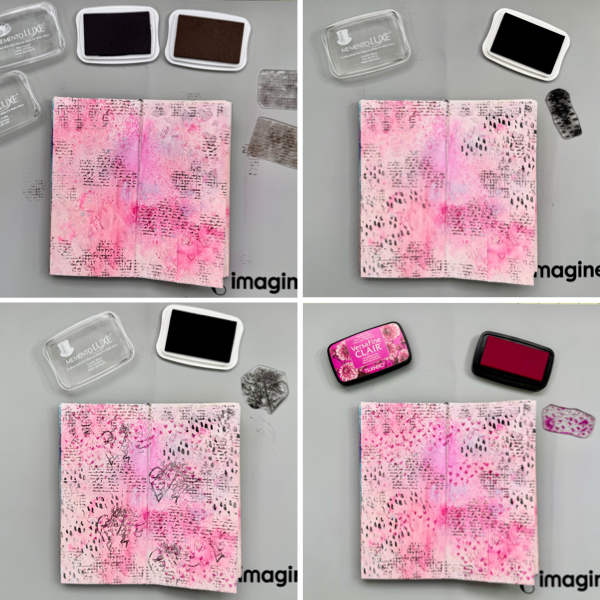
Building up the background texture on the journal page by randomly stamping each texture stamp one by one using the Memento Luxe ink pads (Tuxedo Black, Rich Cocoa, Espresso Truffle) and VersaFine Clair Charming Pink ink pad.
Dry the ink after stamping each image on the journal page.
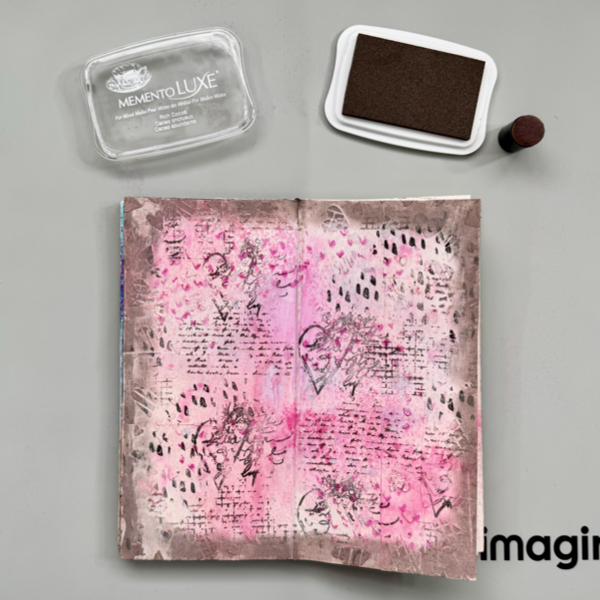
Step 6
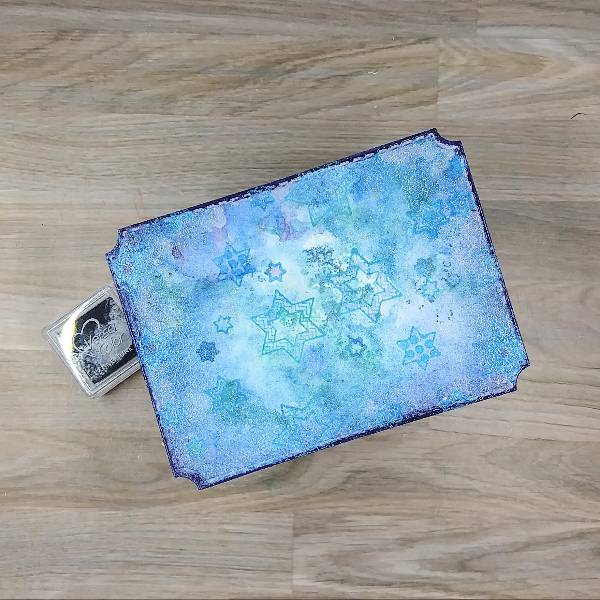
Using sponge dauber, add some of the Memento Luxe Rick Cocoa ink around the corner of the page to create the shadow border.
Dry the ink with a craft heat gun.
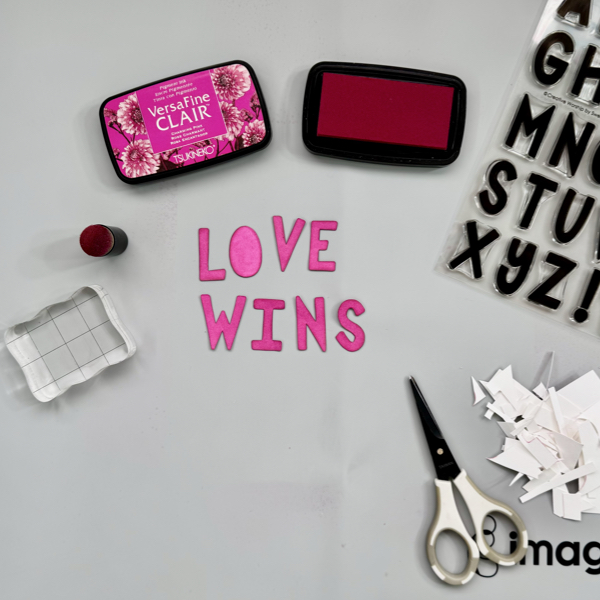
Step 7
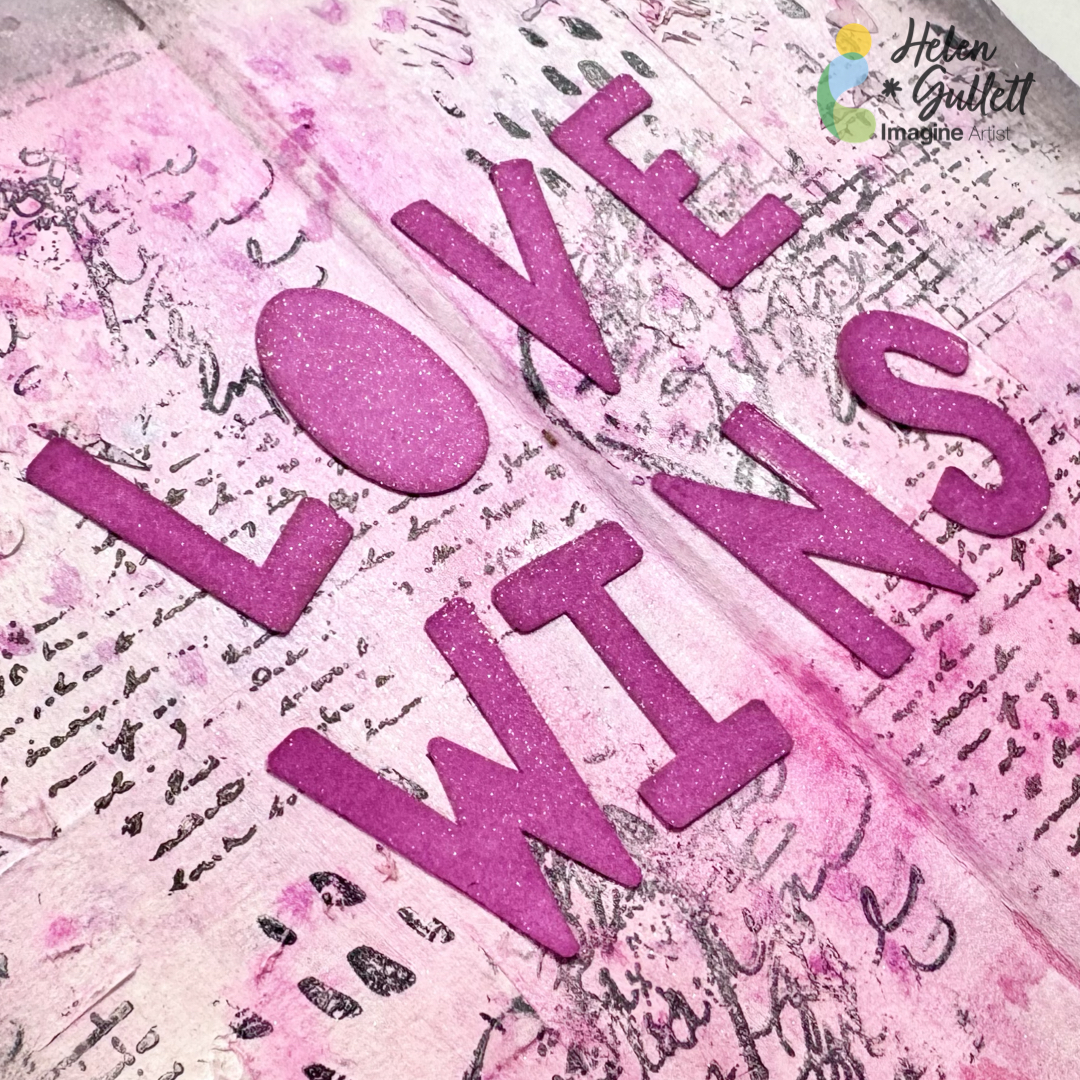
On a piece of white cardstock, stamp the letters for the title or sentiment using VersaFine Clair Charming Pink inkpad. Dry the stamped letters with a craft heat gun.
Cut out each letter with scissors.
Add some of the VersaFine Clair Charming Pink ink around the edges of the letters using a sponge dauber to give some shadows effect to the letters.

Step 8
Add each letter to the journal page with On Point Glue.
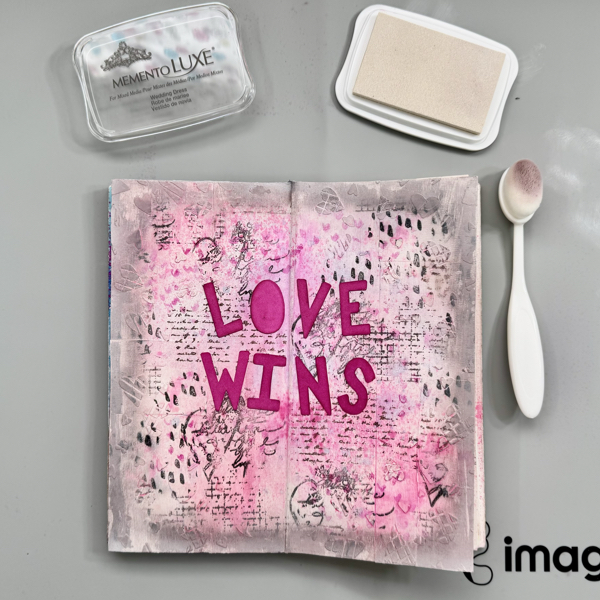
Step 9
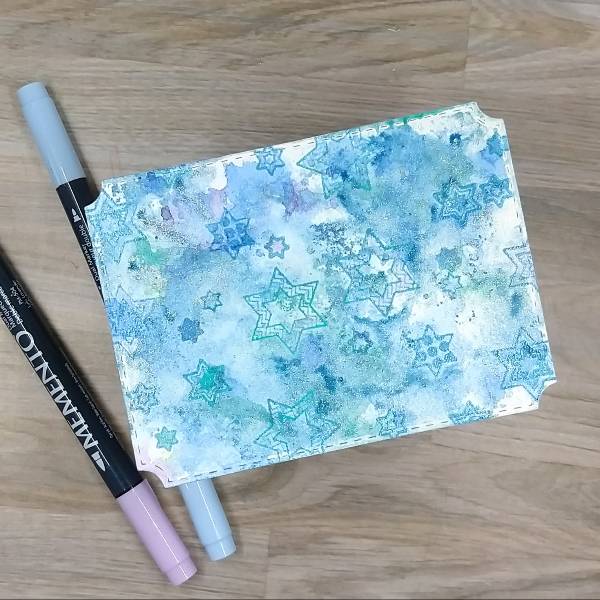
This is an optional step.
I decided to muted down the Rick Cocoa border by adding some of the Memento Luxe Wedding Dress ink with a blending brush.
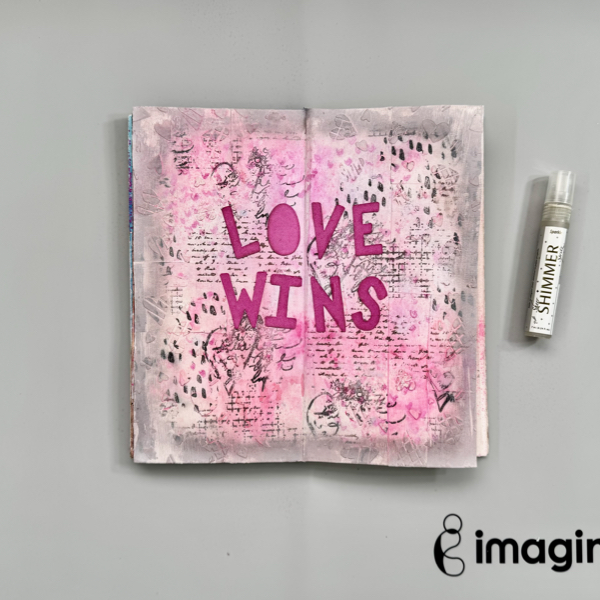
Step 10
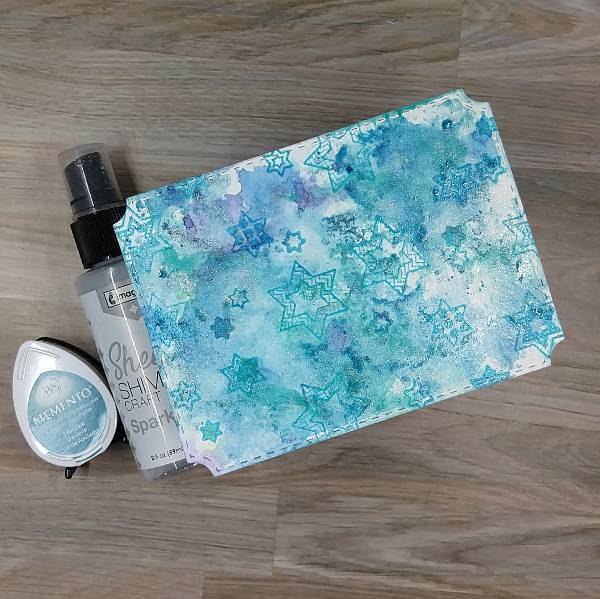
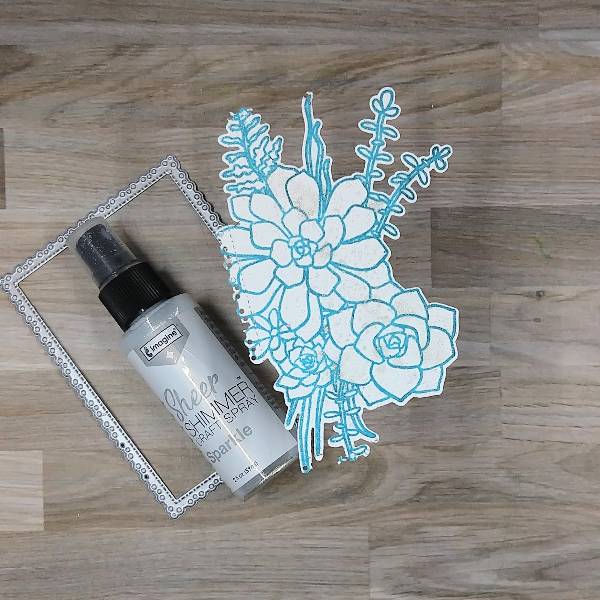
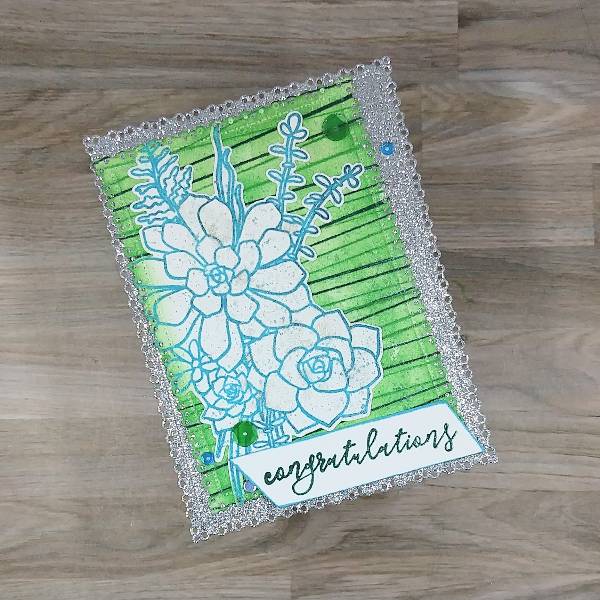
Add some shimmer sparkle to the page by spraying some of the Sheer Shimmer Sparkle Spritzer.
Dry the whole page once more time with a craft heat gun.
It’s done.
Let unconditional love fill each of your hearts every day so we can show love to others. At the end… Love wins!
Thank you for stopping by our blog today. Have a wonderful day.
Craft Supplies
Imagine Crafts:
- Memento Luxe (Tuxedo Black, Espresso Truffle, Rich Cocoa, Wedding Dress)
- VersaFine Clair (Charming Pink)
- Fireworks! 3 pack – Girls’ Night Out (Rose Bud, Angel Pink, London Fog)
- Sheer Shimmer Spritzer – Sparkle
- On Point Glue
- Palette Knives
- Sponge Dauber
- Imagine Craft Mat
- Staz-On All Purpose Stamp Cleaner
Others:
- Texture Tiles 1 stamp set (Creative Worship Stamps)
- Grunge Elements 3 stamp set (Creative Worship Stamps)
- Mini Marks 1 stamp set (Creative Worship Stamps)
- Shake It Off Caps Alpha stamp set (Creative Worship Stamps)
- Hearts Galore stencil (Creative Worship Stamps)
- Canson Watercolor Cardstock (leftover or paper strips)
- White cardstock
- White Gesso
- Texture Paste
- Flat brush
- Tweezers
- Blending brush
- Stamping Blocks
- Micro-tip scissors
- Craft heat gun
- Paper trimmer
- Die cutting Machine