Other Products Used Simon Hurley Very Berry Stencil Set Berry Best Stamp and Coordinating Dies Stellar paste in Black Widow Lunar Paste in Later Gator PVA Adhesive Ink blending brushes
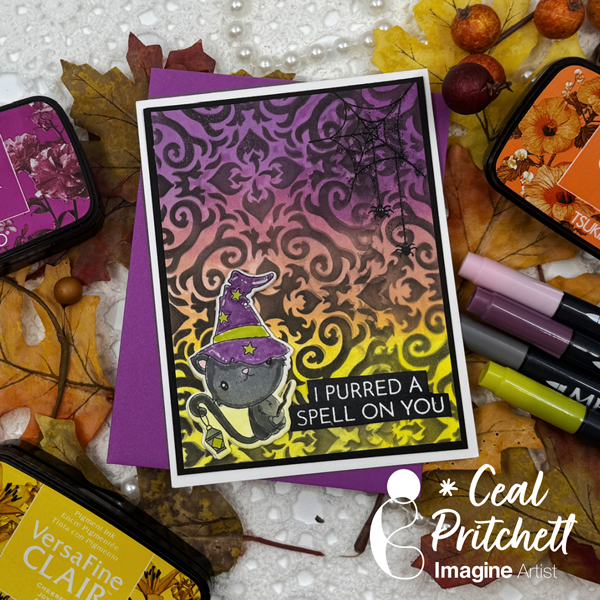
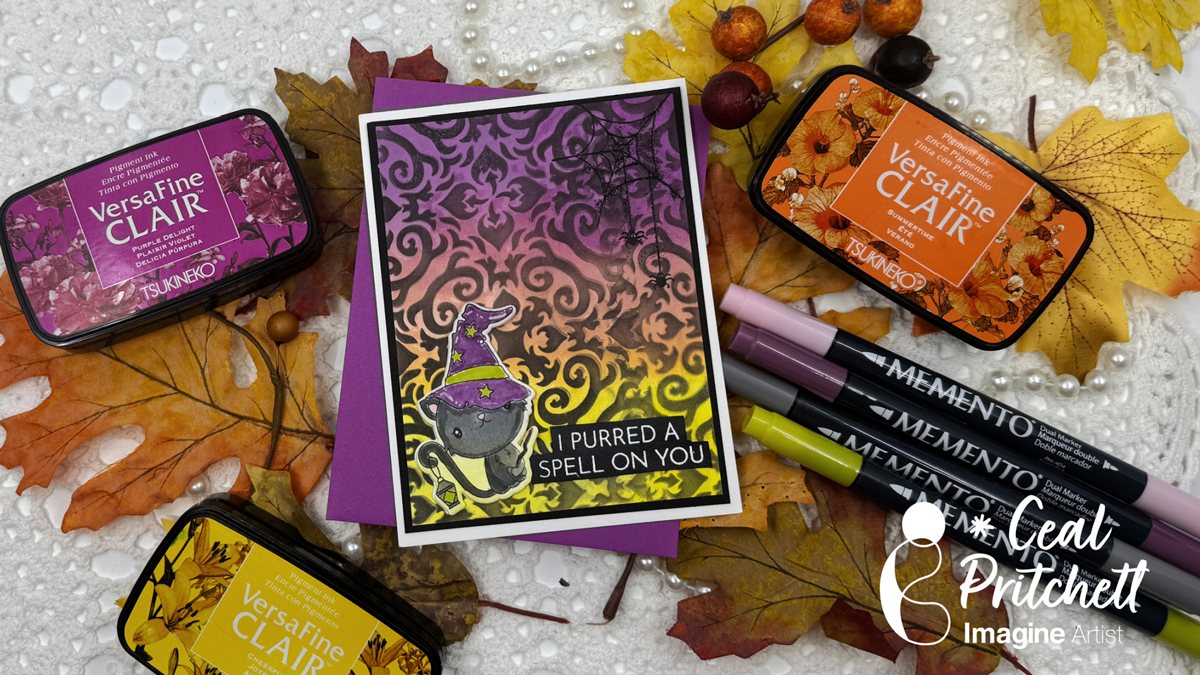
Hey there crafty friends! It’s Ceal, here. Today I am sharing a Halloween card with you.
Skill Level: Intermediate Time: 30 Minutes
Directions:
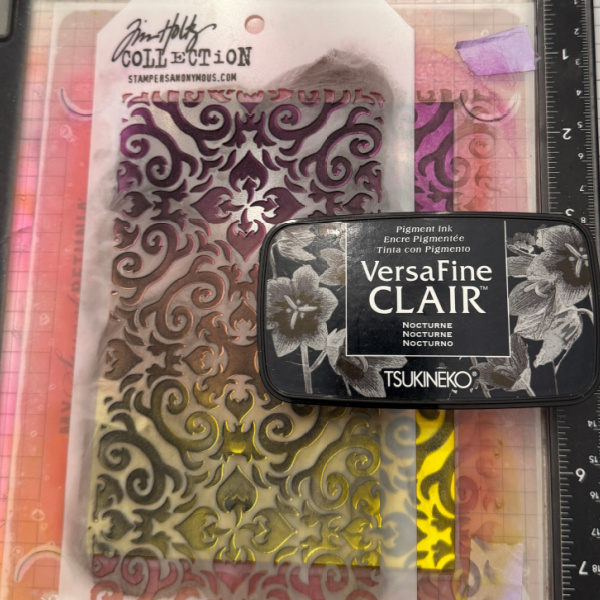
Gather your supplies. You will need a Halloween themed stamp set, a stencil, white and black embossing powder, some markers if you have a line art image and three Halloween colors of ink.
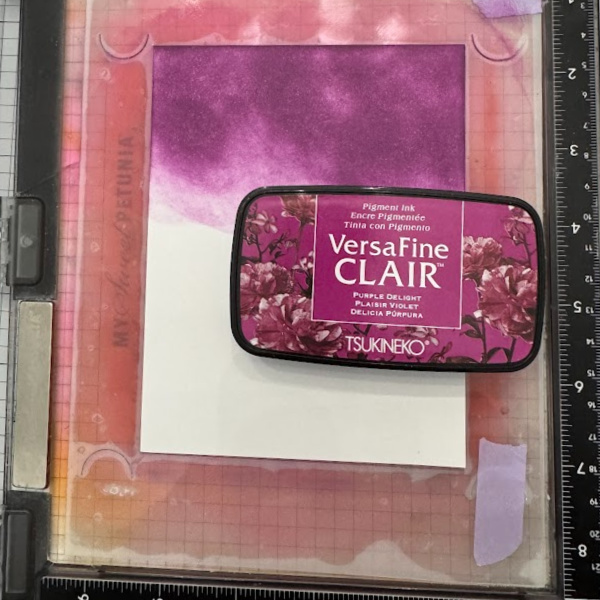
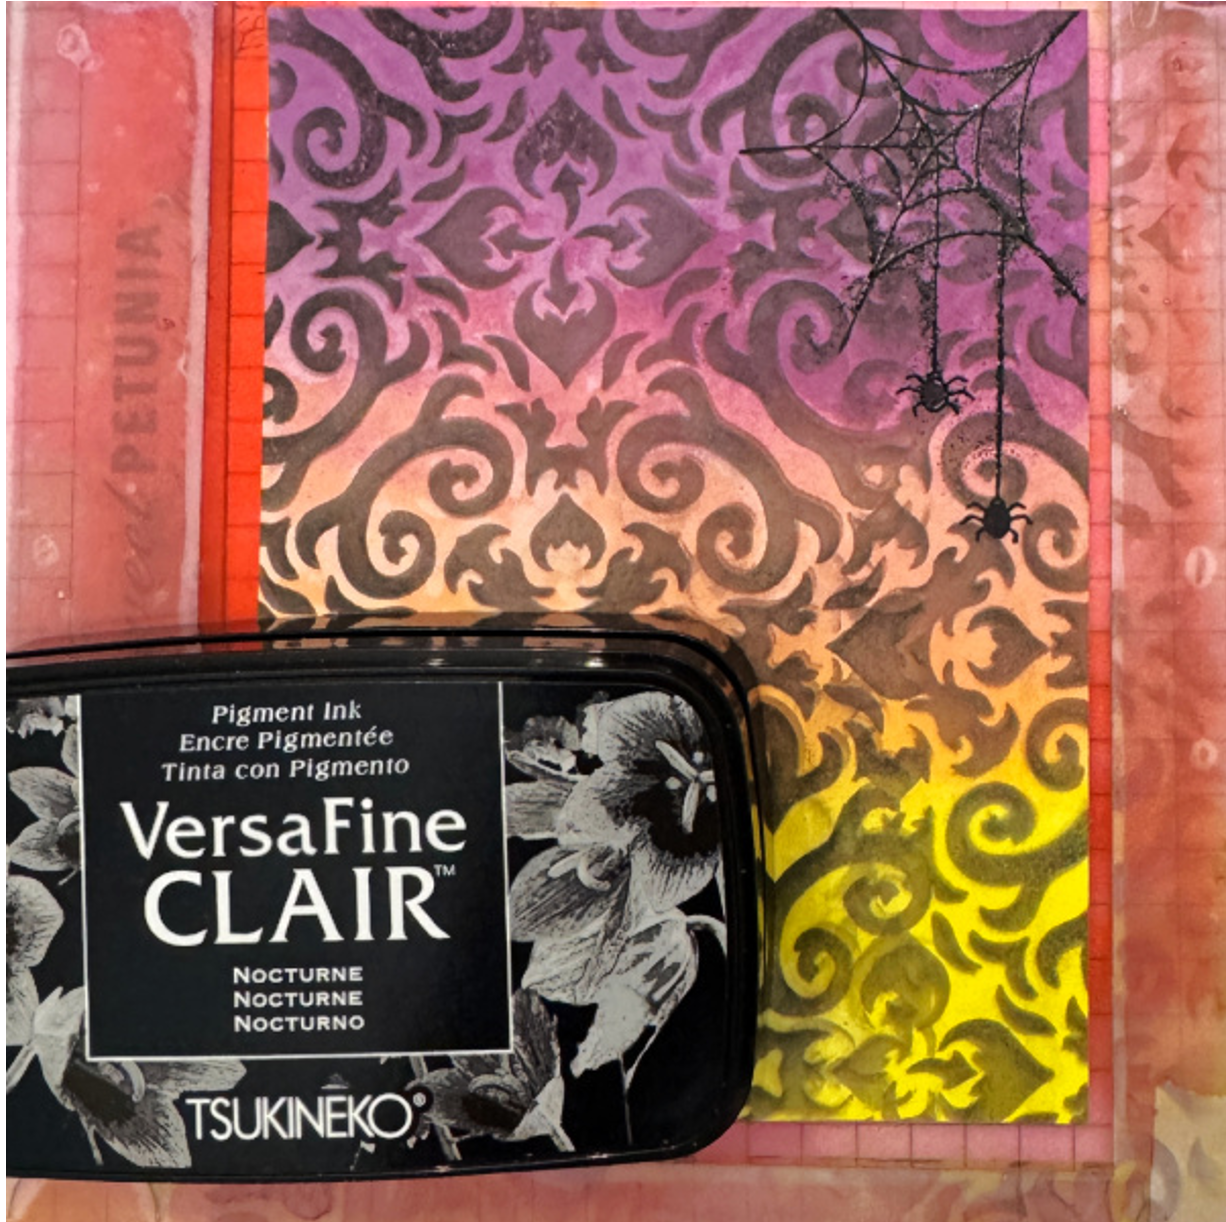
Step 1: Ink Blend a purple ink (VersaFine Clair Purple Delight used) on a third of the panel.
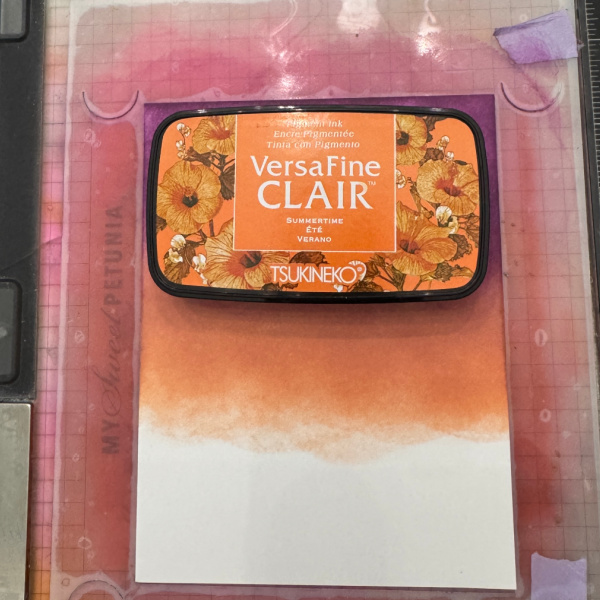
Step 2: Ink Blend an orange (VersaFine Clair Summertime used) ink over the second third of the panel.
Step 3: Ink Blend a yellow (VersaFine Clair Cheerful used) ink over the bottom third of the panel.
Step 4: Place a stencil over the blended panel and add black (VersaFine Clair Nocturne used) ink over the stencil.
Step 5: Stamp a spider web in the corner using black ink and then emboss with black powder.
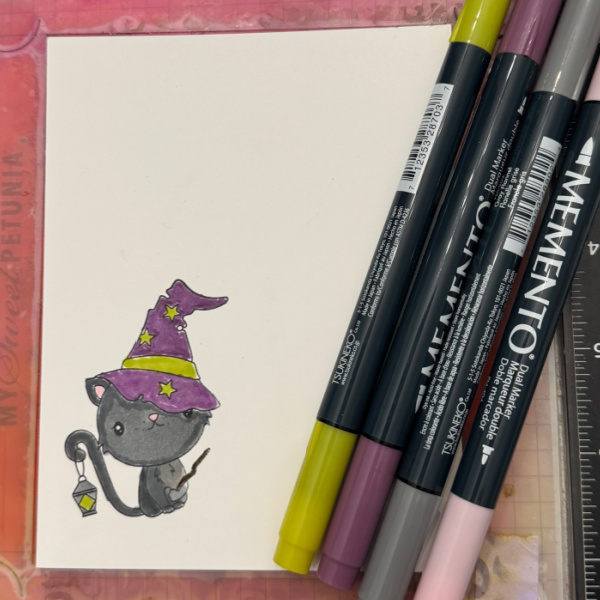
Step 6: Stamp, color and cut out the image and add to the front of the card.
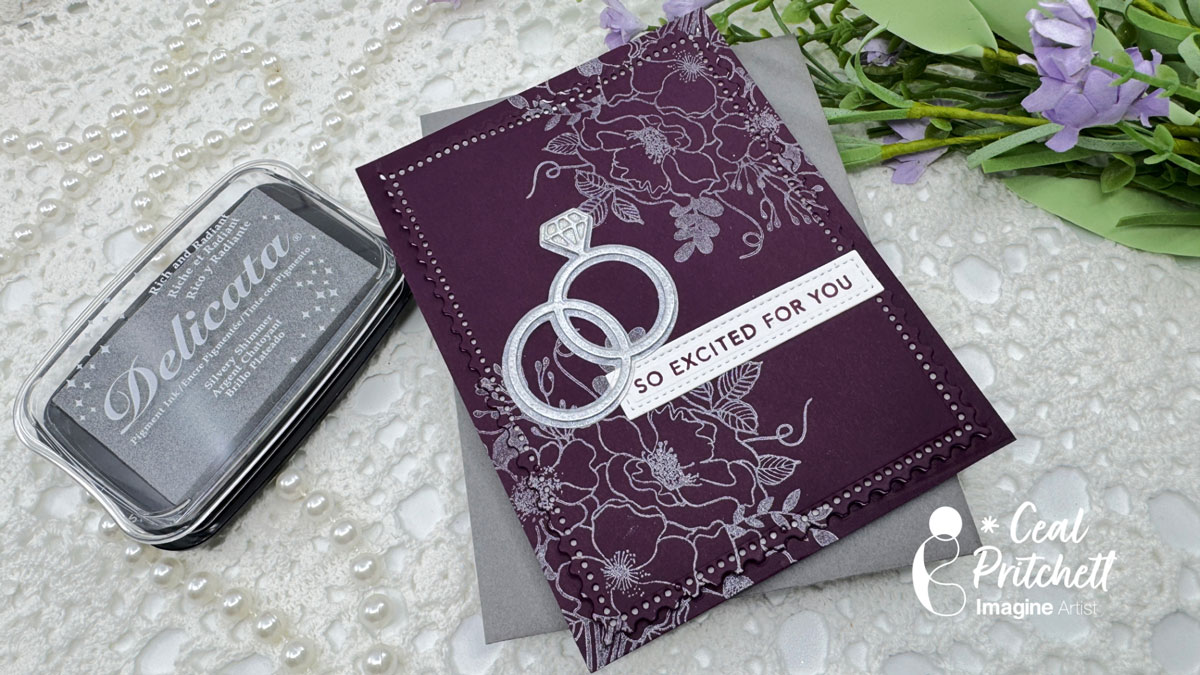
Hello crafty friends! It’s Ceal, here. Today I am sharing how to create a simple but elegant wedding card.
Skill Level: Intermediate to Advanced Time: 45 Minutes
Directions:
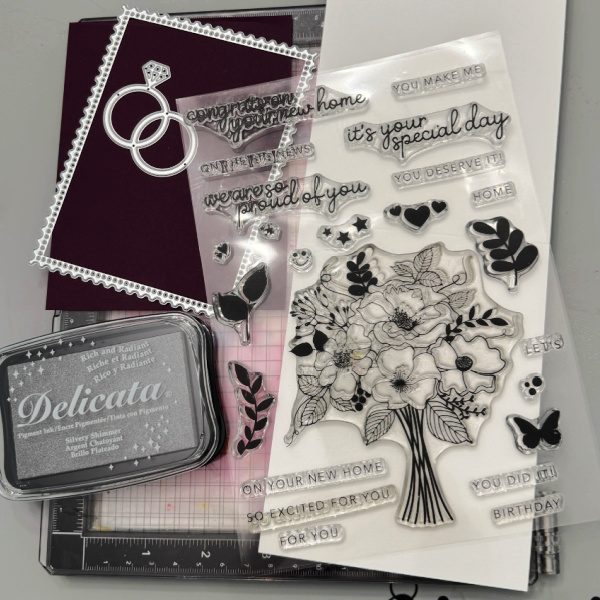
Gather your supplies. You will need a stamp set with a floral image and wedding sentiments. An A2 sized die and some wedding themed dies, a stamp positioner and a shimmer ink pad.
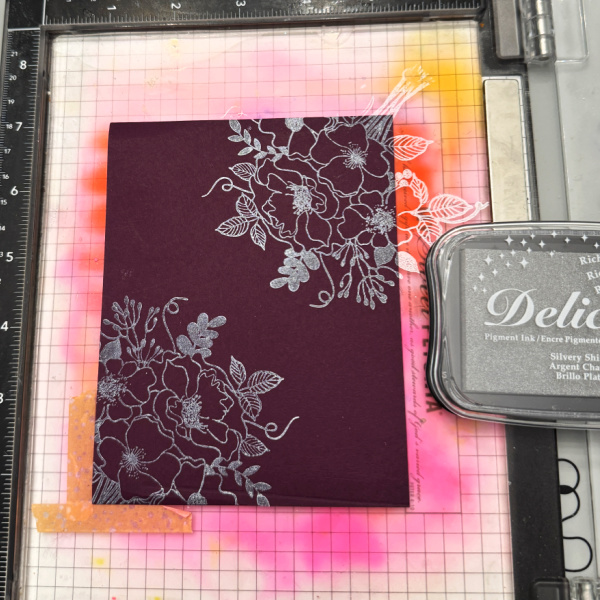
Step 1: Using a Misti or stamp positioner and a grip mat place the cardstock panel in the center. Place the floral stamp on the corner of the panel and ink with shimmer ink (I used Delicata Silvery Shimmer) stamp, you may have to stamp more than once to get a clean image. Turn your paper, no need to move the stamp thanks to the Misti and ink it up and stamp again on the other corner. This ink is a pigment ink therefore it takes a little longer to dry, you can speed that up by heat setting it.
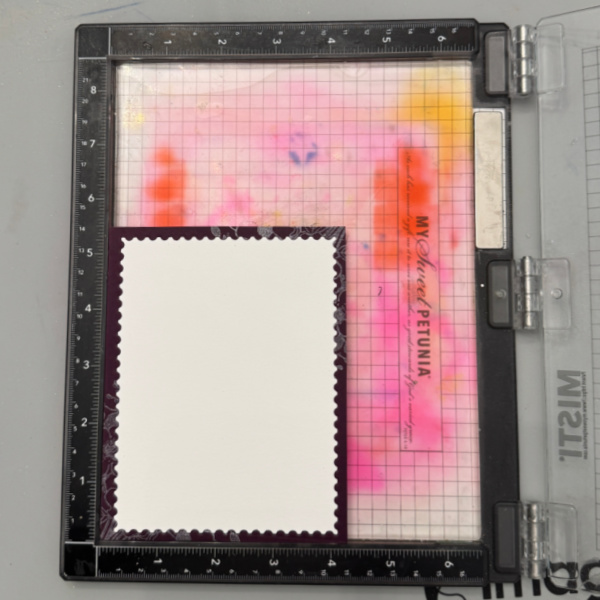
Step 2: Cut the panel with the die keeping both pieces. Also cut out the wedding themed dies.
Step 3: Place the card base in the corner of the Misti and then glue the borer of your die cut pieces down first. I always place it in the corner of the Misti, this helps me line it up.
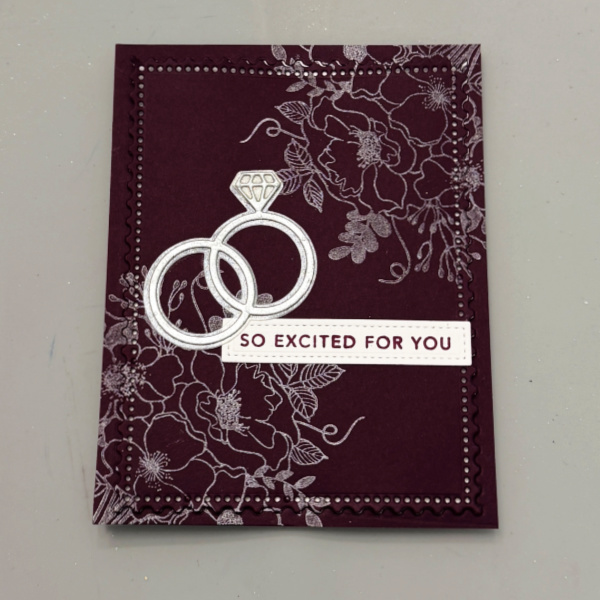
Step 4: Add the main die cut piece using foam tape to give it dimension. Tip: after adding the foam adhesive to the panel also add some liquid glue, this allows you to move the panel to get it in place.
Stamp the greeting on a strip of paper and cut it out. Add all of the elements to the card.
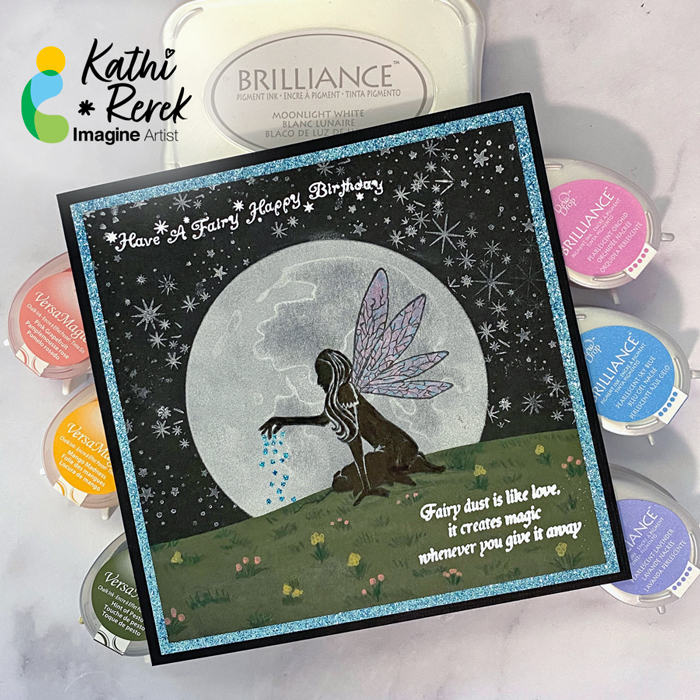
I recently saw a video where the owner of Lavinia Stamps created a card using Brilliance Moonlight White and a silhouette stamp to create a magical scene. I decided to bring it to the next level by creating a scene using Brilliance and VersaMagic inks.
Skill Level: Beginner to Intermediate Time: 1 hour
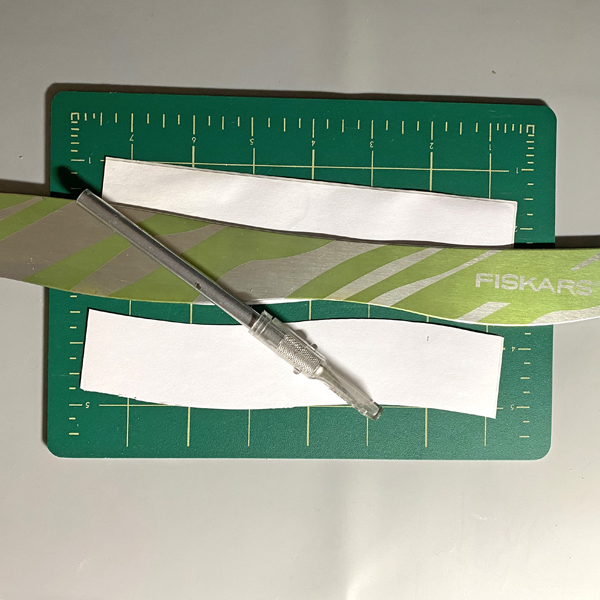
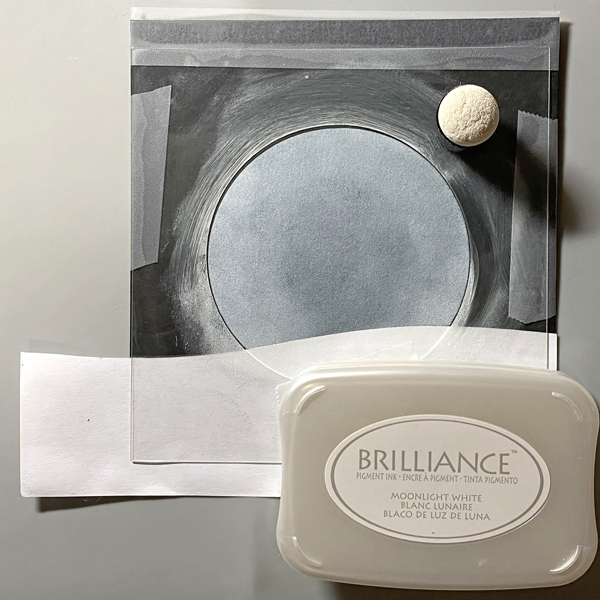
Step 1: Place a piece of repositionable label paper onto a craft mat. Use a craft knife and a curvy ruler to cut the piece of label paper. Both pieces will be used as masks.
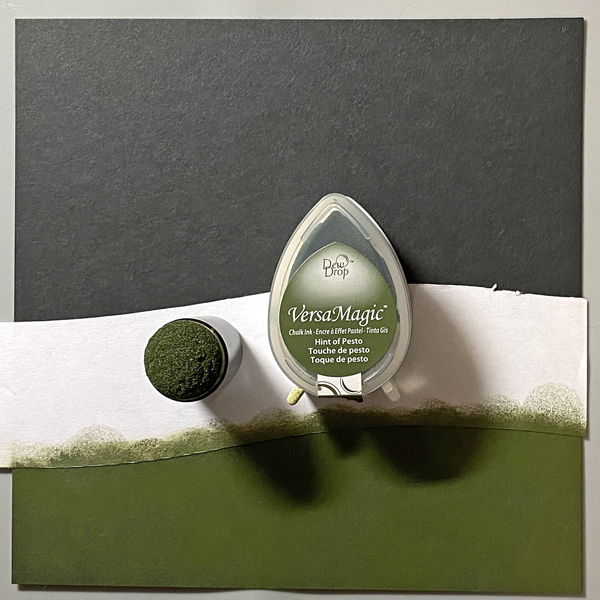
Step 2: Cut a piece of Black Mixed Media paper to 5.25” square. Adhere one of the two masks horizontally across the square.
Use a Sponge Dauber to apply Hint of Pesto VersaMagic Ink below the mask. Remove the mask and retain. Heat set.
VersaMagic Inks are wonderful on dark backgrounds.
Step 3: Adhere the second repositionable masks over the sponged green background.
Use repositionable tape to secure the largest circle-in-a-square stencil from the Circle Mask and Stencil Set to the image panel.
Use a Sponge Dauber to generously apply Moonlight White Brilliance ink to the circular center of the stencil.
Remove the stencil and heat set.
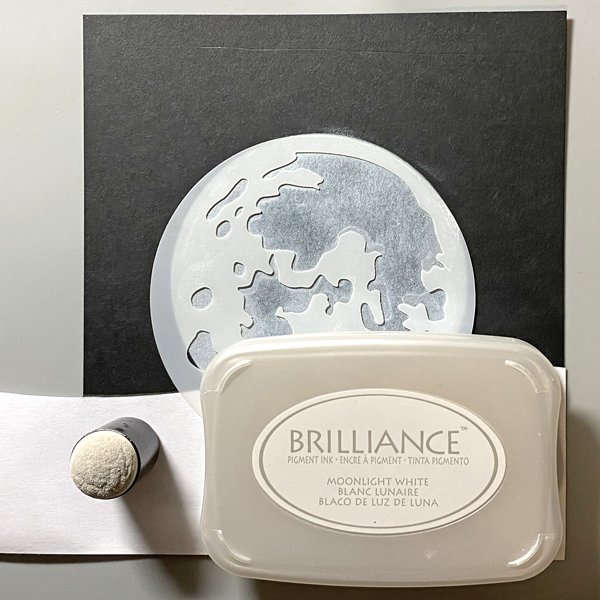
Step 4: Keeping the repositonable mask in place, position the moon face stencil from the Moon Layering Mask Set.
Sponge Moonlight White Brilliance Ink over the stencil. Use a slight scrubbing motion to remove some of the ink from the moon craters.
Remove the stencil and the mask. Heat set.
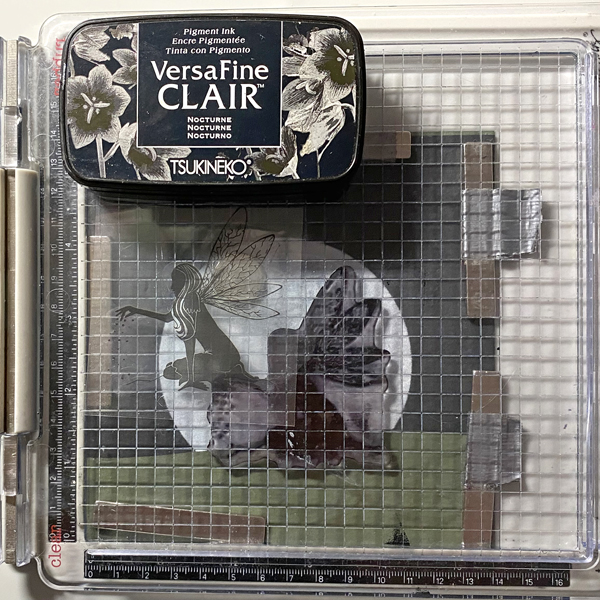
Step 5: Secure the image panel onto the stamping platform. Position the Fairy Dust fairy so that she’s sitting on the green area of the image panel.
Ink the stamp with Nocturne VersaFine Clair ink and stamp. Re-ink the stamp and stamp until you have a good impression.
Remove the stamp. Heat set the image panel.
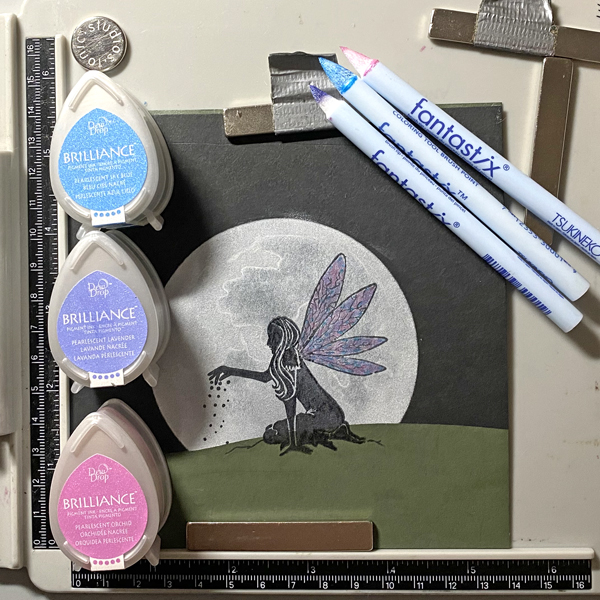
Step 6: Use Fantastix to apply Pearlescent Orchid, Lavender, and Sky Blue Brilliance Inks to the fairy’s wings. Heat set. Trim image panel to 5” square.
Step 7: (Not Photographed) Position the Birthday sentiment stamp facedown at the top left of the image panel. Position the Fairy Dust sentiment stamp facedown at the bottle right of the image panel. Ink both stamps with Frost Dazzle VersaMark ink. Sprinkle white detail embossing powder onto the sentiments then dump off the excess. Heat set.
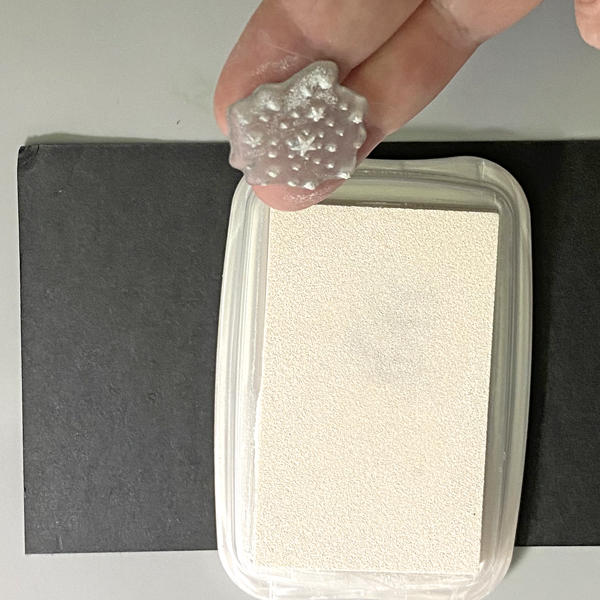
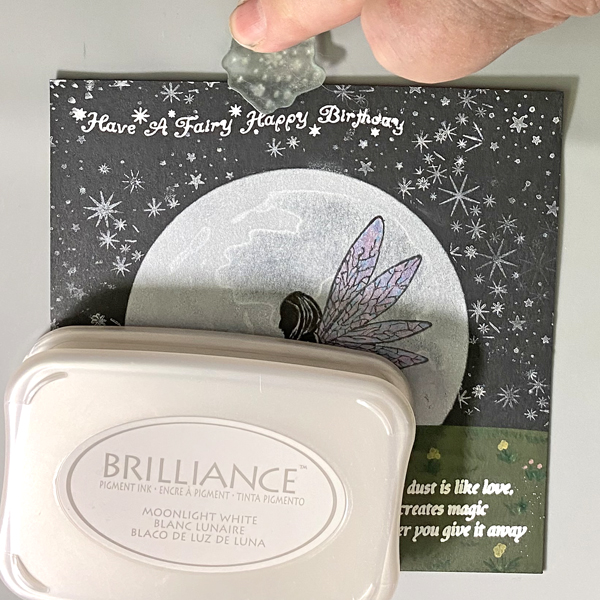
Step 8: Press two fingers onto the back of the polymer Stars stamp, ink the stamp with Moonlight White Brilliance Ink pad, and stamp. Randomly stamp the stars and the bursts around the moon.
Since the polymer stamp will stick to your fingers you will have more control of stamping. Your image might not be perfect, but that’s okay!
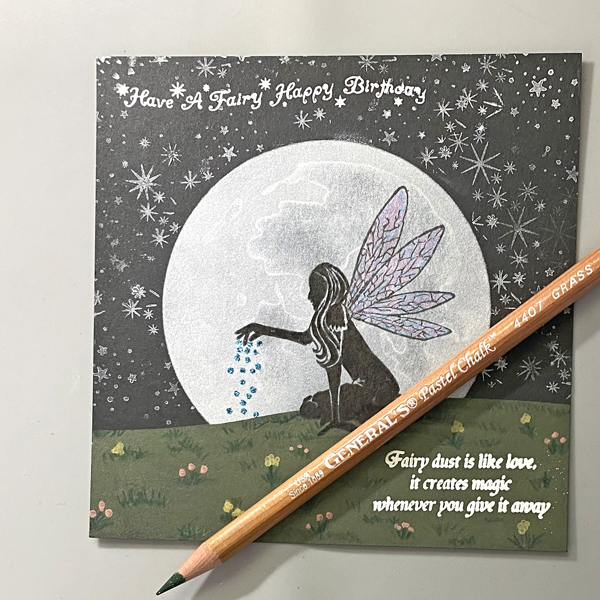
Step 9: Use chalk pencils to add grass and flower stems to the green area of the image panel.
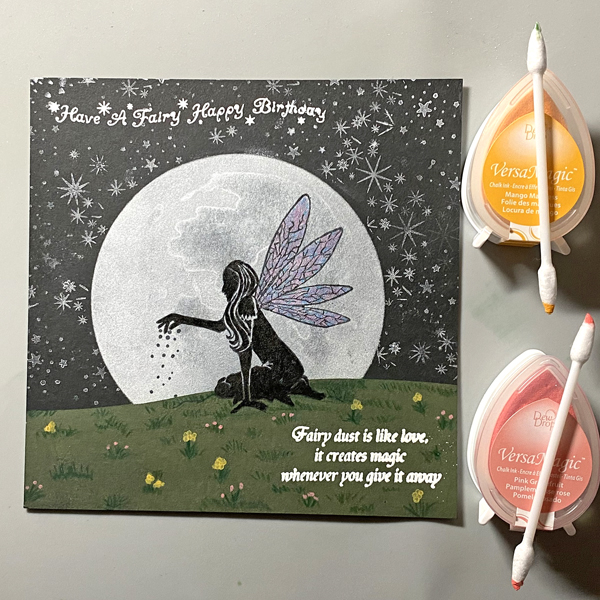
Step 10: Use Fantastix or pointy cosmetic swabs to apply dots of Mango Madness and Pink Grapefruit VersaMagic ink to some of the tufts of grass/flower stems. Heat set.
Step 11 (not photograhed) Apply tiny dots of On Point Glue over the “fairy dust” on the image. Shake some glitter onto the wet glue, Let sit then dump off the excess. Apologies for the lack of a photo.
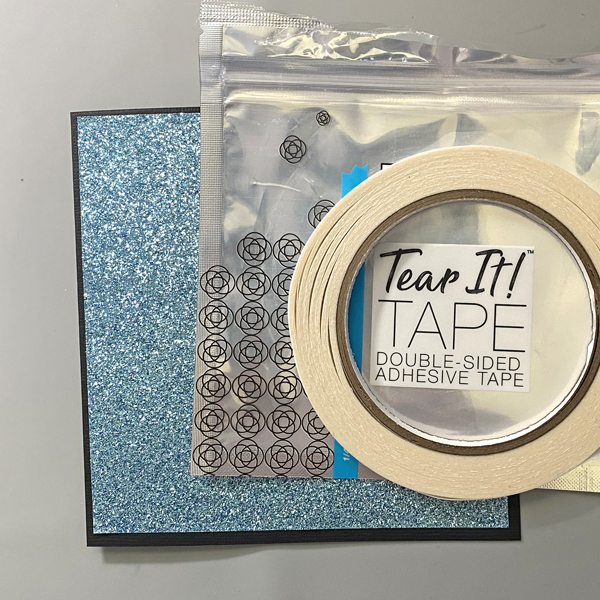
Step 12: Cut a piece of Raven cardstock to 5.5” x 11”, score at 5.5”, and fold to form a 5.5” square cad. Cut a piece of the blue glitter paper to 5.25” square.
Use Tear-It Tape to adhere the glitter paper to the front of the card. The tape is perfect for this application as the back of the glitter paper is slick. Use Tear-It ! Tape to adhere the image panel to the blue glitter paper.
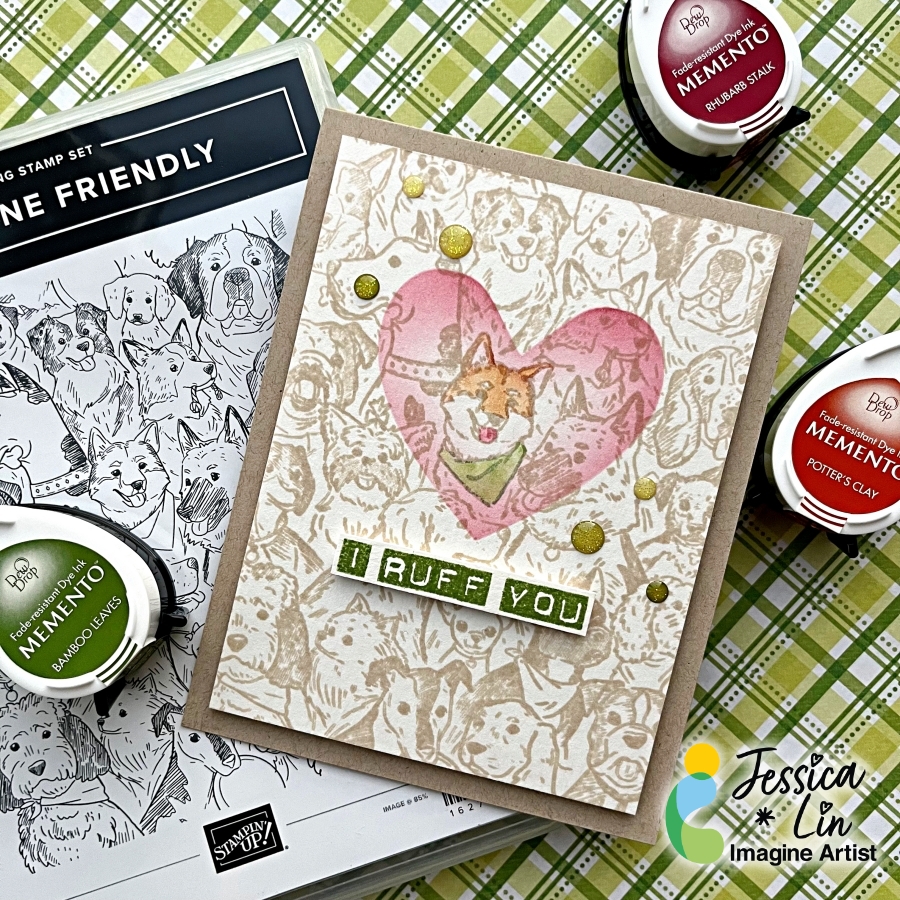
Hi everyone, it’s Jessica here. Today I have a special Valentine’s card to share with you. If you are a dog person, the background stamp we are using today is for you. It’s really unique and you could highlight any of the dogs to create personalized cards for the recipient.
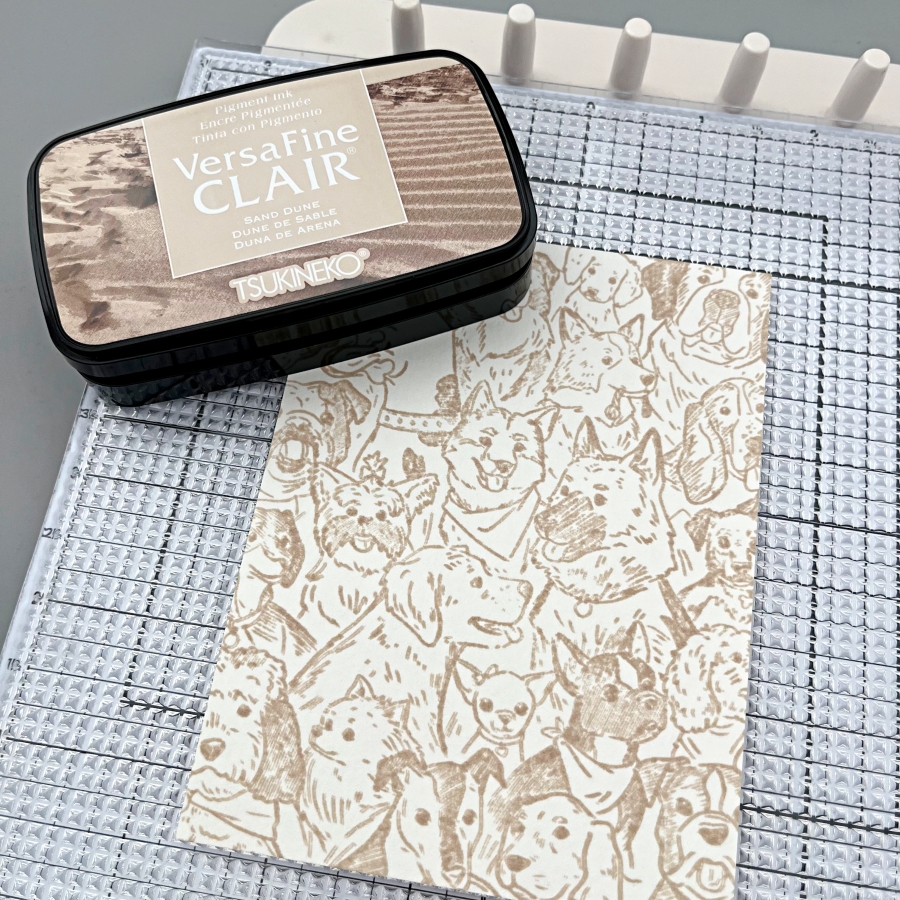
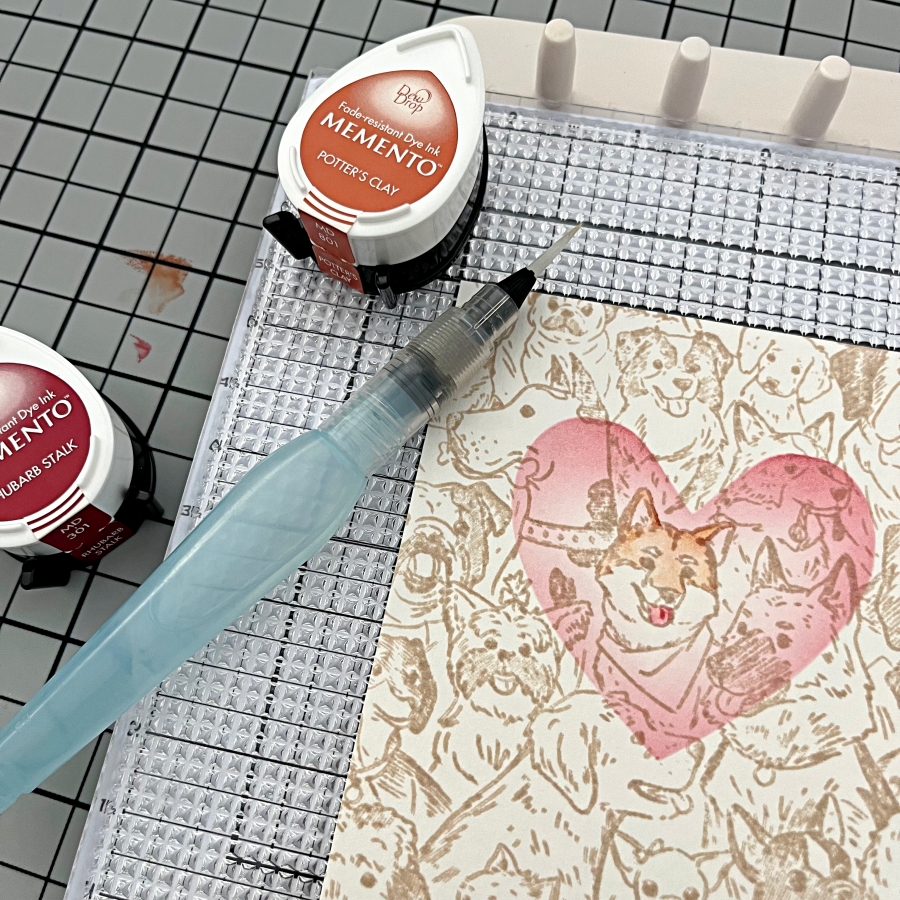
Step 1: Ink up Stampin’ Up!’s Doggone Friendly background stamp with Sand Dune VersaFine Clair ink, then stamp on a piece of watercolor cardstock. I recently got a photopolymer sticky mat from Altenew and have enjoyed using it so far. It ensures the cardstock stays in place when you are stamping, which is a handy feature when you are stamping large images like background stamps.
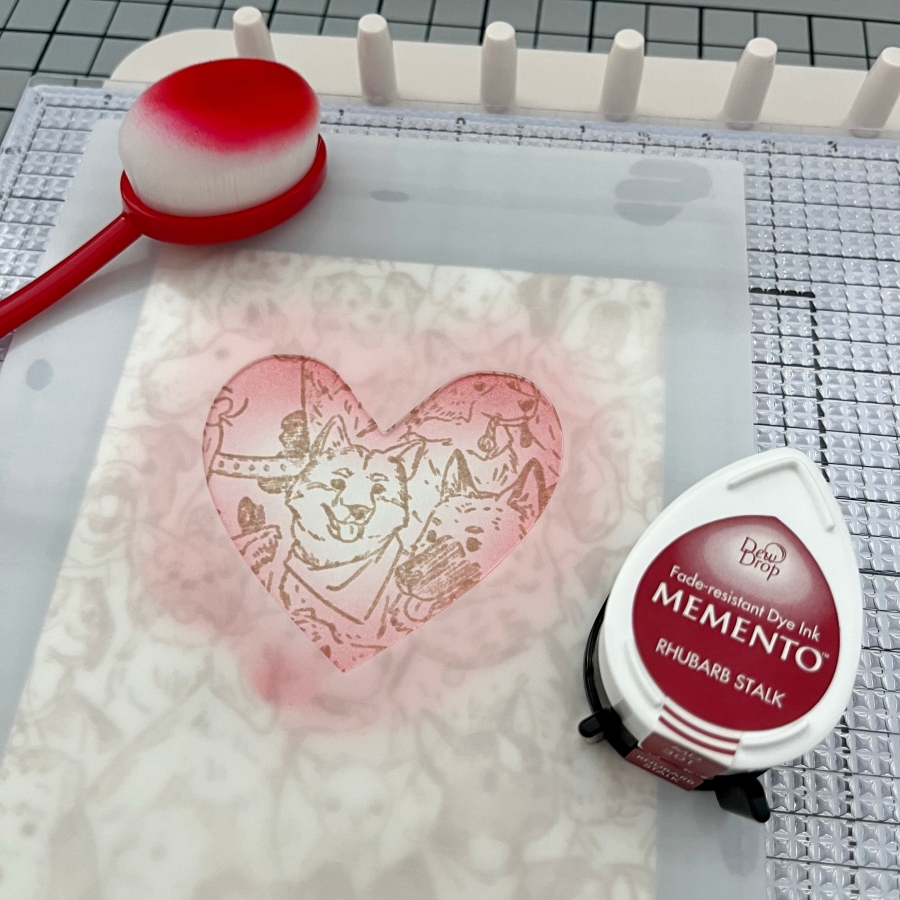
Step 2: I wanted to highlight the Shiba Inu in the middle by creating a spotlight effect around him. I laid down the Spotlight Heart stencil in the center and ink blended the edges lightly with Rhubarb Stalk Memento ink. Memento inks are perfect for ink blending and since they are dye inks, the blended areas will not cover up the background stamp details.
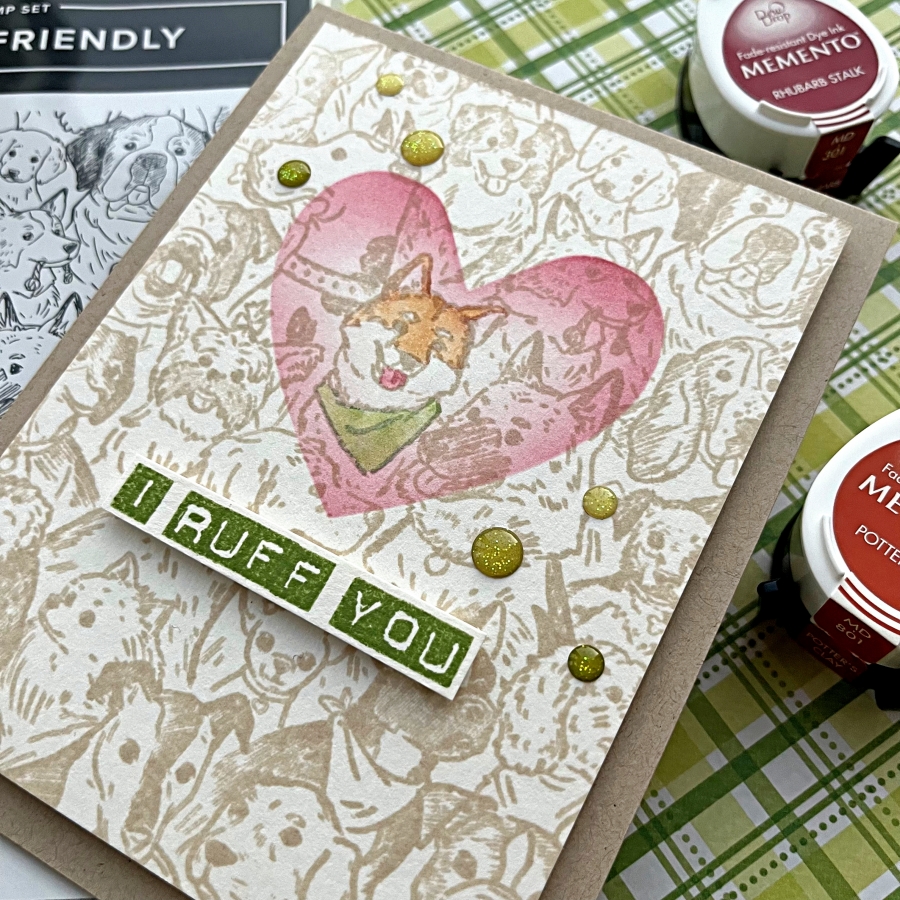
Step 3: This step is completely optional, but I decided to add some simple watercoloring. I chose Potter’s Clay for his face and used Rhubarb Stalk to color his tongue. For his scarf, I used Bamboo Leaves (not pictured here).
Step 4: Lastly, I stamped a “punny” sentiment using Bamboo Leaves Memento ink. I have used the Labeler Alphabet stamp set many times before to create custom sentiments. I thought this phrase compliments the blended heart shape nicely. Finally, I added some green enamel dots to decorate and the card is completed!
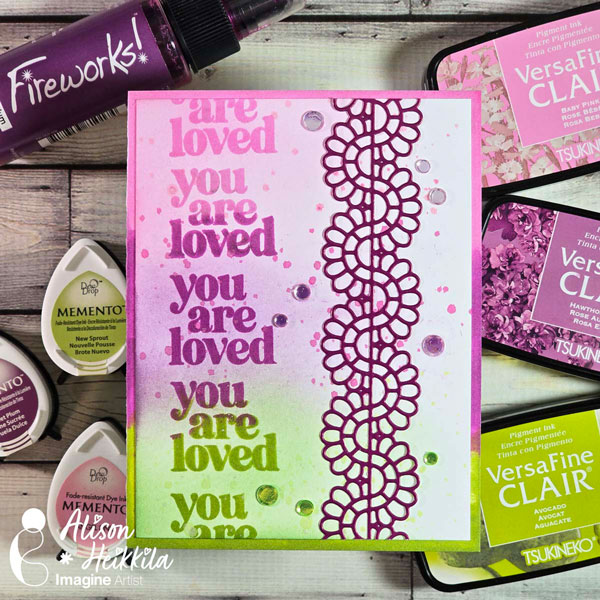
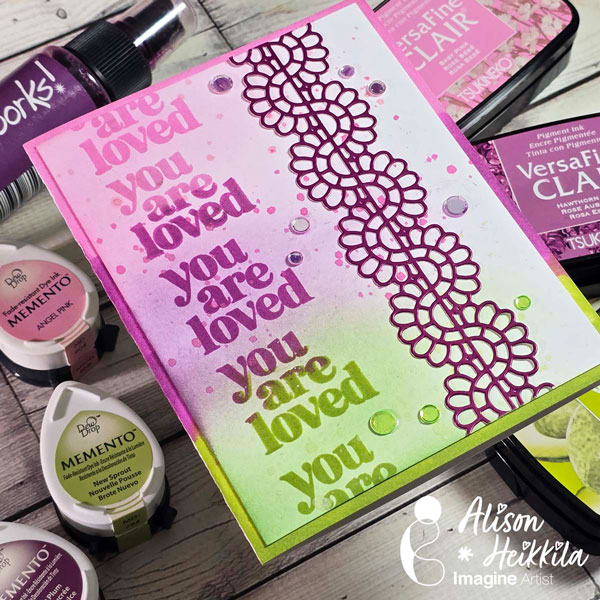
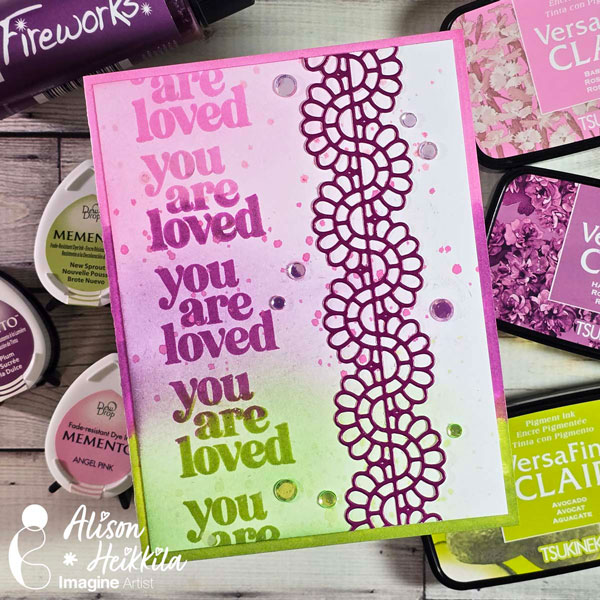
Hello! Alison Heikkila here. Grab a sentiment that’s worth repeating and let’s do some tone on tone stamping. You can do any color combo you want, just try not to overlap colors that are opposite on the color wheel. The techniques we’re doing today are great ways to mix various inks you may have in your stash.
Skill Level: Intermediate Time to Complete: 20-30 Minutes
*Some affiliate links are used in this post. That means that if you shop through these links, I may receive a small compensation, at no cost to you. For more information, please see my Affiliates page, where I also have some coupon codes.
This was so much fun to create. I’d love to make it again with different colors. What colors would you use? I might try teal, terra cotta, and cocoa next. Thanks so much for stopping by. Have an inspiring day!