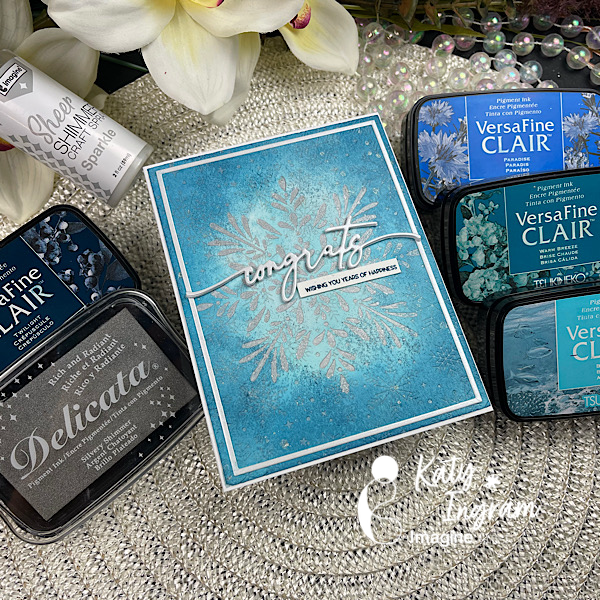
Hello Friends! Katy here with another project. In today’s video use my VersaFine Clairs with isopropyl alcohol to create a watercolor look. With this technique I created a wintry wedding card, but this will lend well to a birthday or holiday card as well.
• The Greetery Sentiment Suite Love Stamp Set • The Greetery Congrats Die • White Cardstock • Hot Pressed Watercolor paper • Stamp positioner tool • Isopropyl Alcohol
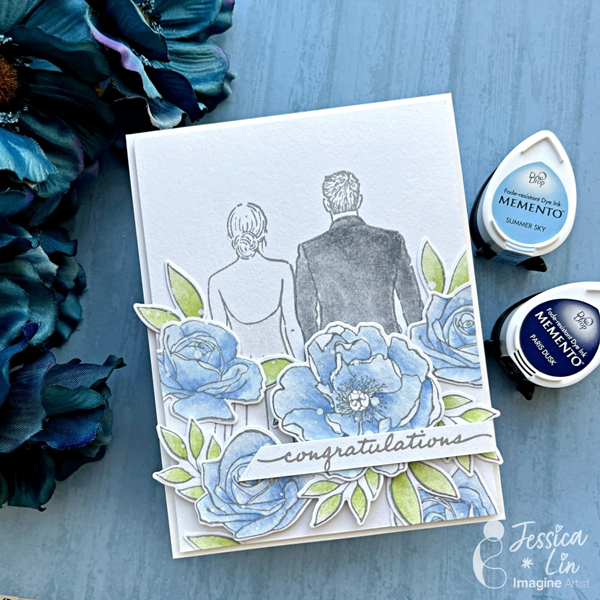
Hi everyone! It’s Jessica here. I am so excited to share a wedding card idea with you today. We will be creating a romantic wedding scene by watercoloring some images. If you like adding shimmer and sparkles to your card, be sure to keep reading to find out how you can watercolor with the Sheer Shimmer Sprays!
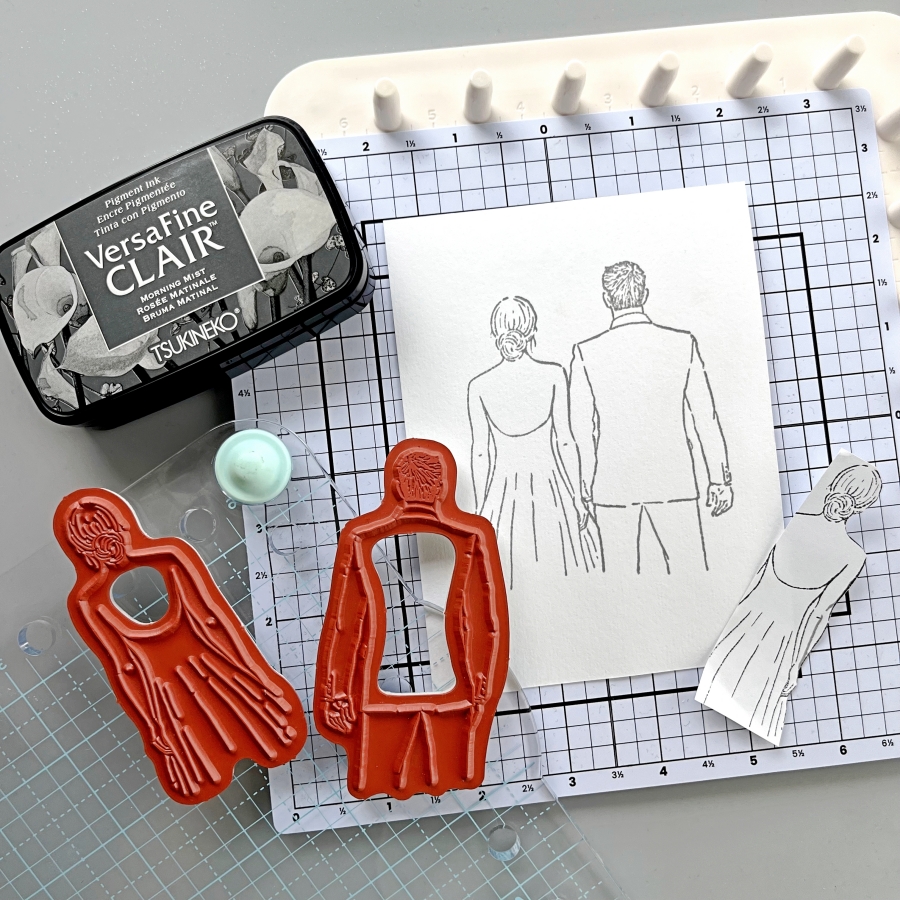
Step 1: The focal point of today’s card is the bride and groom images from Stampin’ Up’s Here’s to Love set. I stamped the images on watercolor cardstock with VersaFine Clair Morning Mist ink. Most of the time the VersaFine Clair Nocturne ink is my go-to for stamping image outlines. However, I wanted to create a softer look today, and I thought this dark gray color is a great alternative to the usual crisp, black ink. I also did a little bit of masking on the bride’s right arm, so that the groom’s suit outline does not overlay on top.
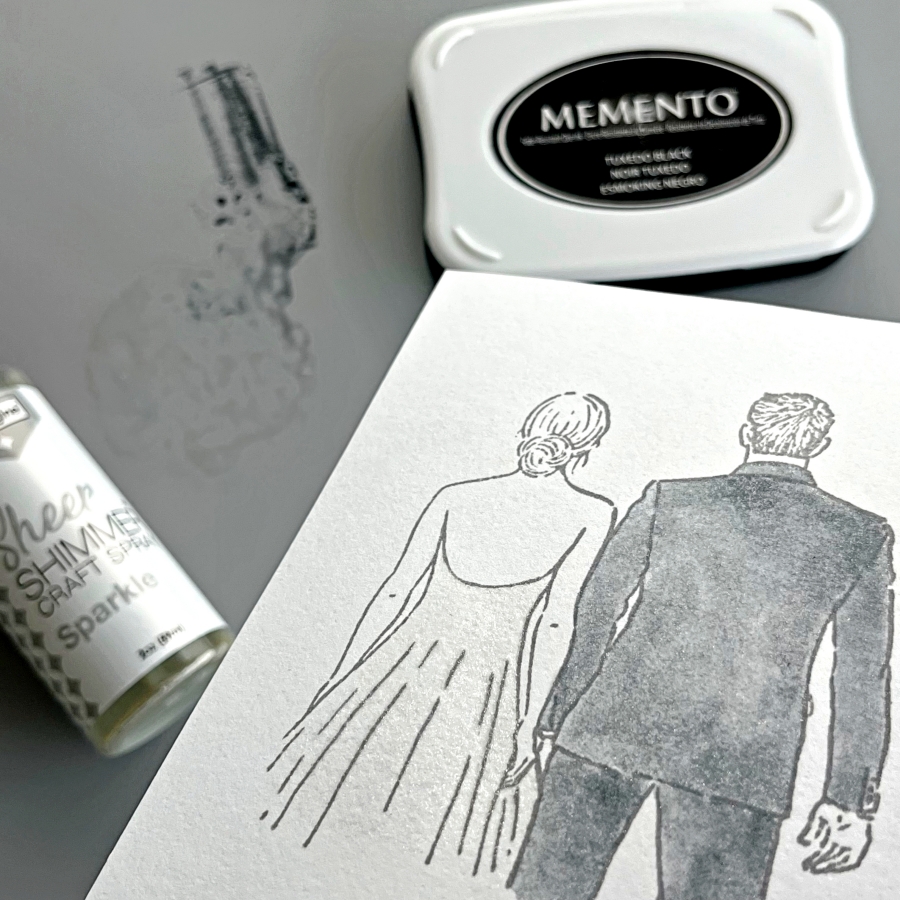
Step 2: Now it is time to add some color. I wanted to try watercoloring with the Sheer Shimmer Spray to add some additional sparkle, since the card layout is quite simple. There are several metallic options to choose from for the Sheer Shimmer Sprays. I chose the color Sparkle, which is clear with a golden shimmer. I painted the bride’s dress with 2-3 coats, letting each coat dry before applying the next layer. For the groom’s suit, I mixed the spray with Memento Tuxedo Black ink. (What a coincidence with the ink’s name, ha!)
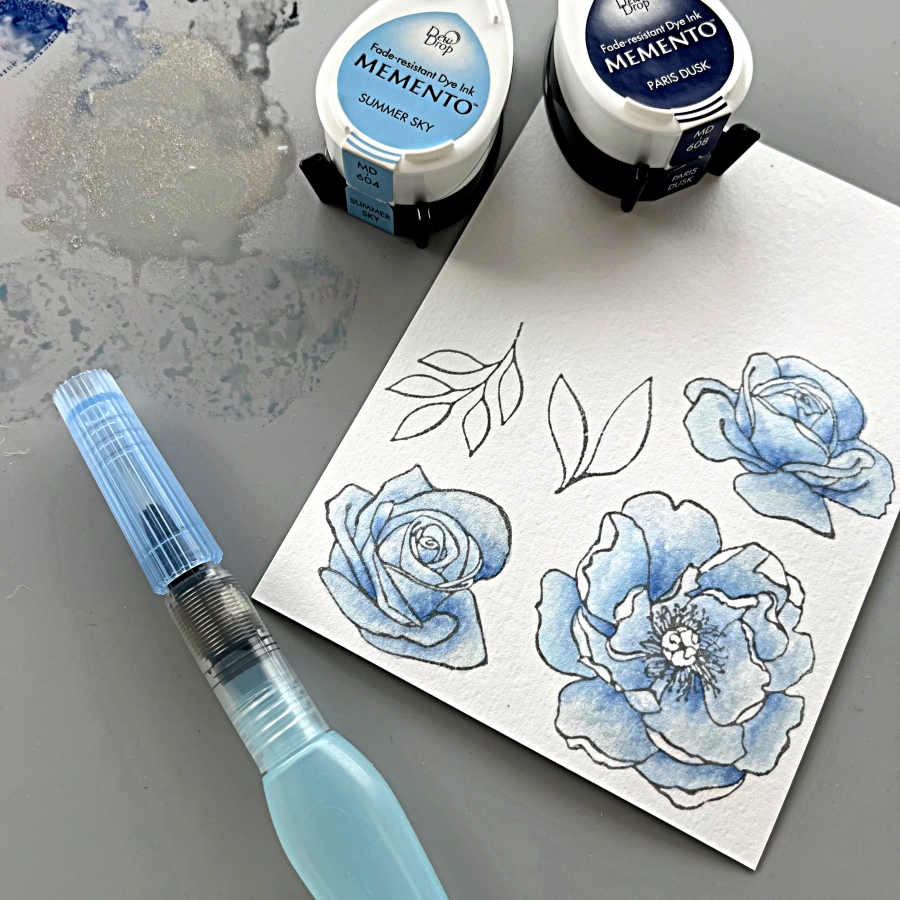
Step 3: Then I stamped the floral images from Stampin’ Up’s Happiness Abounds set using the same gray ink. I mixed Memento Summer Sky ink with Sheer Shimmer Spray to color the base layer of the flowers, and added shadows with Paris Dusk. This color combination is so lovely and the perfect dusky blue for a wedding palette. The Imagine Craft Mat is also a great tool for mixing colors. Since the Memento inks are water-based, I can apply the ink directly onto the craft mat and clean the surface with a quick water rinse at the end.
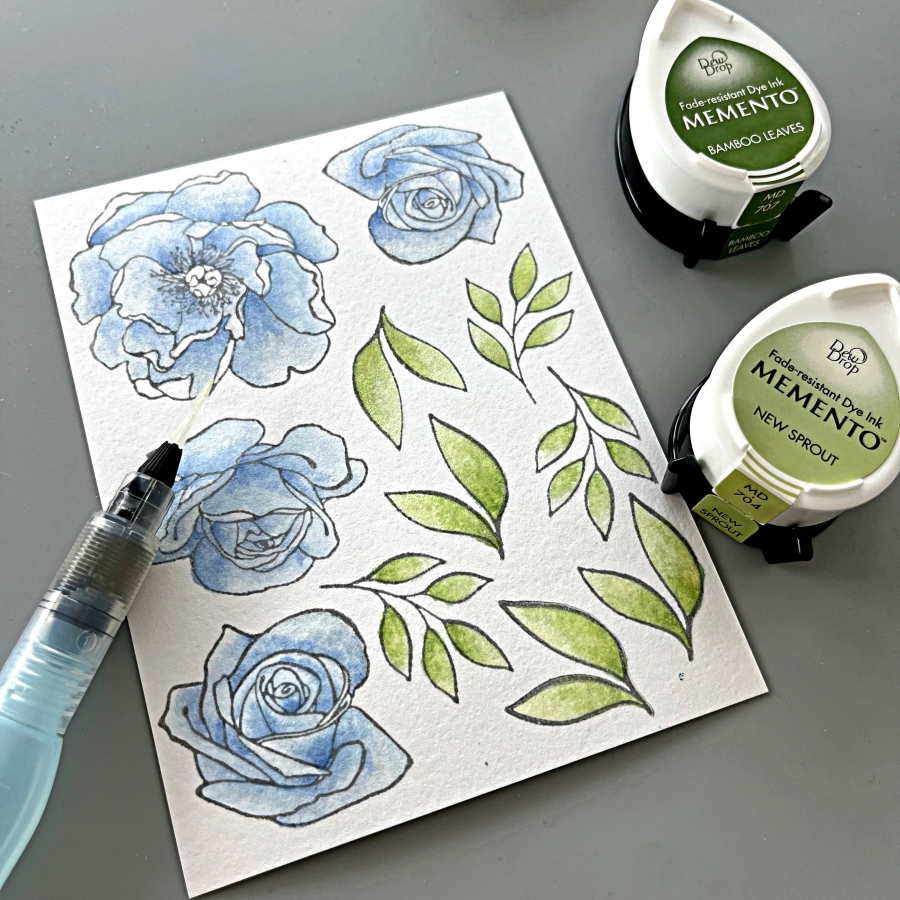
Step 4: The leaves were colored with Memento New Sprout and Bamboo Leaves ink. I hope you can see the shimmer from the spray a little better in this picture. It is hard to capture the fine sparkle on camera, but the shimmering effect is truly mesmerizing in person.
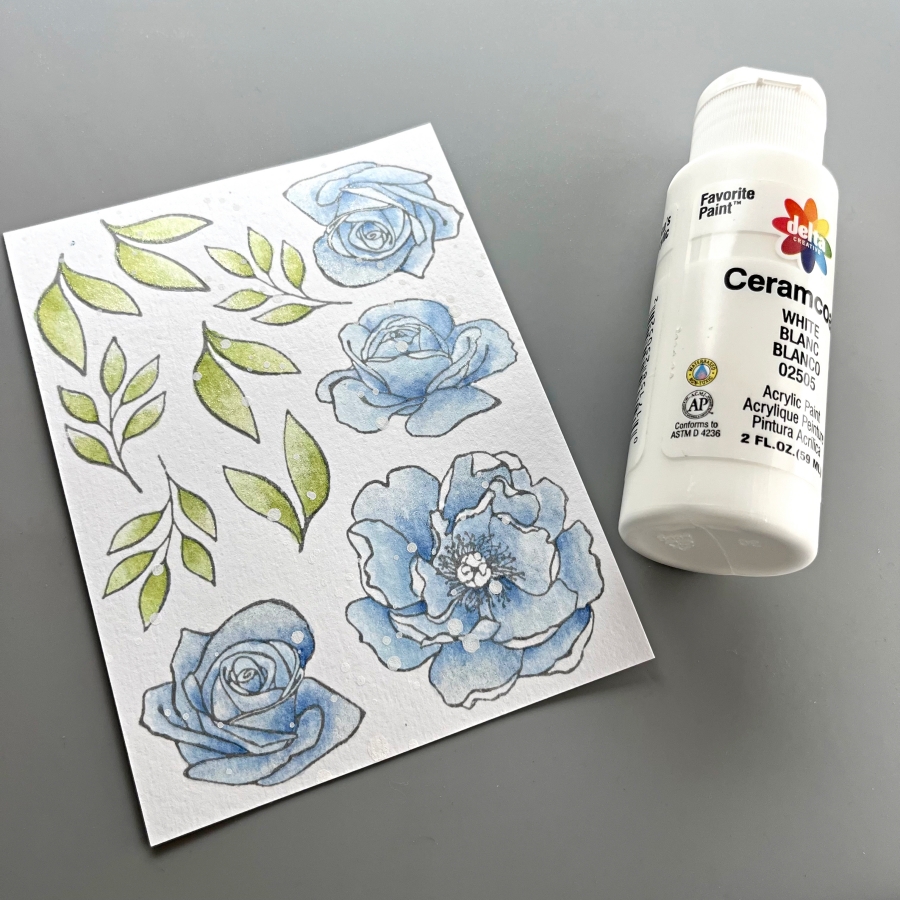
Step 5: I also splattered some white acrylic paint droplets to add additional textures to the colored images.
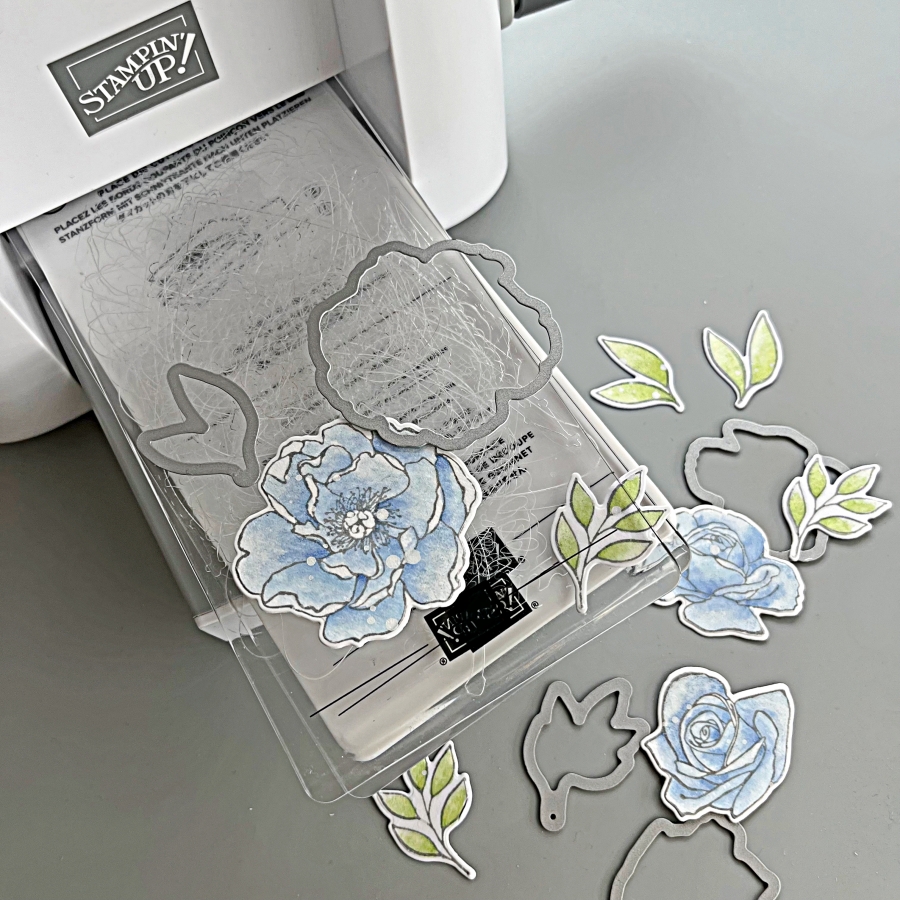
Step 6: Now we are ready to die cut the images. The coordinating Blossoming Happiness dies are compatible with the Mini Stampin’ Cut and Emboss Machine.
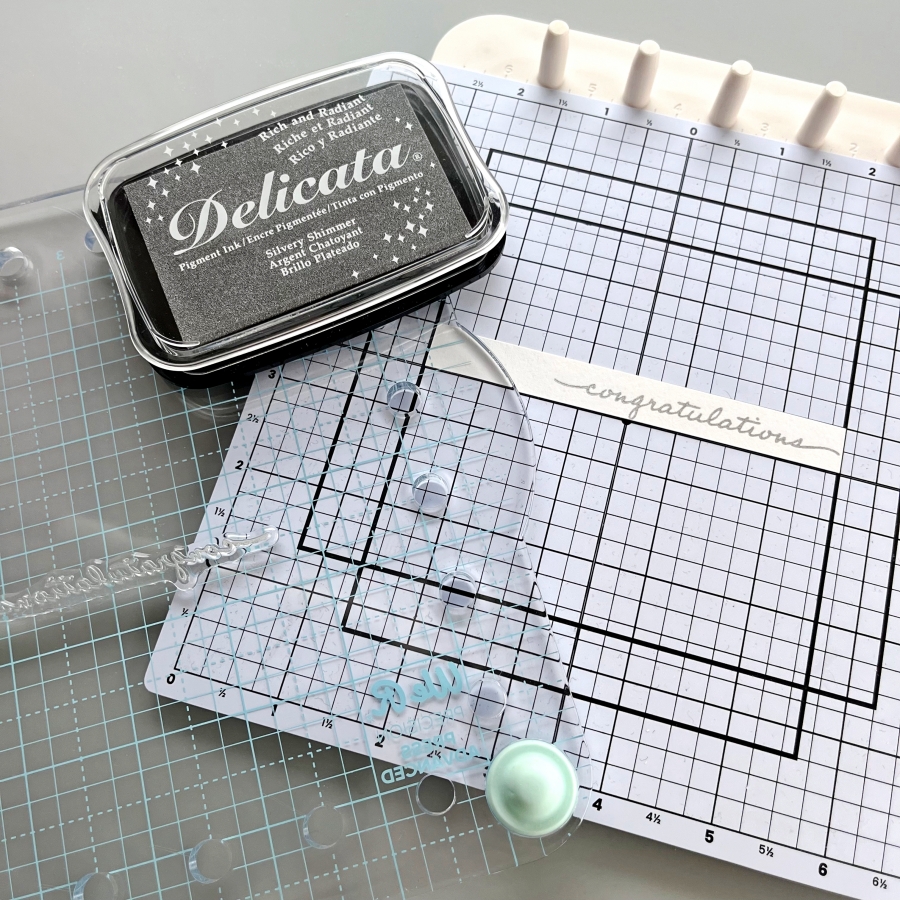
Step 7: Finally, I stamped the “congratulations” sentiment with Delicata Silvery Shimmer ink. It complements the gray image outlines nicely and also adds a subtle shine to the project.
You might have noticed that I paired my stamping tool with Altenew’s SlimGrip Sticky Mat now. This Sitcky Mat is a game changer and I love how easy it is to line up narrow sentiment strips.
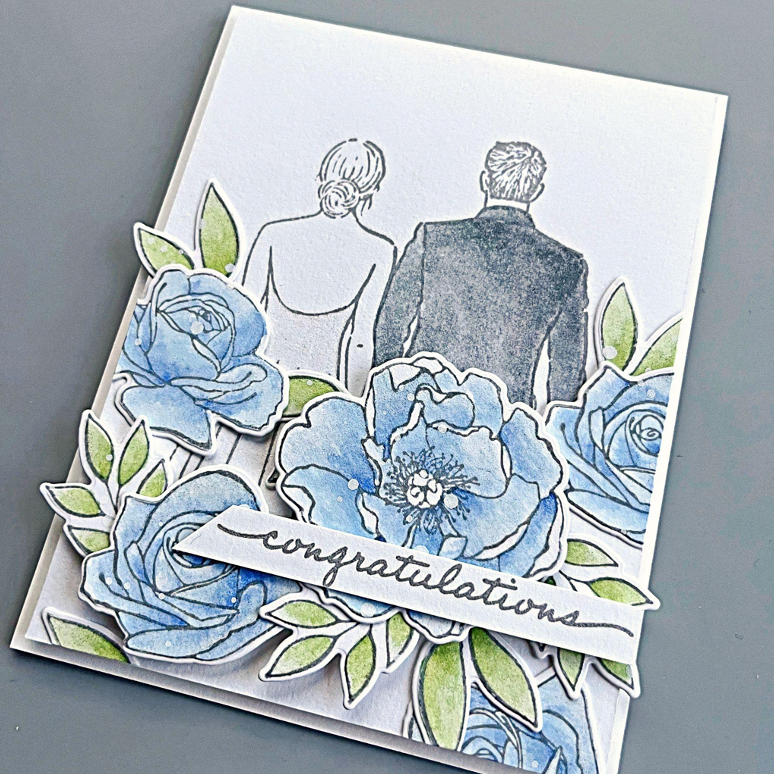
Here is the final card once I assembled all of the elements. You can recreate this layout with any floral stamps that you may have. I hope you enjoyed today’s tutorial and the tips and tricks about watercoloring with Sheer Shimmer Sprays!
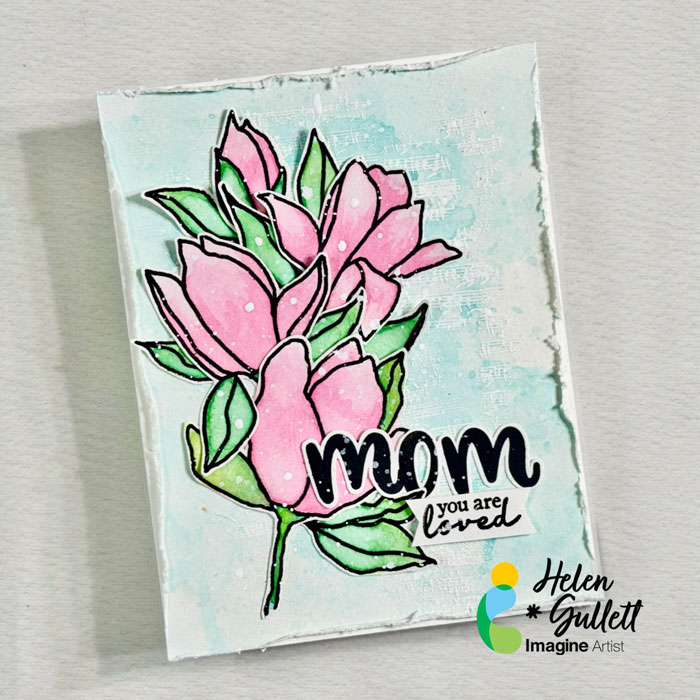
Hello crafty friends! Today, I wanna share with you a fun technique to make a card for a mom. We are going to do some watercoloring with VersaColor ink pads and also heat-embossing technique. So… Let’s get some ink pads and watercoloring together!
Skill: Beginner Time: 15-20 minutes
Direction:
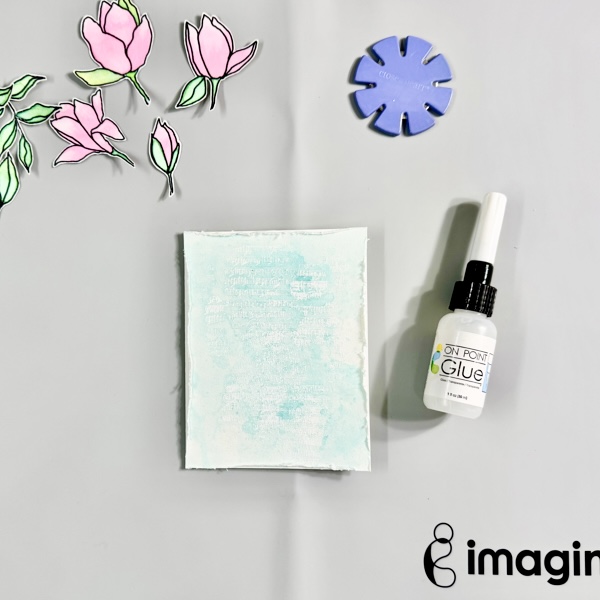
Step 1 Cut out a piece of watercolor cardstock (or mixed media paper would work, too) into a 4.25 inch x 5.5 inch card panel. Prep the background watercolor cardstock panel with some anti-static embossing powder. Then, stamp the music sheet background stamp with VersaMark ink pad randomly on it, and add some of the white opaque embossing powder. Heat the embossing powder with a craft heat gun.
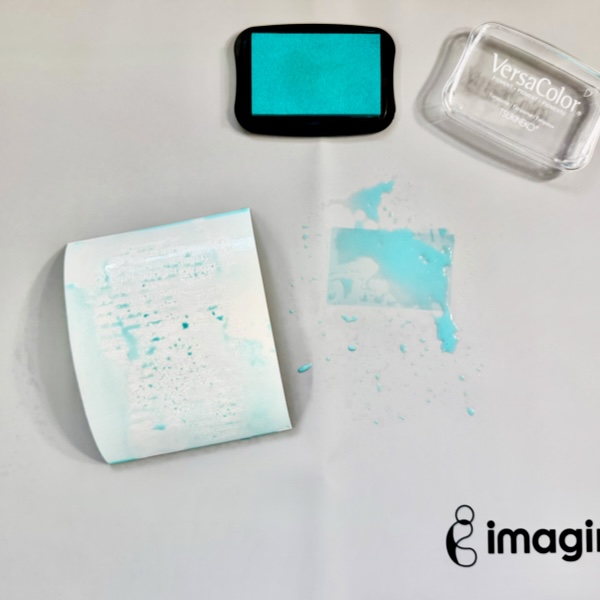
Step 2 Dab some inks of the VersaColor Turquoise ink pad on the craft mat and then spray with some water. Smoosh the watercolor panel into the ink on the craft mat, dry the ink, and repeat the smooshing and drying the ink as needed.
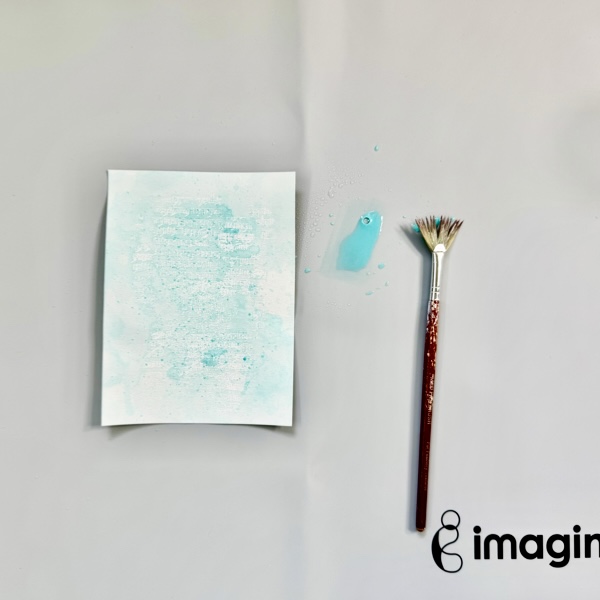
Step 3 Add some ink splatter on the background panel with a fan paint brush, and dry it with a craft heat gun.
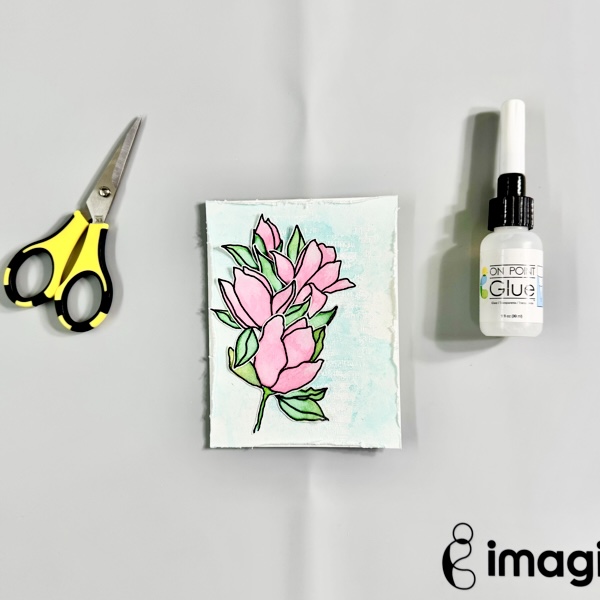
Step 4 Distress the edges of the background panel with a distress tool or you can use scissors for this distress technique.
Add the background panel to the card base with On Point Glue.
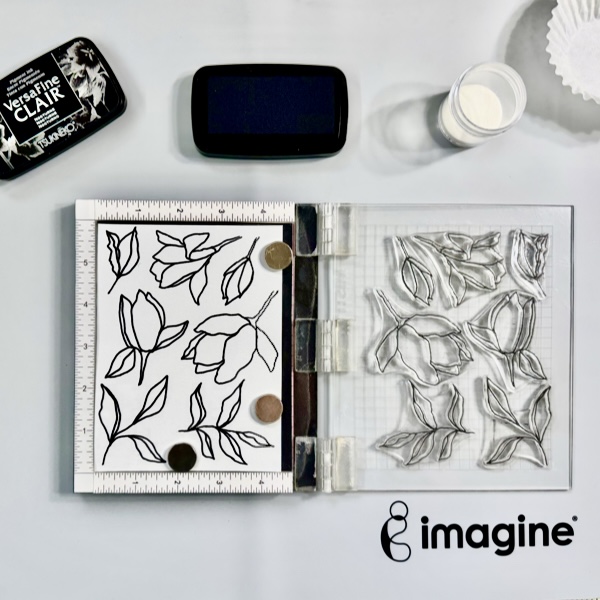
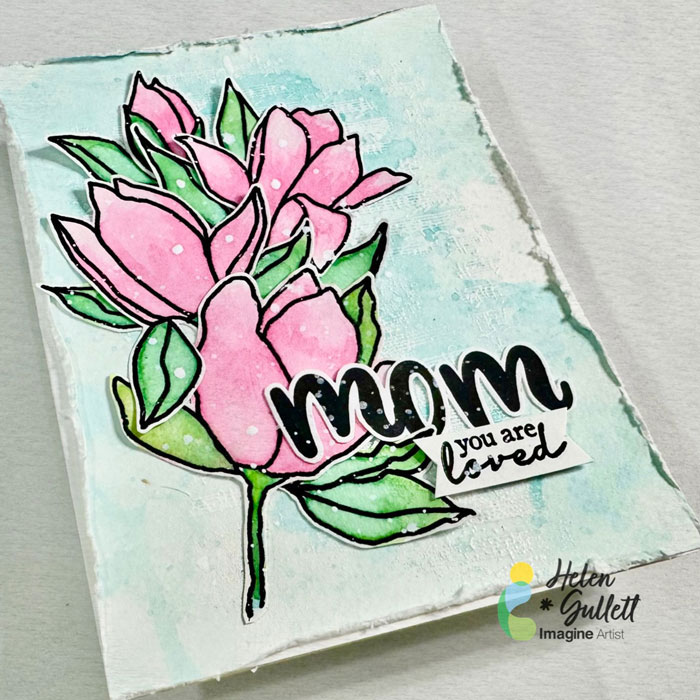
Step 5 Stamp the magnolia and leaf images on another piece of watercolor cardstock with the VersaFine Clair Nocturne using the stamping tool. Repeat the stamping if needed.
Add some of the clear embossing powder on the stamped images while the ink is still wet and then heat it with a craft heat gun.
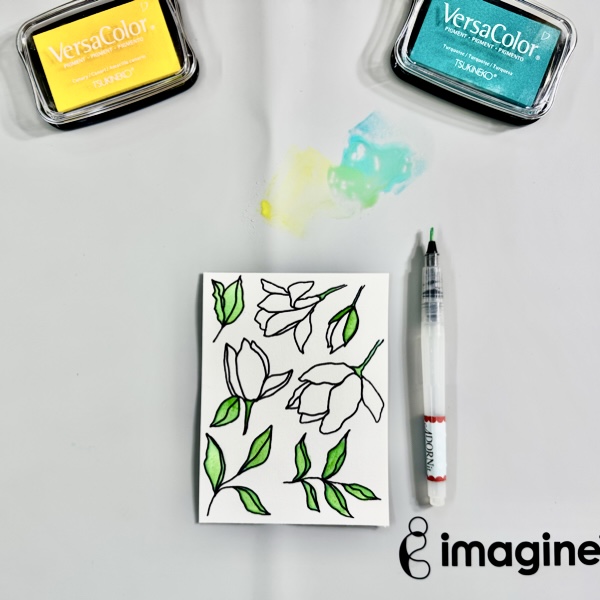
Step 6 On the craft mat, dab some inks of the VersaColor Canary ink pad and VersaColor Turquoise ink pad, and then spray them with some water. And then, color the leaves and branches with the watercolor inks. Set aside to dry or dry it with a craft heat gun.
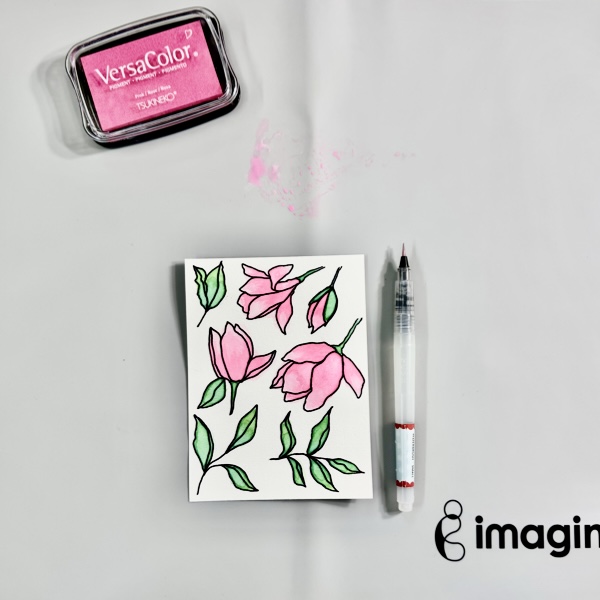
Step 7 Dab some of the ink of the VersaColor Pink ink pad on the craft mat and spray it with some water. Then, color the magnolia flowers and set aside to dry or dry it with a craft heat gun.
Step 8 When all the watercolor images dried well, fussy cut them with micro-tip scissors. Add them to the card with On Point Glue.
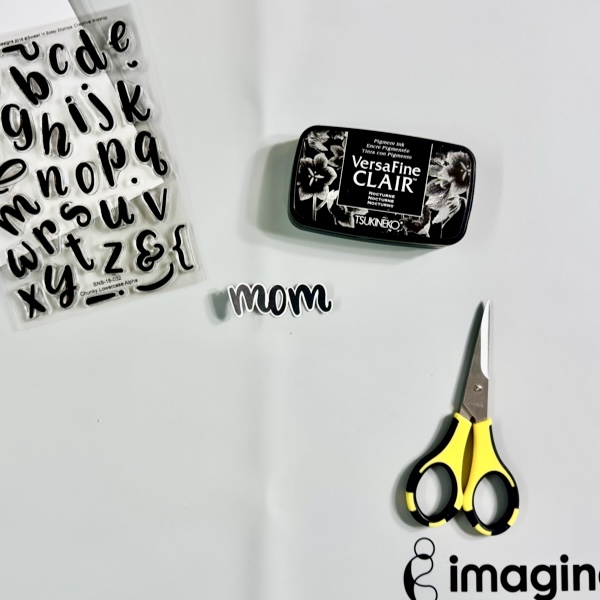
Step 9 Stamp the letters m-o-m on a piece of white cardstock with VersaFine Clair Nocturne. Dry the stamped word MOM with a craft heat gun and then fussy cut it with micro-tip scissors.
Step 10 On the white cardstock, stamp also the second sentiment with VersaFine Clair Nocturne, dry the ink with a craft heat gun, and then trim it into a sentiment label.
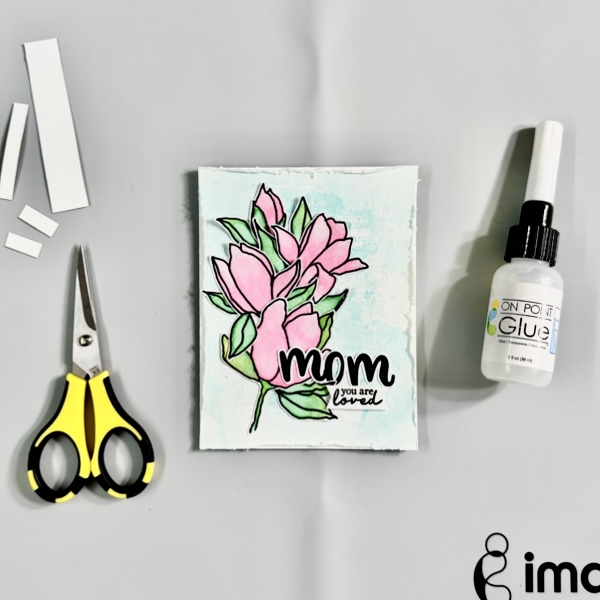
Step 11 Add the word MOM on the card with On Point Glue.
Cut out 3-4 strips of white cardstock smaller than the second sentiment label, add them on the back of the sentiment label with On Point Glue, this will add an extra dimension to the sentiment that is not as thick as foam tape. Add the sentiment to the card with On Point Glue.
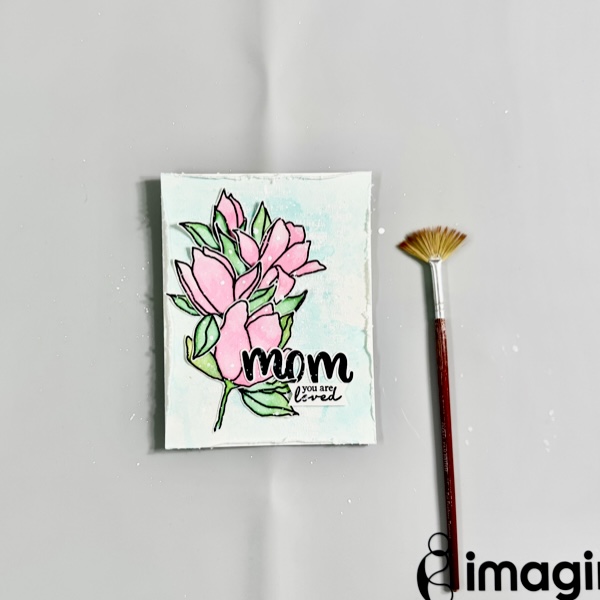
Step 12 Final step, to add extra texture to the background by adding some white paint splatters. Mix a little bit of white acrylic paint with water on the craft mat, pick it up with a fan paint brush, and then splat some of the paint to the card.
Dry the splatter paint with a craft heat gun.
This simple mixed media card is done. I love how it turns out and hopefully you do, too. I like how VersaColor ink pads are not just for stamping but also work as a watercoloring medium.
Have you ever tried inking stamps with markers instead of ink pads? It has been a long time since I used this technique, so I decided to revisit it again today. To blend the colors and achieve a watercolor look, you can spritz on the stamp before stamping. I love the result and I hope you do, too!
Skill: Intermediate Time: 45 minutes
Step 1: Color the stamps with Memento markers (tip: use the broader tip of the marker to easily cover a large area). I used three sets of colors today: Green House, Juicy Purples, and the light pink marker from Girl’s Night Out. The floral stamp is from Stampin’ Up!’s Good Morning Magnolia set. It’s a red rubber stamp and the colors may not be fully visible after you color, so I would recommend starting with the lighter shades and adding the bolder colors afterwards.
Step 2: Spritze Sheer Shimmer Sparkle spray onto the stamp before stamping onto your card. This would blend the colors together to create a watercolor look.
Step 3: Stamp onto the card. For the flower image, I may have used too much purple so it’s harder to see the transition from purple to pink. The leaves turned out perfectly; I really like the faux watercolor effect.
Step 4: Use a pair of paper snips to cut along the edge of the magnolia flower. I then added a piece of Fresh Freesia cardstock to the inside of the card. The Fresh Freesia cardstock peeks through the bottom cutout edge and complements purple flower nicely.
Step 5: Stamp a “Happy Mother’s Day” sentiment with Brilliance Purple pigment ink. I also die cut a vellum decorative strip to embellish the simple sentiment but it’s totally optional. And that completes the card! I hope you enjoy this simple technique and would give these Memento markers a try!
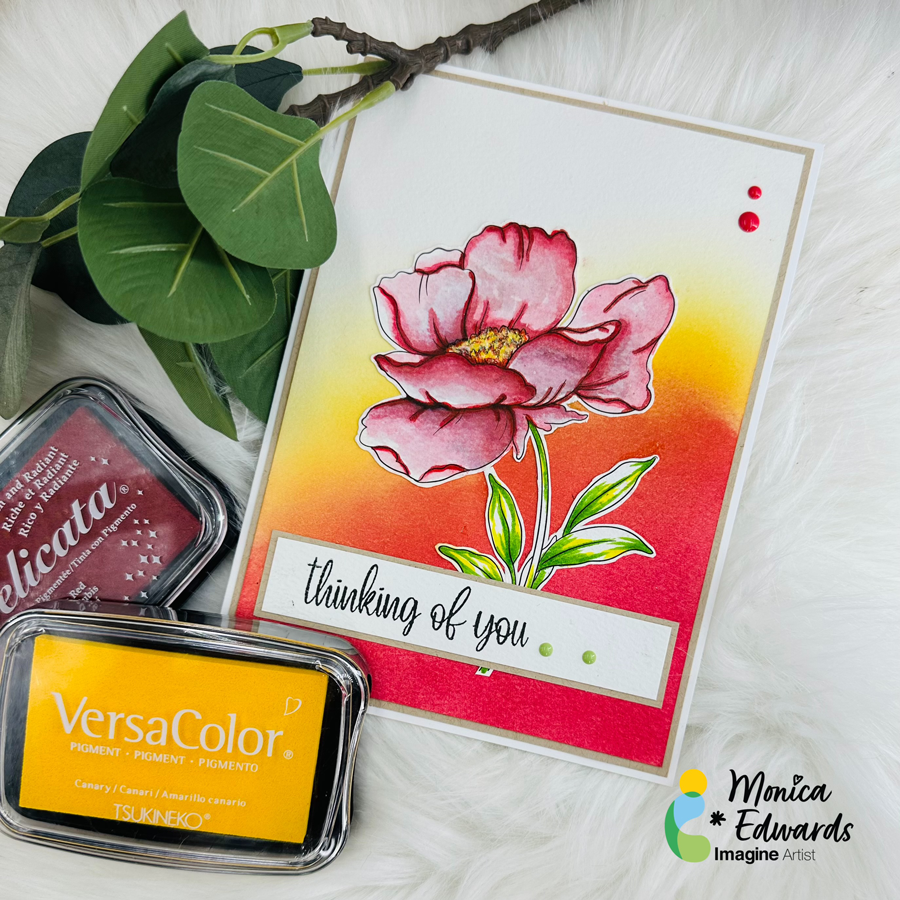
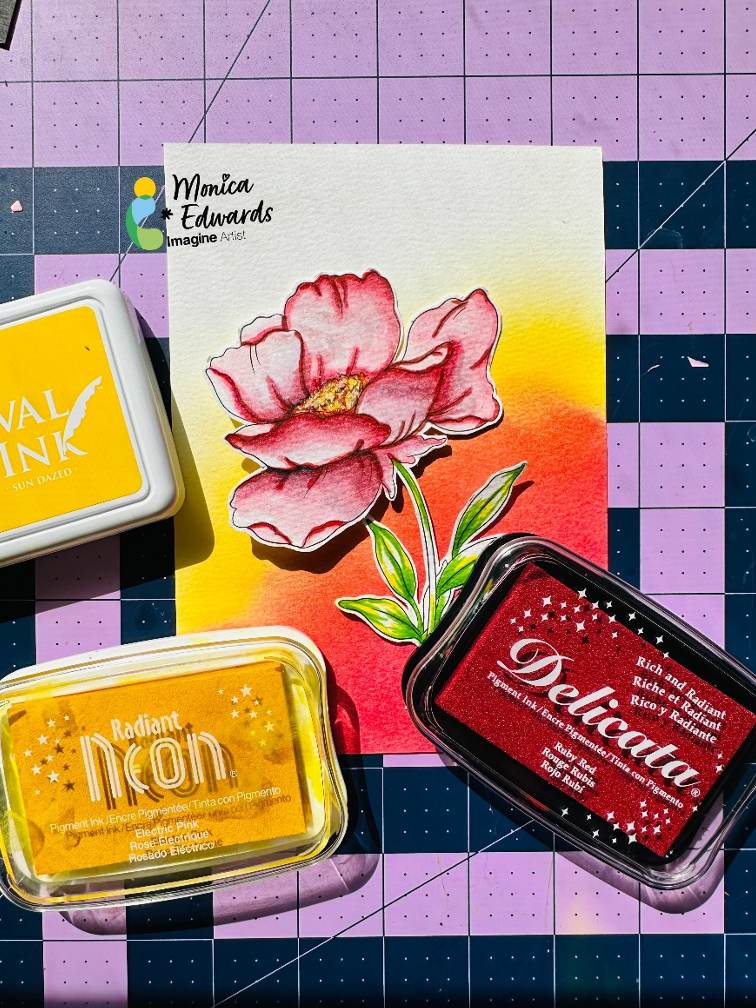
Welcome to the Imagine blog, today I will be showing everyone how you can get a watercolor look, coloring your images with Delicata inks and using Fabrico markers to highlight the fine details of the image.
A bit about Delicata inks. Delicata is the latest generation of metallic inkpad. Remarkably true and bright, it outshines other inkpads and provides stamping results that resemble the true effects of gold and silver leafing without the mess.
Skill Level: Intermediate Time to Complete: 45min to 60min
DIRECTIONS
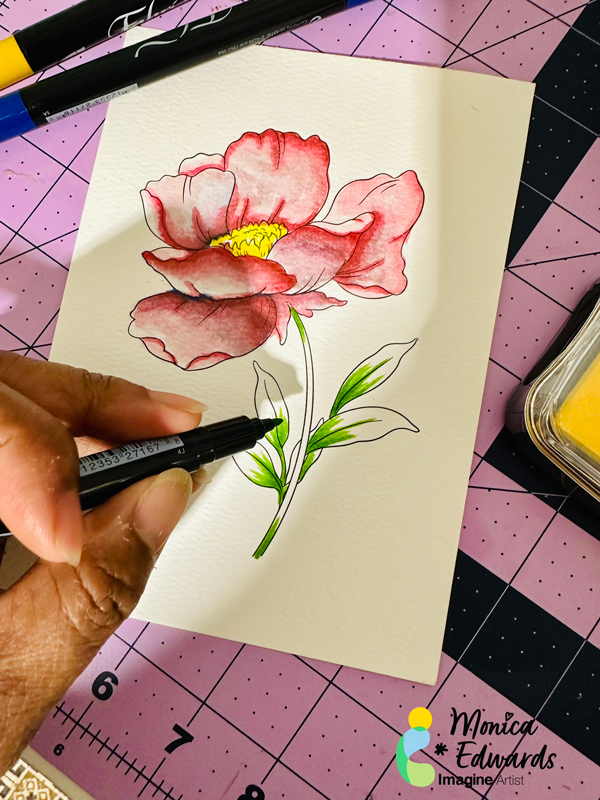
Step 1 Stamp your image on watercolor paper using Stazon Black ink. Then take a water brush and color the image using Delicata ink in Ruby Red. Then, take your Fabrico marker in burgundy and outline the inner petals to give the image added depth.
Step 2 Mask the image and apply the Delicata Ruby Red ink and Radiant Neon Electric Yellow to create a blended background.
Step 3 Use the Fabrico pens in yellow and green to color your leaves leaving some white background
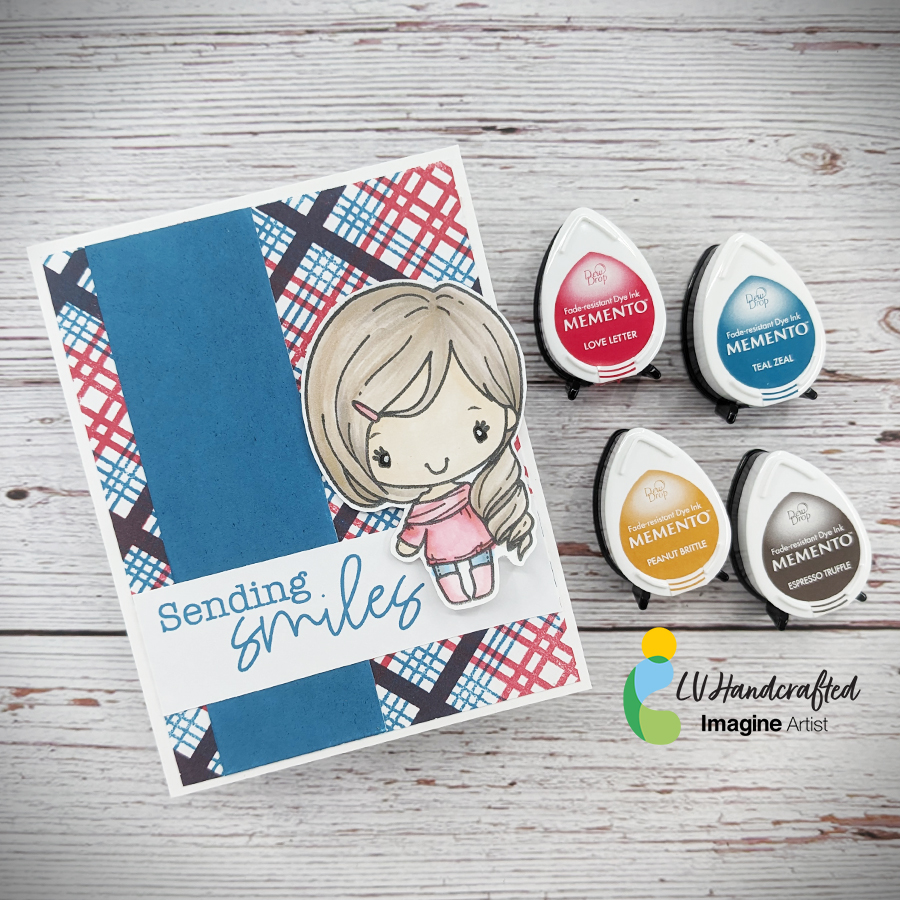
– Hello friends! This is Linh (or LV Handcrafted on all the socials). In today’s video I’m showing how to use your Memento Dew Drop inks to create a perfectly coordinated card. First, I created a background using Love Letter and Teal Zeal to create a plaid. I made a custom ink color by over-stamping multiple times with both colors! I used Teal Zeal to create a coordinating solid color cardstock by just swiping it across white cardstock. Finally, I smooshed Love Letter and Teal Zeal and used a waterbrush pen to color in my stamped image. For the skin, I used Peanut Brittle and for the hair I used Espresso Truffle.