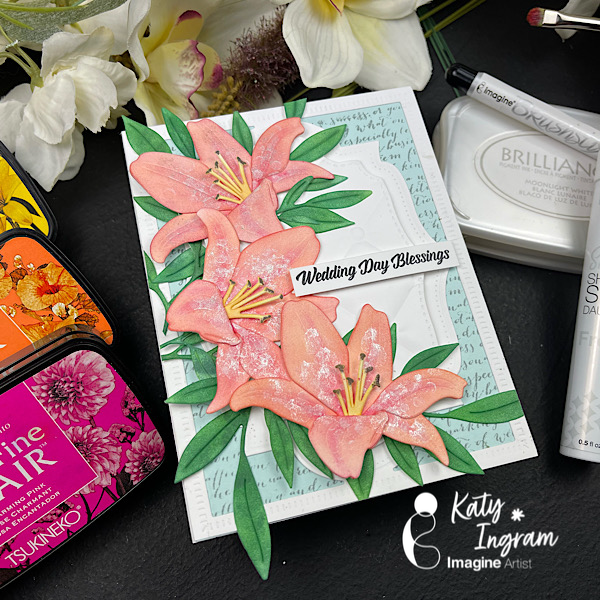
Hello Friends! Katy here with another project for you. Today’s card features a wedding day theme, but as always you can use this design for what ever you need! In fact, I used it for a sympathy card when I first designed it.
In todays video I share how I used detail blending brushes to create a peach blend on some Lily florals using VersaFine Clair in Summertime and Charming Pink. I also add a bit of shimmer using Sheer Shimmer Stix Dauber in Frost. Check out the video below for all the details.
Today, I want to share with you this Winter theme wedding card that you can make to have it ready in your handmade card stash.
Skill: Intermediate Time: 15-20 minutes
Direction:
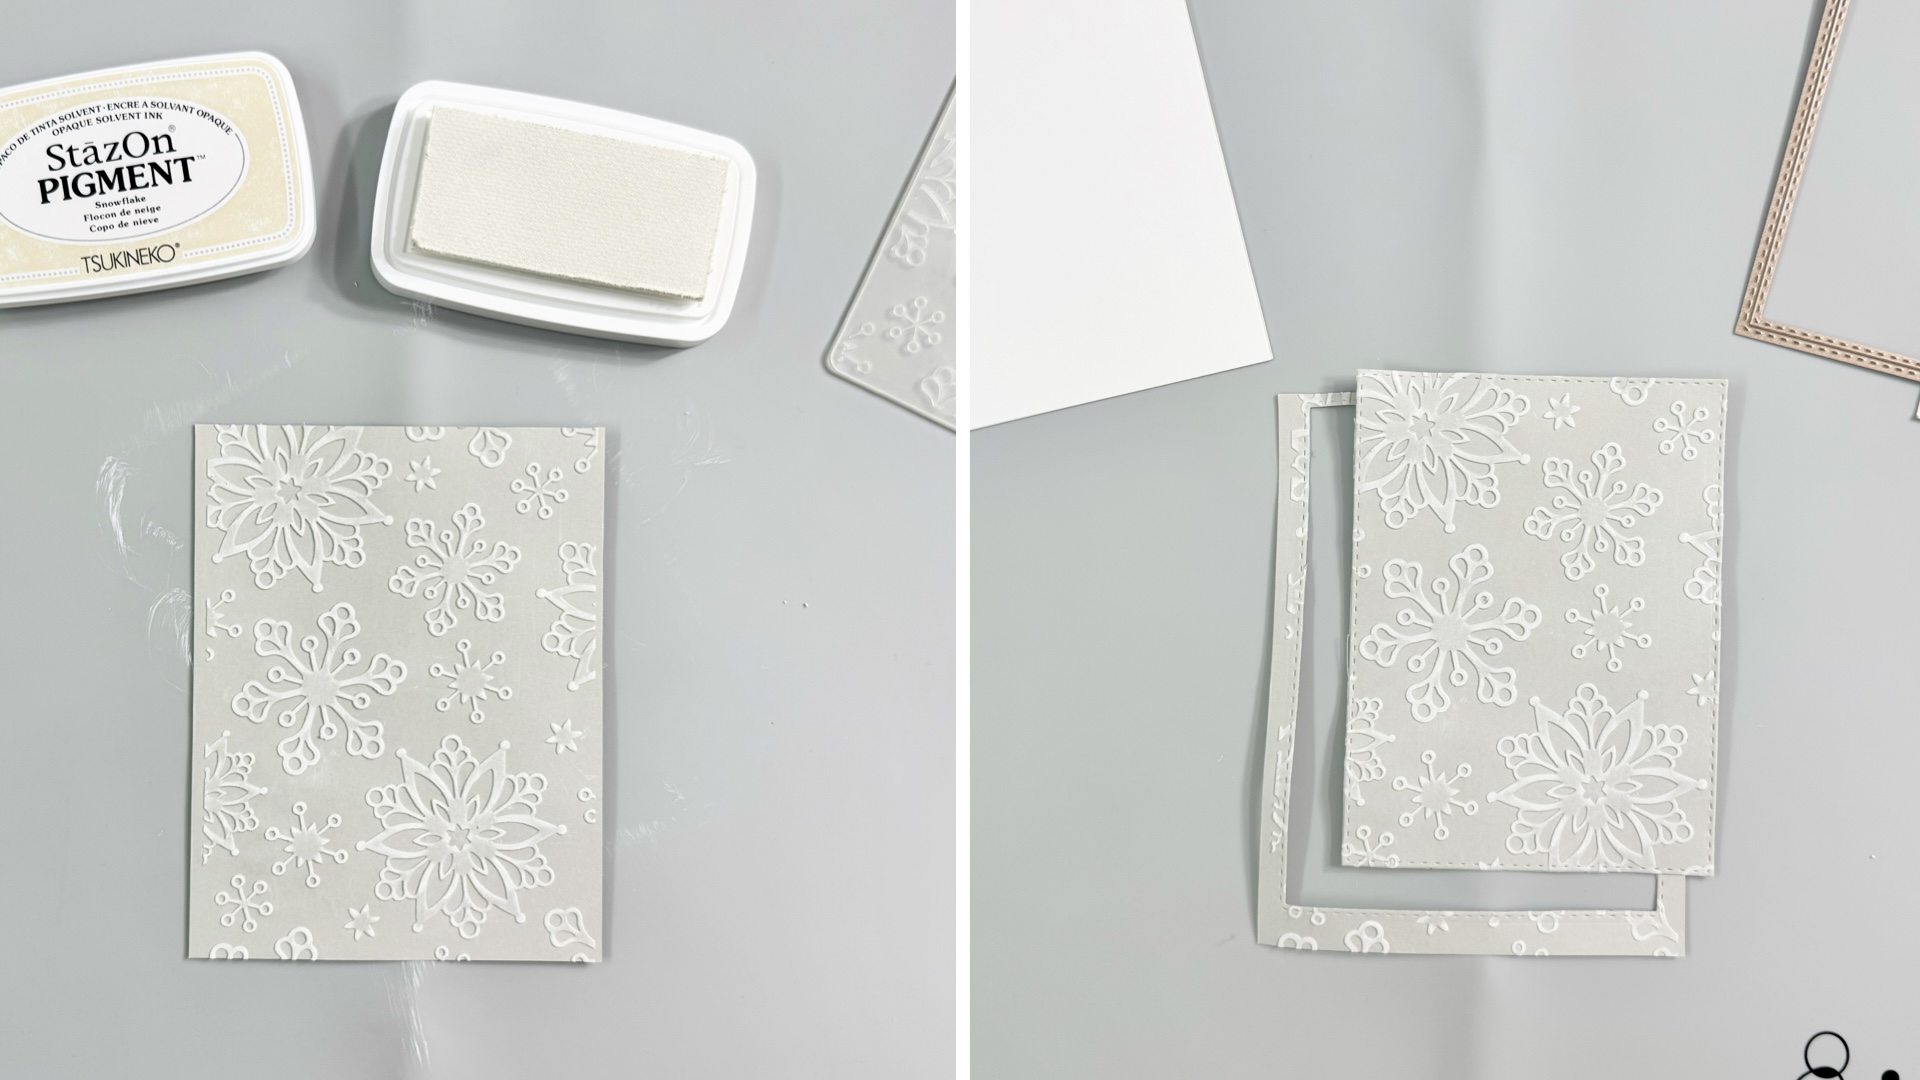
Step 1 Cut out a piece of light gray cardstock into 4.25 inch x 5.5 inch. Run it through your embossing machine with the snowflake embossing folder. Lightly rub the StazOn Pigment ink up on top of the embossed cardstock to add the white color on the snowflake. Since it is pigment ink, the ink will take a longer time to dry so you can use a craft heat gun to dry the ink. Cut it with one of the Double Stitched Rectangle Dies.
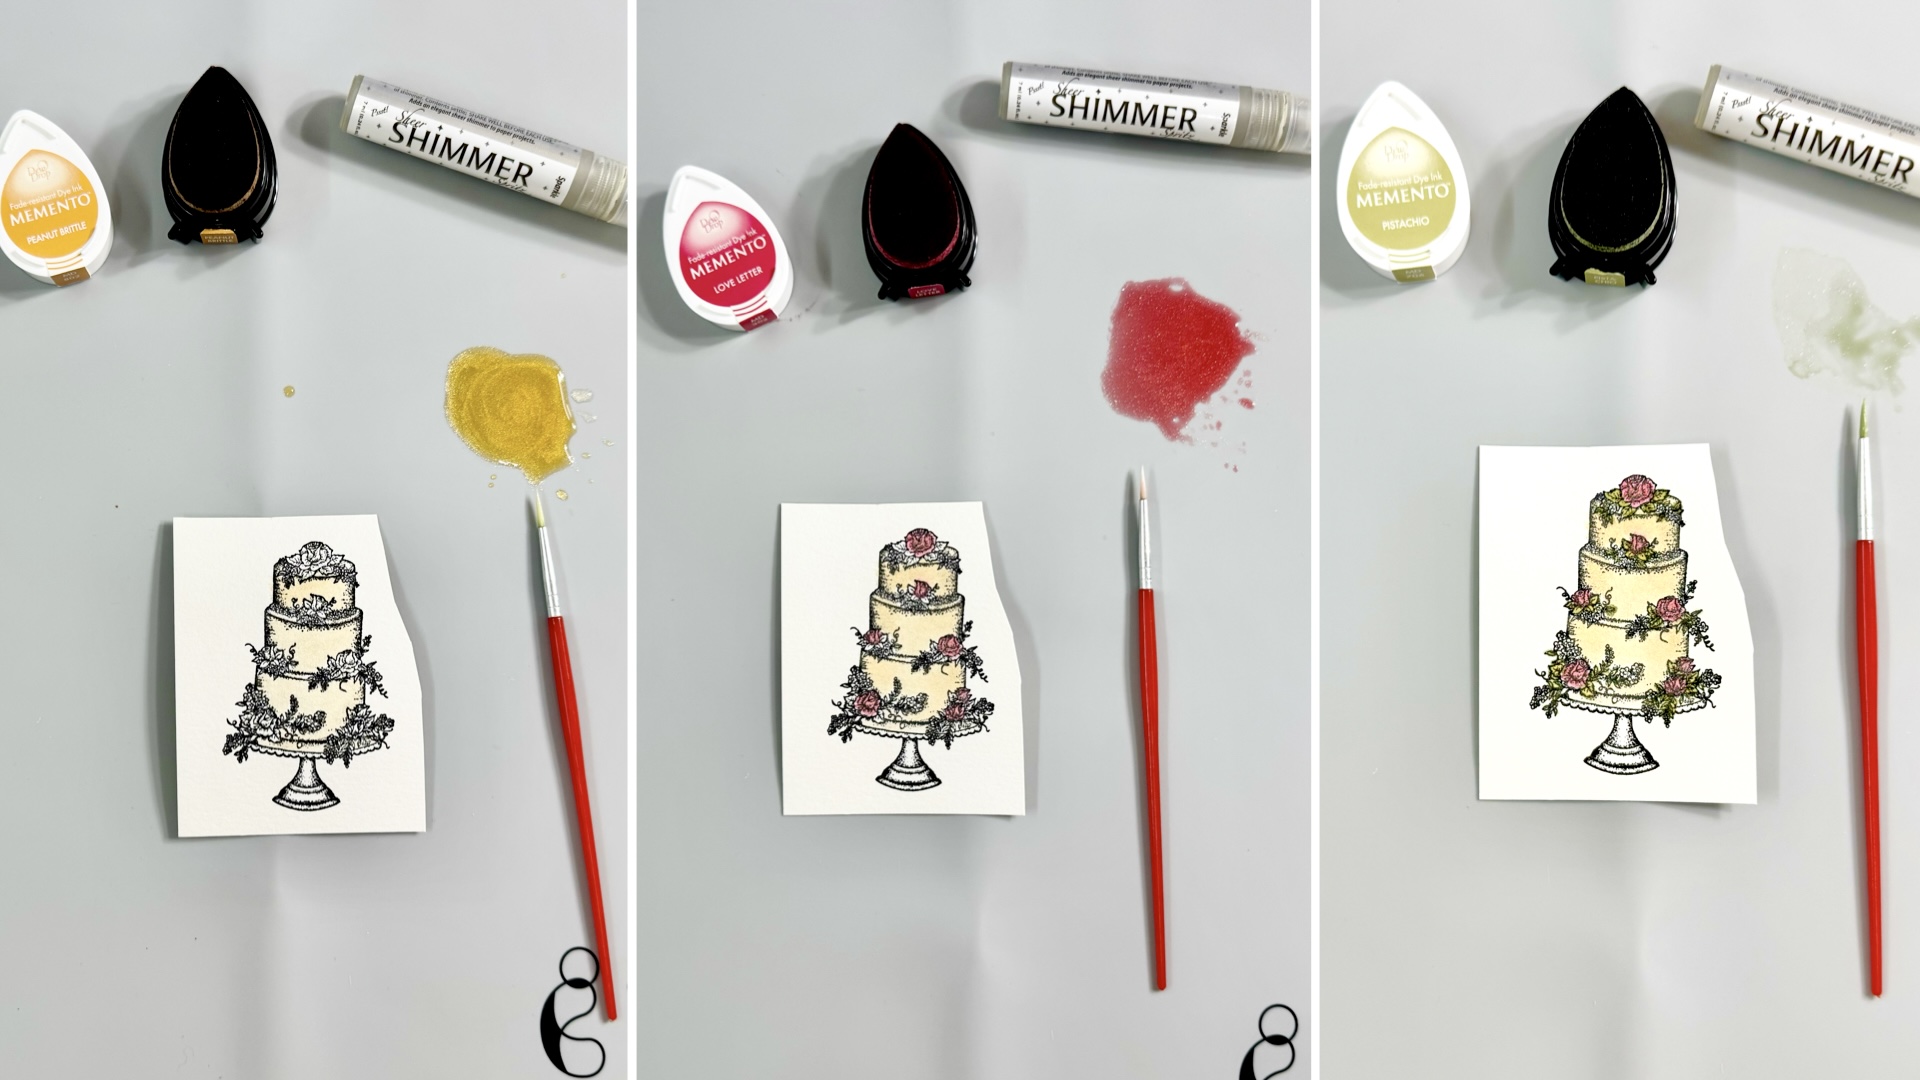
Step 2 Stamp the wedding cake image on a piece of watercolor cardstock with VersaFine Clair Nocturne ink using a stamping tool. I stamped the image twice to get a bolder print on it. Memento Dew Drop and Sheer Shimmer Sparkle to create sparkle watercolor paint. Dab the ink on the craft mat and add some of the sheer shimmer, mix together. First paint the cake with the Peanut Brittle ink. Dry the watercolor paint with a craft heat gun after painting. Next, color the flowers with the Love Letter ink. Dry the watercolor paint with a craft heat gun after painting. Then, color the leaves with the Pistachio ink. Dry the watercolor paint with a craft heat gun after painting.
Step 3 Then color the berries and other branches with the Teal Zeal ink. Dry the watercolor paint with a craft heat gun after painting. Last, color the base stand with the Gray Flannel ink. Dry the watercolor paint with a craft heat gun after painting. Fussy cut the wedding cake with micro-tip scissors.
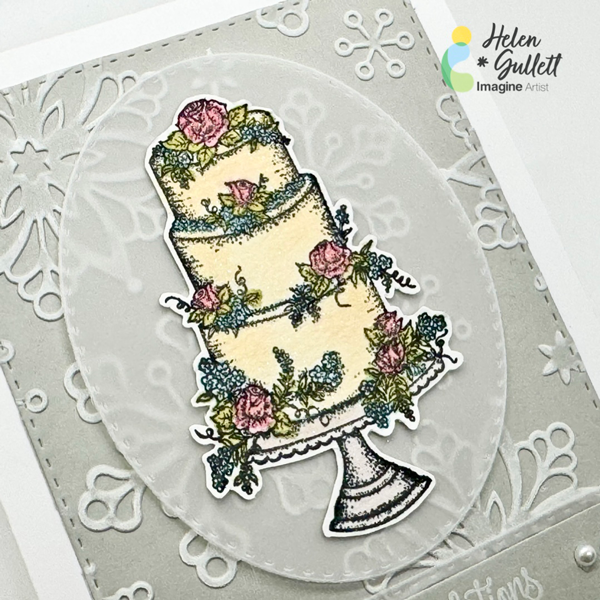
Step 4 Cut out a piece of vellum paper with one of the double stitched oval dies and one of the double stitched pennant flag dies. Stamp the sentiment on a piece of gray cardstock with StazOn Pigment Snowflake ink pad using the stamping tool. Cut the sentiment with the smaller size of the double stitched pennant flat dies that match with the vellum.
Step 5 Add the embossed background to the card base with Tear It! Tape. Add the wedding cake on the oval vellum with some of the On Point Glue, then add them to the card with some of the Tear It! Tape. Stack the vellum pennant and sentiment pennant together using some of the Tear It! Tape and add them at the bottom of the cake with the same tape. Embellish the card with some of the white gems using the On Point Glue.
I wish I could capture the sparkle glitter watercolor paint on the cake with my camera. But I love how this Winter theme wedding card turned out, and hopefully you will like it too!
Thank you for stopping by our blog today. Have a fabulous day!
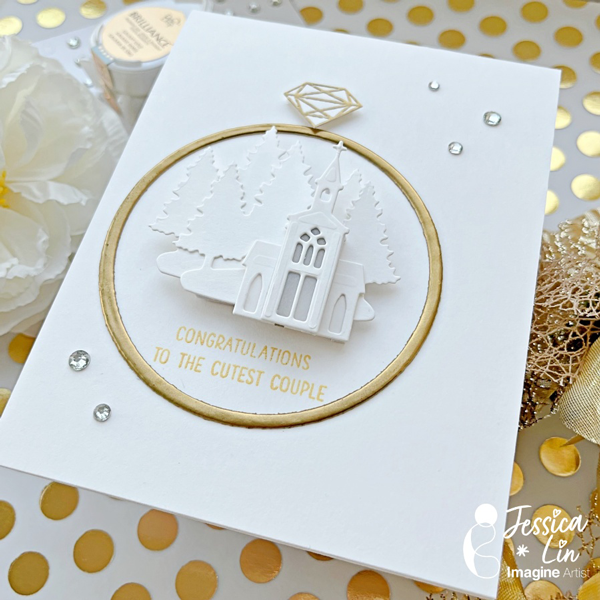
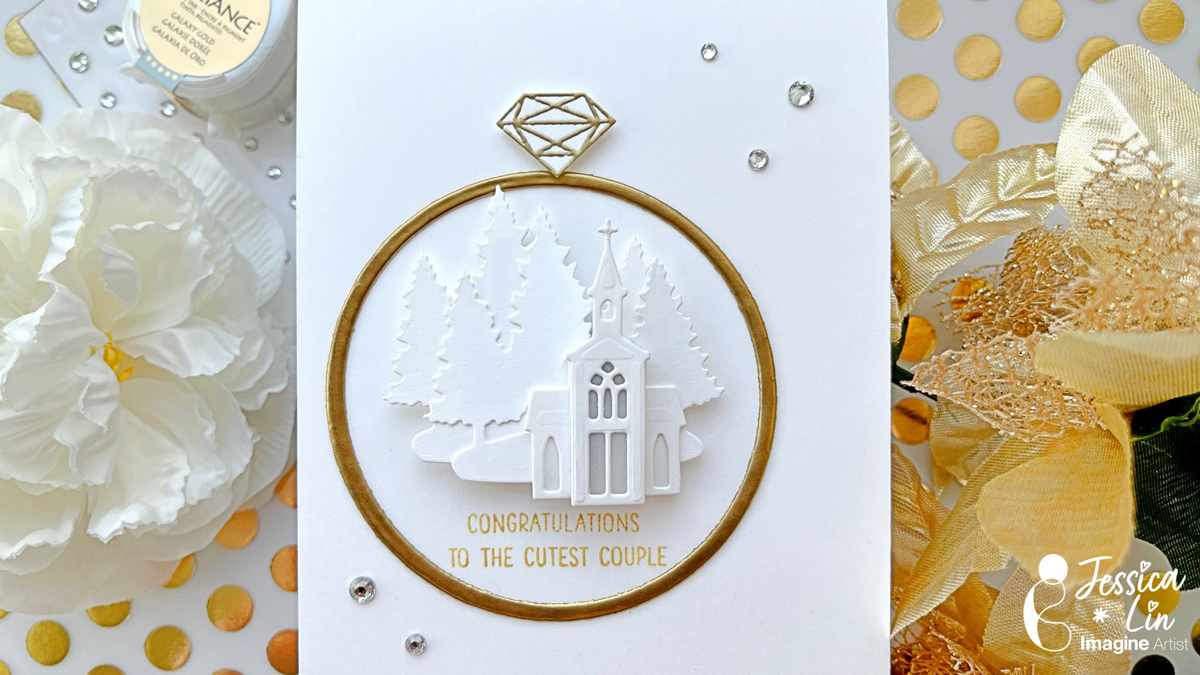
Hi everyone! It’s Jessica here and I’m excited to share this elegant winter wedding card with you today. If you enjoy simple, monochromatic cards, this is the perfect card for you!
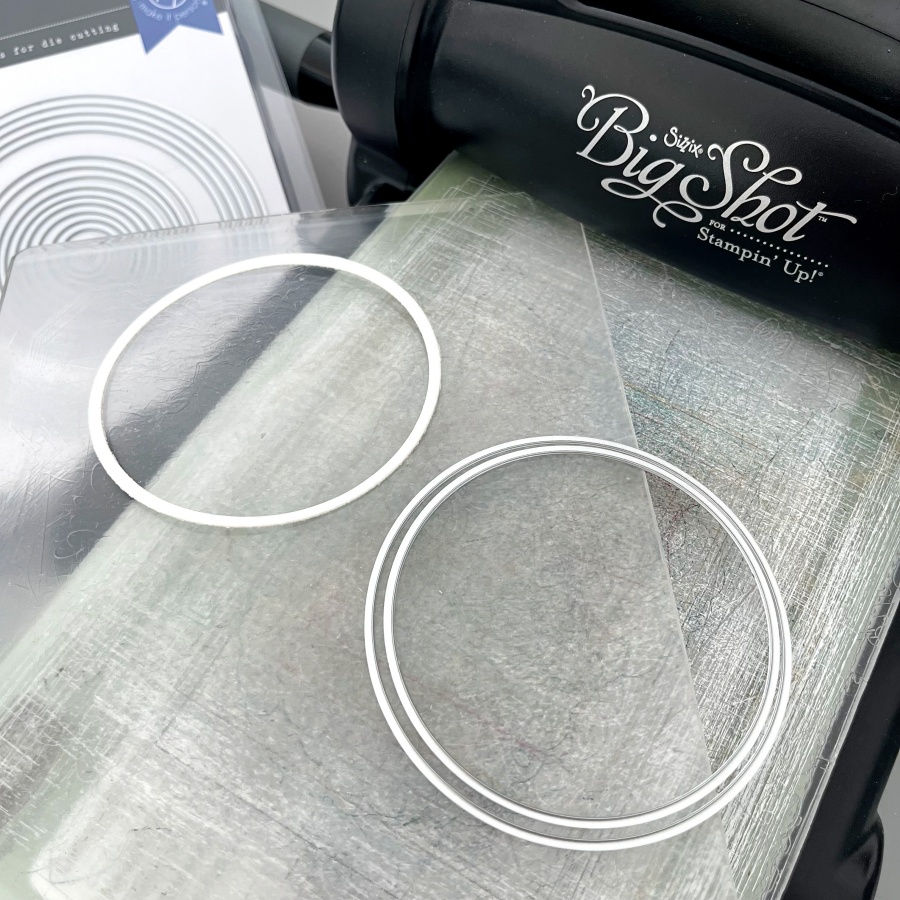
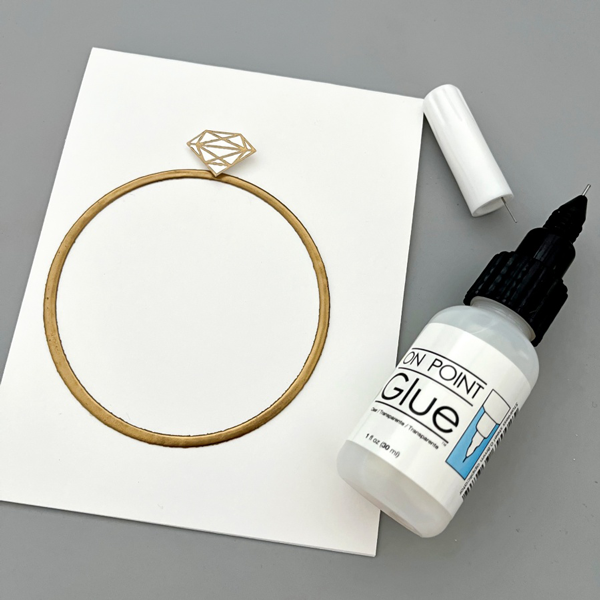
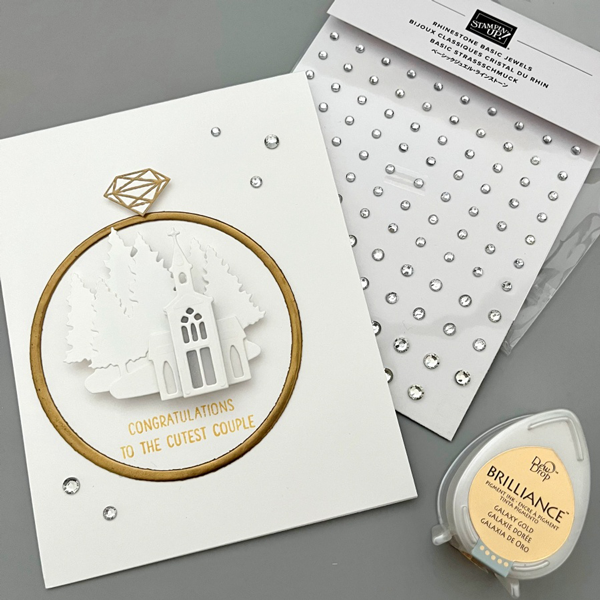
Step 1: The idea for this card is to create a winter wedding church scene inside a wedding ring. I started off by die cutting a narrow circle that will be the base of the wedding band. A trick here is to use layering dies to customize any die cut size you may need.
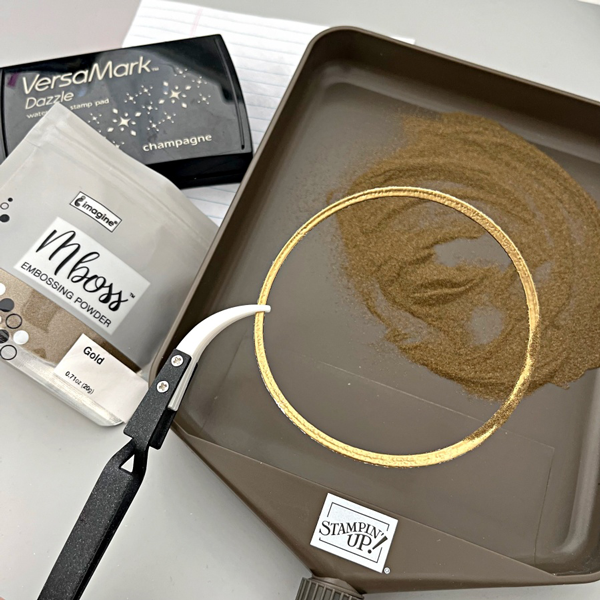
Step 2: Then I took my VersaMark ink pad and “stamped” it directly onto the circle die cut piece. After that, I applied a generous coat of gold embossing powder and heat set it with a heat tool. For a smoother finish, I repeated these steps again. After two coats of embossing, the gold embossed surface is shiny and smooth, which really mimics a gold wedding ring.
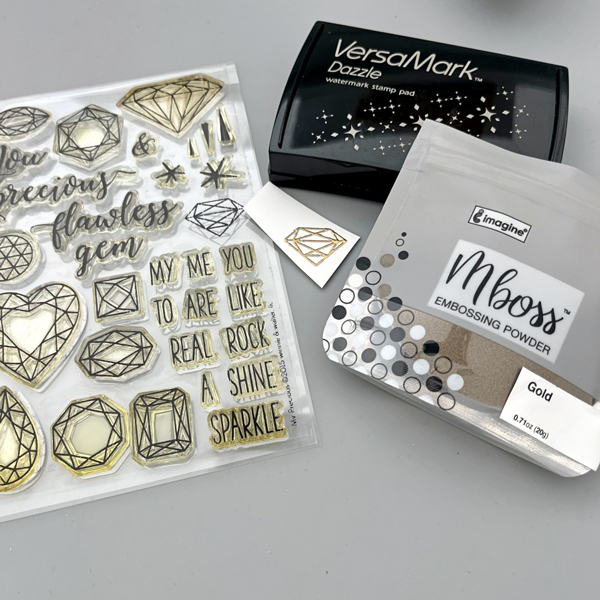
Step 3: The Winnie & Walter My Precious stamp set is my favorite for any diamond and gems images. I heat embossed the smaller diamond with gold Mboss powder.
Step 4: After fussy cutting the embossed diamond image, I adhered both of the wedding ring elements with On Point Glue.
Step 5: For the wedding church scene, I used the dies from Stampin’ Up!’s Snowglobe Scenes set. I die cut two pieces of the forest backgrounds and layered the church buildings with foam tape. I even added a tiny piece of vellum behind the first church die cut to create the illusion of glass windows. For the sentiment, I stamped this really adorable greeting using Brilliance Galaxy Gold ink pad.
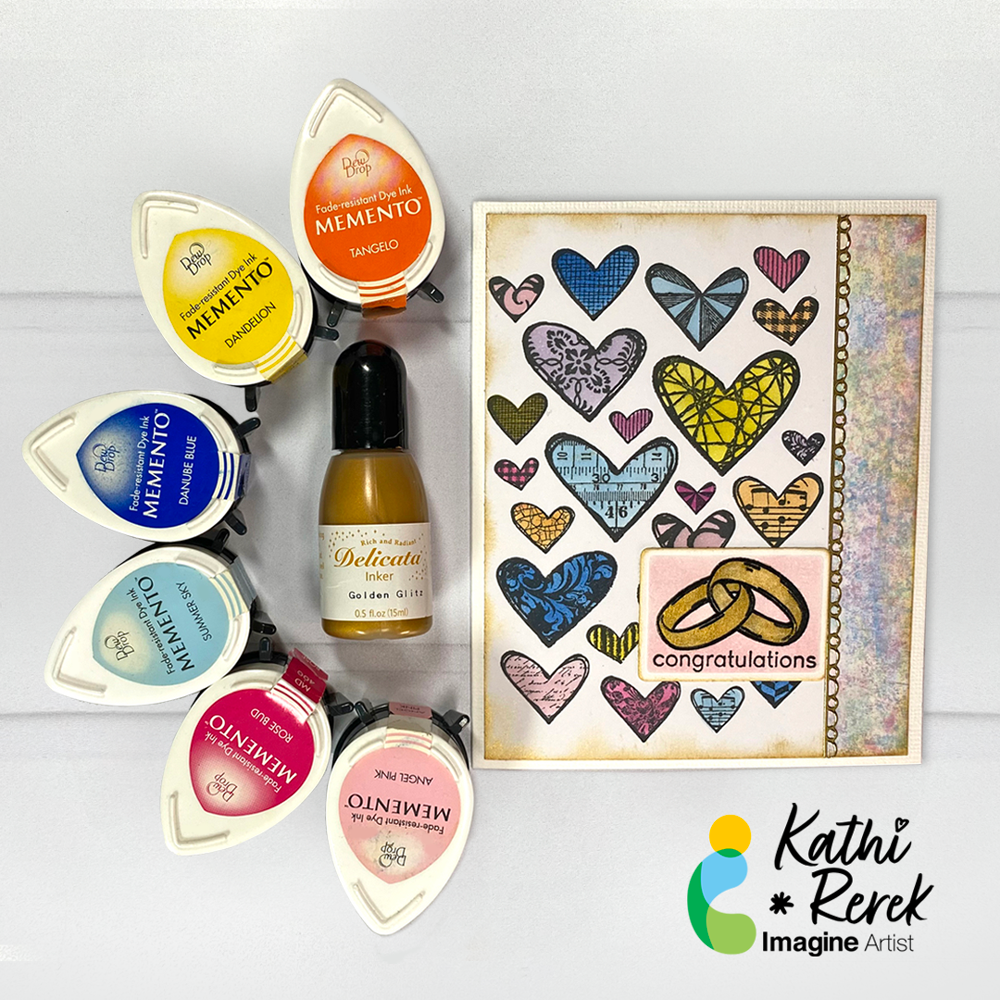
Let’s make a summer wedding card with Memento and Golden Glitz Delicata Inks!
Skill Level: Intermediate Time: 1.5 hours
Instructions:
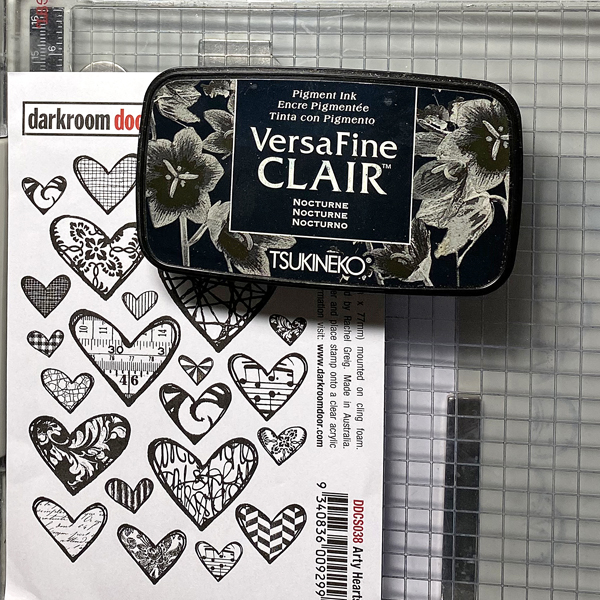
Step 1: Use a stamping platform and VersaFine Clair Nocturne Ink to stamp the Arty Hearts Collage Cling Stamp onto white cardstock.
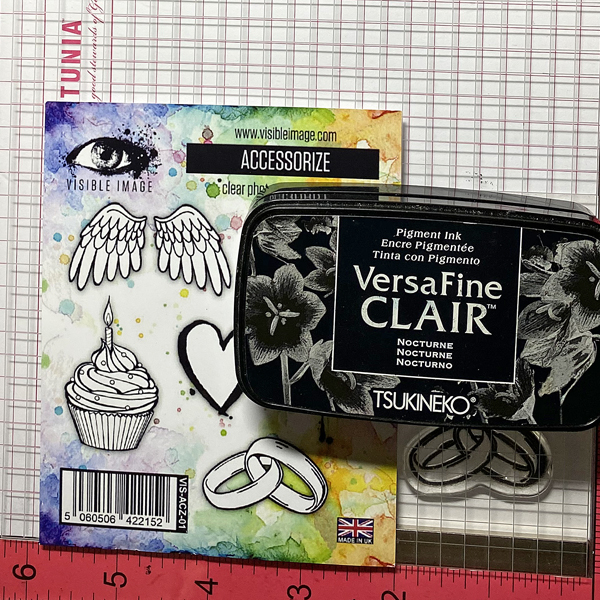
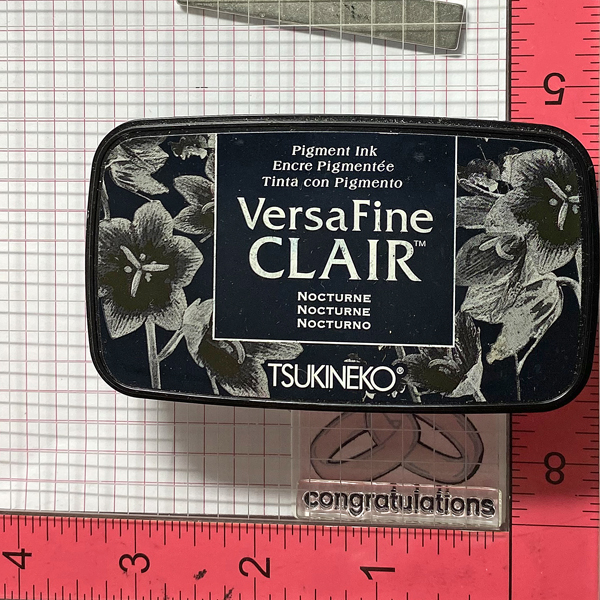
Step 2: Use a stamping platform and VersaFine Clair Nocturne Ink to stamp the wedding rings from the Accessorize Clear Stamp Set twice — once onto 140 lb. Mixed Media Cardstock and once onto repositionable label paper.
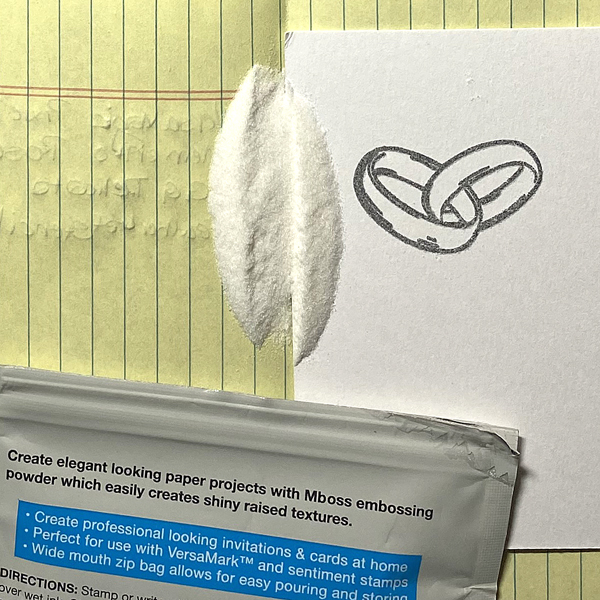
Step 3: Apply Clear MBoss Powder to the stamped image, dump the excess back into the packet, and heat set the image.
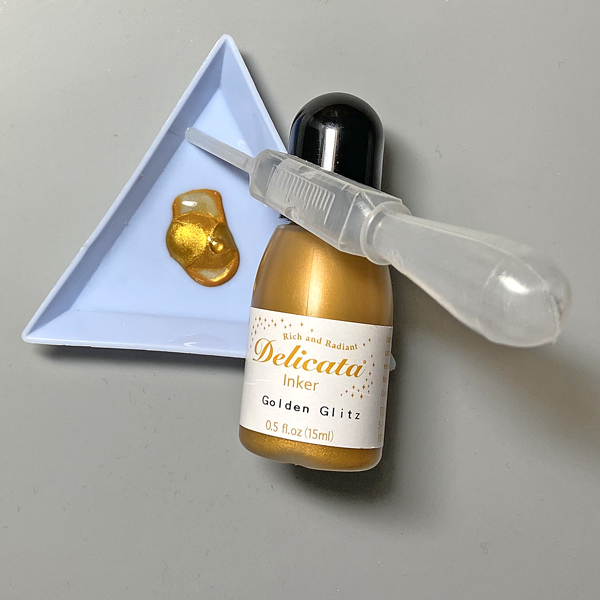
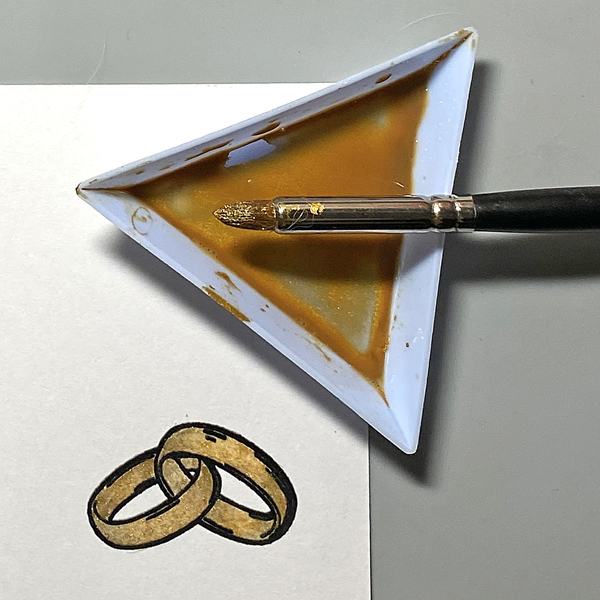
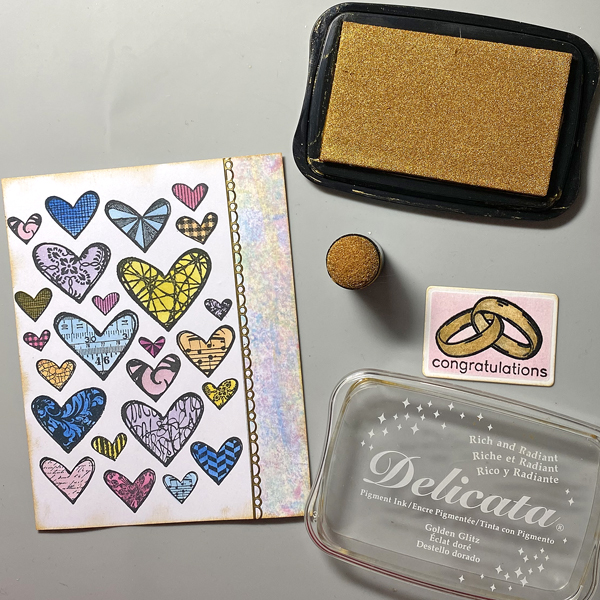
Step 4: Add a few drops of Golden Glitz Delicata Ink to a small container. Dilute with a few drops of water.
Step 5: Use a brush to paint the wedding rings with diluted Golden Glitz Delicata ink. Set aside.
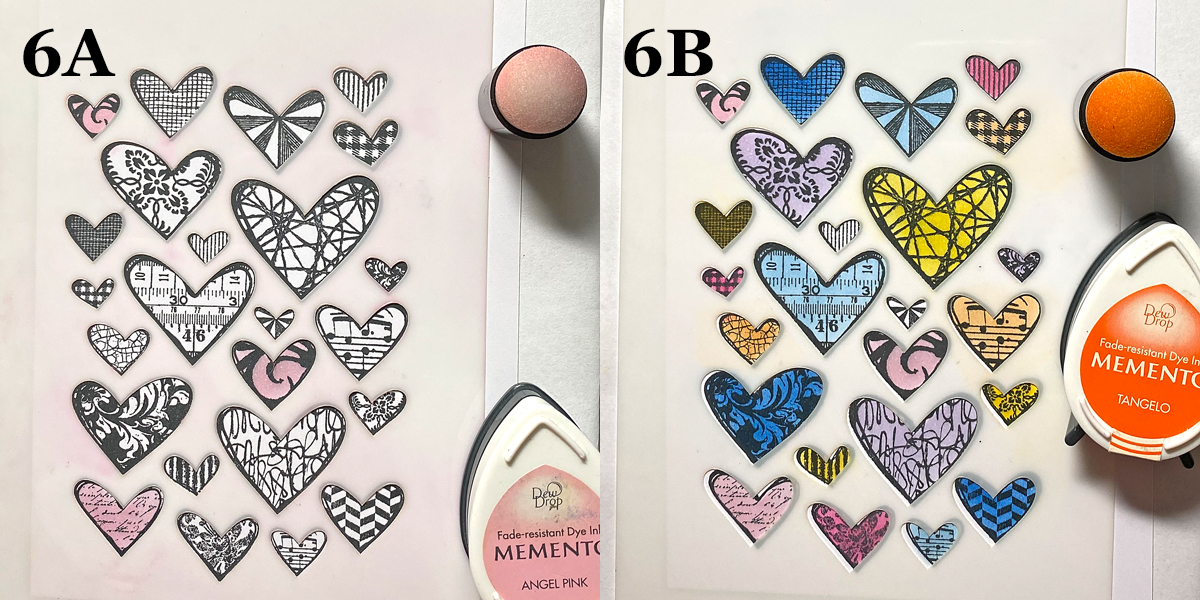
Step 6: Place the Arty Hearts Stencil over the image stamped in Step 1. Use Sponge Daubers to apply Angel Pink, Rose Bud, Summer Sky, Danube Blue, Lulu Lavender, Lilac Posies, Dandelion, and Tangelo Memento through the stencil onto the stamped hearts on the image panel. Set aside.
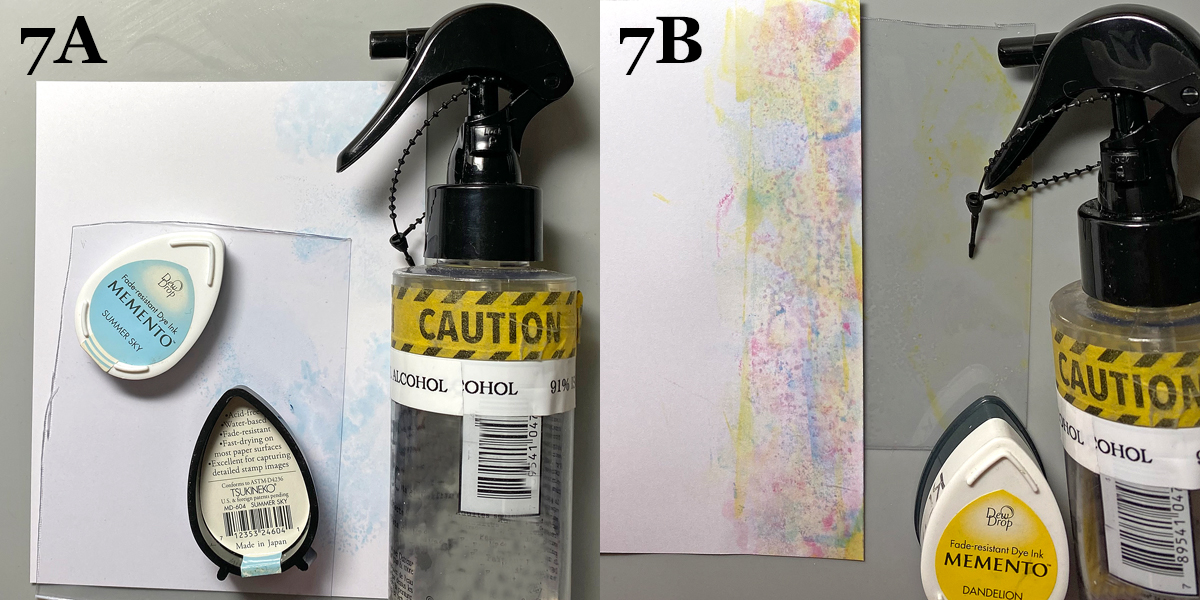
Steps 7A and 7B: Smoosh Summer Sky Memento Ink onto a piece of acetate packaging. Mist the acetate with 91% Isopropyl Alcohol, then smoosh onto the right side of a piece of white cardstock.
Clean the acetate, then repeat this process using Angel Pink, Rose Bud, Danube Blue, and Dandelion Memento Inks until you’re happy with the ink coverage on the panel.
Safety Note: Please be sure to have good ventilation via an open window to minimize your exposure to alcohol fumes.
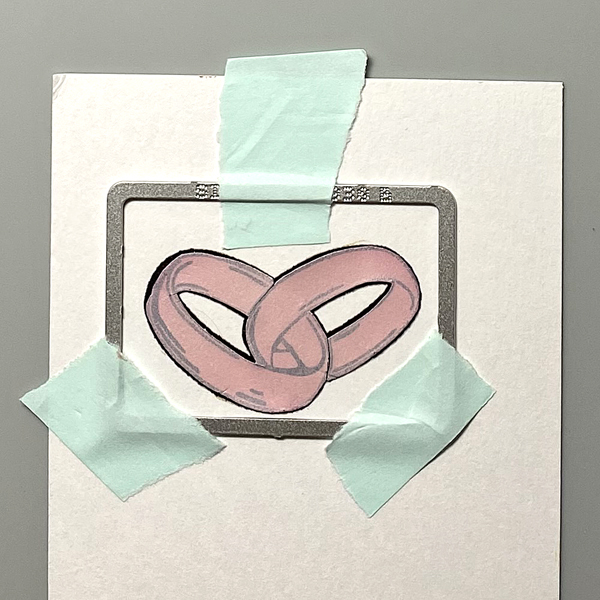
Step 8: Fussy-cut the sticker paper version of the Wedding Rings from Step 2. Place atop the image. Use low-tack tape to secure the small rectangle die from the Specimen Thinlits Die Set onto the image panel. Run the die through your cutting machine.
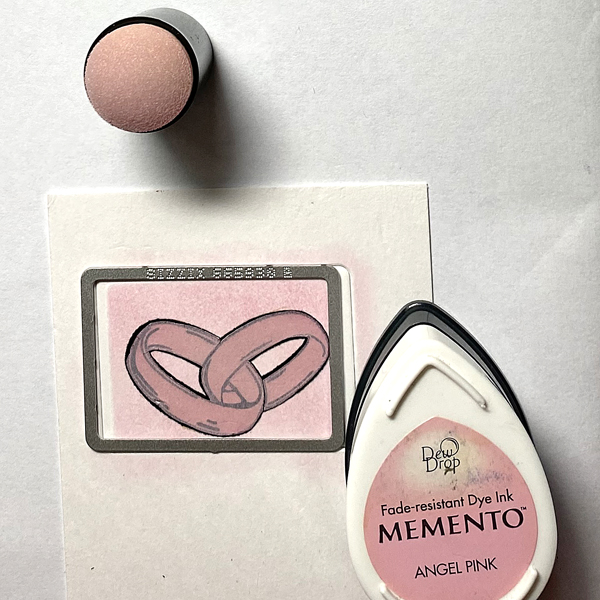
Step 9: Keeping the image panel in the die, use a Sponge Dauber to apply Angel Pink Memento Ink over the die onto the die-cut, which will leave a thin white border around the pink
Step 10: Place the die-cut onto the base of a stamping platform. Ink the “Congratulations” stamp from the More Classic Sentiments Clear Stamp Set with Nocturne VersaFine Clair and stamp. Re-ink and stamp again if necessary to attain a good impression.
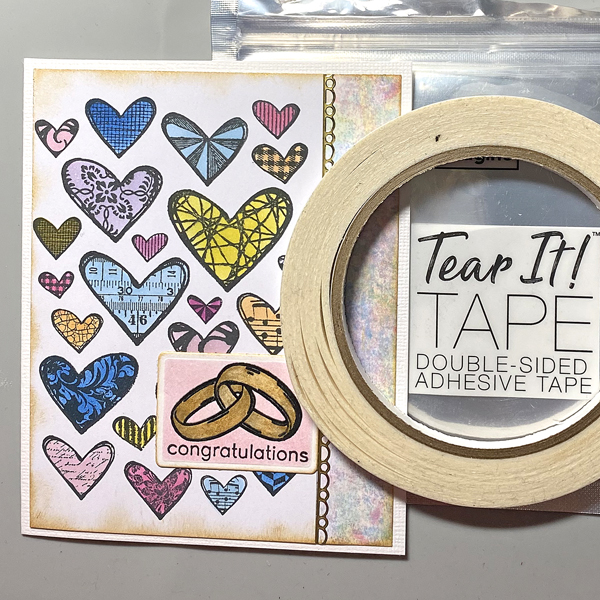
Step 11: Adhere the heart-stamped and stenciled panel (Steps 1 and 6) onto the left side of the smooshed ink panel (Step 7). Add a foil border sticker to cover the seam.
Use a Sponge Dauber to edge the heart image panel and the rings/sentiment die-cut with Golden Glitz Delicata Ink.
Step 12: Use Tear It! Tape to adhere the card front to a white A2 card.
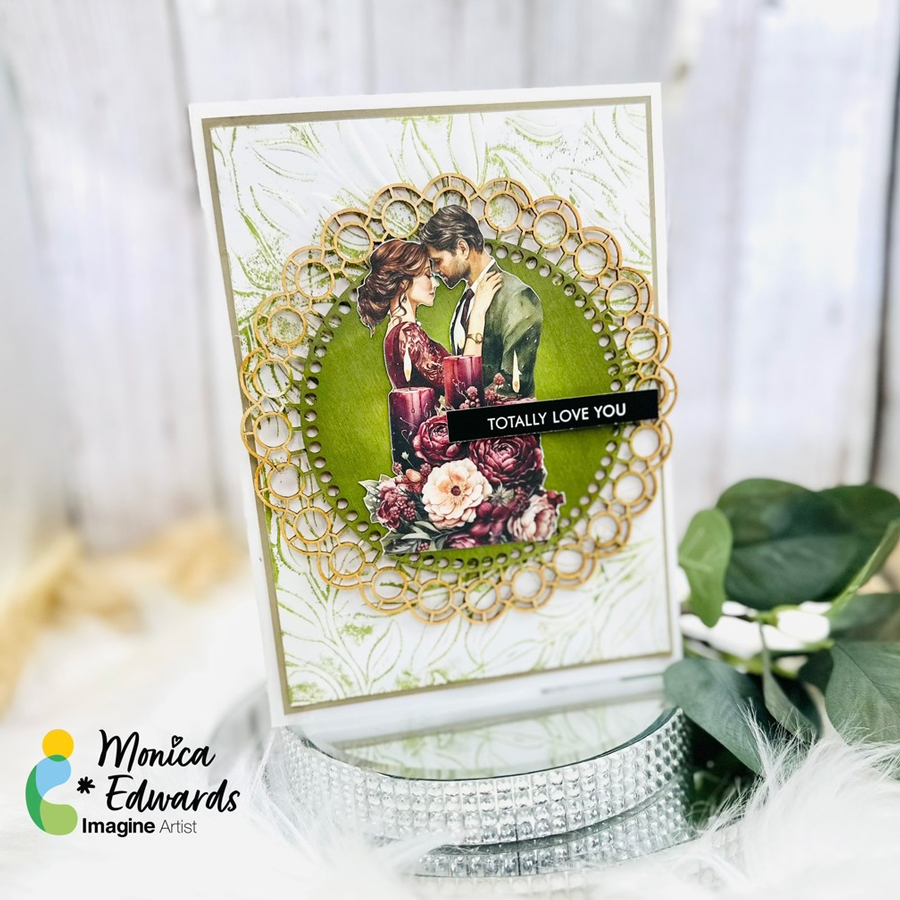
Welcome back to Imagine’s blog. Today, I am going to show everyone how you can get more out of your embossing folders by adding some ink!
Skill Level: Beginner Time: Approximately 30 minutes
Directions:
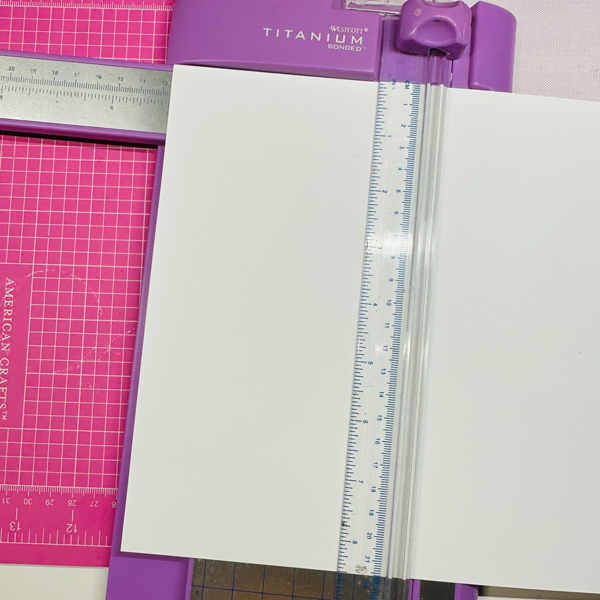
Step 1 Create your card base by taking a piece of white cardstock measuring 10” x 7” and score it down the middle at 5”.
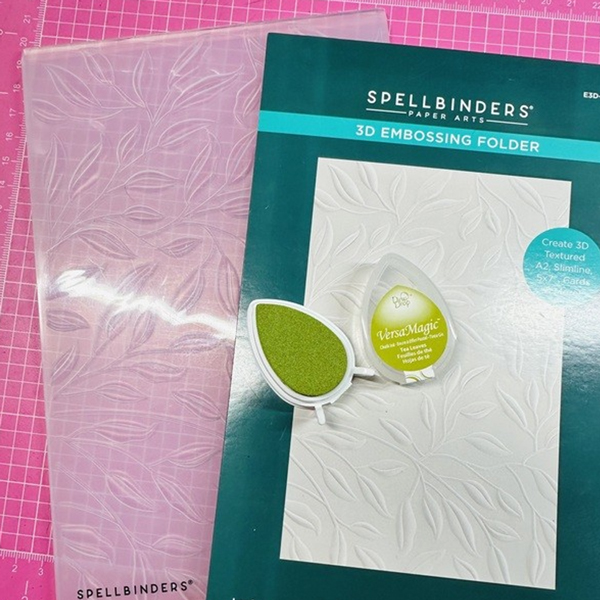
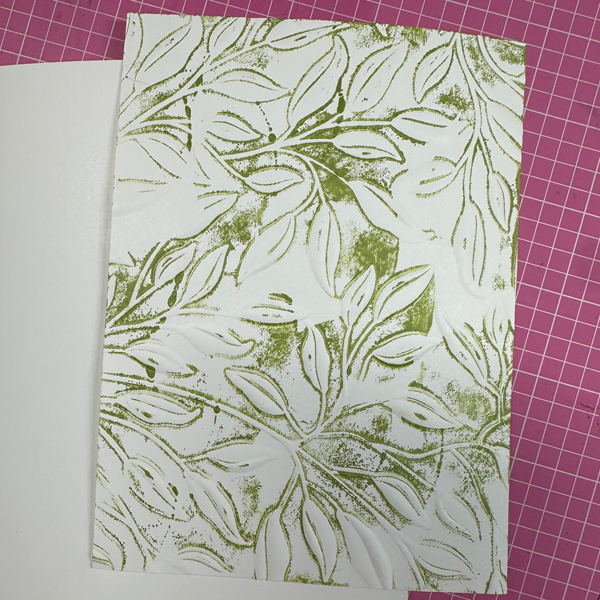
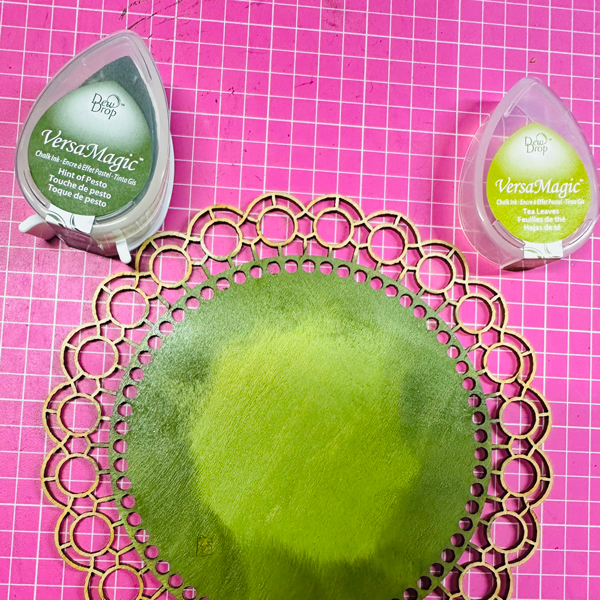
Step 2 To create the colored embossed background, you will need the folder you chose. I am using the Leafy folder with VersaMagic Dew Drop in “Hint of Pesto” and “Tea Leaves”.
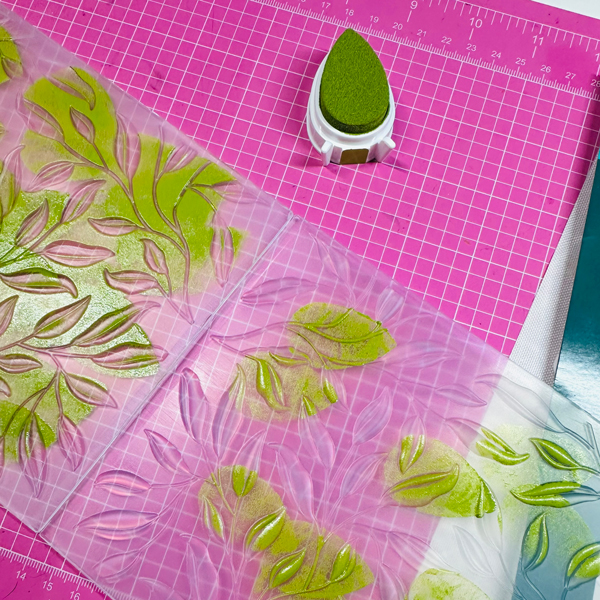
Step 3 Simply take the ink and wipe and/or dab it all over the folder.
Step 4 Once you are done run it through your diecut machine so the ink is pressed onto the paper. The beauty of this is that you can additional colors and simply add more color if you want a darker look.
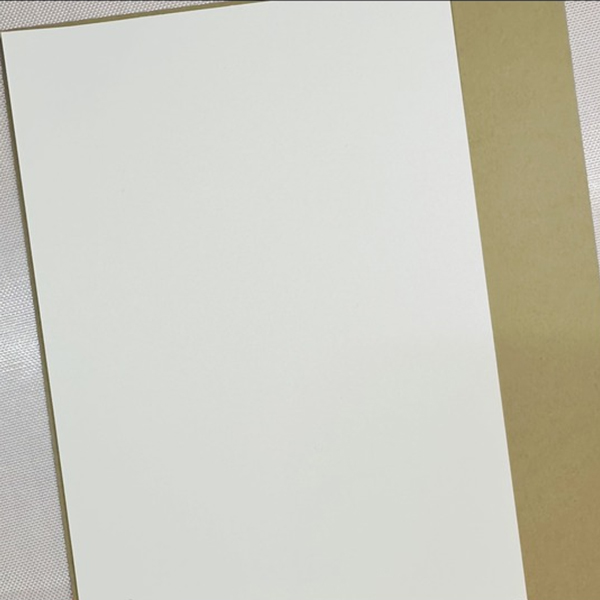
Step 5 You will mat your background onto a piece of cardstock. I chose Putty to go along with the greenery. I am showing the mat before the color for better visibility.
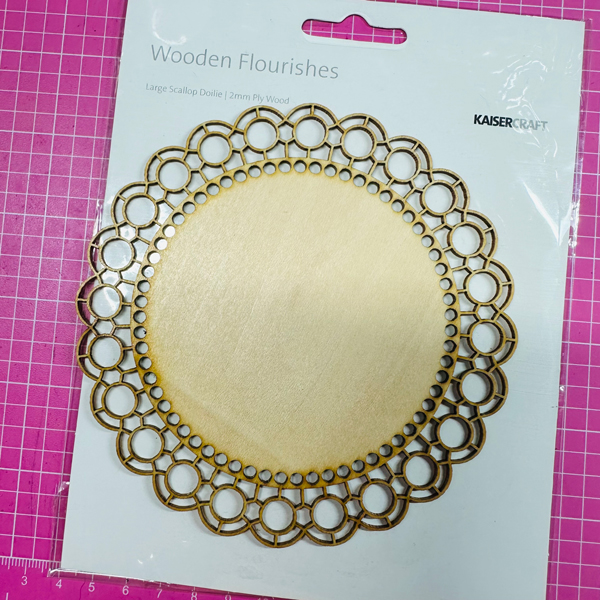
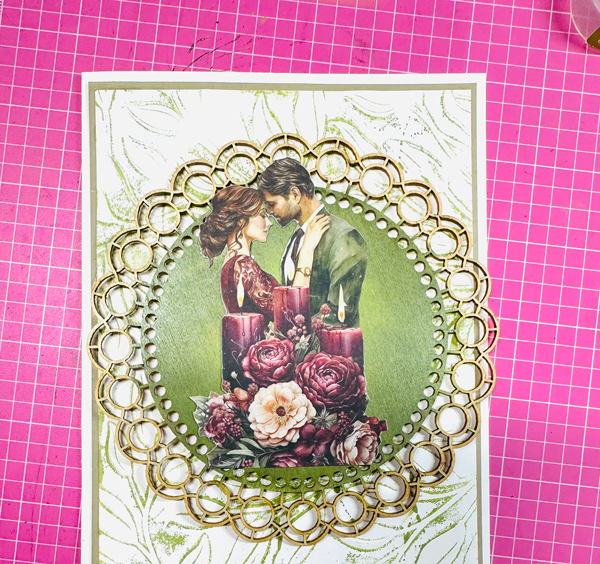
Step 6 Use a Wood Flourish Frame
Step 7 Using your Dew Drop like a dauber simply sponge on some color this will bring out the green background.
Step 8 Add a diecut for the focal point, along with a sentiment to complete the card.
Other Products Kaisercraft : Wooden Flourishes Mintay Papers – Bohemian Wedding Collection – Embellishments Spellbinders: Leafy (Embossing Folder) Paper Roses: So Extra Black 1.0 Sentiments Hammermill : White Cardstock My Colors : Putty Cardstock
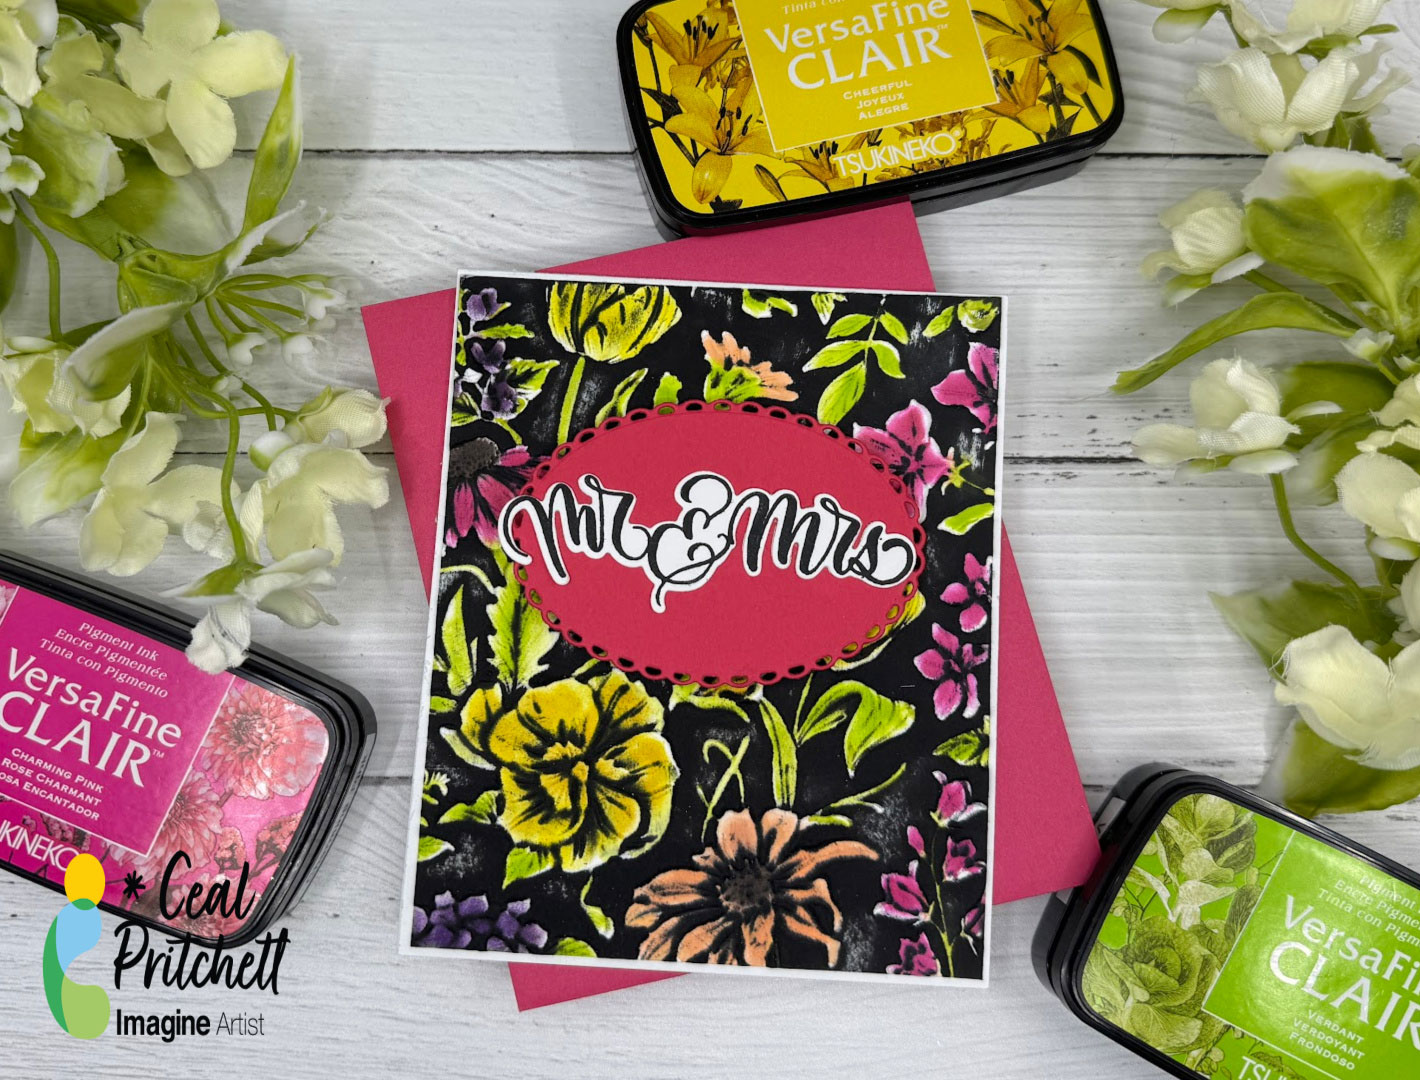
Hello everyone, today I am sharing a summer wedding card that was inspired by a bridal bouquet from my friend’s wedding. I am using a technique that showcases how vibrant our VersaFine Clair inks are.
Skill: Intermediate to Advanced Time: 1 to 1 ½ hours
Directions:
For this card, you will need a 3D embossing folder, several ink colors and sponge daubers or another tool to apply the ink.
Step 1:
Run the 3D embossing folder of your choice through the machine. Tip if you lightly spray it with water this helps get a better impression.
Step 2:
Using a sponge dauber or other inking tool and add color to the debossed side of the panel. It’s okay if you get ink outside of the debossed area because the next step will cover it.
Step 3: Using the VersaFine Clair Nocturne ink pad, rub it across the panel. The black will stay on top and will not go into the debossed areas and create a beautiful background. The versaFine Clair ink pads work well with this technique because they are so vibrant.
Step 4: Stamp your sentiment using the Mini Misti and cut it out with the coordinating die.
Step 5: Add your panel to a white card base and add the elements to finish he card.
Other Supplies: Neenah Classic Crest Solar White 120lb Neenah Classic Crest Solar White 80lb Mini MISTI Cake Toppers Stamp Set – Gina K Designs Cake Toppers Die Set – Gina K Designs Master Layouts One – Gina K Designs