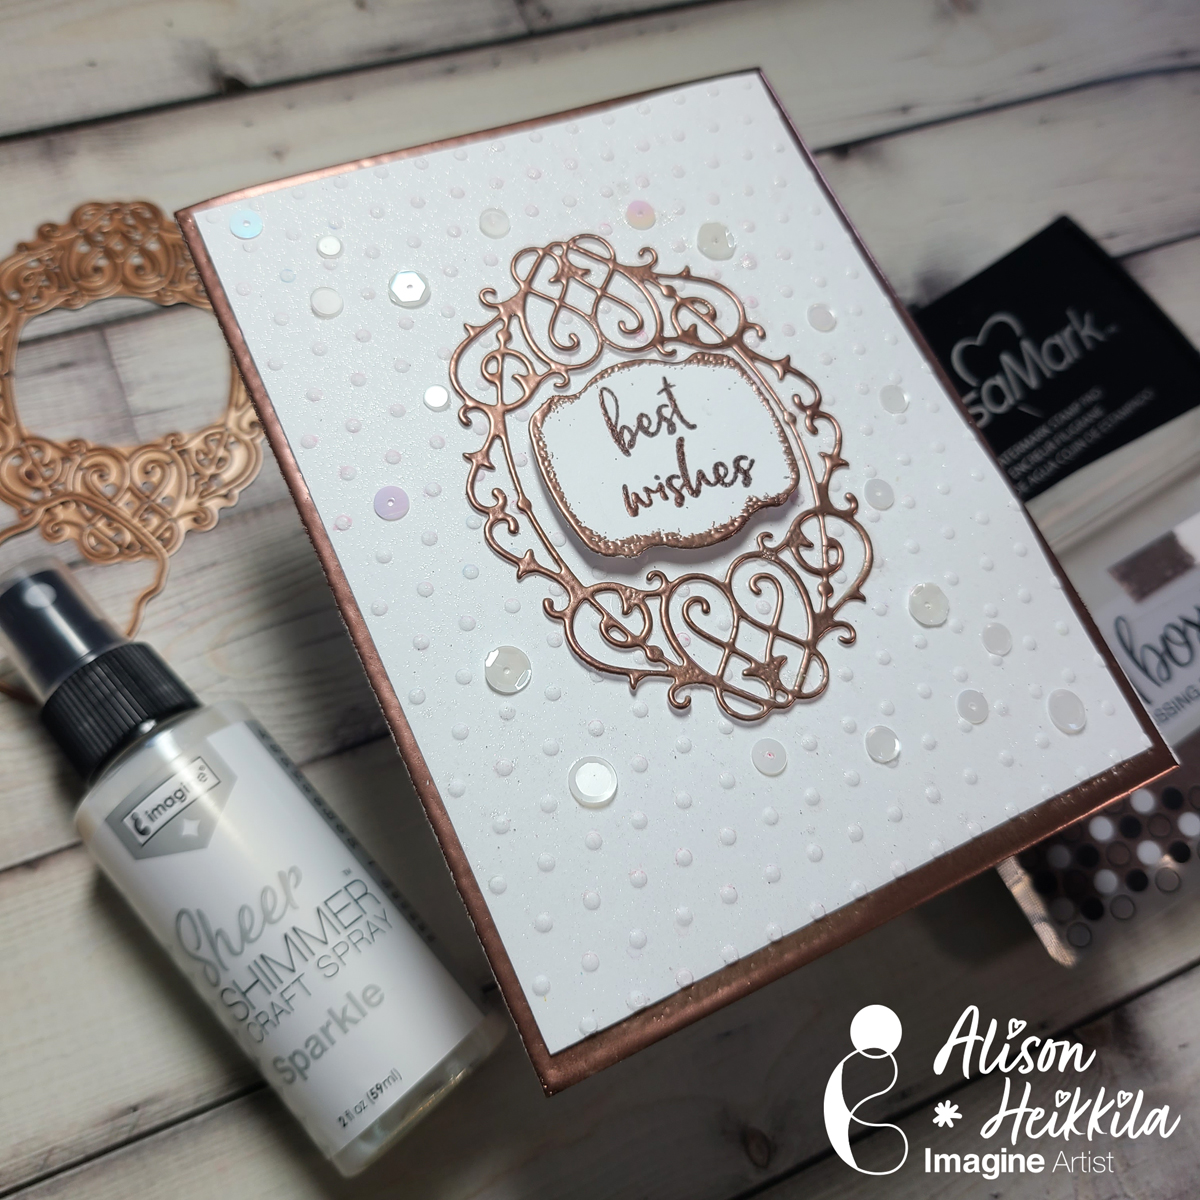
Hello! My latest video for Imagine is a wedding-themed card, though it can certainly be used for other occasions too. We’re going to use embossing powder in a few ways on this card, and they’re all fairly simple to do.
*Some affiliate links are used in this post. That means that if you shop through these links, I may receive a small compensation, at no cost to you.For more information, please see my Affiliates page, where I also have some coupon codes.
Skill Level: Intermediate Time to Complete: 30 minutes
When it comes to coloring with alcohol markers, the ink you use to stamp your images becomes very important. Choosing the right ink will ensure that the image lines stay sharp without bleeding into each other. My personal choice is the Memento Tuxedo Black ink pad. A light beige color like Desert Sand could be a great choice as well for no-line coloring.
Skill: Intermediate Time: 1 hour
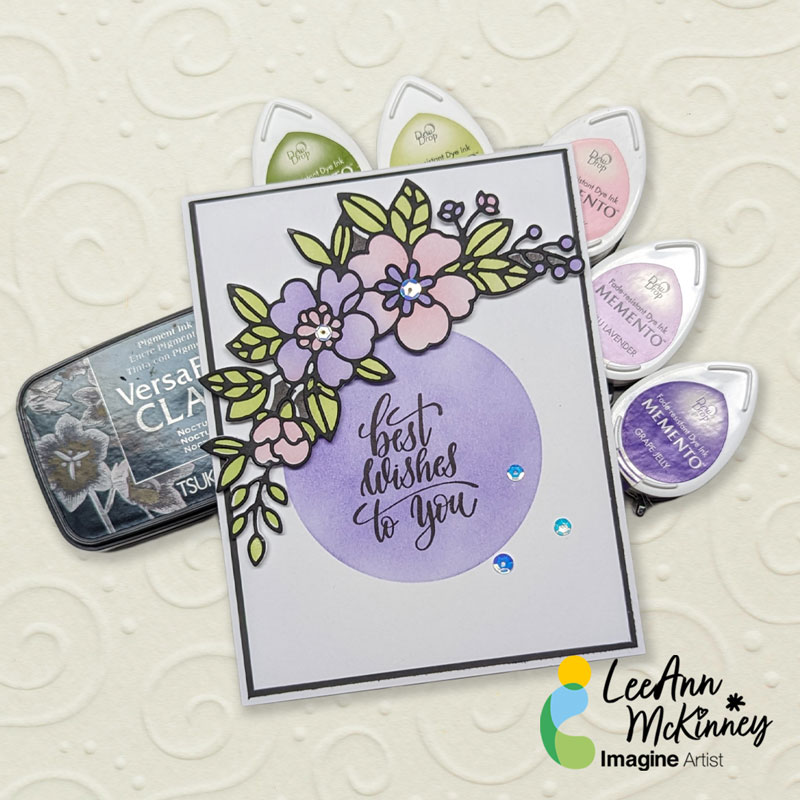
Step 1: Stamp some floral and leaves images with Memento Tuxedo Black ink. I love the Happiness Abounds set from Stampin’ Up; the roses are so elegant and the perfect sizes to create a floral wreath. Then color the images with your choice of alcohol markers. I used Stampin Blends in Pale Papaya, Soft Seafoam, and Old Olive.
Step 2: Die cut the colored images with Blossoming Happiness dies and arrange them in a circle. Then adhere them to the card base. I used Tear-It Tape to adhere the leaves in the background, and used Stampin’ Dimensionals to create layers and depth for the flowers.
Step 3: For the sentiment, I chose a simple circle to tie in this elegant design. The fonts for these stamps are just so pretty! I always grab VersaFine Clair Nocturne to stamp my sentiments; the lines are so crisp and dark, and they’ll never look splotchy! Don’t use them with alcohol markers though, the pigment ink will react with alcohol inks.
Coloring takes time, but it’s such a relaxing experience… I hope you enjoyed this project as much as I do.
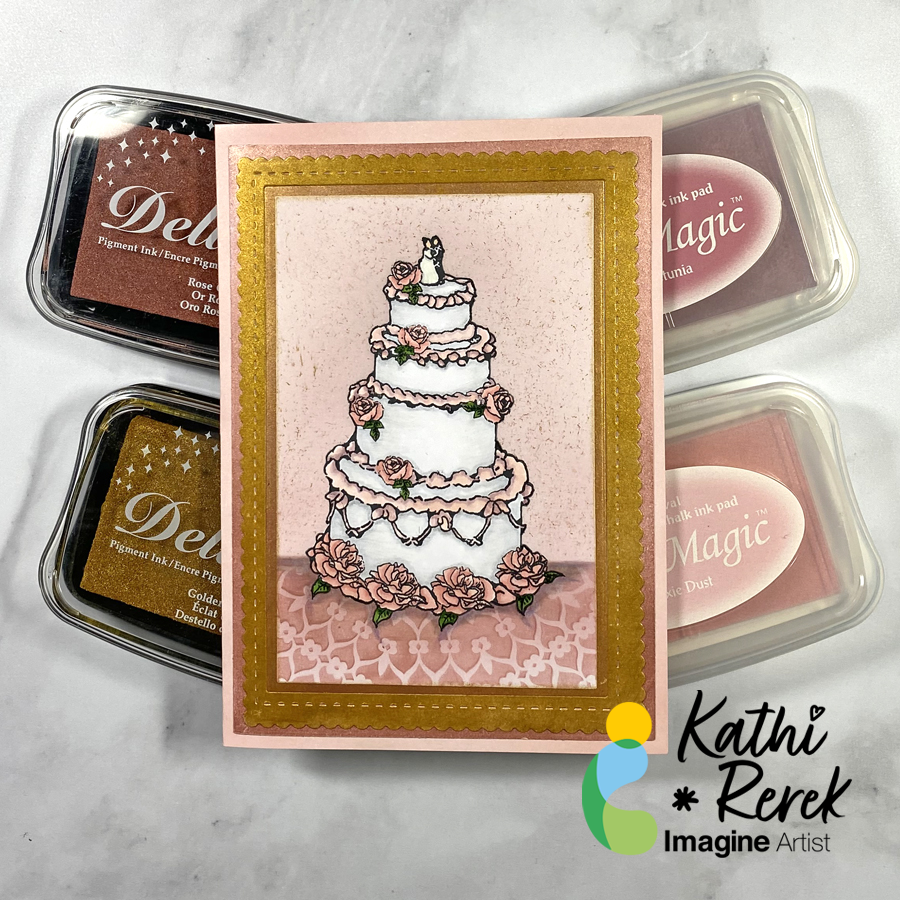
Greetings! It’s Kathi here to show you how to create a wedding card using trending wedding colors of dusky rose, pink, rose gold, and gold.
Skill Level: Beginner to Intermediate
Time: 1.5 hours
Directions:
Step 1:
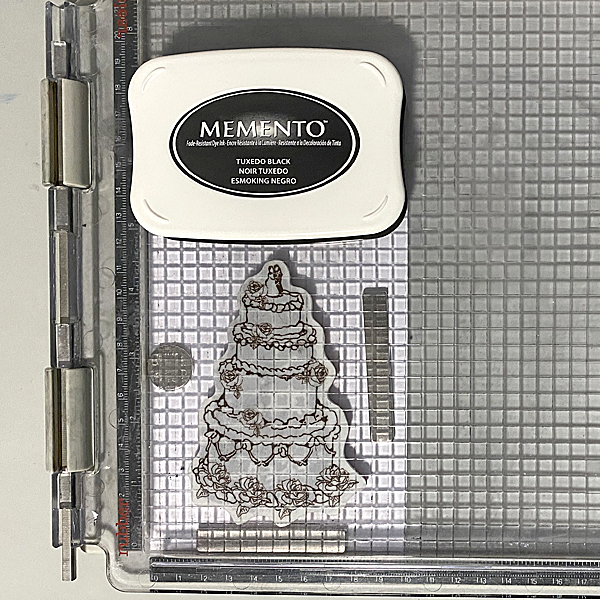
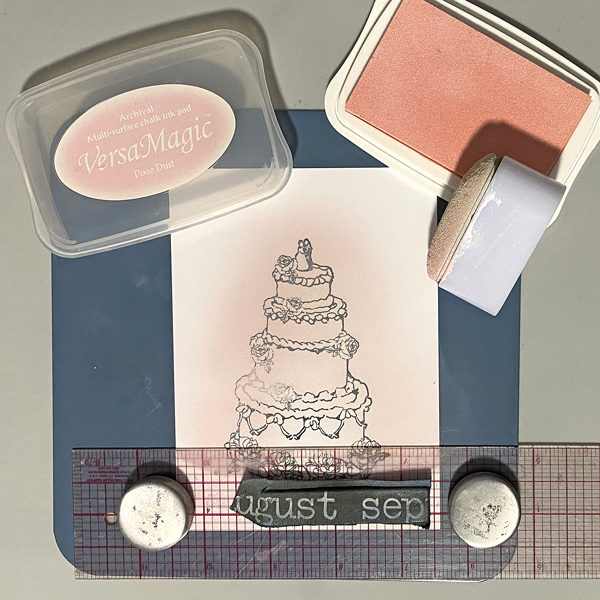
Use Tuxedo Black Memento ink to stamp the wedding cake from the Dreams Come True Cling Stamp Set onto a 4” x 5.25” panel of white cardstock and onto repositionable label paper.
Step 2:
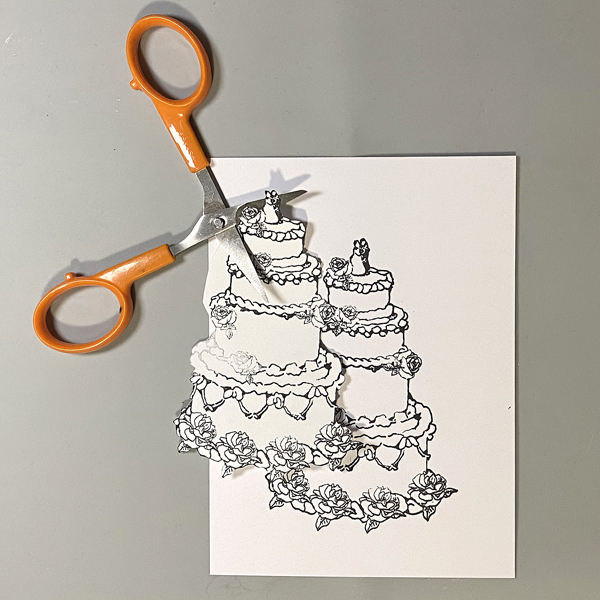
Use small scissors to fussy-cut the label paper version and place it atop its counterpart on the image panel as a mask.
Step 3:
Place a ruler horizontally over the base of the image.
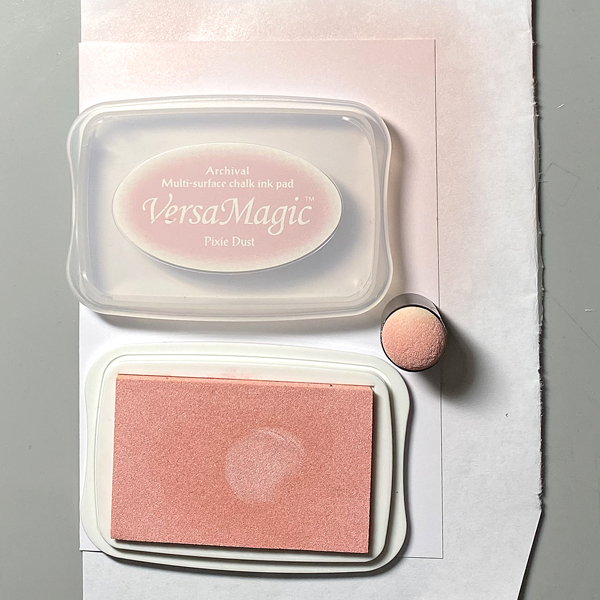
With an ink sweeper, sponge Pixie Dust VersaMagic ink over the ruler and the masked image.
Step 4:
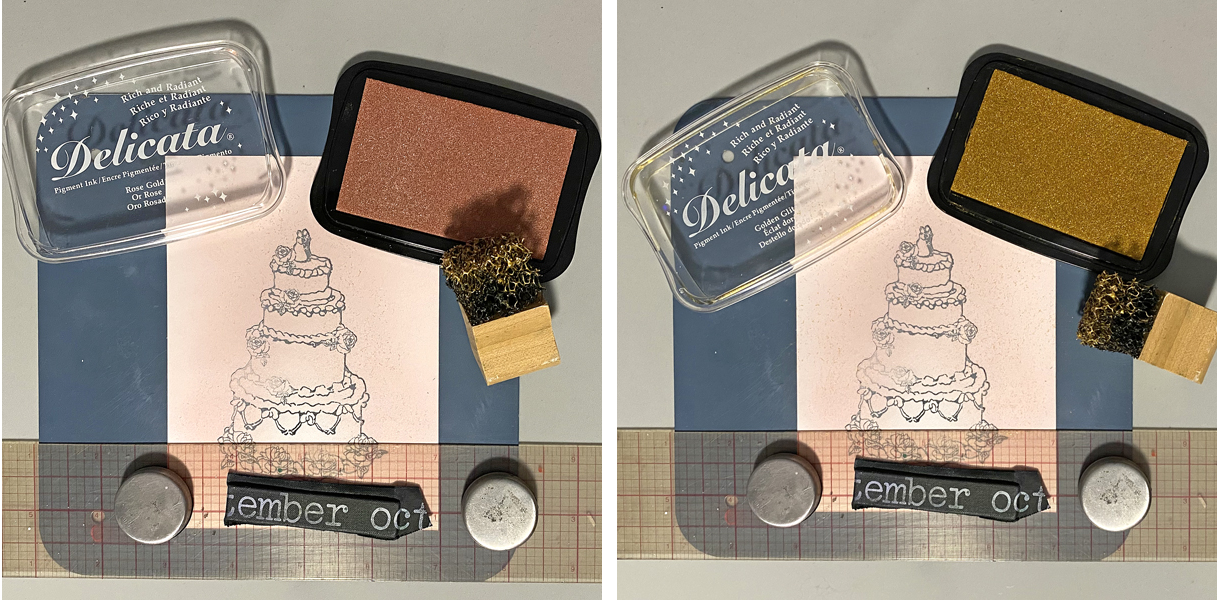
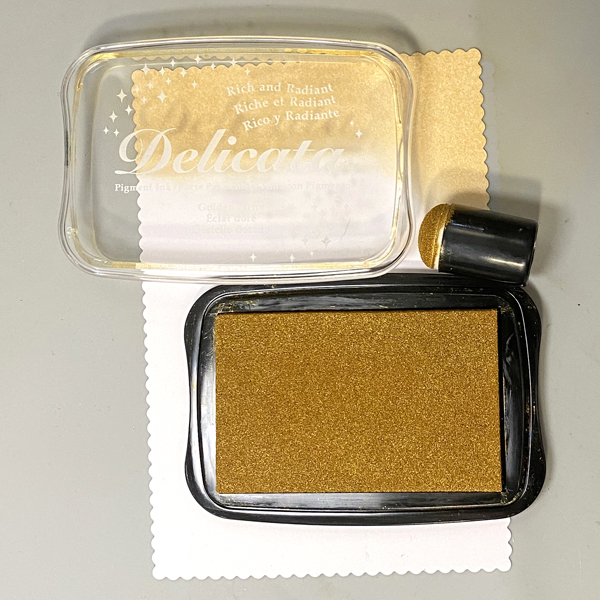
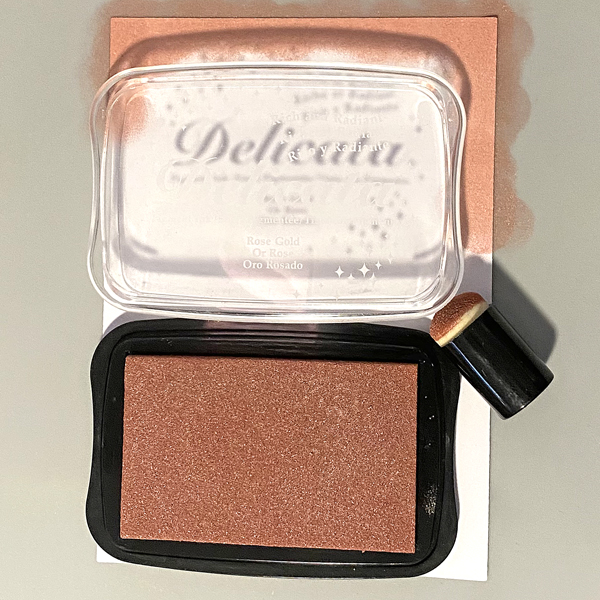
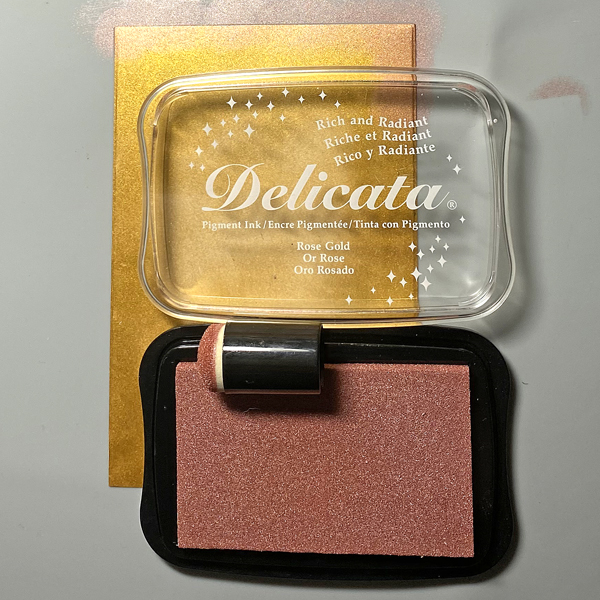
Use a pouncy tool or a stiff paint brush to pounce Rose Gold Delicata Ink.
Step 5:
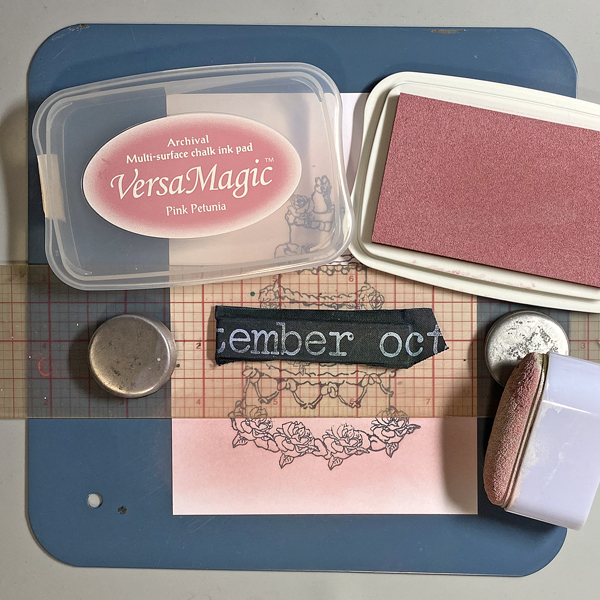
Move the ruler to cover the top of the image and secure with magnets.
Use an ink sweeper to sponge Pink Petunia VersaMagic ink.
Remove the ruler and let it dry. I heat set to expedite the drying process.
Step 6:
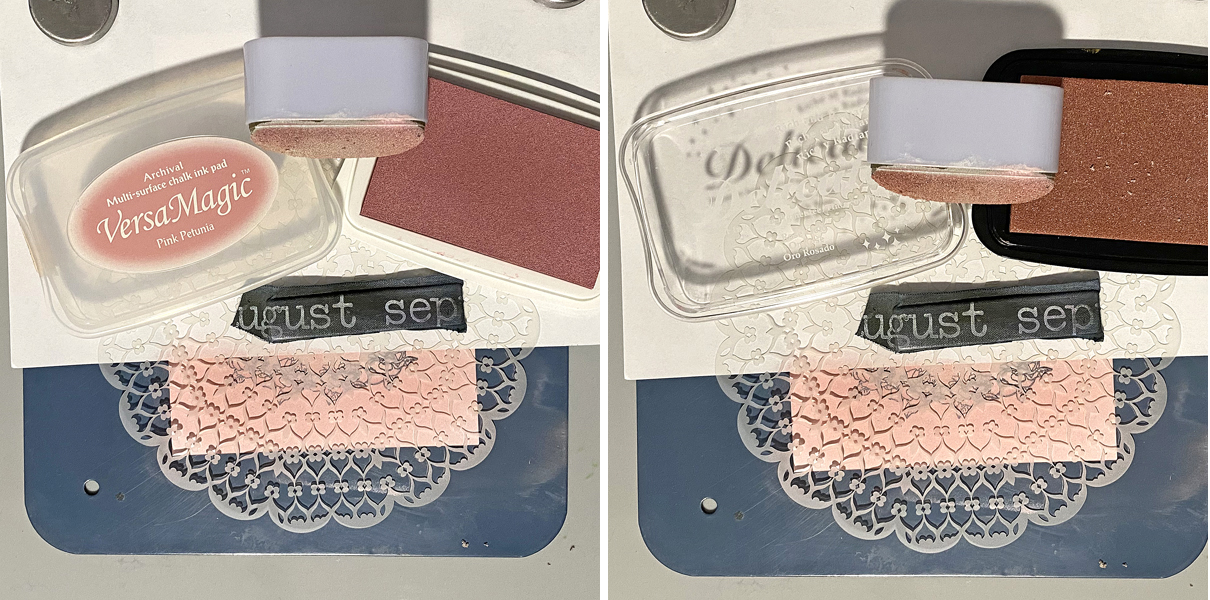
Use a piece of scrap paper to cover the top part of the image panel. Place the Mandala stencil over the base and secure with magnets.
Sponge image with Pink Petunia VersaMagic to create a tone on tone pattern.
Repeat process with Sponge Rose Gold Delicata Ink to add a rosy golden shimmer to the stenciled pattern.
Step 7:
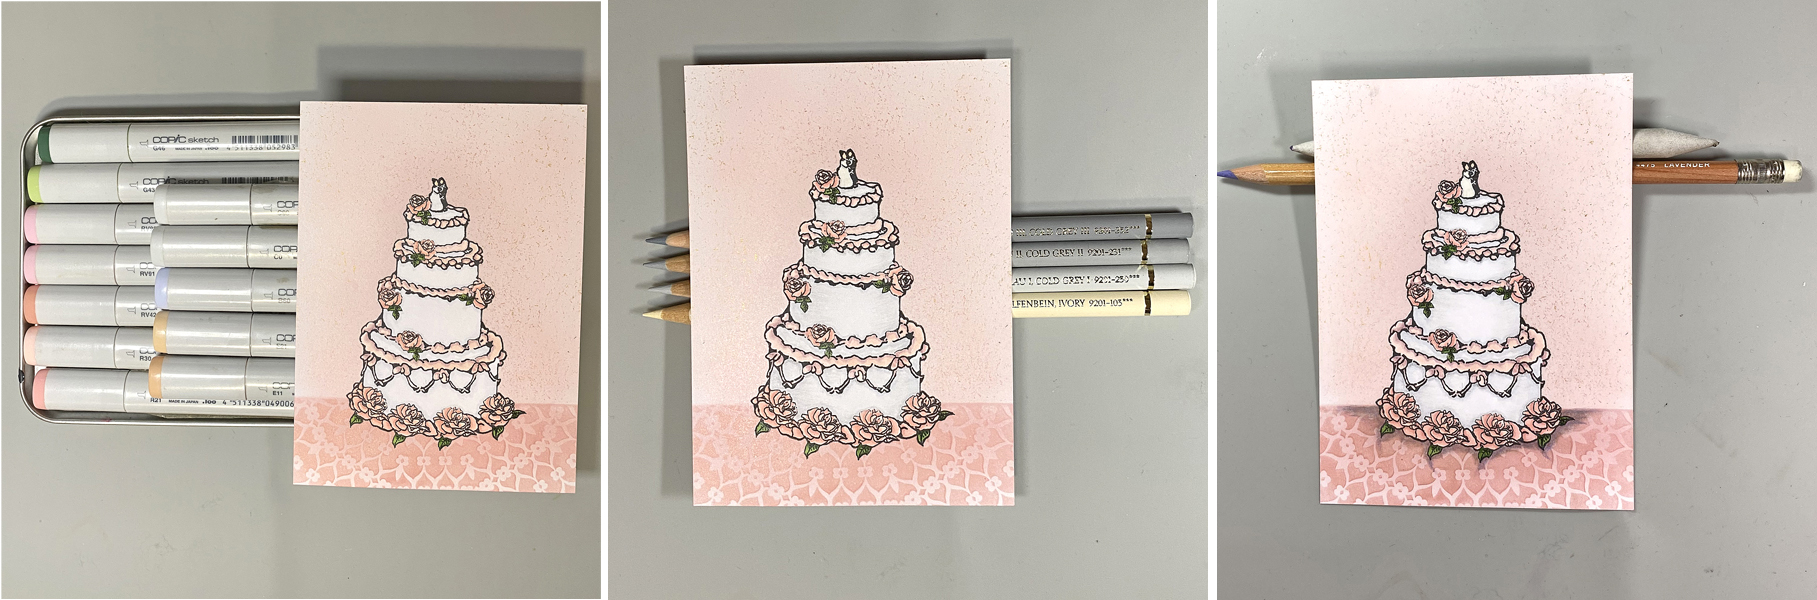
Use Copic markers to color the wedding cake. Add shading and fine details with colored pencils. Use chalk pencil to add shading below the wedding cake.
Step 8:
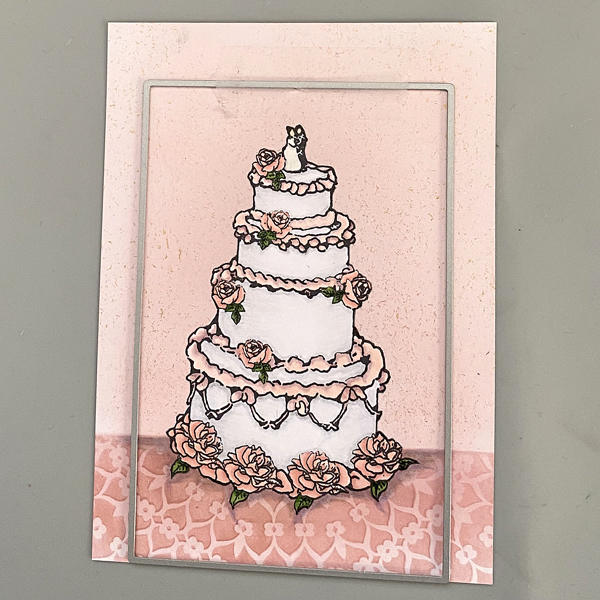
Position one of the plain rectangle dies from the Passe Partout Rectangles Die Set cutting side down on the image panel. Use repositionable Scotch Tape to secure it in place, then die cut the panel.
Step 9:
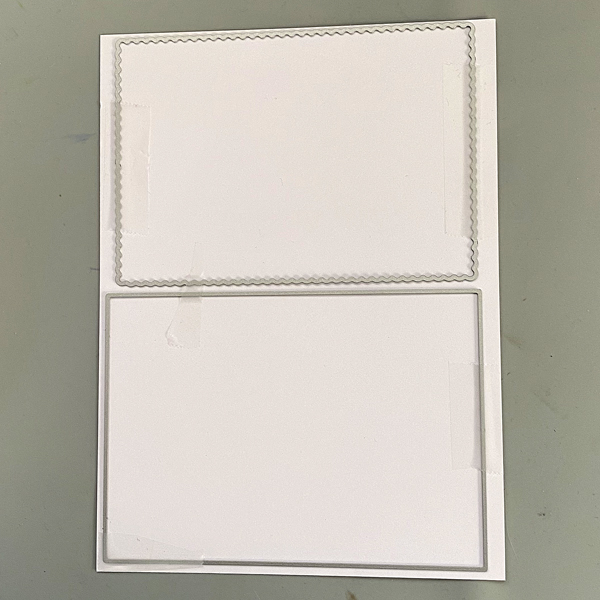
Cut a piece of white cardstock to 6.5”. Position the scalloped rectangle and the plain rectangle dies from the Passe-Partout Die Set on the panel, secure with repositionable Scotch Tape, and run the panel through the die-cut machine.
Step 10:
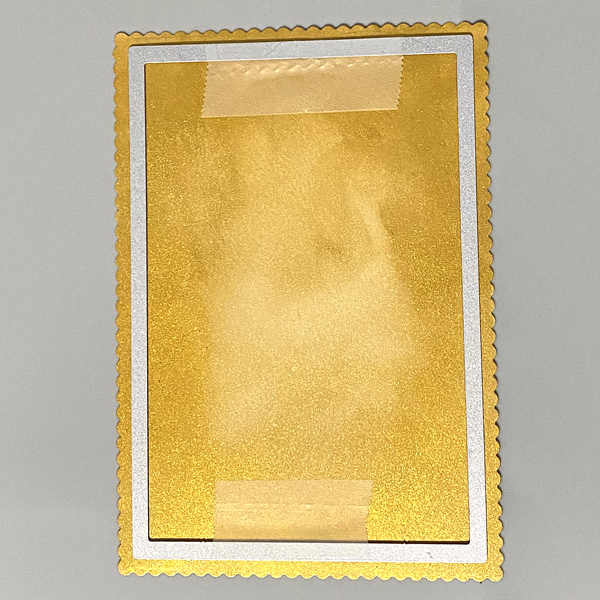
Use a sponge dauber to sponge Gold Dazzle Delicata Ink around the edges of the scalloped panel. Heat set.
Step 11:
Use a sponge dauber to sponge Rose Gold Delicata Ink around the edges of the plain panel. Heat set.
Step 12:
Position the stitched rectangle die from the Passe Partout Die Set onto the gold-sponged scalloped rectangle panel, secure it in place with repositionable Scotch Tape, and run the panel through the die-cut machine. The die will cut a rectangle from the center of the gold-sponged scalloped panel, leaving a stitched border framing the aperture.
Step 13:
Use a sponge dauber to add Rose Gold Delicata to the periphery of the die-cut. Heat set.
Step 14:
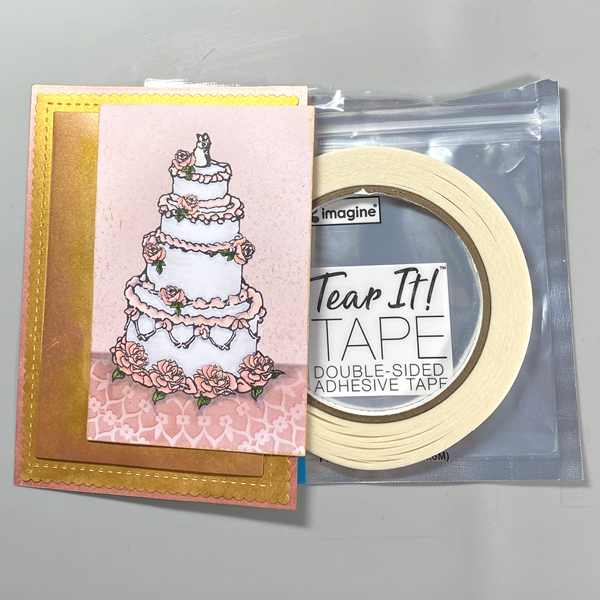
Use Tear It! Tape to adhere the gold scalloped die-cut onto the rose gold plain rectangle panel.
Use the tape to adhere rose gold die-cut to the aperture of the gold scalloped die-cut then adhere the matted image panel as the top layer.
Step 15:
Cut a piece of white cardstock to 8.75” x 6.125”. Score at 4.375” and fold to form an A6 card.
Place a piece of scrap paper into the center of the card. Use a sponge dauber to apply Pixie Dust VersaMagic ink to the periphery of the white card. Heat set.
Adhere the matted image panel to the front of the card.
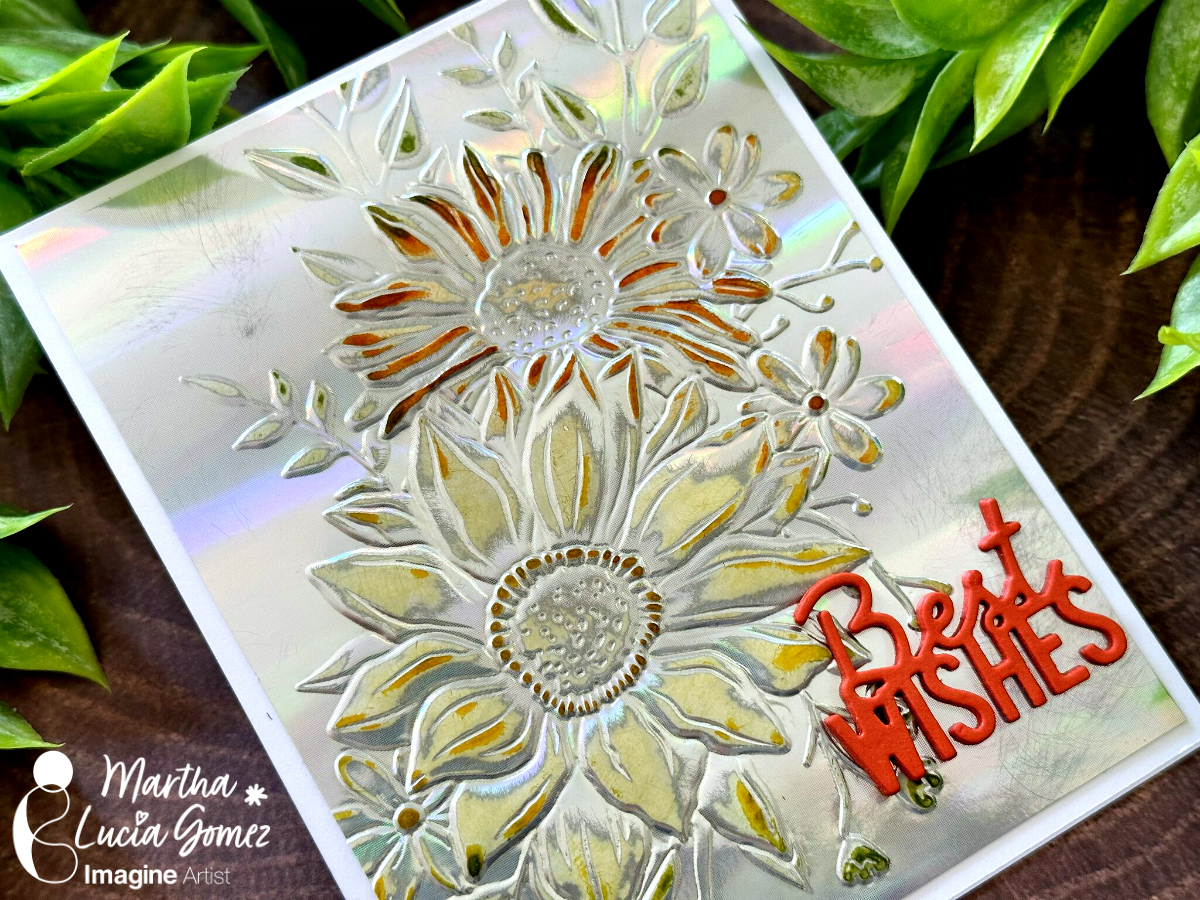
Hello crafty friends! Today, I have a fun tutorial to make a unique congratulations wedding card. Let me share the project with you.
Skill Level: Beginning Time: 60 minutes
Directions:
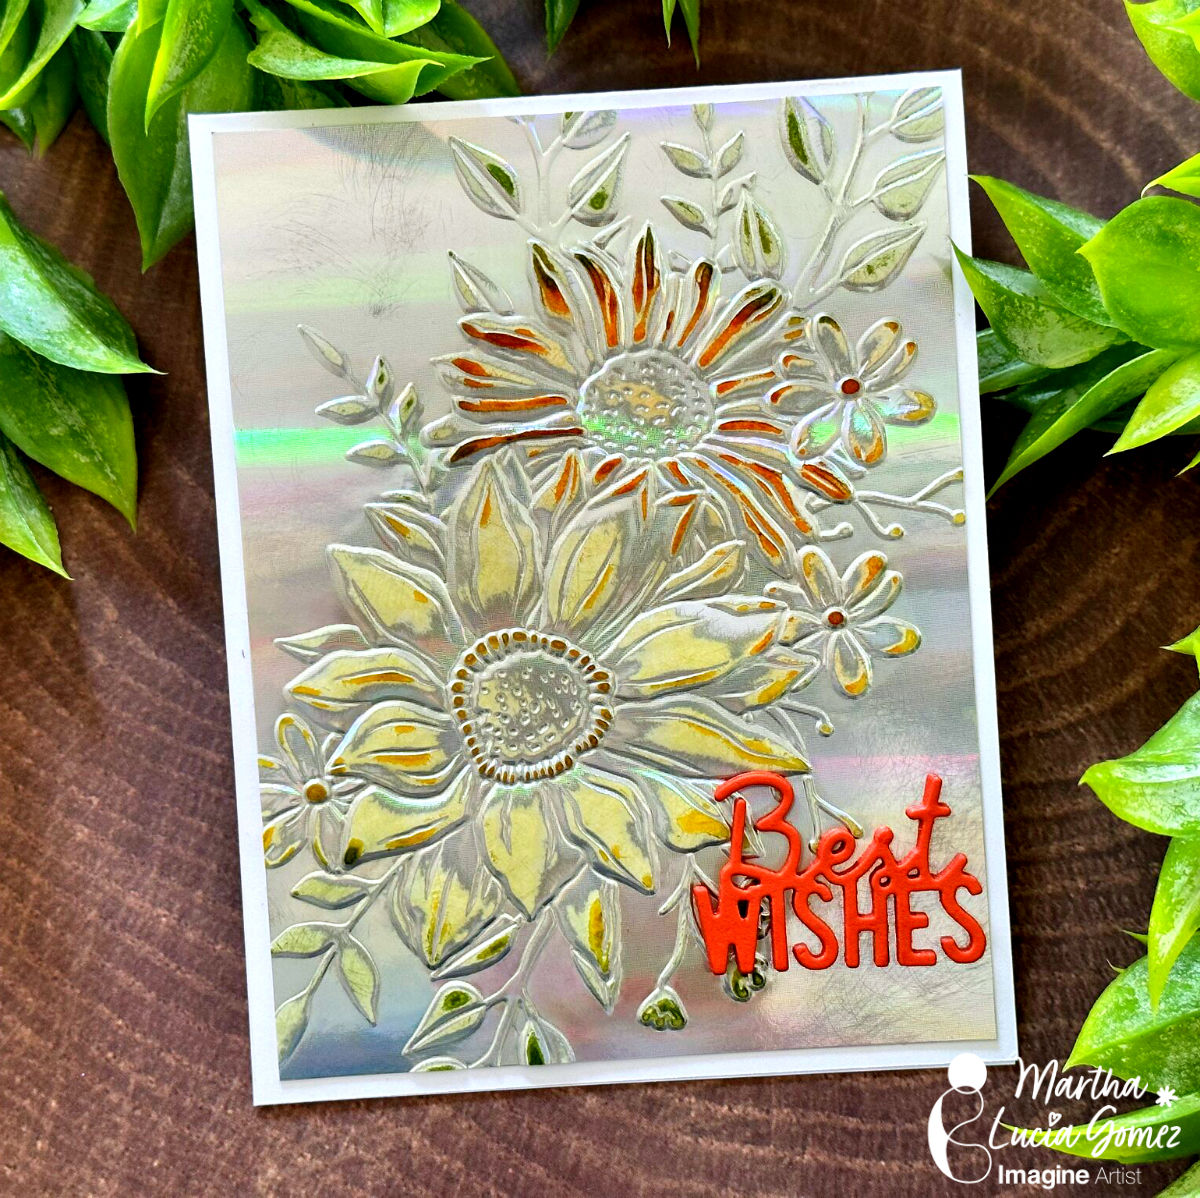
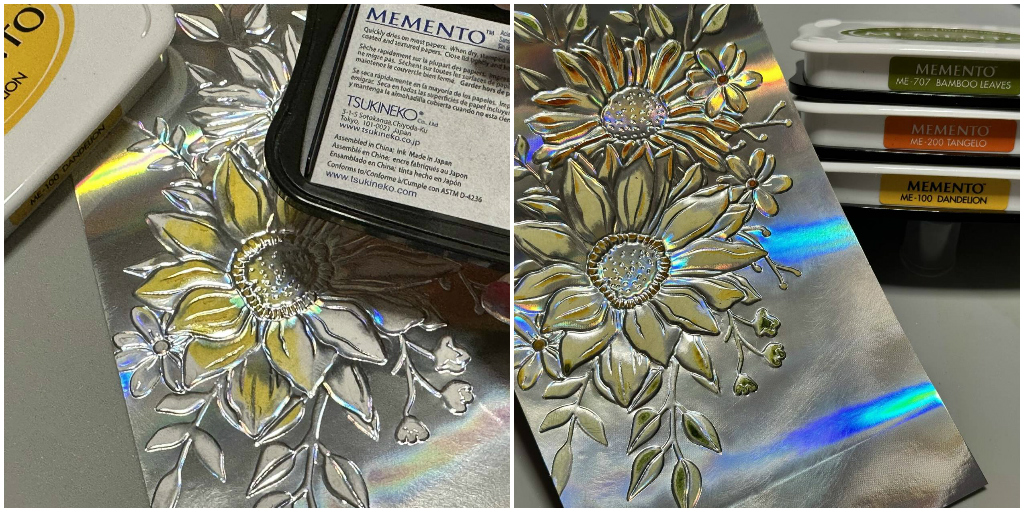
To make this card is important that you use one side metallic cardstock with an embossing folder. This cardstock can be glossy or matte.
Step 1:
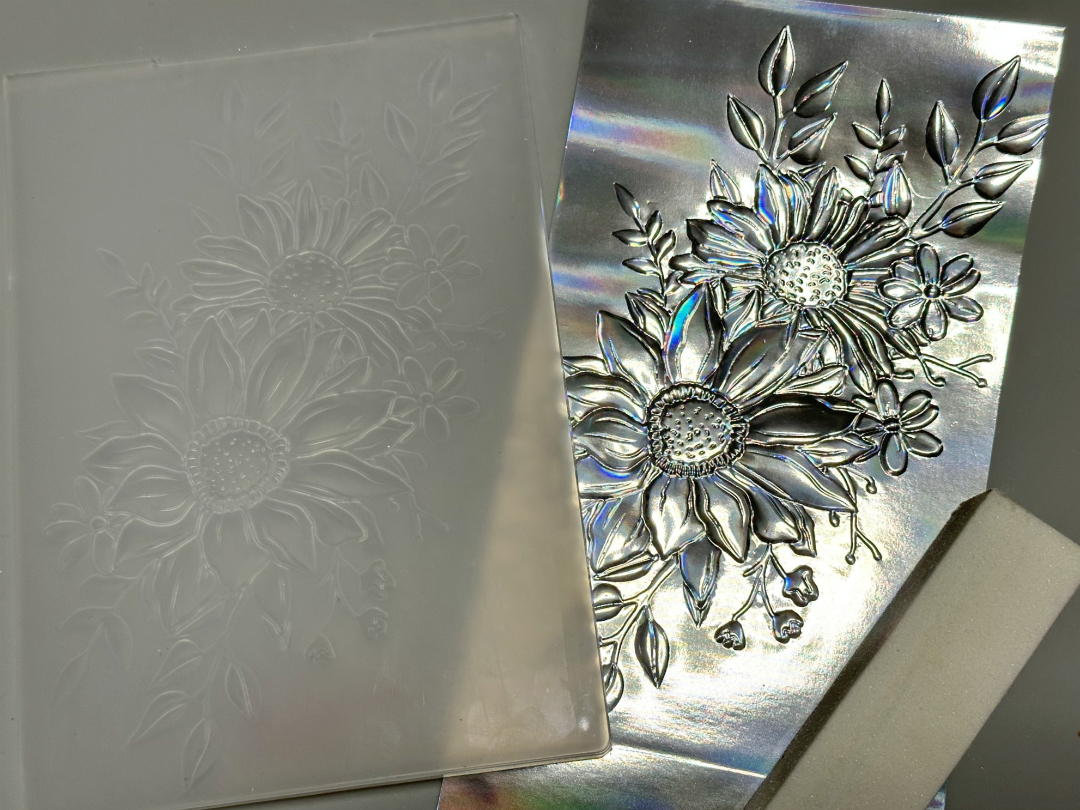
Take a piece of one side glossy silver cardstock and dry emboss it with the embossing folder of your preference.
Step 2:
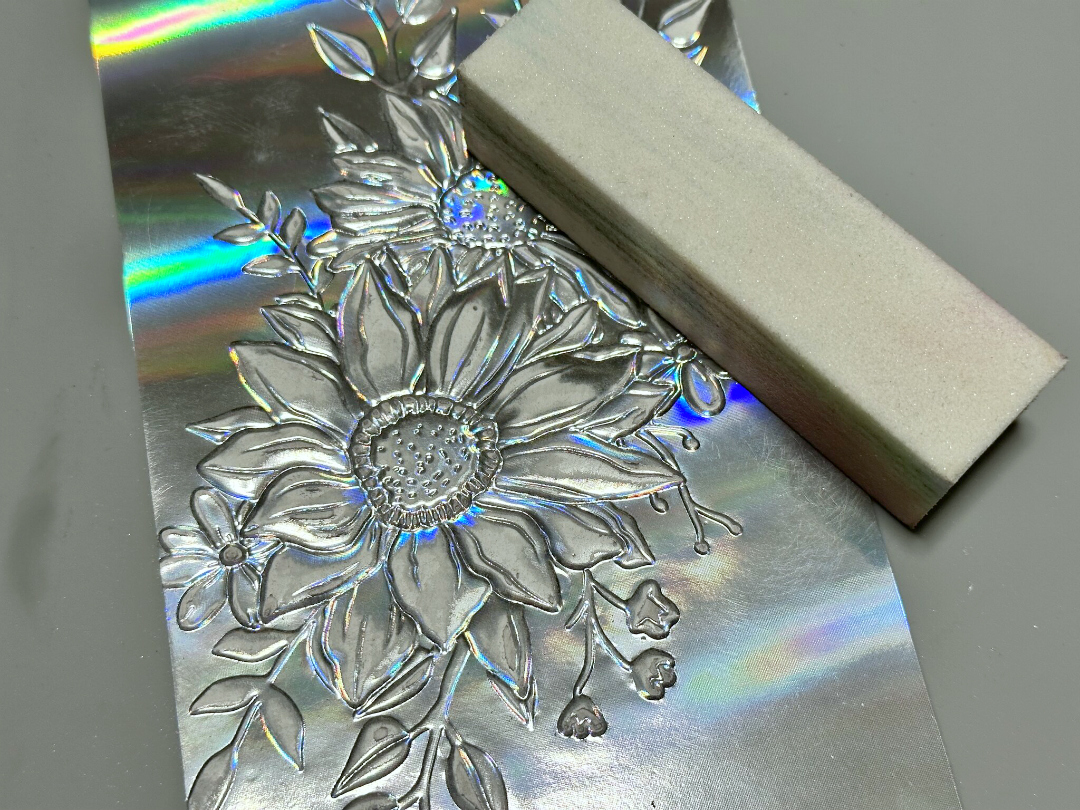
Remove the metallic color over the embossing with a sanding block. Make it soft so that it doesn’t break the cardstock. Clean with a dry cloth.
Step 3:
Select the colors of ink that you want to give to the embossing design. In my sample, I am using Memento Ink in colors Dandelion, Tangelo and Bamboo Leaves. Then, apply the colors directly over the sanded areas or use a sponge dauber.
When you are satisfied with the colors, pass a dry cloth over the embossed area to remove the excess ink. Resize the layer and paste it over the card base.
Step 4:
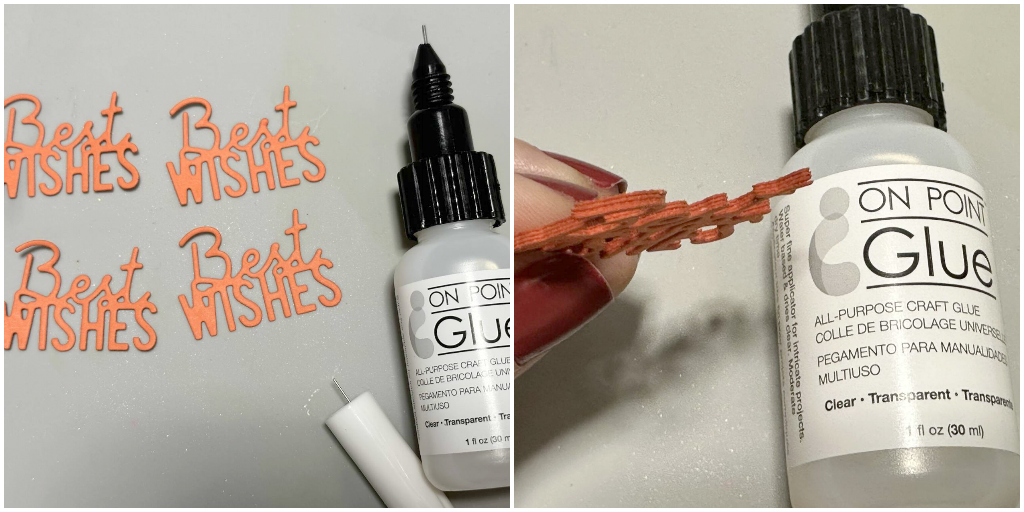
To finalize the card, you can use a die cut sentiment with more dimensions. In my sample, I die cut four times the Best Wishes sentiment using the same color of cardstock and then I paste all of them with OnPoint Glue.
Step 5:
Adhere the sentiment over the card base using the same adhesive.
Thanks for stopping by and remember, you don’t need to create complicated projects. Just use the best inks and let your creativity shine!
Hello Friends! Katy here and today I am sharing an easier way to color your own cardstock using Memento Inks andInk Potion No. 9 blending solution.
In todays video tutorial I use our newly colored cardstock to create some 3D flowers for a beautiful summer wedding card. Thanks for joining me today. I hope you enjoy.