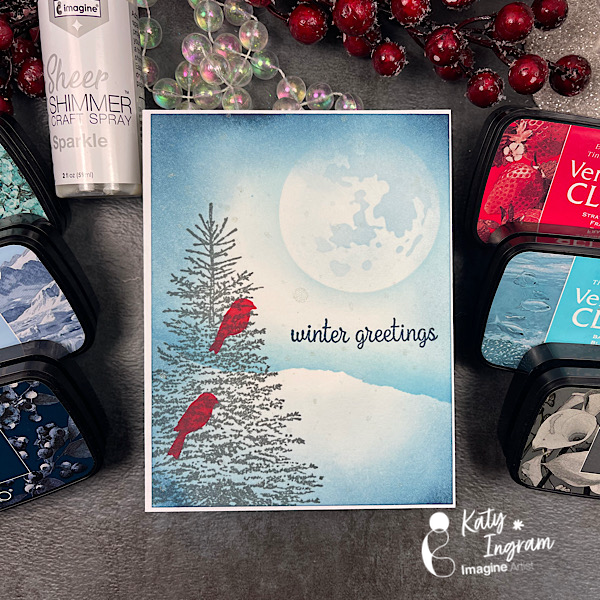
Hello Friends! Katy here with my latest video using a color palette of blue and gray VersaFine Clair inks to create a simple winter scene. This design is great for winter birthday cards or simple greetings. Video has all the details. Thanks for watching.
Strathmore 500 Series Hot Pressed Watercolor Paper 100 lb Cardstock Penny Black Winter Tree Stamp Penny Black Seasons Marvel Stamp Set Hero Arts CM308 Stacking Snowflakes Blending Brushes Tim Holtz Moon Mask
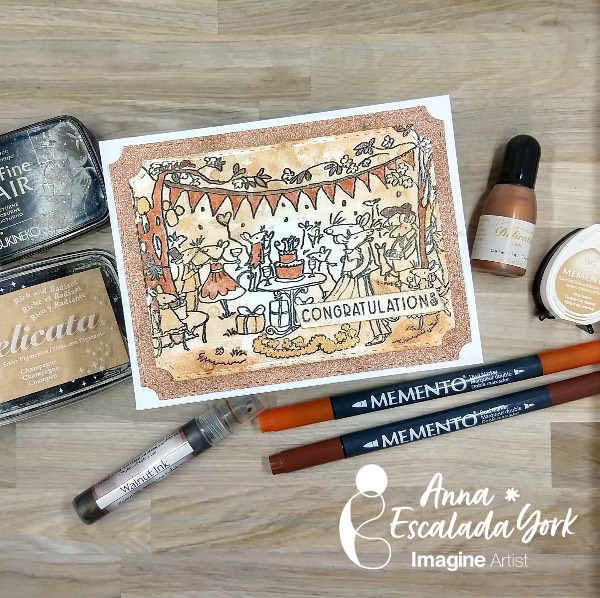
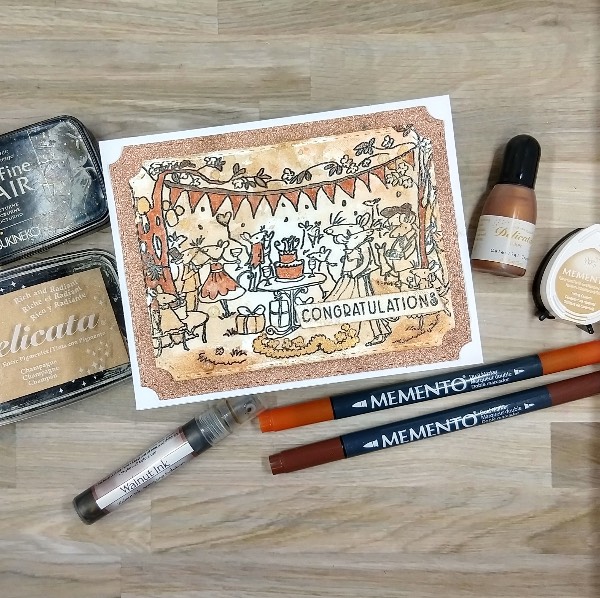
Hello Friends! Happy Holidays! How lucky would one be to come upon a peaceful scene like this, 2 deer hunting for grass on a snowy landscape? For this card I stayed focused on only two colors and some glitter paper to create this wintry scene.
Tracy
Skill: Intermediate Time: 60 Minutes
Art Supplies
• Die cutting machine • 100lb white paper • A2 Card Base • Water and a brush • Dies • Glitter cardstock • Vellum • Foam Tape • White Paint
Other Products Used • Clear Embossing Powder WOW • Snowflake Stencil-no label, but I think it is Tonic Studio • Simon Says Stamp and Die Set “Joy to You and Yours” • PVA Adhesive • Foam Tape
ALTERNATIVE PRODUCTS THAT CAN BE USED TO RECREATE SOMETHING SIMILAR
Any Inks any combination of background stamps, dies, and feature stamps and stencil
To learn how to create your own vintage Christmas card, click here!
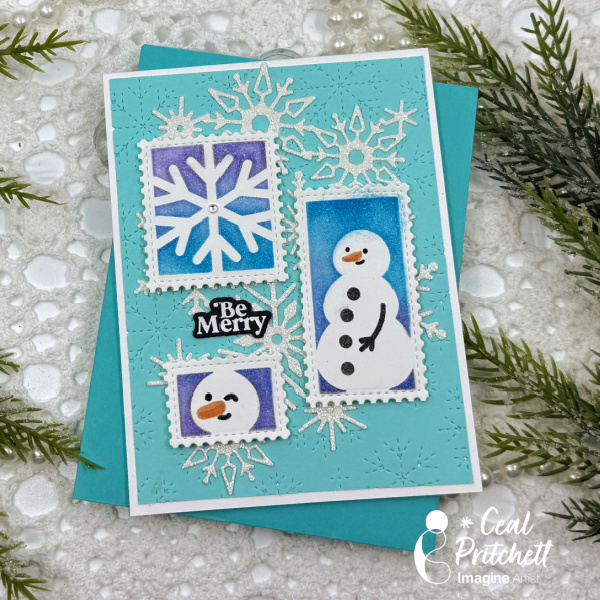
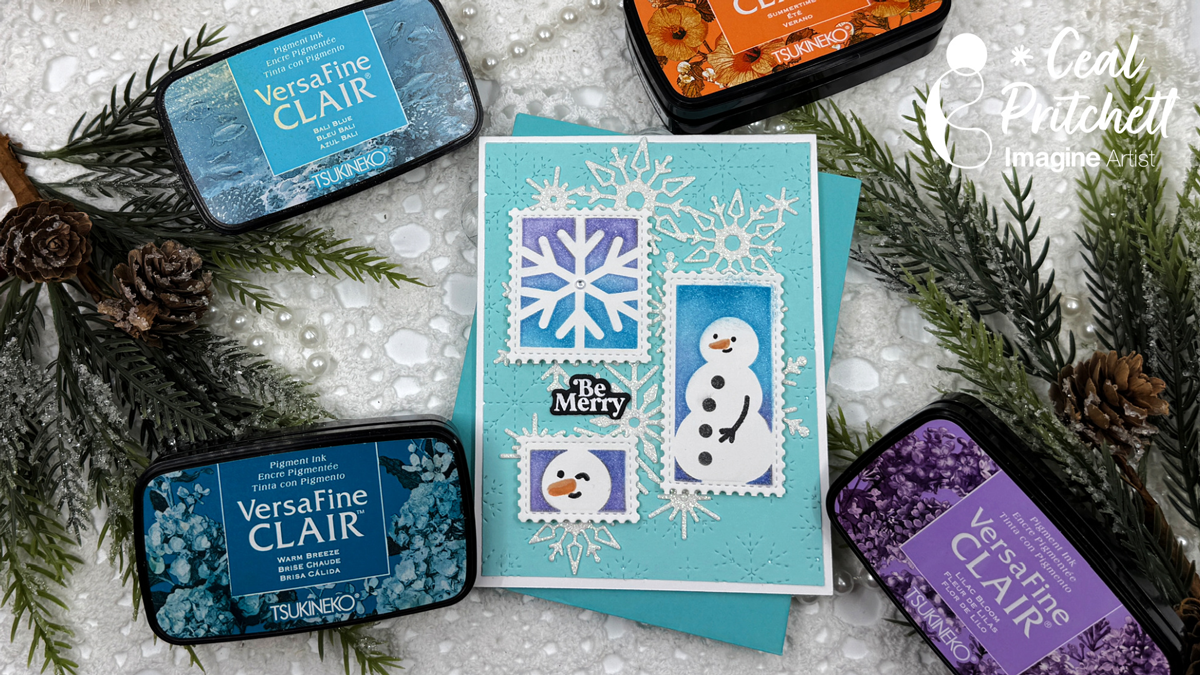
Hello crafty friends! It’s Ceal here. Today I am sharing a postage collage Christmas card with you.
Skill: Intermediate Time: 45 minutes
Directions:
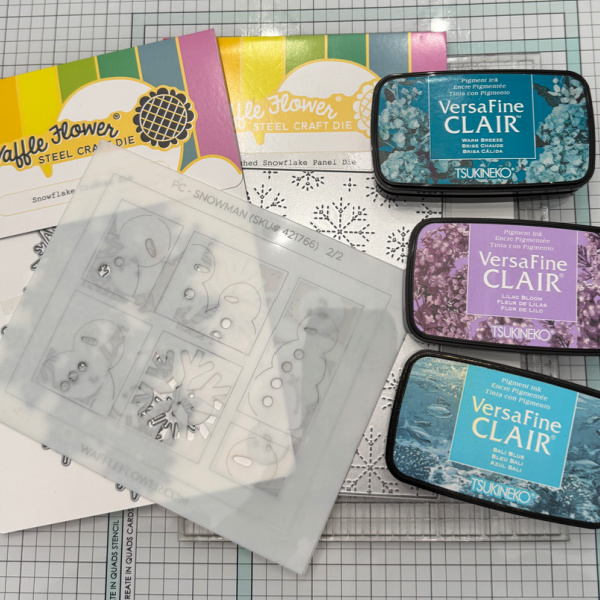
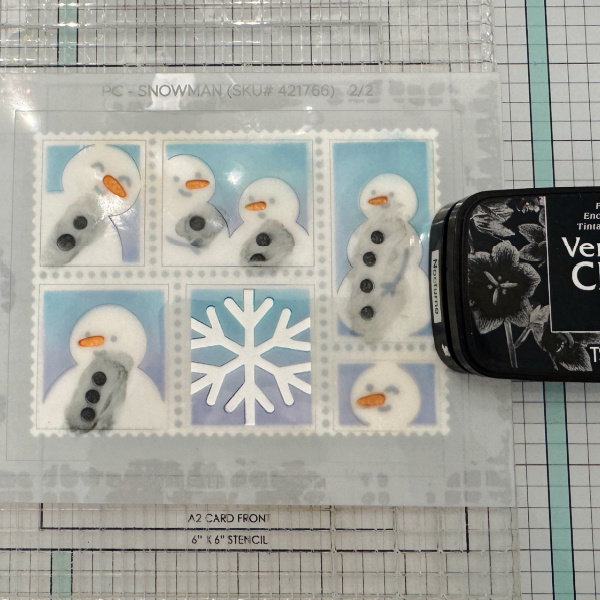
Gather your supplies. To make this card you will need a Postage Collage Layering Stencil, a snowflake cover plate die, a snowflake cluster background die and some inks. The inks I used are listed at the bottom of the tutorial.
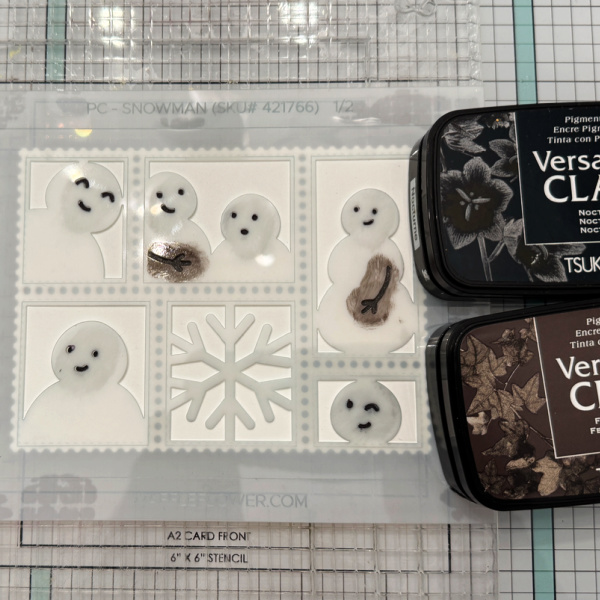
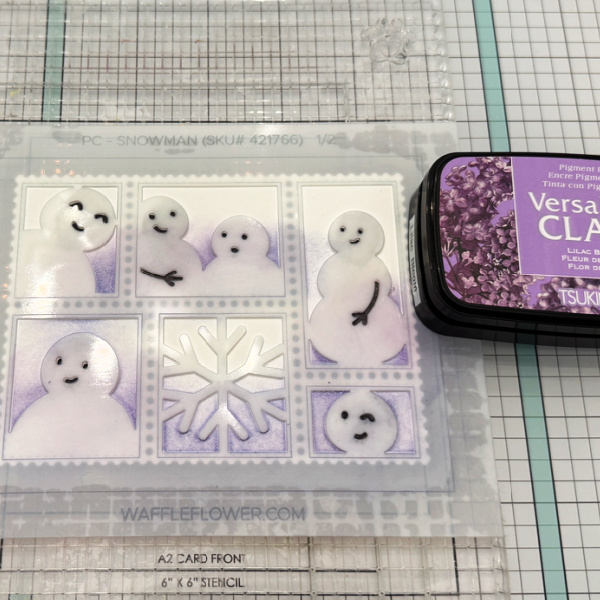
Step 1: Cut out a postcard using a postage die. Ink blend VersaFine Clair Nocturne and VersaFine Clair Fallen Leaves for the eyes, mouth and arms on the first stencil.
Step 2: Ink blend VersaFine Clair Lilac Bloom over the bottom portion of the first stencil.
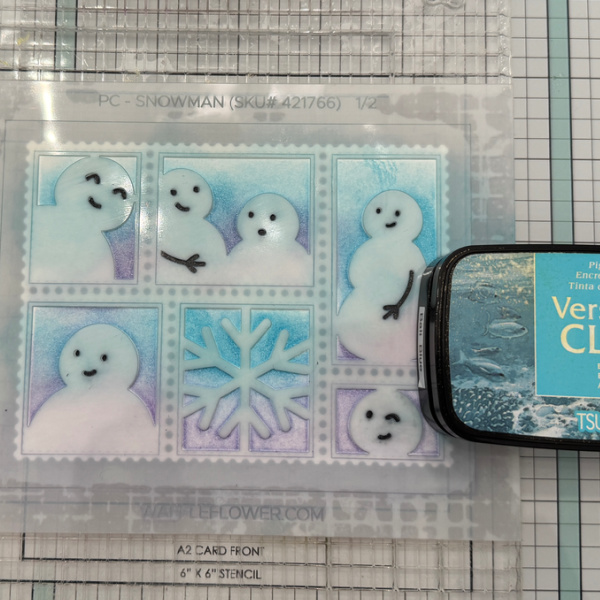
Step 3: Ink blend VersaFine Clair Bal Blue over the middle portion of the first stencil.
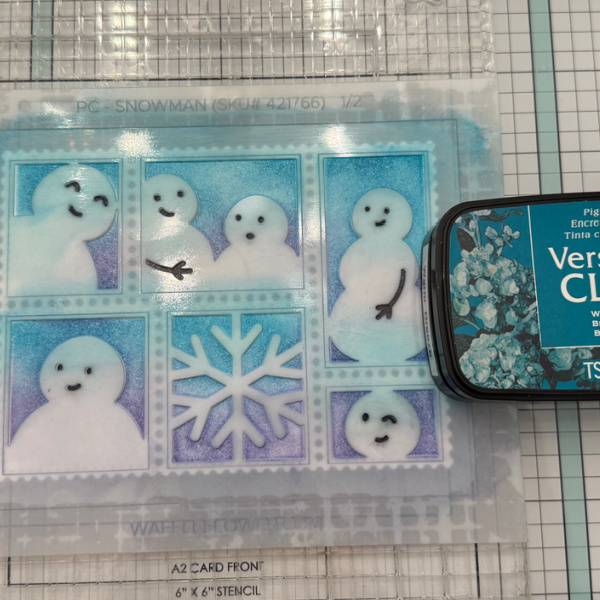
Step 4: Ink blend VersaFine Clair Warm Breeze over the top portion of the first stencil.
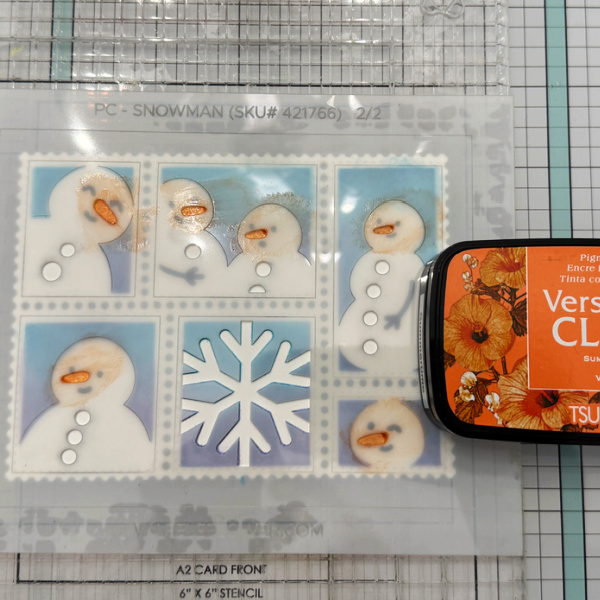
Step 5: Ink blend VersaFine Clair summertime over the noses and VersaFine Clair Nocturne over the buttons on the second stencil.
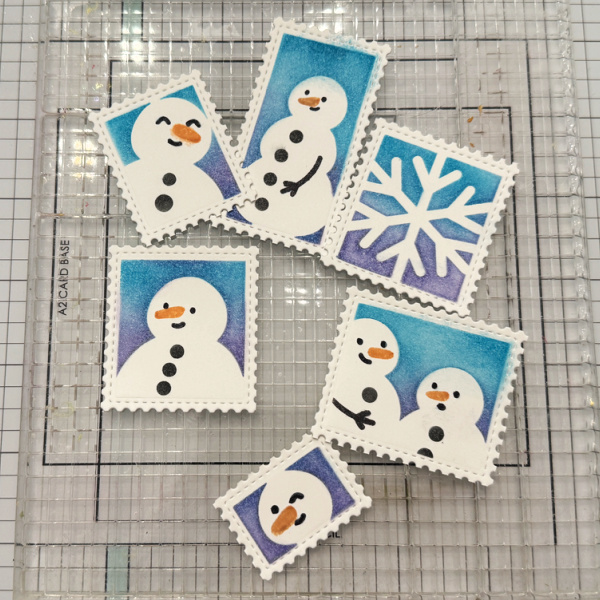
Step 6: Cut apart the postage die to get individual stamps. Choose which ones you want to use on your project and save the rest.
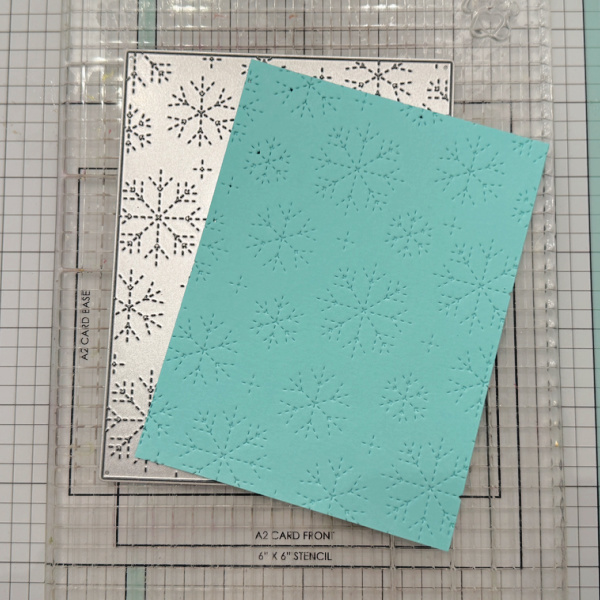
Step 7: Cut out a background panel using the snowflake cover die.
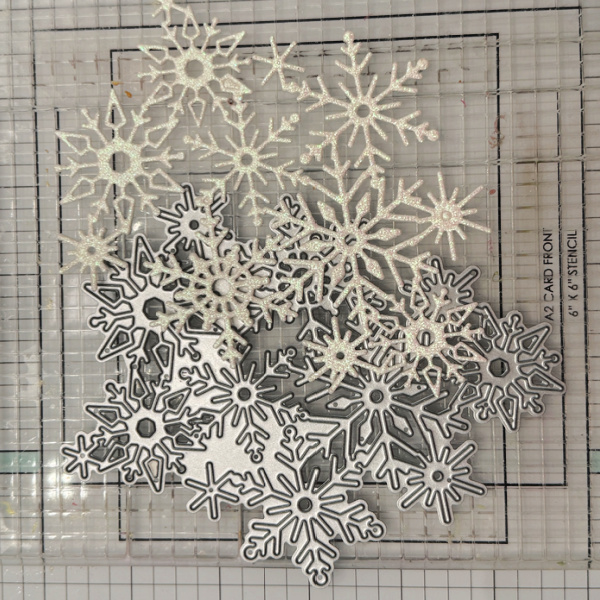
Step 8: Cut the snowflake cluster out of glitter paper.
Step 9: Stamp and emboss the sentiment, then put all the pieces together to create the card.
Craft Supplies:
Imagine Products:
VersaFine Clair – Nocturne – Fallen Leaves – Summertime – Warm Breeze – Bali Blue – Lilac Bloom
Other Products: Postage die – Waffle Flower Layering Postage Stencil – Waffle Flower Snowflake Cover Plate – Waffle Flower Snowflake Cluster die – Waffle Flower Sentiment – Waffle Flower
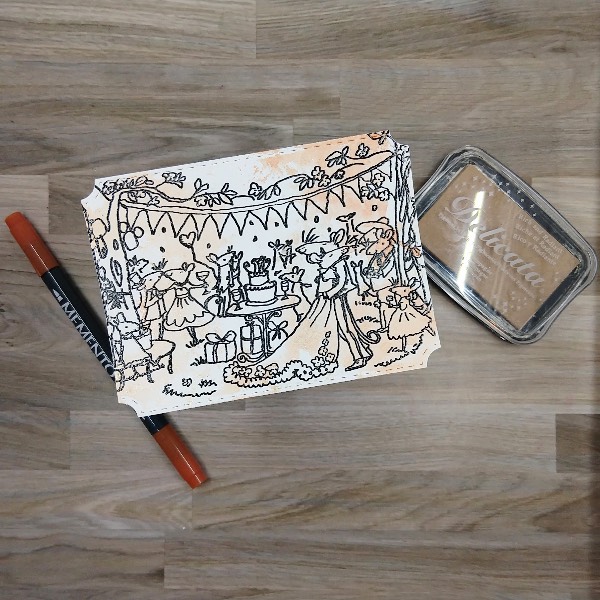
Before making this card, I had no idea all of the different winter wedding color palates there are! I needed to make a winter wedding card, and decided to use some products in a new way (at least for me). Before I share how I made this card, I wanted to share a winter wedding color palate that inspired me:
Skill: Intermediate Time: 2 hours
Directions:
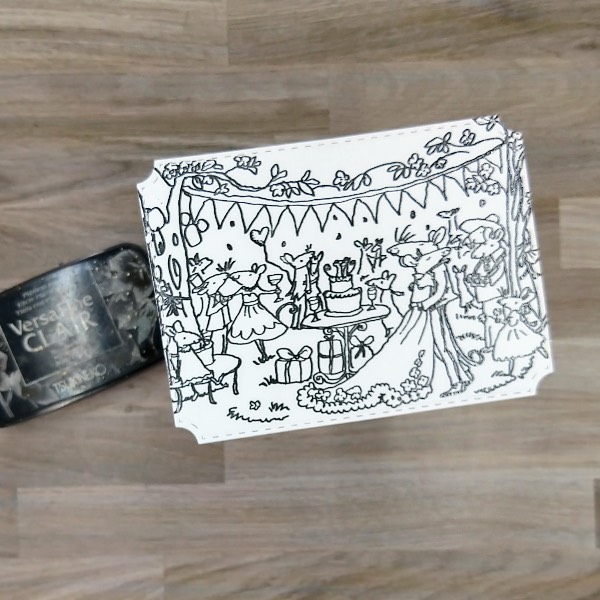
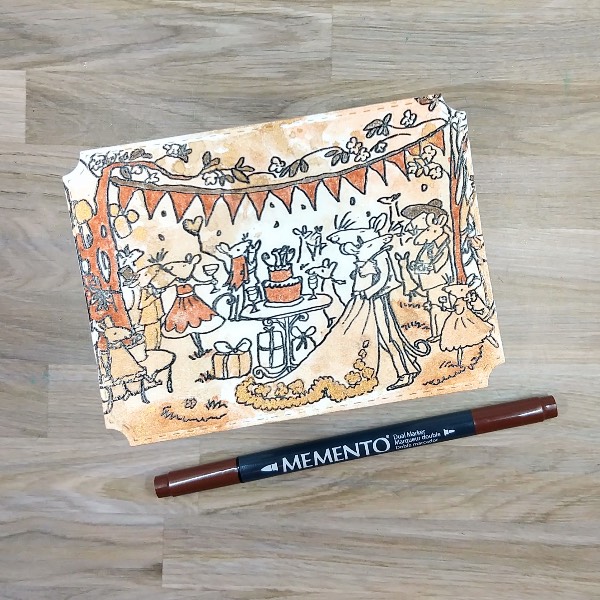
Step 1: I stamped a large wedding scene stamp on a die cut piece of watercolor paper with Nocturne VersaFine Clair ink and then heat embossed it with clear embossing powder.
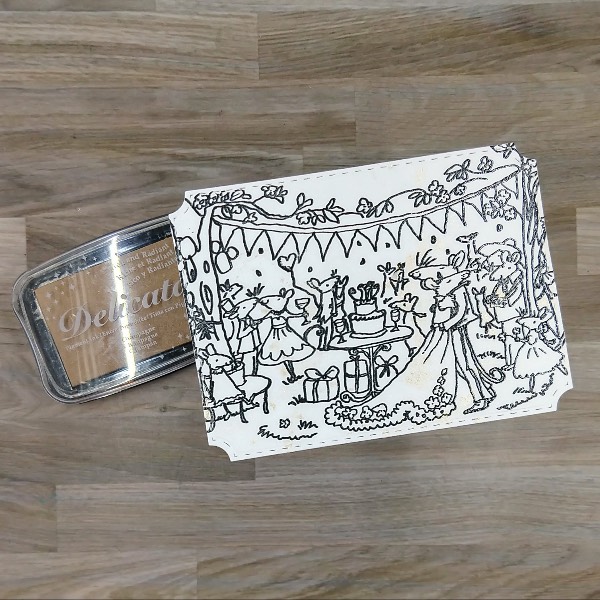
Step 2: Press a Champagne Delicata ink pad onto a piece of acetate packaging and then mix with water. Press the acetate onto the stamped wedding image. (This is very hard to see in the image, but there is a faint sheen on the wedding dress and in other parts of the panel.) Allow to dry.
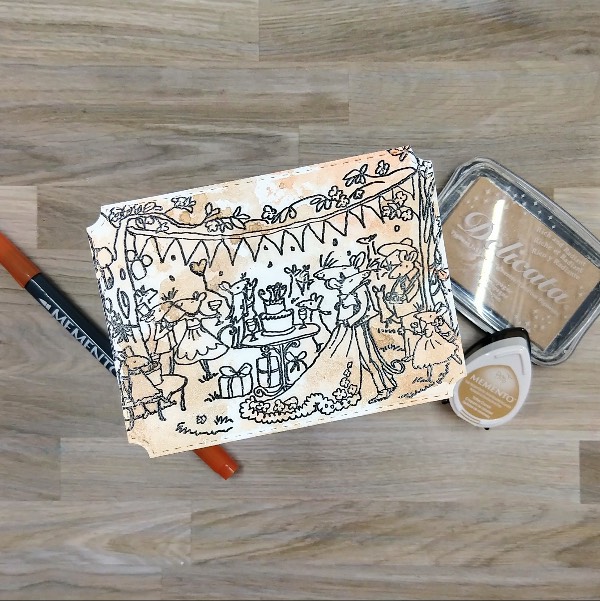
Step 3: Watercolor smoosh the panel with a second layer of the Champagne Delicata ink. Then scribble Potter’s Clay Memento Dual Marker onto the acetate and spray with water. Then press the acetate onto the panel. Allow these layers of color to dry on the panel.
Step 4: Press the Toffee Crunch Memento ink pad onto the same acetate, spray with more water and then watercolor smoosh the panel again.
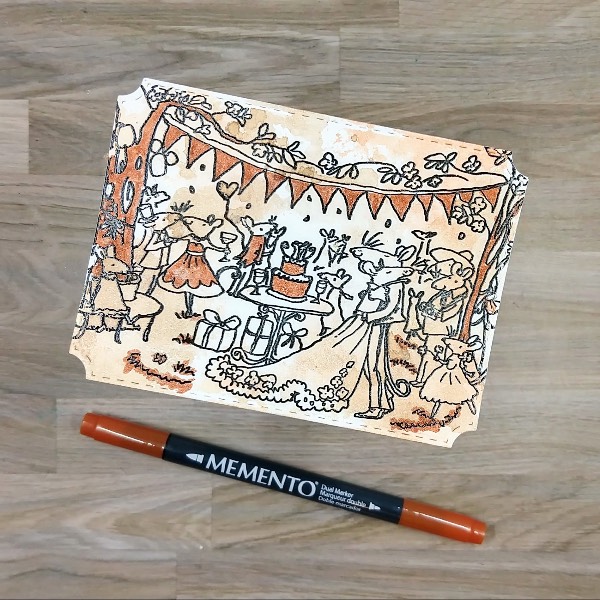
Step 5: Color in parts of the panel with Potter’s Clay Memento Dual Marker.
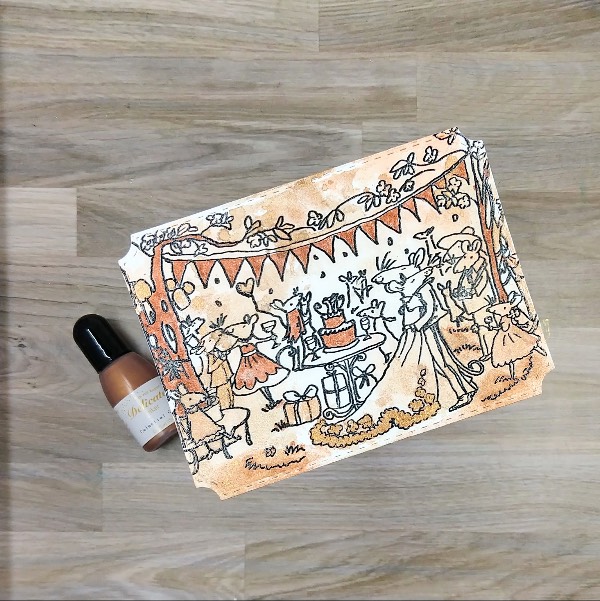
Step 6: Add a small amount of Celestial Copper Delicata Inker onto the same acetate packaging and use a small paintbrush to mix with water to thin out the reinker. Then use the paintbrush to paint the trim of the bride’s dress, some of the presents, and some other images with the coppery mix.
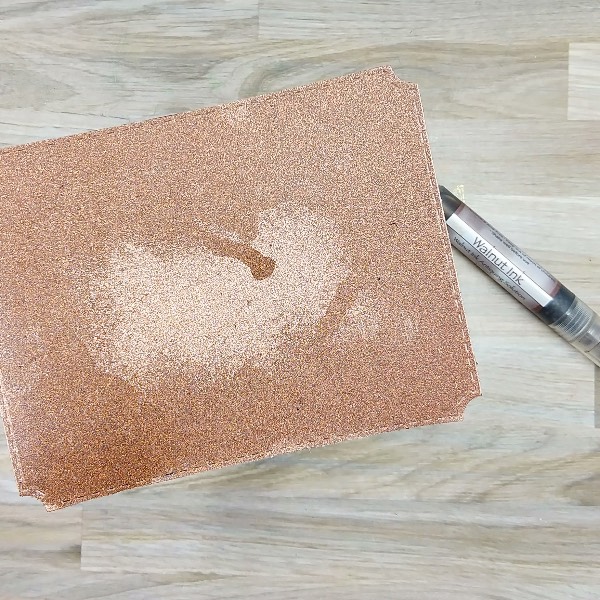
Step 7: Spray Walnut colored Walnut Ink Antiquing Solution onto die cut glitter cardstock to make it darker. (Please note that the panel took a long time to dry. The next time I do this, I plan on adding embossing powder to help it dry more quickly.
Step 8: Color the tree leaves, the pennant ribbon and a couple of the hats with Rich Cocoa Memento Dual Marker.
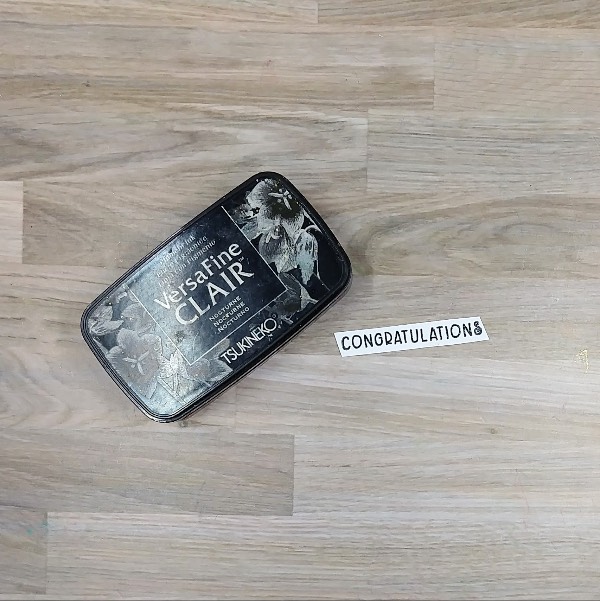
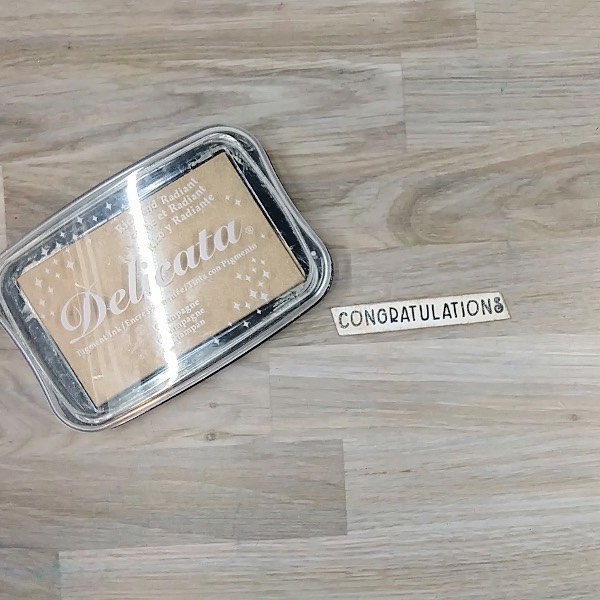
Step 9: Stamp the sentiment from the same stamp set with Nocturne VersaFine Clair ink and heat emboss with clear embossing powder. Trim the sentiment into a thin strip with the edges at an angle.
Step 10: Press the edges of the sentiment strip into a Toffee Crunch Memento ink pad to color the borders.
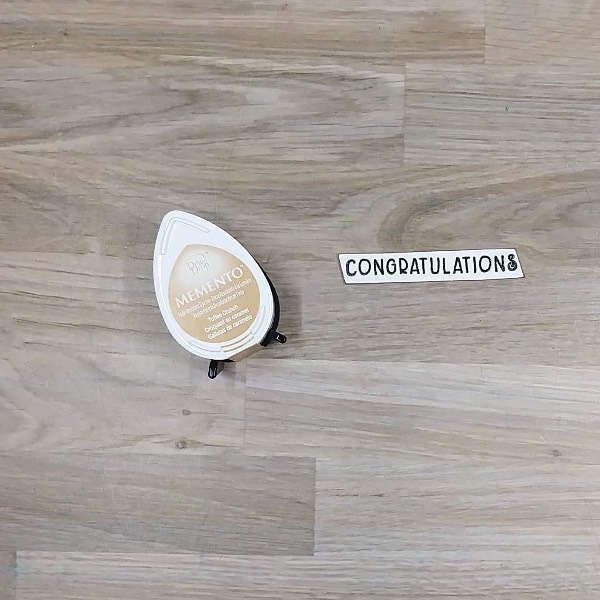
Step 11: Press a Champagne Delicata ink pad onto the acetate packaging and then spray with water. Watercolor smoosh the sentiment strip and allow to dry.
Step 12: Assemble the card. Glue 2 strips of scrap cardstock behind the sentiment and glue the sentiment on the lower right corner of the stamped panel. Then glued the stamped panel onto the sprayed glitter cardstock panel. Glue the whole thing onto an A2-sized white card base.
Glue gems on the bottom left and upper right corners of the card.
Other • Colorado Craft Company – stamp set – Happily Ever After by Anita Jeram • Pink and Main – die set – Notched Corners • Trinity Stamp Company – embellishments – Champagne Twinkle Stardust Rhinestone mix • A2-sized white card base • Clear Embossing Powder • Watercolor paper • Glitter cardstock • Die cutting machine • Paper trimmer Scissors • Glue
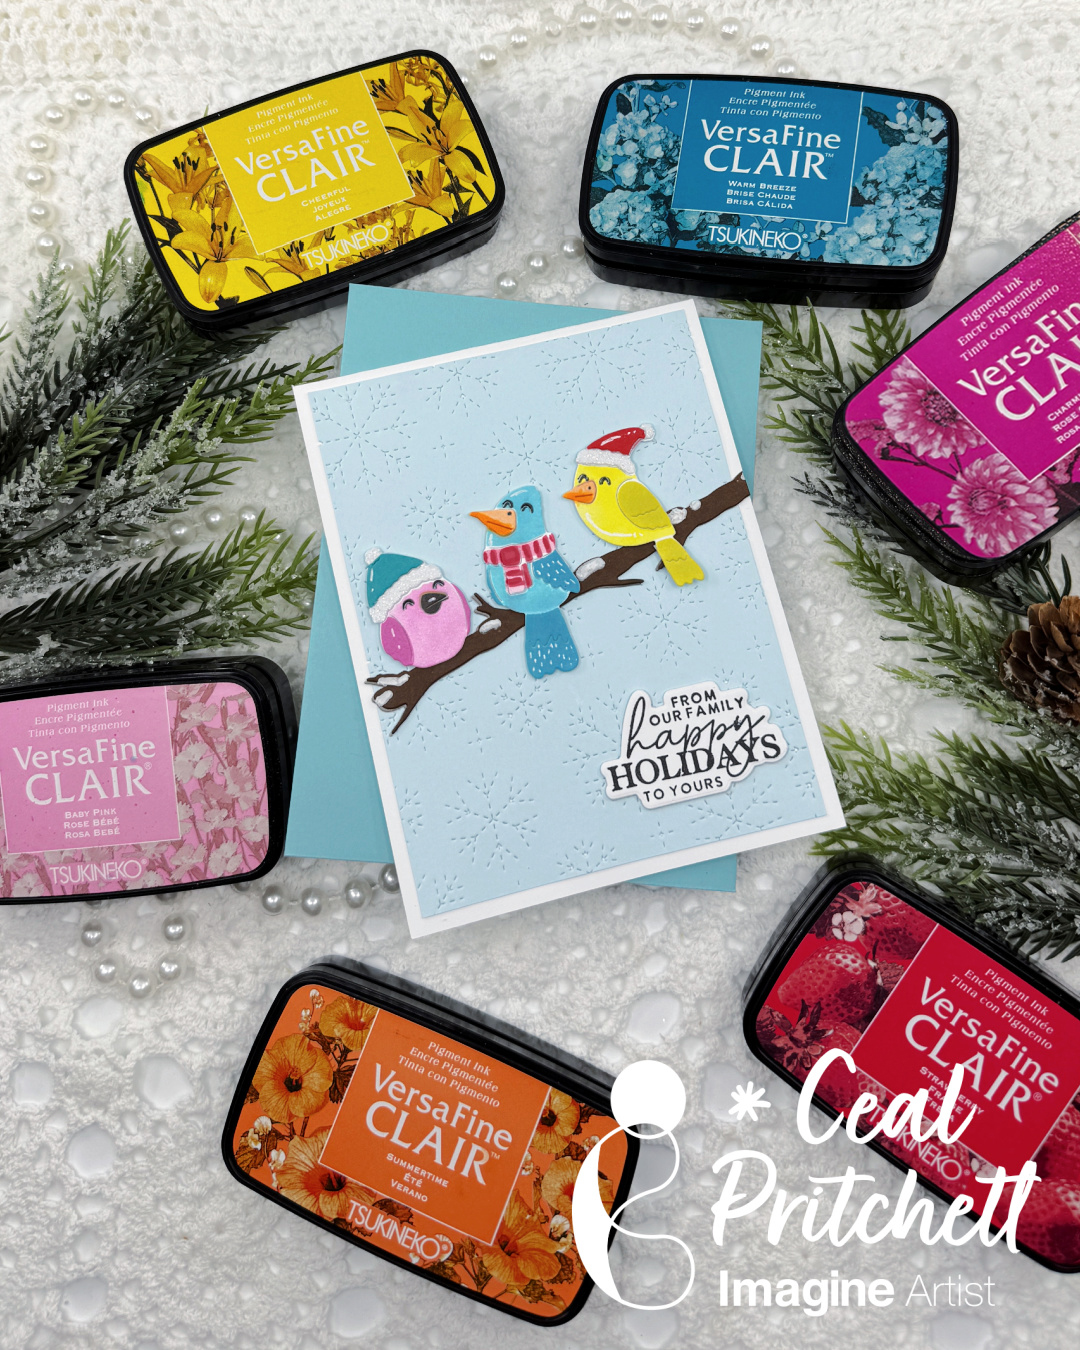
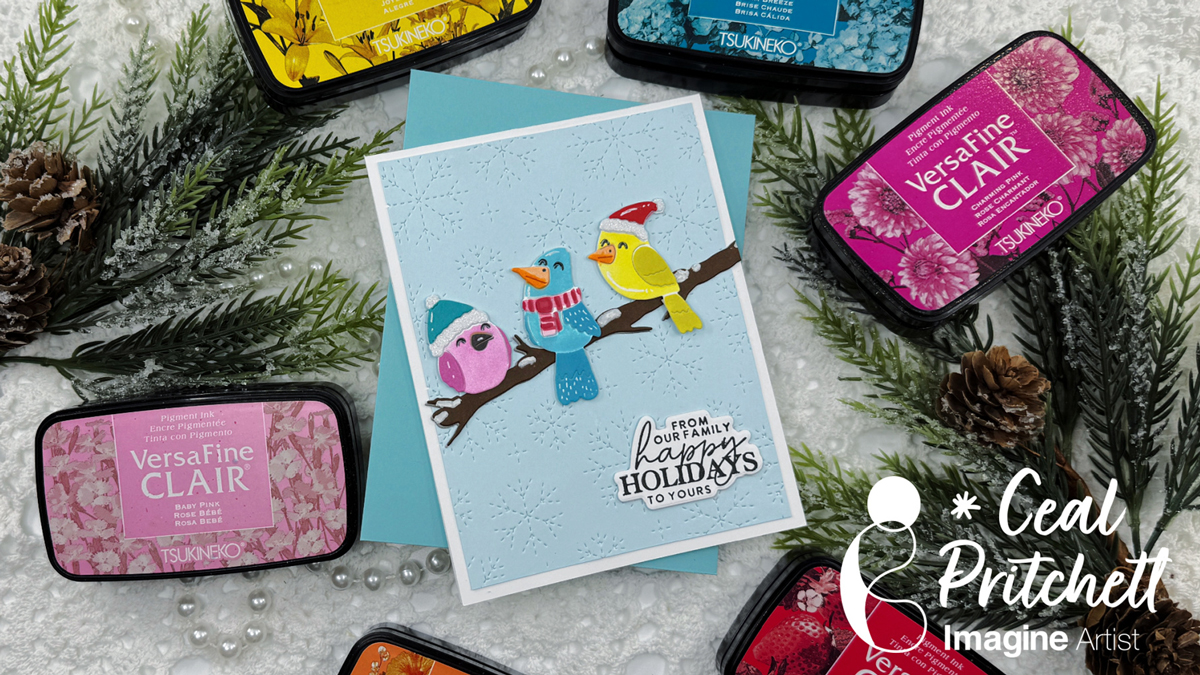
– Hello Crafty friends! It’s Ceal, here. Today I am sharing how to make this sweet birdie holiday card using some VersaFine Clair inks.
Skill: Beginner to Intermediate Time: 45 minutes
Directions:
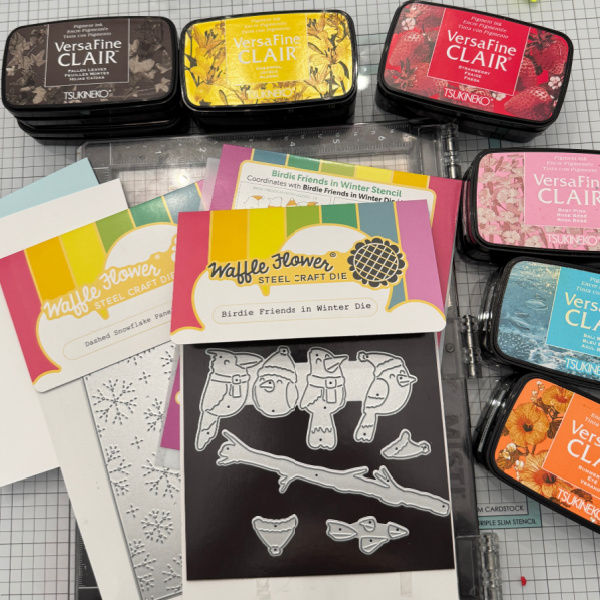
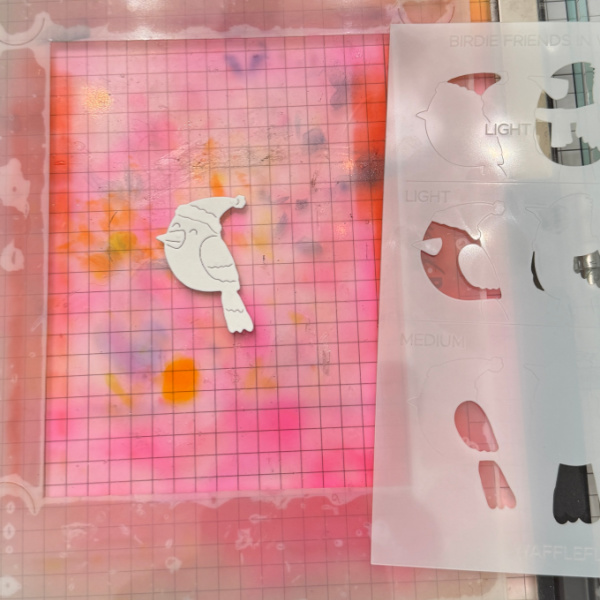
Gather your supplies. You will need several colors of ink, the Birdie Friends in Winter die and stencil or any other die/stencil combo you’d like to use. A holiday sentiment set, a snowflake
cover die or any other background you’d like to use. You will also need either a Sticky Mat or Grip Mat and some paste.
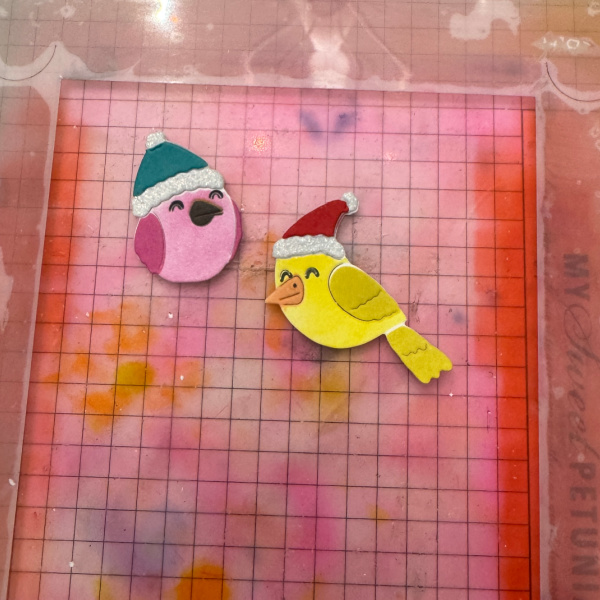
Step1: I didn’t show all of them in the picture, but the first step is to cut all the birds out of white cardstock.
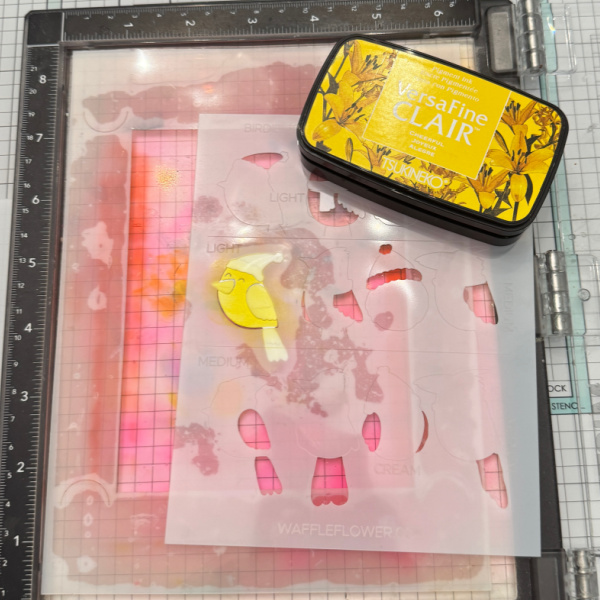
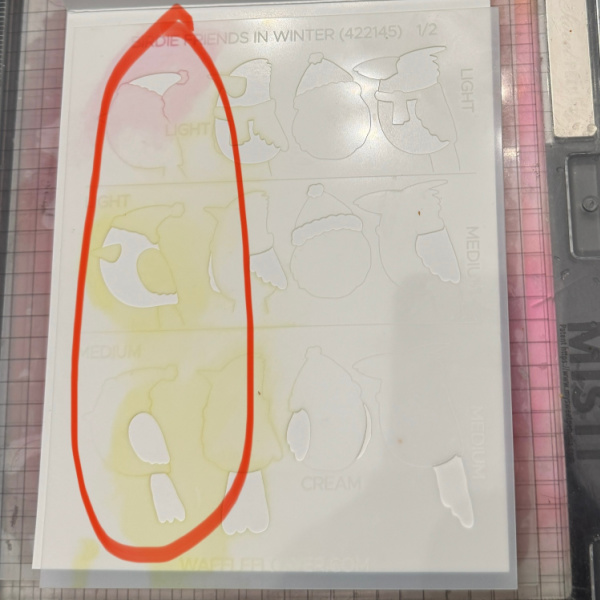
Step 2: Using the coordinating stencil add color to each bird as you please. For the pink bird I used Baby Pink and Charming Pink. The blue bird uses Warm Breeze, Bali Blue and Strawberry. The yellow bird uses Cheerful and Golden Meadow. I have a picture with the steps circled so you can see the need for different shades of color.
No Step just showing stencil steps
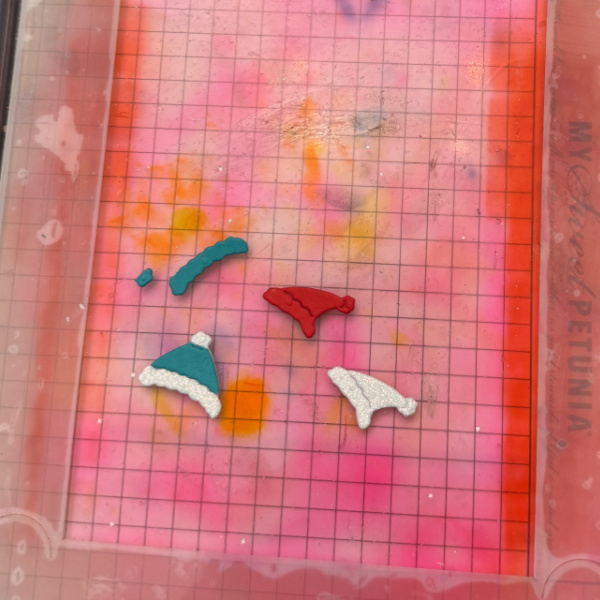
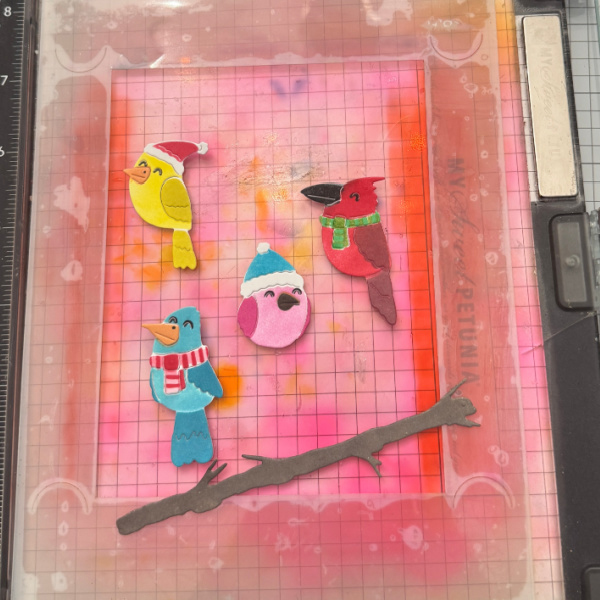
Step 3: Cut hats out of glitter cardstock and colored cardstock. Cut apart and add to glitter cardstock as shown in picture. Glue onto the birdie.
No step just showing completed birds
Step 4: Cut the branch out of a dark brown cardstock.
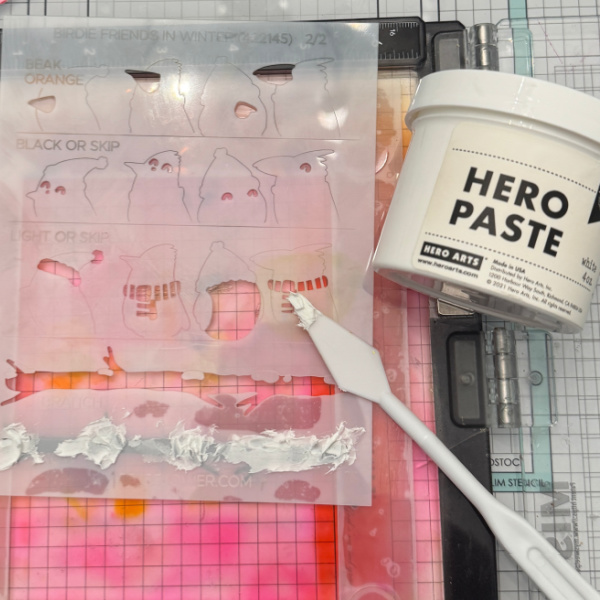
Step 5: Place branch under stencil, lining it up with the etched portion. Add a white paste using a palette knife.
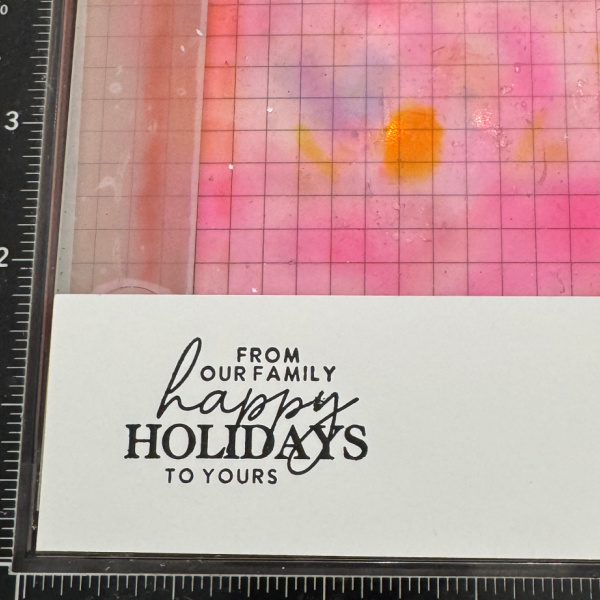
Step 6: To finish the card, stamp and cut out the sentiment to add to the front.
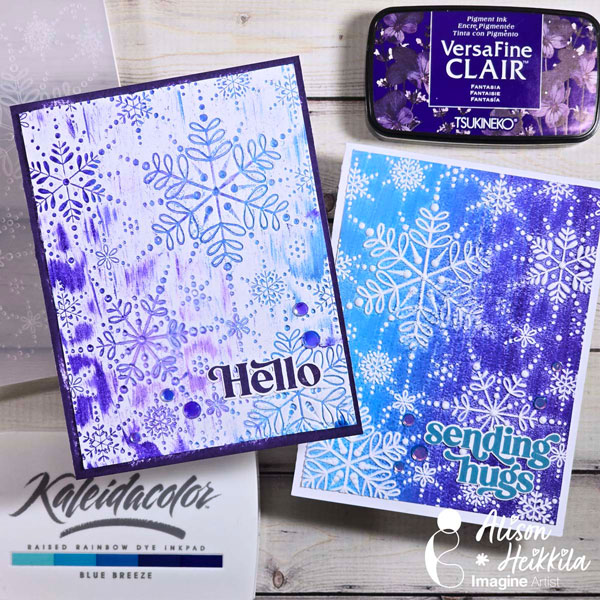
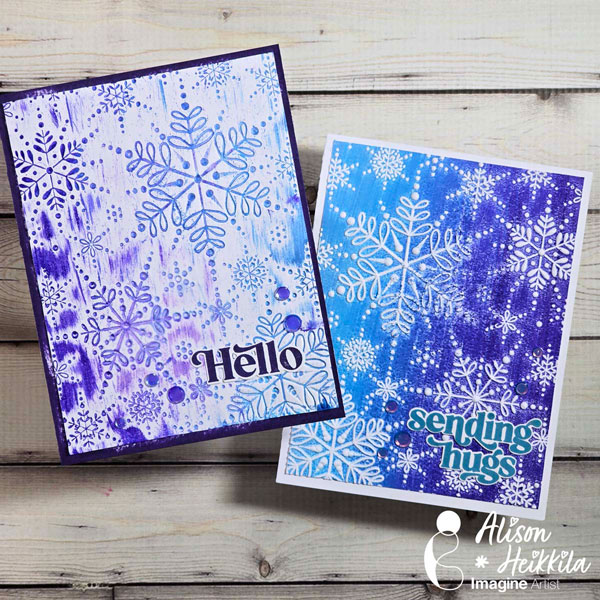
Hello! Alison Heikkila here. Let’s make 2 fun cards with 1 embossing folder and a Kaleidacolor Ink Pad lickety-split! This is so much fun, it’s perfect for beginners, and will work with pretty much any embossing folder you may have.
Skill Level: Beginner-Intermediate Time to Complete: 10-15 Minutes
*Some affiliate links are used in this post. That means that if you shop through these links, I may receive a small compensation, at no cost to you.
Here is the YouTube video. If it doesn’t play properly, please click HERE.