Two Watercoloring Techniques with StazOn Studio Glaze

By Katy Ingram

Hello Friends! Katy here and today I am sharing two ways to watercolor with StazOn Studio Glaze. 

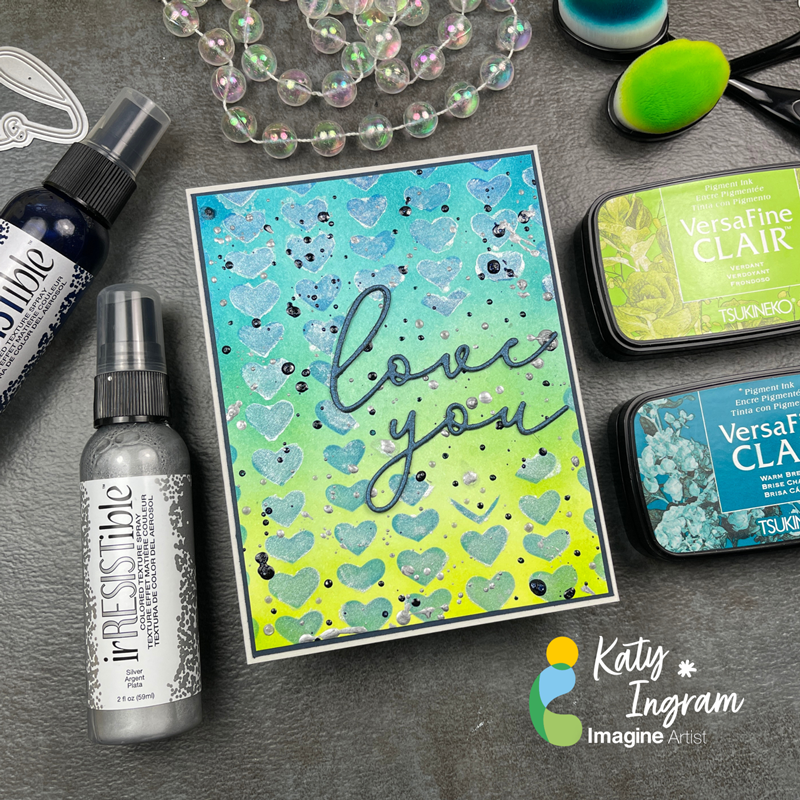
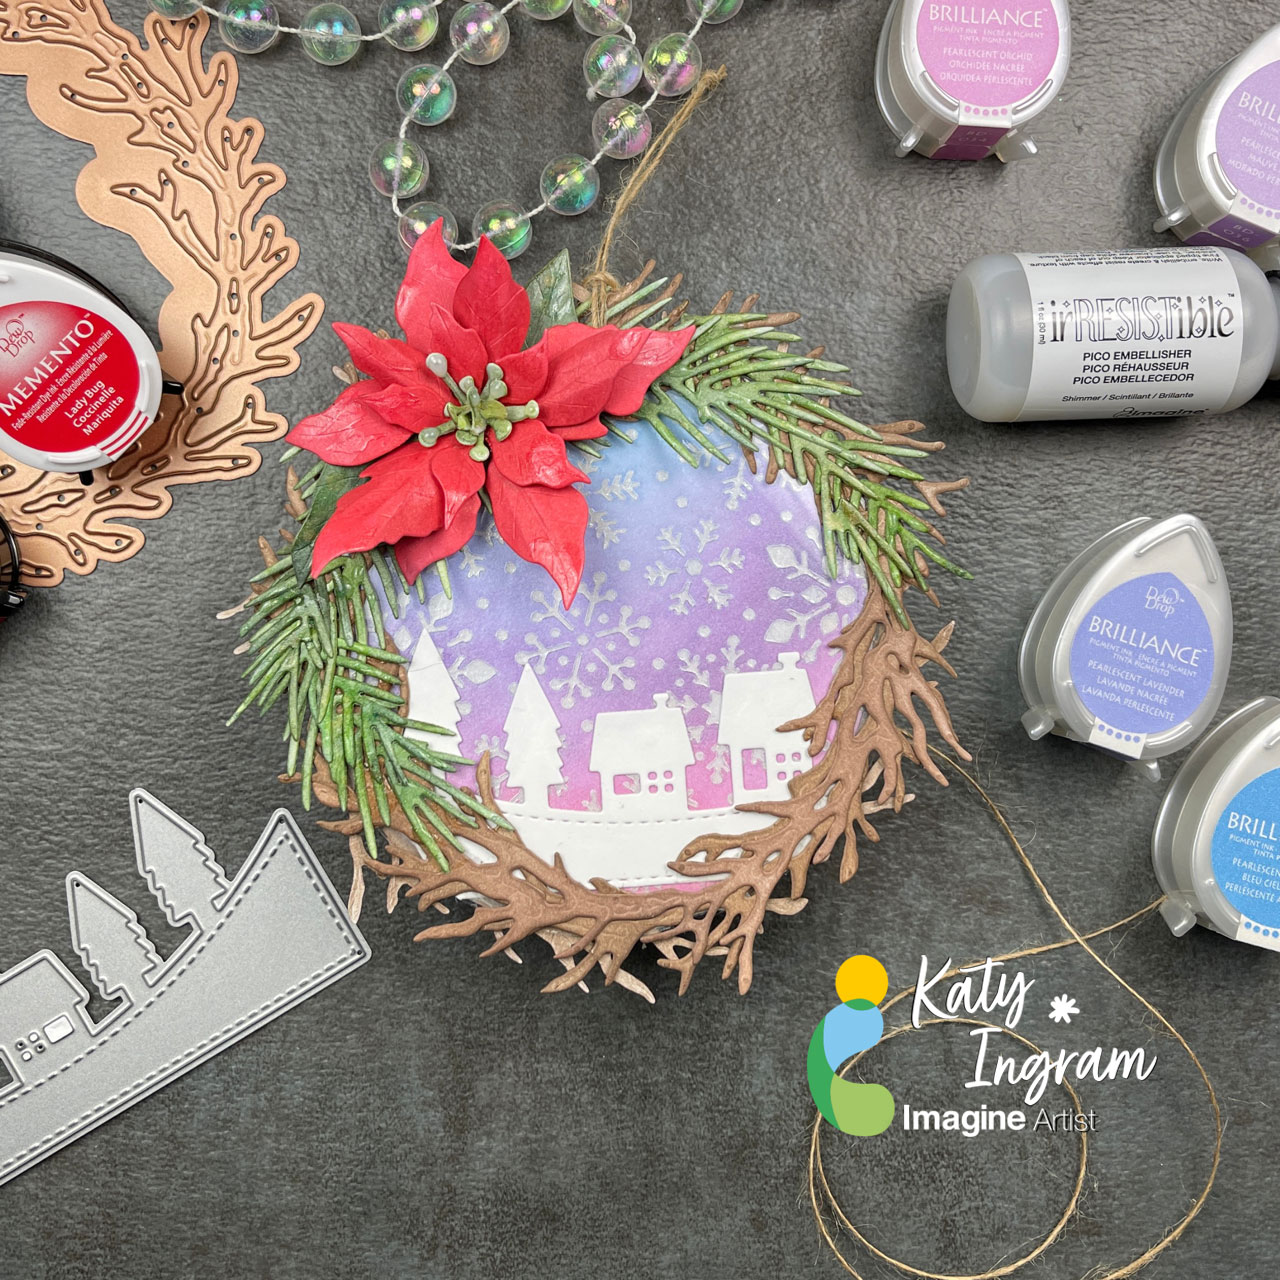
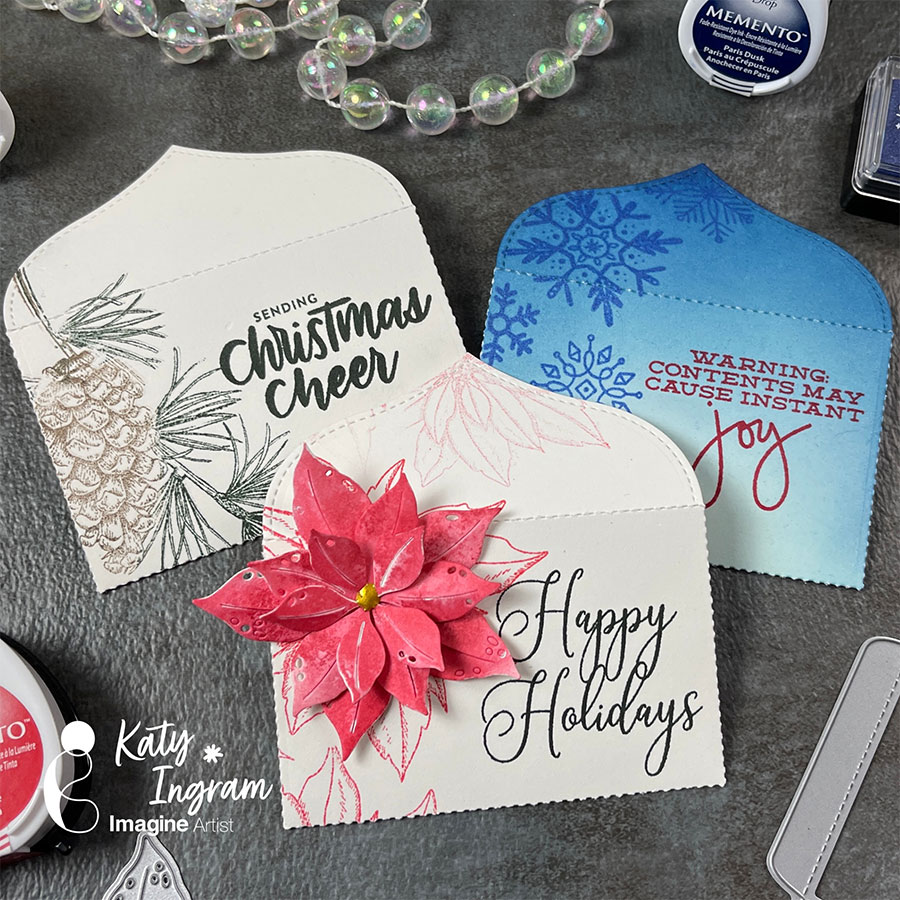
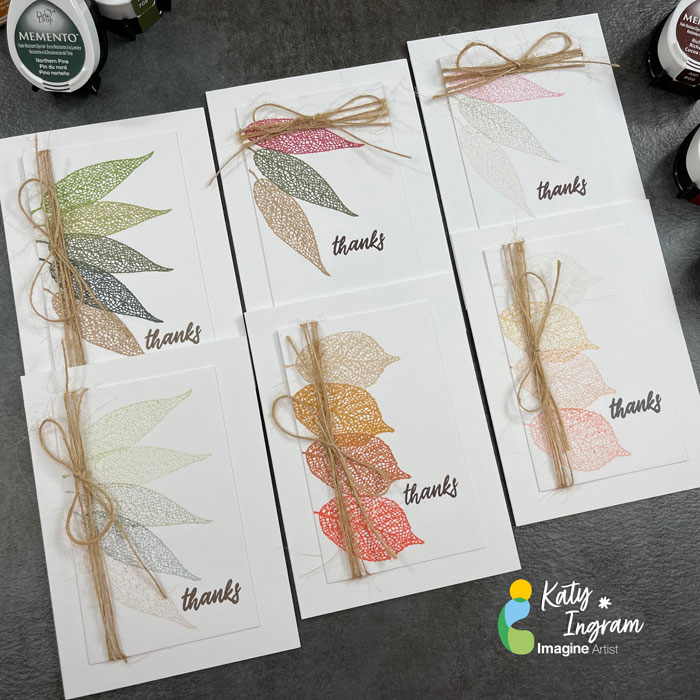
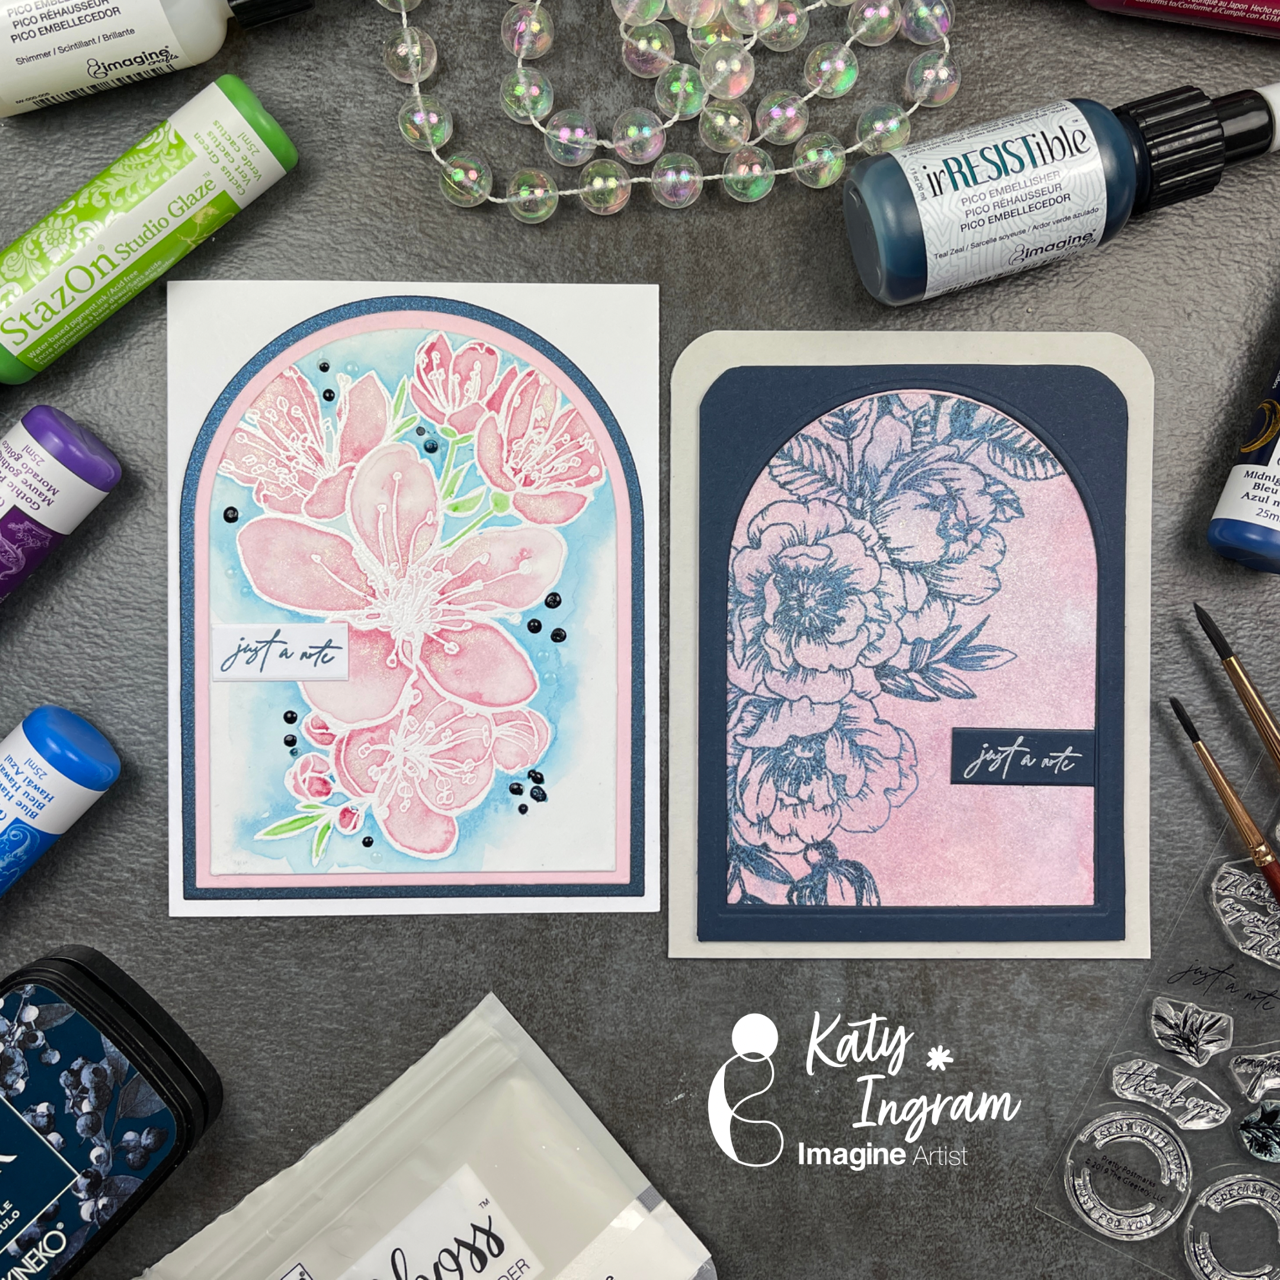
In today’s video tutorial I am sharing two watercolor techniques. The first is traditional watercoloring with a watercolor brush and the second technique is the popular ink smooshing technique. Both are great ways to use StazOn Studio Glaze and I hope you hive it a try. Check out the video to see the process in action. I hope you enjoy and thanks for stopping by. 

Skill: Beginner, Intermediate, Advanced

Time: 2 hours

Art Supplies

Imagine Products:

• Brilliance Moonlight White Ink 

• VersaFine Clair Twilight 

• VersaMark Ink

• Sheer Shimmer Spray Sparkle 

• irRESISTible Pico Embellisher Teal Zeal 

• irRESISTible Pico Embellisher Shimmer 

• 1/4 inch Tear It Tape 

• Mboss Embossing Powder White 

• StazOn Studio Glaze Claret 

• StazOn Studio Glaze Gothic Purple 

• StazOn Studio Glaze Blue Hawaii 

• StazOn Studio Glaze Midnight Blue 

• StazOn Studio Glaze Cactus Green 

Other Products Used:

• Spellbinders Arches Dies

• Ellen Hutson Mondo Sakura

• Simon Says Stamp Beautiful Flowers

• The Greetery Pretty Postmarks

• Princeton Neptune Watercolor Brushes 2/4Round

• Hot Pressed Watercolor Paper

How To Create a Mixed Media Valentine

By Katy Ingram

Hello Friends! Katy here and today I am using a variety of products to create this Love You card.

In today’s video tutorial I do some ink blending with VersaFine Clair Verdant and Warm Breeze. I haven’t used these two colors for ink blending before and they blended really well and the colors coordinate perfectly together. I used a heart stencil with VersaFine Clair Paradise to blend over the ink blended panel and then added some Sheer Shimmer Stix in Frost for a bit of shimmer.  I also pulled out some irRESISTible Spray in Paris Dusk and Silver to create some splatter. I finished the panel off by die cutting the words love and you with some metallic blue cardstock. Check out the video to see the process in action. I hope you enjoy and thanks for stopping by. 

Katy

Skill: Beginner, Intermediate, Advanced

Time: 30 minutes 

Directions:

Art Supplies

Imagine Products

• VersaFine Clair Verdant

• VersaFine Clair Warm Breeze

• VersaFine Clair Paradise

• Sheer Shimmer Stix-Frost

• irRESISTible Spray Paris Dusk

• irRESISTible Spray Silver

• irRESISTible Pico Embellisher Teal Zeal

• irRESISTible Pico Embellisher Silver

• 1/4 inch Tear It! Tape

Other Products Used

• Miss Ink Stamps Hand Drawn Hearts Stencil

• Layering Hearts Dies

• scrapbook.com/Pinkfresh Love and You Dies

• Blending Brushes

Create A Holiday Tree Ornament Using Creative Medium, Memento and Brilliance Inks 

By Katy Ingram

Hello Friends! Katy here and for todays project I thought I would used a variety of products with some die cuts to create an ornament for the Christmas tree. 

In todays video tutorial I explain each layer of the ornament starting with the snowy background which uses the Creative Medium with a snowflake stencil, once dried I applied the Brilliance Ink in Pearlescent Orchid, Pearlescent Purple, Pearlescent Lavender and Pearlescent Sky Blue and was blown away. Check out the video for all the details on how this ornament came together. 

I hope you enjoy and thanks for stopping by. 

Skill Level: Beginner, Intermediate, Advanced

Time: 10 minutes 

Art Supplies

Imagine Products

Poinsettia

– Memento Ink Angel Pink, Love Letter, Lady Bug, Rhubarb Stalk

– Delicata Ruby Red

– Pico Embellisher-Shimmer

Greenery

– Memento Ink Bamboo Leaves, Northern Pine

– Pico Embellisher-Shimmer

Woodland Wreath

– Memento Ink Toffee Crunch, Rich Cocoa, Espresso Truffle

Back Panel

– Delicata Ruby Red

– VersaFine Clair Nocturne

Snowflake Background

– Brilliance Inks

– Creative Medium-Shimmer

On Point Glue

Tear It! Tape

Multi-Purpose Squeegee

Other Products:

Spellbinders Poinsettia Die

Spellbinders Woodland Wreath with Feathered Friends Die

Spellbinders Blizzard Stencil

The Greetery Botanicuts Pine Bough Die

Simon Says Stamp The Magic of Christmas Stamp Set

Kat Scrappiness Holiday Village Slimline Border Die

Honey Bee Stamps Simple Alpha Stamp Set

Lawn Fawn Acetate

Holiday Gift Card Envelope Holders with Memento and Delicata Inks

By Katy Ingram –

Hello Friends! Katy here and for todays project I am sharing a few simple gift card envelope holders, great for the holidays or really any gift giving occasion. 

In todays video tutorial you will see how easily these envelopes came together using some Memento and Delicata Inks. Using an envelope die makes quick work of this project and will give you more time to enjoy the holiday season. 

I hope you enjoy and are inspired to take those plain gift cards and create an envelope to dress them up. 

Skill: Beginner, Intermediate, Advanced

Time: 10 minutes

Art Supplies

Imagine Products

Snowflake Envelope

• Memento Inks: Summer Sky, Teal Zeal, Nautical Blue and Paris Dusk

• Delicata Ink: Sapphire Blue

Poinsettia Envelope

• Memento Inks: Love Letter, Lady Bug and Rhubarb Stalk

• Delicata Golden Glitz Reinker

Pinecone Envelope

Memento Inks: Rich Cocoa and Northern Pine

• Tear It! Tape

• On Point Glue

Other Products Used

Mama Elephant Venice Envelope Creative Cuts Die

Waffle Flower Layered Poinsettia Die

Simon Says Stamp The Magic of Christmas Stamp Set

Simon Says Stamp Christmas Cheer Stamp Set

Mama Elephant Confetti Stamp Set

Quick and Easy Place Cards For Your Holiday Table Setting

Oct-2022_Katy-Ingram_Place-Cards-Group_IG-1

By Katy Ingram –

Hello Friends! Katy here and today I am creating place cards for my Thanksgiving table. Now I know some people may not do this, but I have added a bit of a twist to mine. On the inside I have included some encouraging and uplifting sentiments to let my loved ones know I appreciate and love them and that I am thankful and grateful to have them at my table for the holidays. Just a little something to make them smile this holiday season. 

In today’s video tutorial you will see how easily these cards came together using some Memento Inks and I also share where my inspiration came from. I also mention these would be great tombstones for Halloween!

I cut a piece of heavyweight white card stock 2 3/4 inches wide by 8 inches long and scored at 4 inches and then used the number 8 arch die within the Spellbinders Essential Arches layering dies. 

To create the card simply fold the card at the score line and place the arch of the die a bit above that folded line so the die is off the top of the card stock and then run it through your die cutting machine. 

The video below has all the details. I hope you enjoy and are inspired to add some inspirational place cards at your table this holiday season. 

Skill: Beginner, Intermediate, Advanced

Time: 10 minutes


Art Supplies:

Imagine:

• Memento Inks: 

– Northern Pine

– Peanut Brittle

– Rhubarb Stalk

– Angel Pink

– Sweet Plum

– Elderberry

– Cantaloupe

– New Sprout

• VersaFine Clair – Nocturne 

Other Products Used

• Spellbinders Essential Arches Die Set

• The Greenery Color Spots Stencil Set

• The Greenery Lovely Silhouettes Stamp Set

• Concord & 9th Perfectly Penned Stamp Set

• Blending Brushes

Other Products Used:

Follow Katy Here:

Youtube: https://youtube.com/c/eastwickspaperandink 

facebook: fb.me/eastwickspaper 

Instagram: https://www.instagram.com/eastwickspaperandink/ 

Blog: https://www.eastwickspaperandink.com/

Fall Themed Note Cards Using First and Second Generation Stamping With Memento Inks  

Sept-2022_Katy-Ingram_Fall-Thanks_Group-IG-1

By Katy Ingram –

Hello Friends! Katy here and today I am creating some fall themed note cards with second generation stamping. This is a great way to get more from your inks and create a beautiful subtle look to your projects. 

In todays video tutorial you will see both first and second generations stamping with a variety of fall color Memento Inks and a quick way to add interest with a bit of twine. Video has all the details. Thanks for joining me today.

Skill: Intermediate
Time: 10 minutes

Sept-2022_Katy-Ingram_3-leaf-cards_4

Sept-2022_Katy-Ingram_4-leaf-cards_IG-2

Sept-2022_Katy-Ingram_5-Leaf-Cards_IG-3

Art Supplies:

Imagine:

• 5 Leaf Card 

– Memento Inks: Bamboo Leaves, Pistachio, Olive Grove, Northern Pine, Toffee Crunch

“Thanks” Sentiment: Memento Rich Cocoa

• 4 Leaf Card

– Memento Inks: Desert Sand, Peanut Brittle, Potters Clay, Morocco

“Thanks” Sentiment: Stamped with VersaFine Clair Pinecone and Memento EspressoTruffle

• 3  Leaf Card

Memento Inks: Rhubarb Stalk, Olive Grove, Toffee Crunch

“Thanks” Sentiment: VersaFine Clair Pinecone

– Tear It! Tape

Other Products Used:

• Gina K Designs Skeleton Leaves Stamp Set

• May Arts Jute Twine

• MISTI Stamping Tool

• Heavyweight White Cardstock panel 2 1/2 inches wide by 4 inches long

• Heavyweight White Cardstock Base 7 inches by 4 7/8 inches score at 3 1/2 inches on the 7 inch side.

Follow Katy Here:

Youtube: https://youtube.com/c/eastwickspaperandink 

facebook: fb.me/eastwickspaper 

Instagram: https://www.instagram.com/eastwickspaperandink/ 

Blog: https://www.eastwickspaperandink.com/